 My grandmother (“Nonnie”) was a great woman. She had bright red hair. She was just as sweet as she could be, unless someone crossed her. And you didn’t cross her because she was scrappy–she kept a paddle on her kitchen wall. The woman had gumption, my absolute favorite quality in a human. She loved without ceasing. When she was very old and living in a nursing home, she would play Bingo for Almond Joys and then save all of them for my sisters and me. We would go visit her, and she would have a shoebox-full after a week!
Every Sunday morning, my mom, little sister, and I would go to church, while my dad went over to Nonnie’s house for breakfast. My sister and I were always very jealous. Nonnie may have let us have popcorn and Ovaltine for dinner (true story), but breakfast was sacred. There were eggs fried in bacon grease, Owens sausage patties, sliced tomatoes, and then, there were the biscuits. Nonnie made the best biscuits in the world, as far as my family were concerned. And if you showed up for breakfast and she had made chocolate gravy to go along with them, you knew you were special. She started making biscuits in her teens (if not earlier), and made them until she literally could not anymore. She never measured anything–she had made them so many times that she didn’t need to. It was all a pinch (pronounced “peench”) of this and a pinch of that. My mom tried to get her recipe, but as the pinch is not an accurate unit of measurement, it was impossible. When Nonnie passed in 2001, her biscuit recipe went with her. There were many biscuit-less years after she died. When I started baking a few years ago, I spent more than a year trying to replicate her recipe. That’s impossible, of course. No matter how good my biscuits are, I’m not a southern grandma. But all that effort paid off because I make a hell of a biscuit. Today would have been Nonnie’s 97th birthday, and since I can’t share her recipe with you, I’ll share mine. 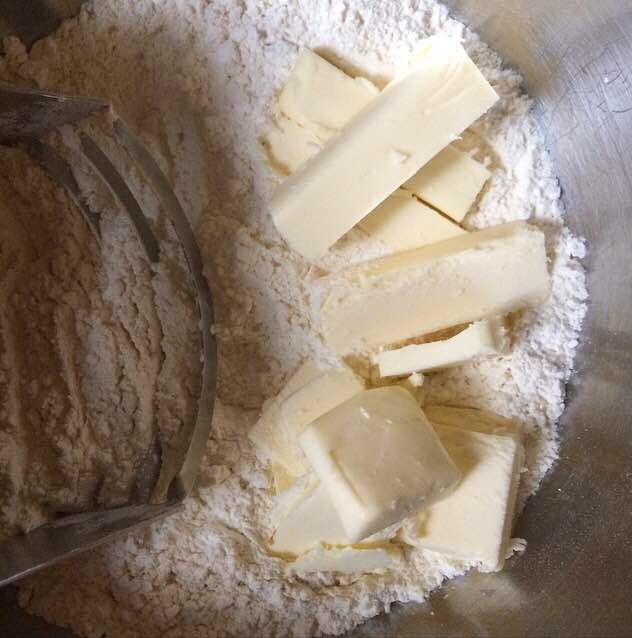
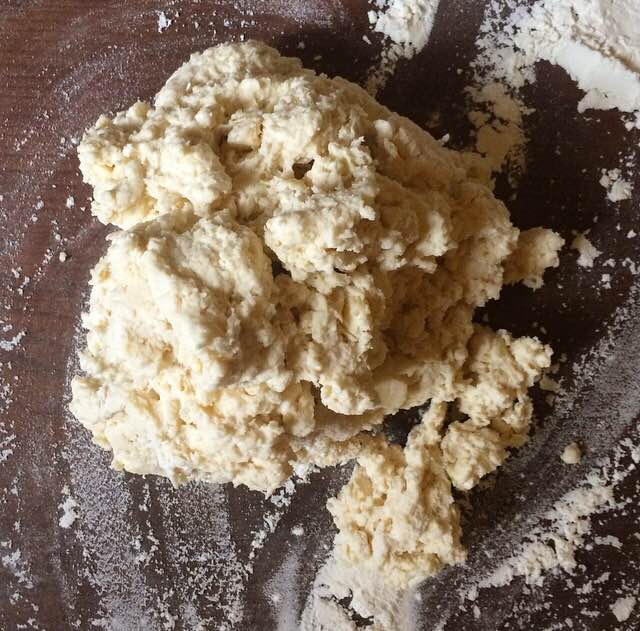 Buttermilk Biscuits start with whisking together flour, baking powder, sugar, and salt. The sugar won’t make these sweet–it just balances out the saltiness. Next, take one stick of cold butter and slice it in half (two 4 tablespoon pieces). Take one half and cut it into four sticks. Cut the other half into thin pats. Cutting the butter into different shapes means that the butter in the biscuit dough won’t be in uniform pieces–this ensures flakiness. Use a pastry blender or two forks to cut the butter into the flour mixture until the pieces are the size of peas. Work quickly so the butter stays cold. Next, pour in 2/3 cup of cold buttermilk. Stir with a wooden spoon or silicone spatula until it is incorporated and a shaggy dough forms. Does the dough look dry? Mine usually does at this point. Continue adding cold buttermilk by the tablespoon until the dough no longer looks dry. I usually end up using 3/4 cup of buttermilk total.
  Flour a surface and your fingertips. Don’t flour your palms–they radiate heat, while your fingertips stay cooler. Turn the dough onto the surface, and use your fingertips to pat it into a rectangle that is 1/2 to 3/4-inch thick. Fold it in half, and turn it one quarter turn. Pat it back into a 1/2 to 3/4-inch thick rectangle. Fold and turn it again. Repeat the folding and turning until you have done it four to six times–this is how we build layers!
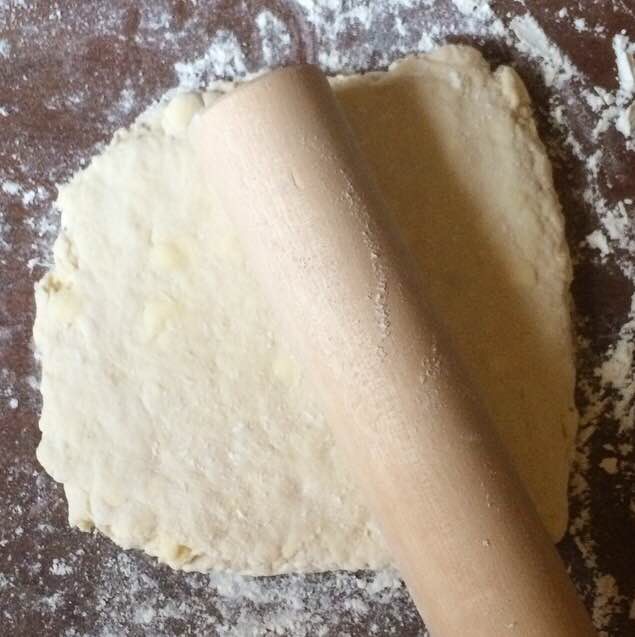 Now, flour a rolling pin. Use it to give the rectangle of dough three or four good thwacks (technical term). Flip the rectangle over, and thwack it again. Do this twice on each side. Why are we beating up our dough? We are knocking air into the layers. Have you ever heard of beaten biscuits? During the Depression, baking powder was rationed, but people still needed to make biscuits. Biscuit dough was “beaten” to encourage a good rise. Even though we have access to baking powder nowadays, beating the biscuit dough still helps to ensure that we have tall, flaky biscuits.
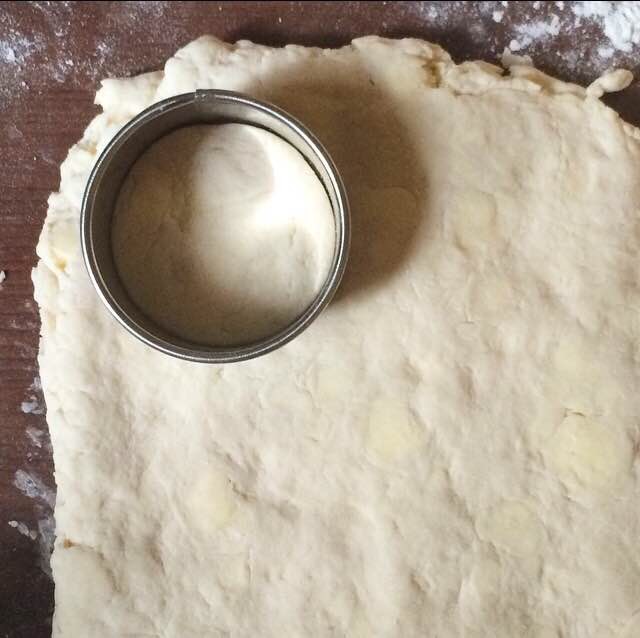
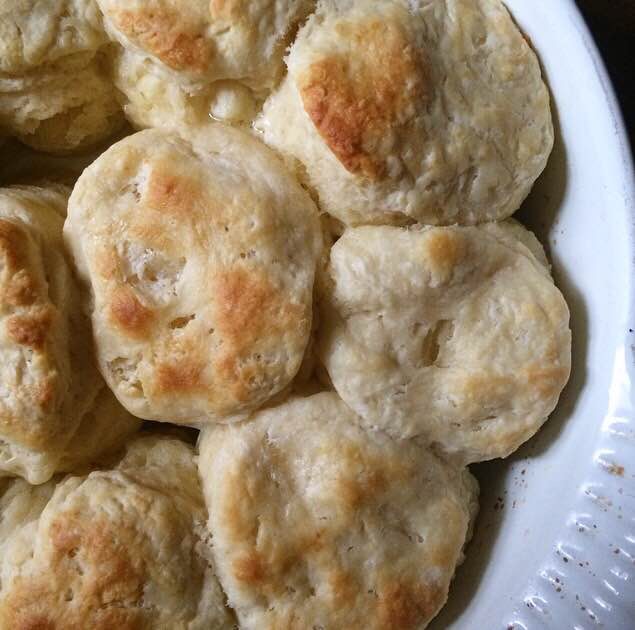
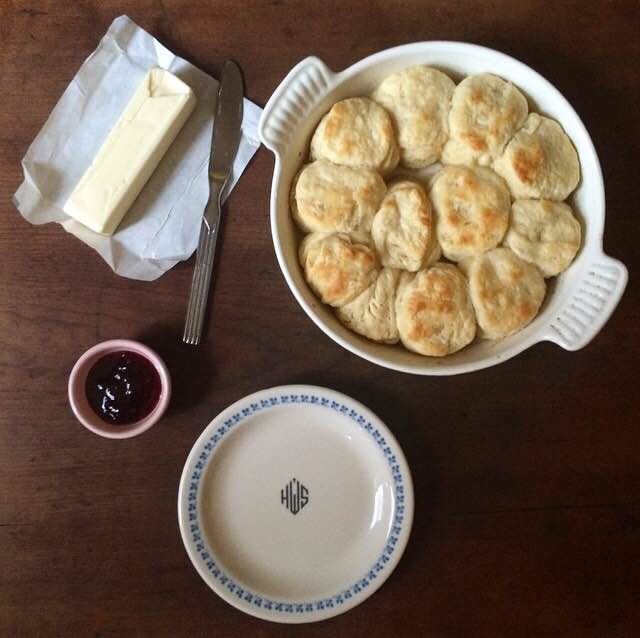
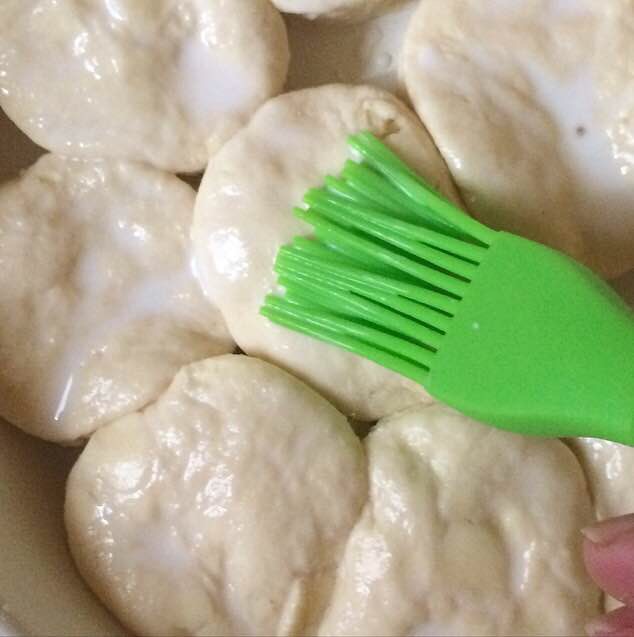 Use a 2 1/2-inch round biscuit cutter or sharp knife (not serrated) to cut the biscuits. Cut directly down. If you twist or saw, you’ll deflate all those layers that you just created. Place the biscuits close together in a buttered pie plate. Baking them all together encourages them to rise up, rather than out. Brush the tops with additional buttermilk, if you’d like. Bake the biscuits for 12-14 minutes at 400F, until they are golden brown and delicious-looking. Let them cool for five or ten minutes before serving with cold butter, jam, and/or honey.
 That recipe is a bit long, but it really takes no time at all. There are a lot of steps, but none of them are difficult or time consuming–they just help ensure beautiful, tall, flaky biscuits. If you start making them now, you’ll have biscuits on your table in about thirty minutes!
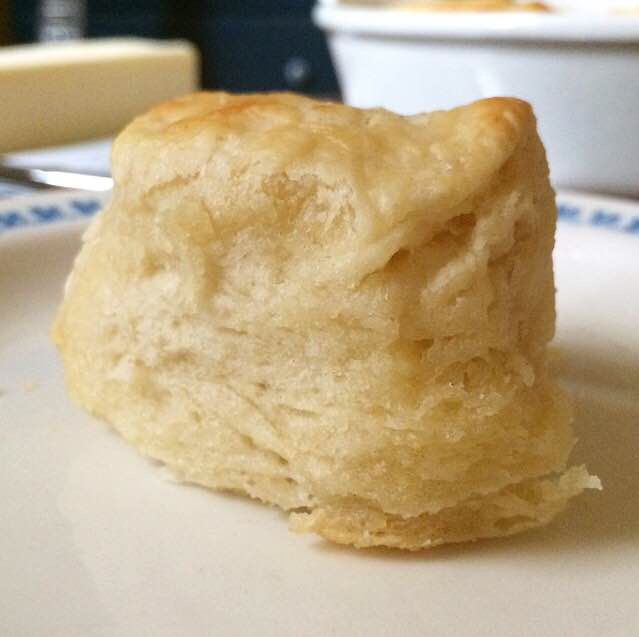
Buttermilk Biscuits are very near and dear to my heart, just like the woman who introduced me to them. These may not be Nonnie’s biscuits, but I hope she would have enjoyed them.
 Buttermilk Biscuits
makes 12-14 biscuits
2 cups all-purpose flour
1 tablespoon baking powder
1 tablespoon granulated sugar
1/2 teaspoon Kosher or sea salt
1/2 cup unsalted butter, very cold
2/3-3/4 cup buttermilk, very cold*
Preheat oven to 400F and grease a pie plate with butter.
In a large mixing bowl, whisk together flour, baking powder, sugar, and salt. Set aside.
Cut your stick of butter into two 4 Tbsp pieces. Cut one piece into four sticks, and cut the other into very thin pats. Place all pieces into the bowl with the flour mixture. Using a pastry blender,* cut cold butter into the flour mixture until it is roughly the size of peas.
Pour in 2/3 cup cold buttermilk. Stir with a rubber spatula or wooden spoon until a shaggy dough forms. If it seems dry, add more buttermilk by the tablespoon, up to 3/4 cup total.
Turn dough out onto a floured surface. Flour your fingertips and pat the dough into a 1/2 to 3/4-inch thick rectangle. Fold dough in half, and turn one quarter turn. Pat out until it is 1/2 to 3/4-inch thick again. Repeat folding/quarter-turning/patting out until you have done it four times total. Re-flour your surface as necessary.
Flour a rolling pin. Smack dough four or five times. Flip dough, and smack another four or five times. Flip and smack again until you have done this twice on each side.
Cut dough with a biscuit cutter or sharp knife (not serrated). Cut directly down. Place biscuits close together in your prepared pan. Pat biscuit dough scraps into a cohesive piece, and cut until you have used all your dough.
Brush biscuits with extra buttermilk. Bake biscuits for 12-14 minutes, until they have risen and are light golden brown. Let cool 5-10 minutes. Serve with butter and jam, honey, or gravy.
Buttermilk Biscuits will keep in an airtight container at room temperature for up to 48 hours.
Notes:
1. If you don’t have buttermilk, you may stir 1 teaspoon of lemon juice or vinegar into 3/4 cup of cow’s milk (not skim).
2. If you don’t have a pastry blender, use two forks.


Pingback: Restaurant-Style Salsa | E2 Bakes Brooklyn
Pingback: Almond Joy Cookies {Grain-Free} | E2 Bakes Brooklyn
Pingback: Coconut Oil Biscuits | E2 Bakes Brooklyn
Pingback: Mini Biscuit Cinnamon Rolls | E2 Bakes Brooklyn
Pingback: Friday Favorites | E2 Bakes Brooklyn