 I’m not sure exactly how I’ve allowed 3+ years to go by without giving you my recipe for Chocolate Cut-Out Cookies, but I’m happy to be rectifying that travesty today.
 I mean, how dare I deprive you of this dead-easy recipe for these deeply chocolaty, shockingly tender blank-slate cookies for 362 posts! How. Dare. I.
 You may think I’m being dramatic—they’re cookies, not rocket science—but these are really delicious. Like more chocolaty than any plain, no-frills cookie really ought to be.
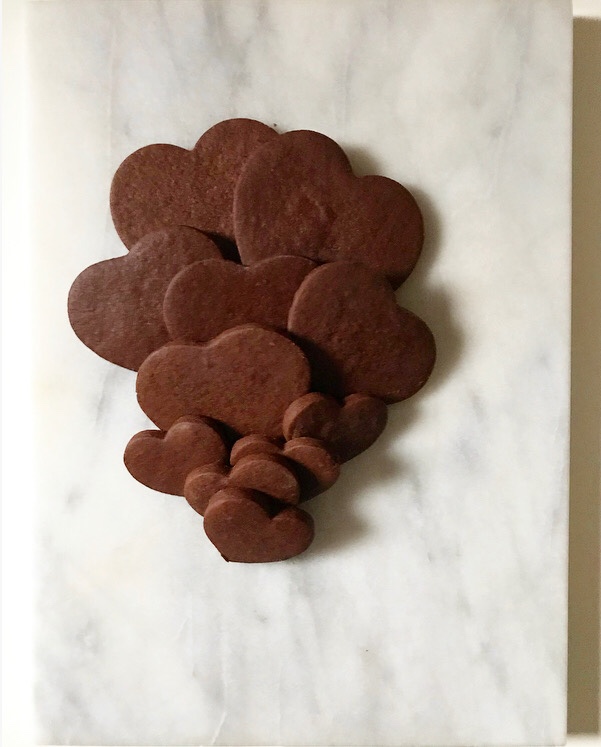
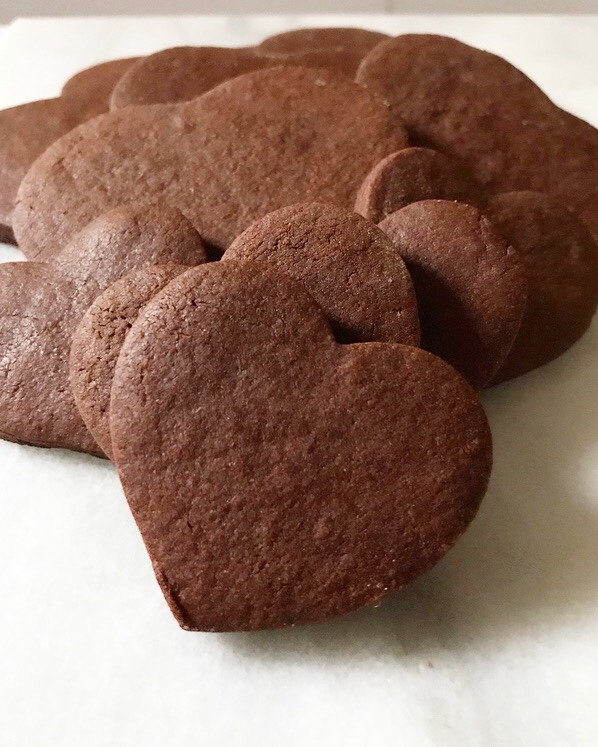 So rich and buttery and utterly decadent that you’d be more than happy to eat them by their lonesome…
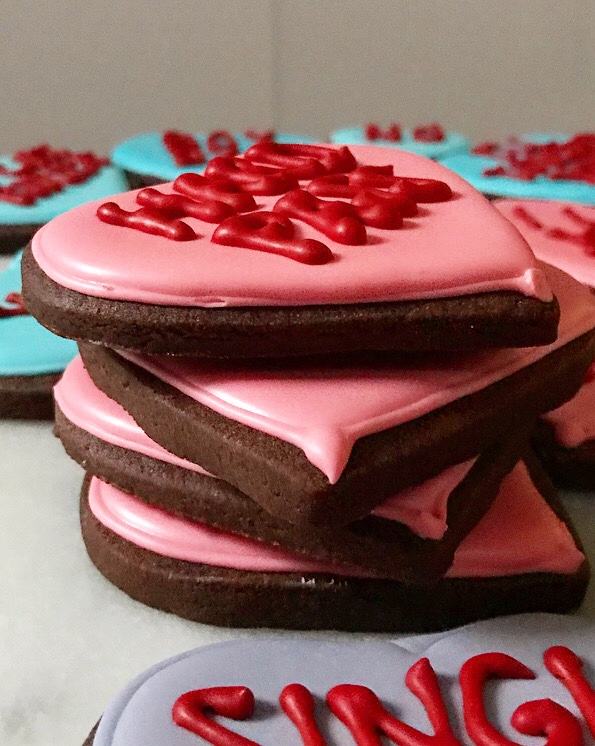 …but then you’d be missing out on the cheeriness that comes with a layer of my go-to Quick-Dry Royal Icing.
 Or perhaps you, like me, prefer your cookies and icing with a little light-hearted snark. I’m not one of those people that hates Valentine’s Day—far from it—but I do prefer a more tongue-in-cheek approach over the traditional syrupy-sweet message.
 Perhaps I’ve had my heart broken one too many times. Or maybe I just know exactly what I want: a man who will tolerate me for all my weirdness and vast amount of baking equipment.
 Yes. That and a pile of cookies.
Chocolate Cut-Out Cookies
makes about 2 dozen 3-inch cookies
2 1/2 cups all-purpose flour
3/4 cup unsweetened cocoa powder (I use Dutch process)
1 1/2 teaspoons baking powder
1/2 teaspoon Kosher or sea salt
1 cup (2 sticks) unsalted butter, softened to room temperature
1/2 cup granulated sugar
1/2 cup light brown sugar, packed
1 large egg, room temperature
2 teaspoons pure vanilla extract
Quick-Dry Royal Icing, for decorating (recipe below)
Special Equipment:
rolling pin
graduated cookie cutters
In a large mixing bowl, whisk together flour, cocoa powder, baking powder, and salt. Set aside.
In a separate large mixing bowl, use an electric mixer to beat butter until light and fluffy, about 2 minutes. Mix in granulated and light brown sugars, followed by the egg and vanilla extract. Add dry ingredients in 3 installments, combining completely after each. Dough may seem a bit crumbly, but will hold together well when pinched. Divide dough into quarters and wrap each in plastic wrap. Chill for at least 3 hours, or up to 3 days.
Preheat oven to 350F. Line two baking sheets with parchment. Set aside.
Lightly flour a surface and a rolling pin. Take one quarter of chilled dough at a time, roll it to 1/4-inch thickness, and cut with cookie cutters. Place cut cookies at least 1 inch apart on prepared baking sheets. Bake cookies 10-12 minutes, until soft but no longer raw-looking. Let cookies cool on the pans for 10 minutes before carefully removing to a rack to cool completely. Repeat rolling, cutting, and baking with any remaining dough.
Decorate cookies with Quick-Dry Royal Icing and allow to dry.
Cookies will keep in an airtight container at room temperature for at least a week.
Quick-Dry Royal Icing
recipe barely adapted from SugarDeaux
3 tablespoons meringue powder
5 ounces warm water
3/4 teaspoon cream of tartar
2 teaspoons pure vanilla extract
1/4 teaspoon pure almond extract (optional)
2 pounds confectioner’s sugar, divided
1 tablespoon corn syrup
water
Special Equipment:
small bowls
gel food coloring
piping bags (or plastic sandwich bags)
small round piping tips and couplers
squeeze bottles
toothpicks
sprinkles
In a large mixing bowl, combine meringue powder and warm water. Beat with an electric mixer on medium-high speed until doubled in size, about 1 minute. Mix in cream of tartar, vanilla, and almond extract. With the mixer running on low, add 1 pound of confectioner’s sugar. Mix in corn syrup. Add the remaining pound of confectioner’s sugar. Scrape down the bowl before beating on medium-low for an additional 30 seconds.
Divide icing among small bowls. Press plastic wrap to the surface of all exposed icing.
Make outline icing. Working with one bowl of icing at a time, add water 1/2 teaspoon at a time until icing dribbled into the bowl forms a ribbon that fades within a few seconds. Stir in gel food coloring until the desired color is reached. Place 1/4 cup of icing into a piping bag with a tip. Alternatively, load icing into a plastic sandwich bag and snip a very tiny corner. Outline all cookies. Set aside to dry while you prepare fill icing.
Add water by the 1/2 teaspoon until the ribbon of icing fades into the bowls within 2 seconds. Load icing into squeeze bottles. Working with one cookie at a time, fill icing into outlined sections. Use toothpicks to coax fill icing evenly to the outlines.
Decorate with more icing or sprinkles, as desired. Let cookies dry uncovered at room temperature for 4-6 hours. For 3D decorations, use outline icing to decorate dried cookies and allow to sit uncovered for another 3-4 hours.
Iced cookies will keep in an airtight container at room temperature for several days.

 I know I’ve been keeping it
 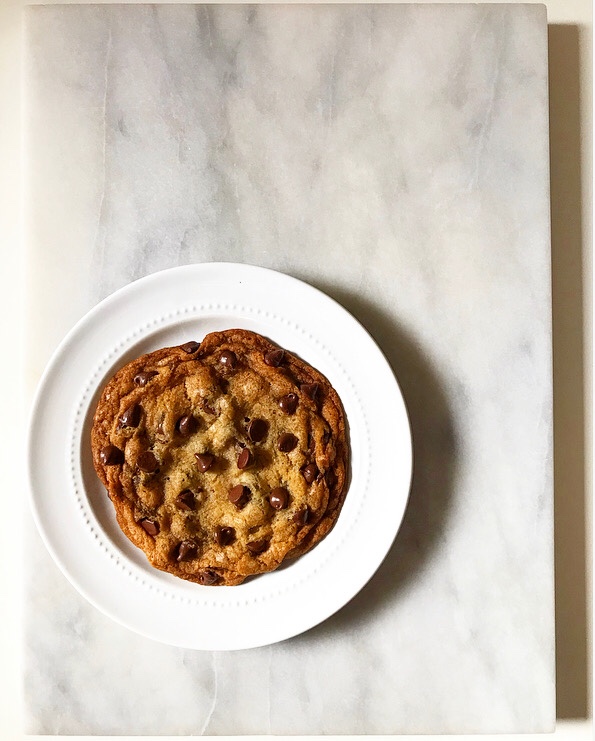 My partying days are well behind me now. I don’t drink or smoke anymore. I quit Diet Coke completely and have cut my seltzer intake to a maximum of two a day. My coffee…well, that’s neither here nor there.
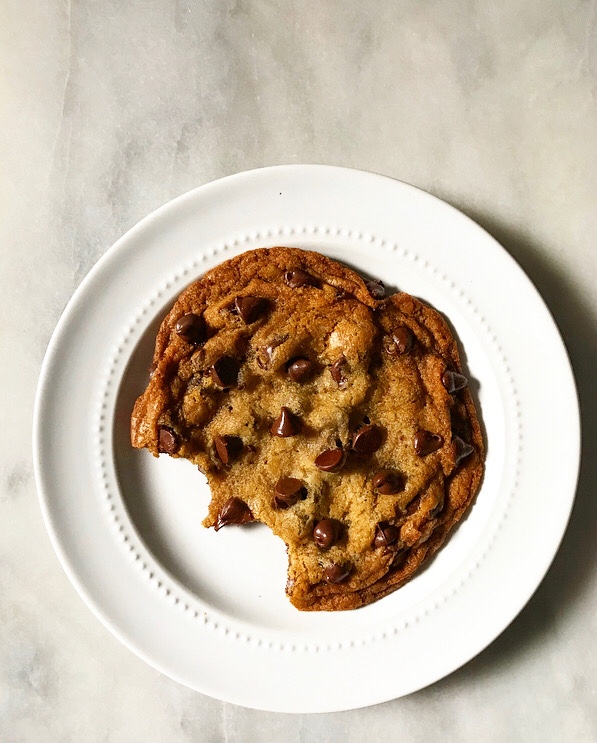
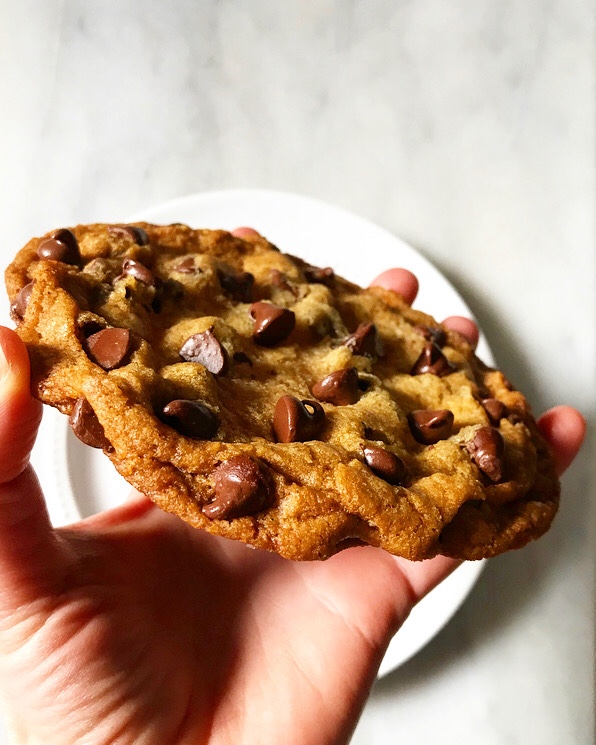 The point is that my list of vices is pretty short these days, but making myself One Big Chocolate Chip Cookie on the occasional late night is one that I have no intention of parting with. Sometimes you just need a cookie the size of your face. Sometimes it’s the answer to all your problems.
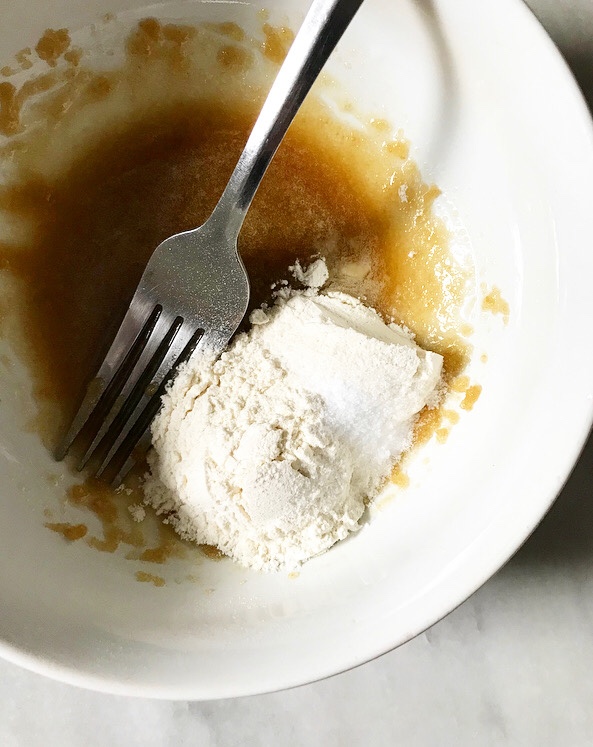
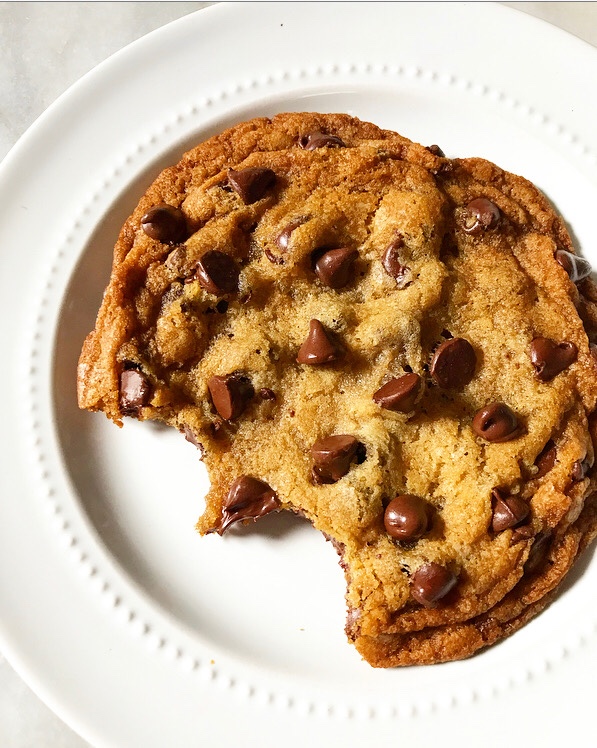 But this is a baking blog so…back to this big, no-sharing-required dessert for one (or two, if you’re feeling benevolent). It requires miniscule amounts of 8 ingredients that you likely already have, and only about 25 minutes start-to-finish.
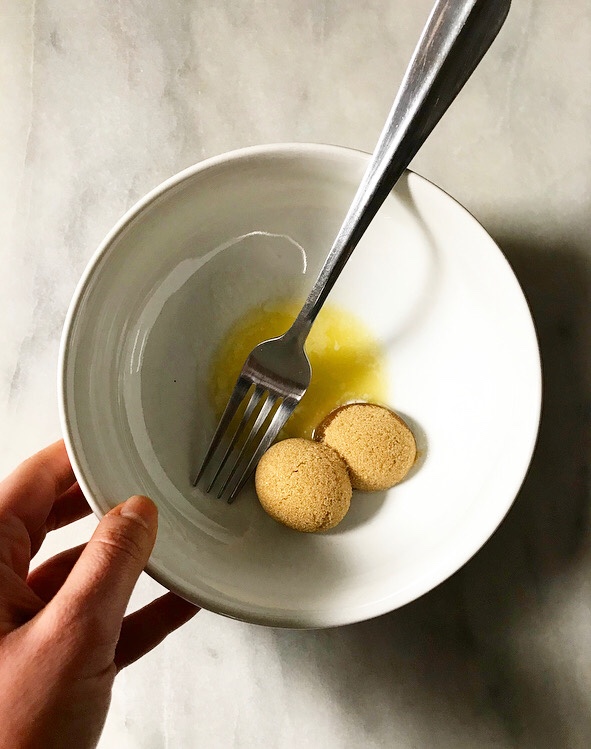
 This recipe differs drastically from that of my usual
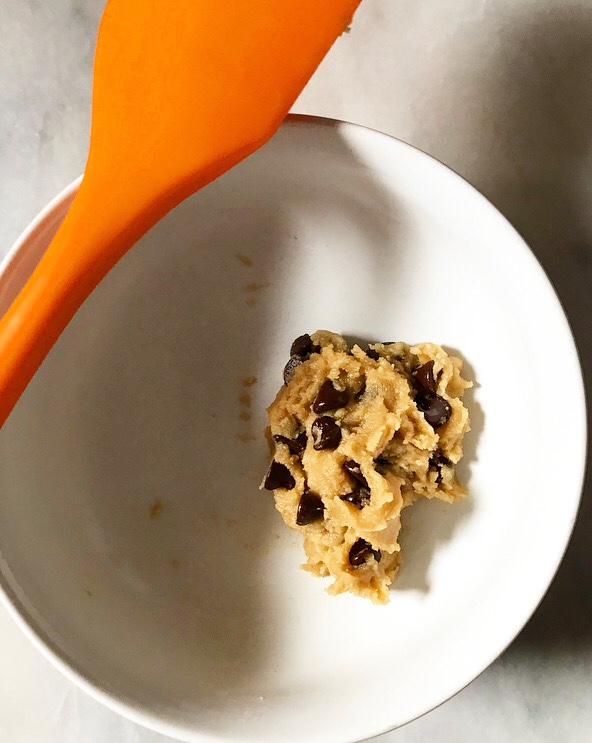
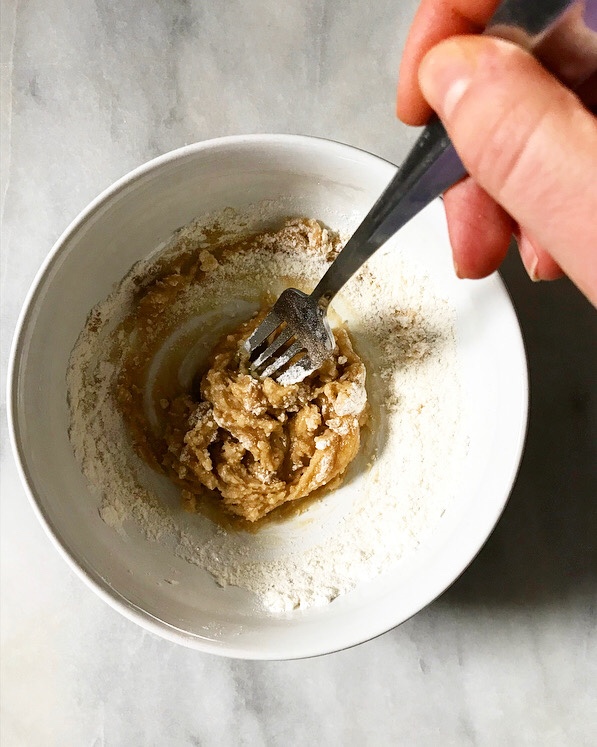
 The other differences from my regular recipe are less…scientific. I use melted butter here because creaming one tablespoon of butter is ridiculous and unnecessary. Oh, and there’s no need to chill your dough. This recipe is meant to be made on the fly and enjoyed while the chocolate is still melty.
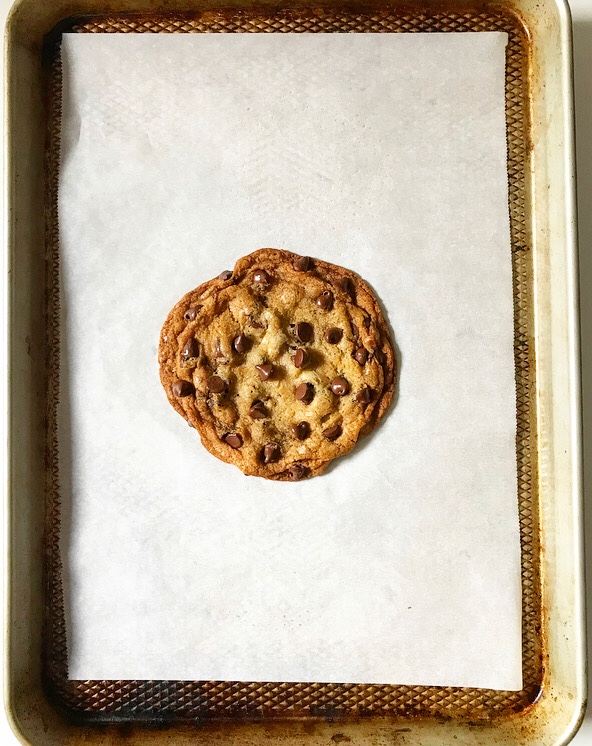 Melted chocolate + soft centers + chewy caramelized edges = ❤ ❤ ❤
 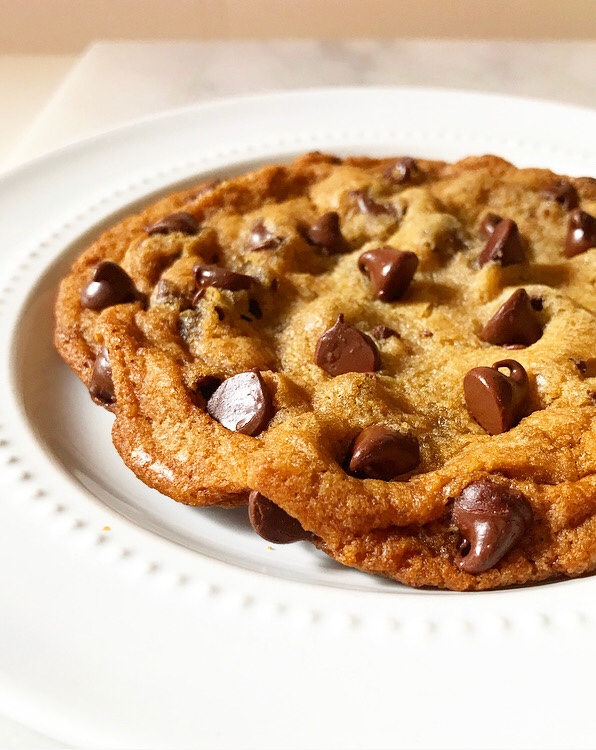 A quick word about leaveners before I get to the recipe. I tested this recipe seven times (!) with both baking soda and baking powder. Baking soda, which I use in my large-batch recipe because it produces browner cookies with more surface area, won out, but just barely.
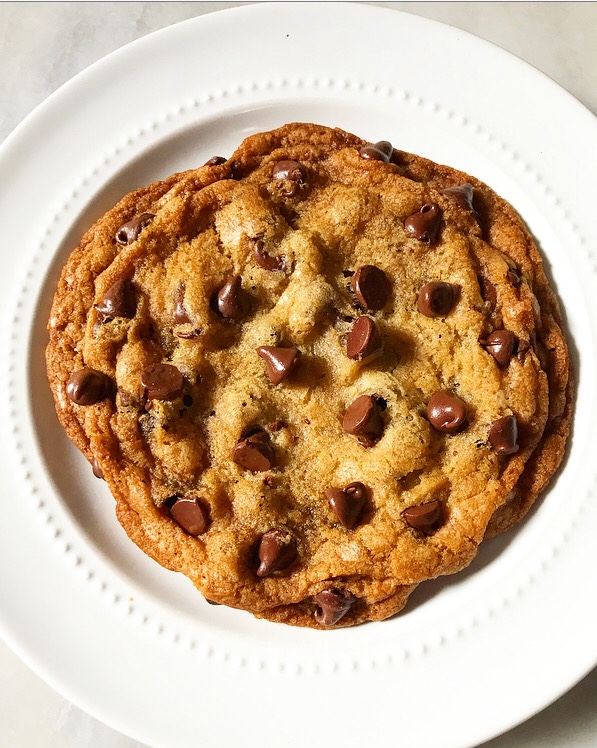 Thank me later.
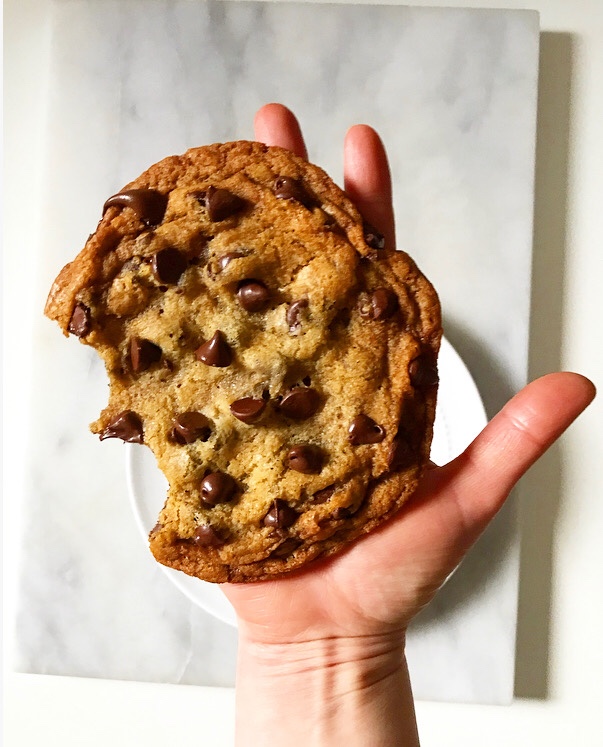


 We’re getting down to the wire, folks! Christmas is less than a week away. The time for complicated baking has come and gone…
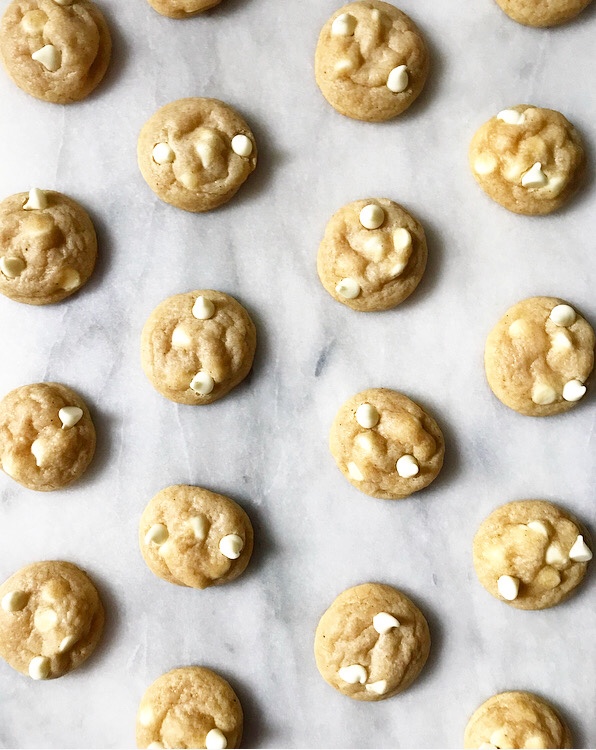 …so let’s make something uncomplicated, okay? Okay.
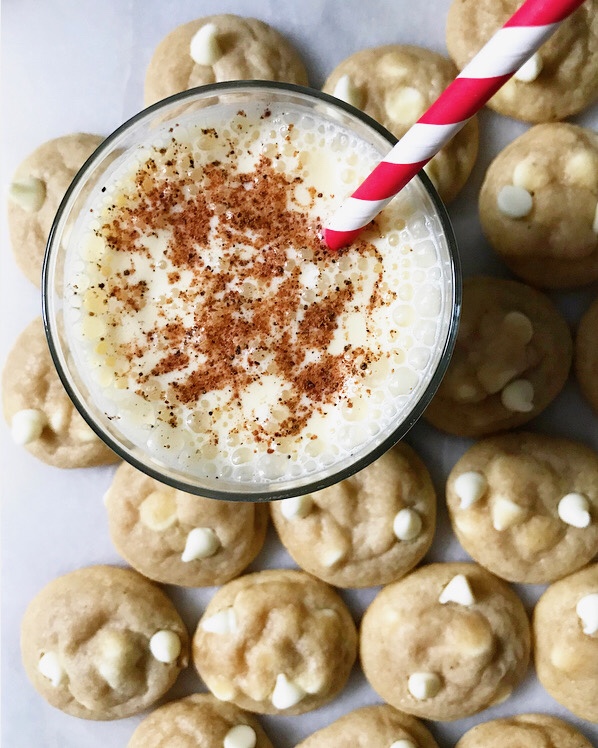
 These Soft & Chewy Eggnog Cookies are a simple drop cookie with big holiday flavor.
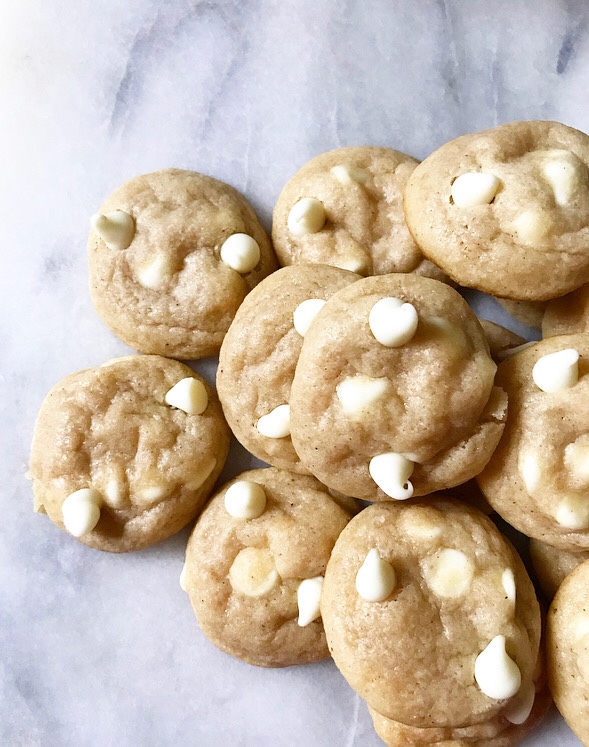 Creamy eggnog + a little spice + white chocolate chips = one festive cookie!
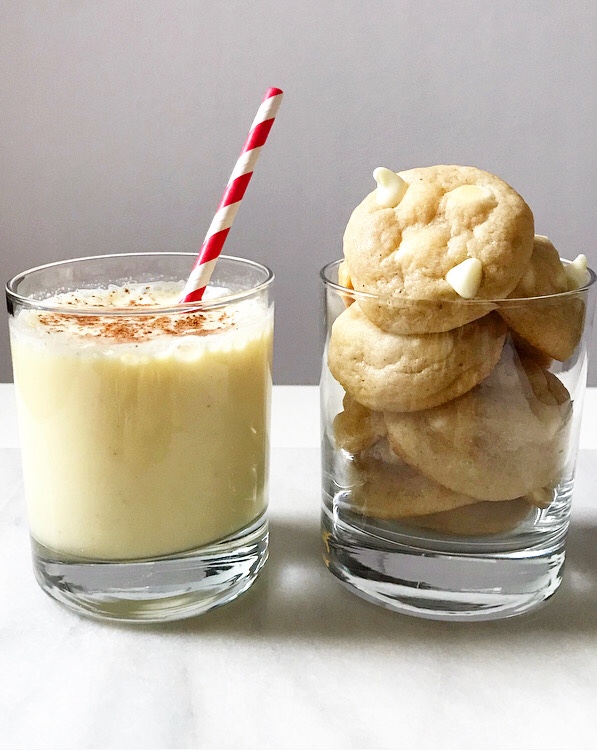 These guys don’t require any skills you don’t already have—if you have ever made
 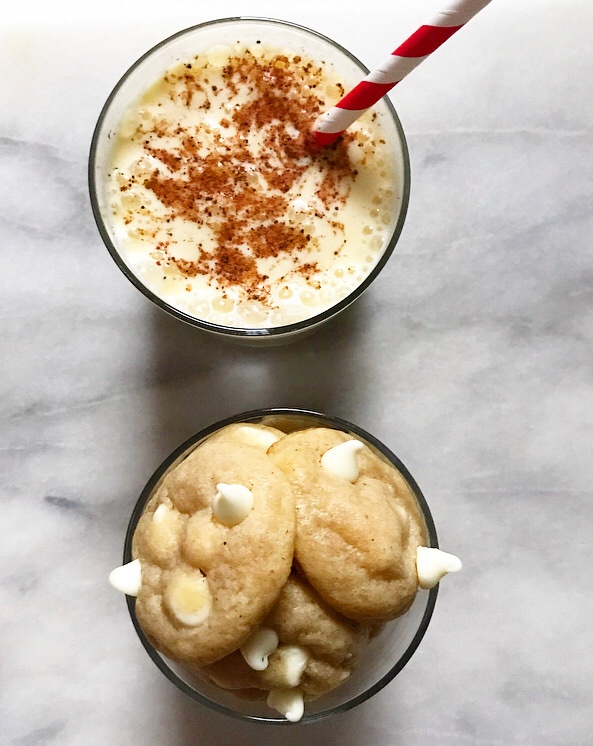 This recipe requires 1/4 cup of eggnog. Normally I’d advise against adding a liquid ingredient to a cookie recipe (liquid + cookie dough = cakey cookies), but by swapping the usual egg whites for an equal volume of ‘nog, you get all the flavor without sacrificing soft & chewy texture.
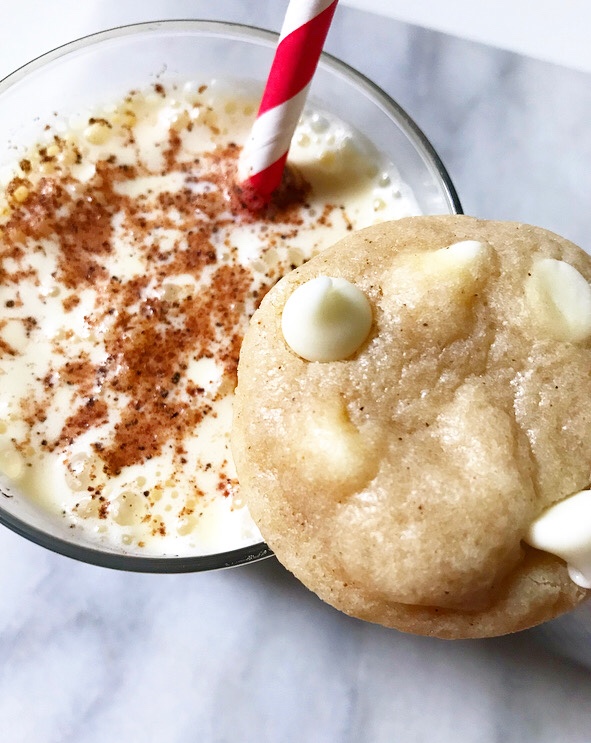 I decided to make these cookies on the smaller side, using just one tablespoon of dough per cookie. I tested them in a larger size (2 tablespoons) and while I liked the texture, flavor, and basically everything else, I wished they were smaller. I am the kind of Christmas cookie snacker who wants to be able to try lots of different things—smaller cookies mean I have more room for other holiday food. You know, like
 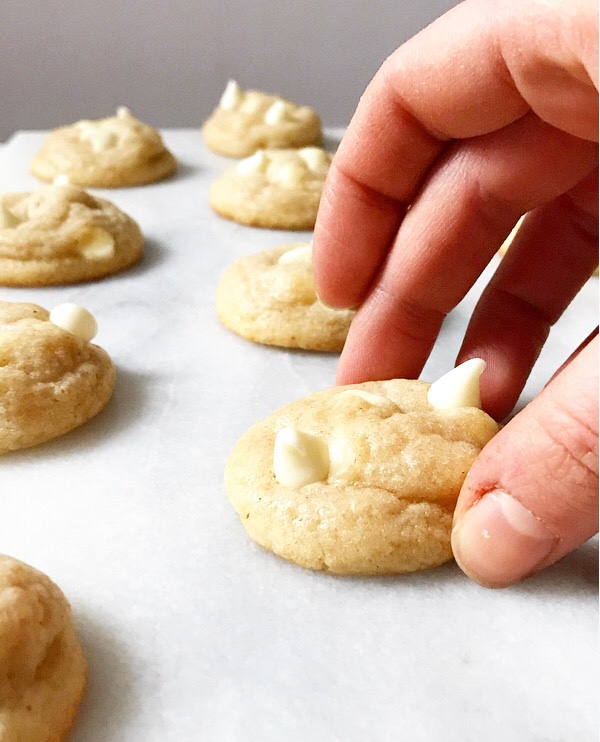 I clearly have my priorities in order.
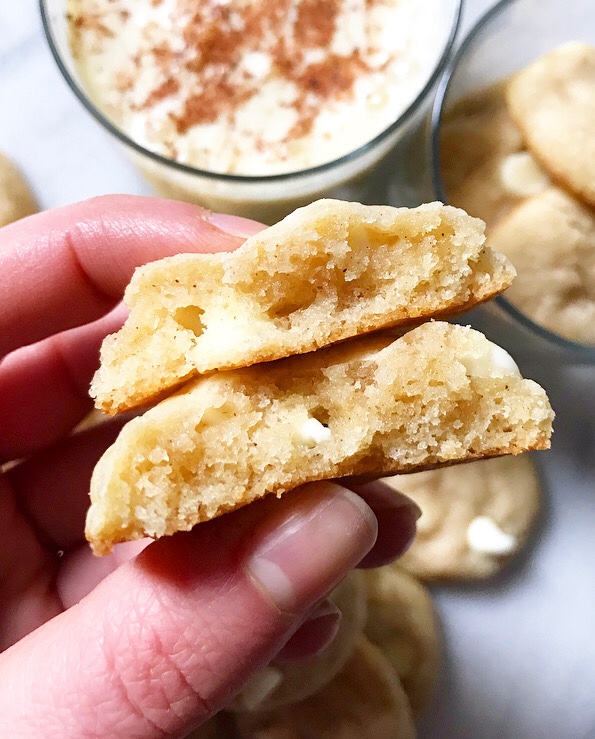


 If you want to know what kind of person I am outside of this blog, you should know that I once spent six months of my life obsessively making jam (and preserves) in a kitchen that is smaller that my current closet. Strawberry, cherry, grapefruit marmalade, gingered nectarine—you name it. I had all the preserving equipment you can imagine and an entire kitchen shelf filled with jars of colorful fruit-based spreads.
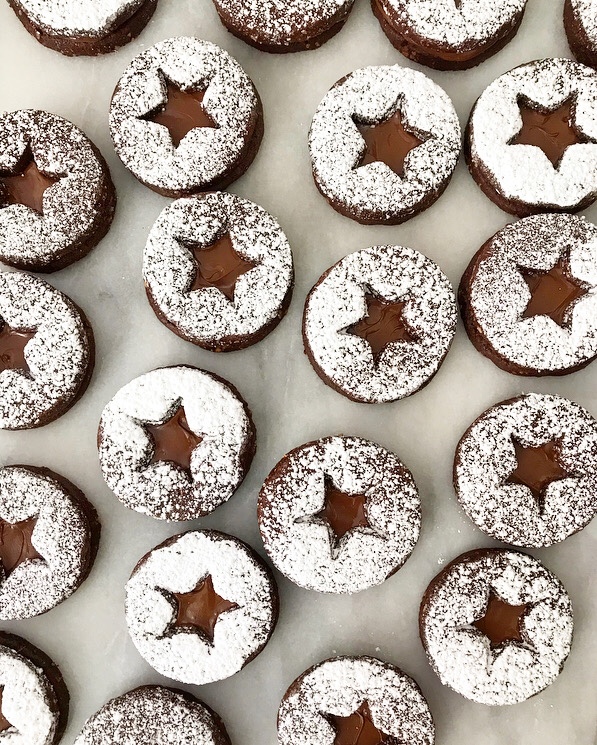 So, to wrap that up: I am prone to intense kitchen projects (hello, three year-old food blog with
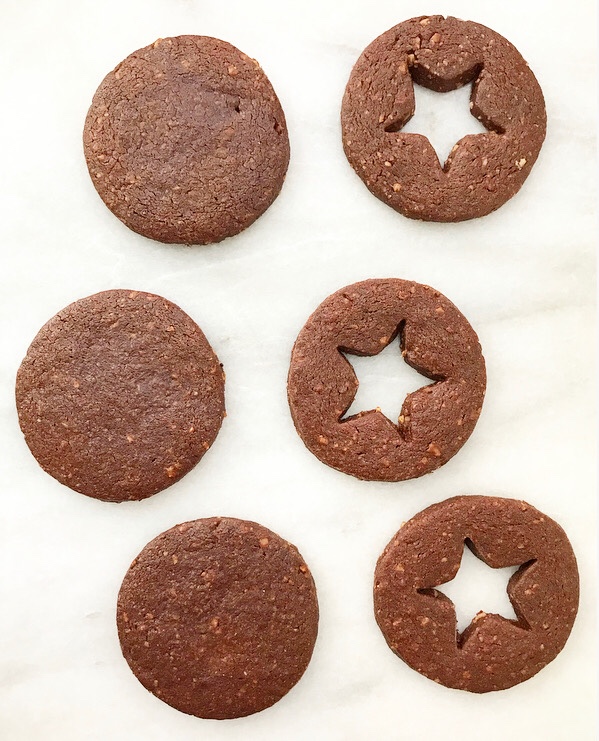
 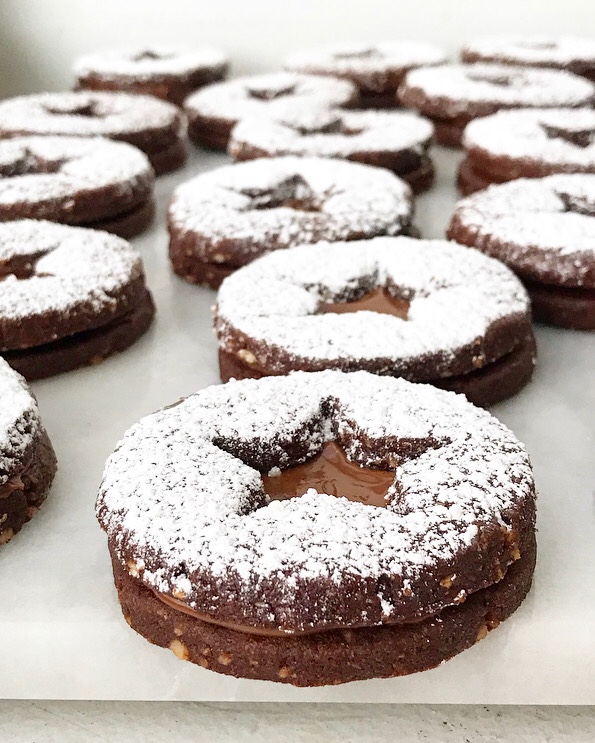 I mean, I am all about crunchy, nutty roll-out cookies, but why must they always be sandwiched with jam? Jam is not a dessert food, at least as far as I am concerned. A
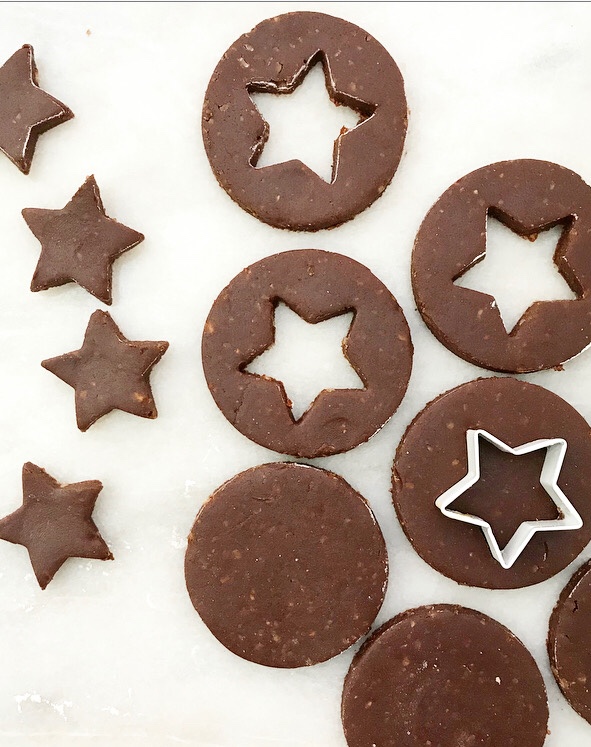
 You know what absolutely *is* a dessert food? Nutella.
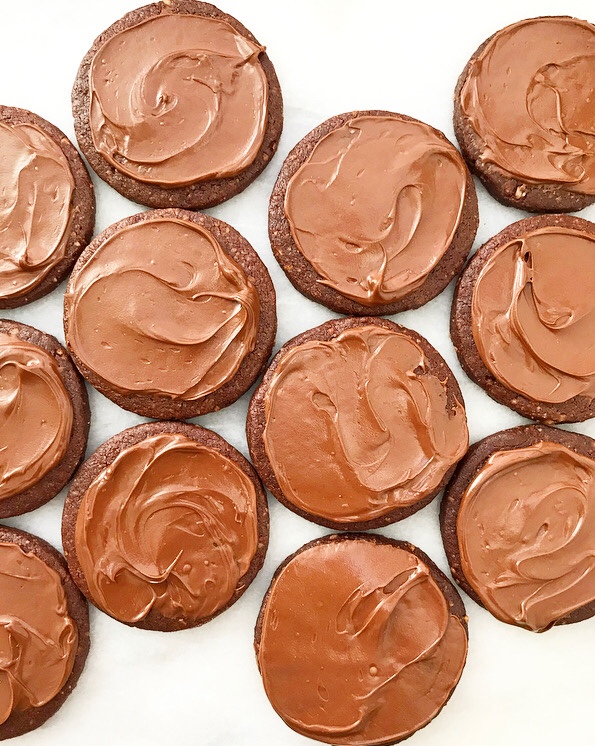 Chocolate hazelnut spread = dessert food.
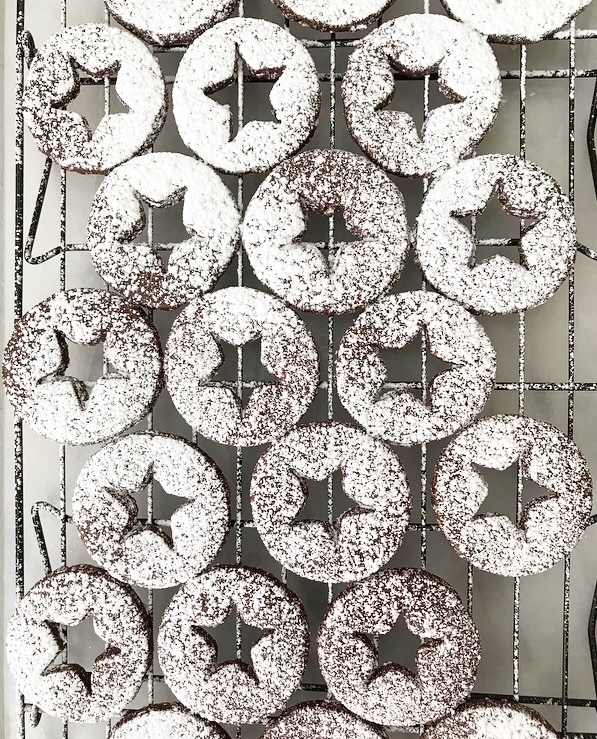 Chocolate hazelnut cookies = dessert food.
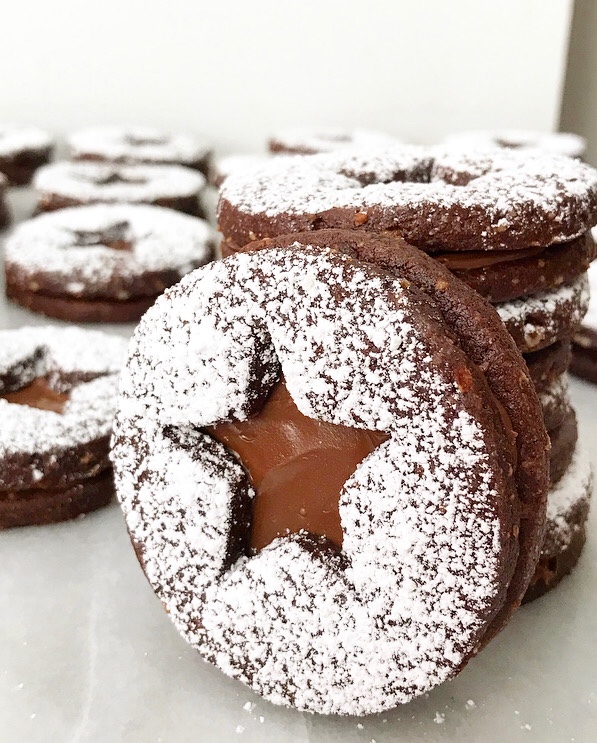
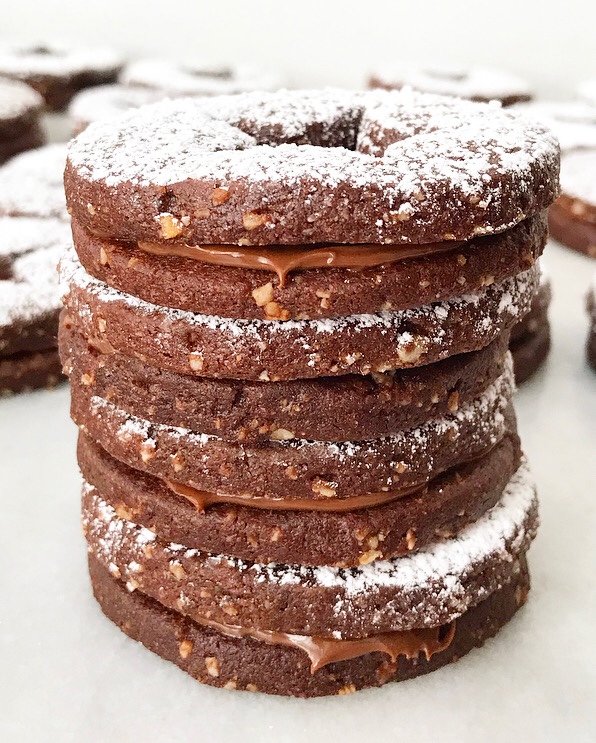 A layer of Nutella chocolate hazelnut spread sandwiched between two crunchy chocolate hazelnut cookies = the dessertiest dessert food.
 So, in conclusion, when it comes to Chocolate Hazelnut Linzer Cookies, no jam, no problem.
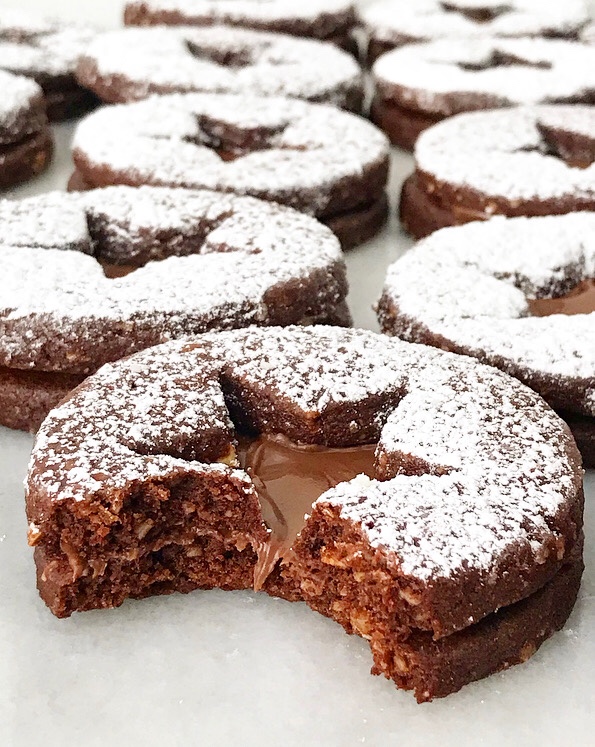


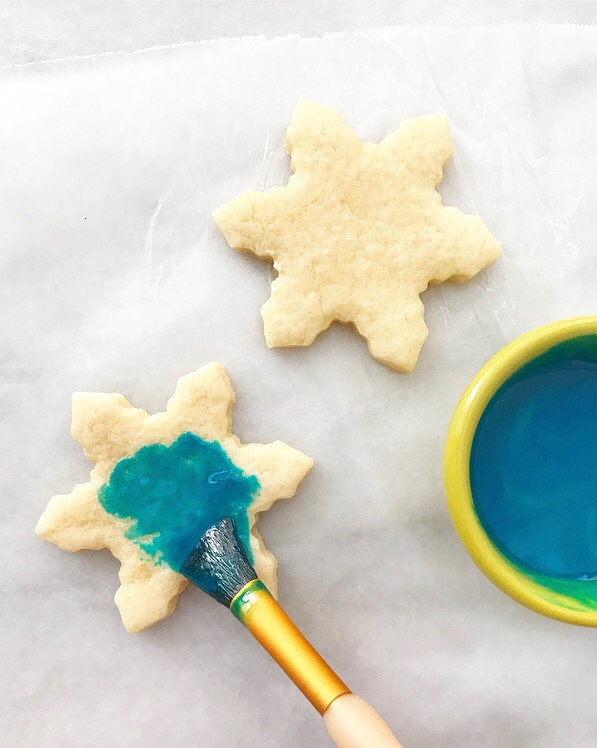
 How freaking cute are these Hand-Painted Sugar Cookies?!
 They’re a favorite from my
  It all goes back to a sweet request from a seven year-old (who is now eleven, which is enough to make me want to cry). He and I had gotten into the rather enjoyable habit of baking together on Friday afternoons. I usually chose what we made, but then he asked if we could decorate cookies one day and…well, it sounded a little fun and a little insane and I like to think I’m a little of both of those things.
 I knew I was not going to give this kid a bag of royal icing—he had difficulty with basic motor skills, so giving him a bag of sugar-based concrete simply was not an option. Also, he had a two year-old little sister (who is now six…*sobs*) who was prone to very enthusiastic Taylor Swift dance parties and getting stuff everywhere (because she was, in fact, two). But I wanted to fulfill his request, so I spent that night baking a batch of plain sugar cookies and took five minutes the following day to whisk together a few different colors of sweetened condensed milk paint. I lined the breakfast table with wax paper, tied aprons around both kids and, with some real hesitation, gave them paintbrushes.
 While I was aware that this little culinary arts & crafts project could have gone very messy, it actually ended up being one of the happiest afternoons of my nannying career. Since both kids had handled a paintbrush before, they had the motor skills to paint the cookies the way they wanted. Once they were done with their masterpieces, I baked them a few minutes to set. Once the painted cookies were cool and no longer sticky, I piped on some icing with their direction.
 By far, the best part was that the kids were super excited and proud to show their work to their parents, and their parents and I were happy that they had spent an entire afternoon without asking for a screen, or worse, saying they were bored. #childcarewin
  After that, we had a cookie-painting party for every holiday, birthday, and sleepover. There was always a little mess, of course, but there’s also mess when I, a real-live adult, paint cookies too. In this case, it can be wiped away easily, instead of chiseled off counters and floors while saying every curse word I know (and I know a lot of them).
 Now, it has been a few years since I last nannied, and I don’t have kids or nieces and nephews, but I still love to decorate cookies this way. Painting with sweetened condensed milk paint is a very meditative process, and I can very happily while away a few hours with a few colors of paint and a pack of brushes. I’ve even considered having friends over for an afternoon of cookie painting instead of a more traditional swap. Doesn’t that sound fun?!
 I highly recommend using a fresh (or at least, food-dedicated) set of paintbrushes for painting cookies. Don’t use the cheapest you find—those tend to lose bristles in the painting process. The second-cheapest are totally okay though. The set I used here goes for $5 at Michaels.
 You could absolutely detail your Hand-Painted Sugar Cookies with royal icing, but I think a very thick batch of simple icing works just as well and is twice as easy to make. Whatever you choose to use, know that it will take several hours to fully dry.
 But like, you can definitely eat cookies with slightly damp icing. It’s the holidays. Live your best life.


