Category Archives: Chocolate

Peanut Butter Cupcakes

Where have I been? Making crumb cake, that’s where.

“But Liz,” you say, “this post isn’t a recipe for crumb cake. This is an update of your Peanut Butter Cupcakes.”

Peanut Butter Cupcakes

Yeah, yeah, I know. I decided I had to take a little break after 15+ crumb cakes over the course of the last three weeks, so I switched to another recipe lest I go insane, never to blog again. The full crumb cake deets are on their way the second I figure out why it tastes great but is sinking in the center.

(Help.)

Peanut Butter Cupcakes

For now though, let’s talk about Peanut Butter Cupcakes. I posted a recipe for them in the first few months of blogging, blanketed with Oreo frosting, and I was so, so proud. I think I ate like four in a day when I finally got those right. But then I made them again a year or two ago for some dude’s birthday and they were…dry. And I can’t be going around peddling recipes for dry cupcakes. It’s bad for my brand.

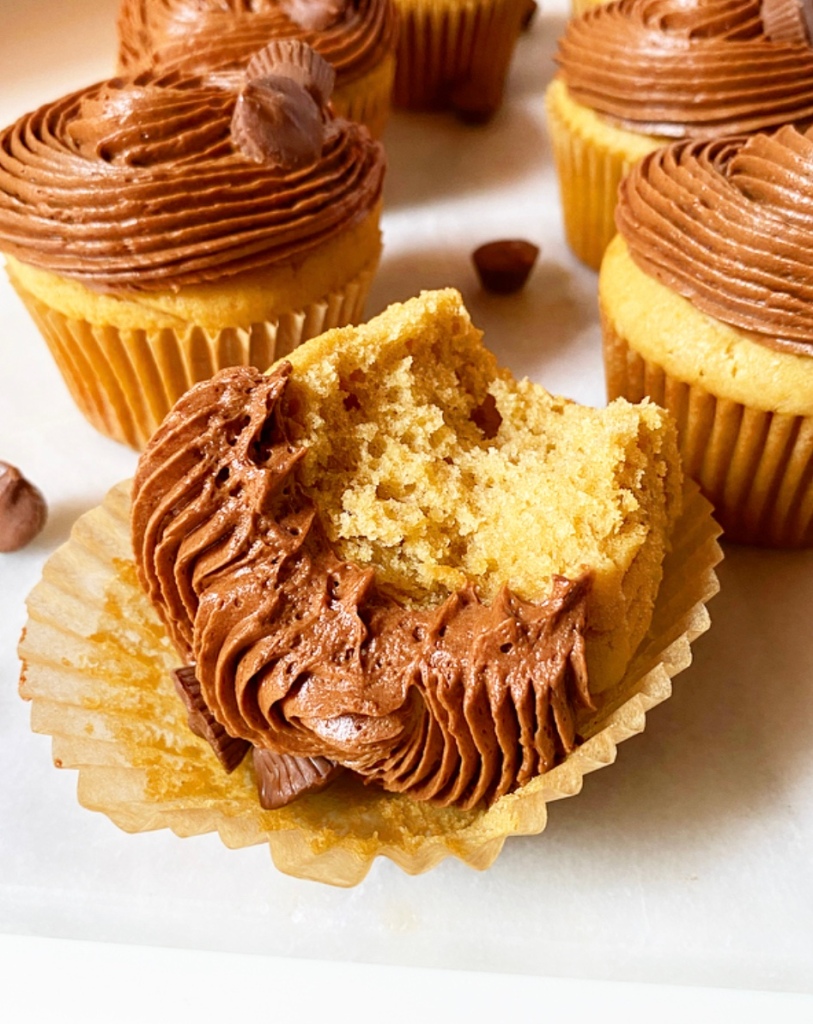
So, for my tenth sobriety anniversary, I went back to the drawing board with seven more years baking experience and a mission to fix these peanut butter beauties. I upped the butter, swapped buttermilk for an extra moist mix of sour cream and whole milk, adjusted the bake time, and well, the results speak for themselves. Especially with a little chocolate buttercream and a mini peanut butter cup garnish.
Peanut Butter Cupcakes
makes about 14-16 cupcakes

Cupcakes:
1 1/4 cups all-purpose flour
1/4 cup cornstarch
1/2 teaspoon baking powder
1/4 teaspoon baking soda
1/2 teaspoon Kosher or sea salt
1/2 cup whole milk
1/2 cup full-fat sour cream
6 tablespoons (3/4 stick) unsalted butter, softened to room temperature
2/3 cup creamy-style peanut butter*
1 cup dark brown sugar, packed
2 large eggs, room temperature
2 teaspoons pure vanilla extract

Chocolate Buttercream & Garnish:
1 cup (2 sticks) unsalted butter, softened to room temperature
2 1/2 cups confectioners sugar
3/4 cup natural unsweetened cocoa powder
pinch of Kosher or sea salt
2 teaspoons pure vanilla extract
6 tablespoons heavy cream
mini peanut butter cups, for garnish

Preheat oven to 350F. Line 14-16 cups in muffin/cupcake pans with liners. Set aside.

Make the cupcakes. In a medium mixing bowl, whisk together flour, cornstarch, baking powder, baking soda, and salt. Set aside.

In a liquid measuring cup or small bowl, whisk together whole milk and sour cream.

In a large mixing bowl, use an electric mixer to beat butter and peanut butter until combined and fluffy. Mix in dark brown sugar. Beat in eggs one at a time, followed by vanilla. Add half the dry ingredients followed by half the milk/sour cream. Add the remaining dry ingredients followed by the remaining milk/sour cream.

Fill prepared muffin cups 2/3 full of the batter. Gently tap pan on the counter five times to release any large air bubbles. Bake cupcakes 22-24 minutes, until a toothpick inserted in a couple of cupcakes comes out clean. The tops will look crackly—this is normal.Let cupcakes cool in the pan for five minutes before removing to a rack to cool completely.

Make the buttercream. In a large mixing bowl, use an electric mixer to beat butter until light and fluffy (about two minutes). Beat in confectioner's sugar, followed by cocoa powder and salt, scraping down the bowl as necessary. Add in vanilla and heavy cream. Beat on high for 1-2 minutes, until very fluffy.

Load into a piping bag fitted with a tip (I used a star tip here) or use an offset icing spatula to frost cupcakes. Garnish with mini peanut butter cups as desired. Serve.

Leftover cupcakes will keep covered at room temperature for a few days or in the refrigerator for up to a week.
Chocolate Chip Cake

Chocolate Chip Cake

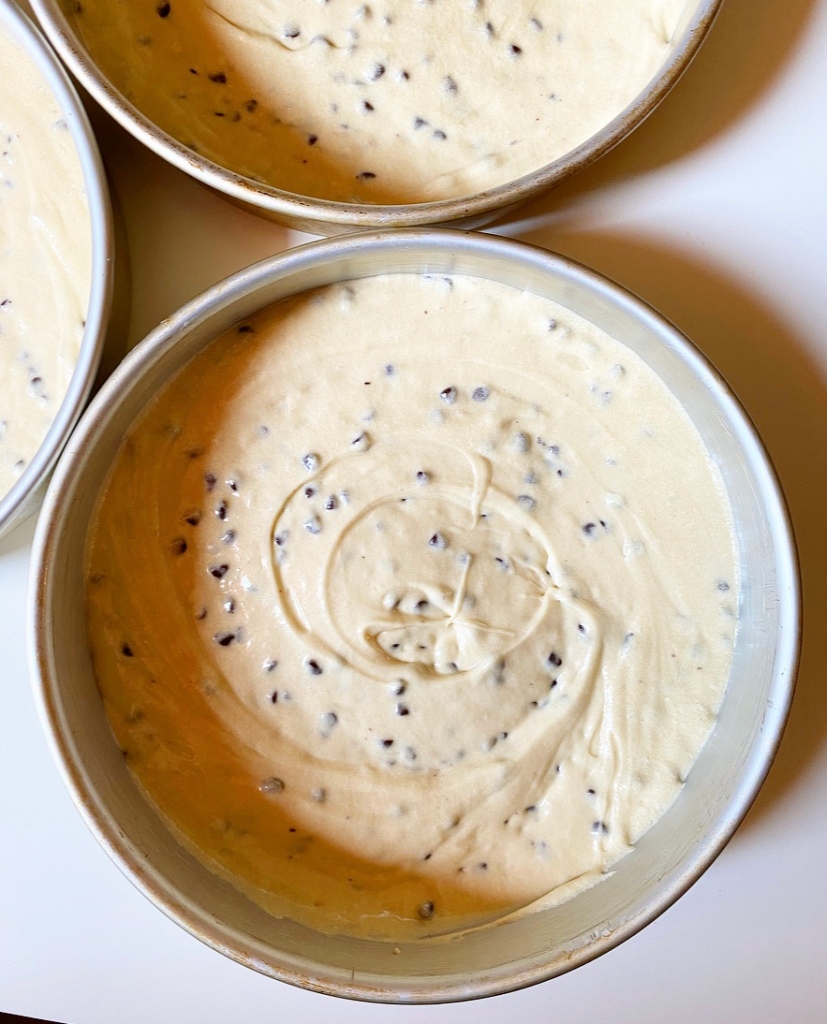
This is just to say that if you have an inkling that you should throw a ton of mini chocolate chips into your yellow cake batter…well, you should follow that urge.

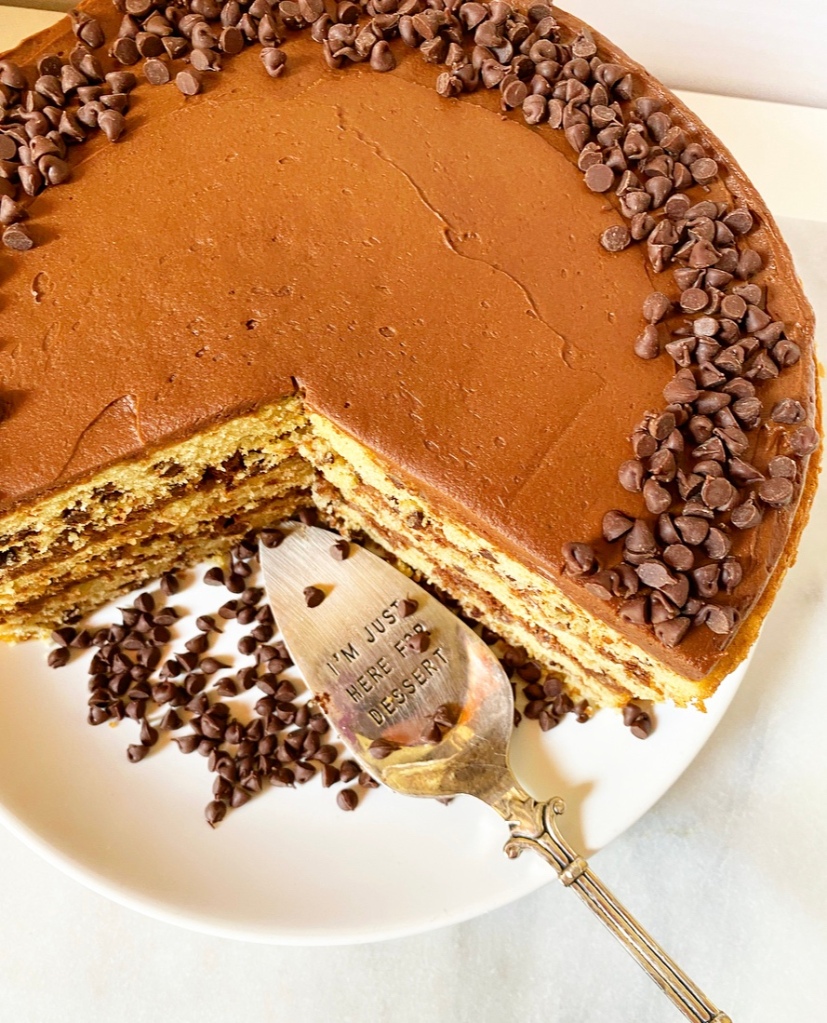
And if, once baked, you’d like to paint the cake layers with simple syrup and sandwich them with a trusty chocolate buttercream and some more mini chocolate chips (for texture & fun, duh), you should absolutely do that, too.

Chocolate Chip Cake

And if you feel like you want to frost the whole thing per usual layer cake practice, go right ahead. But if you want to leave it a little naked and rustic, you should—you guessed it—follow that instinct.

Chocolate Chip Cake

And if, at the end of this process, you’ve found that you’ve made a triple-decker Chocolate Chip Cake for no real reason, well, you’re not alone. I did, too.

Chocolate Chip Cake
Chocolate Chip Cake
makes one 3 layer 9-inch round cake

Cake:
2 1/2 cups all-purpose flour
1/4 cup cornstarch
1 1/2 cups granulated sugar
1/3 cup light brown sugar, packed
2 teaspoon baking powder
1/2 teaspoon baking soda
1/2 teaspoon Kosher or sea salt
1 cup mini chocolate chips
1 cup (2 sticks) unsalted butter, softened to room temperature, cut into pieces
3 large eggs + 2 large egg yolks, room temperature
1 tablespoon pure vanilla extract
1 cup whole milk
1/3 cup full-fat sour cream

Simple Syrup:
1/4 cup water
1/4 cup granulated sugar

Chocolate Frosting:
3 ounces dark chocolate
1 cup (2 sticks) unsalted butter, softened to room temperature
1 1/2 cups confectioner’s sugar
1/2 cup natural unsweetened cocoa powder
1/4-1/2 teaspoon Kosher or sea salt
1 1/2 teaspoons pure vanilla extract
2 tablespoons heavy cream

For Assembly & Garnish:
1/2-2/3 cup mini chocolate chips (or more, if desired), divided

Place an oven rack in the center position. Preheat oven to 350F.

Grease three 9-inch round cake pans. Line with parchment and grease again. Set aside.

Make the cake batter. Combine flour, cornstarch, granulated sugar, light brown sugar, baking powder, baking soda, and salt in a large mixing bowl. Whisk ingredients together (I like to do this by running my mixer on its lowest speed for about a minute). Add mini chocolate chips and mix to distribute.

Add butter to dry ingredients. Gradually turn the mixer from low up to medium, to mix in the butter until there are no large pieces and the texture is rubbly. This will take a few minutes.

With the mixer running, add eggs and yolks one at a time, followed by vanilla. Mix until combined.

In a measuring cup or small mixing bowl, use a fork to whisk together milk and sour cream. Running the mixer on medium, add the milk mixture in two installments and mix until combined. Scrape down the bowl well to ensure even mixing.

Divide batter evenly among prepared pans. Tap each full pan on the counter five times to release any large air bubbles. Bake layers on the center rack for 25-27 minutes, or until a toothpick inserted in the centers comes out clean. Let let layers cool in their pans for 15 minutes. Run a thin knife around the edges of the layer before turning out onto a rack to cool completely.

Make the simple syrup. Combine water and sugar in a small saucepan. Heat over medium heat, stirring occasionally, until sugar has dissolved (about 4-5 minutes). Remove from heat. Set aside.

Make the Chocolate Frosting. For a thicker coat or for piping, make 1.5x the recipe as written. Place chopped dark chocolate in a small microwave-safe bowl. Microwave in 15 second increments, stirring just until melted. Cool to room temperature (this can be done quickly by putting it into the fridge for 5-8 minutes, then whisking quickly with a fork).

In a large mixing bowl, use an electric mixer to beat butter until very light and fluffy (about 4-5 minutes). Beat in confectioner's sugar, followed by cocoa powder and salt, scraping down the bowl as necessary. Mix in melted chocolate, followed by vanilla and heavy cream. Beat on high for 1-2 minutes, until very fluffy.

Assemble the cake. Place the base layer on a serving plate. Paint the top with 1/3 of the simple syrup. Let soak in for a minute or two. Top the layer with a thin layer of frosting (about 1/3 of the batch), then top with 2 tablespoons of mini chocolate chips. Repeat this process with the remaining two layers. Frost the outside as desired, then decorate with more mini chocolate chips.

Layer cake will keep covered at room temperature for up to three days, or in the refrigerator for up to five.

Coffee Double Chip Cookies

After seven years of blogging, I occasionally get “baker’s block.” I’ve written a lot of recipes, y’all. Like…a lot. Understandably, sometimes the inspiration lags a little.

Coffee Double Chip Cookies​

I’ve found different ways of dealing with it, from doing morning pages to keeping lists to taking breaks. My current method is to bake just to bake, whether or not I have a plan. Last week, I treated myself to Simply Recipes’ Irish Soda Bread. This week, I decided to make cookies with whatever I found in my mix-in cabinet. That’s how we got here.

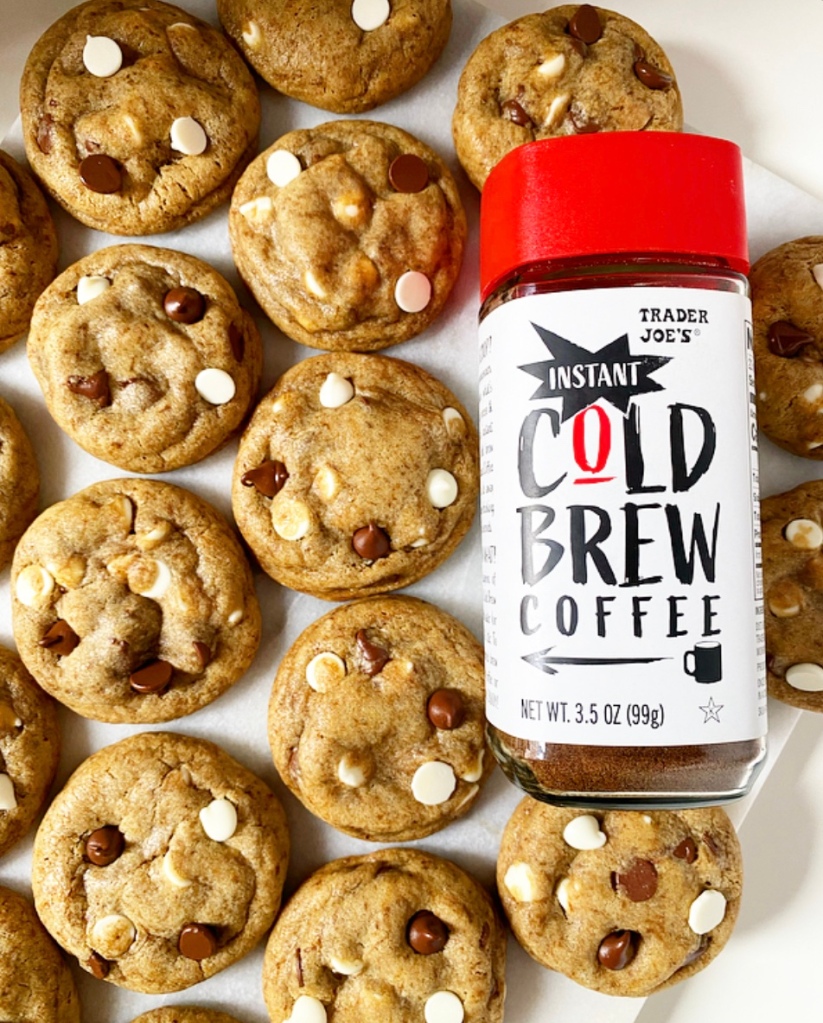
After a quick perusal, I found white and semisweet chocolate chips, powdered milk, and a container of granulated cold brew that I save for things like chocolate cake. And so, I took all those things and everything I know about making cookies (which is kind of a lot), and made something really delicious: Coffee Double Chip Cookies.

Coffee Double Chip Cookies​

These cookies are soft and chewy, and will politely wallop you with robust coffee flavor, depth and sheen from the powdered milk, and more white and semisweet chocolate chips than seems reasonable. Who needs reason when you have cookies like these? Not me—I just need another cookie. Or two.

Coffee Double Chip Cookies​
Coffee Double Chip Cookies
makes about 28 cookies

2 3/4 cups all-purpose flour
1/2 cup nonfat milk powder
2-2 1/2 tablespoons granulated coffee or espresso (to taste)
1 tablespoon cornstarch
1/2 teaspoon baking powder
1/2 teaspoon baking soda
1/2 teaspoon Kosher or sea salt
1 cup (2 sticks) unsalted butter, melted and cooled slightly
3/4 cup granulated sugar
1/2 cup light brown sugar, packed
2 large eggs, room temperature
1 tablespoon pure vanilla extract
1 cup white chocolate chips, plus more for garnish (optional)
1 cup semisweet chocolate chips, plus more for garnish (optional)

In a medium mixing bowl, whisk together flour, milk powder, granulated coffee, cornstarch, baking powder, baking soda, and salt. Set aside.

In a large mixing bowl, whisk together melted butter, granulated and light brown sugars. Whisk in eggs one at a time, followed by vanilla. Add dry ingredients in two installments, scraping down the bowl as necessary. Mix in white chocolate chips and semisweet chocolate chips. Dough will be very thick.

Cover dough with plastic wrap and chill for at least 2 hours, or up to 3 days.

Place oven racks in central positions and preheat the oven to 350F. Line two rimmed baking sheets with parchment.

Scoop dough in 2 tablespoon increments, roll into balls, and place at least 3 inches apart on prepared pans. Bake 10-12 minutes, rotating pans top-to-bottom and front-to-back at the 5 minute mark. Cookies are done when the edges are turning golden and the centers still look a bit underdone. Garnish with more white chocolate chips and semisweet chocolate chips, if desired. Let cookies cool on pans for 5 minutes before transferring to a rack to cool completely. Let baking sheets come back to room temperature before repeating process with any remaining dough.

Cookies will keep in an airtight container at room temperature for up to a week.

Peppermint Mocha Brownies

It’s a little late for a Christmas recipe, but frankly I can do whatever I want on this website. And what I want is a pan of Peppermint Mocha Brownies.

Peppermint Mocha Brownies

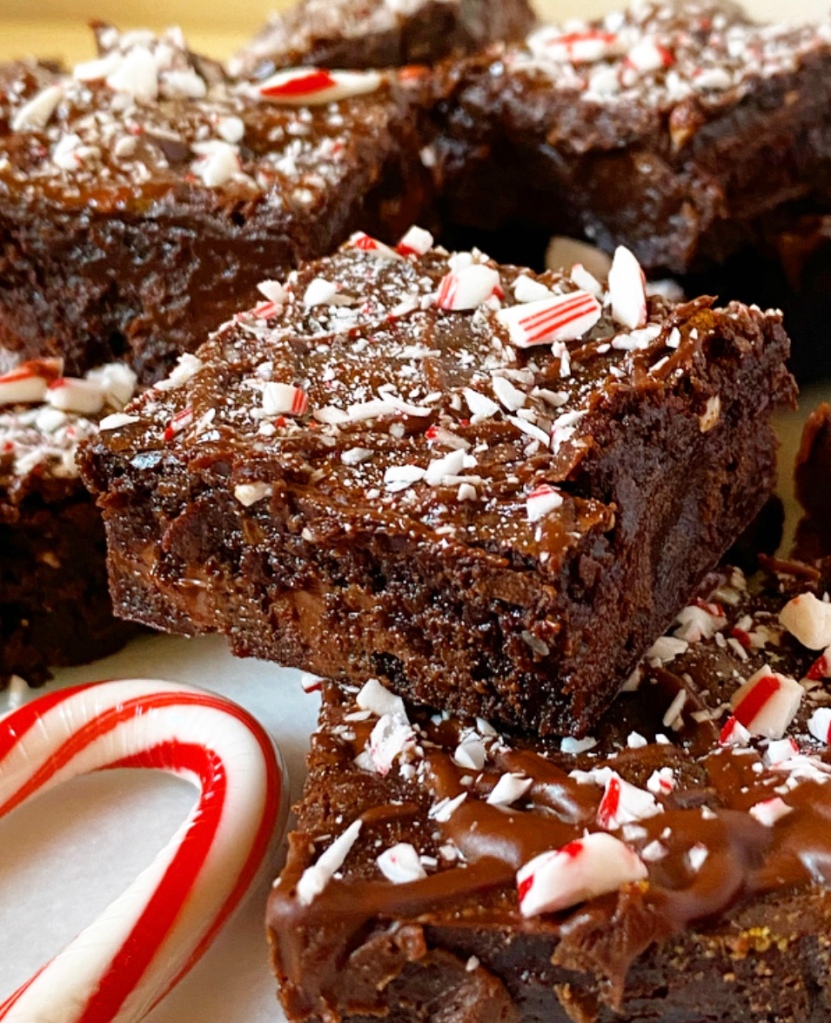
Made with my tried and true Cocoa Brownie base, these holiday treats come together super easily. Their already-deep chocolate flavor is punched up with semisweet chocolate chips, then accented with just enough peppermint extract and granulated espresso to evoke everyone’s holiday coffee shop fave.

Peppermint Mocha Brownies

But flavor’s only half of the equation here—Peppermint Mocha Brownies have to look the part, too! These are drizzled with a melted mix of chocolate chips and butter, and sprinkled with as much crushed candy cane as your heart desires. (My heart desires a lot.)

Peppermint Mocha Brownies

Peppermint Mocha Brownies are rich and satisfying; a little square goes a long way. I, however, have no self control and cut these on the larger side. I regret nothing.

Merry Christmas! Happy Holidays! Whatever and wherever you’re celebrating, I hope you’re safe, warm, and with people you love.

Peppermint Mocha Brownies
adapted from Alice Medrich's Cocoa Brownies
makes one 8- or 9-inch square pan

10 tablespoons unsalted butter, cut into small pieces
3/4 cup granulated sugar
1/2 cup light or dark brown sugar, packed
3/4 cup + 2 tablespoons cocoa powder (natural or dutch process)
2 large eggs, cold
1 teaspoon pure vanilla extract
1/2 teaspoon peppermint extract (not mint extract)
1/2 cup all-purpose flour
2 teaspoons granulated espresso or coffee
1/2 teaspoon Kosher or sea salt
1/2 cup semisweet chocolate chips

For Garnish:
3 tablespoons semisweet chocolate chips
1 tablespoon unsalted butter
crushed candy canes or starlight peppermints

Preheat oven to 325F. Butter the inside of an 8- or 9-inch square pan. Line the bottom with parchment and butter again. Set aside.

In a small pot over medium-low heat, melt butter, granulated and brown sugars, and cocoa powder together, stirring frequently, until a thick, grainy mixture forms. Remove from heat and let mixture cool 5-7 minutes.

Add vanilla, peppermint extract, and eggs to the pot, and stir/whisk to combine. Add flour, granulated espresso, and salt, and stir/whisk to combine. Fold in semisweet chocolate chips. Transfer batter to prepared pan and spread to the edges. Tap the full pan on the counter a couple of times to release any air bubbles. Top with pecans, if desired.

Bake brownies 25-30 minutes, or until a toothpick inserted in the center comes out with only a few moist crumbs (not wet batter). Let cool completely in the pan on a rack.

Garnish the brownies. Combine chocolate chips and butter in a small microwave-safe bowl. Microwave in 30 second increments, stirring in between, until smooth. Use a fork to drizzle over brownies. Sprinkle with crushed candy canes.

Refrigerate brownies for 15-20 minutes, until chocolate sets.

Slide a knife around the edges of the pan before using parchment overhang to lift brownies onto a cutting board. Use a large, sharp chef’s knife to slice brownies into 16 or 25 pieces. Serve.

Leftovers will keep in an airtight container at room temperature for up to 4 days or in the refrigerator for up to a week.

Chocolate Cake with Chocolate Sour Cream Frosting (and a story about burnout)

Hi. Is anybody still here?

I’ve been a little MIA recently, owing mostly to the burnout I’ve been rocketing toward for the last year. It happened gradually—I went down to one post a week in February, quit posting to social media in June, didn’t do anything blog-related during my vacation in August, then took three more weeks away. I tried everything in my power not to disappear completely from this place, but nearly seven years into this endeavor, I was just…tired.

Chocolate Cake with Chocolate Sour Cream Frosting (and a story about burnout)​

Running this one-woman show isn’t easy. Between testing, photographing, writing, posting, and promoting, each post takes about twelve hours start-to-finish. I make income from this blog, but throwing all the daily tasks of running it on top of my day job, trying to have some semblance of a social life, and regularly scheduled introvert hours had me on the verge of a breakdown. So, I stepped away.

I didn’t stop baking though. In fact, I have baked more. I have baked, dare I say, *better.* With more passion, without any expectations. I made things I wanted to make, whether or not they were seasonally appropriate or trending.

Chocolate Cake with Chocolate Sour Cream Frosting

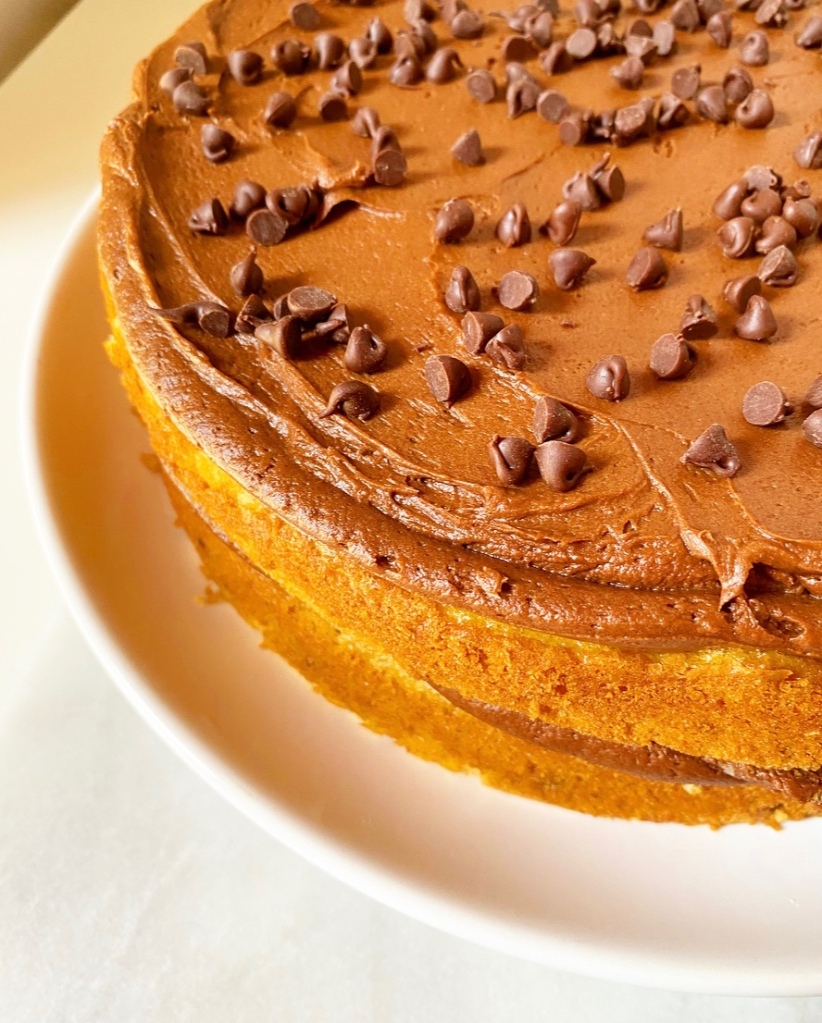
Take this Chocolate Cake with Chocolate Sour Cream Frosting, for instance. I wanted to make it for months, and finally did it once I took the pressure off myself. It’s old-fashioned and simple, made with my go-to chocolate cake recipe and finished with a silky, tangy chocolate frosting. It’s rich and chocolaty, unfussy and unpretentious, with a glossy finish usually reserved for the cover of Southern Living Magazine. In short, it’s everything I want in a chocolate cake. I’m just glad I finally took the time to make it. I hope you will, too.

I am a little hesitant to dive back in here, but I think I am ready to get back to blogging. I’ve missed it. Posts may be twice a week or may just be once depending on how the rest of my life is going. For now though, I am back and oh-so glad to be in this little corner of the internet.

Hello, out there.

Chocolate Cake with Chocolate Sour Cream Frosting
Chocolate Cake
makes two 9-inch round layers

Cake:
1 3/4 cups all purpose flour
3/4 cup natural unsweetened cocoa powder (not Dutch Process)
1 cup granulated sugar
3/4 cup light or dark brown sugar
1 tablespoon espresso granules (optional, but recommended)
1 teaspoon baking powder
2 teaspoons baking soda
1 teaspoon Kosher or sea salt
1/2 cup neutral-flavored oil (I use canola)
2 large eggs, room temperature
2 teaspoons pure vanilla extract
1 cup buttermilk (low fat is fine)
1 cup boiling water

For assembly:
1 recipe Chocolate Sour Cream Frosting (below)

Preheat the oven to 350F. Grease two 9-inch round cake pans. Line the bottoms with parchment and grease again. Set aside.

Make the cake batter. In a large mixing bowl, sift together flour, cocoa powder, granulated sugar, brown sugar, espresso granules (if using), baking powder, baking soda, and salt. Whisk to distribute ingredients evenly. Set aside.

In a separate medium-large mixing bowl, whisk together oil and eggs, followed by vanilla and buttermilk. Whisk half the egg mixture into the dry ingredients, just until combined. Add half the boiling water. Whisk in the remaining egg mixture followed by the remaining water. Batter will be thin.

Divide batter evenly between the pans. Tap full pans on the counter five times to release any air bubbles. Bake 25-27 minutes, or until a toothpick inserted in the middle comes out clean.

Let cakes cool in their pans for at least 30 minutes. Run a small, thin knife around the edges. Invert cakes onto cooling racks and discard parchment. Allow to cool to room temperature.

While layers are cooling, make the frosting (recipe below).

Assemble the cake. Place one layer on a cake plate. Top with about 3/4 cup frosting, then sandwich the other layer on top. Frost and decorate cake as desired.

Frosted cake will keep covered at room temperature for up to two days, and in the refrigerator for up to a week.

Chocolate Sour Cream Frosting
makes enough for two 9-inch round layers

2 1/2 cups confectioners sugar, sifted
3/4 cup natural unsweetened cocoa powder, sifted
pinch of Kosher or sea salt
1 cup (2 sticks) unsalted butter, softened to room temperature
2 teaspoons pure vanilla extract
6 tablespoons (heaping 1/3 cup) full-fat sour cream

In a medium mixing bowl, sift together confectioner’s sugar, cocoa powder, and salt. Whisk together to distribute evenly.

In a large mixing bowl, use an electric mixer to beat butter until light and fluffy (about 2 minutes). Beat in half the dry ingredients, scraping down the bowl as necessary. It may seem like too much, but it will incorporate. Mix in remaining dry ingredients. Add vanilla and sour cream, then beat on high for 2-3 minutes, until smooth and fluffy. Use to frost a 9-inch round layer cake (or whatever).