Remember when I went MIA last month? This is what I was doing. Making crumb cake after crumb cake, giving them away, picking them apart—I am patting myself on the back for only having to deposit two directly into the garbage.
I mean, how difficult could crumb cake be to make, you know? People have been making it forever. Slightly dense, buttery cake topped with a crunchy cinnamon crumb simply could not be that much of a challenge…right?

Wrong. So wrong. Seventeen dud crumb cakes wrong. I mean, they all tasted right (well, all but two), but they sunk in the center, too. Every single one. It didn’t matter what I did—adding eggs, changing the amounts of flour and sour cream, reducing the amount of crumb (heaven forbid!)—I could not get them to come out even.
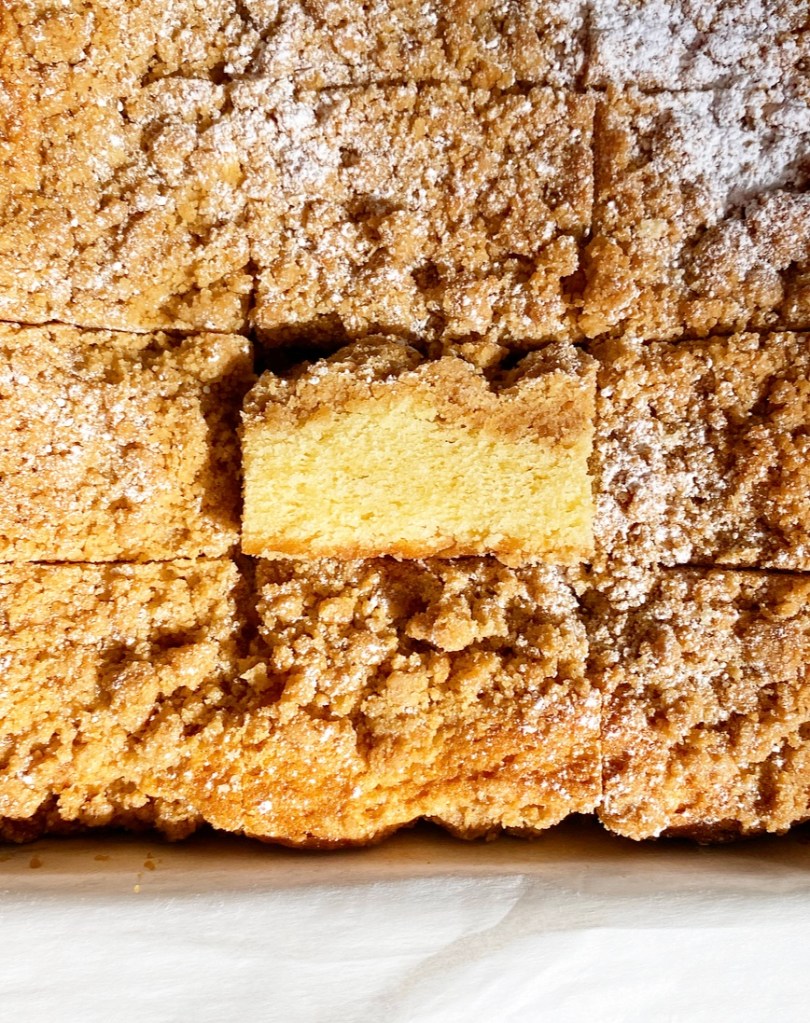
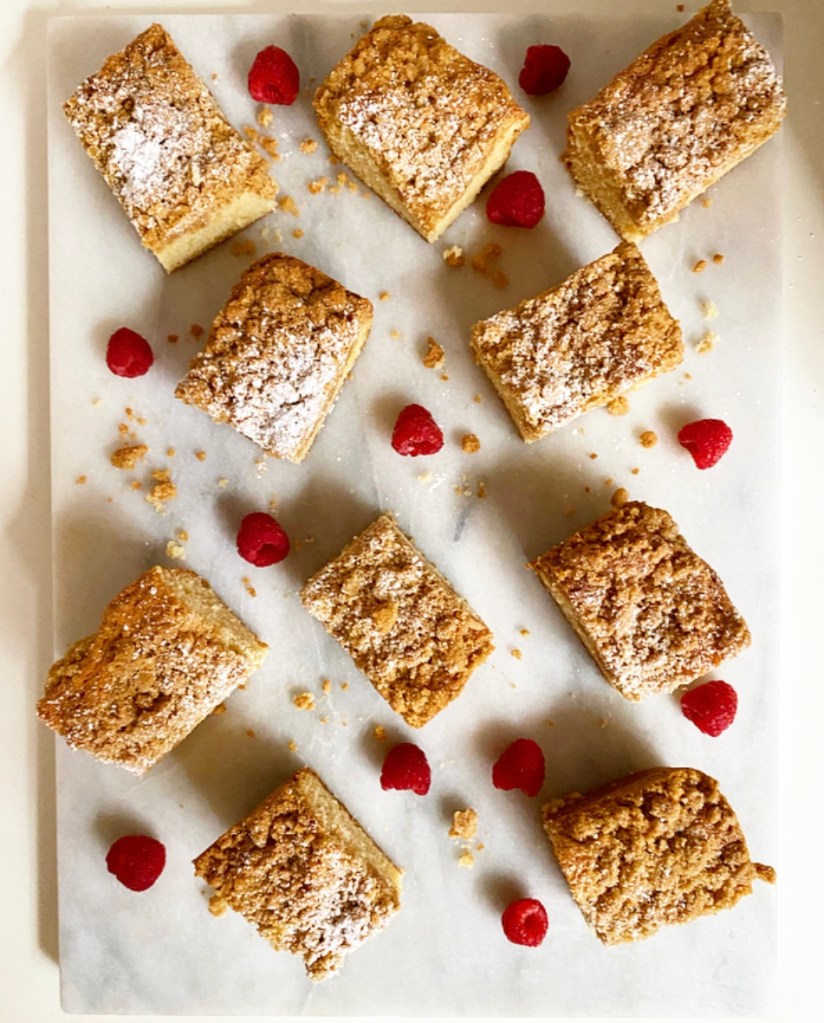
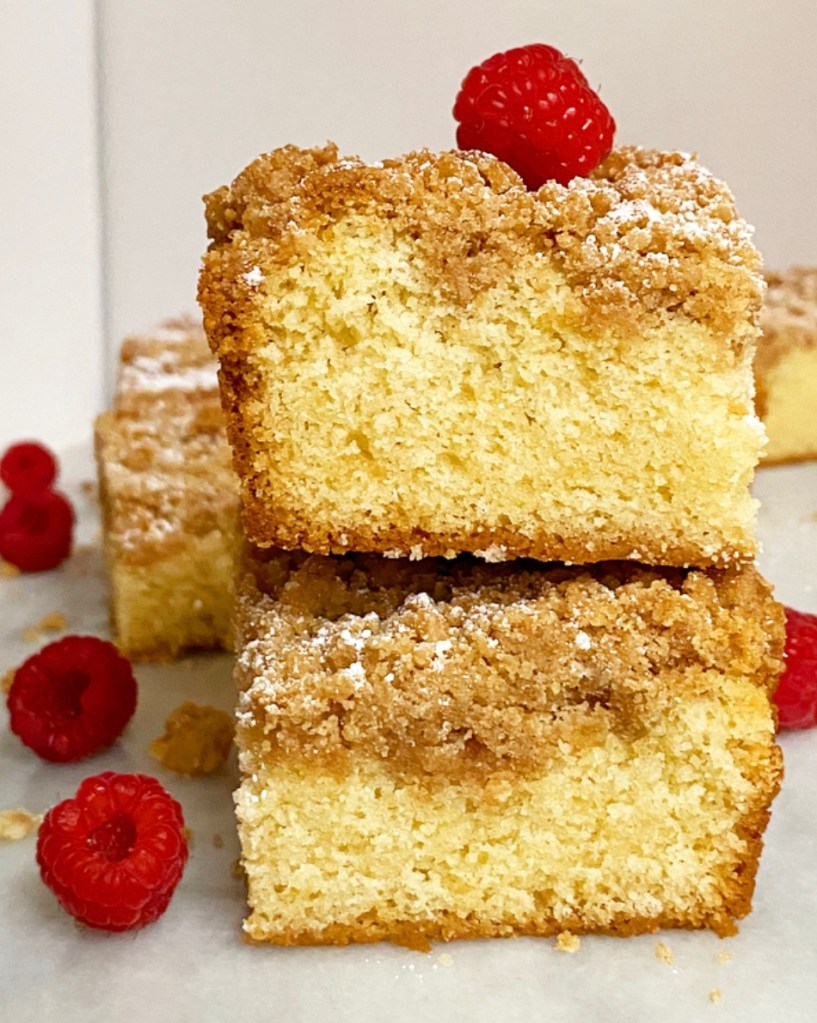
But then. But. Then. I remembered that while baking powder helps cakes to puff, too much can cause them to collapse. I barely reduced the baking powder in my up-to-then best recipe and, well, here we are. Slightly dense, buttery cake topped with a crunchy cinnamon crumb, just like people have been making forever.
Sour Cream Crumb Cake
makes 1 8-inch pan, about 12 servings
Crumb:
1 cup all-purpose flour
1/2 cup light brown sugar, packed
3/4 teaspoon ground cinnamon
1/2 Kosher or sea salt
6 tablespoons unsalted butter, melted
Cake Batter:
1 1/3 cup all-purpose flour
3/4 teaspoon baking powder
1/4 teaspoon baking soda
1/2 teaspoon Kosher or sea salt
1/2 cup unsalted butter, softened to room temperature
1 cup granulated sugar
1 large egg, room temperature
1/4 cup full-fat sour cream
1 1/2 teaspoon pure vanilla extract
2 tablespoons milk of choice
For Garnish (optional):
confectioner’s sugar
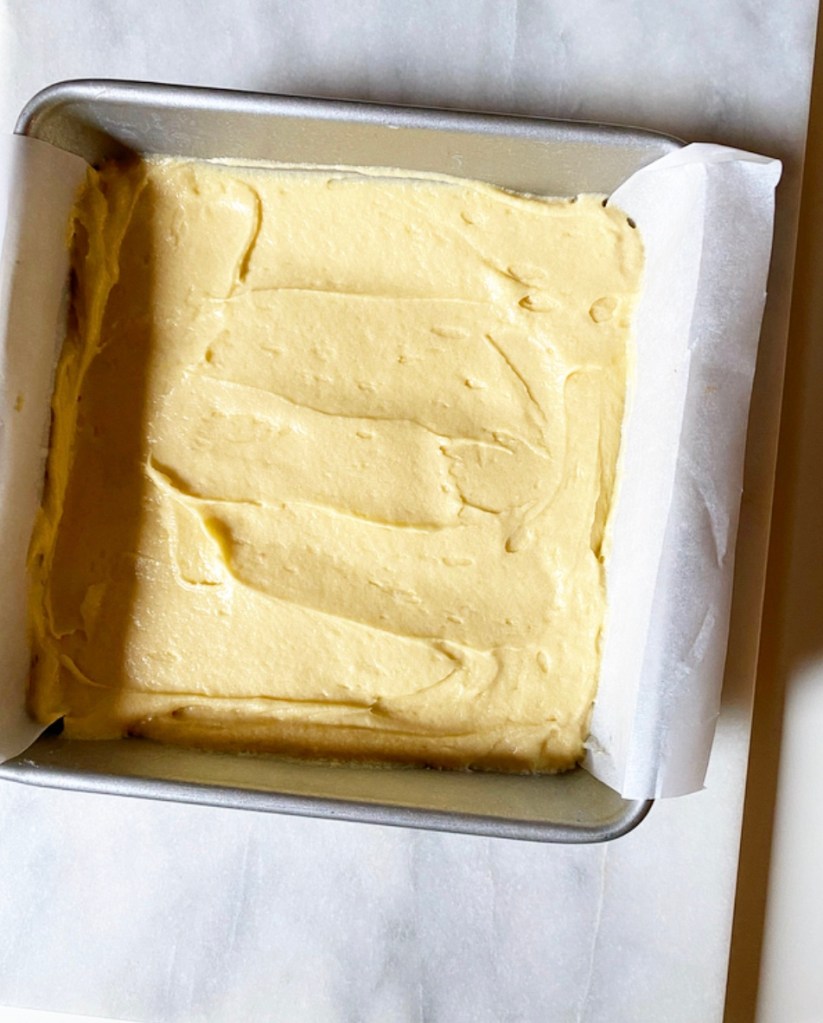
Preheat oven to 350F. Grease an 8-inch square pan. Line with parchment, leaving overhang on two sides, then grease again. Set aside.
Make the crumb. In a small mixing bowl, use a fork to whisk together flour, light brown sugar, cinnamon, and salt. Add melted butter and stir together until everything is moistened and clumps form. Set aside.
Make the cake batter. In a small-medium mixing bowl, whisk together flour, baking powder, baking soda, and salt. Set aside.
In a large mixing bowl, use an electric mixer to cream butter until very light and fluffy (about 2 minutes). Beat in granulated sugar. Mix in egg, followed by sour cream. Add vanilla and milk. With the mixer on low, mix in dry ingredients in two installments. Batter will be thick.
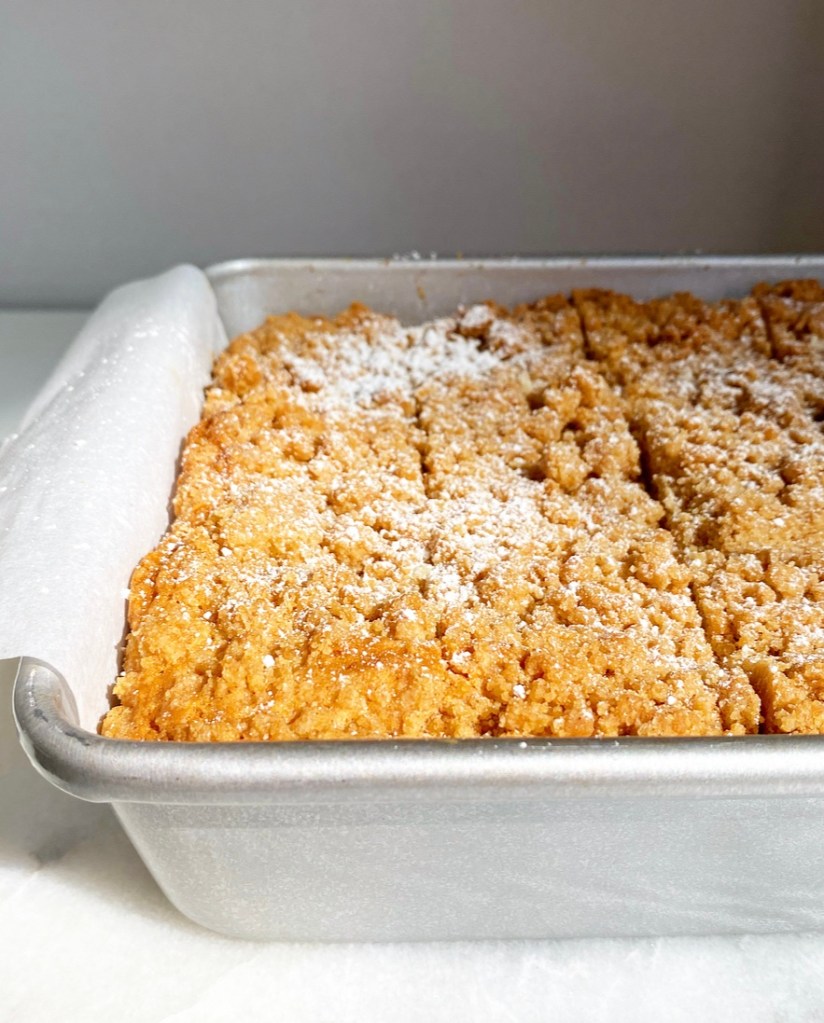
Spread batter into the prepared pan. Scatter crumb evenly over the top and lightly press them into the batter. Bake 45-50 minutes, or until a toothpick inserted near the center comes out clean. Let cake cool completely in the pan on a rack.
Run a small, thin knife along the edges of the pan, then use the parchment overhang to lift the cake onto a cutting board. Dust with confectioners sugar, if desired. Slice into 12 pieces.
Serve cake room temperature or slightly warm. Leftovers may be kept covered at room temperature for a few days or in the refrigerator for up to a week.