Remember when I went MIA last month? This is what I was doing. Making crumb cake after crumb cake, giving them away, picking them apart—I am patting myself on the back for only having to deposit two directly into the garbage.
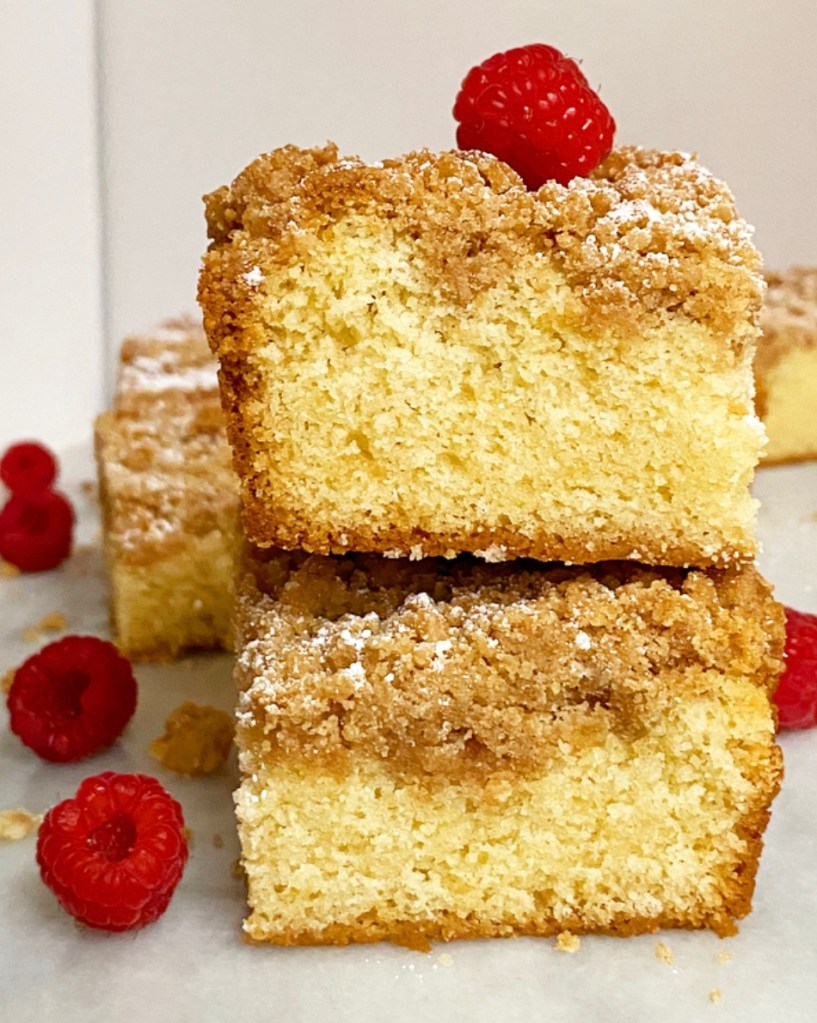
I mean, how difficult could crumb cake be to make, you know? People have been making it forever. Slightly dense, buttery cake topped with a crunchy cinnamon crumb simply could not be that much of a challenge…right?

Wrong. So wrong. Seventeen dud crumb cakes wrong. I mean, they all tasted right (well, all but two), but they sunk in the center, too. Every single one. It didn’t matter what I did—adding eggs, changing the amounts of flour and sour cream, reducing the amount of crumb (heaven forbid!)—I could not get them to come out even.
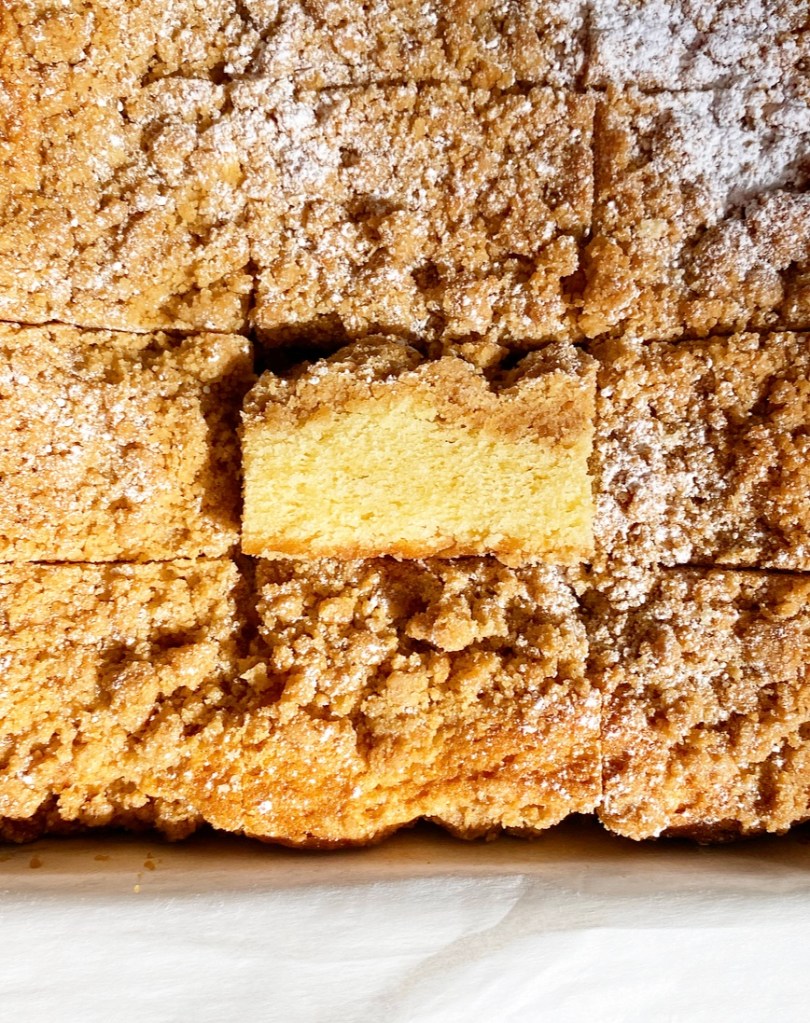
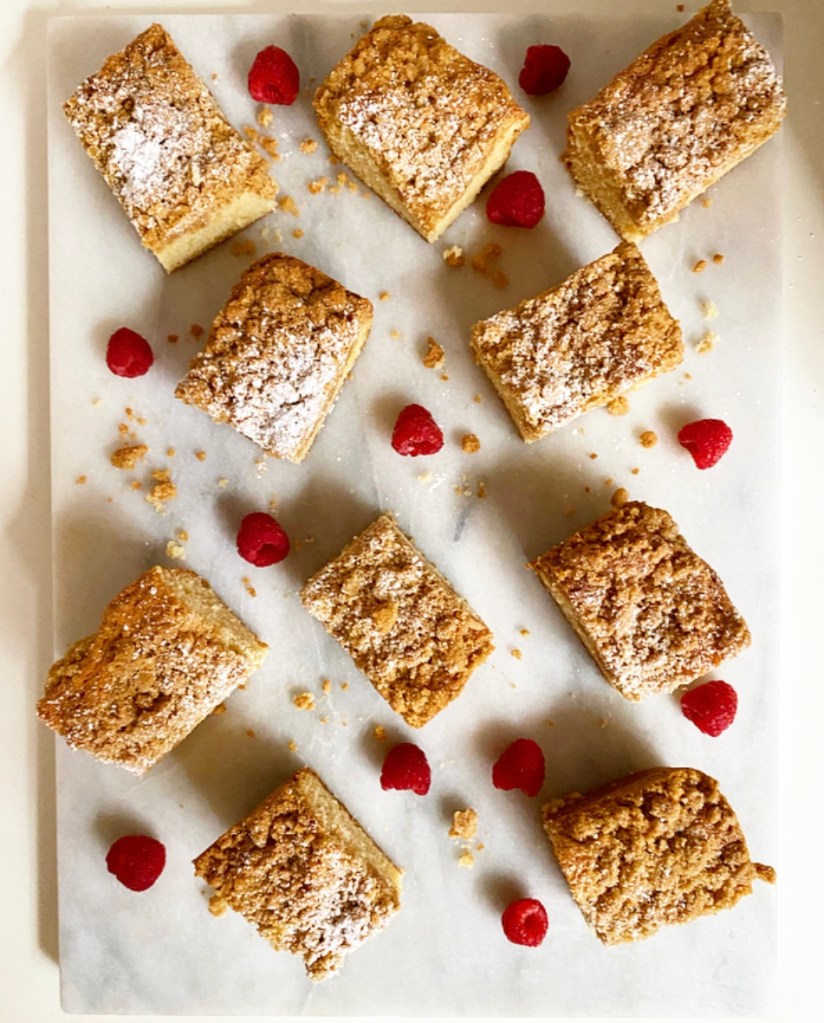
But then. But. Then. I remembered that while baking powder helps cakes to puff, too much can cause them to collapse. I barely reduced the baking powder in my up-to-then best recipe and, well, here we are. Slightly dense, buttery cake topped with a crunchy cinnamon crumb, just like people have been making forever.
Sour Cream Crumb Cake
makes 1 8-inch pan, about 12 servings
Crumb:
1 cup all-purpose flour
1/2 cup light brown sugar, packed
3/4 teaspoon ground cinnamon
1/2 Kosher or sea salt
6 tablespoons unsalted butter, melted
Cake Batter:
1 1/3 cup all-purpose flour
3/4 teaspoon baking powder
1/4 teaspoon baking soda
1/2 teaspoon Kosher or sea salt
1/2 cup unsalted butter, softened to room temperature
1 cup granulated sugar
1 large egg, room temperature
1/4 cup full-fat sour cream
1 1/2 teaspoon pure vanilla extract
2 tablespoons milk of choice
For Garnish (optional):
confectioner’s sugar
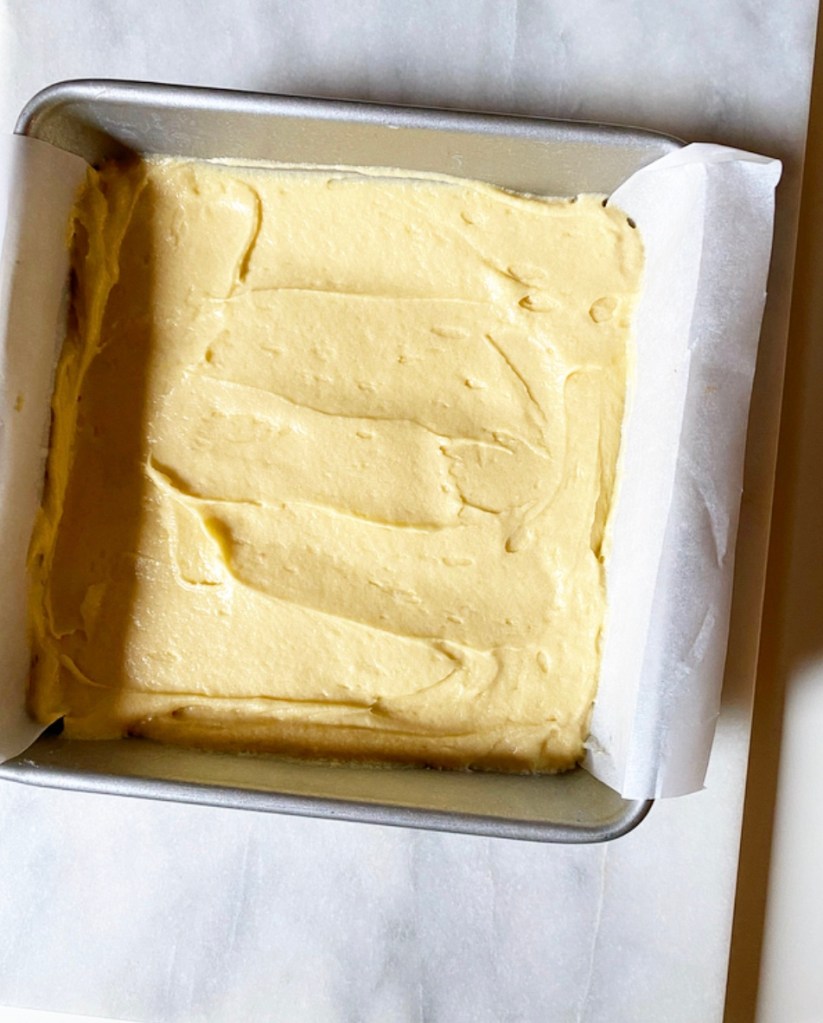
Preheat oven to 350F. Grease an 8-inch square pan. Line with parchment, leaving overhang on two sides, then grease again. Set aside.
Make the crumb. In a small mixing bowl, use a fork to whisk together flour, light brown sugar, cinnamon, and salt. Add melted butter and stir together until everything is moistened and clumps form. Set aside.
Make the cake batter. In a small-medium mixing bowl, whisk together flour, baking powder, baking soda, and salt. Set aside.
In a large mixing bowl, use an electric mixer to cream butter until very light and fluffy (about 2 minutes). Beat in granulated sugar. Mix in egg, followed by sour cream. Add vanilla and milk. With the mixer on low, mix in dry ingredients in two installments. Batter will be thick.
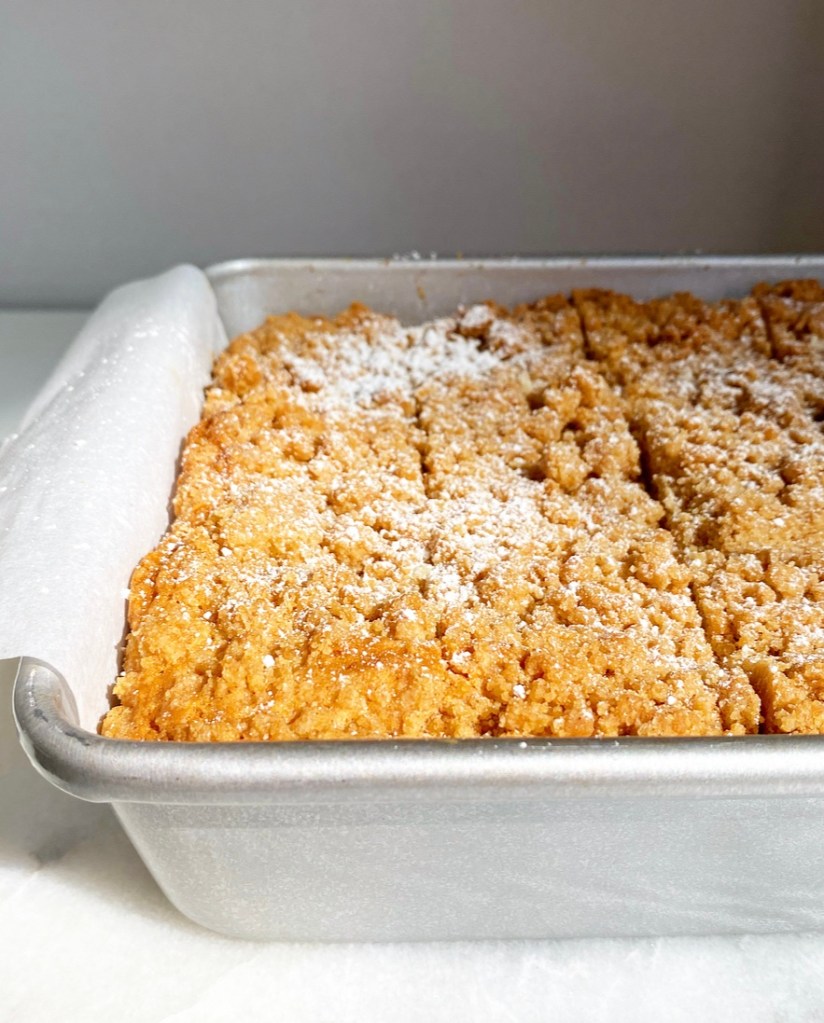
Spread batter into the prepared pan. Scatter crumb evenly over the top and lightly press them into the batter. Bake 45-50 minutes, or until a toothpick inserted near the center comes out clean. Let cake cool completely in the pan on a rack.
Run a small, thin knife along the edges of the pan, then use the parchment overhang to lift the cake onto a cutting board. Dust with confectioners sugar, if desired. Slice into 12 pieces.
Serve cake room temperature or slightly warm. Leftovers may be kept covered at room temperature for a few days or in the refrigerator for up to a week.
 There is a time for involved, long-cooking, multi-dish recipes, and then there’s the time for a 30 minute main that can be made in two steps and served with any carby thing that makes you happy.
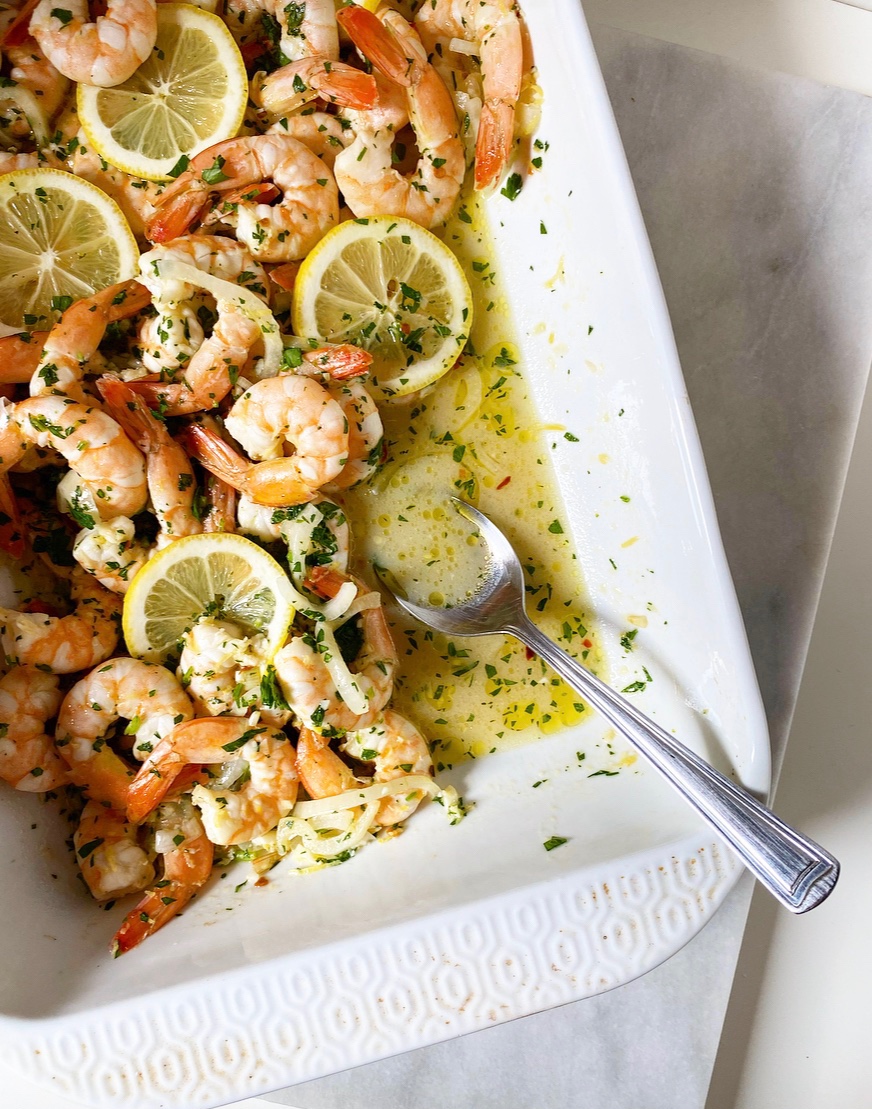
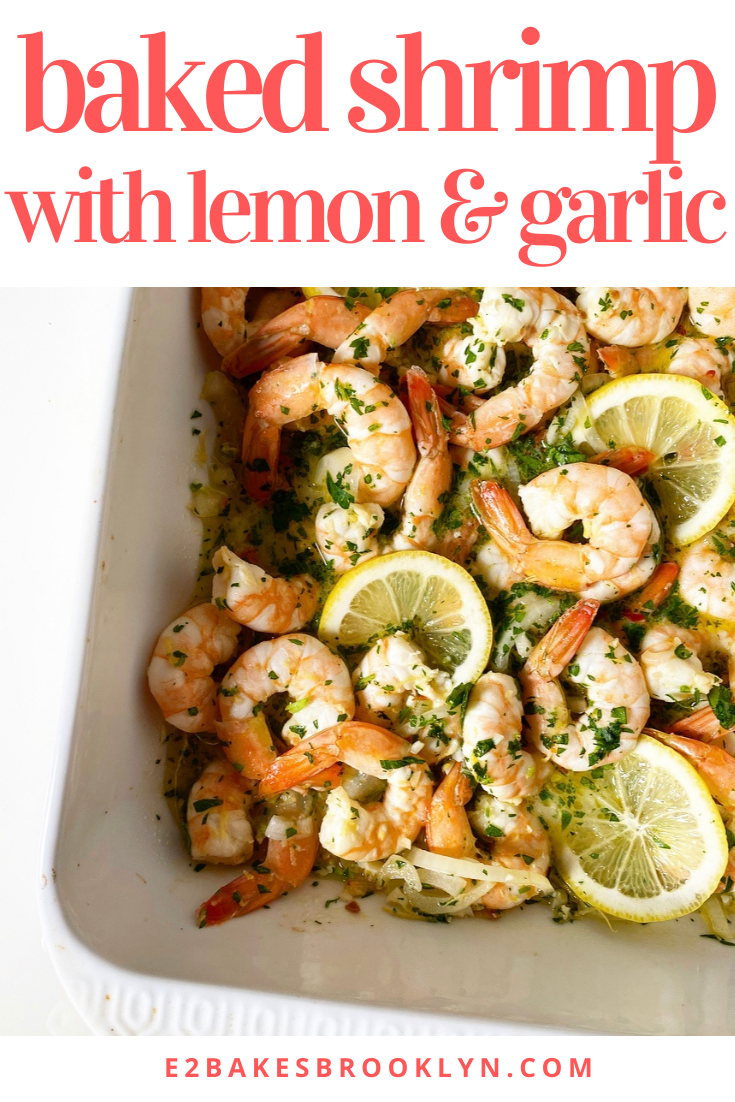
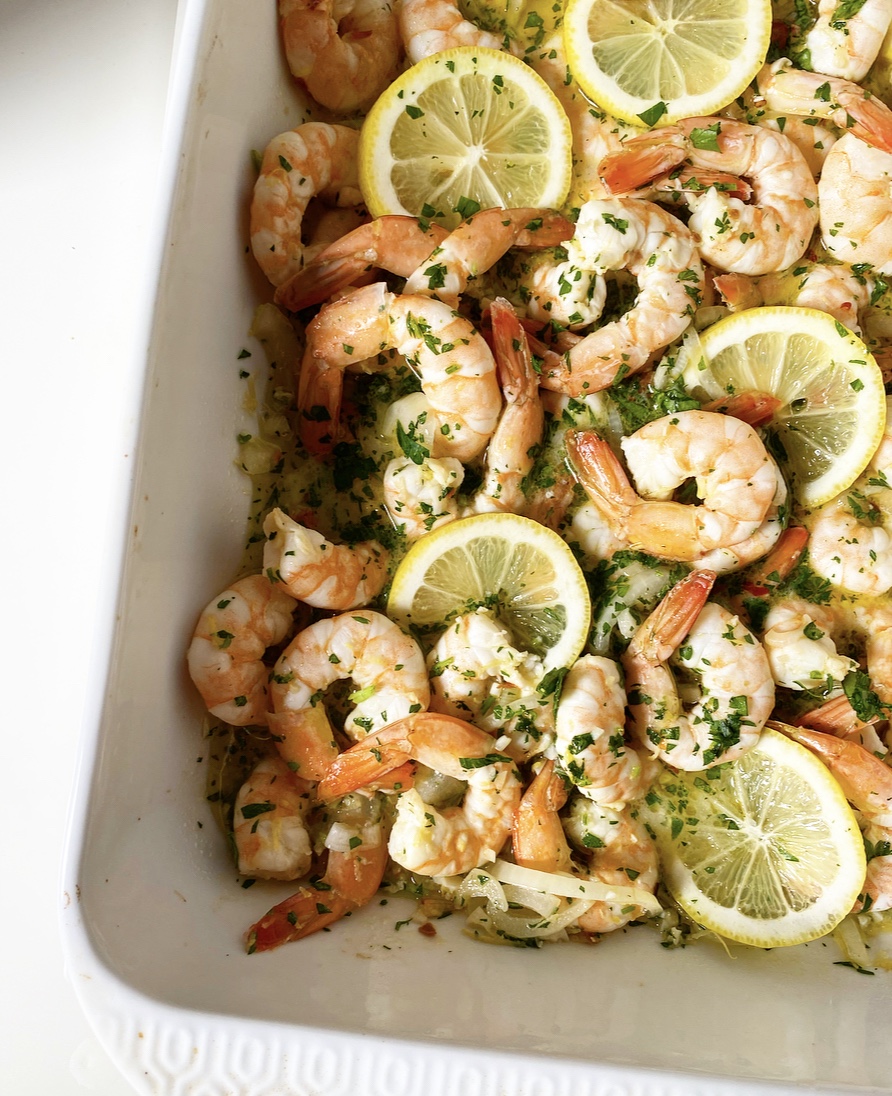 Whether you’re looking for something you can throw together on a weeknight or an easy special occasion meal for when dinner parties are a thing again, Baked Shrimp with Lemon & Garlic fits the bill. It’s light and refreshing, a snap to make and can be on your table in half an hour! Yesssss.
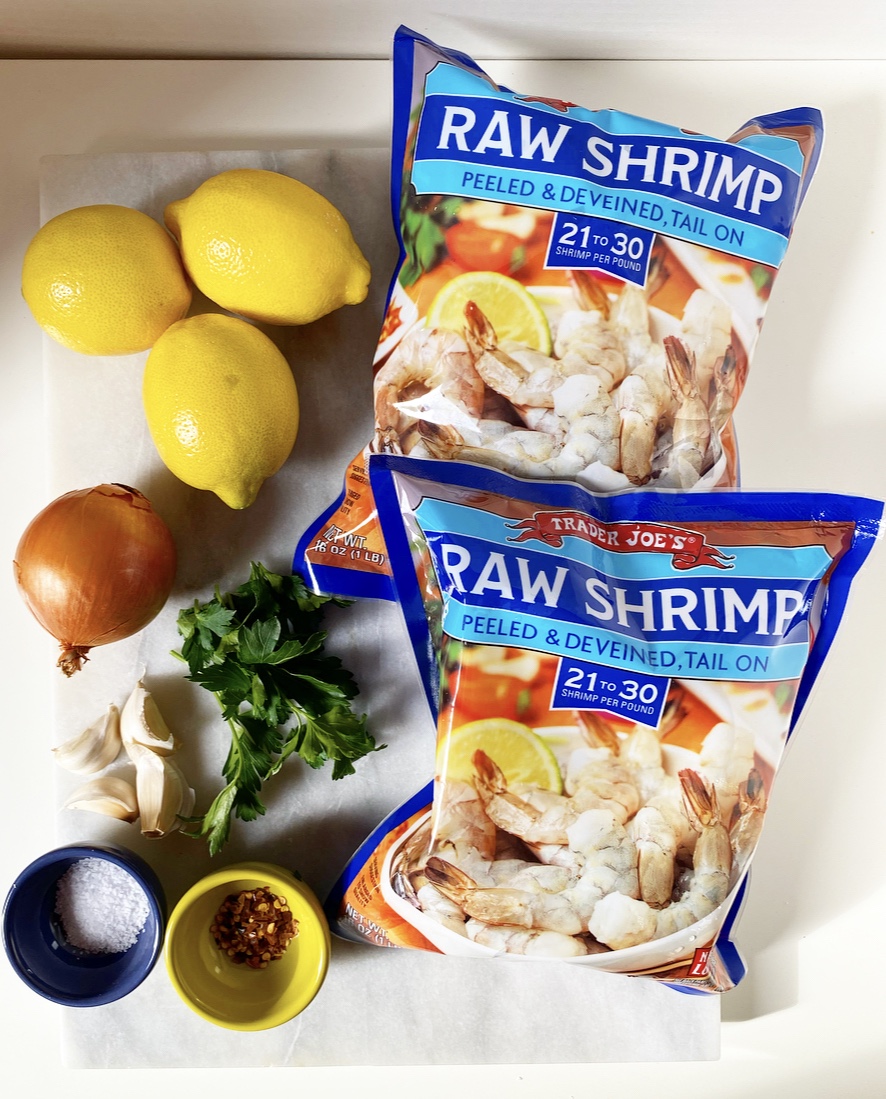
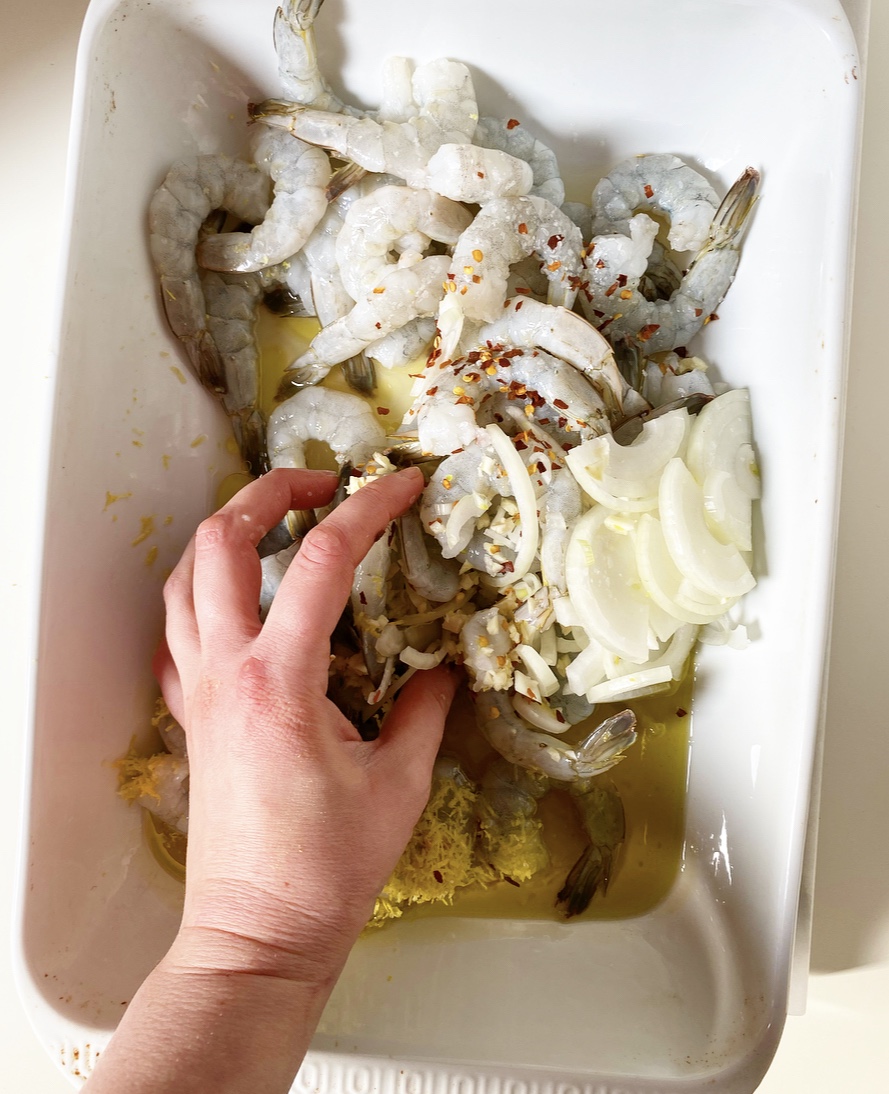
 This is one of those dishes for which I almost always have the ingredients. My kitchen is always stocked with lemons, fresh garlic, onions, red pepper flakes, salt and olive oil, and I usually have parsley, too. Just add a couple of pounds of raw shrimp (I used frozen/thawed) and we’re ready to roll!
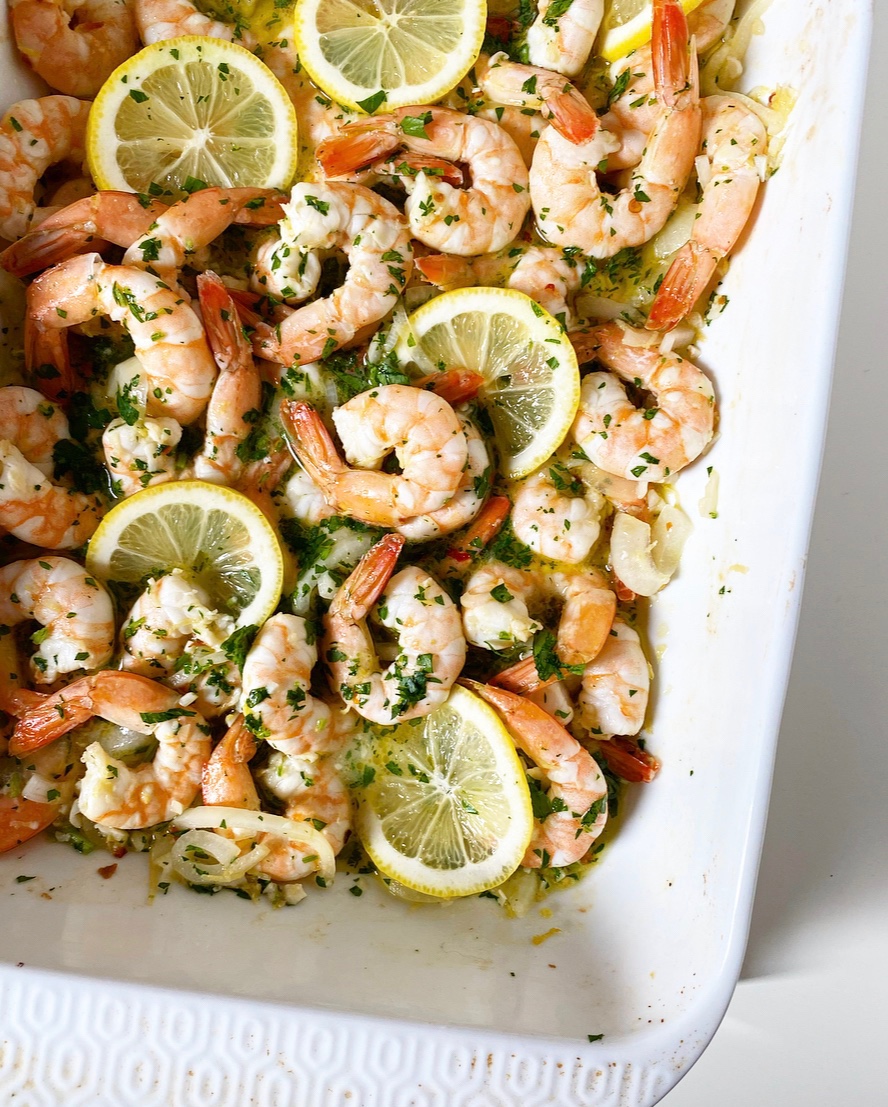 Serve Baked Shrimp with Lemon & Garlic over rice, orzo (or other pasta) or with crusty bread—anything to take advantage of all that lemony, garlicky oil! Oh, and a glass of something
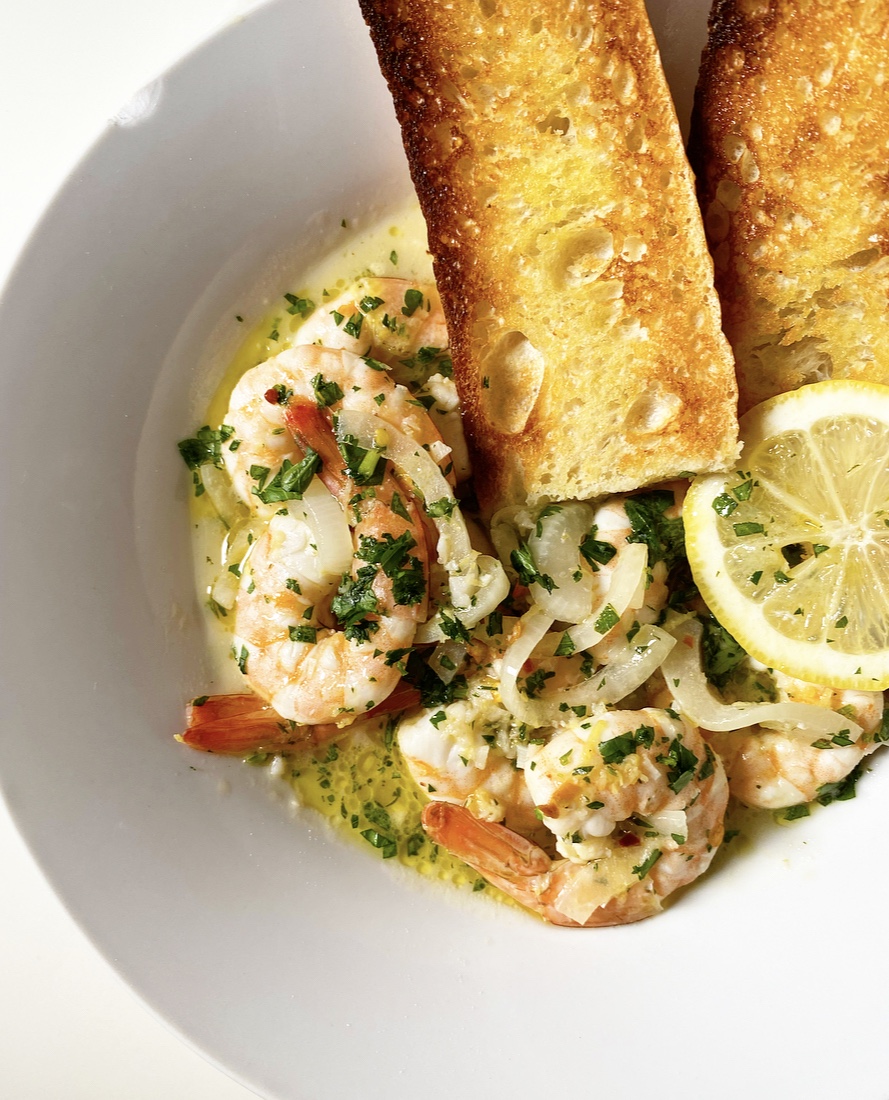


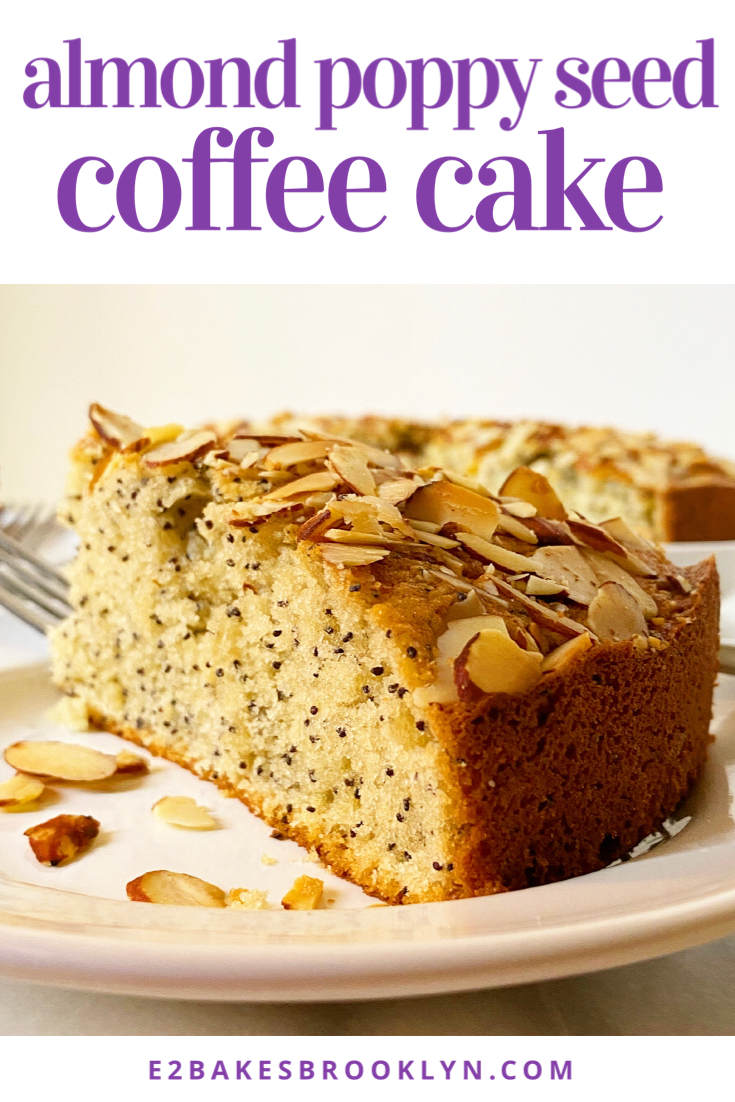
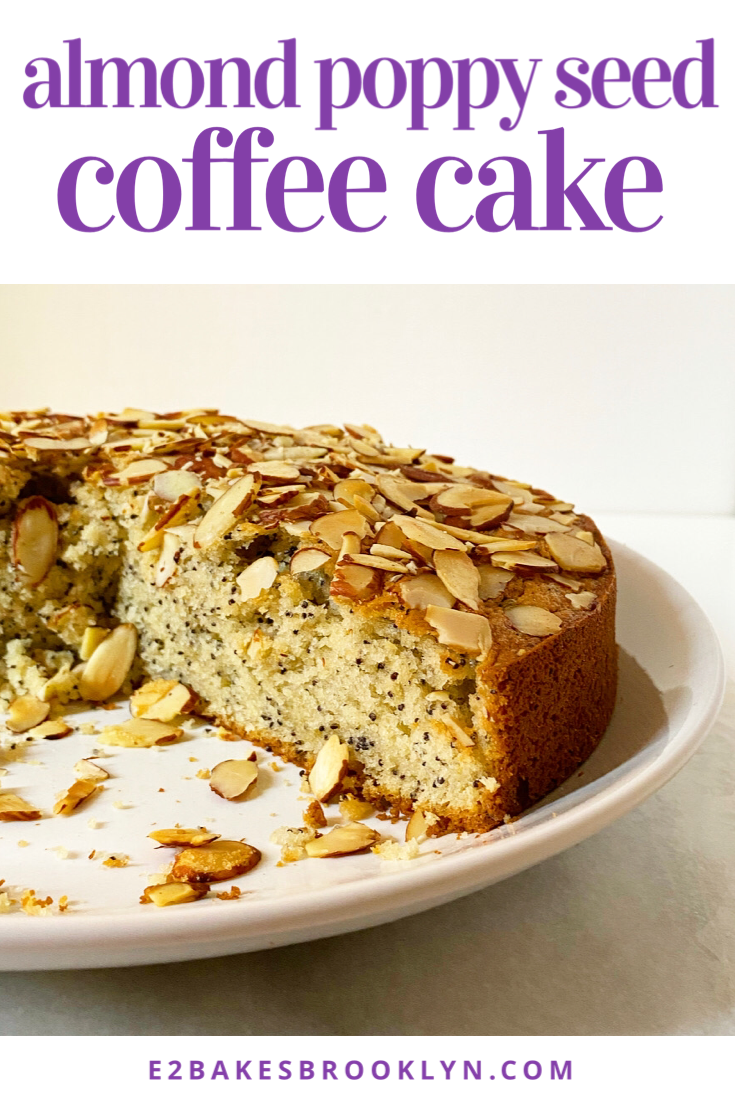
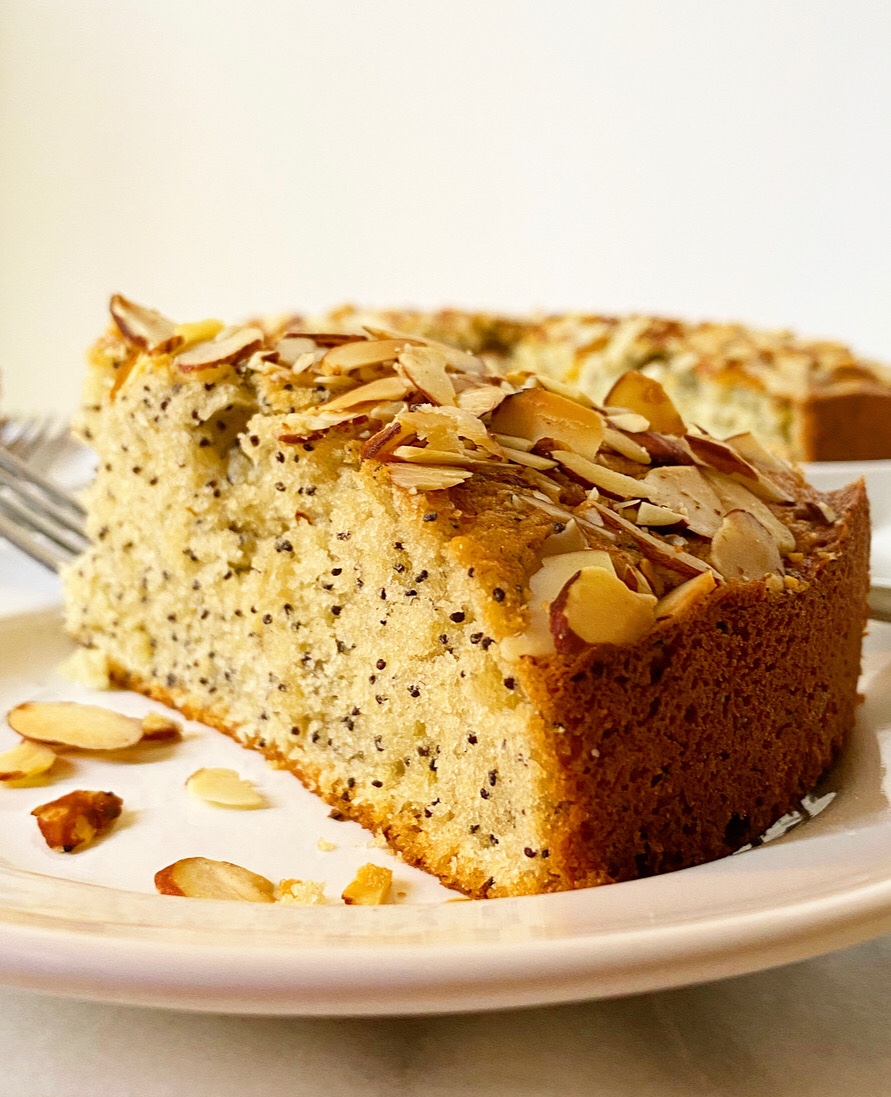 In keeping with social distancing, baking with what I have, considering what you might have, thinking up swaps, and trying to make something Easter-appropriate, I present to you this Almond Poppy Seed Coffee Cake. It’s made with the last of a container of sour cream I found in my fridge, poppy seeds leftover from
  As far as Easter goes, this is not my norm. This cake is not
 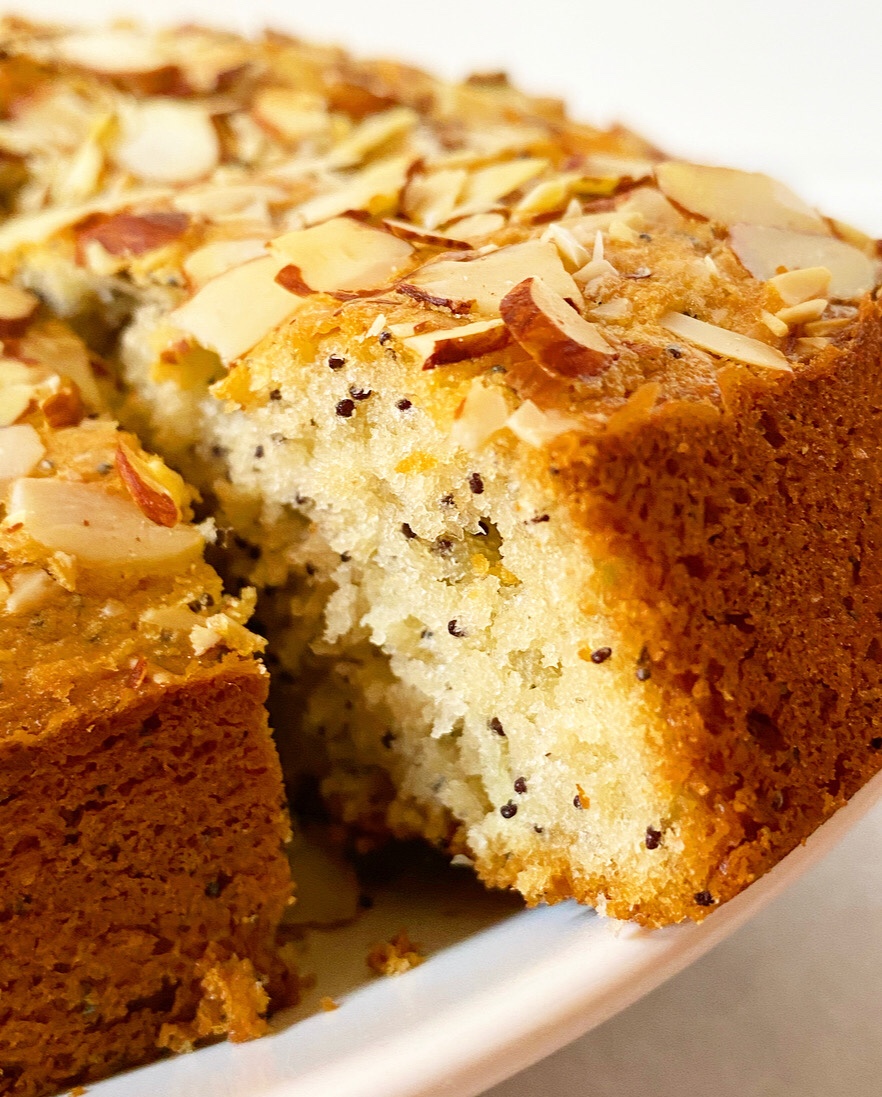 The cake is just my usual
  I skipped the traditional coffee cake crumble here because I felt like it was competing with the poppy seeds—too much crunch, ya know? Instead, I’ve taken the easy way out and topped this sucker with sliced almonds, put it in the oven and called it a day.
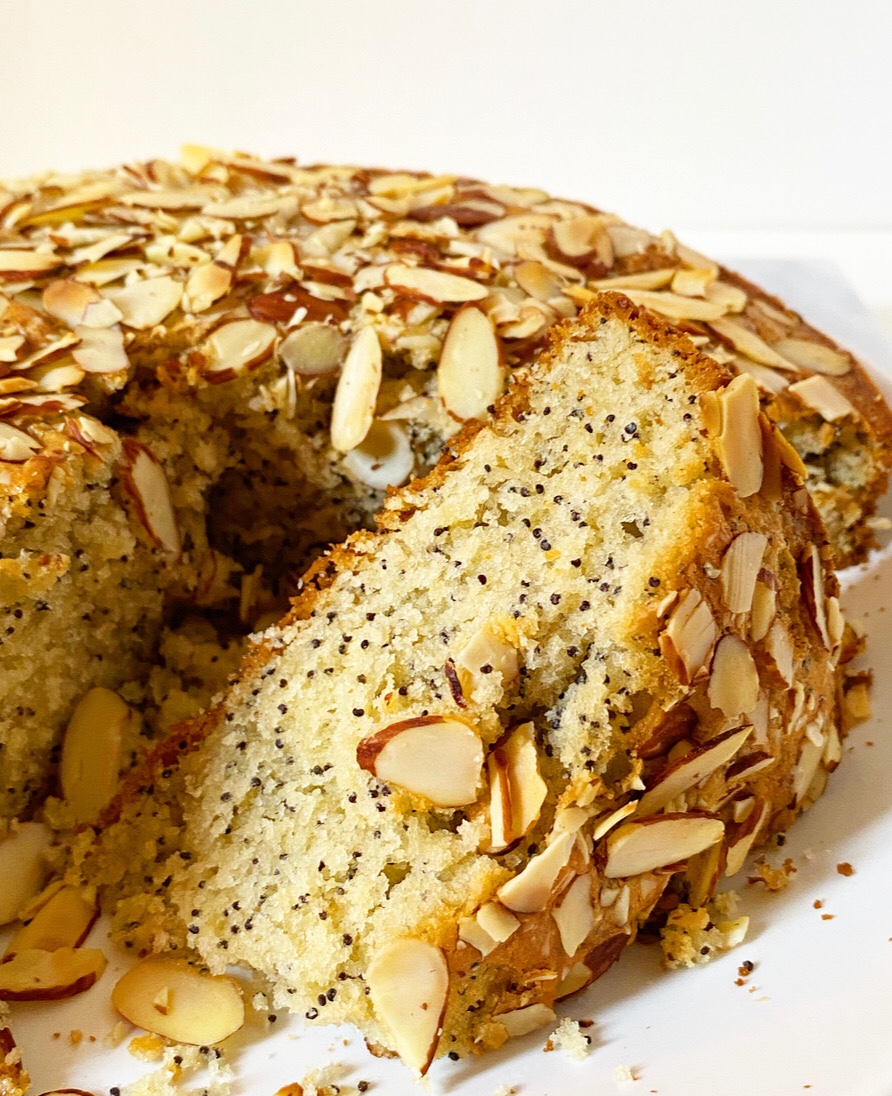 As with every recipe I’m posting right now, Almond Poppy Seed Coffee Cake has plenty of room for substitutions and swaps.


 Until a few weeks
 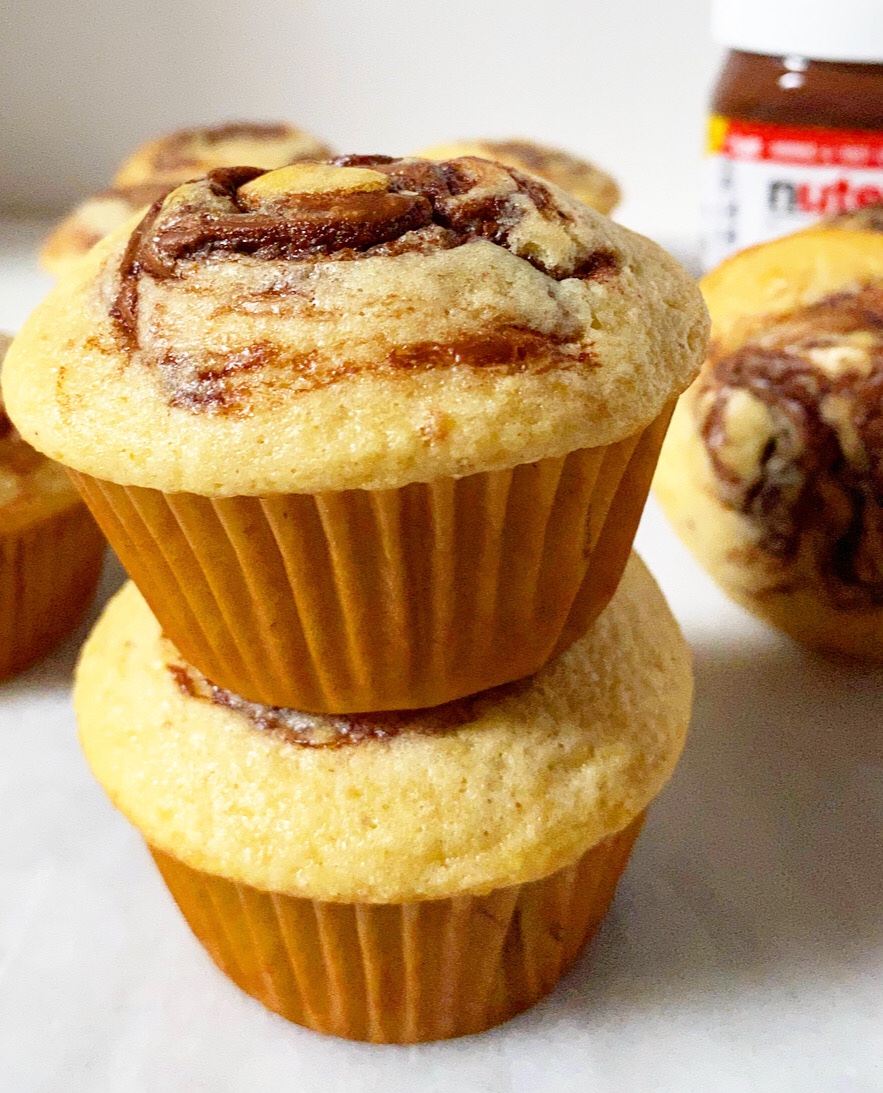 And while muffin/cupcake liners are the obvious solution to that problem, there was another to contend with: I was not terribly confident in my base muffin recipe. But then I went and tested the crap out of my
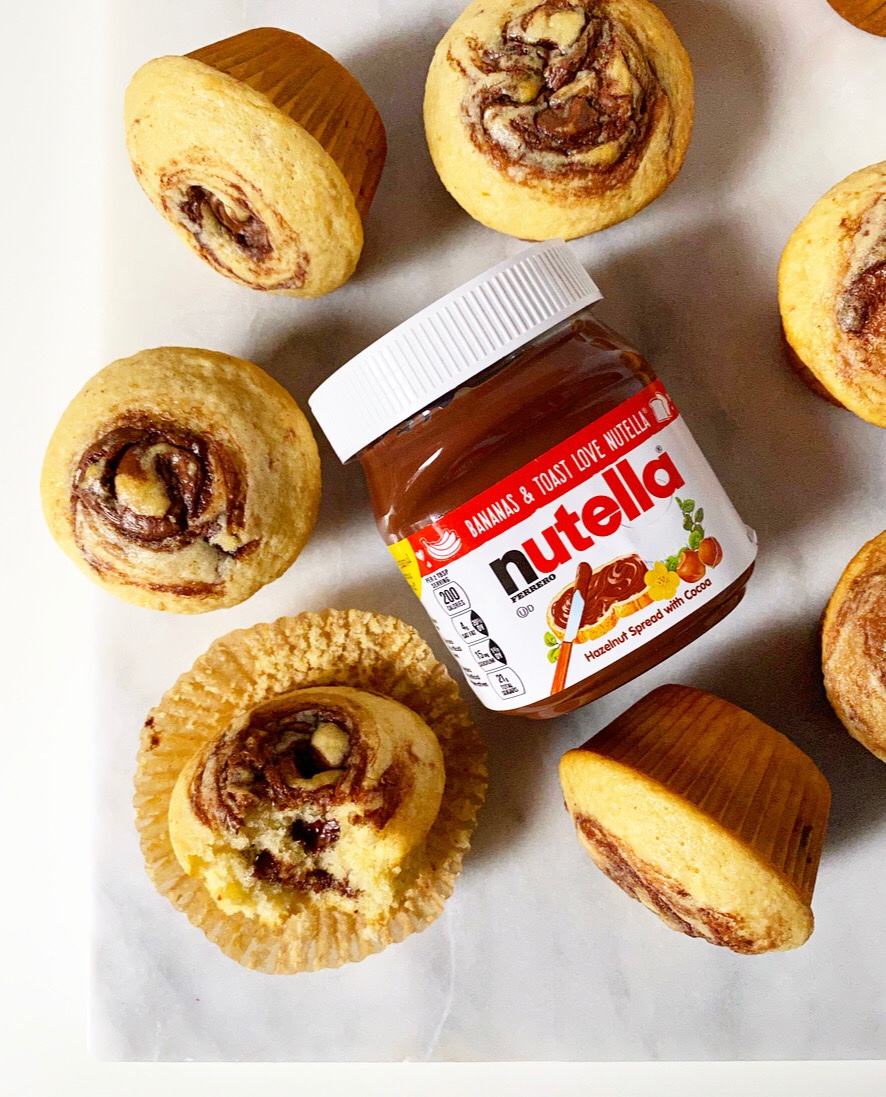
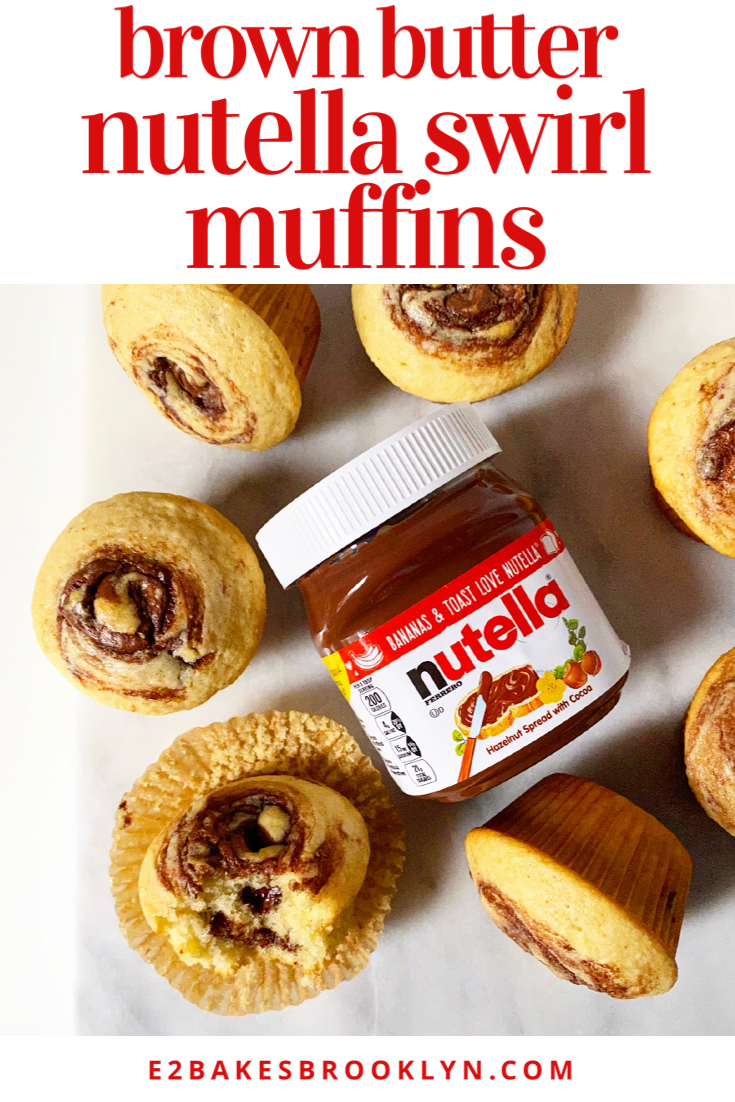
 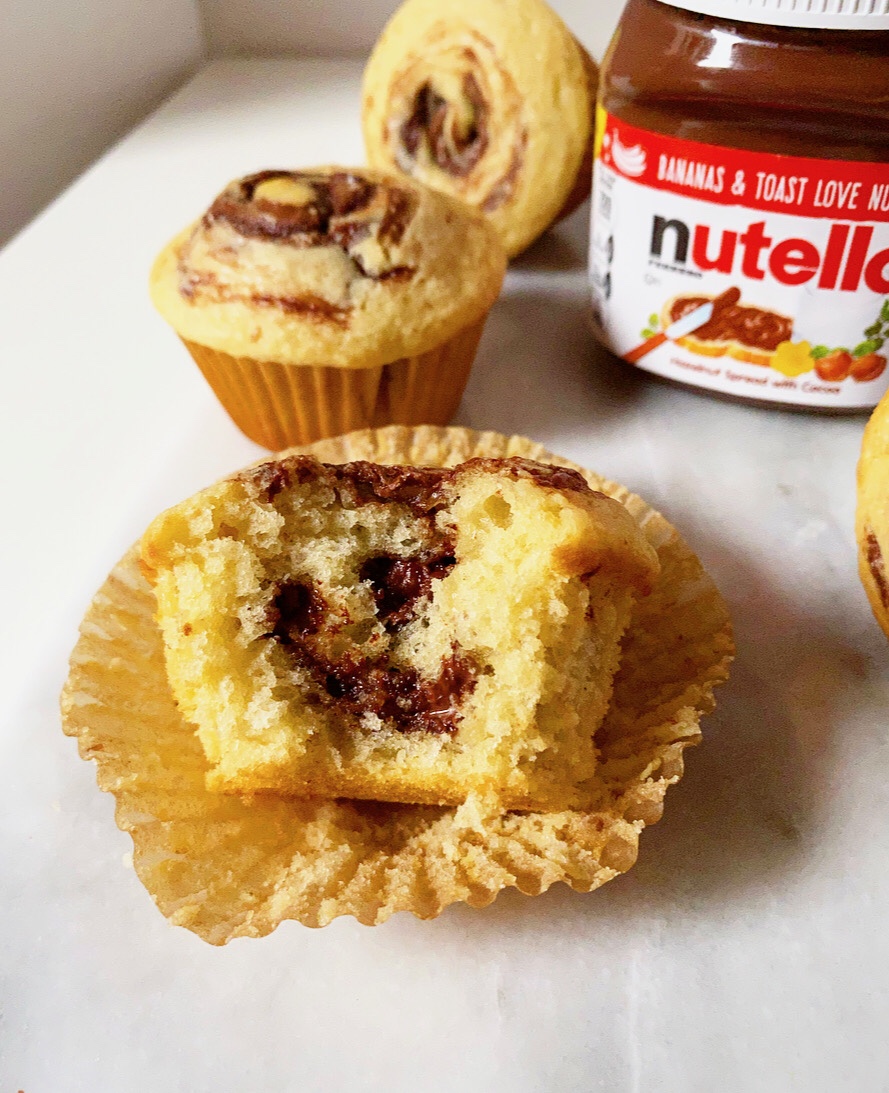 You read that right: Brown Butter. Nutella Swirl. Muffins. Basically every good thing in the world in a handheld treat that is somehow suitable for consumption at breakfast.
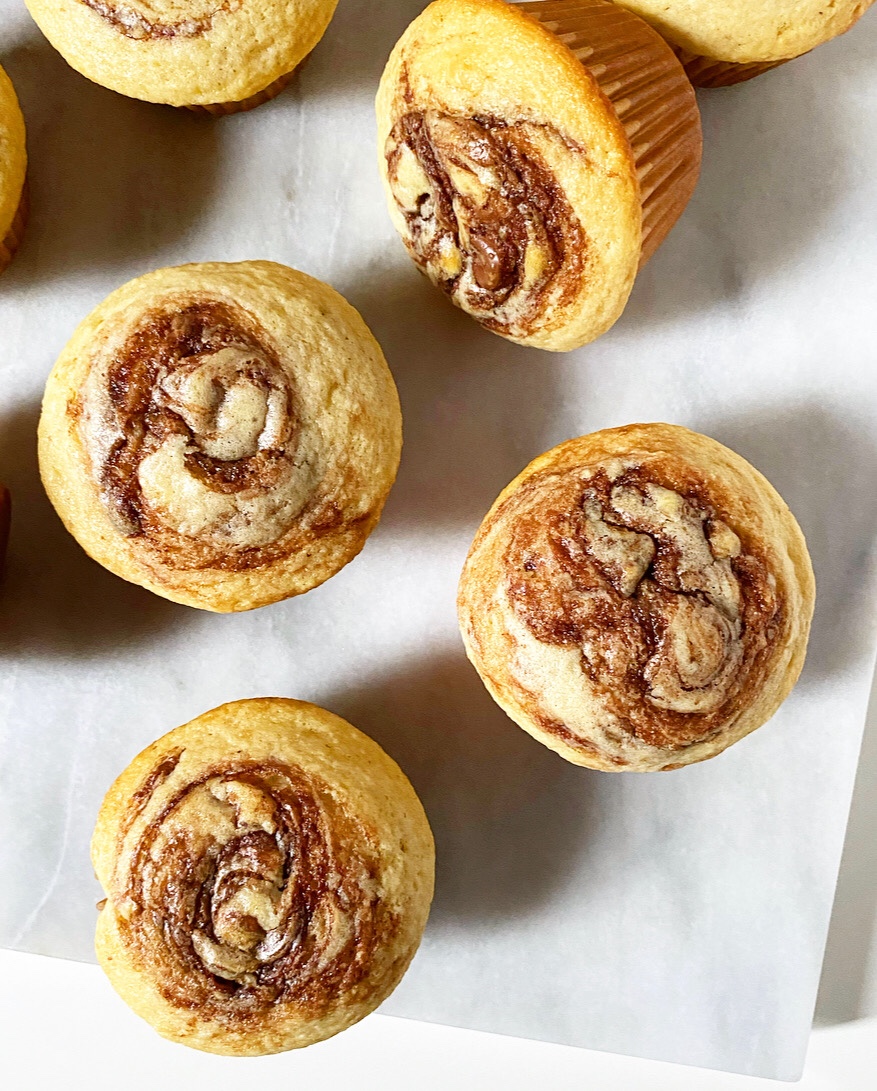 The recipe for these muffins has a few adjustments from the Lemon Poppy Seed version, but not many. Besides the obvious flavor difference, there’s a little more flour and I swapped some of the milk for sour cream, making the batter a little thicker so the Nutella swirls don’t sink.
 And speaking of Nutella swirls, they are applied in two phases. Basically, you add half the batter to the muffin cups, then swirl in some Nutella, then top with the remaining batter and swirl in remaining Nutella.
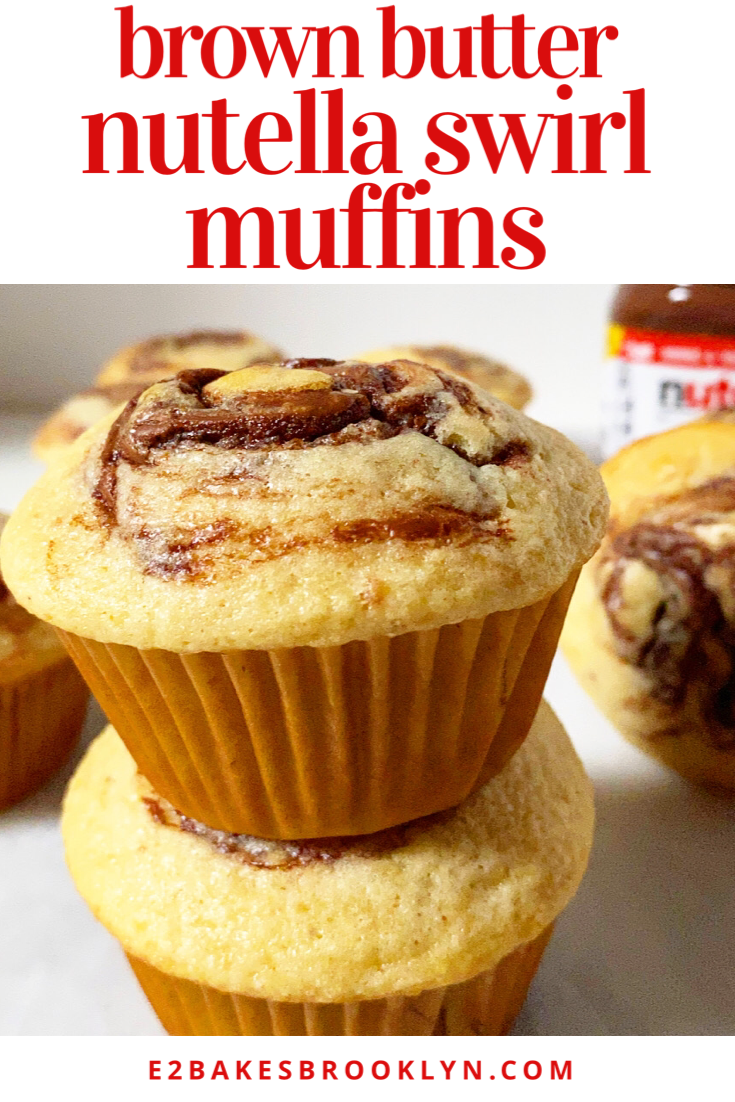
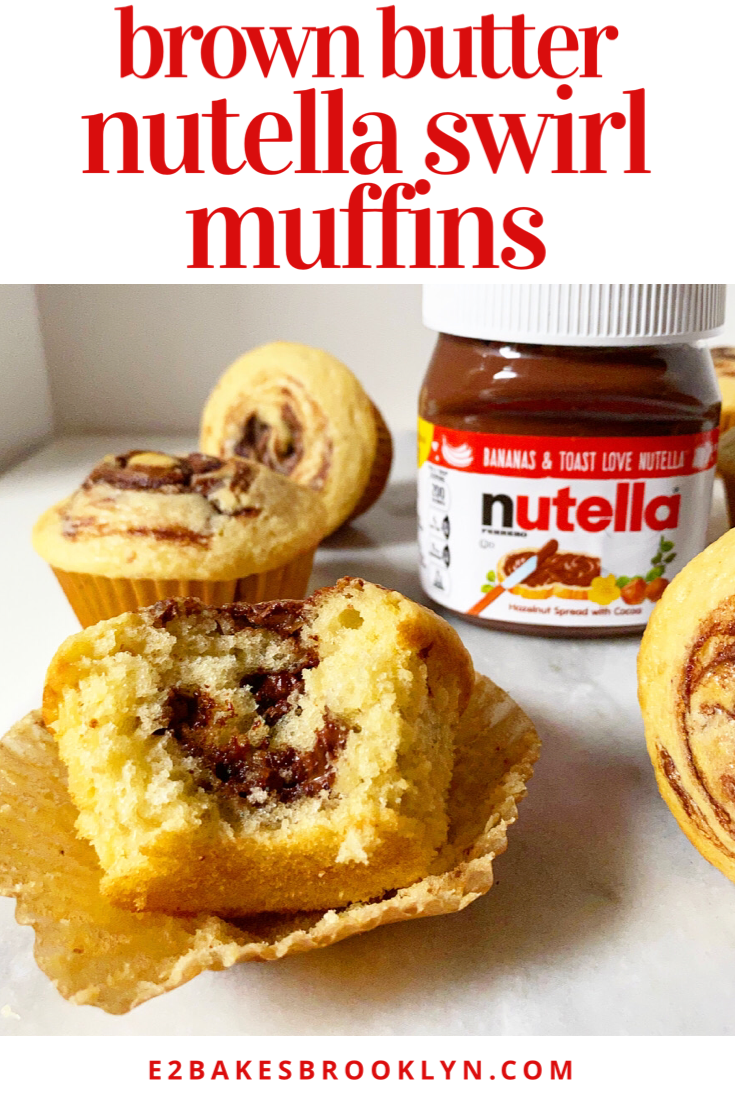
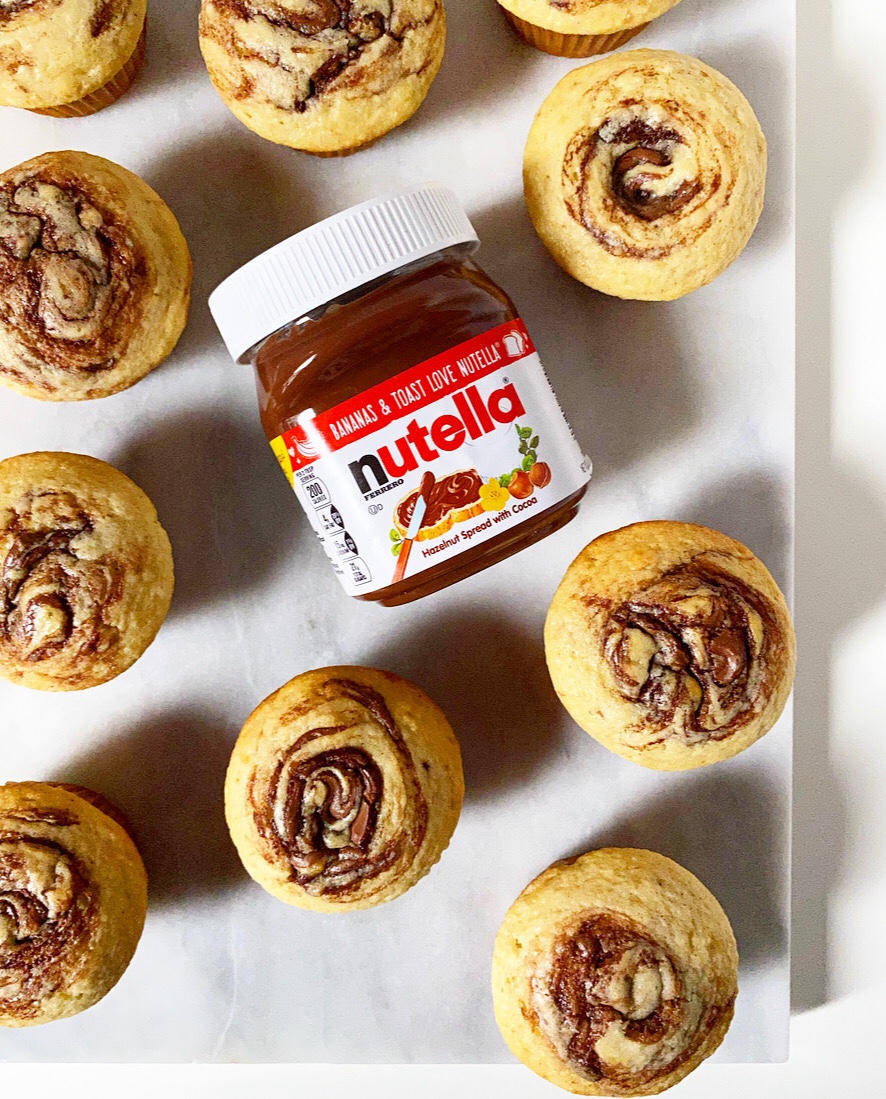 Y’all, these are so good. The interiors are feather soft and the Nutella swirls make every bite extra decadent, as all things with Nutella should be. Also, there’s a little variance in each bite—you could have a little Nutella or you could have a lot! The brown butter is subtle, as it is in my
 One of the great things about yeast doughs—aside from the fact that they’re way easier than they’re made out to be—is that they all seem to have multiple uses. My
 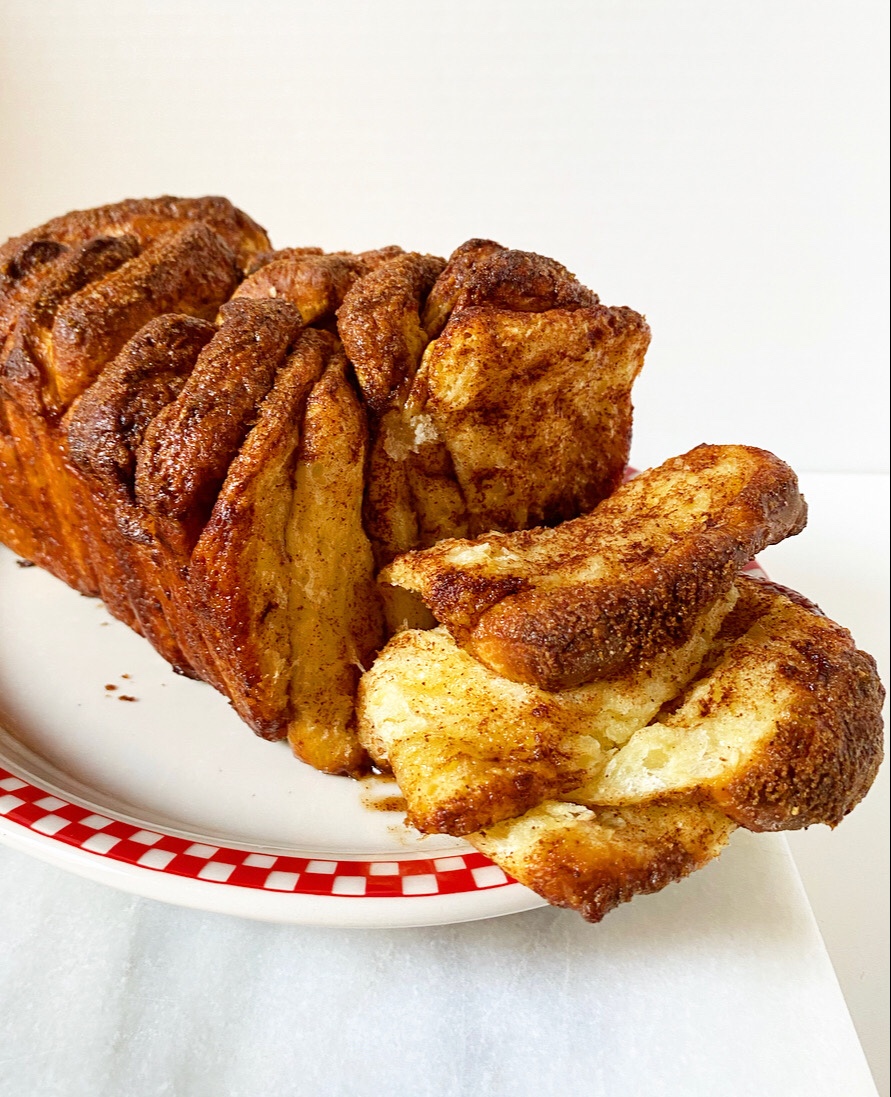 Love a multitasker ❤ ❤ ❤
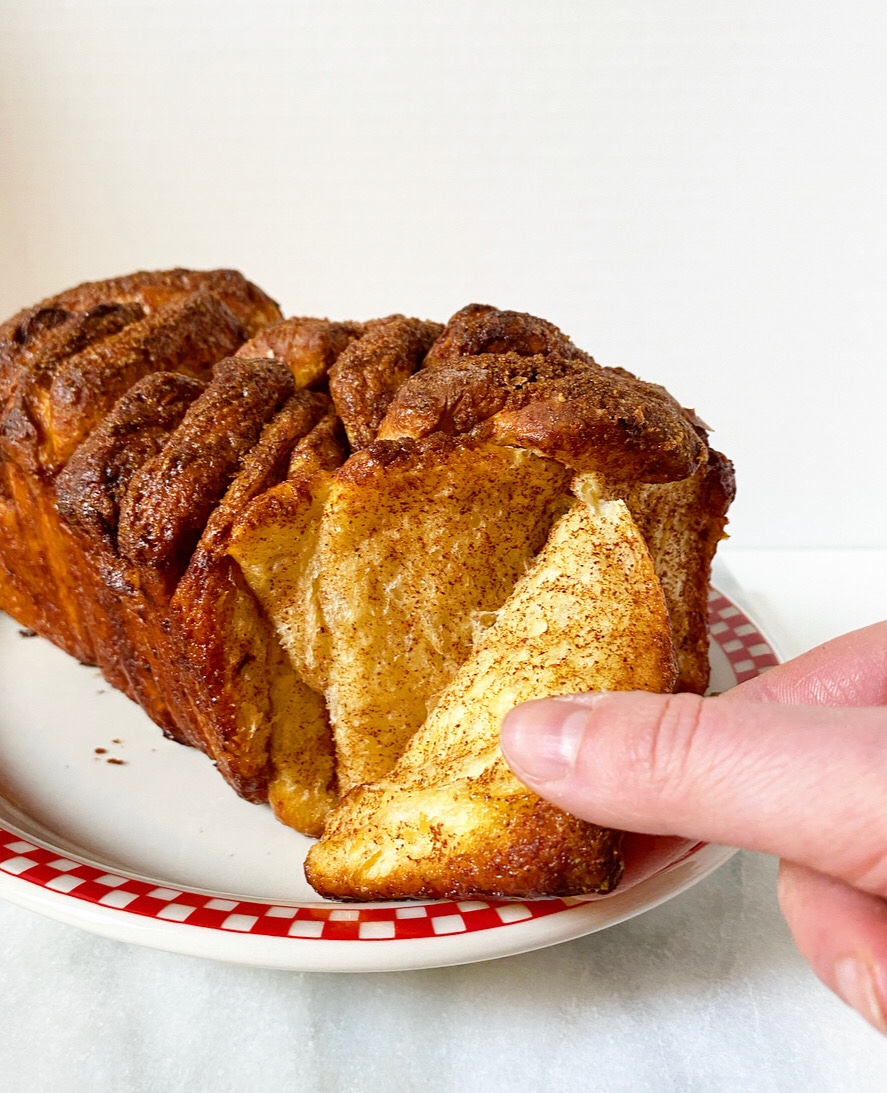
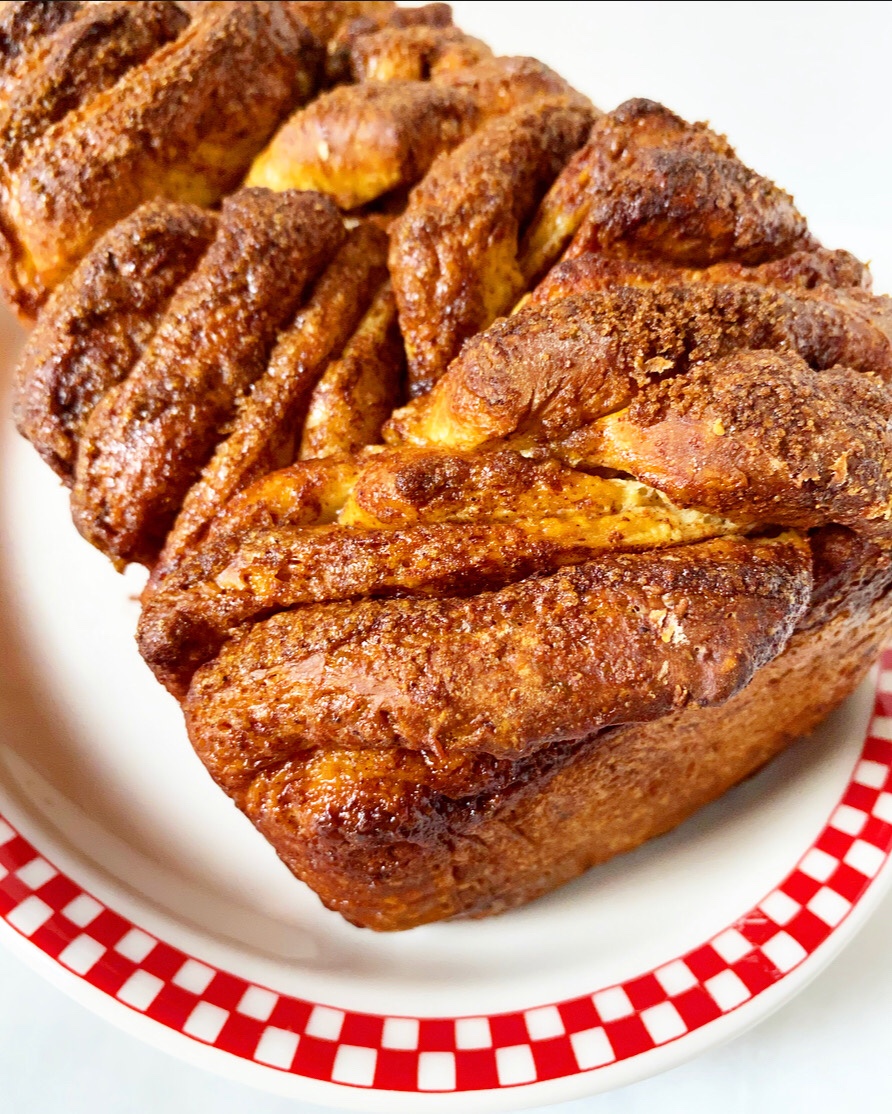
 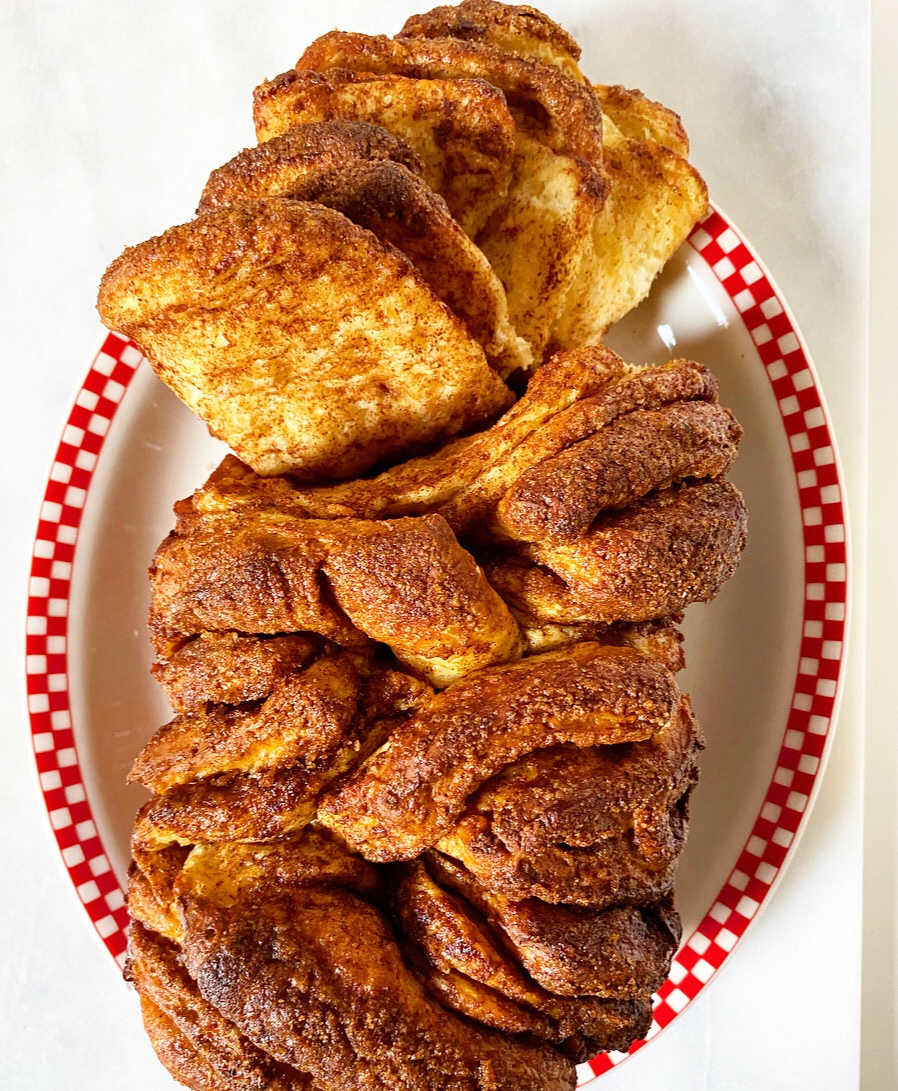 If you’ve never heard of pull-aparts, they’re basically a loaf of bread made of individual pieces layered with a filling (sweet or savory) and baked so that the whole can be pulled apart with your fingers instead of sliced with a knife.
 Achieving this is really simple. The process begins like you’re going to make cinnamon rolls. Make a dough, make a cinnamon-brown sugar filling. Roll that dough out and top it with the filling. Nothing you haven’t (probably) done before.
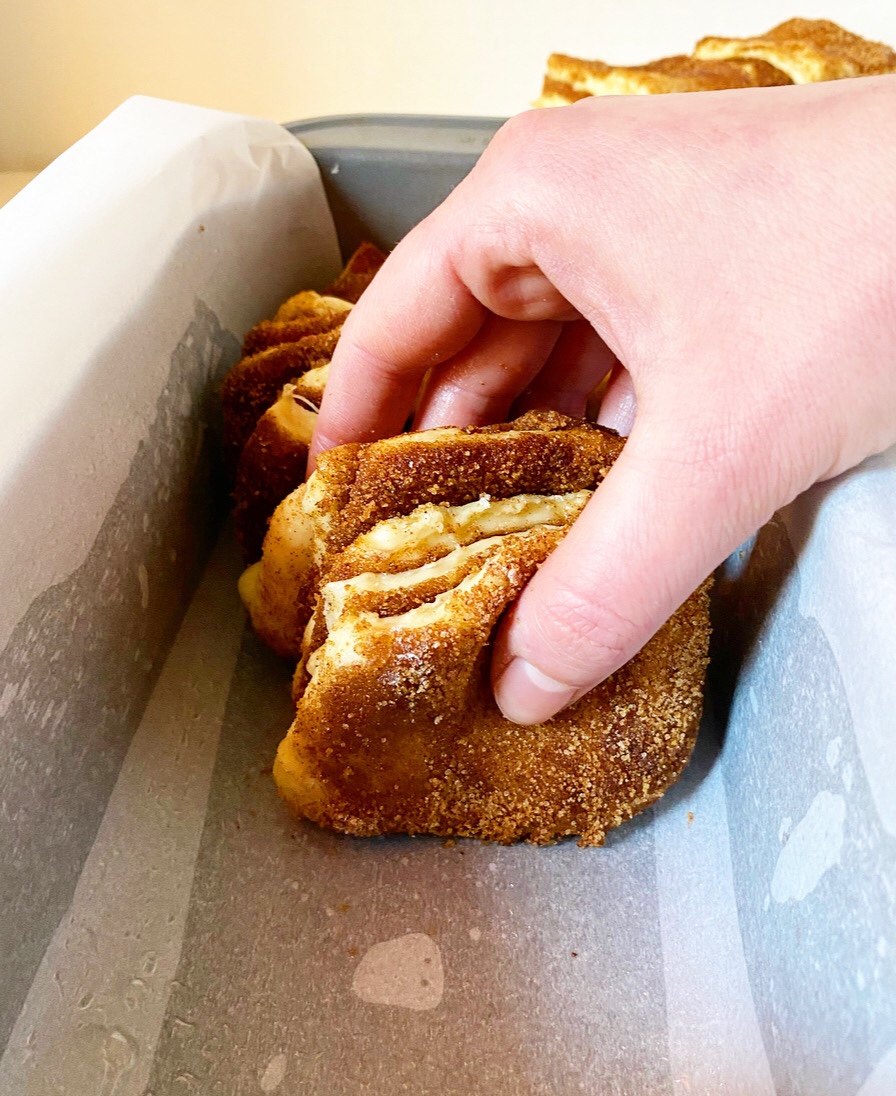
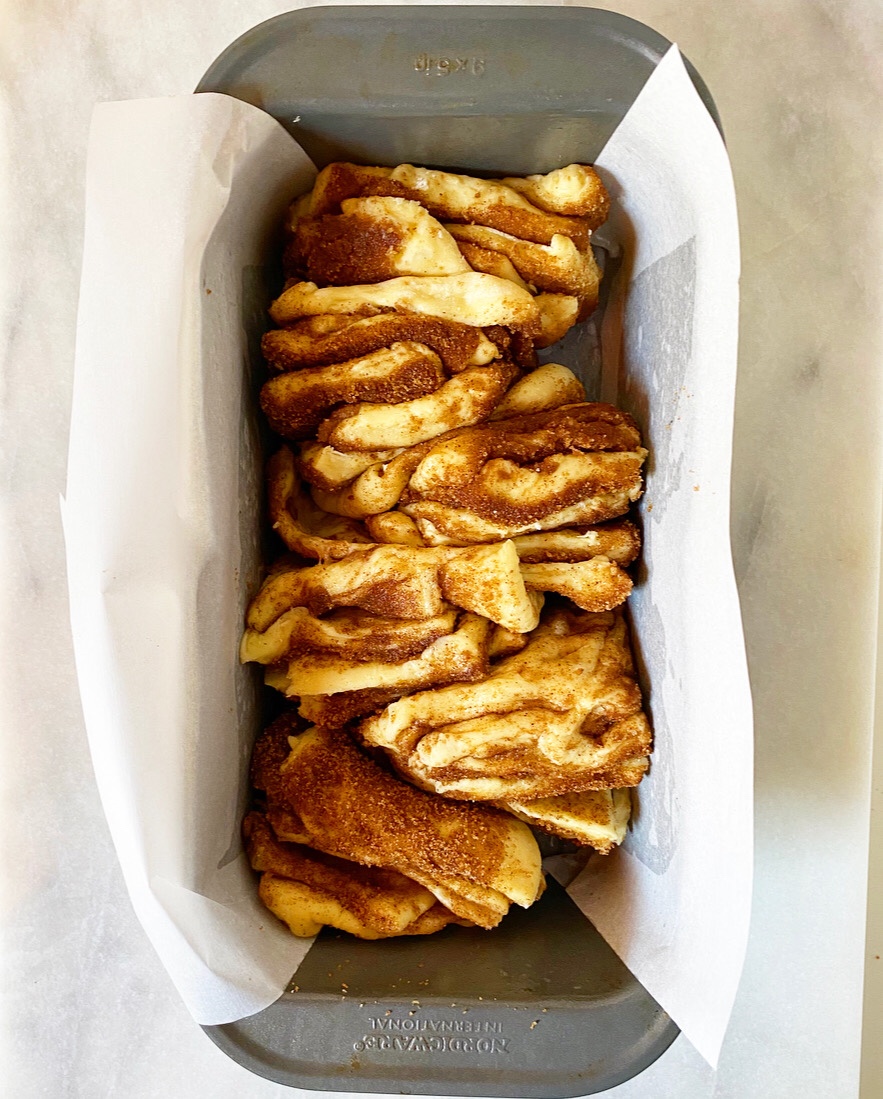
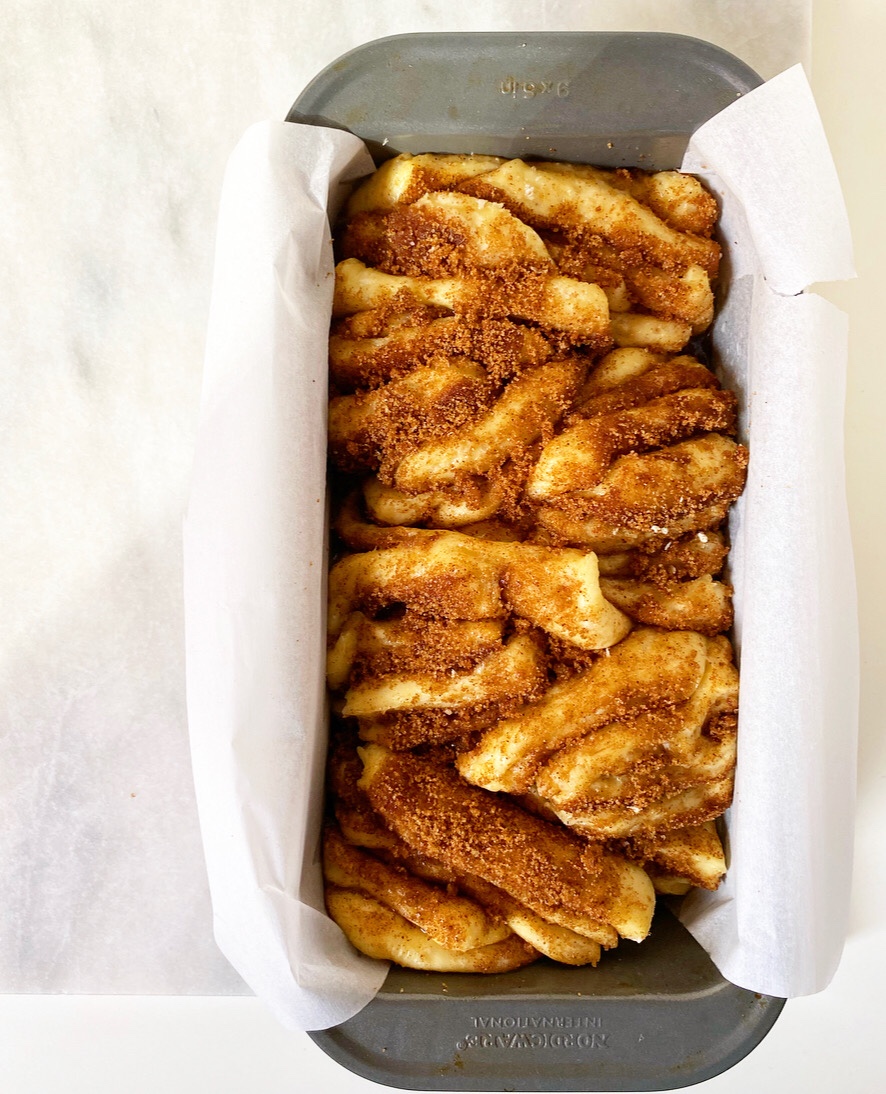
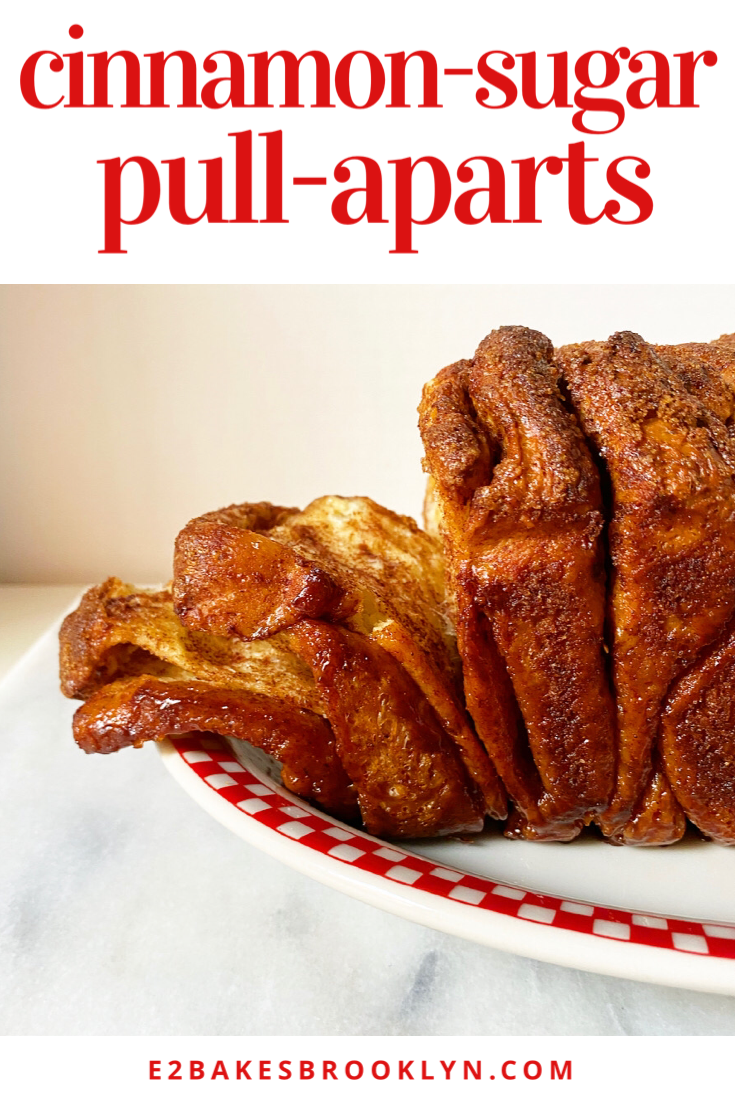
 Then, though, things get a little wacky. Instead of rolling the filled dough into a cylinder, it’s sliced into 36 squares, which are then piled into six stacks of six and arranged in a line(-ish thing) down the center of a loaf pan. The assembled loaf is allowed to rise for about an hour and then baked for 40 minutes, until deeply browned on top and cooked through in the center.
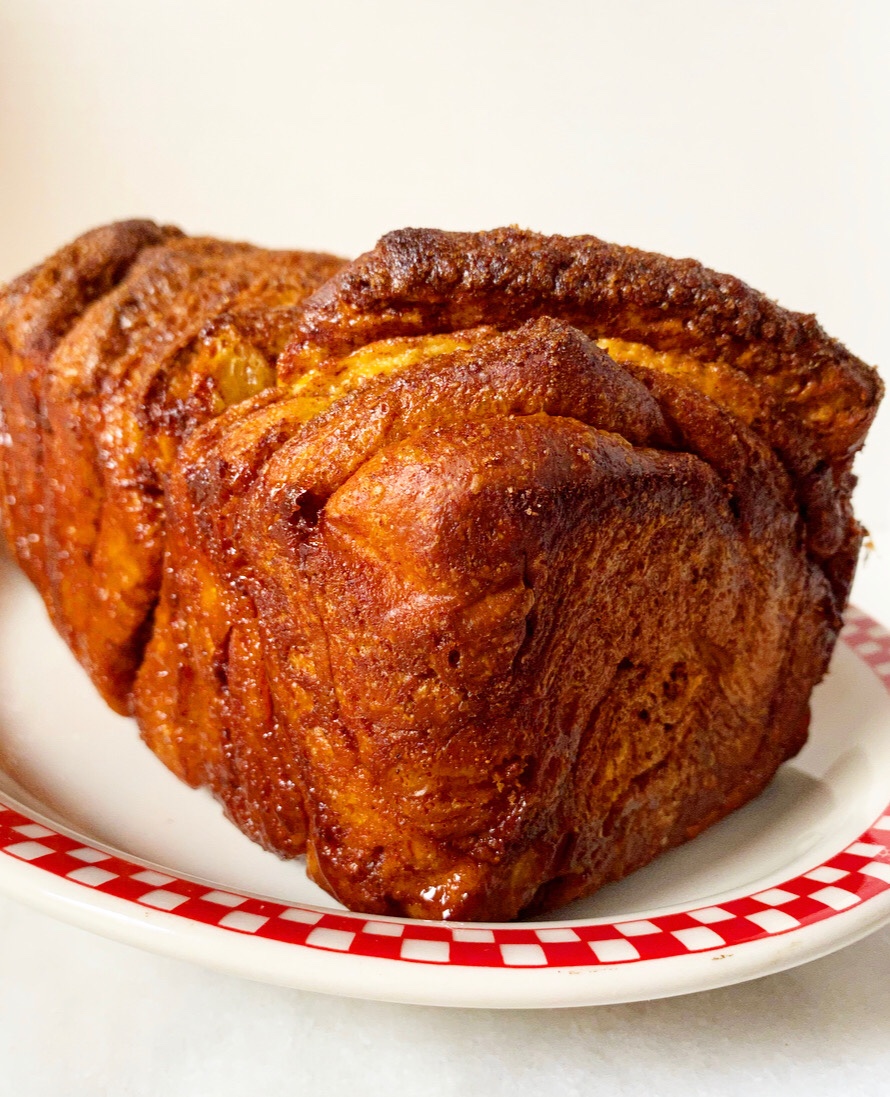
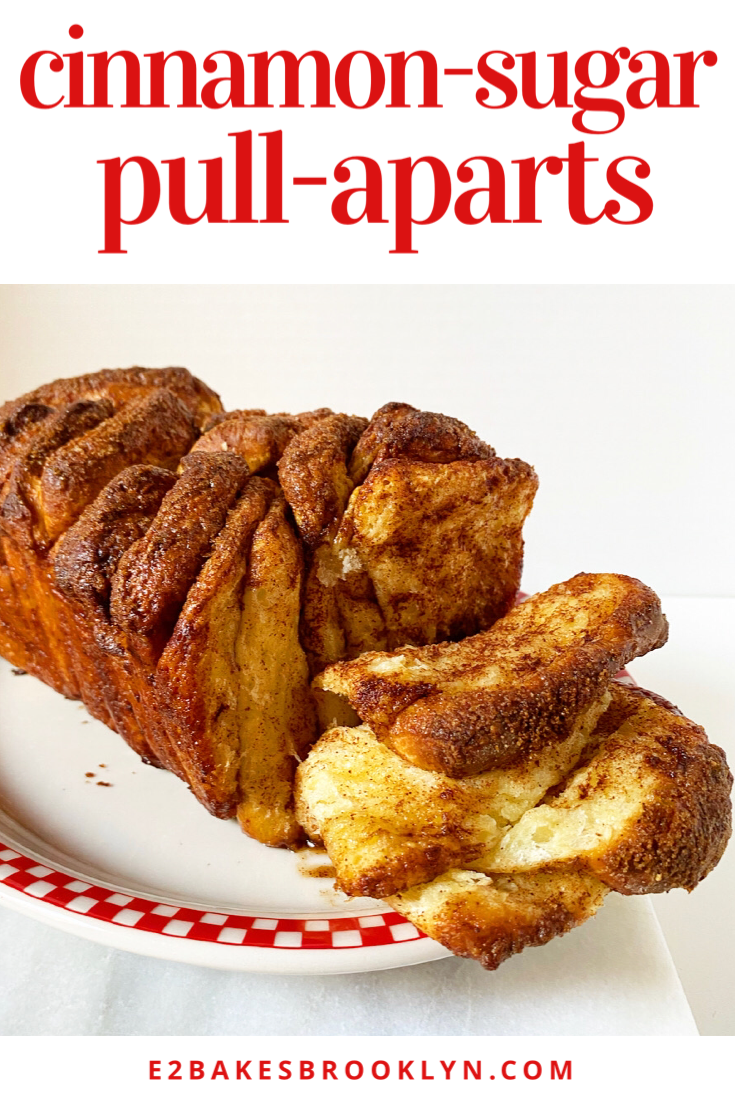
 Let your pull-aparts cool for 20 minutes or so before removing them from the pan. Put the loaf on a serving platter and then blow it a kiss goodbye because it’s going to be quite literally pulled apart in front of your eyes. And it will be glooooorious.
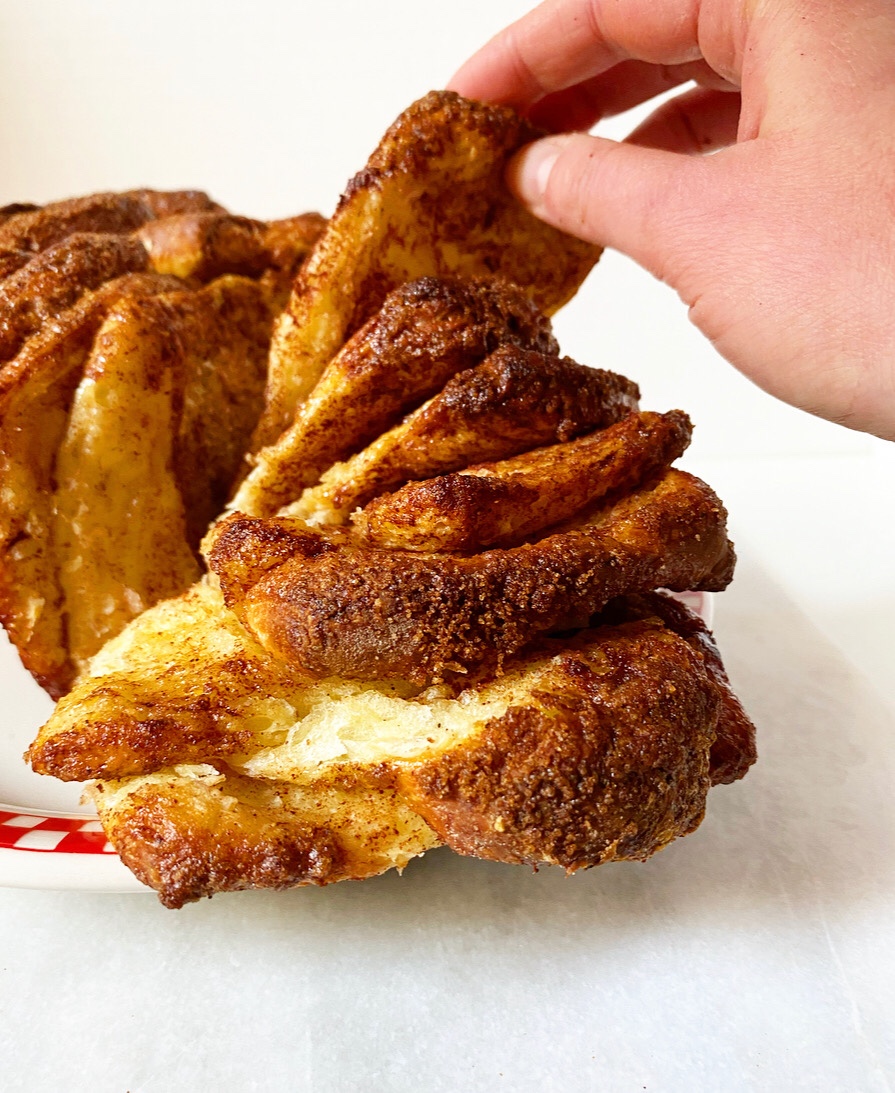 I mean, it’s basically the center of a cinnamon roll’s swirl cut into squares and baked into a loaf shape so that it’s soft and gooey on the inside and crisp and brown on the outside and how could that be anything but glooooorious?