Aaaaand we’re back! And by “we” I mean “me”…and these Brown Butter White Chocolate Macadamia Nut Blondies.
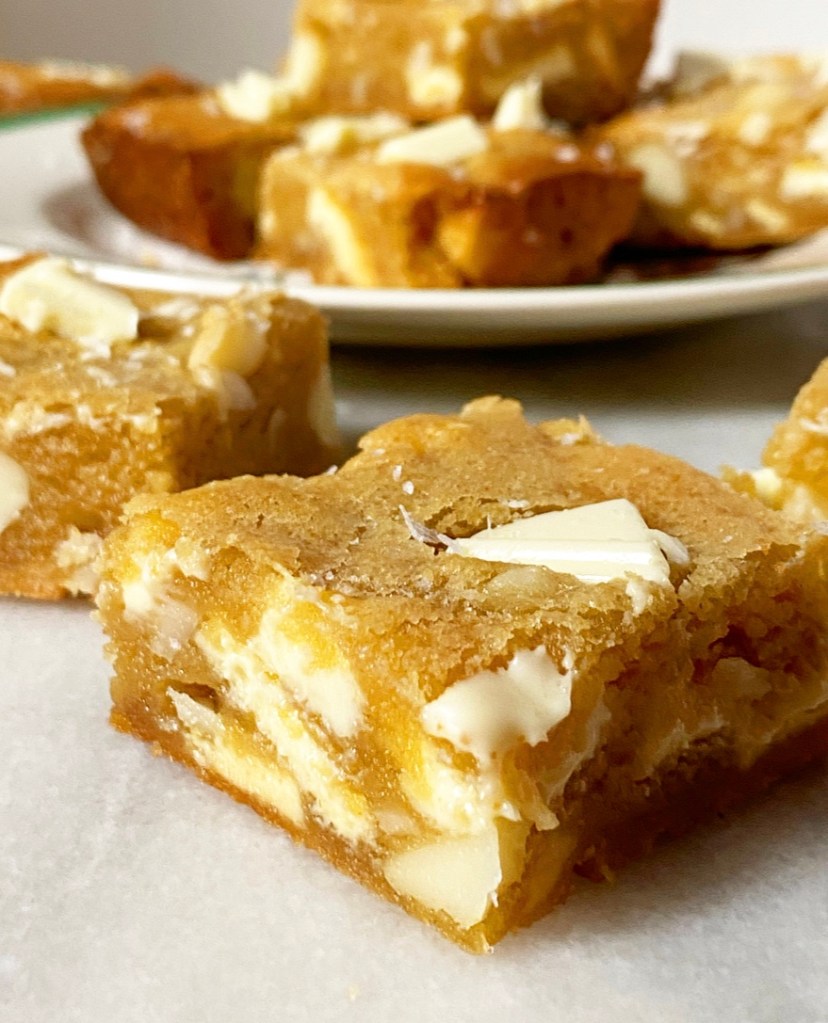
Are these a traditional Christmas treat? Probably not. But after learning that some people consider white chocolate macadamia nut cookies a Christmas staple, I perfected my recipe last year. I turned up the flavor by browning the butter, toasting the macadamia nuts (and leaving them in big pieces), and using pure white chocolate instead of white chocolate chips. They’re incredible, if I do say so myself. Which I do. Obviously.
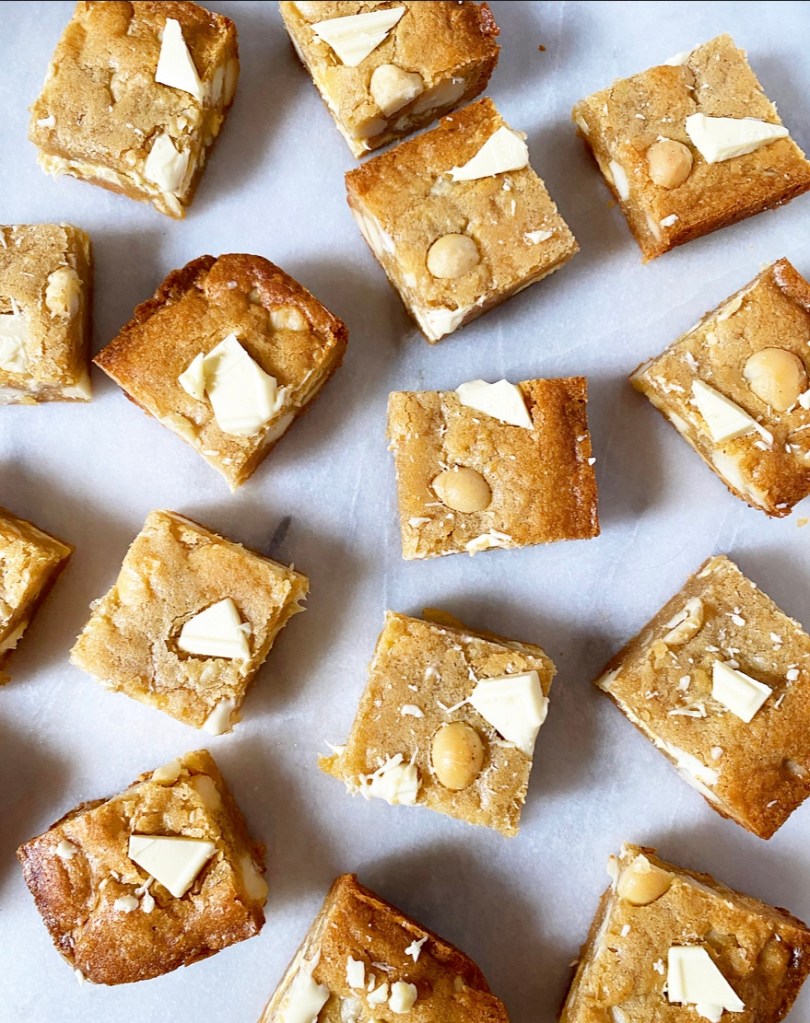
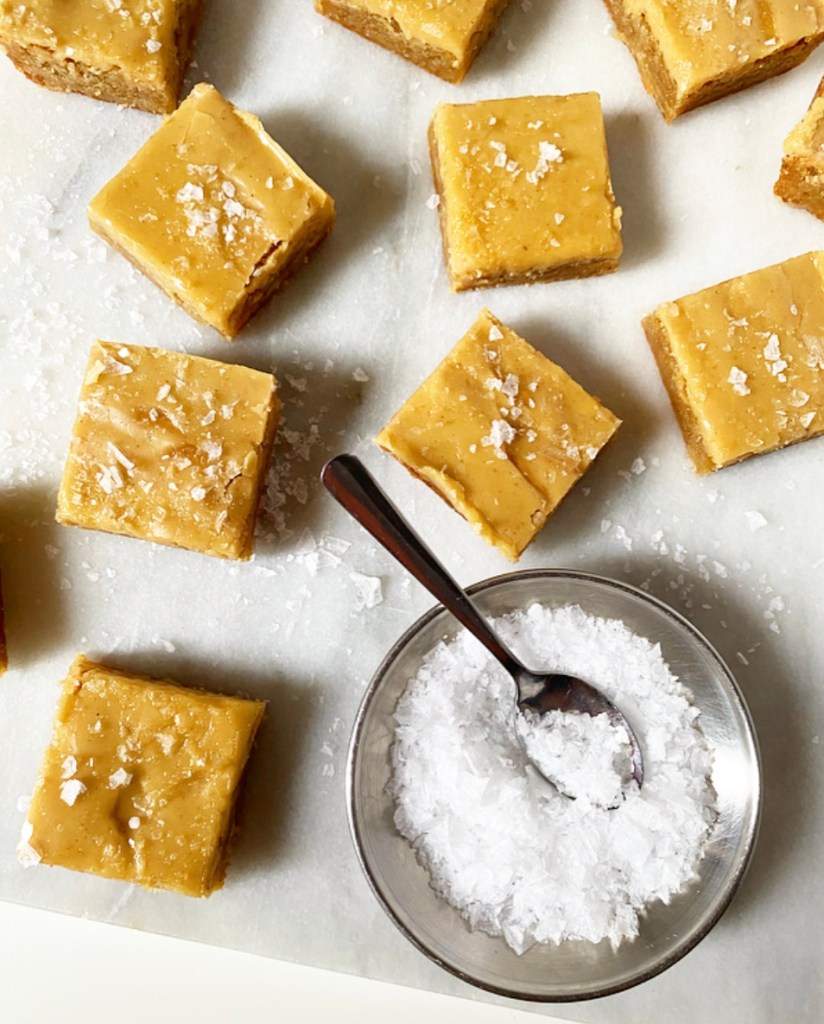
I didn’t try to top that recipe this year, but I’ve simplified it by making it into blondies, and that’s basically the same thing. There’s no tedious chilling, rolling, and batch-baking—just mix the batter, spread it into a pan, bake, cool, and slice into thick, chewy squares. Easy peasy.

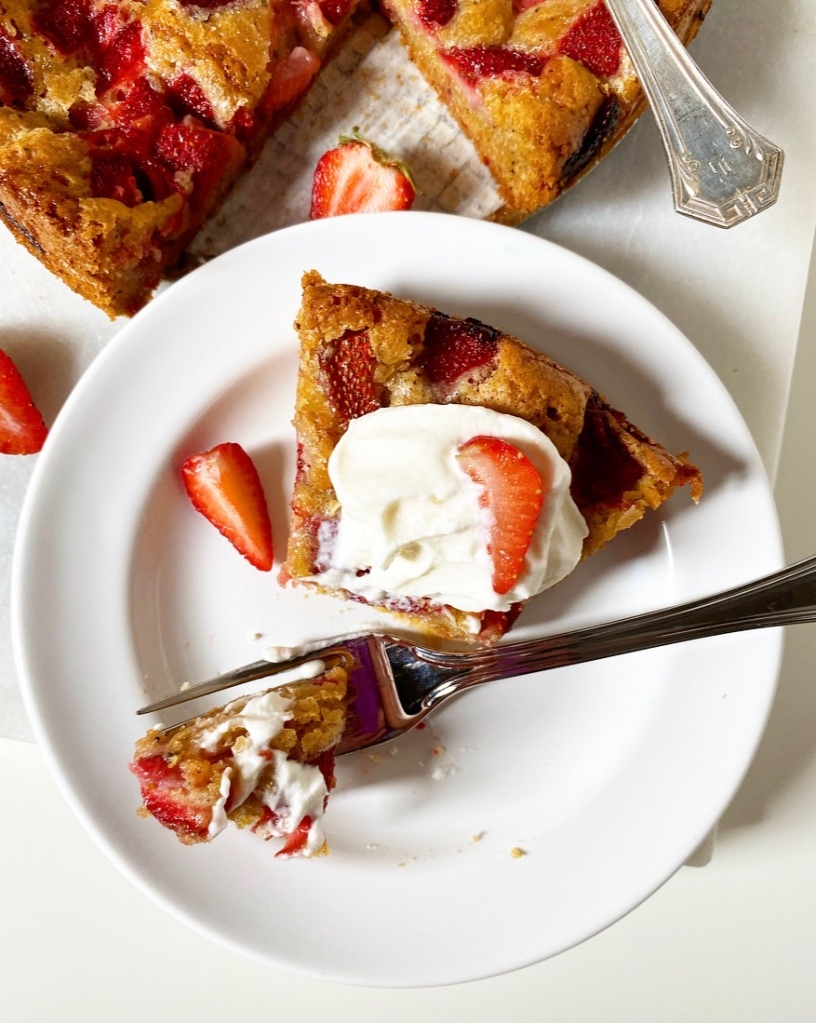
Serve them on your best thrifted Christmas Spode plates and definitely eat one too many.
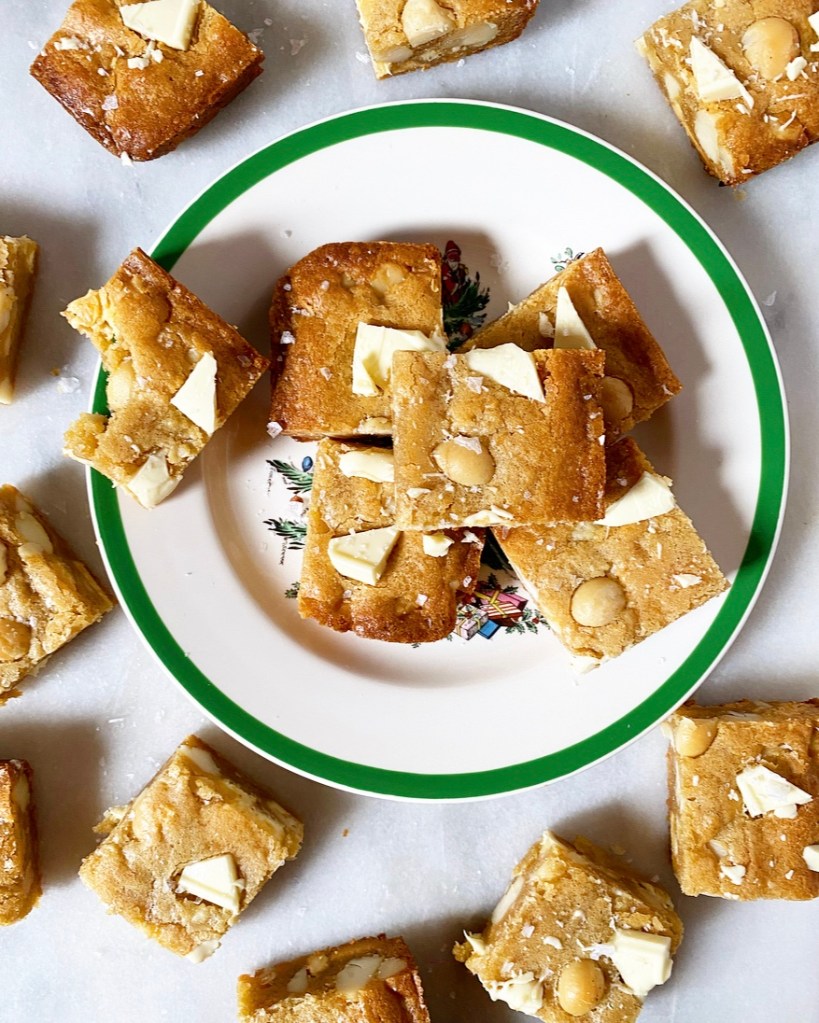
The most wonderful time of the year, indeed.

Brown Butter White Chocolate Macadamia Nut Blondies
makes one 8- or 9-inch square pan, about 16 blondies
3/4 cup macadamia nuts (I used raw)
1/2 cup (1 stick) unsalted butter
2/3 cup light brown sugar, packed
1/3 cup granulated sugar
1 large egg + 1 large egg yolk, room temperature
2 teaspoons pure vanilla extract
1 cup all-purpose flour
1/2 teaspoon Kosher or sea salt
3 ounces white chocolate, chopped (I used Ghirardelli)
flaky salt, for garnish (optional)
If using roasted salted macadamia nuts, skip the first step. Chop them before beginning the recipe at “Brown the butter.” Also reduce the salt to 1/2 teaspoon.
Preheat oven to 350F. Scatter macadamia nuts on a dry rimmed baking sheet and roast 5-7 minutes, or until fragrant. Do not burn. Let cool completely and give them a rough chop.
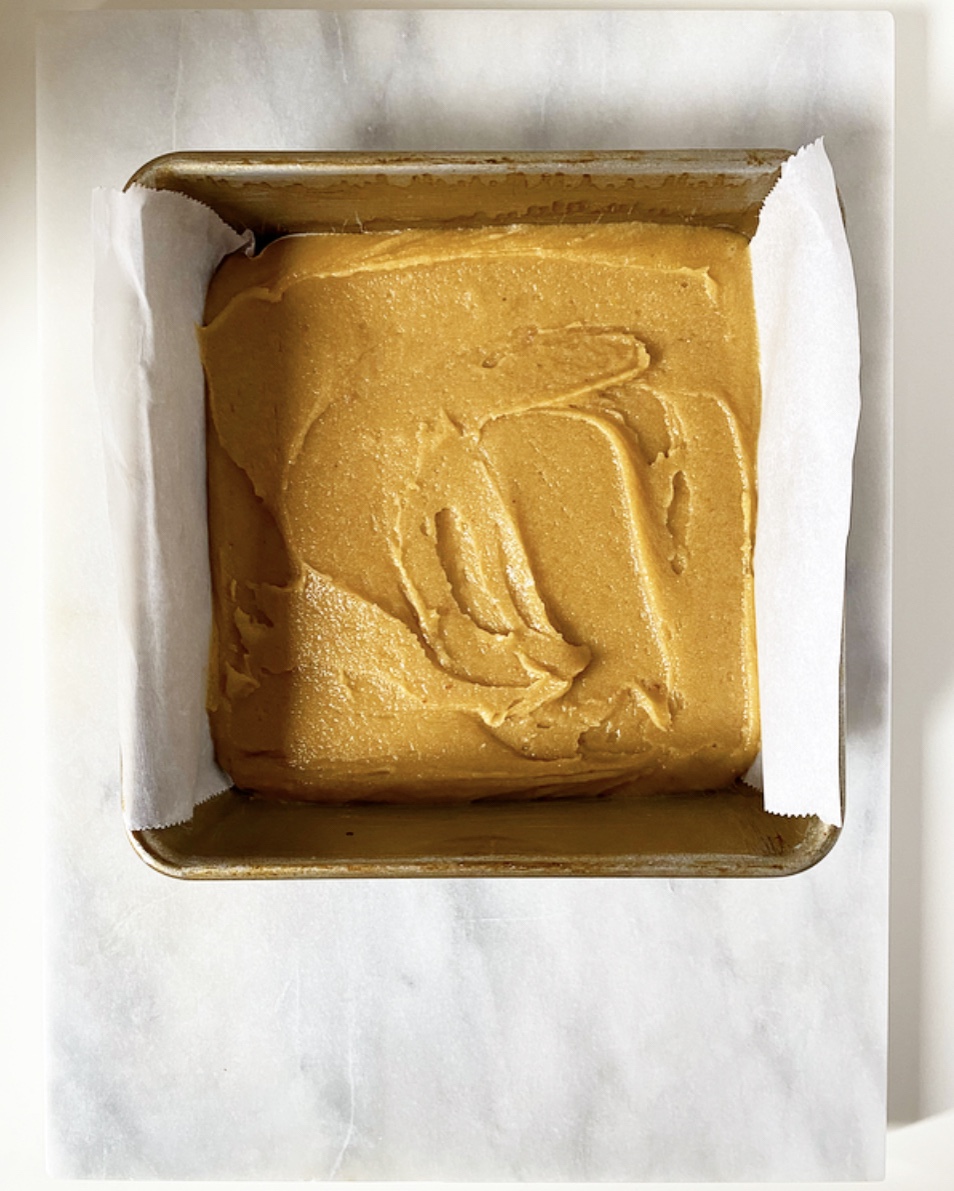
Preheat oven to 350F. Grease an 8- or 9-inch square pan and line with parchment, leaving overhang for bar-removal. Set aside while you make the blondie batter.
Brown the butter. Place butter in a light-colored saucepan over medium heat. Let butter melt. Butter will bubble and crackle as the water content evaporates. Swirl the pan frequently for 5-7 minutes, keeping an eye on the color. When the solids are turning brown and the butter is nutty and fragrant, remove the pot from the heat and immediately pour the brown butter into a medium-large mixing bowl.
Whisk light brown sugar and granulated sugar into the brown butter. Mix in egg, egg yolk, and vanilla, followed by flour and salt. Fold in chopped macadamia nuts and white chocolate. Batter will be thick.
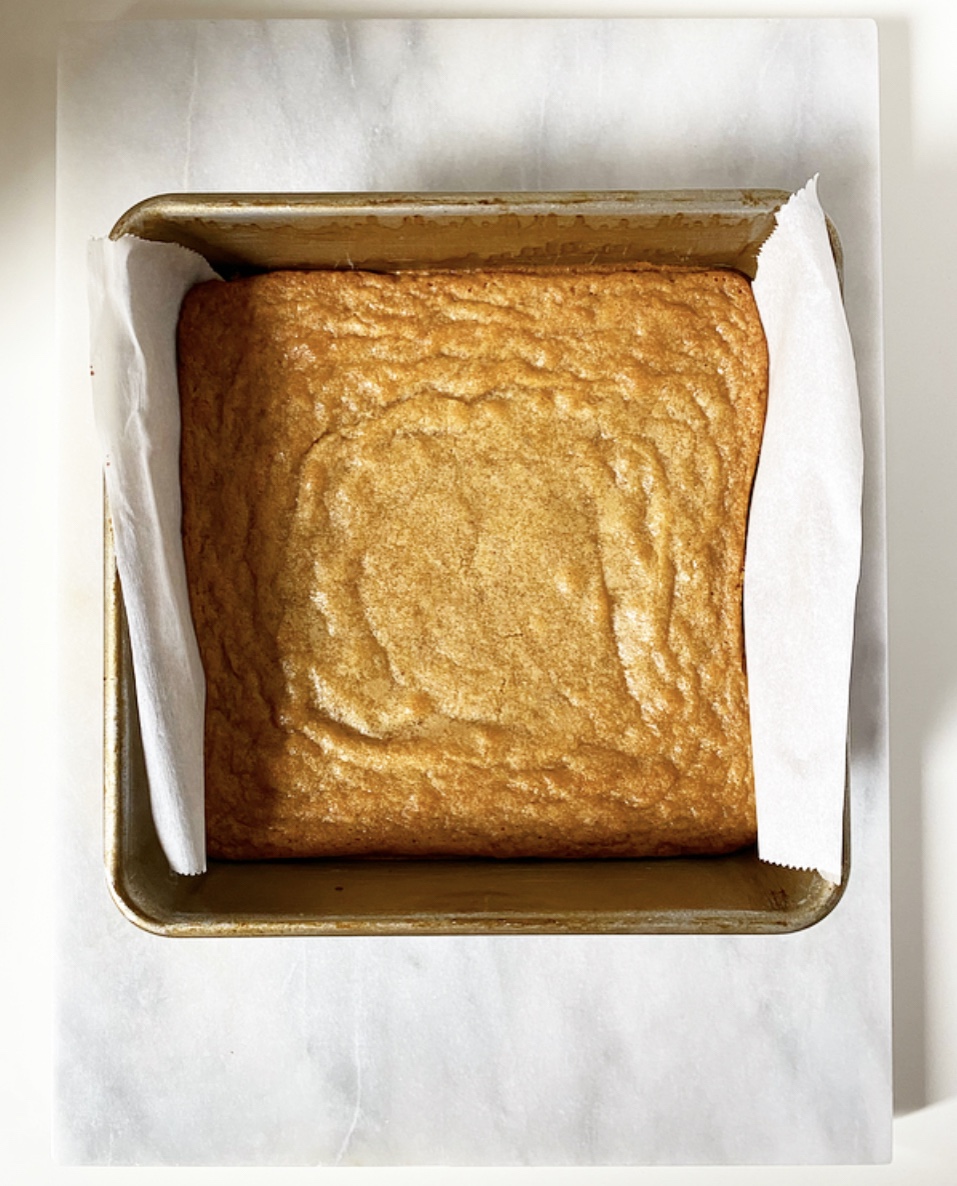
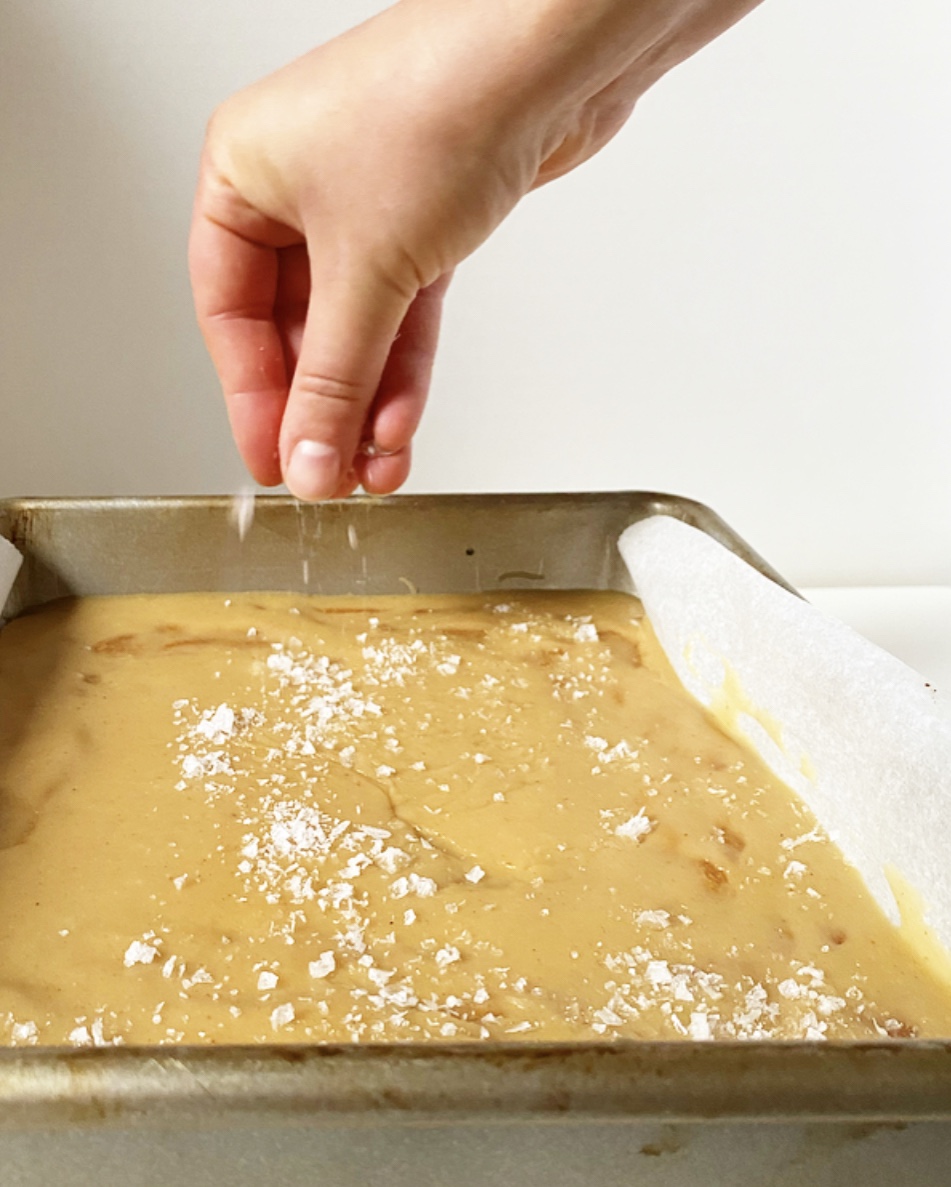
Spread the blondie batter in prepared pan. Bake 25-30 minutes, or until the top is golden and a toothpick inserted in the center comes out mostly clean (no raw batter). Sprinkle blondies with coarse salt, if desired. Let blondies cool completely in the pan on a rack.
Run a small, thin knife around the edge of the pan, then use parchment to lift them onto a cutting board. Slice with a large, sharp chef’s knife, wiping the blade clean between cuts. Serve.
Blondies will keep in an airtight container at room temperature for up to 4 days.


 A few years ago, I put out a call for holiday
 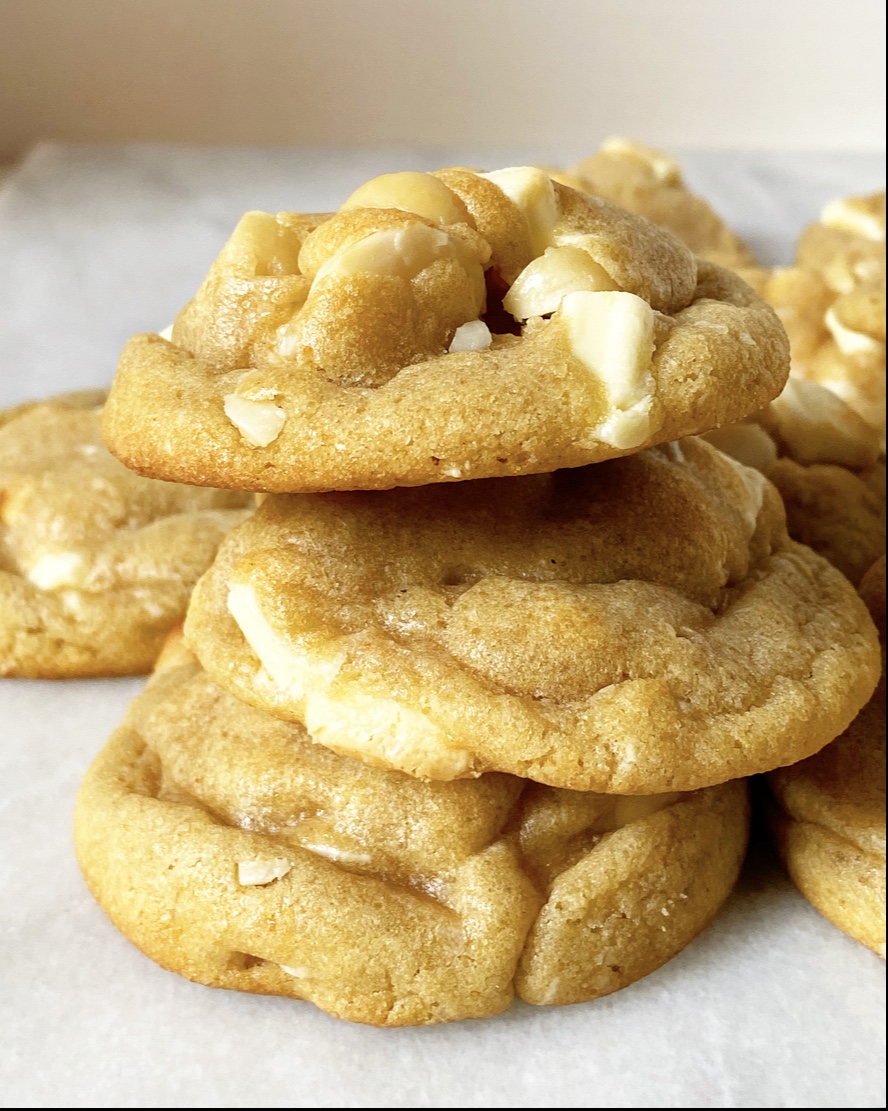 You might be thinking “are white chocolate macadamia nut cookies a holiday cookie?” To that I say…sure, why not?! If someone puts them out at the holidays, I think they’re a holiday cookie. Just because a recipe doesn’t match our own personal experience and nostalgia doesn’t mean it doesn’t align with someone else’s.
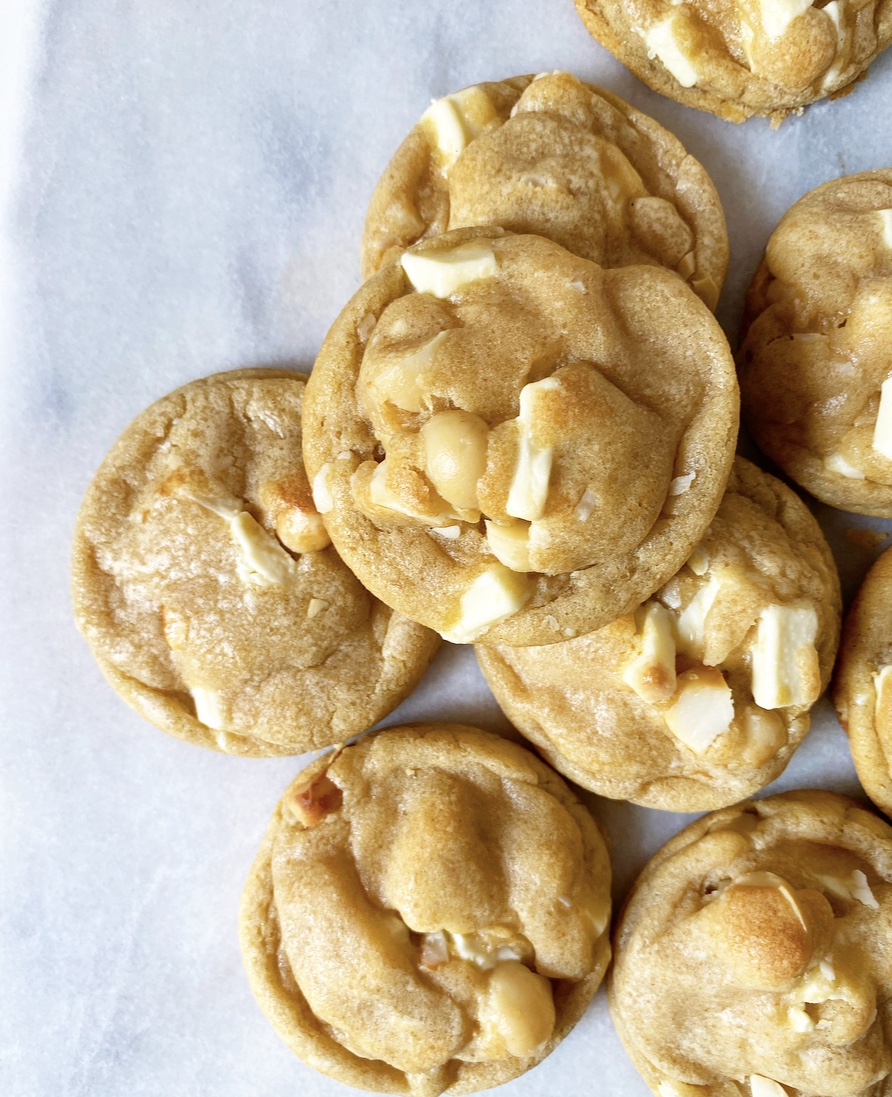
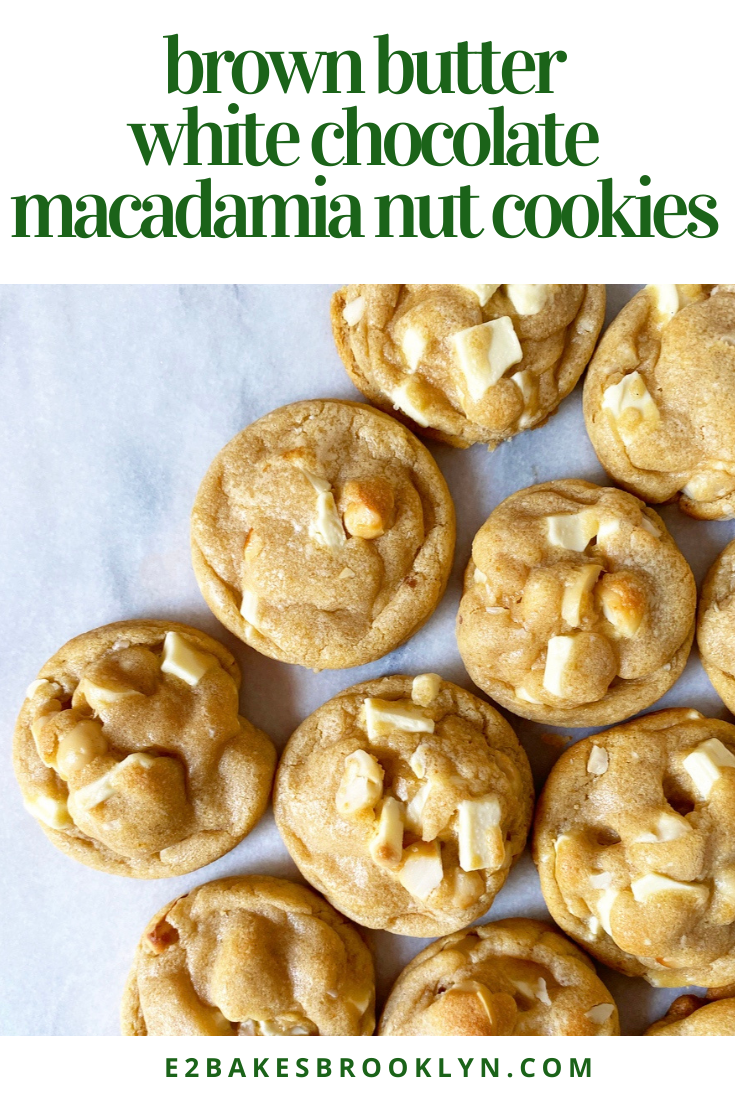
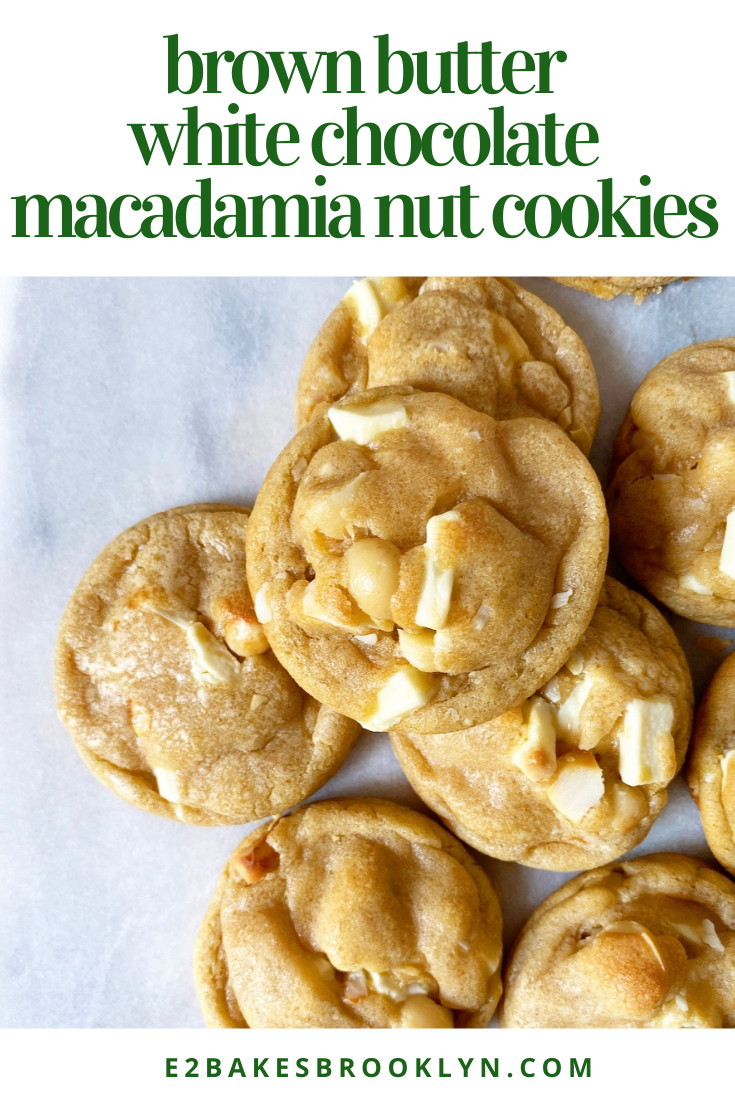
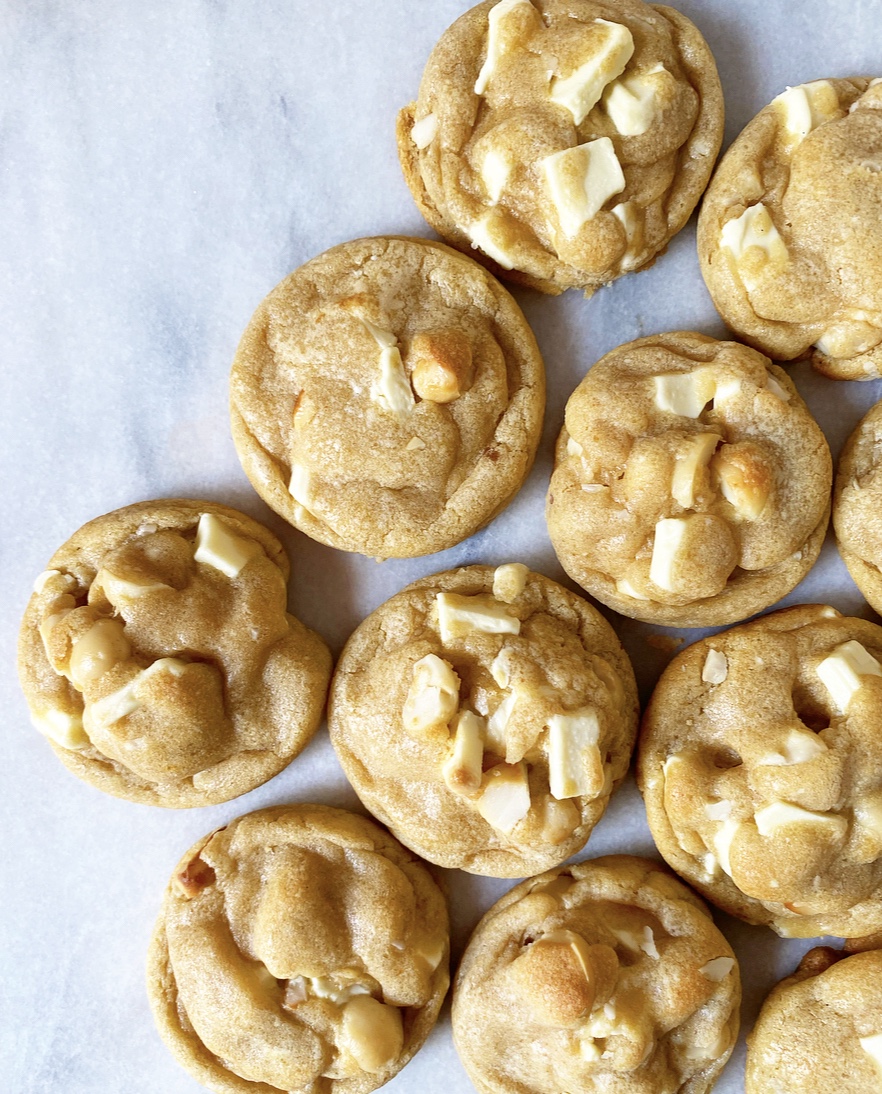 So, here we are with my second holiday cookie of the season: Brown Butter White Chocolate Macadamia Nut Cookies. Yes, that name is seven words long but it is #worthit—brown butter takes this chewy, nutty classic cookie recipe from good to WOW! Like, why have we not been doing this all along?
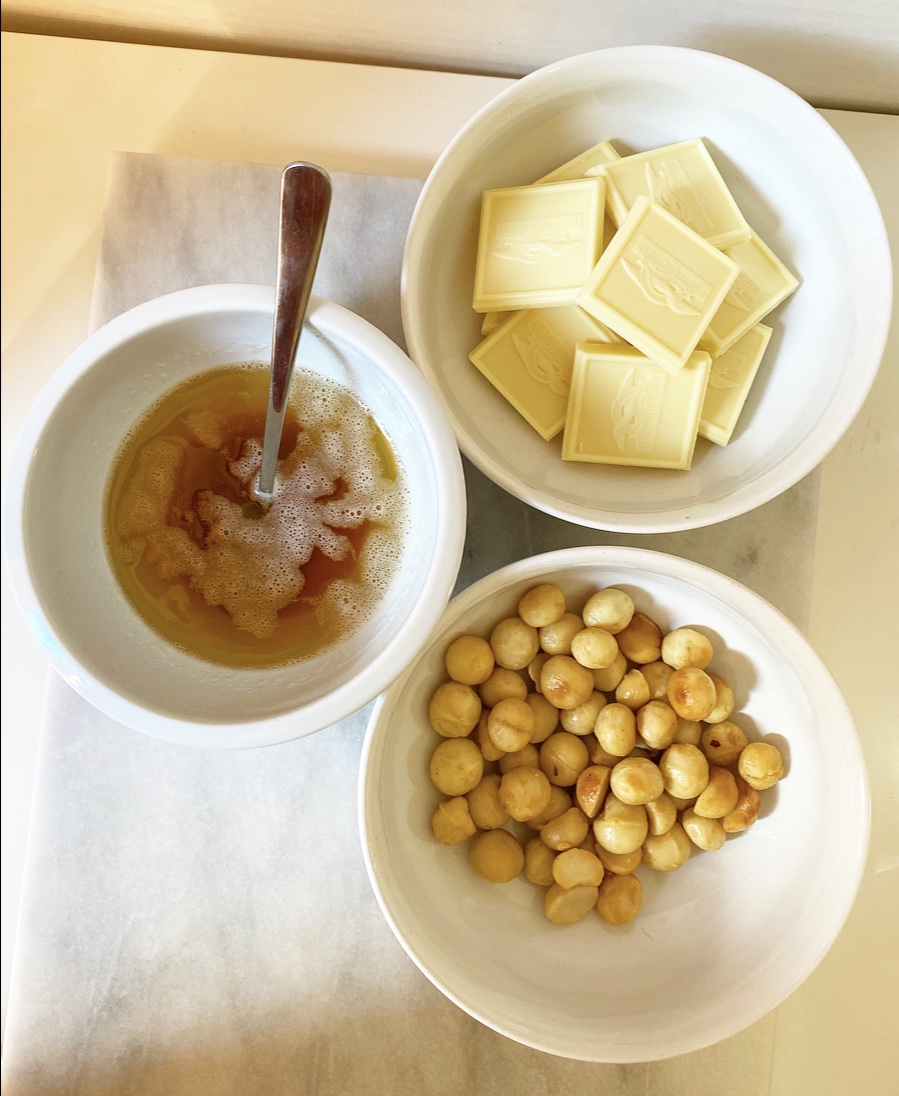
 The cookie dough is straightforward and doesn’t require a mixer or anything fancy. I’ve made these with both white chocolate chips (about a cup) and chopped white chocolate, and prefer the chopped stuff every time. It has more cocoa butter, fewer stabilizers, and it just tastes better, period. As for the macadamia nuts, you can use roasted-salted or raw. I love control and have access to raw macadamias through
 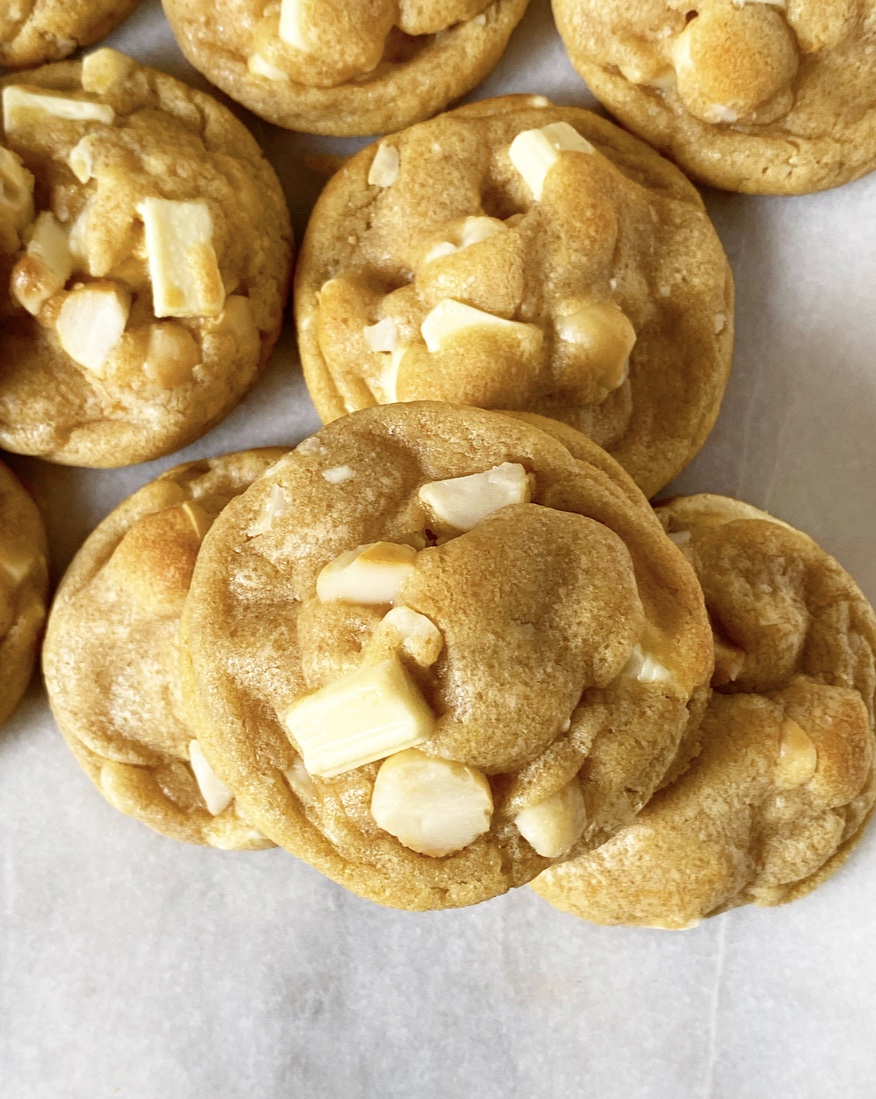 And maybe, just maybe, share a few and spread a little holiday cheer.
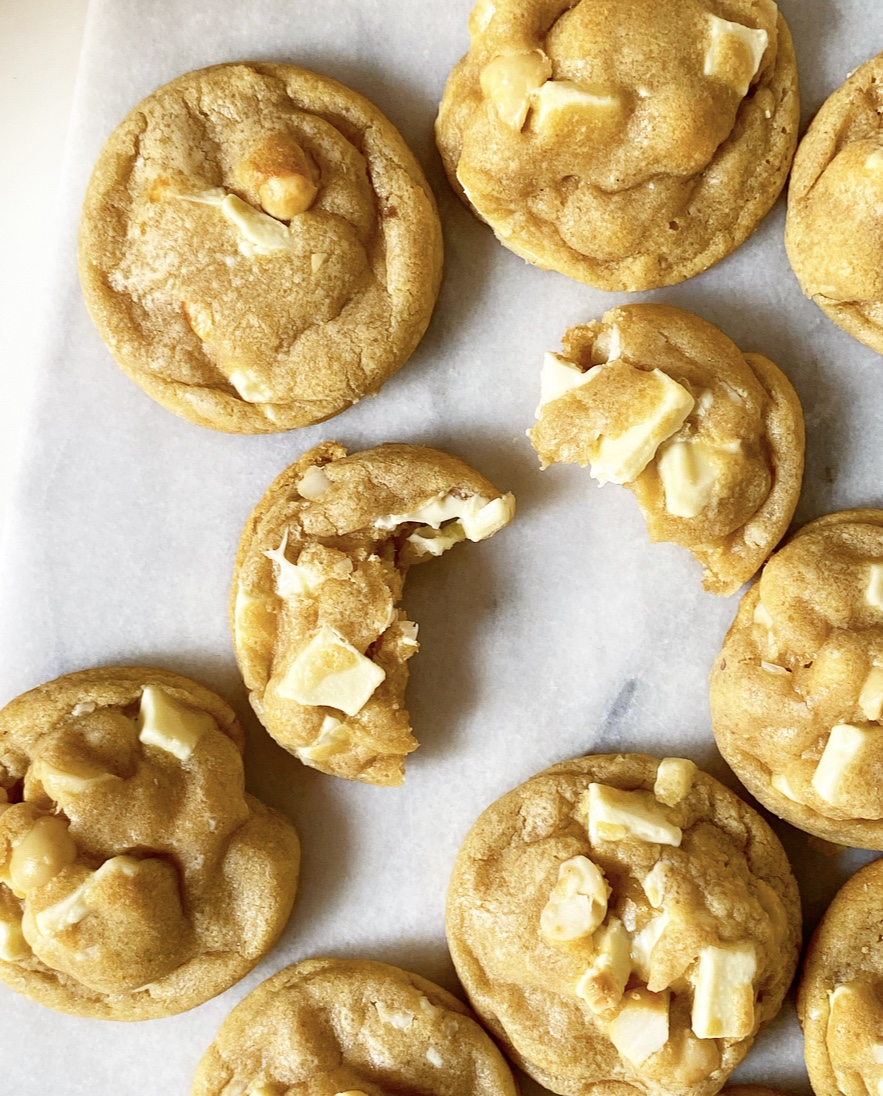
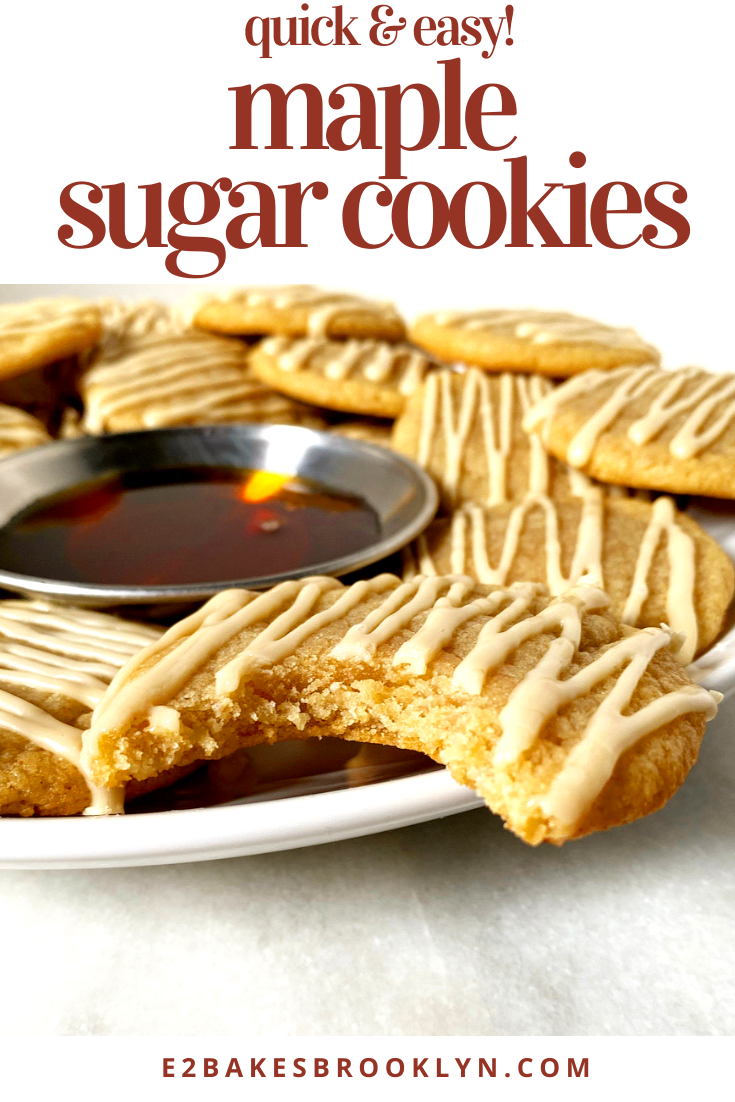
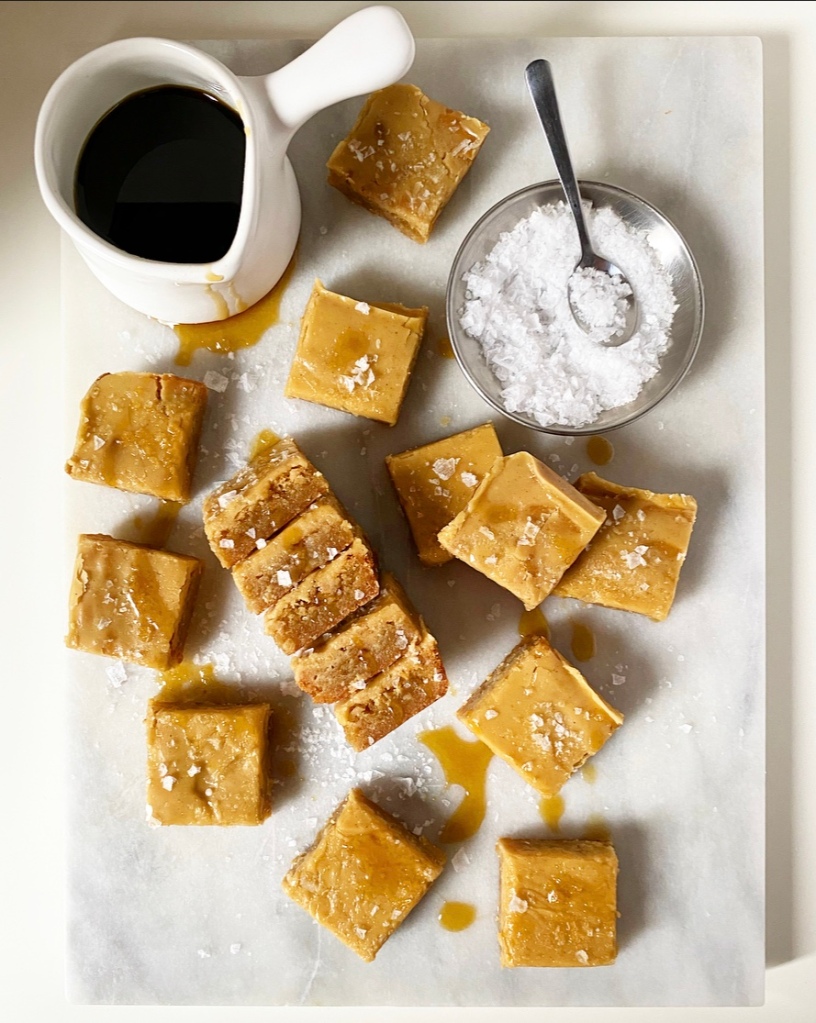
 Y’all, please believe me when I tell you these are *the* best and easiest Maple Sugar Cookies out there. They are so, so good. Throughout the pandemic, I’ve agonized over how best to distribute my blogging leftovers, but these? I kept them all to myself. I didn’t even give one to my roommate.
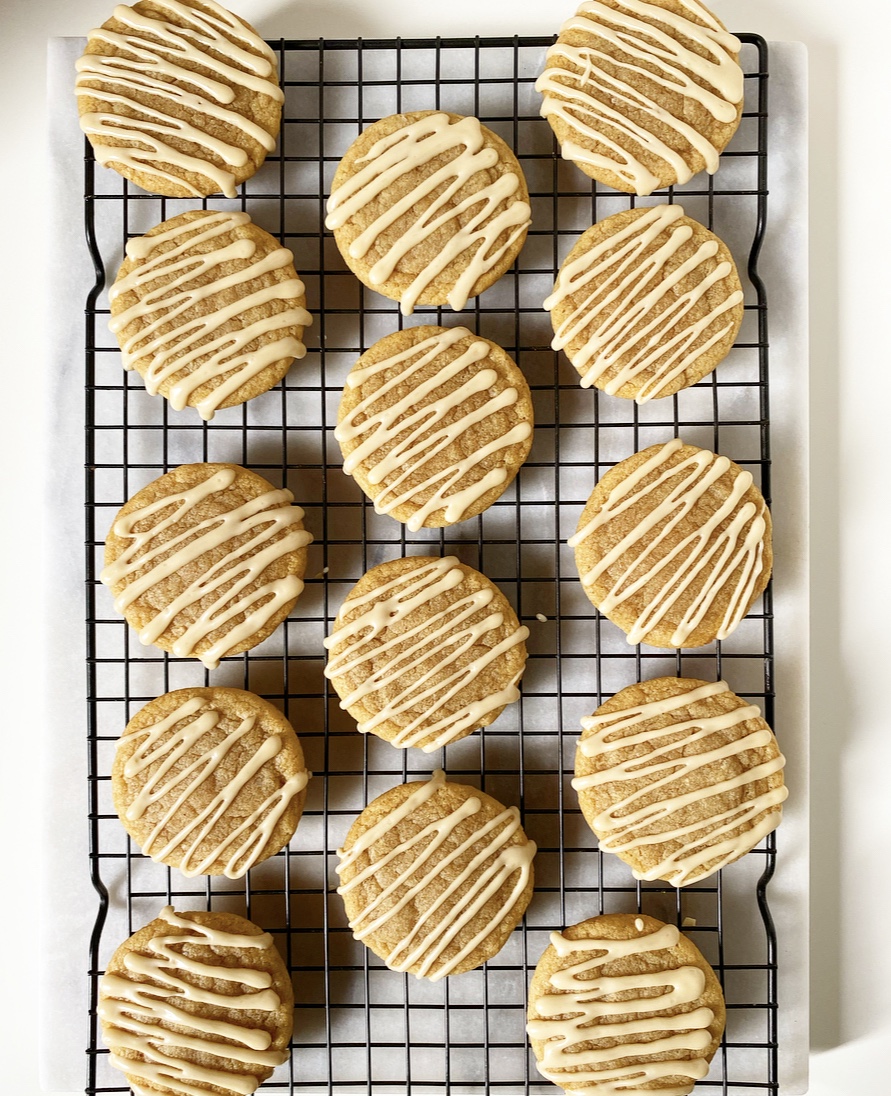 So, what makes these Maple Sugar Cookies the best? Well, to start with, they’re chewy sugar cookies with big maple flavor–you can’t go wrong with that combo! In addition to maple syrup in both the dough and the glaze, these cookies are filled with a bunch of other very delicious things like nutty brown butter, light brown sugar, vanilla, and a pinch of nutmeg that really makes the flavors sing. Basically, there’s no way these were ever going to be anything but great.
 Heck, you don’t even need a bowl for this recipe! Nope, the dough comes together in a pot on the stove. I was inspired to try this method after seeing Lauren Brennan’s
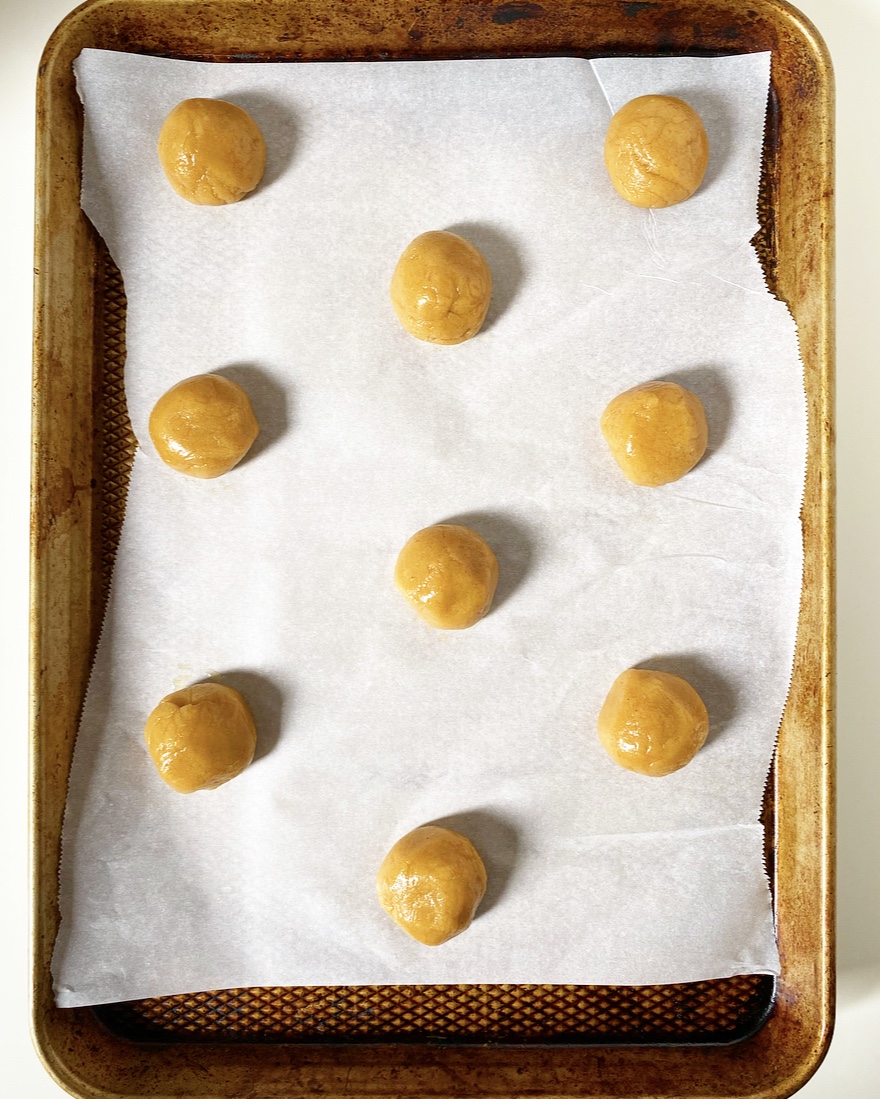
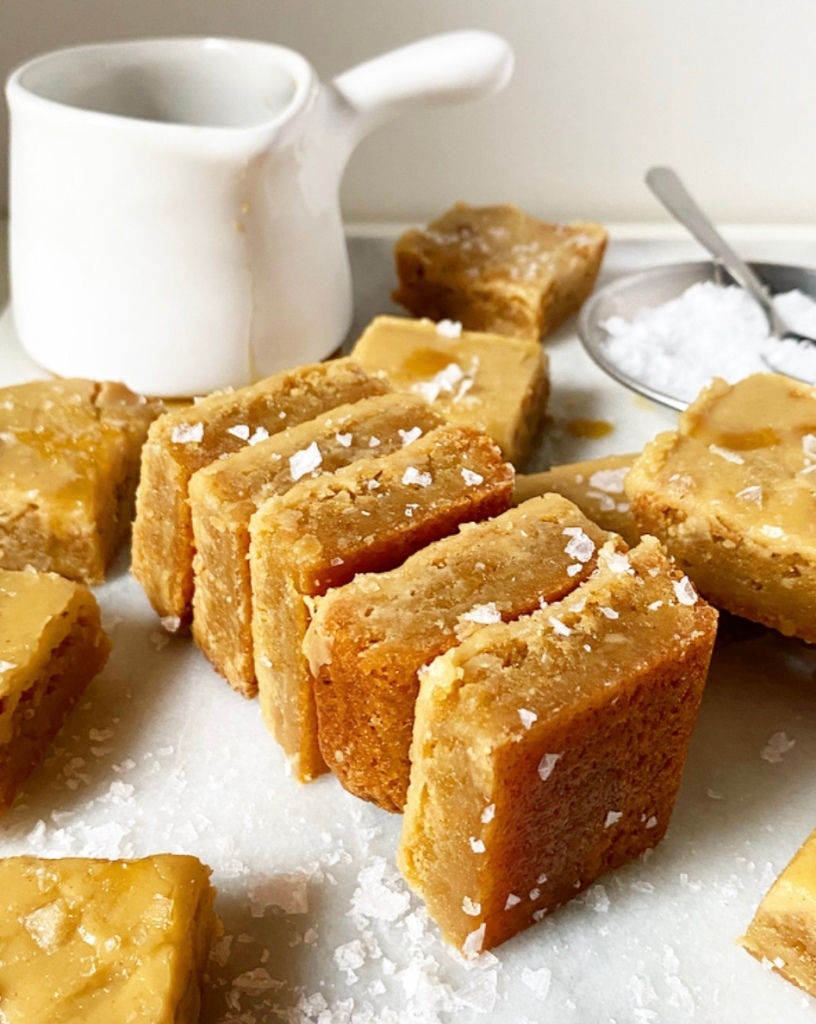
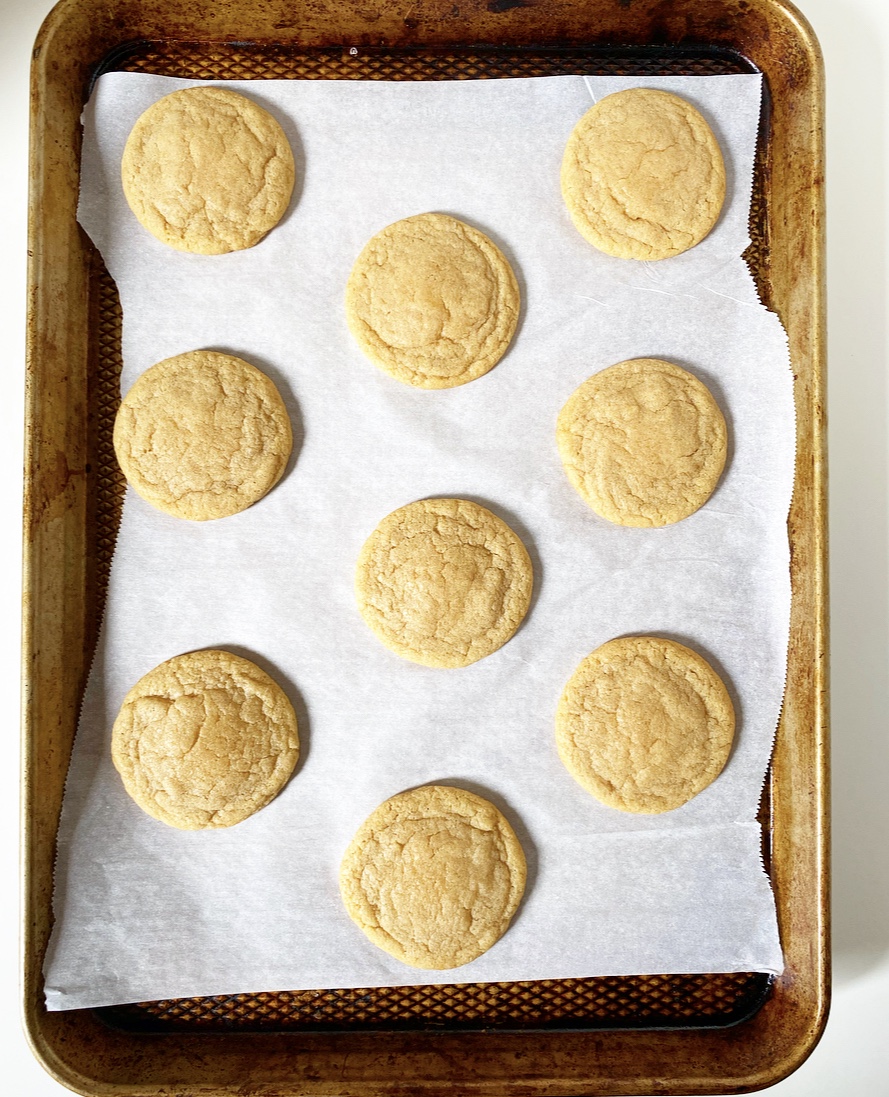 To make Maple Sugar Cookies, start by browning the butter. Just when the milk solids turn golden, remove the pan from the heat and stir in the sugars and maple syrup. Let the mix cool about ten minutes before adding an egg, two teaspoons of vanilla and the dry ingredients. Then let the dough rest for ten more minutes before scooping, rolling and baking.
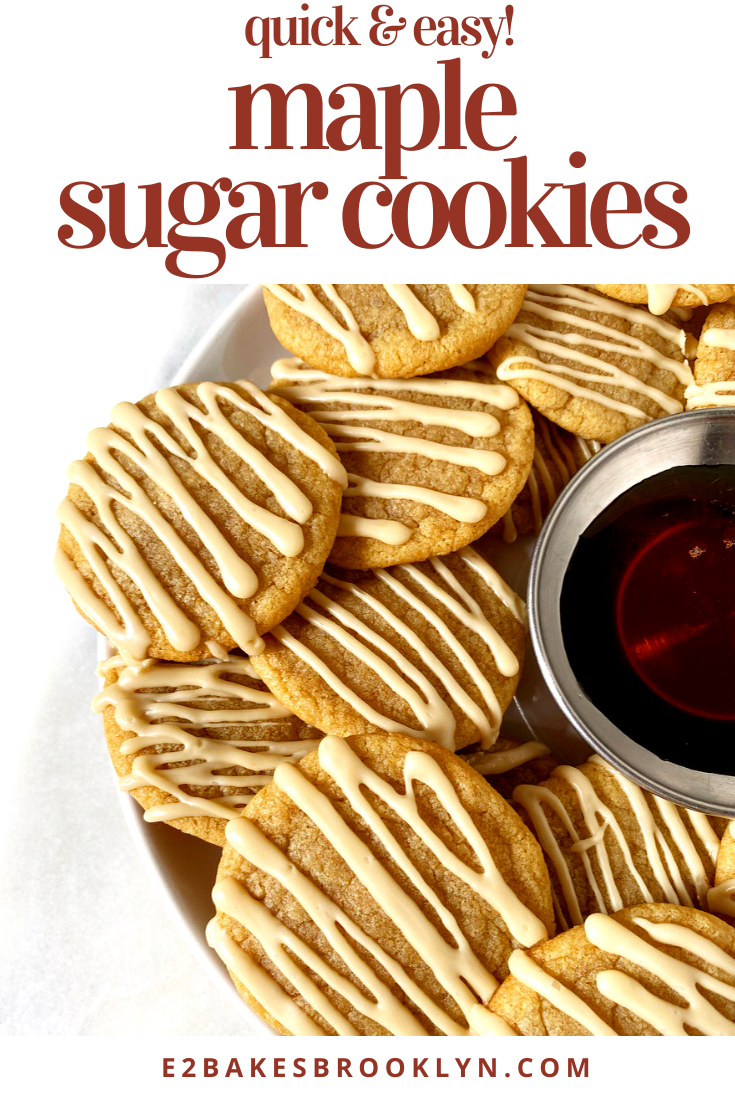
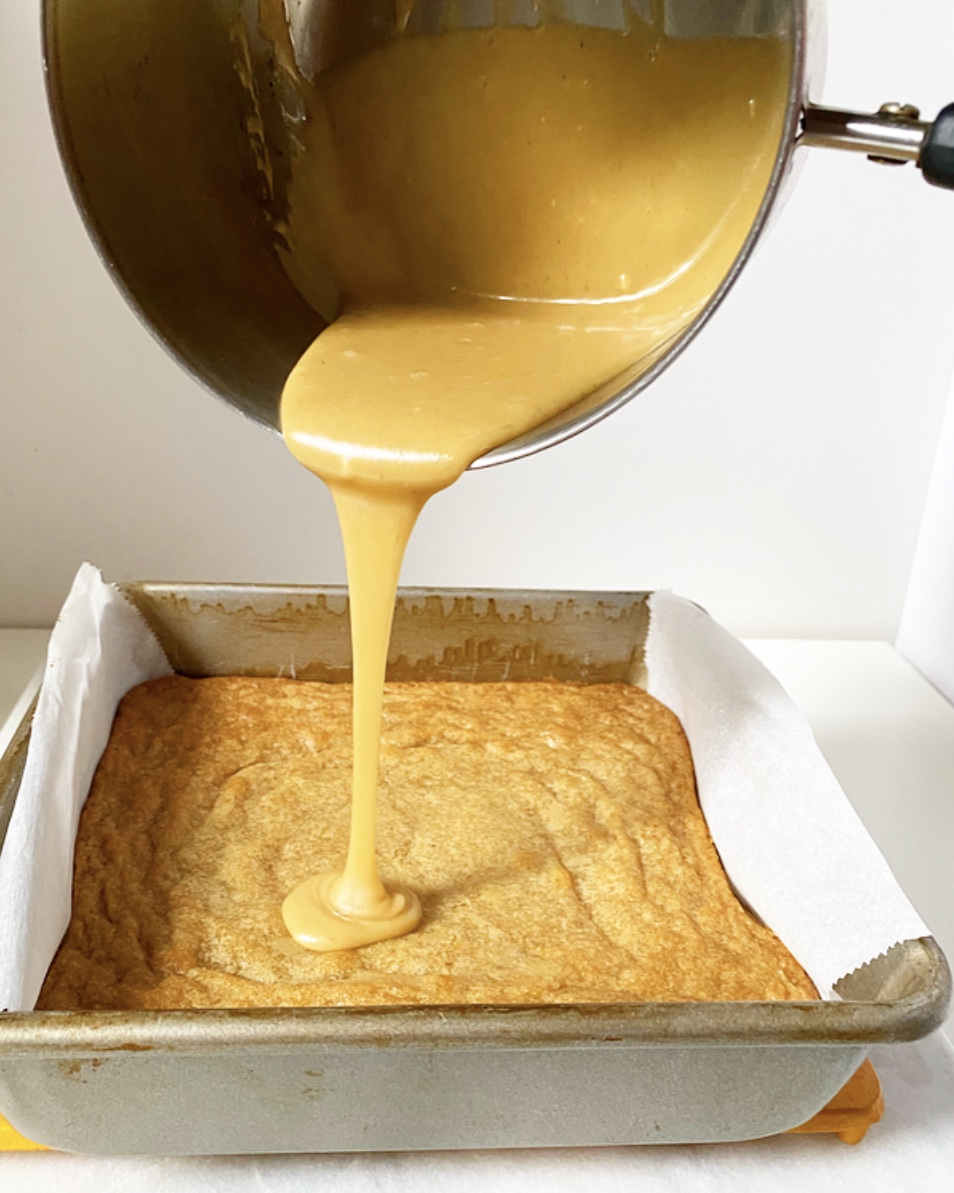
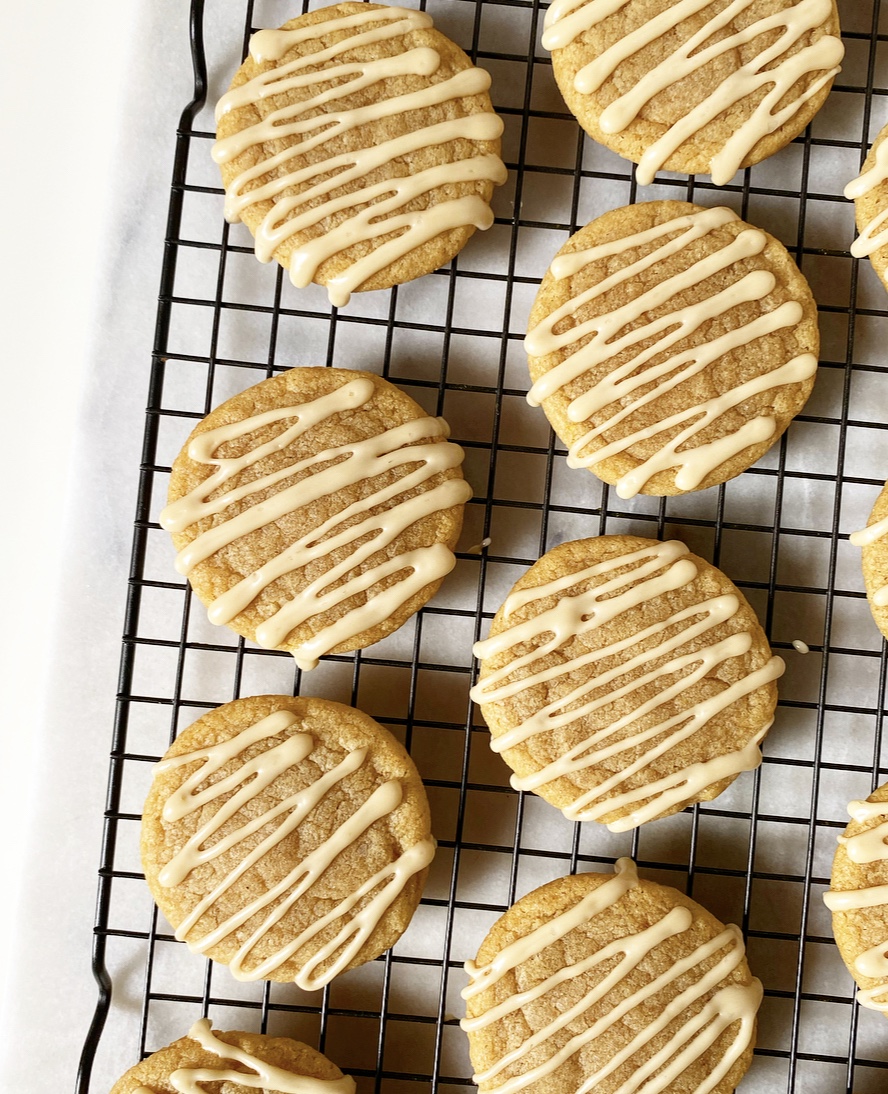 While these cookies are delicious enough that they don’t need adornment, you know I love a glaze. This one is just confectioner’s sugar, maple syrup and a pinch of salt. Whirl it up and drizzle it on the finished cookies. You may drizzle with a fork, or follow my lead and use a piping bag with the tiniest corner snipped off. Hello, I am a control freak.
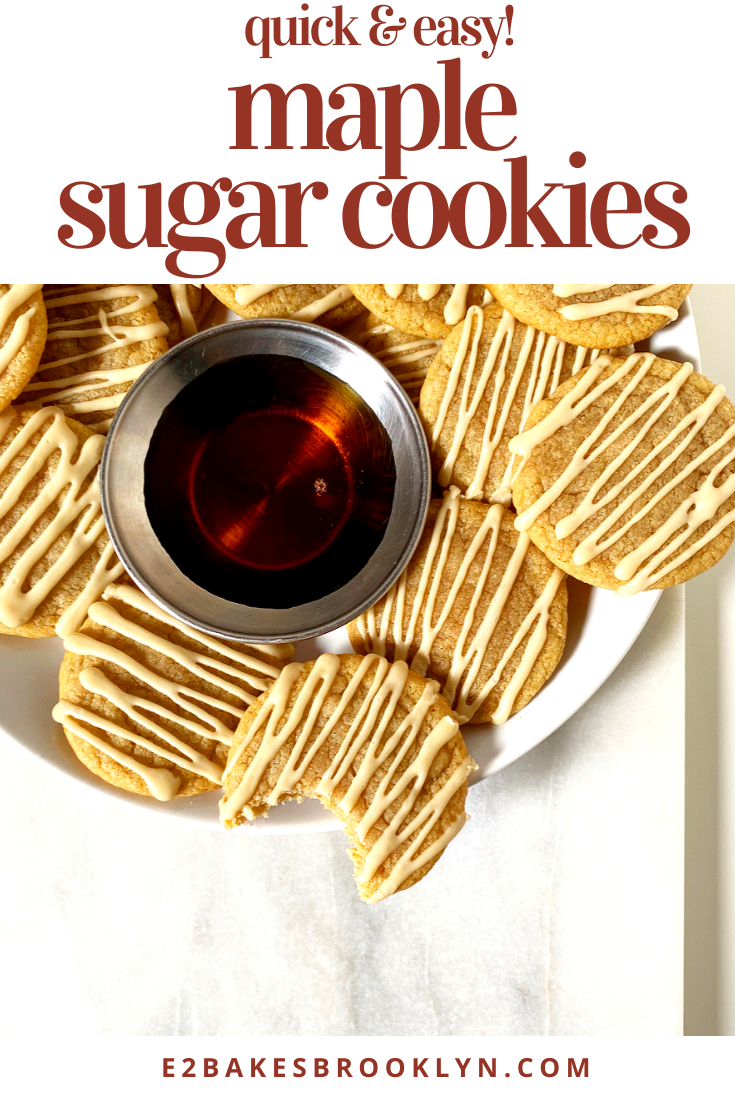
 The last step in making Maple Sugar Cookies? Wait, but not for long. Just for like an hour or so. As with many baked goods, the flavors need this time to meld and settle. Will your cookies be bad if you eat them right away? Of course not—they’re cookies!—but the maple flavor won’t shine through the way it will sixty minutes later. Trust me when I tell you that, after an hour, you will be rewarded for your patience with perfect chewy, mapley cookies with hints of brown butter and brown sugar. And while the batch makes plenty to share, I won’t blame you one bit if you hoard them all to yourself.