I firmly believe that you can never, ever have too many everyday cake recipes. Ever. And even if you can, you should add this Brown Butter Strawberry Torte to the list anyway.
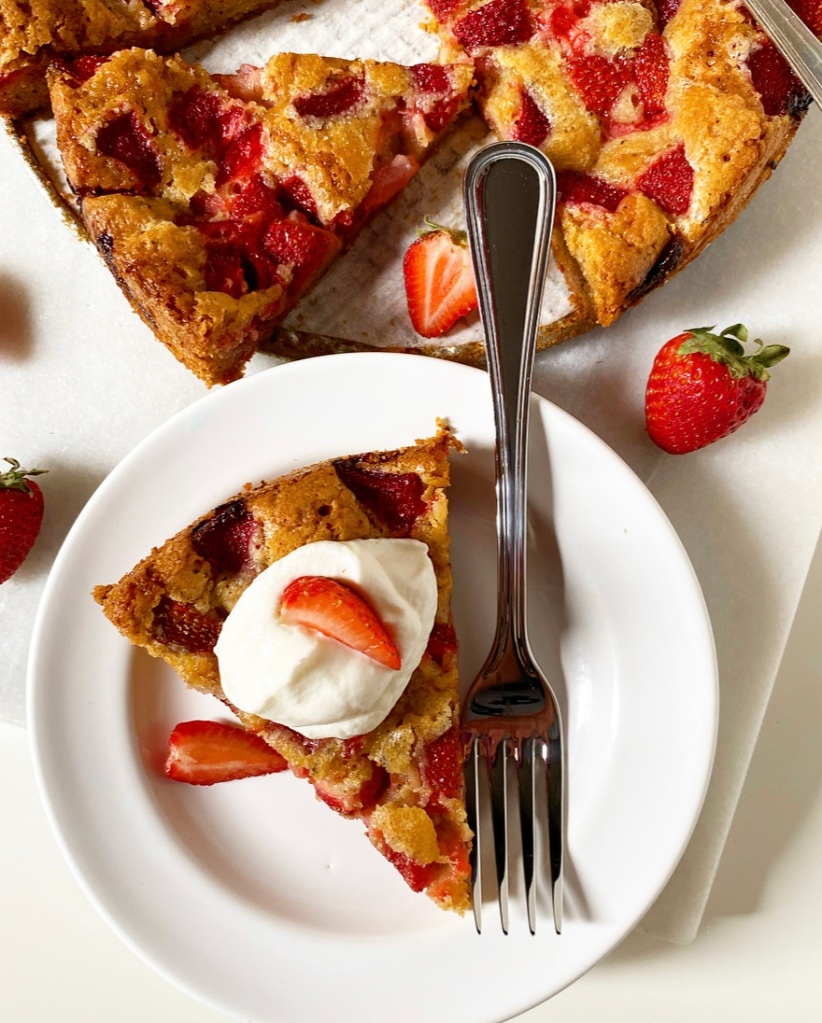
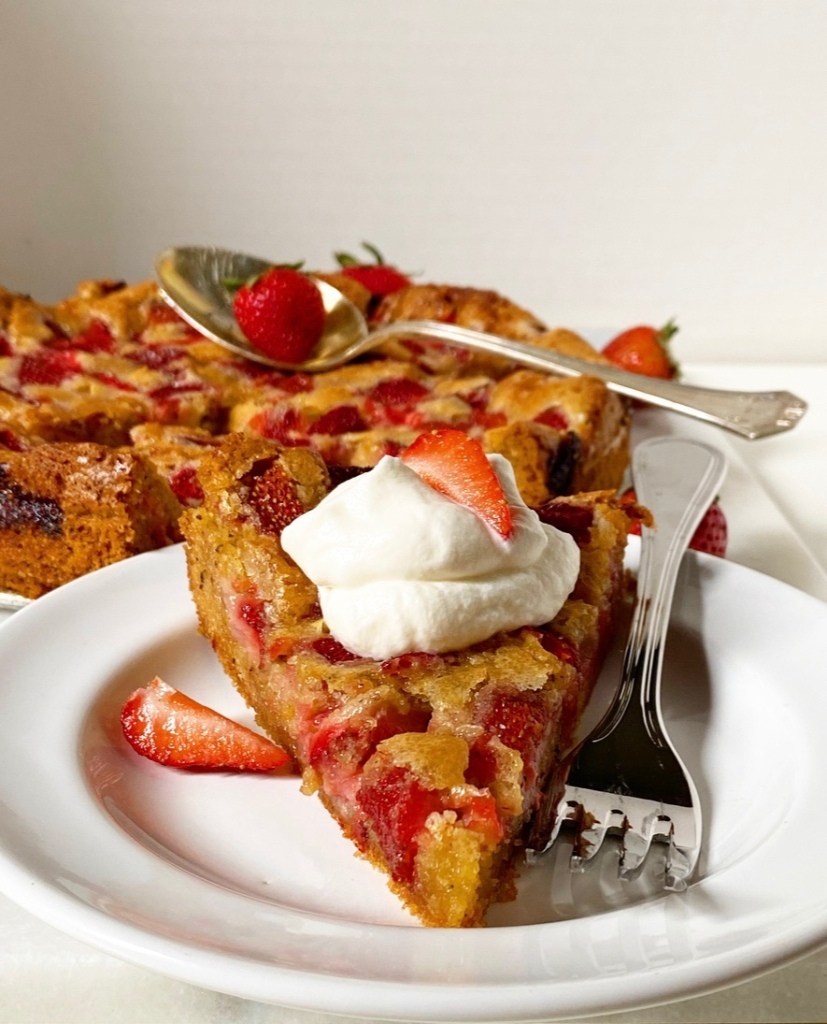
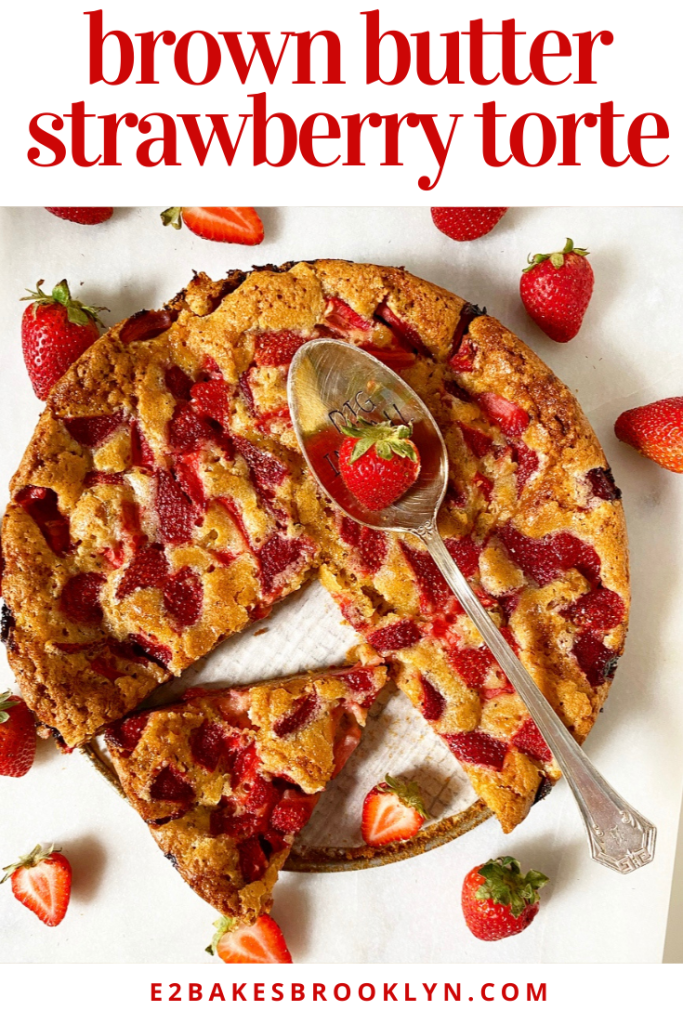
This is one hell of a cake, y’all. Rich brown butter batter is topped with tons of quartered fresh strawberries, then baked until golden and studded with little jammy berry pockets. Jammy berry pockets!!!

Brown Butter Strawberry Torte comes together with minimal effort. That’s the appeal of everyday cakes, after all: you can make them without thinking too hard or dirtying too many dishes, and then you have cake on a Tuesday or a Saturday or a Thursday or whatever. They’re great for eating in your pajamas or serving to company—a utility dessert if you will.
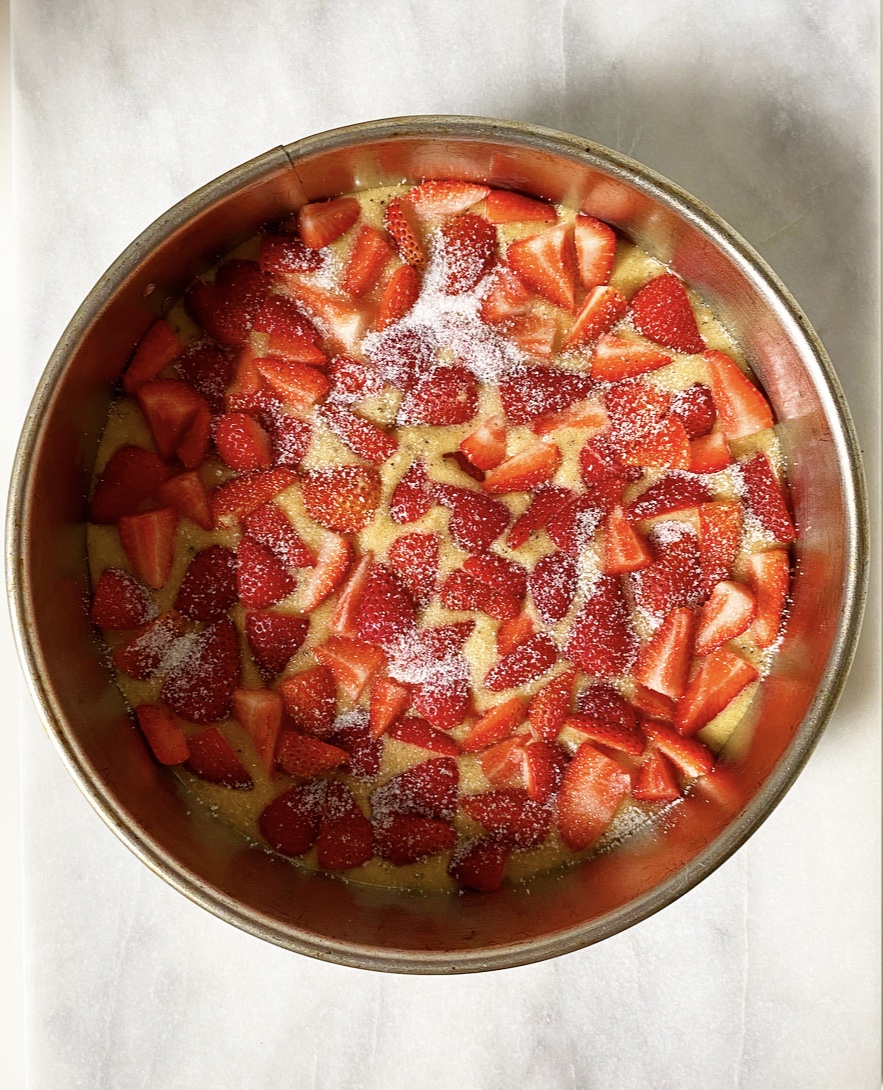
The most taxing part of this recipe is browning the butter, which requires five whole minutes of staring at a pan and occasionally swirling it until the butter is dark and nutty and wonderful. After that, it’s just whisking up batter, pressing in sliced strawberries and throwing it in the oven for an hour. In that time, the fruit softens and buckles into the batter, resulting in a rustic craggy little cake. I know I’m biased, but I think it’s really beautiful.

I think this goes without saying, but you can use any fruit you like in this cake with excellent results. I chose strawberries because they’re right on the verge of being in season, but blueberries, blackberries, mango, pineapple or any other fruit that goes with brown butter would all be good variations.
Pro tip: pretty much everything goes with brown butter.
Brown Butter Strawberry Torte
makes one 9-inch torte
1/2 cup (1 stick) unsalted butter, cut into pieces
2/3 cup granulated sugar + 1 tablespoon, for sprinkling
1/3 cup light brown sugar, packed
2 large eggs, room temperature
2 teaspoons pure vanilla extract
1 cup all-purpose flour
1 teaspoon baking powder
1/4 teaspoon Kosher or sea salt
12 ounces fresh strawberries, hulled & quartered (about 3/4 of a 16 oz box)
For serving (optional):
whipped cream
fresh strawberries, quartered
Preheat oven to 350F. Grease a 9-inch springform pan. Line the bottom with parchment and grease again. Set aside.
Brown the butter. Place butter in a light-colored saucepan over medium heat. Let butter melt. Butter will bubble and crackle as the water content evaporates. Swirl the pan frequently for 5-7 minutes, keeping an eye on the color. When the solids are turning brown and the butter is nutty and fragrant, remove the pot from the heat and immediately pour the brown butter into a large mixing bowl and let cool 5 minutes.
Meanwhile, In a small-medium bowl, whisk together flour, baking powder, and salt. Set aside.
Returning to the large mixing bowl, whisk granulated and brown sugars into the brown butter. Mix in eggs one at a time, followed by vanilla. Add dry ingredients and whisk until combined.
Transfer batter into the prepared pan, then use a silicone spatula or wooden spoon to smooth it to the edges. Scatter strawberries over the top and lightly press them into the batter. Sprinkle the additional tablespoon of granulated sugar over the top. Bake 60-65 minutes, or until a toothpick inserted near the center comes out with only a few moist crumbs (not batter). Let cake cool in the pan on a rack for 15 minutes before running a small, thin knife around the edge and releasing the springform.
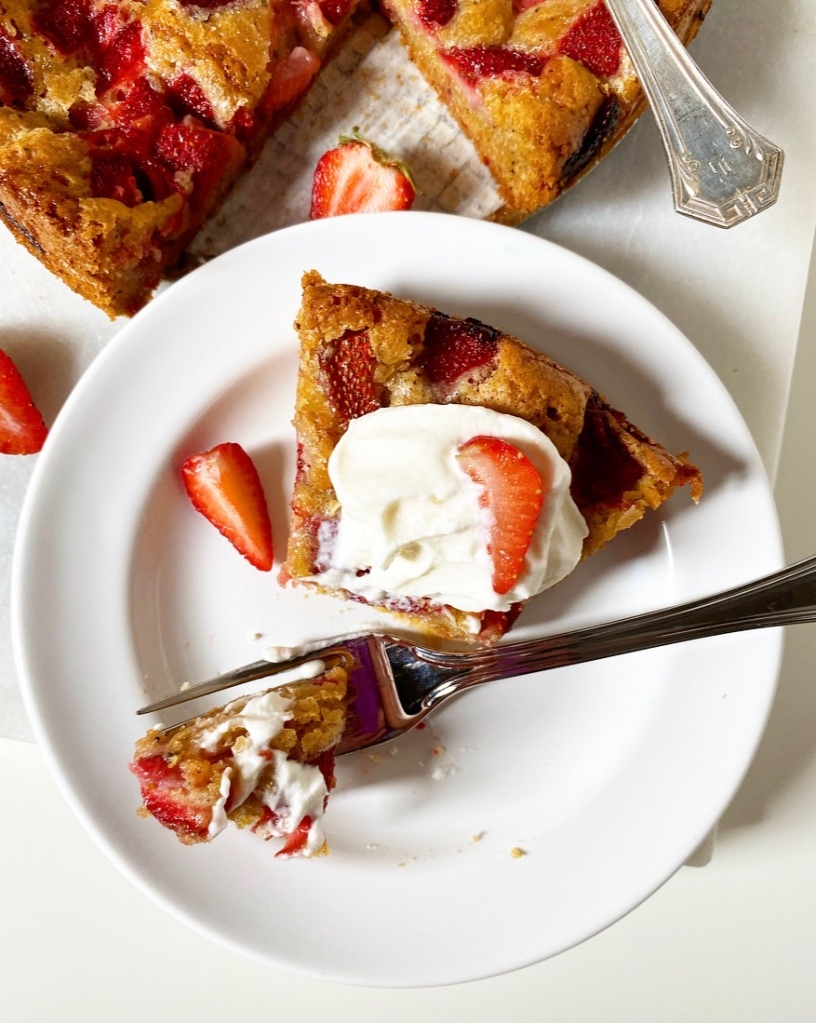
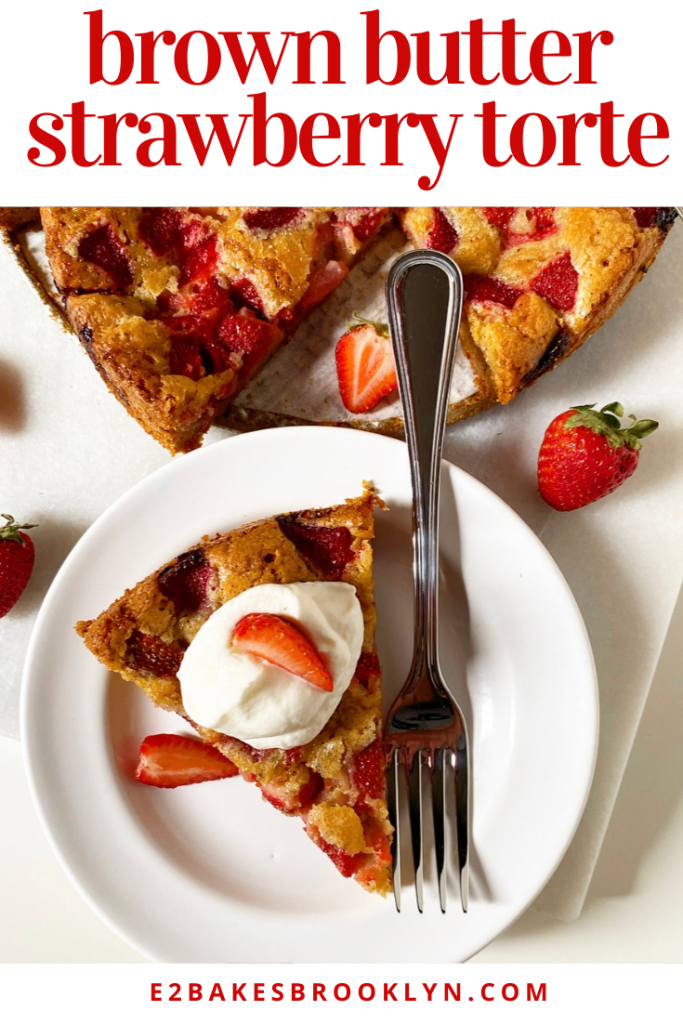
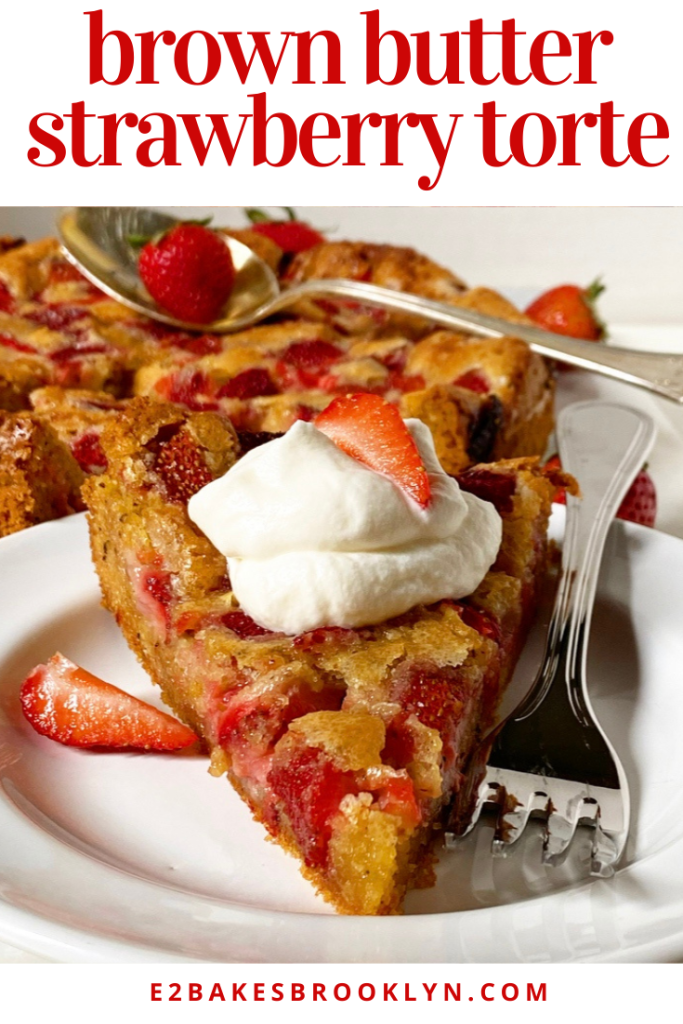
Serve warm or room temperature with whipped cream and/or fresh strawberries, if desired. Leftovers will keep covered in the refrigerator for a few days.
 I had never seen
  I love tarts like
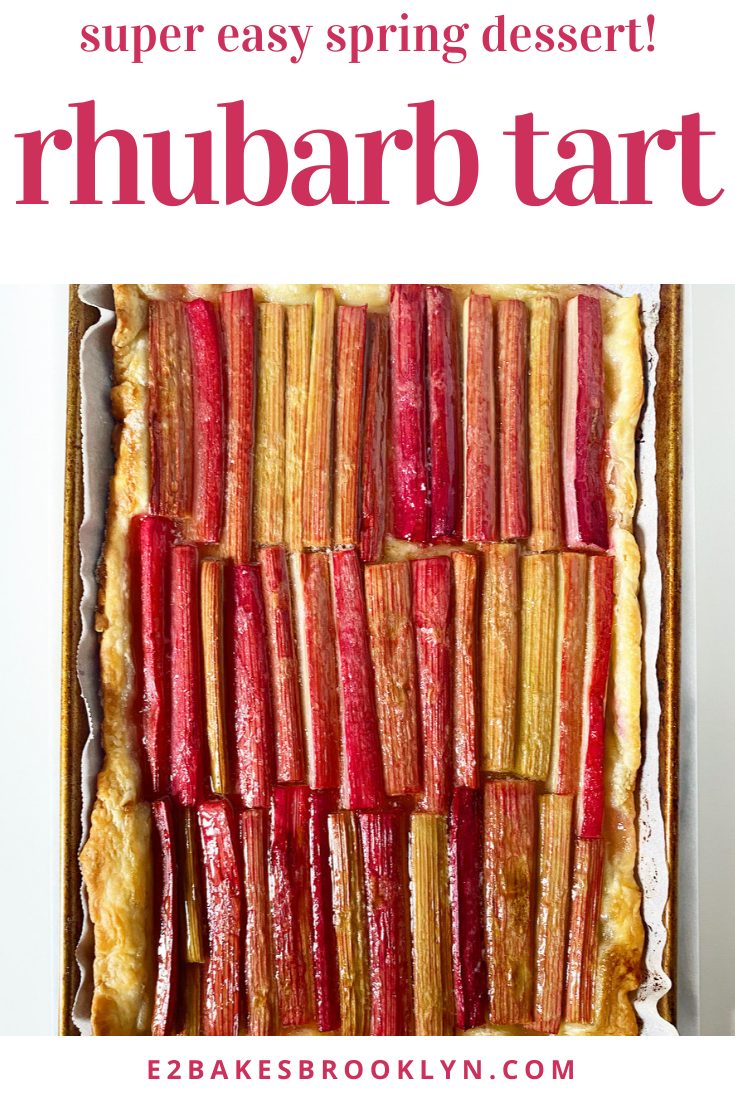
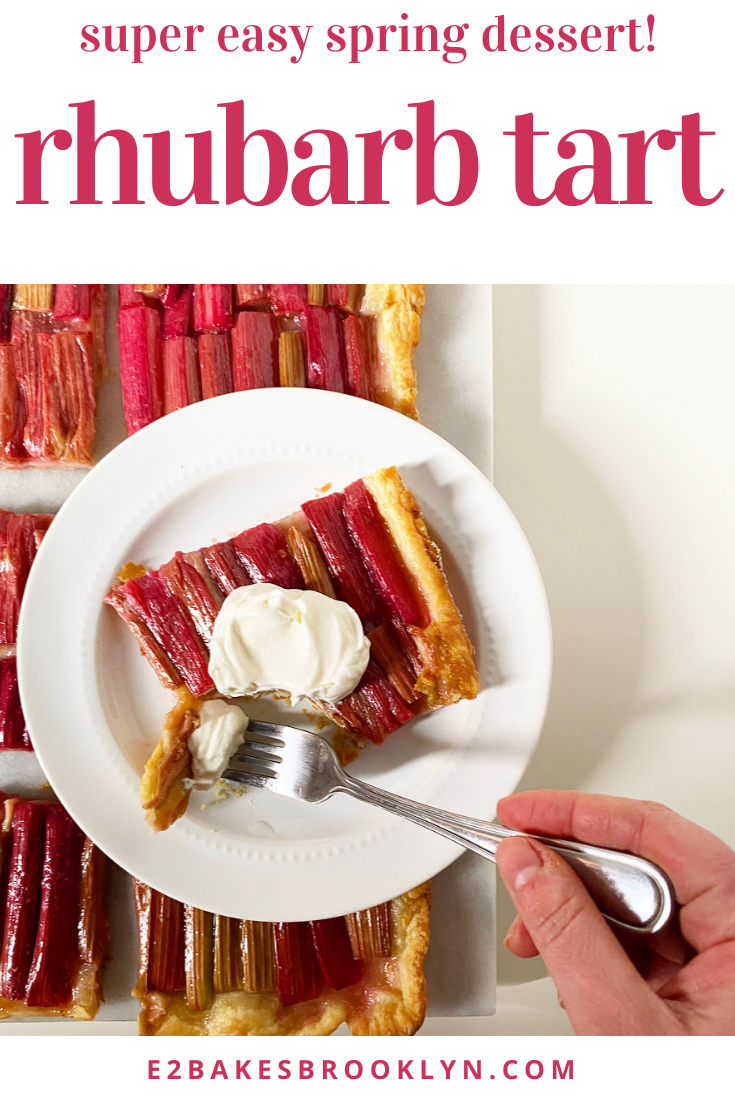
 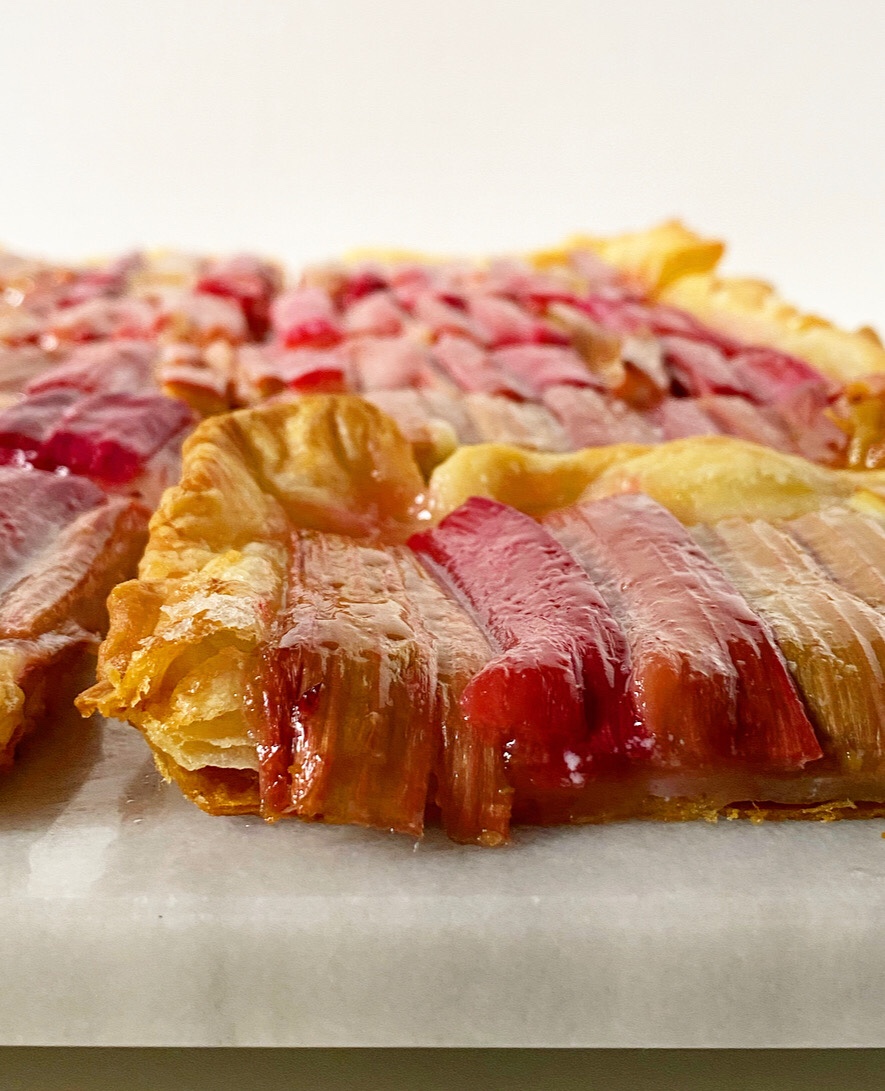 Regarding the crust, you can follow my lead by making your own flaky, buttery rough puff, or make it easy and use thawed frozen puff pastry. Don’t have European butter in this pandemic? Neither do I! Use whatever you have.
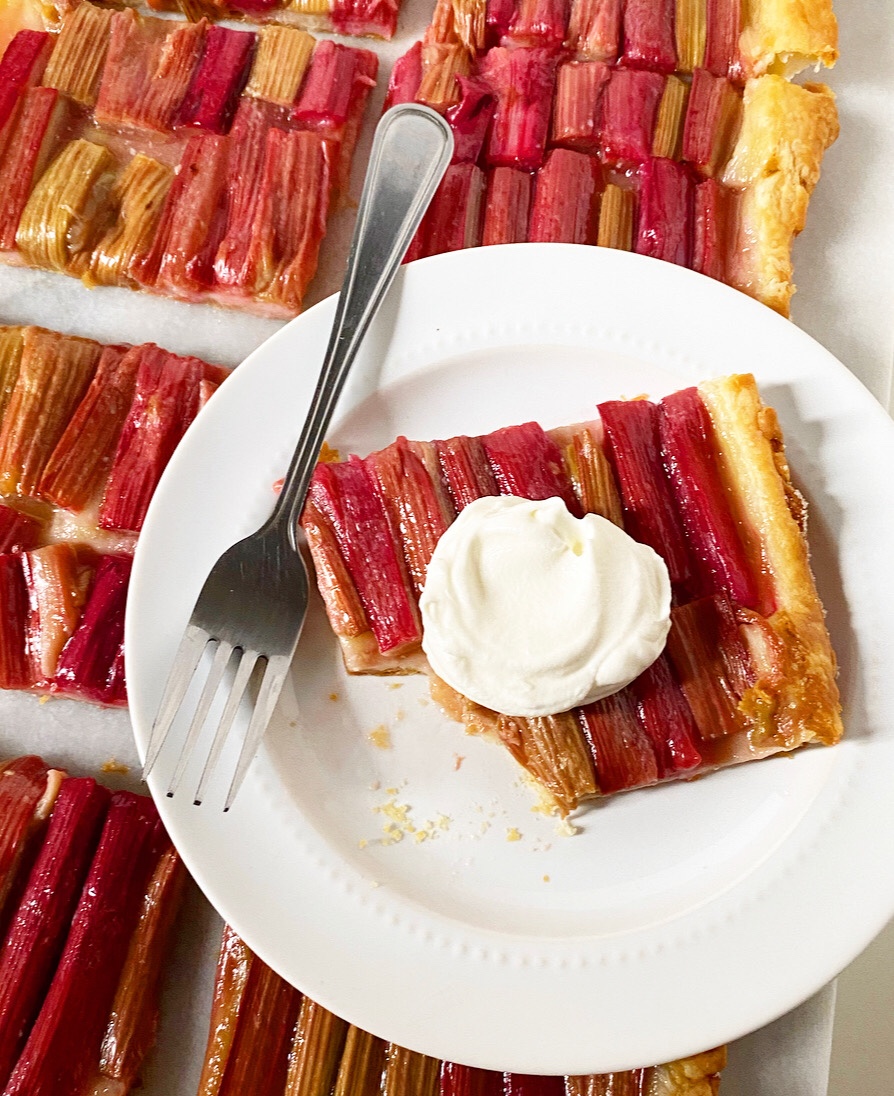
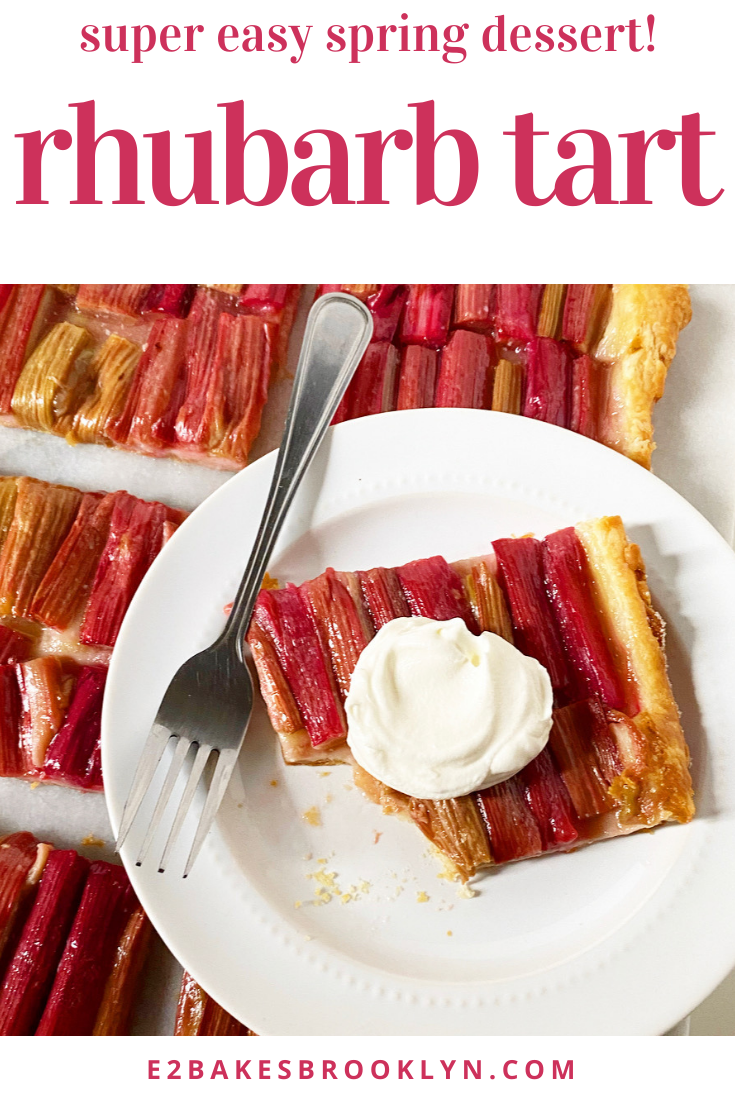
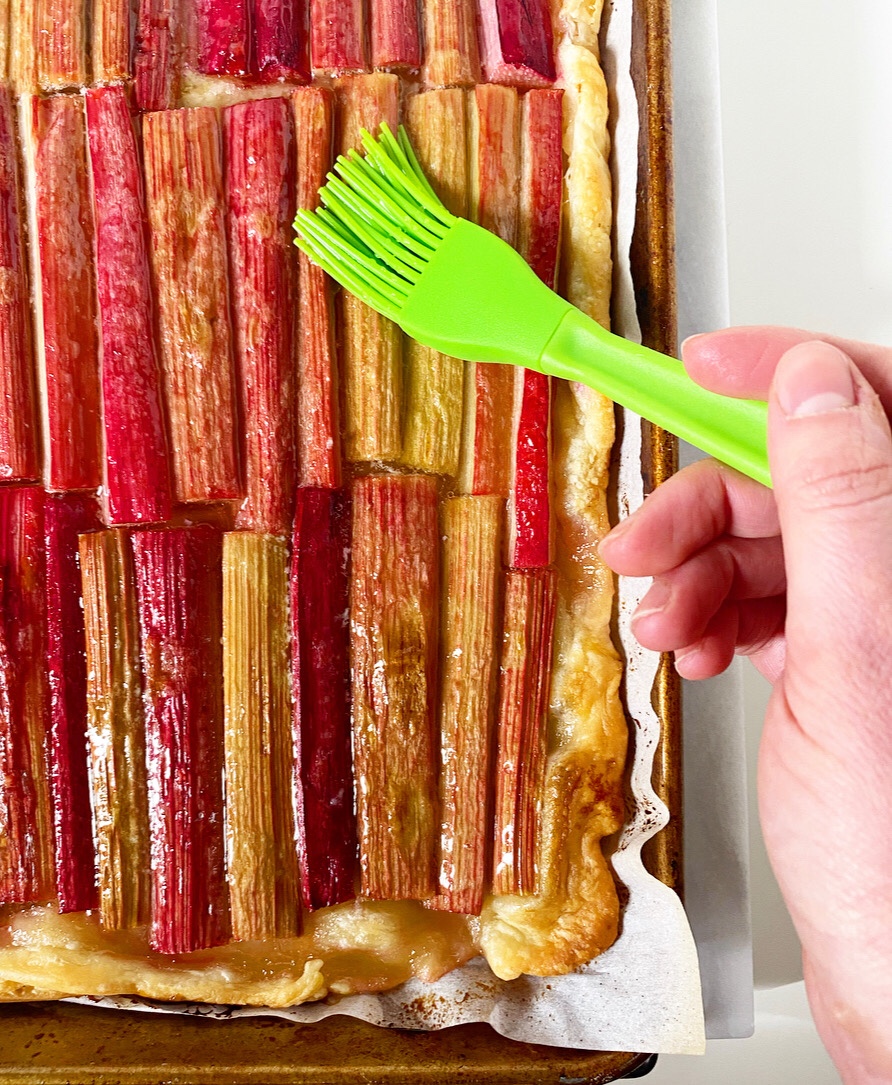 The filling couldn’t be simpler. Rhubarb stalks are sliced into thin pieces, arranged on the pastry in whatever fashion makes you happy, sprinkled with sugar and dotted with butter. Bake the tart until the crust is golden and the rhubarb is soft, then paint on warm honey for a little extra sweetness and shine. Since this tart doesn’t have any berries to offset the tanginess of the rhubarb, that hint of honey goes a long way.
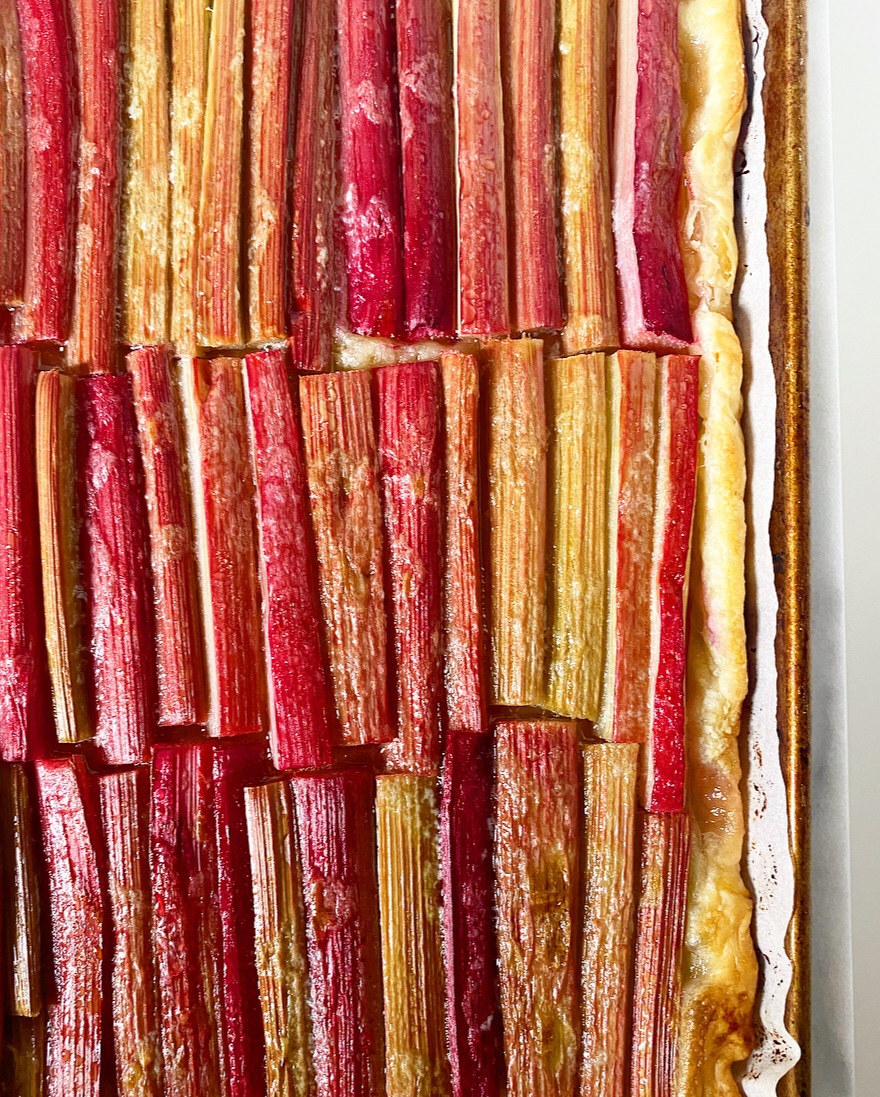
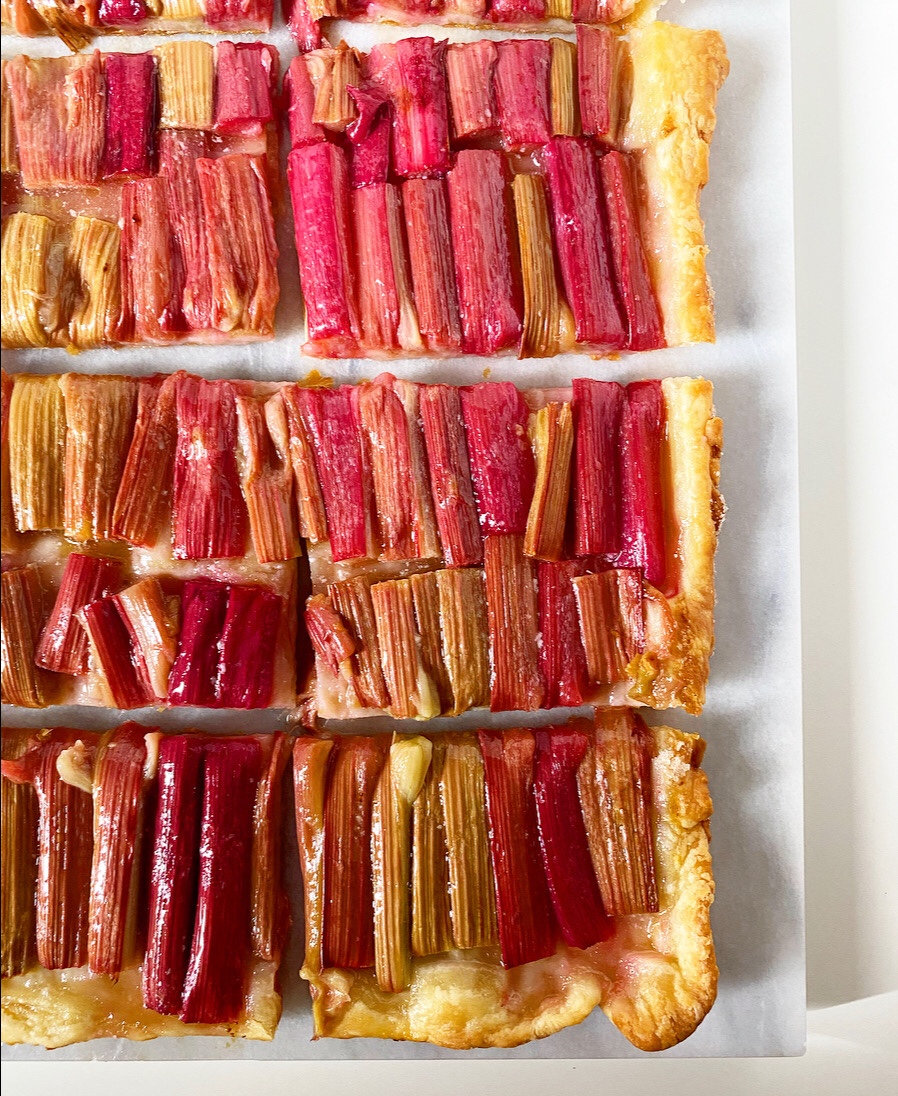 Where pies are thick and take hours to cool, this tart is so thin that it only needs 45-60 minutes to reach room temperature. The flavor is more tangy than it is sweet, but the flaky crust and a dollop of
 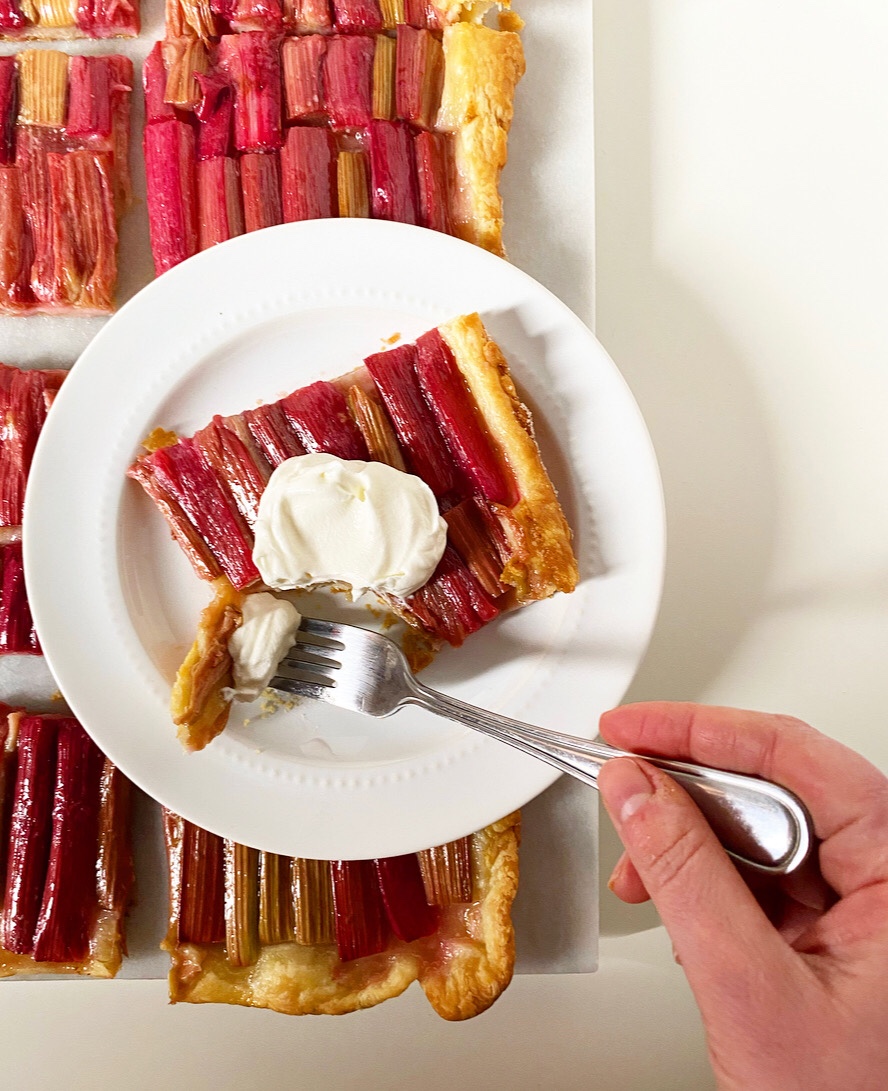 Need a reason to make a Rhubarb Tart? Well, first of all, we are in a pandemic and you can have whatever dessert you want and anyone who says otherwise is flat wrong. But also, it’s perfect for celebrating literally any day of the week or that you put on real pants or that you didn’t see anyone not wearing a face-covering today.
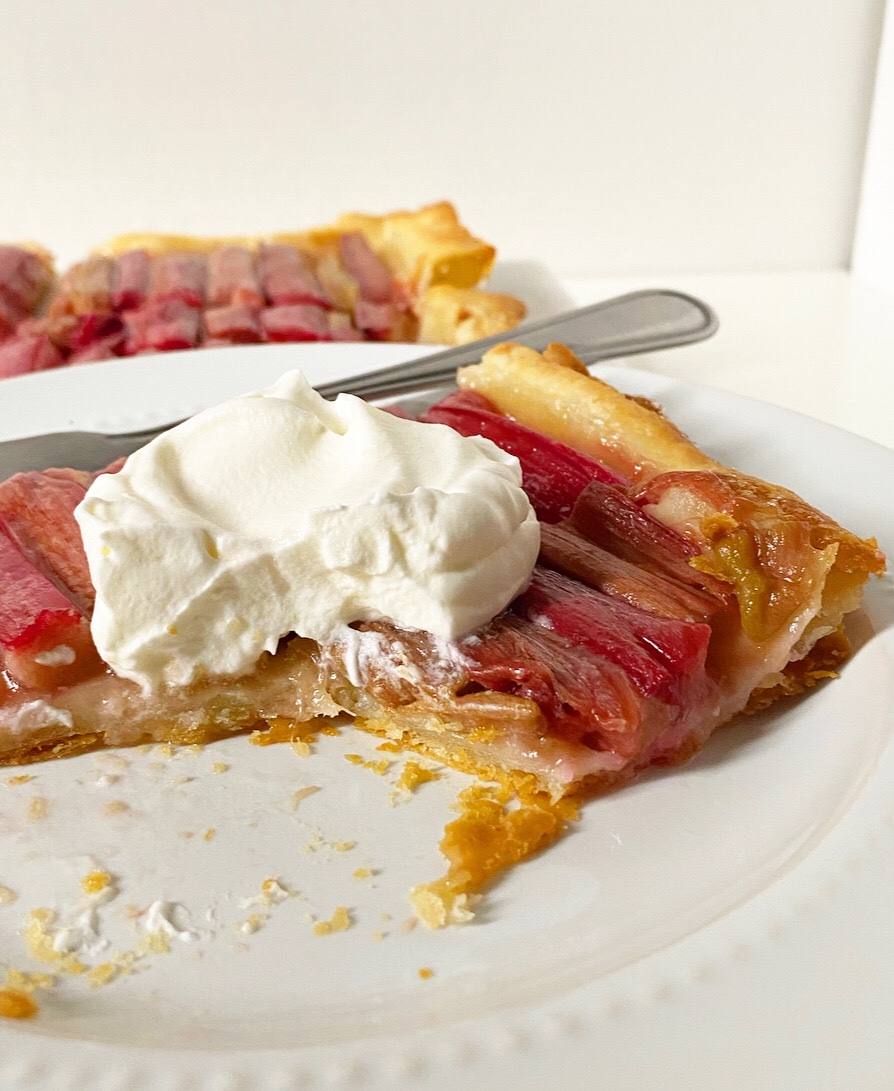
 Three years ago, I went home to Texas for three weeks over Christmas. I was there for the holidays and a family wedding a week into the new year, and I had determined that it was easier to spend an extended period in my home state than it was to fly back and forth. My little sister was home for her winter break too, so we had an odd period of time where our childhood living arrangements were real again, except that everyone had a driver’s license and their own bathroom this time.
 But! But. I was going to make a cheesecake with my mom, even going so far as to have my older sister give her a Fat Daddio cheesecake pan for Christmas. I was going to do this thing. And then…I didn’t because we found 43 other ways to fill our time and there was the wedding and then it was time to go back to NYC.
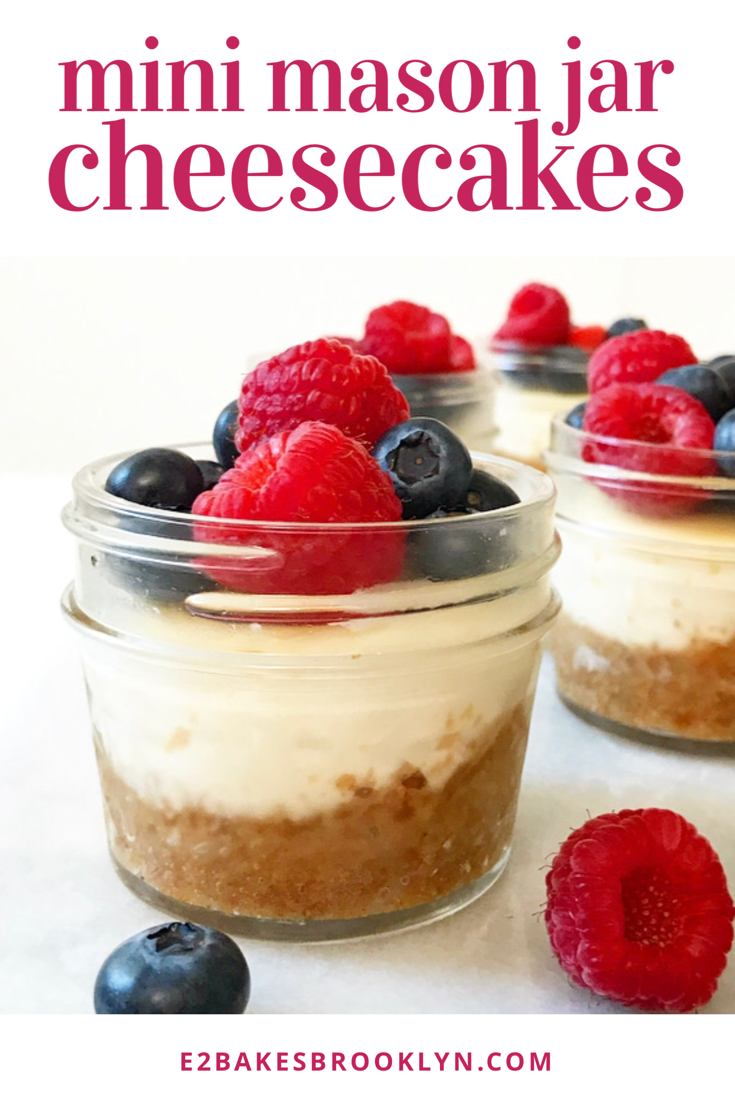
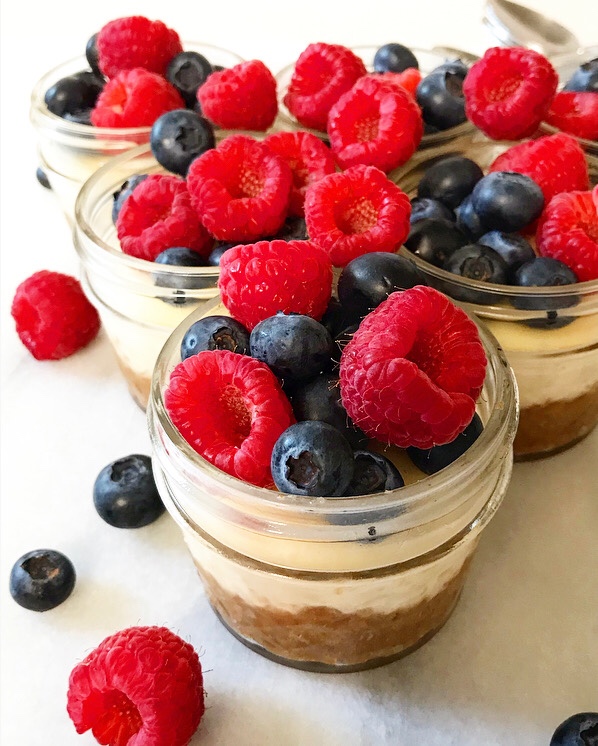 Now it’s Mother’s Day weekend three years later and I still owe my mom a cheesecake. I remain reticent about attempting a big one (yes, I know it’s silly) and I don’t know when I’ll be with her long enough to carve out the time, so I have made it easy on both of us and made miniature versions that don’t involve a foil-wrapped pan. Happy Mother’s Day, Mom! I made you six cheesecakes.
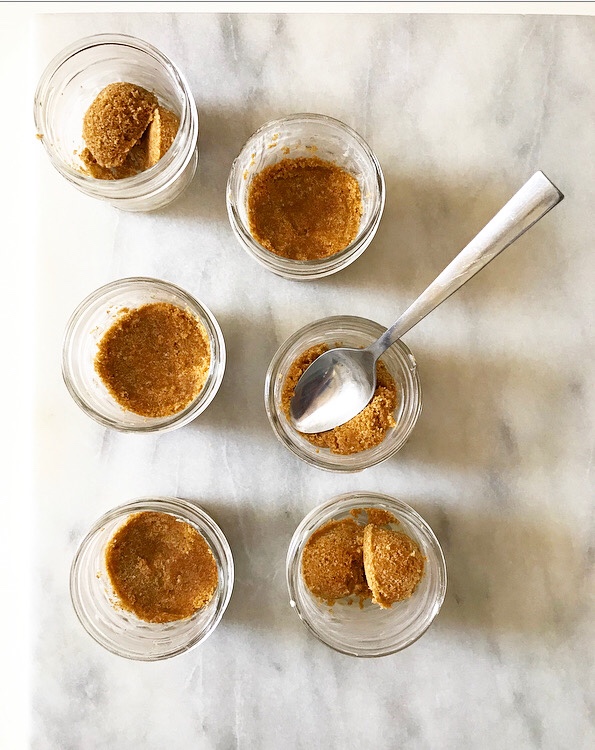
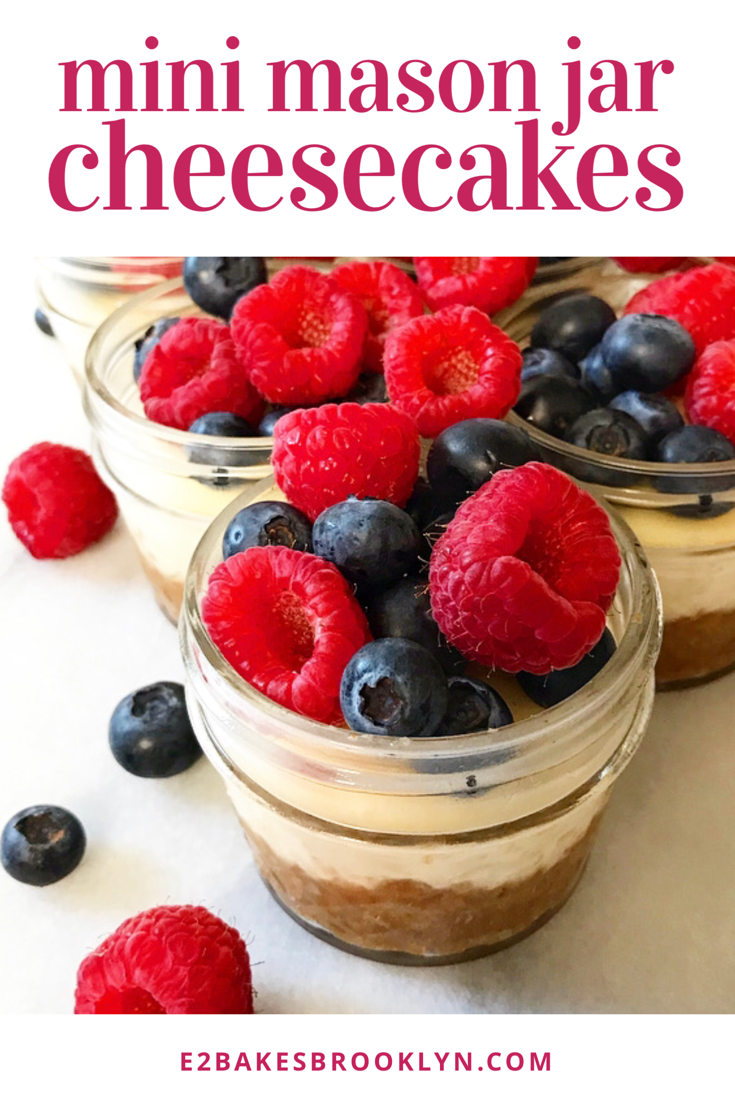
 This small-batch recipe makes just enough to fill six 4-ounce mason jars, but you can easily scale it up depending on your needs. The cheesecake itself is remarkably easy to make—it has a total of nine ingredients and two major steps (both of which are easy), and most of the time commitment is spent waiting for things to cool.
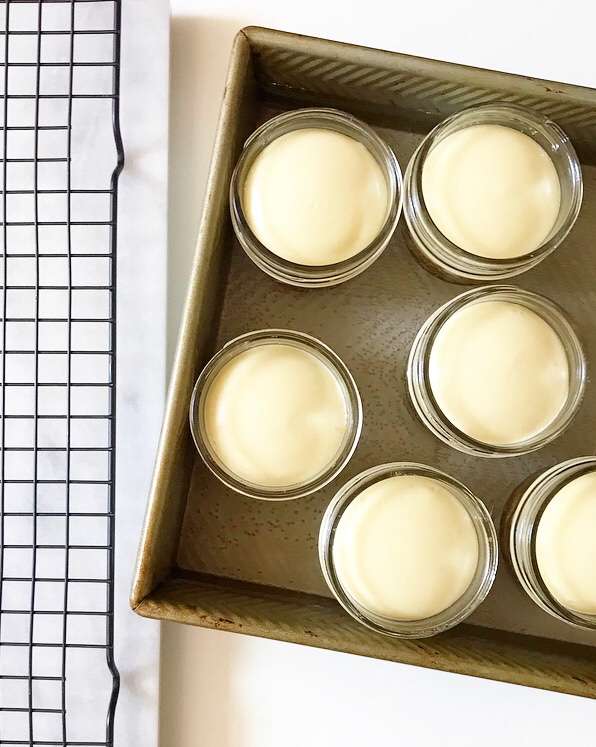
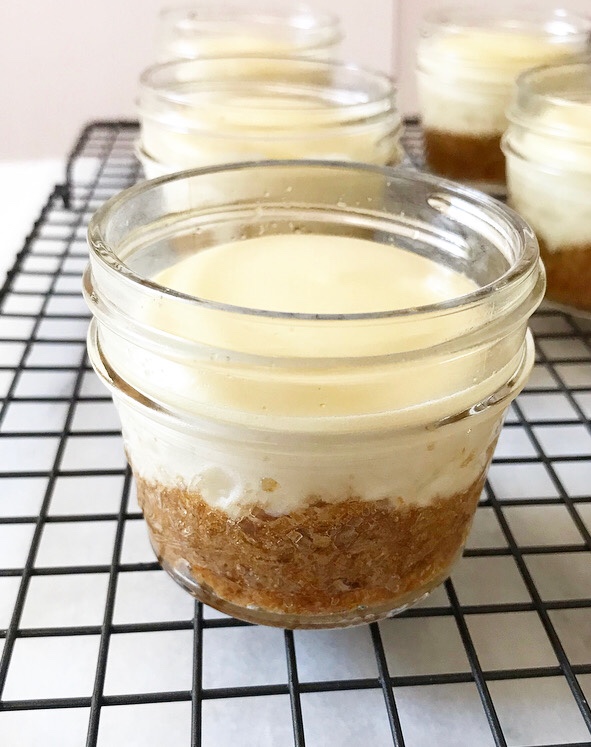 As for the water bath (“bain-marie”) step that I fear so much, it’s a breeze. Mason jars are water-tight, so my fear of soggy cheesecake foiled-by-foil doesn’t apply here. These mini desserts bake up evenly and beautifully every time!
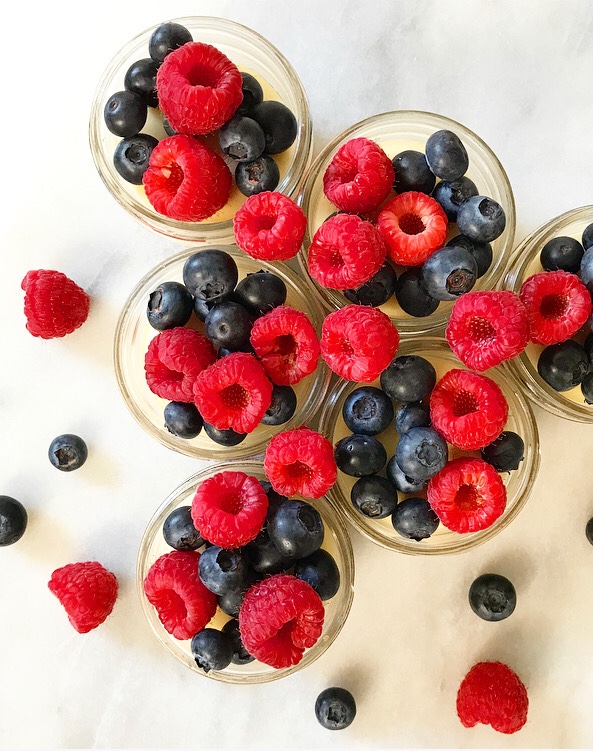 They are delicious, too: rich, creamy and tangy with a brown sugary graham cracker crust. You can top them with anything you like:
  Aside from being cute, delicious, and portion-controlled, I love that these cheesecakes are portable. Just press a little plastic wrap to their surfaces after chilling, screw on the mason jar lids, and pack them into a cooler for premium picnicking. Pack the topping(s) separately and let everyone customize their own!
 So, after 3.5 years of blogging, there is my first “traditional” cheesecake! Maybe I’ll be brave enough for the real deal before Labor Day. Got any leak-proofing tips for me? Leave them in the comments!
 Happy Mother’s Day to all those celebrating, especially my cute mom ❤
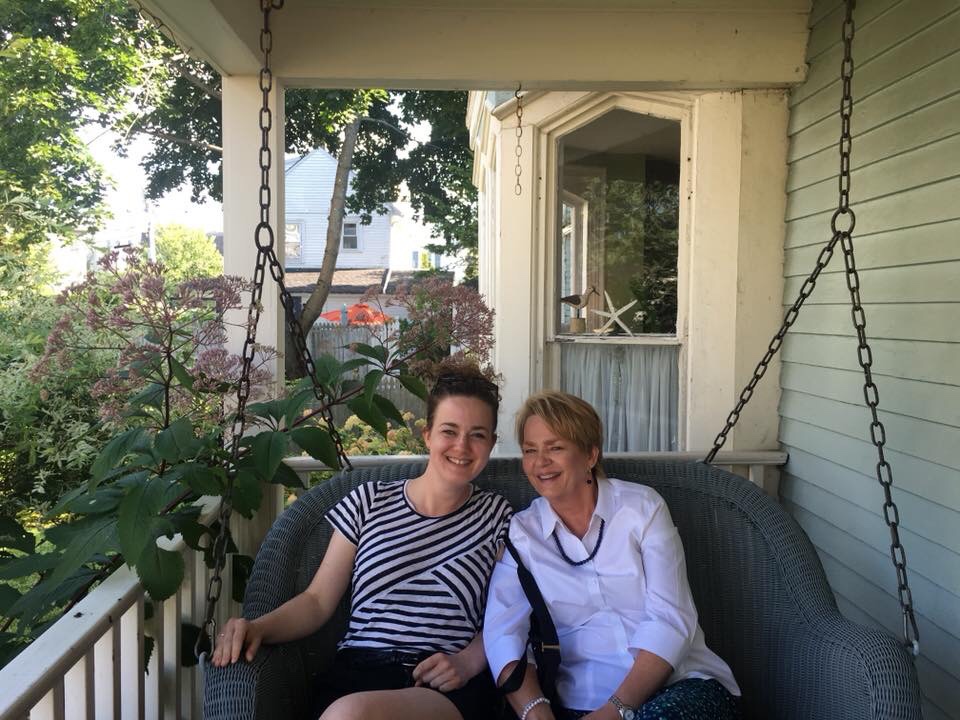

 I had no intention of making a third (or
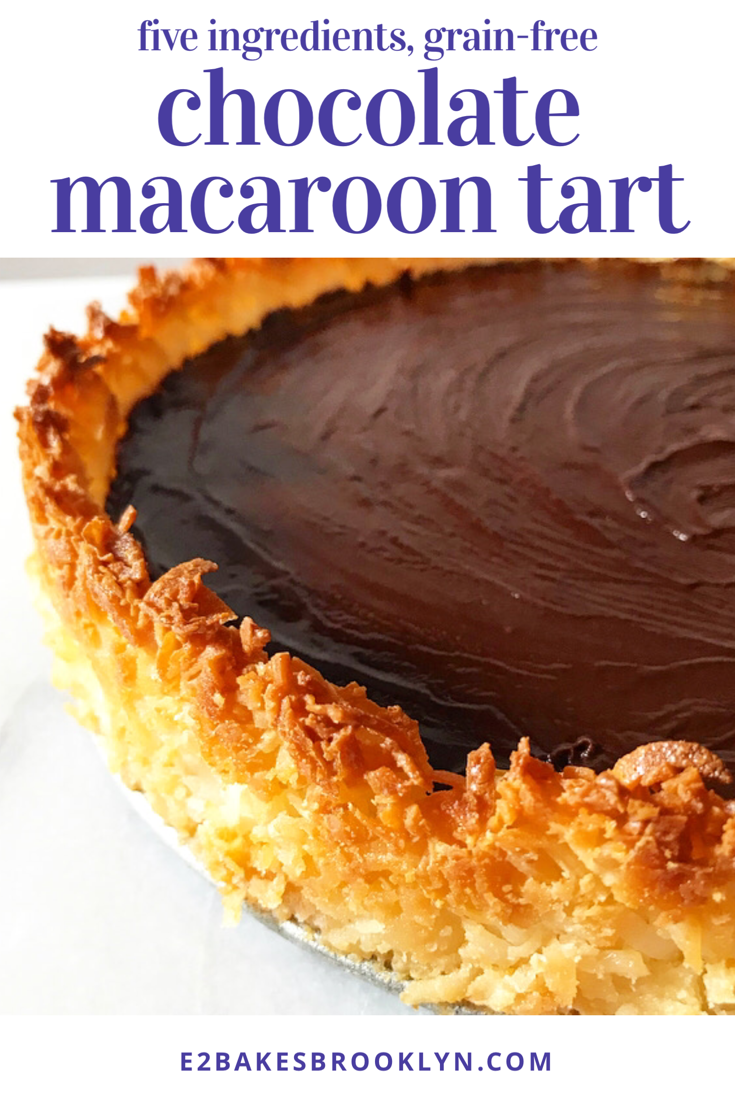
  So, what’s so special about a macaroon crust? For one, it’s basically a big chewy, crisp-edged coconut macaroon cookie that you can bake and fill with whatever no-bake filling you like.
 There is no “for two.” It’s that simple.
 Now, there are many ways to make a macaroon crust. Some have flour, some contain egg whites. I looked at a few options before realizing that it would probably work with just two ingredients: sweetened flaked coconut and sweetened condensed milk.
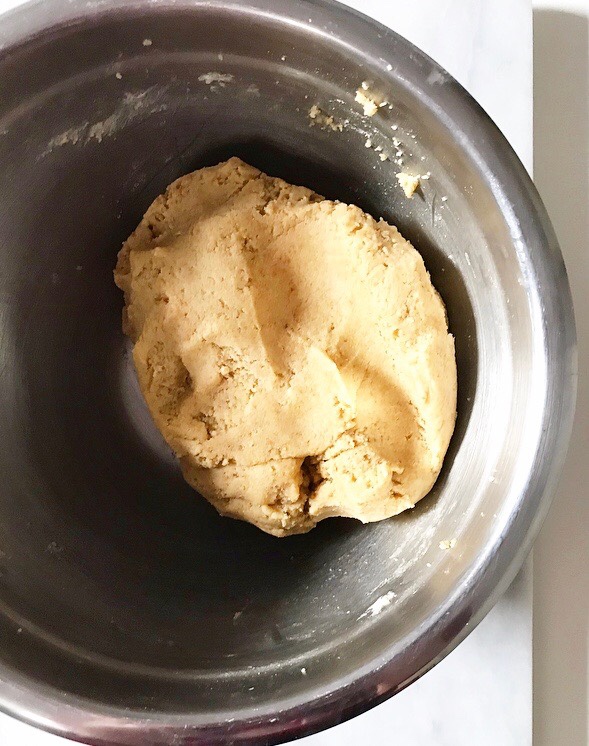
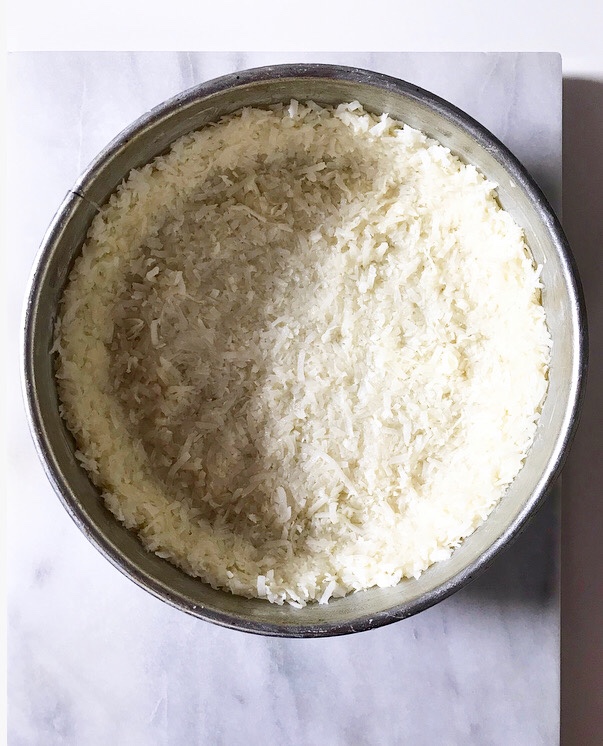 I folded the ingredients together and pressed the mixture into a heavily-greased springform or tart pan.*
 Half an hour later, it was toasty at the edges and light-golden in the center.
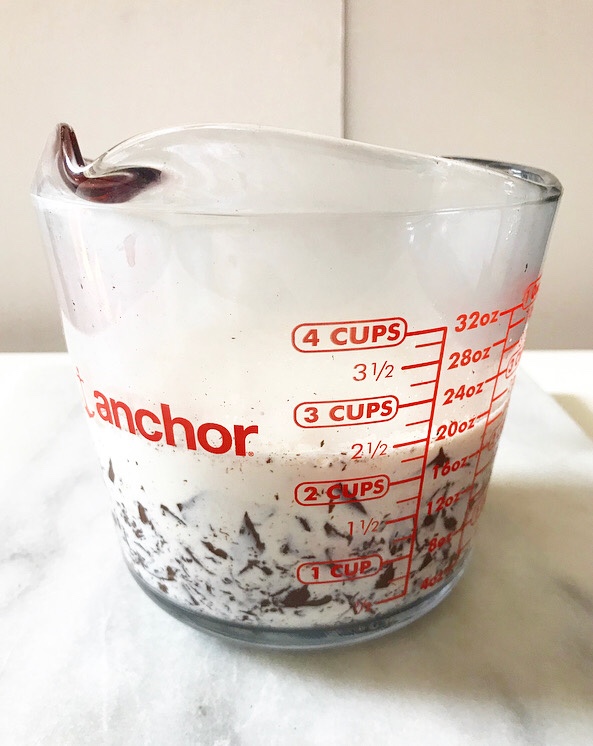
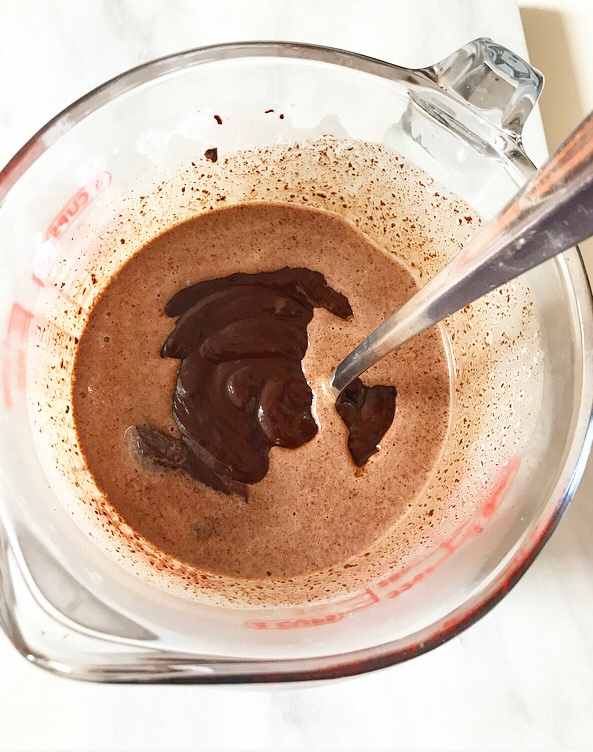
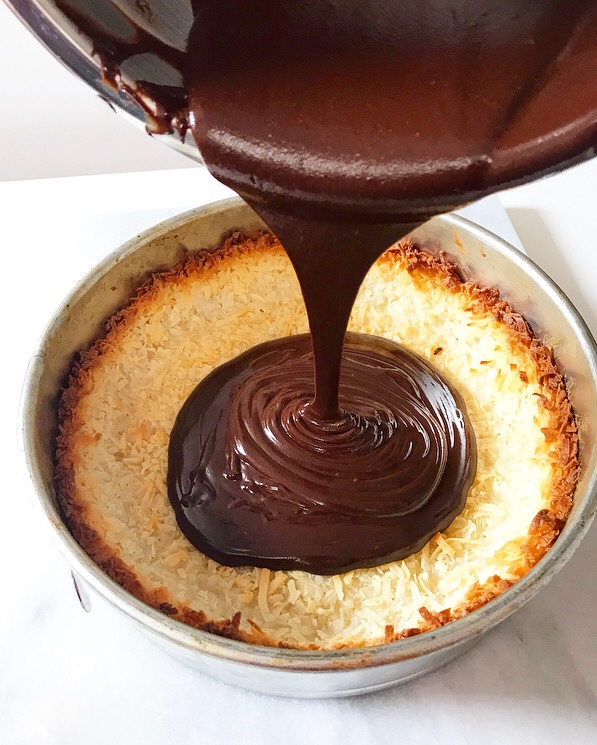
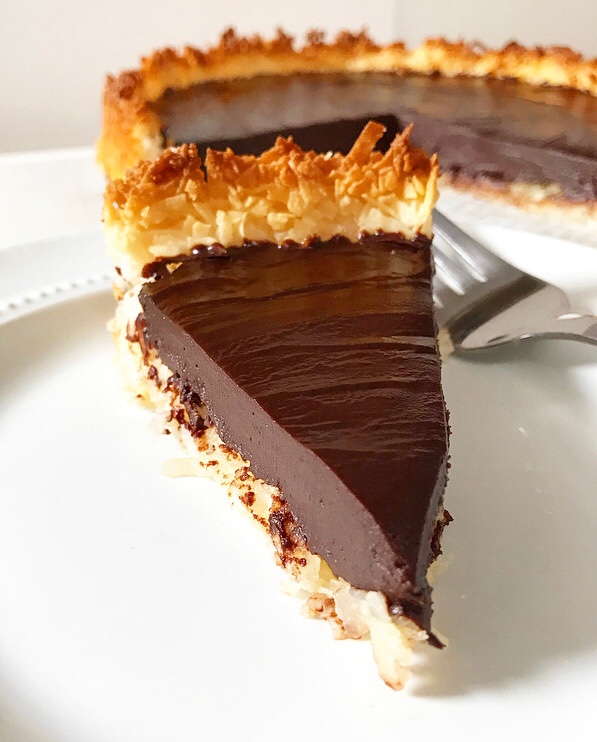
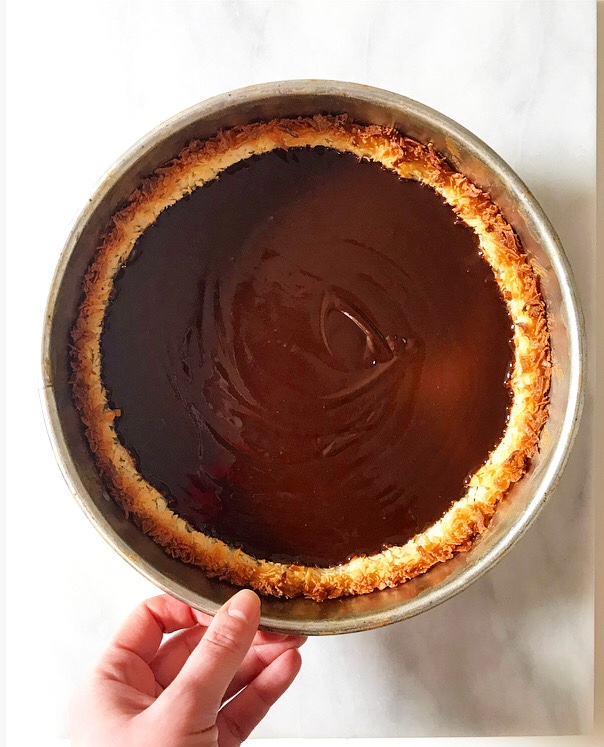 I filled it with chocolate ganache and let it set up in the fridge before slicing.
 (I also gave it a few swipes with the back of a hot spoon for some rustic glossiness and because I am a control freak.)
 Who knew five Ingredients and no grains could make something this irresistible?! Silky chocolate ganache filling + toasty coconut crust 🙌🏻🙌🏻🙌🏻
 It’s like eating a chocolate-coconut candy bar…but classier because it’s a tart. We all know how much classiness matters when you’re sneaking cold wedges of Chocolate Macaroon Tart out of the fridge after your bedtime. Not that I’ve ever done that. Twice. On the same night.
 Happy
Happy 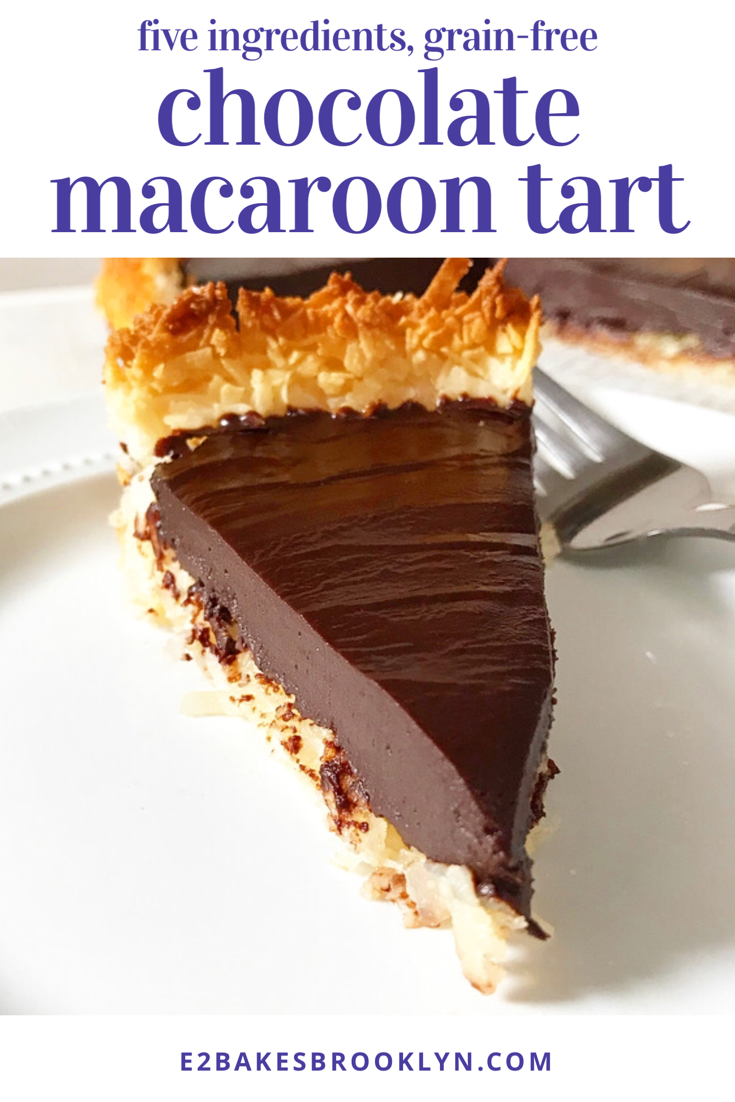

 Hi there 👋 I made you some cookies.
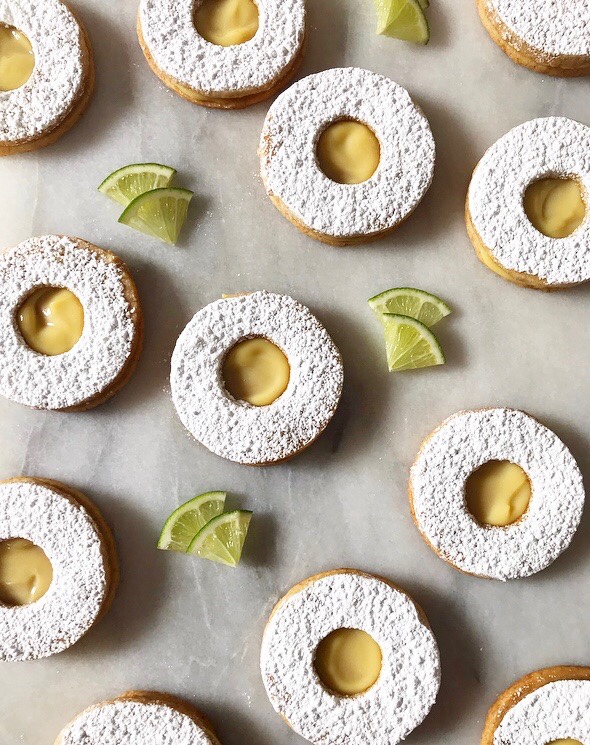 I mean, I baked them last week and ate them all already, but you understand, right? Things that taste like
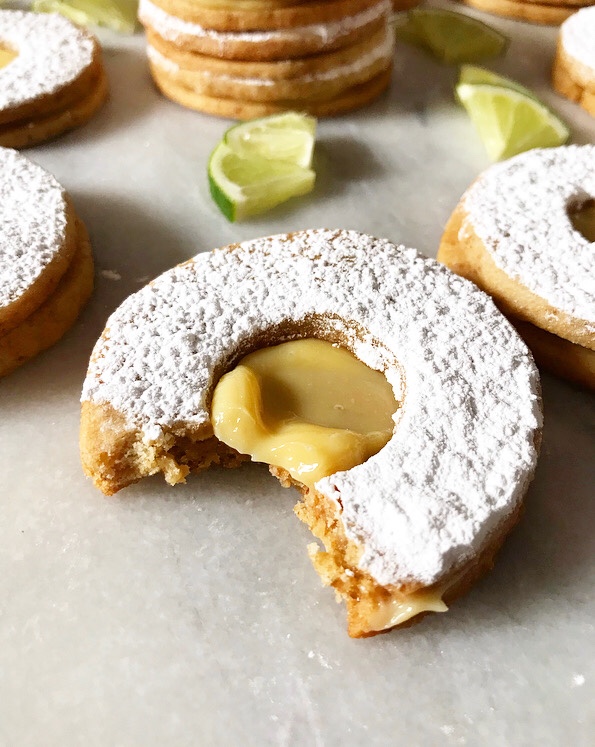
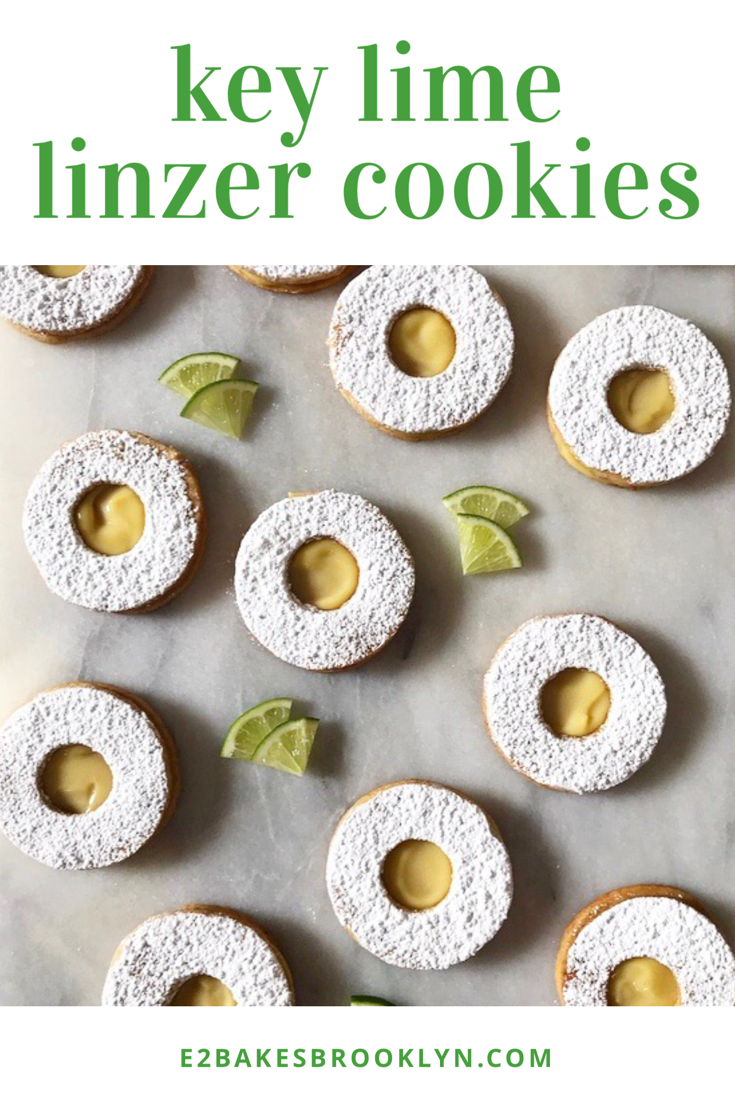
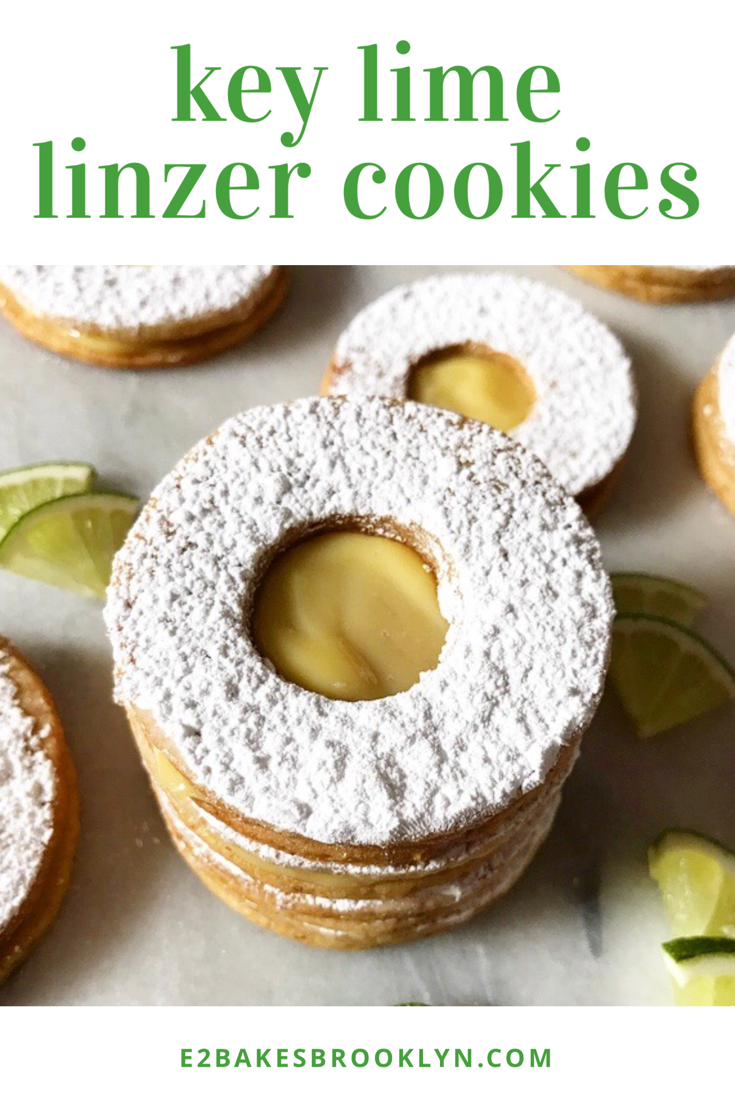
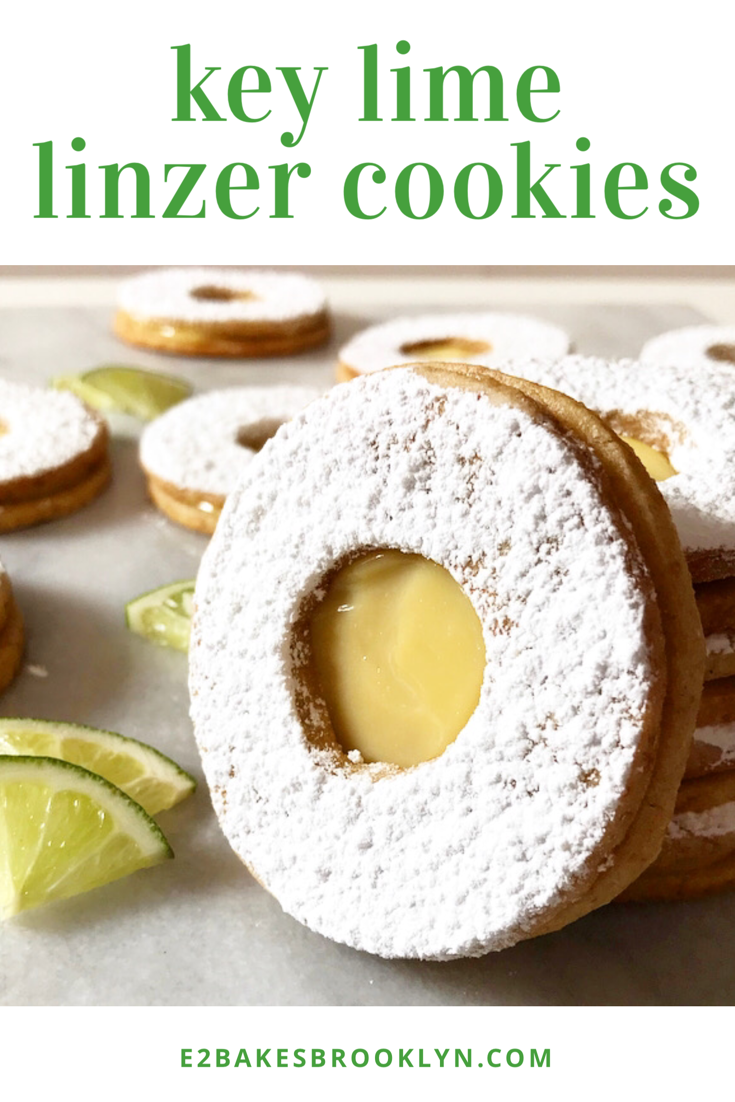
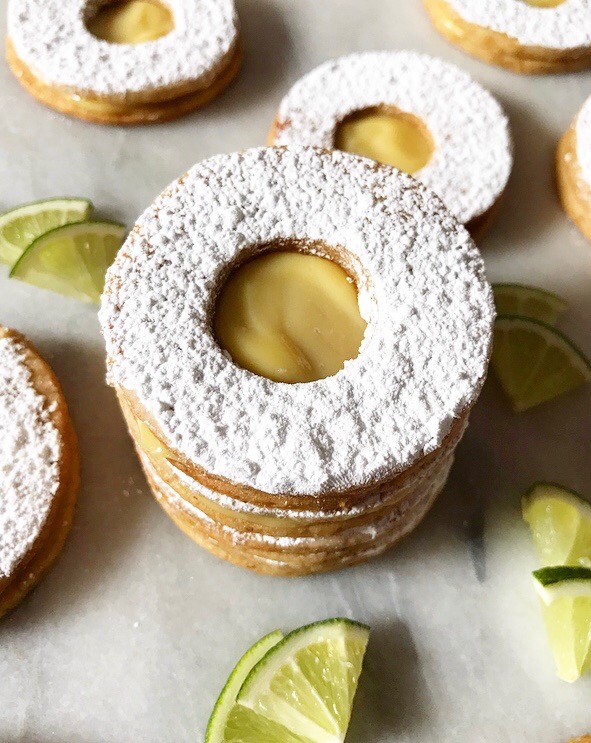
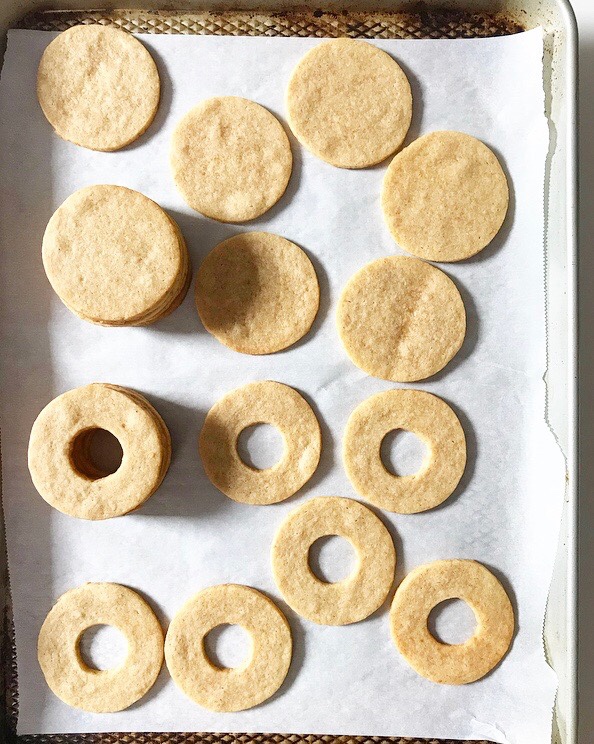
 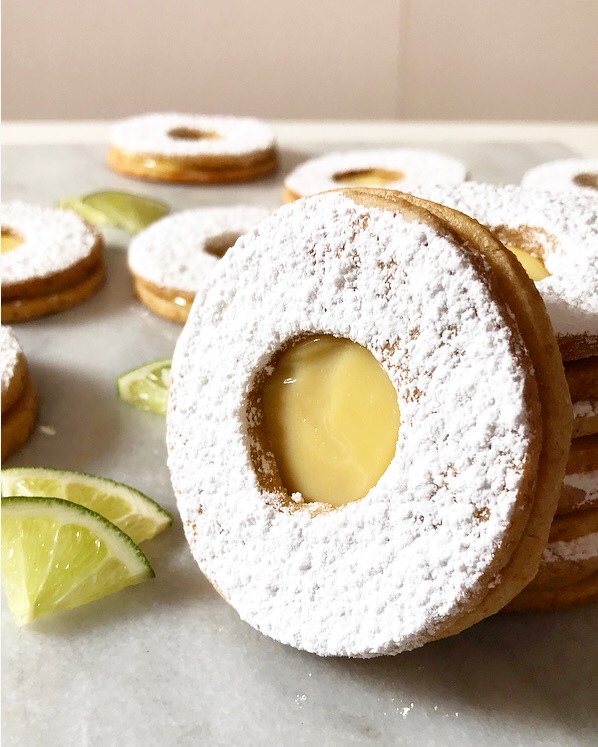 These are linzer cookies—basically sandwich cookies with little cut-out picture windows to show the filling, which is traditionally jam. Today, I decided to go in another direction with flavors reminiscent of key lime pie. I just love the results—they look so sunny and happy.
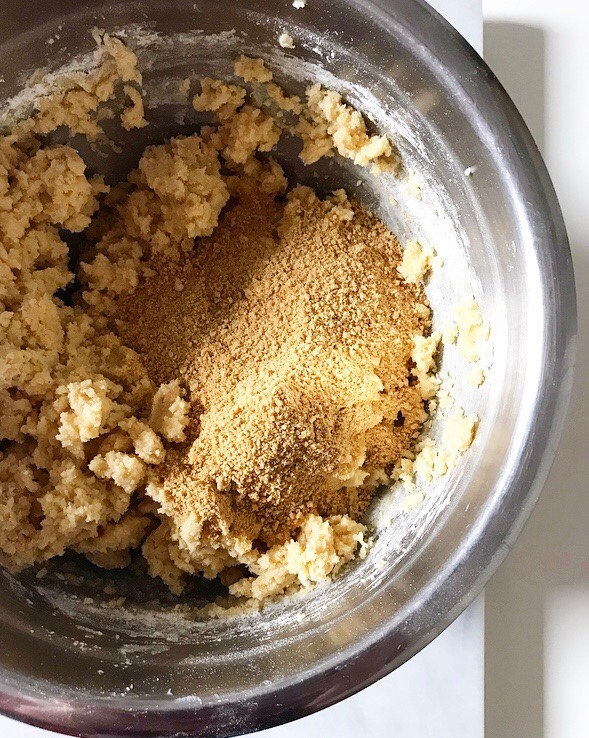
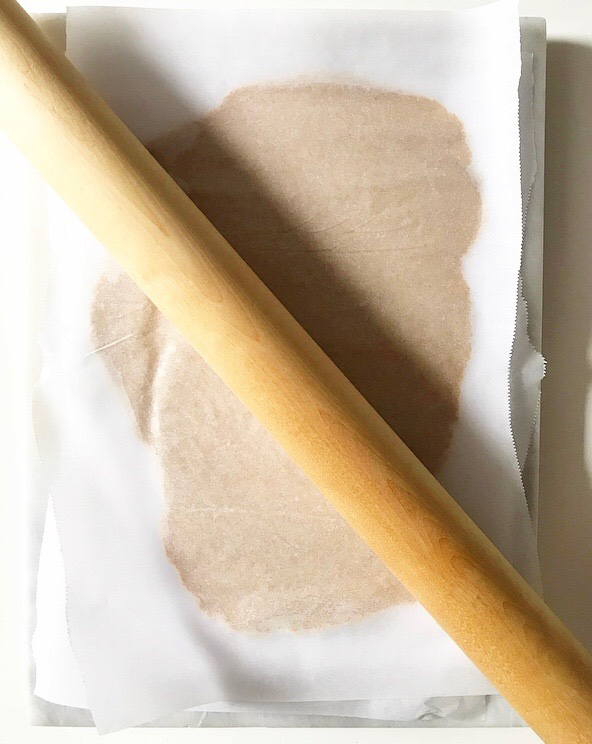
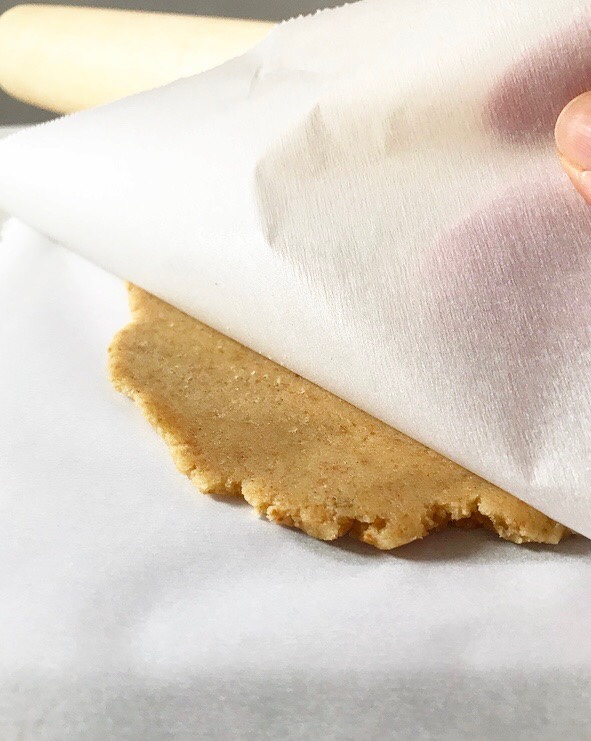 The cookie recipe is a spin on my favorite roll-out
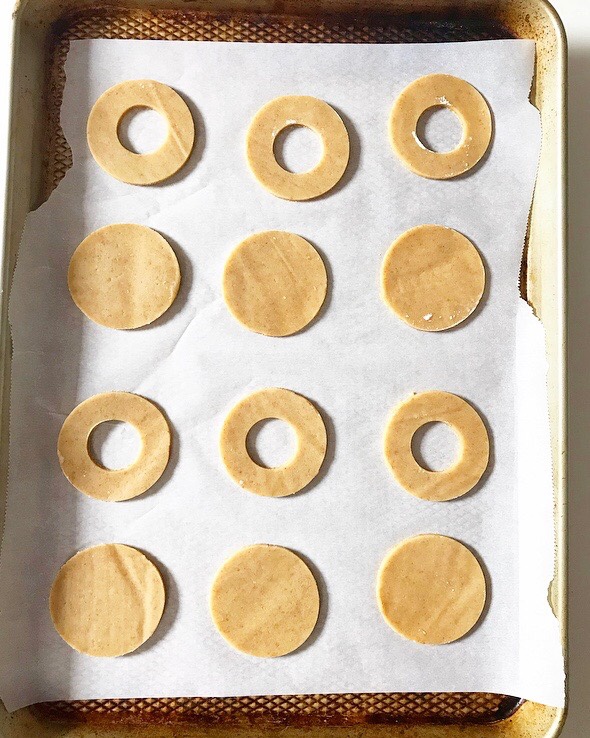
 You’ll notice one glaring omission in these linzers: I left out the traditional nuts. While most recipes have almonds or pecans (or
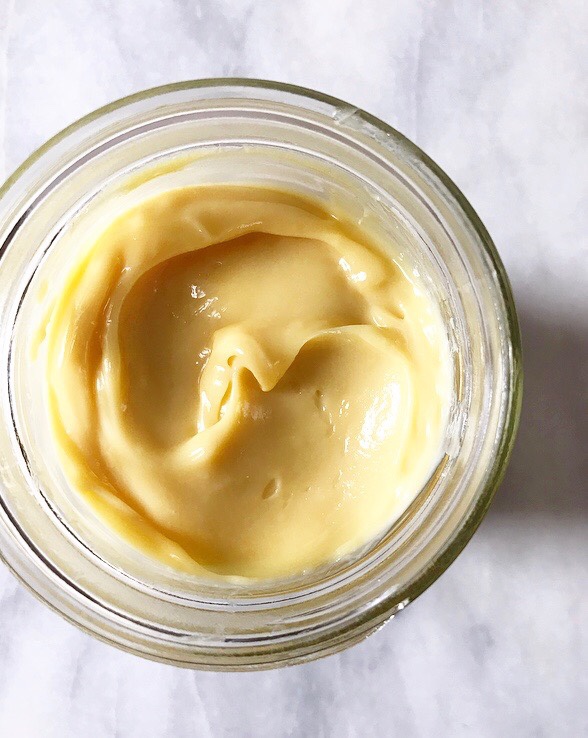
 Speaking of filling, you’re going to want to put this stuff on everything. Toast, vanilla wafers, ice cream, swirled into yogurt, eaten off a spoon, and probably five other things I haven’t thought of yet. It’s basically key lime pie filling that’s cooked over a double boiler and then allowed to chill until rich, thick, tangy and delicious. It has the texture of a citrus curd, but is half the work and requires only three ingredients! Yesssss. The filling recipe makes a bit more than you’ll need for these cookies, so you’ll have plenty leftover to use elsewhere. Trust me, you’ll be glad to have this stuff around.
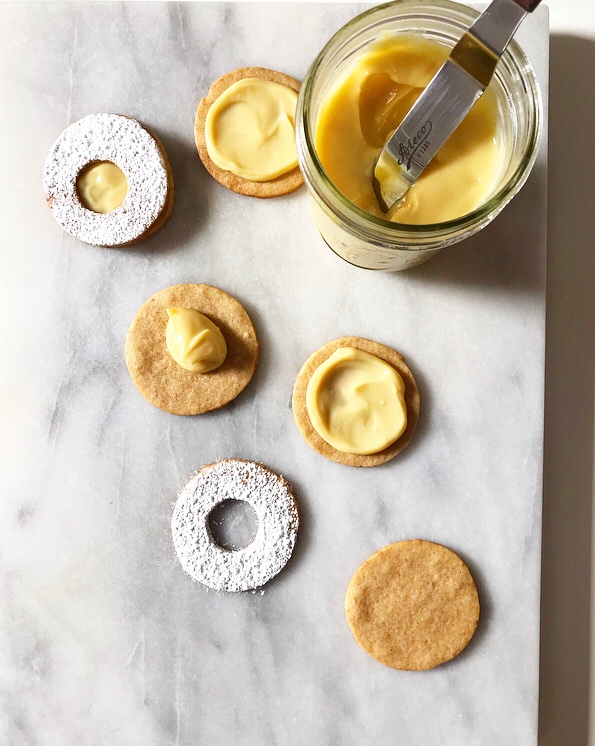
 While it’s good in all sorts of applications, this creamy, dreamy key lime filling is especially good sandwiched between two thin cookies and topped off with a dusting of confectioner’s sugar. I think most things are.