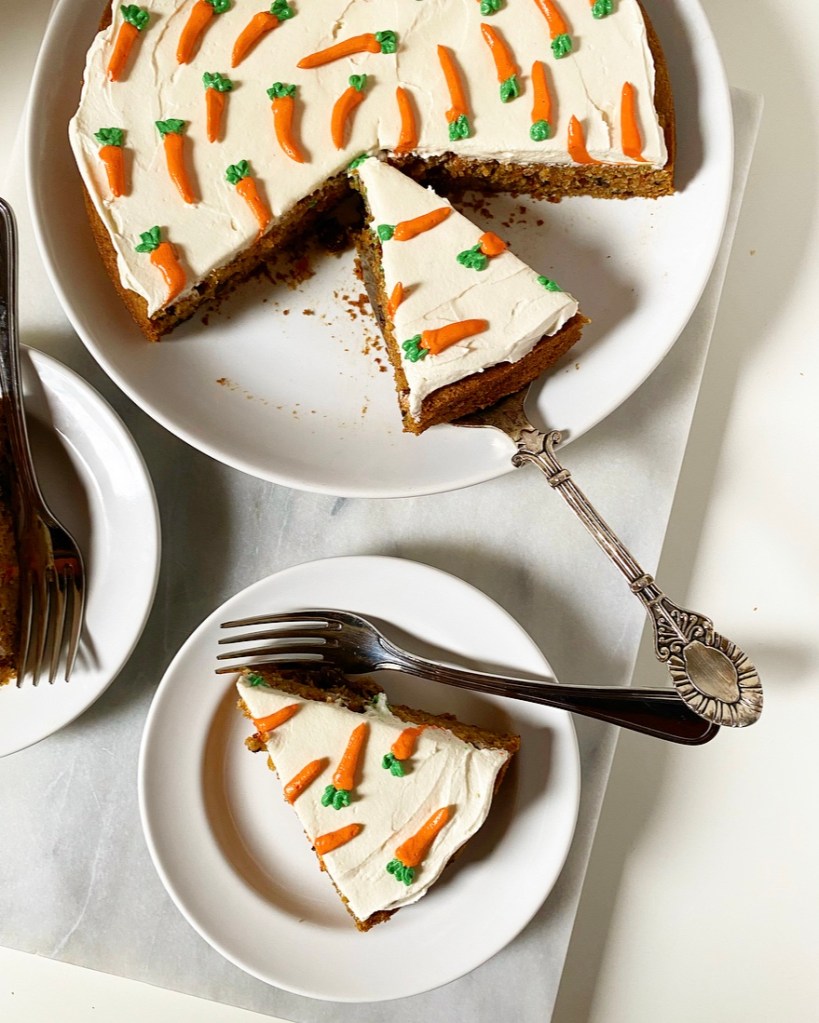
Truth be told, people probably ask me to make Carrot Cake more than anything else. It makes sense—I make damn good Carrot Cake. It’s super moist, flavored with brown sugar and spice, and filled to the brim with carrots, raisins, and nuts. I know there are about a million ways to make a Carrot Cake, but I swear mine’s the best.
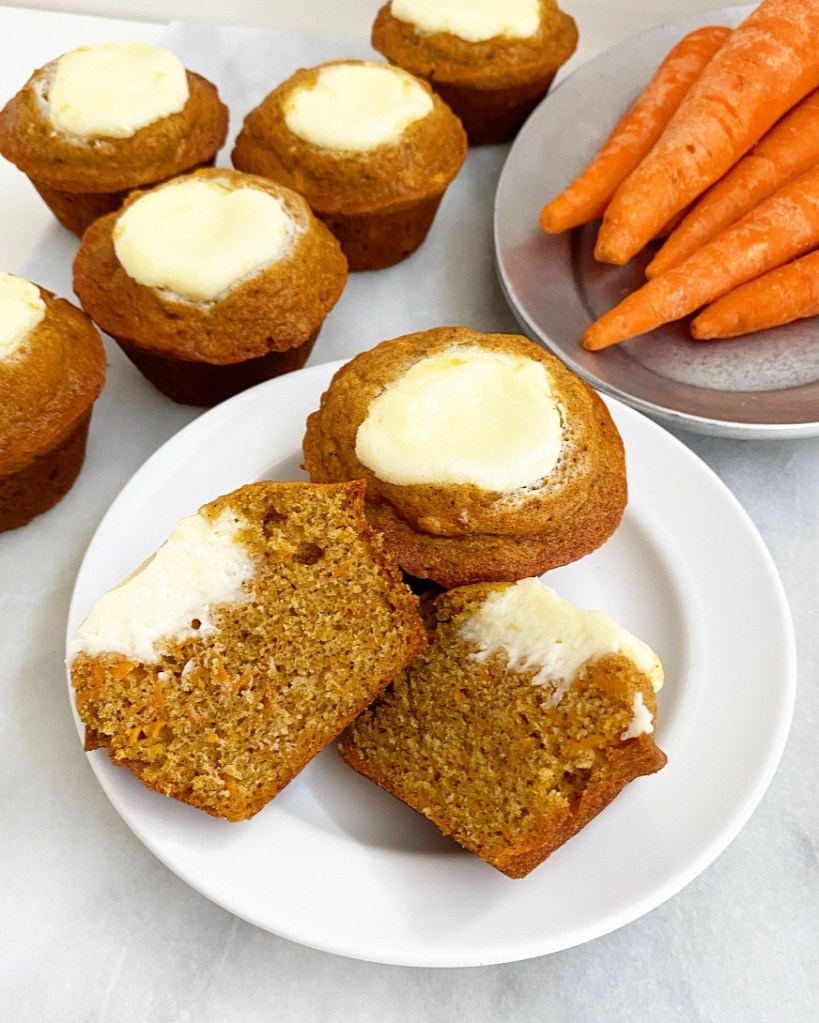
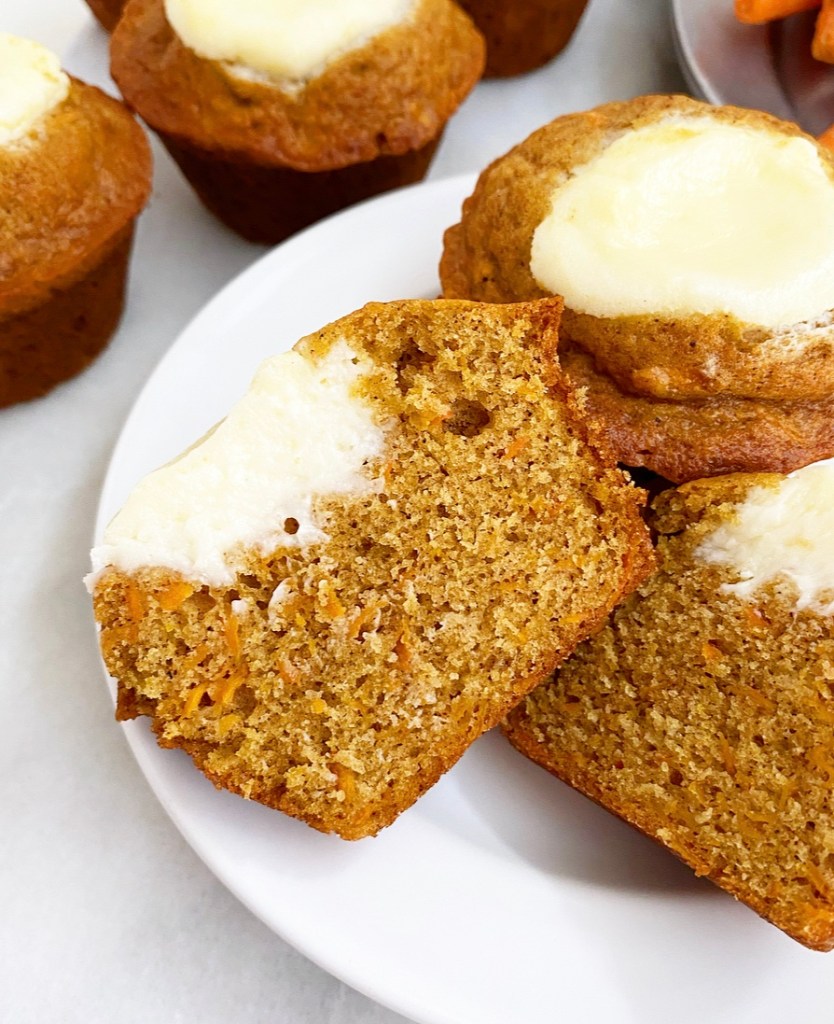
That said, it’s nice to have alternatives for when I don’t feel like making a layer cake. I’ve made carrot cake blondies, vegan gluten-free carrot cake, carrot cake petit fours, and cream cheese carrot muffins that are honestly a masterpiece. I’ve been on a cupcake kick lately, so this year, I’m adding Carrot Cupcakes to my repertoire.

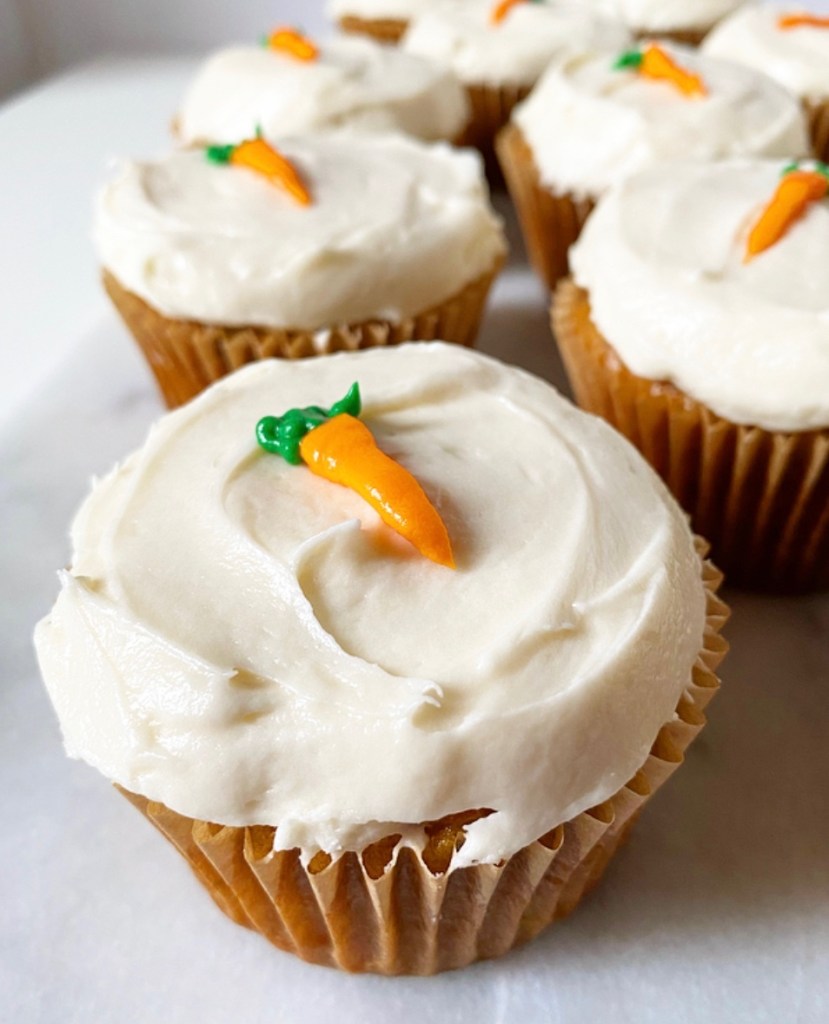
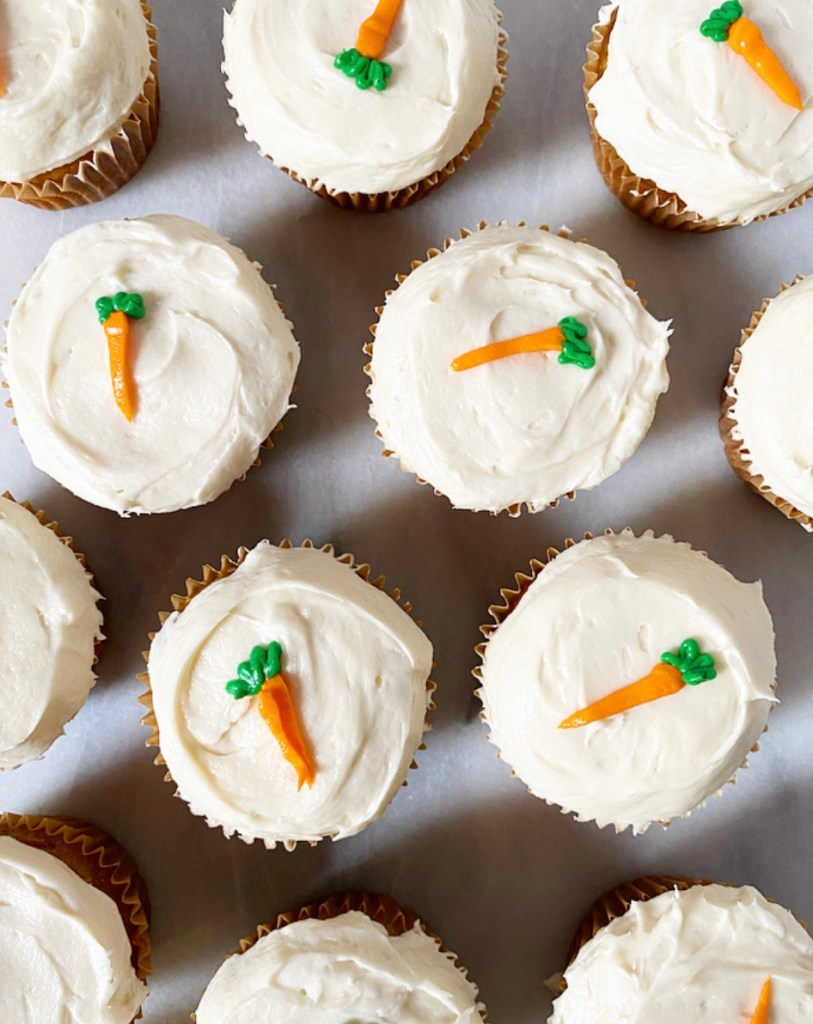
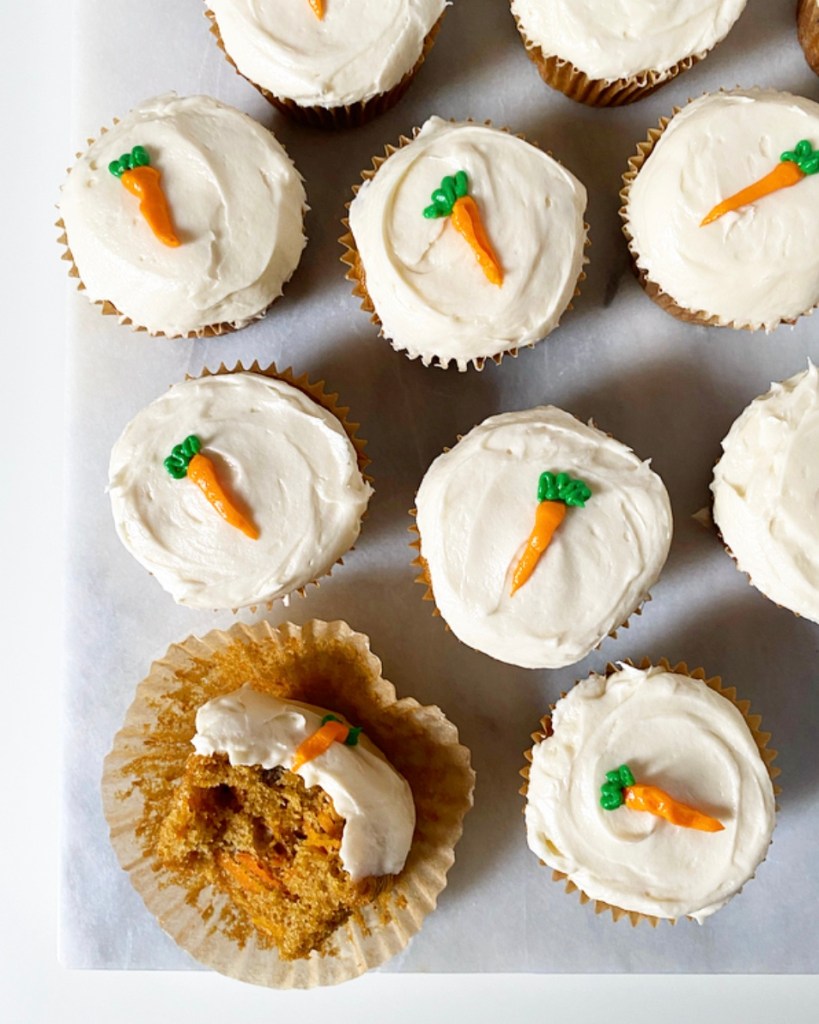
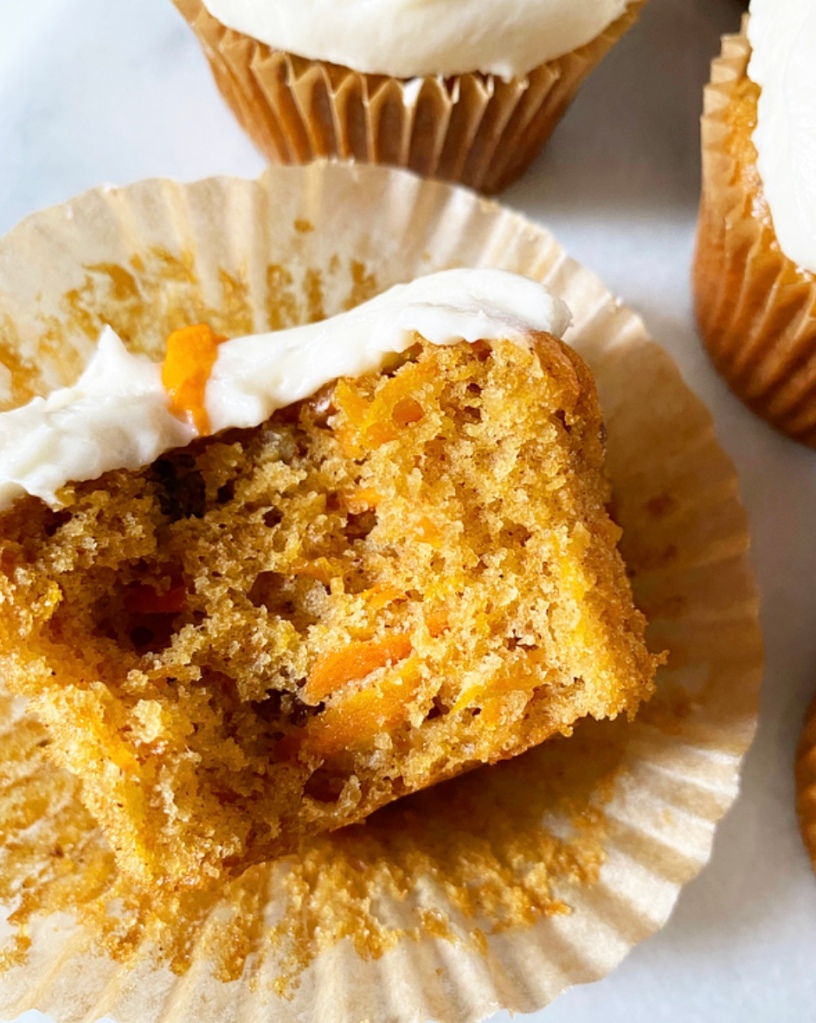
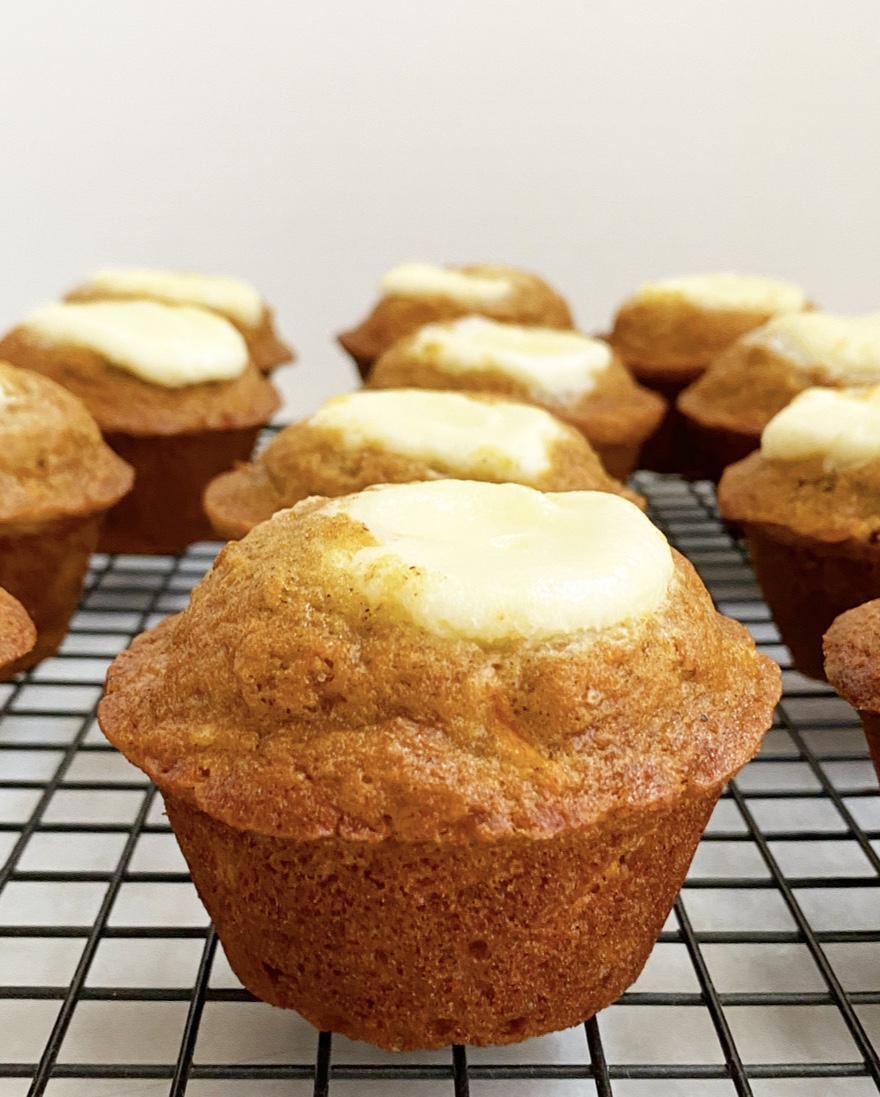
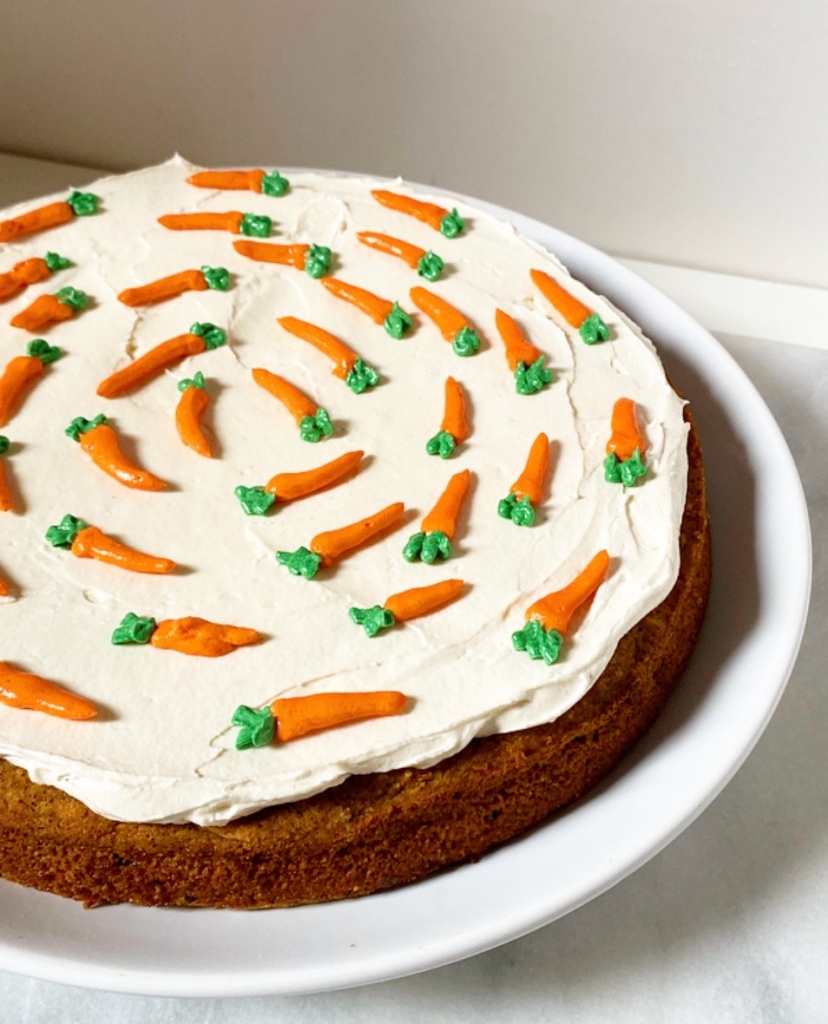
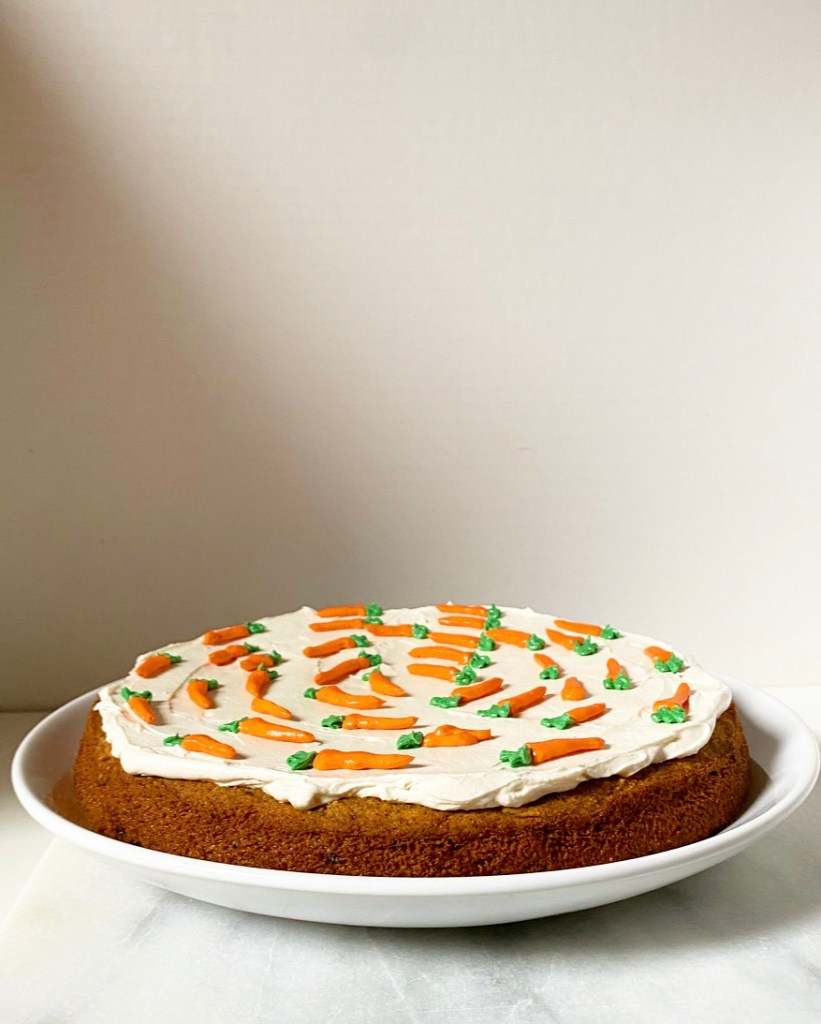
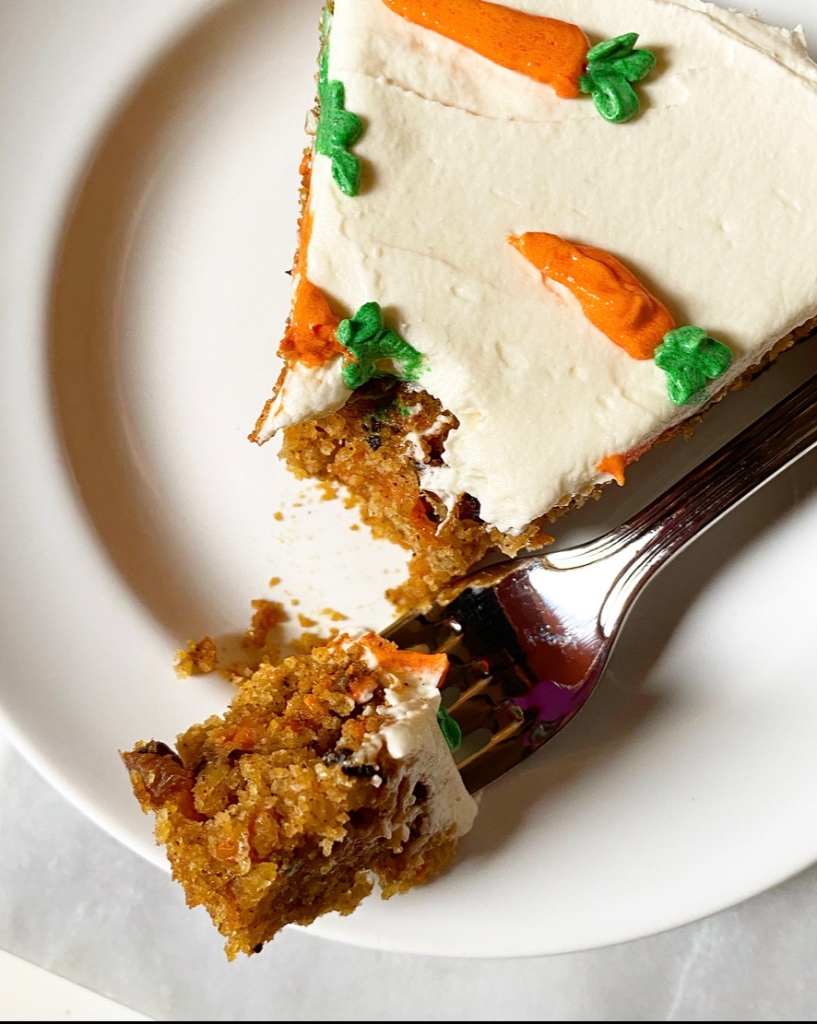
These little cakes have the perfect amount of spice, and are extra moist thanks to brown sugar, sour cream, and an abundance of shredded carrots. They bake up in twenty minutes and cool in under an hour. They’re finished with my best-ever cream cheese frosting and some sweet little piped carrots. You don’t have to put the carrots on top, but it seems kind of illegal not to, you know?!
I know Carrot Cake (er, cupcakes) is super popular for Easter, but I get requests for it all the time, so it’s a year-round thing as far as I’m concerned. Okay? Okay. Don’t let anyone tell you any differently.
Carrot Cupcakes with Cream Cheese Frosting
makes 16-18 cupcakes
Cupcake Batter:
1/3 cup chopped pecans or walnuts (optional)
~1/2 cup water, for raisins (optional)
1/3 cup raisins (optional)
1 3/4 cups all-purpose flour
1 1/2 teaspoons ground cinnamon
1 teaspoon ground ginger
1/2 teaspoon ground nutmeg
1 1/2 teaspoons baking powder
1/2 teaspoon baking soda
1/2 teaspoon Kosher or sea salt
1 cup light or dark brown sugar, packed
1/2 cup neutral-flavored oil (I use canola)
2 large eggs, room temperature
1/4 cup full-fat sour cream
1 1/2 teaspoons pure vanilla extract
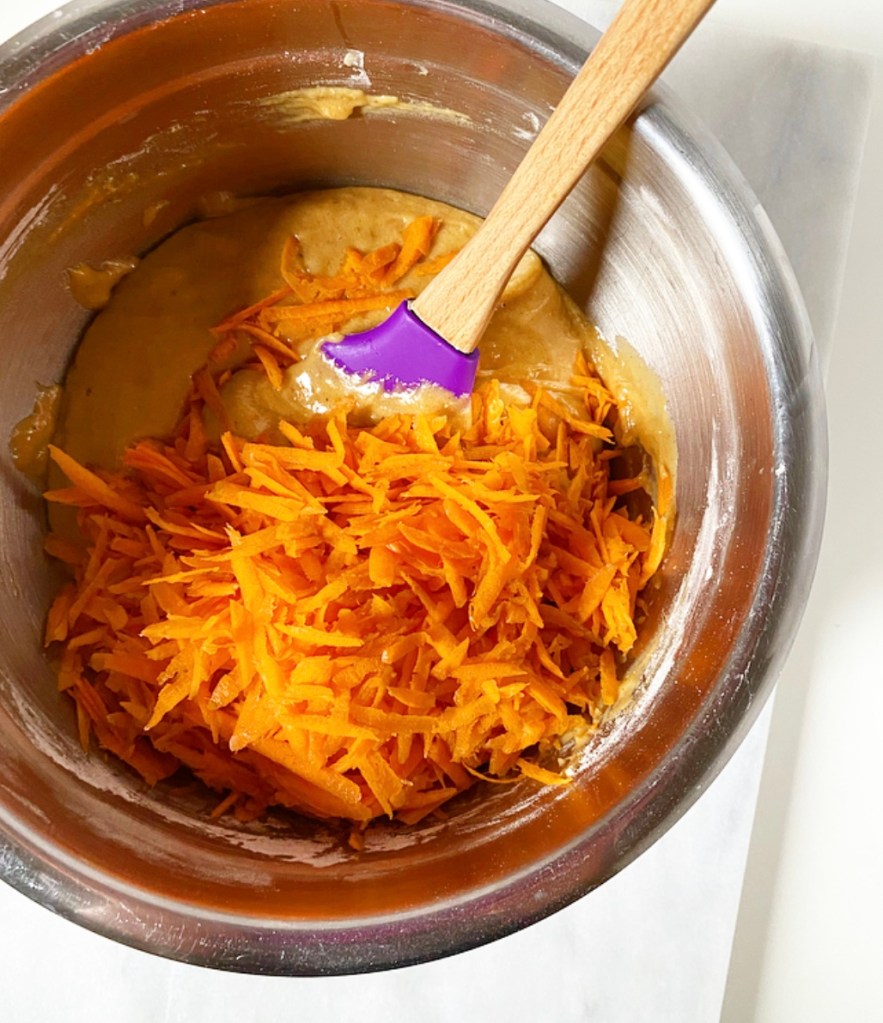
3 cups freshly shredded carrots, not packed (about 3 medium carrots)
Cream Cheese Frosting:
8 ounces full-fat brick-style cream cheese, softened to room temperature
1 cup (2 sticks) unsalted butter, softened to room temperature
1 pound confectioner's sugar
pinch of Kosher or sea salt
2 teaspoons pure vanilla extract
For Decoration:
1/4 cup Cream Cheese Frosting (see above)
orange food coloring (or red and yellow)
green food coloring
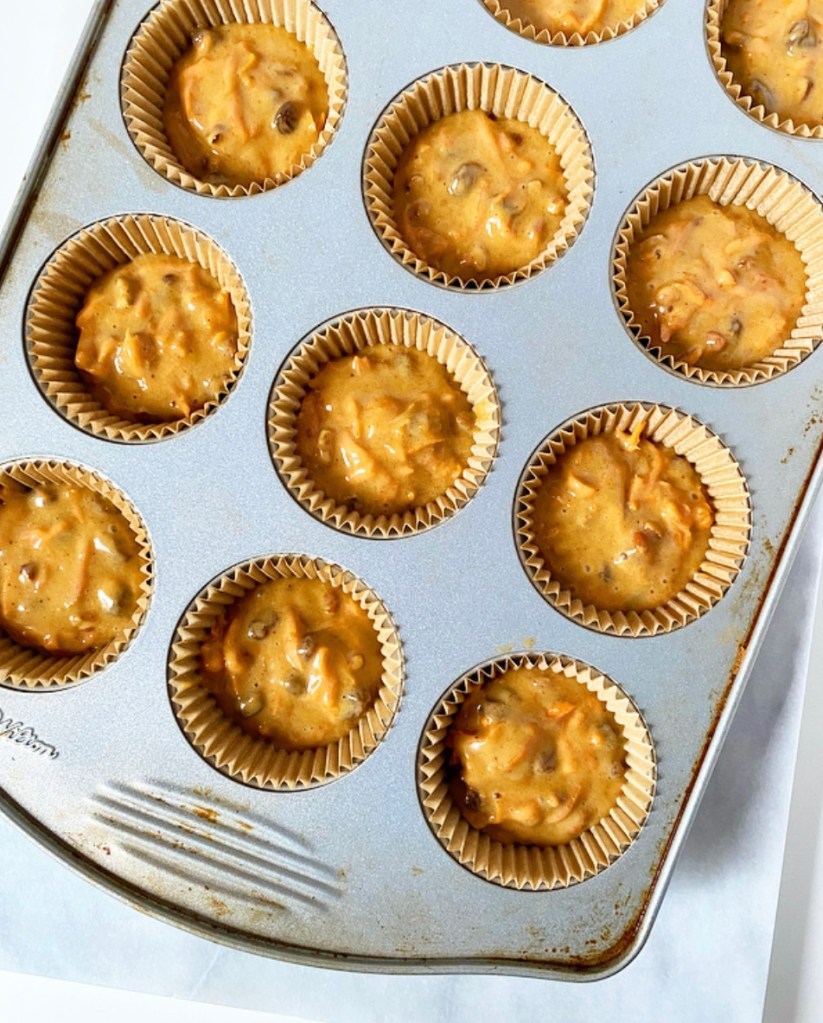
Preheat oven to 350F. Line 16-18 cups in muffin/cupcake pans with liners. Set aside.
Toast the nuts. Place chopped pecans (or walnuts) on a dry rimmed baking sheet. Place in the oven and let toast until fragrant, about 5-7 minutes. Let cool completely.
Plump the raisins. Pour water into a small saucepan and bring to a boil. Remove from heat and stir in raisins. Let sit while you prepare the cake batter.
In a small-medium mixing bowl, whisk together flour, cinnamon, ginger, nutmeg, baking powder, baking soda, and salt.
In a large mixing bowl, whisk together brown sugar and oil. Mix in eggs one at a time, followed by sour cream and vanilla. Add dry ingredients in two installments, whisking just until combined. Scrape down the bowl as needed.
If using raisins, drain and discard soaking water.
Use a silicone spatula or wooden spoon to fold carrots into cake batter. Stir in raisins or nuts, if using.
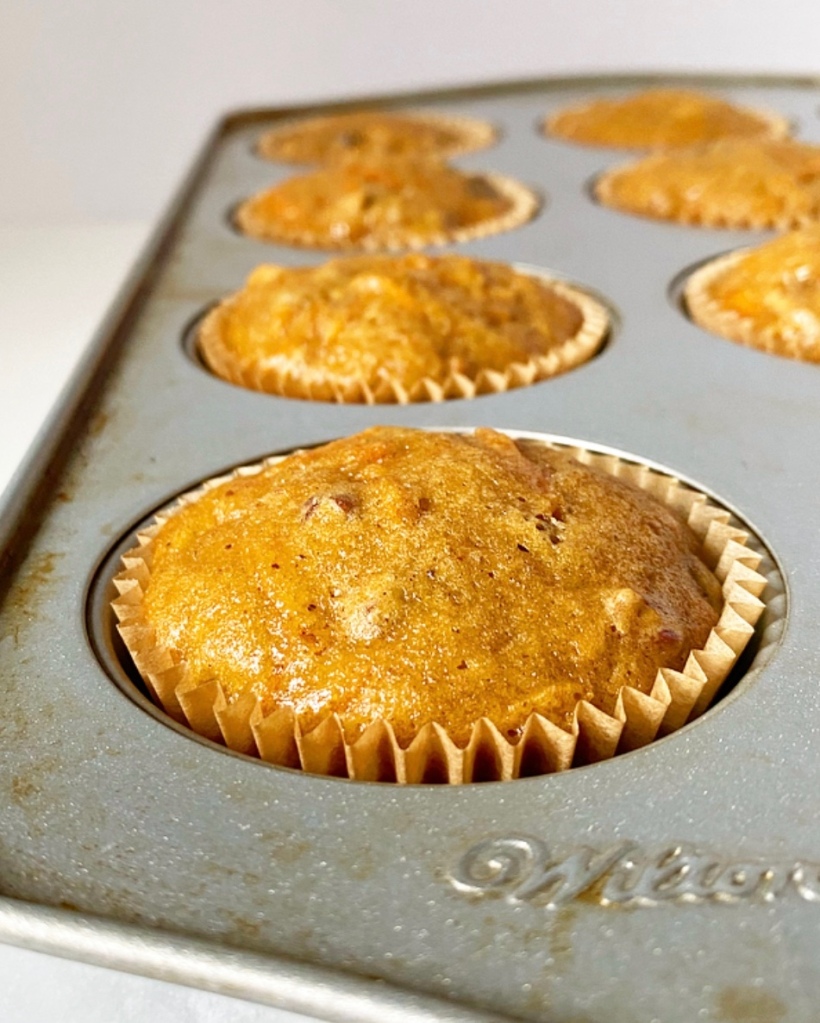
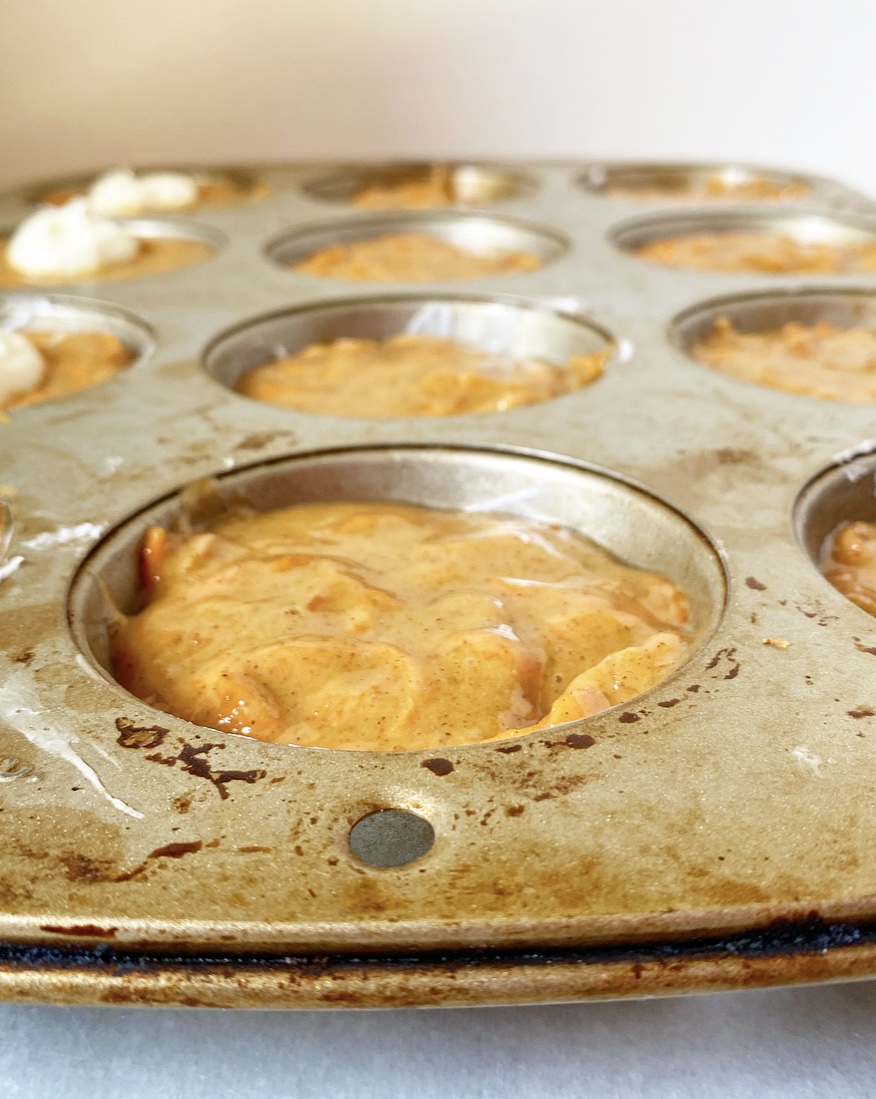
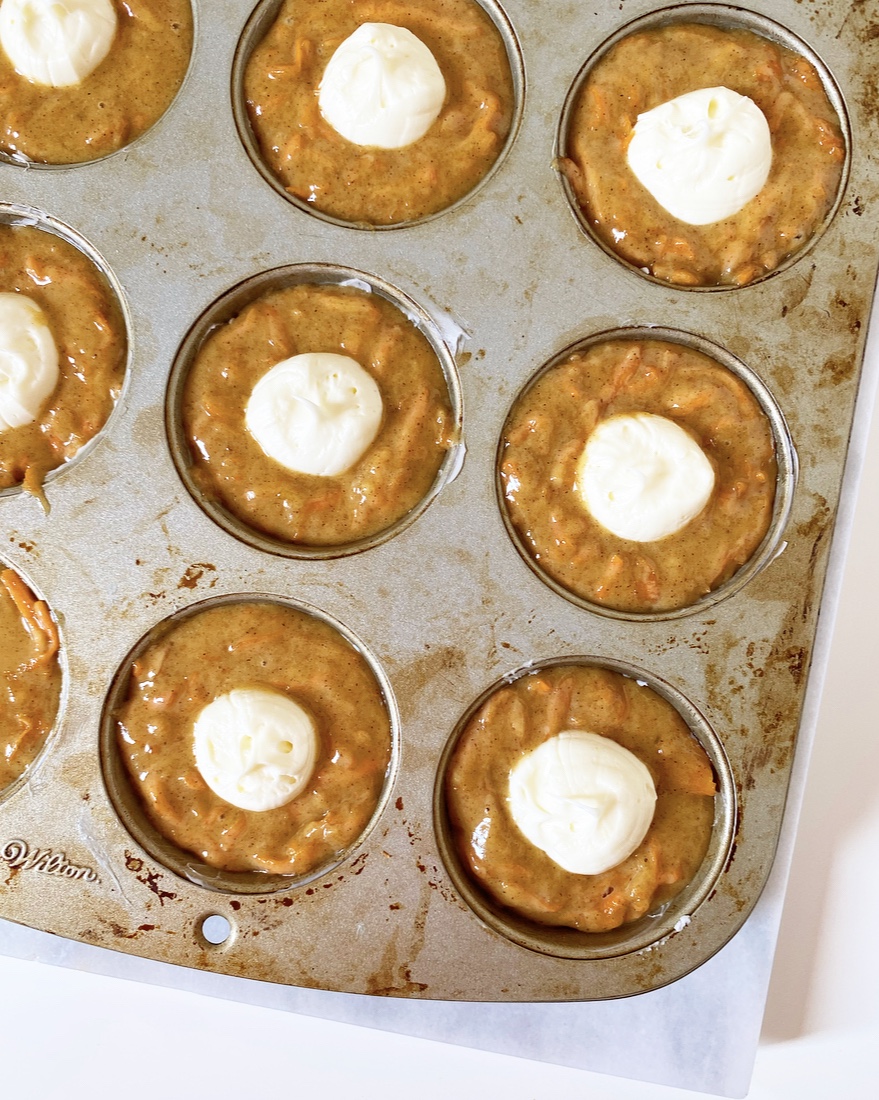
Scoop batter into prepared liners, filling them 1/2-2/3 full (about 2 generous tablespoons). Bake 20 minutes, until a toothpick inserted in the centers comes out clean.
Let cupcakes cool in the pan for about ten minutes before transferring to a rack to cool completely.
While the cupcakes are cooling, make the frosting. In a large mixing bowl, use an electric mixer to beat cream cheese and butter together until light and fluffy. Add confectioner's sugar and salt in two installments, until completely combined. Beat in vanilla. Once combined, beat on high for two additional minutes, until light and fluffy.
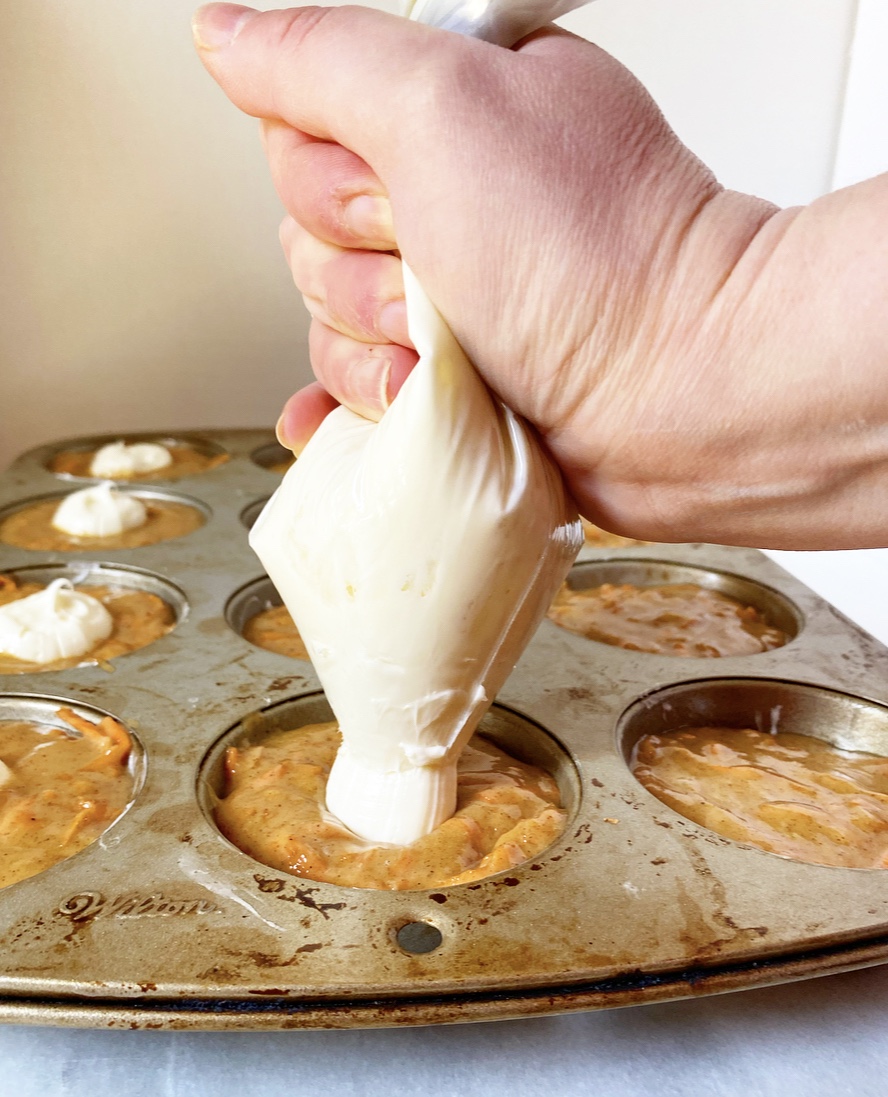
Frost cupcakes as desired, reserving 1/4 cup of frosting if you want to pipe carrots.
If piping carrots, divide frosting into two separate bowls, dying each with either orange or green food coloring. Put it into small piping bags, snip the tips, and create your carrots. Instructional video here.
Cupcakes will keep covered at room temperature for up to two days, or in the refrigerator for up to five.

 If these Chocolate Macaroon Thumbprints look familiar, it’s because they are—these are basically just miniature versions of my
 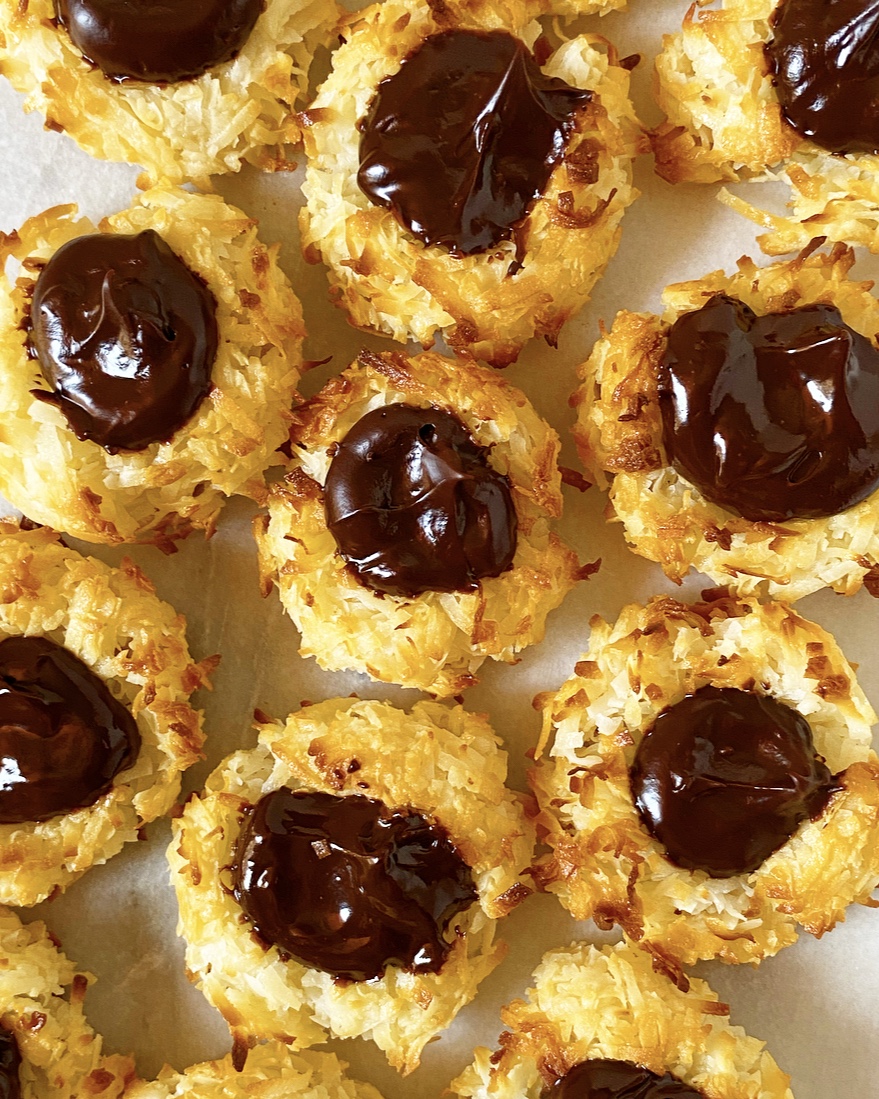 Chocolate Macaroon Thumbprints are made with my trusty gluten- and egg-free
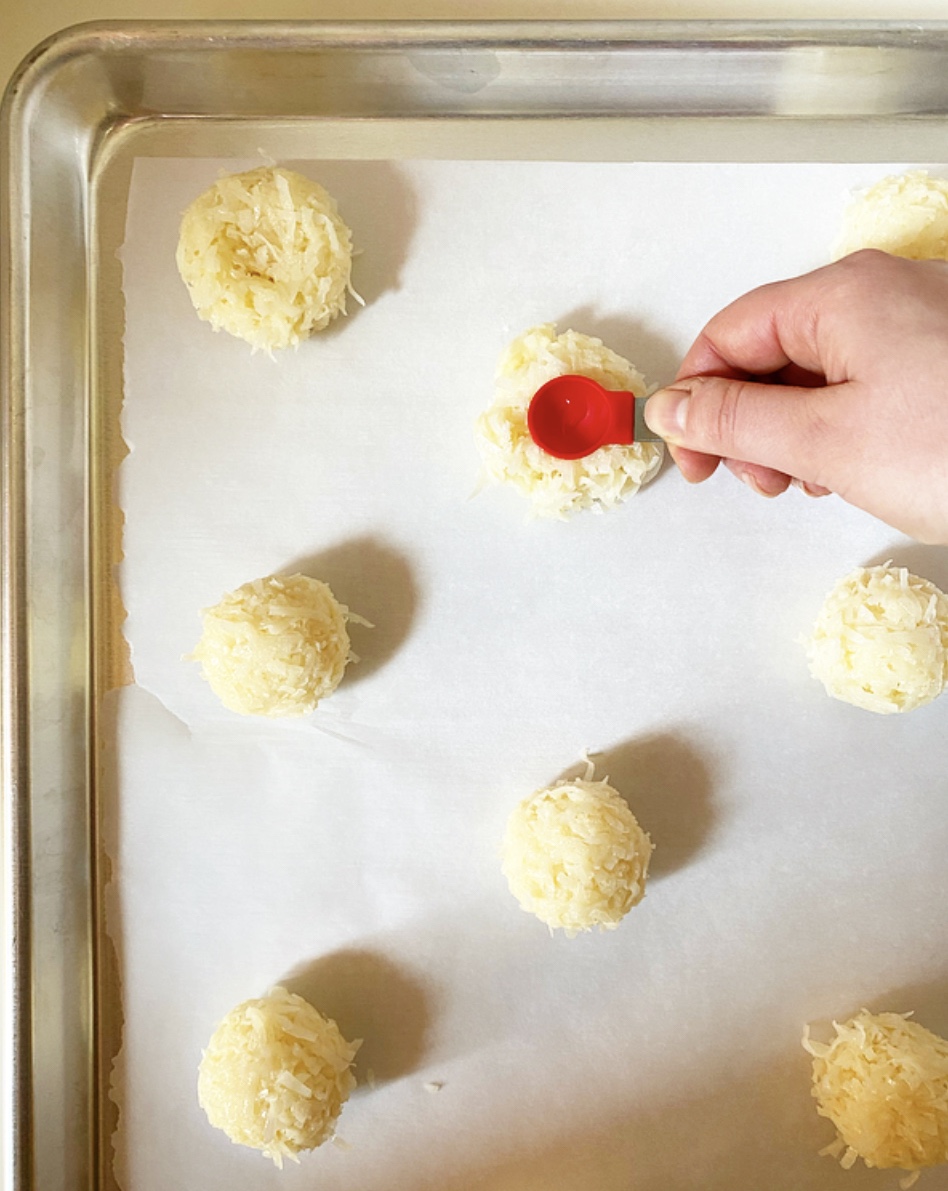
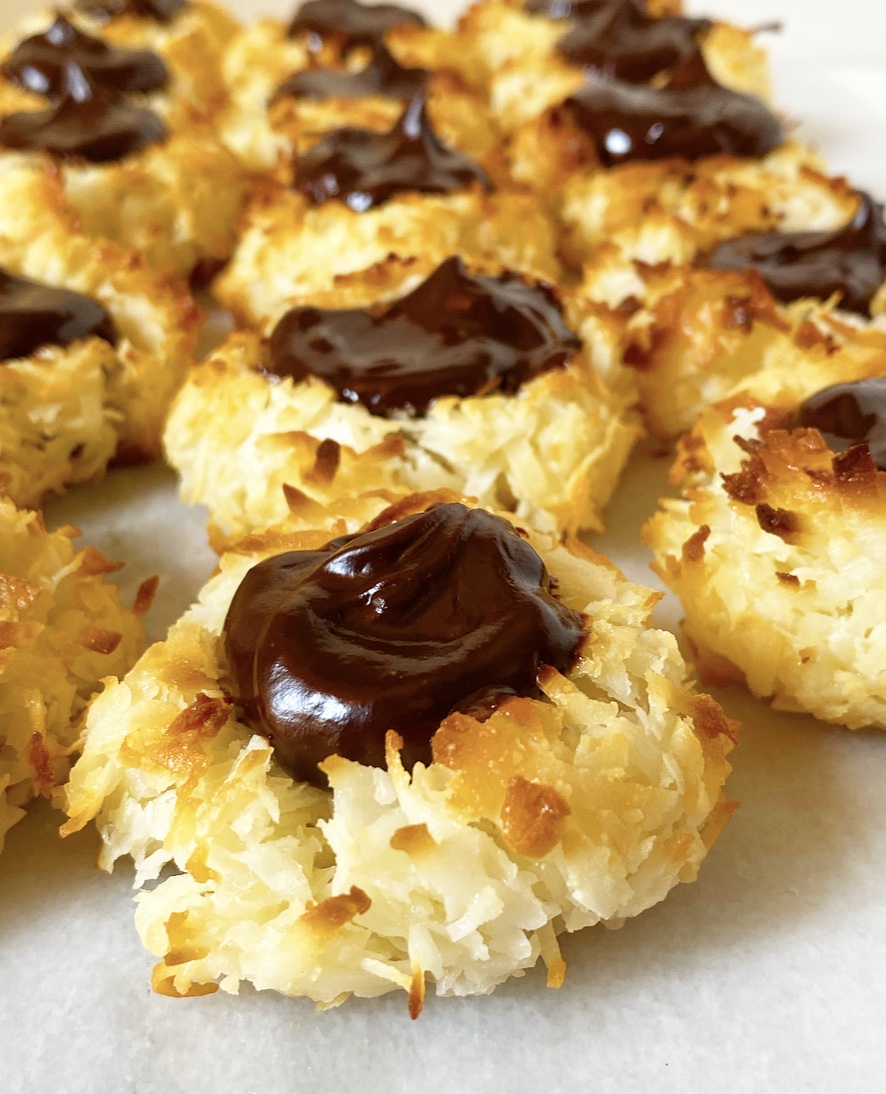
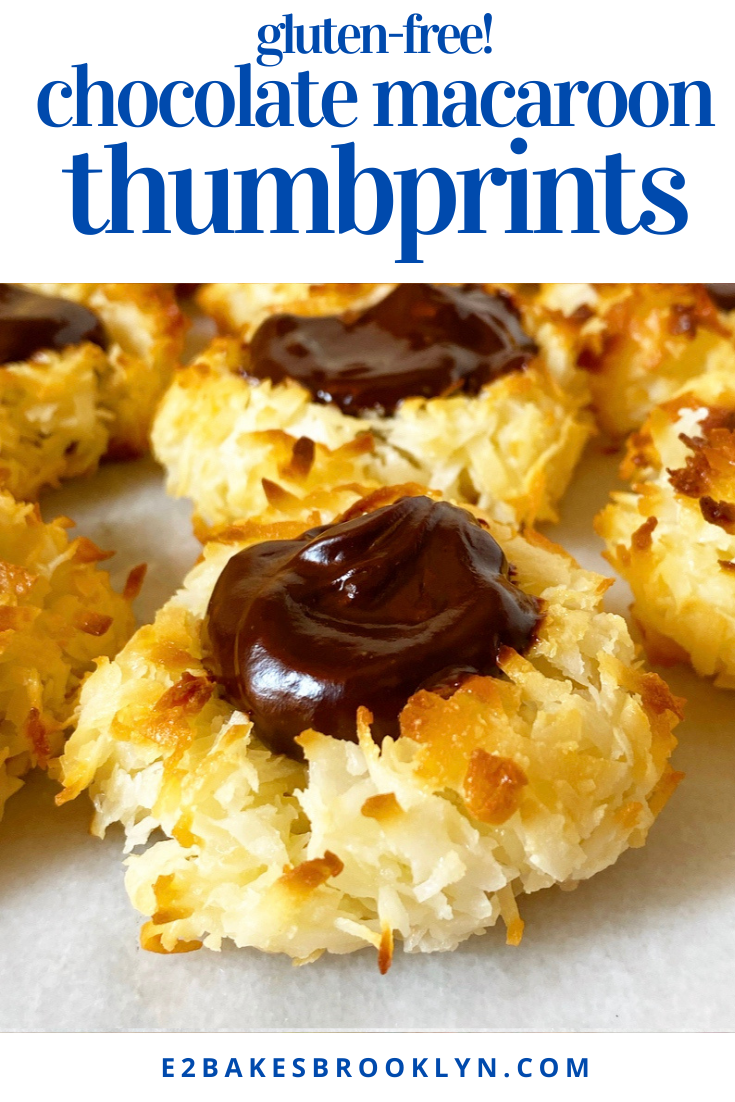
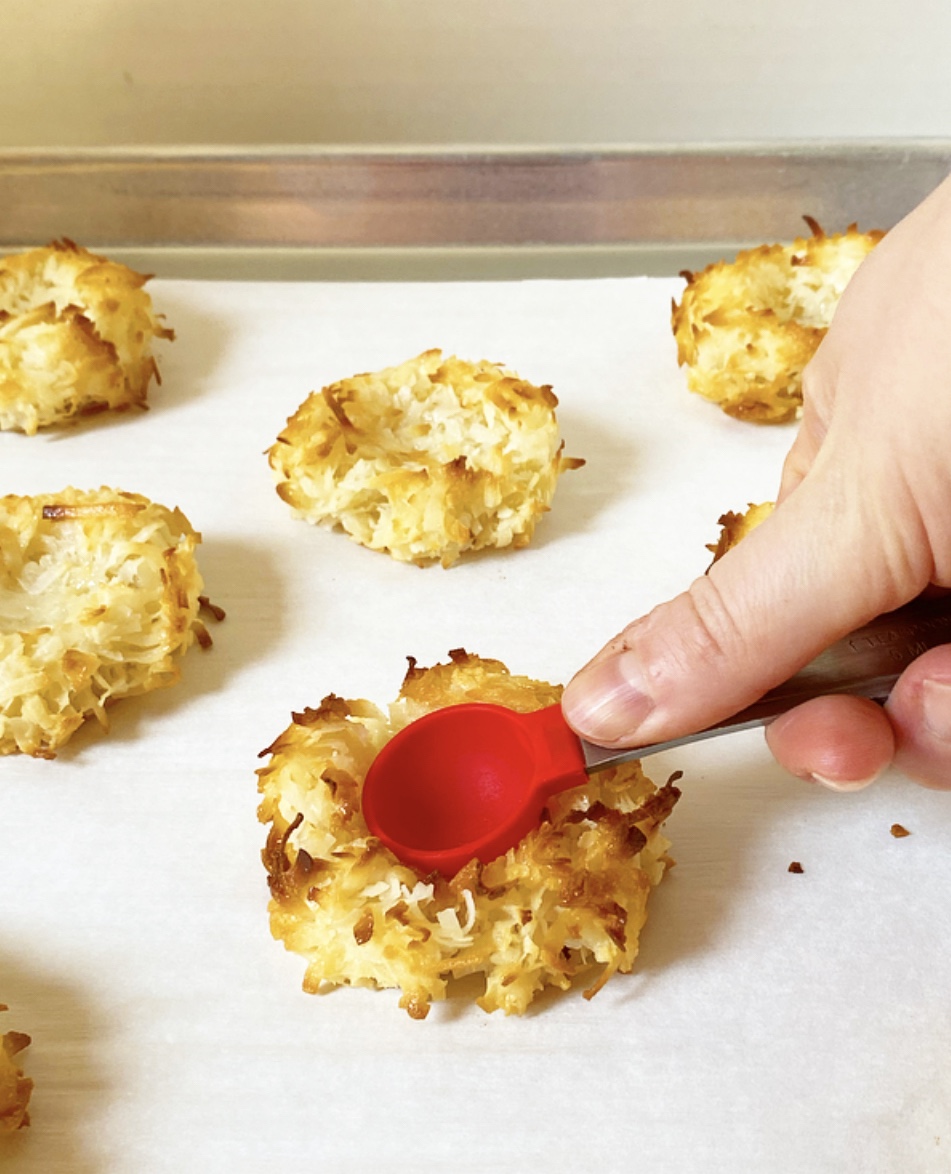 After the coconut base is rolled into balls, little indentations are pressed into each one to create the titular thumbprint. You could use your thumb, of course, but a spoon gives a more consistent shape and size and is way less messy. These initial thumbprints will become shallow during baking, so make sure to give them a second indentation when you pull them from the oven. Bigger thumbprint = more room for chocolate!
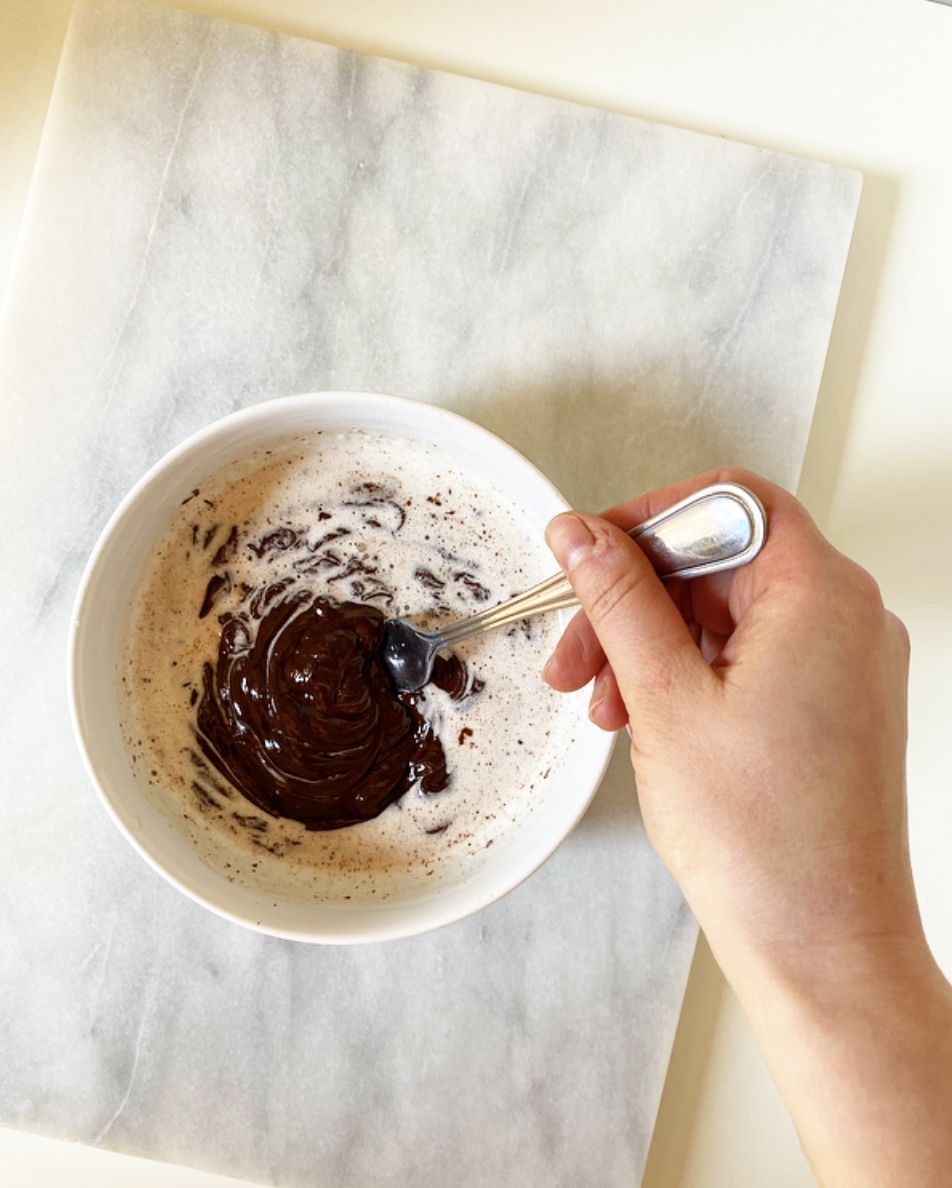
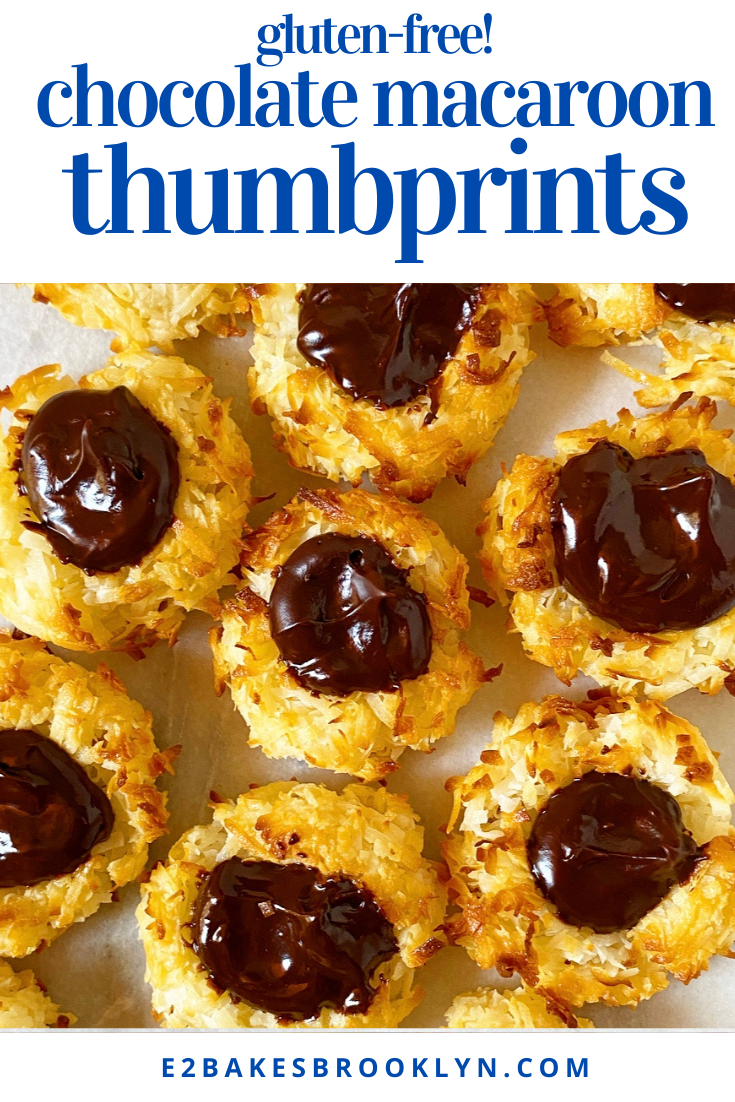
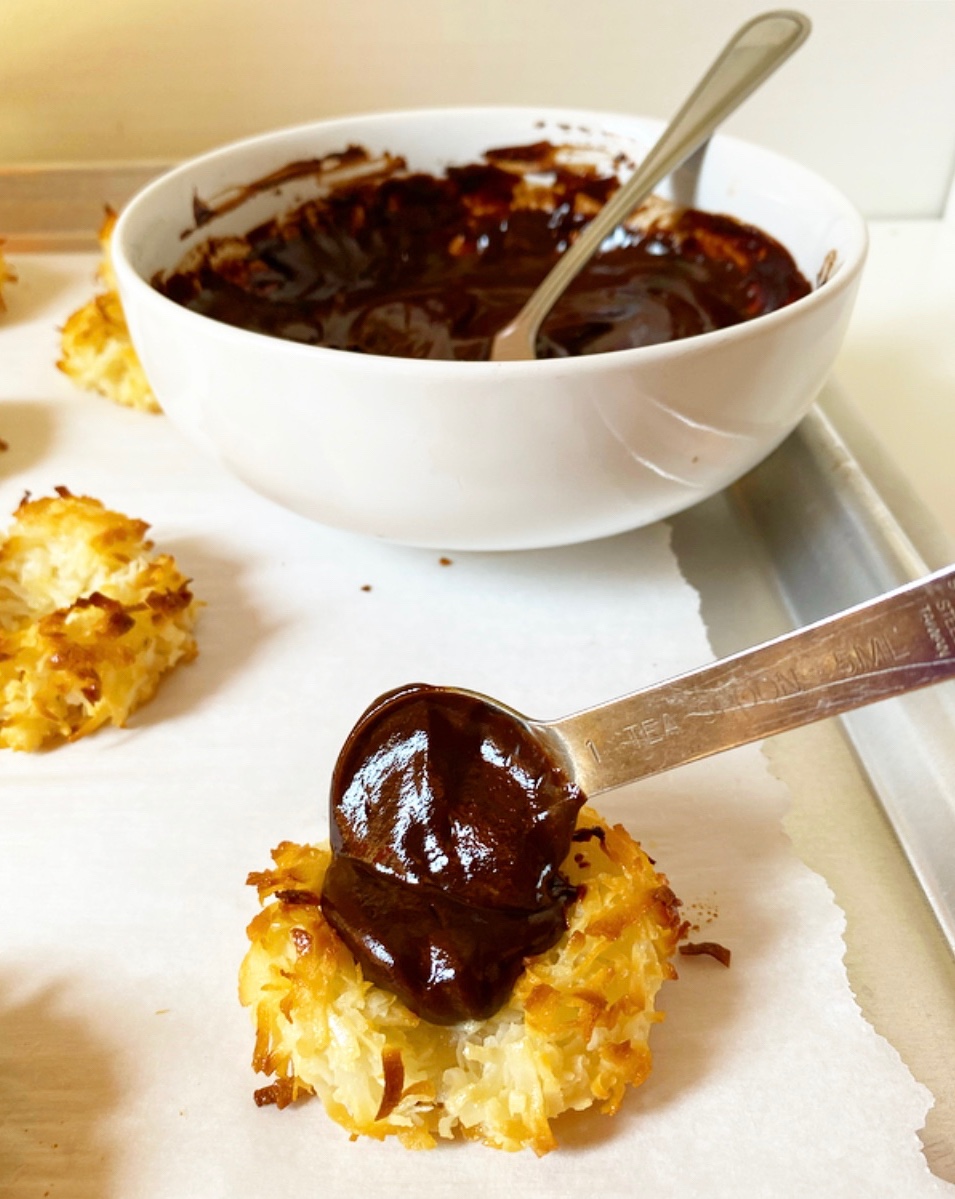 Ohhh yes, these thumbprints are filled to the brim with dark chocolate ganache! It’s no secret that coconut & dark chocolate are perfect together, but the creamy-chewy texture situation here is positively glorious. I can say this with confidence because…well, I’ve eaten a lot of these lately. A. Lot.
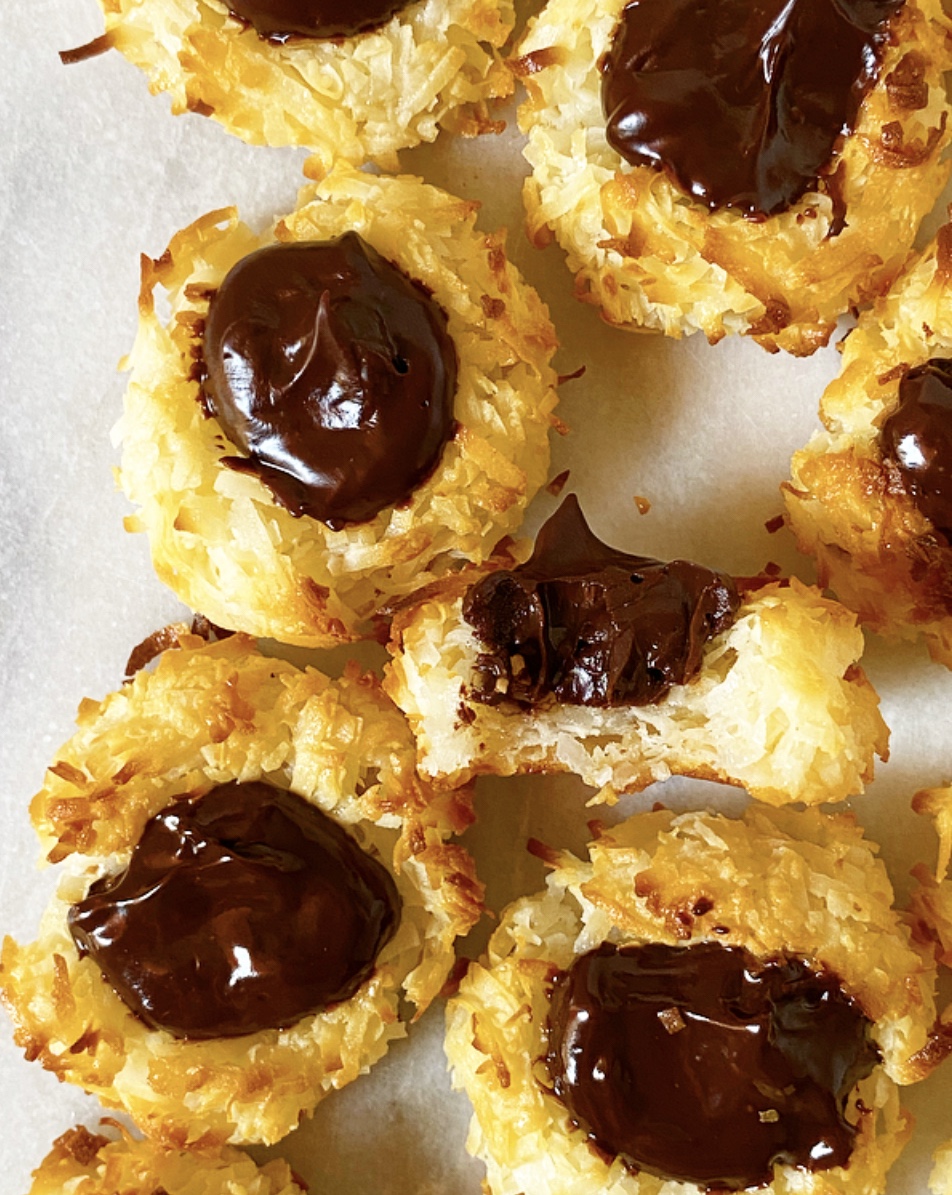 Chocolate Macaroon Thumbprints are a perfect addition to your Easter menu! Follow my lead and leave them plain for a simple & stunning finish, or top the pools of ganache with Easter egg candies for something a little more festive.
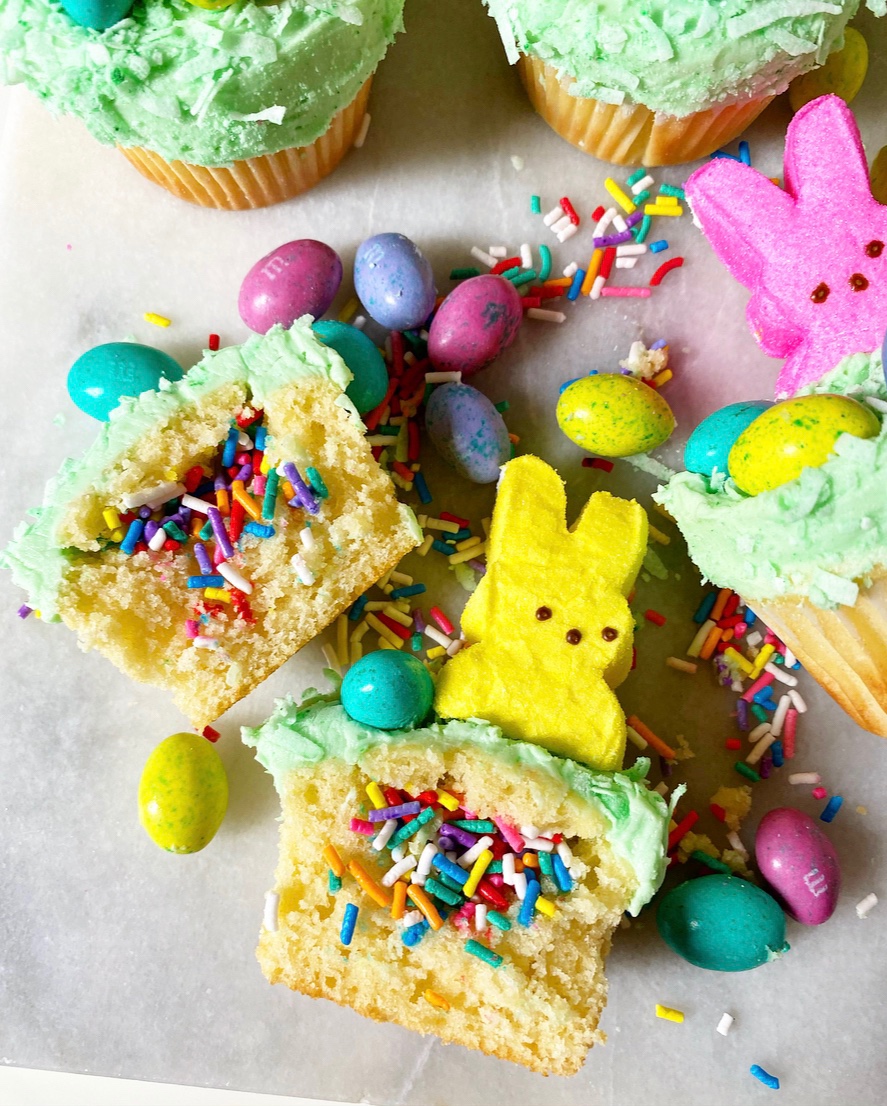
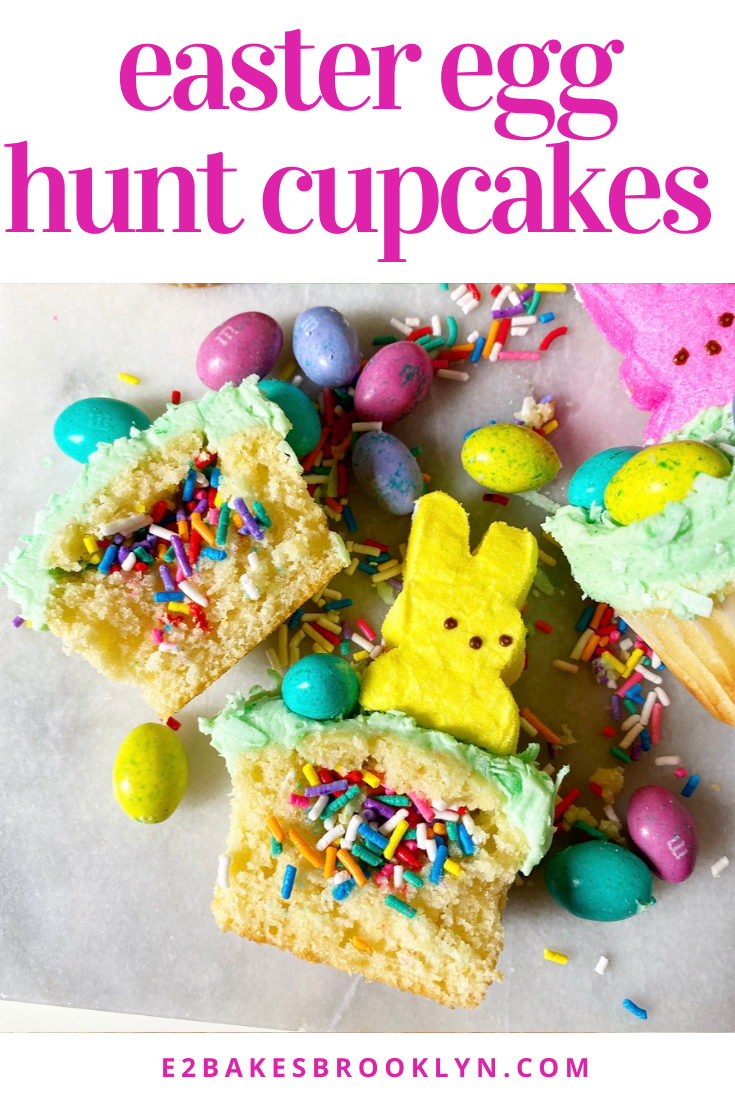
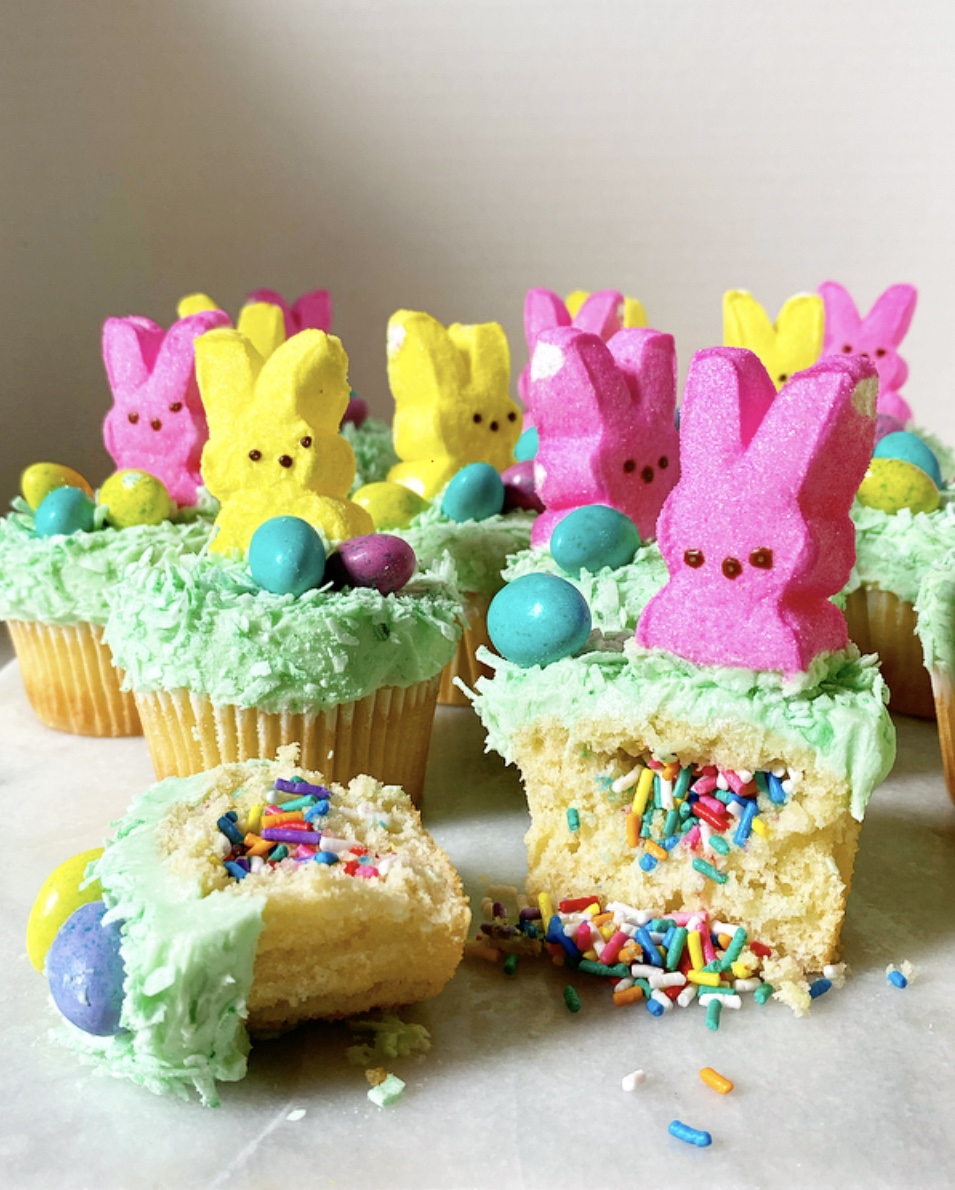 How cute are these Easter Egg Hunt Cupcakes?! They’re a miniature version of the towering surprise-inside
 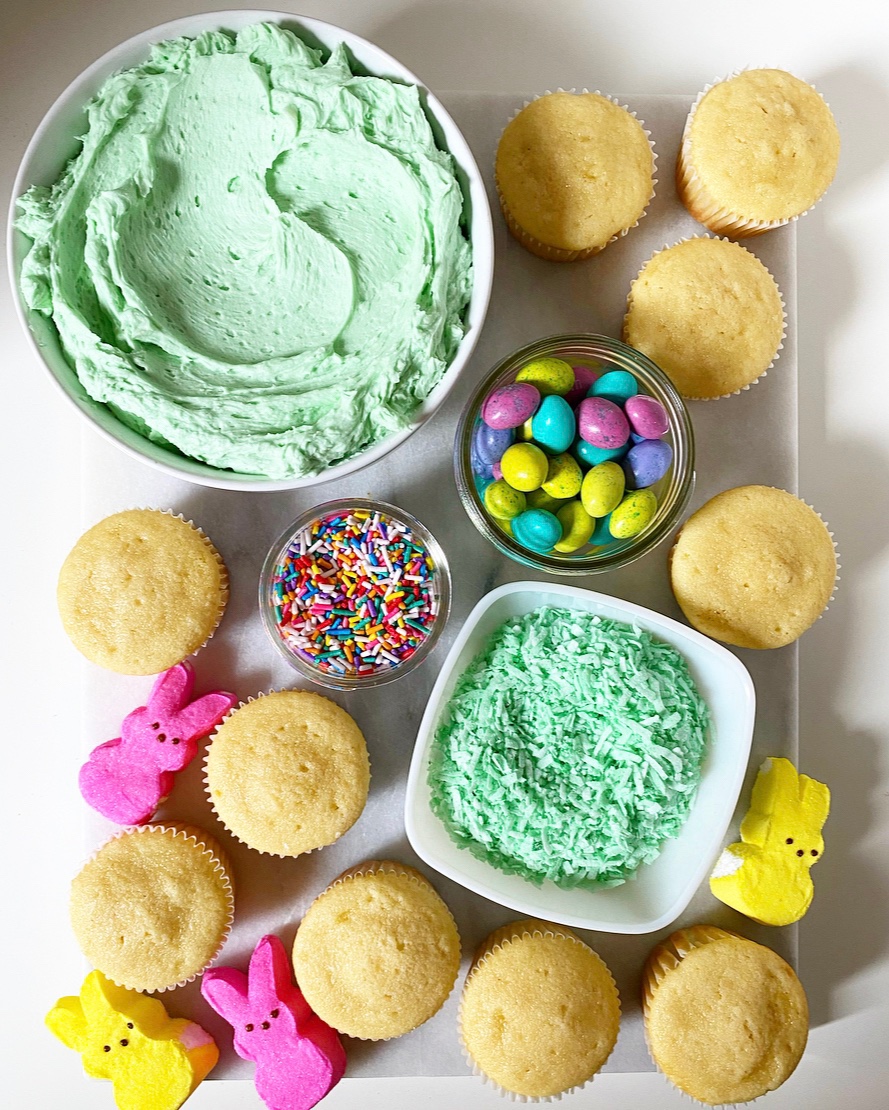 Easter Egg Hunt Cupcakes start with the same vanilla sour cream cupcake base I used for my
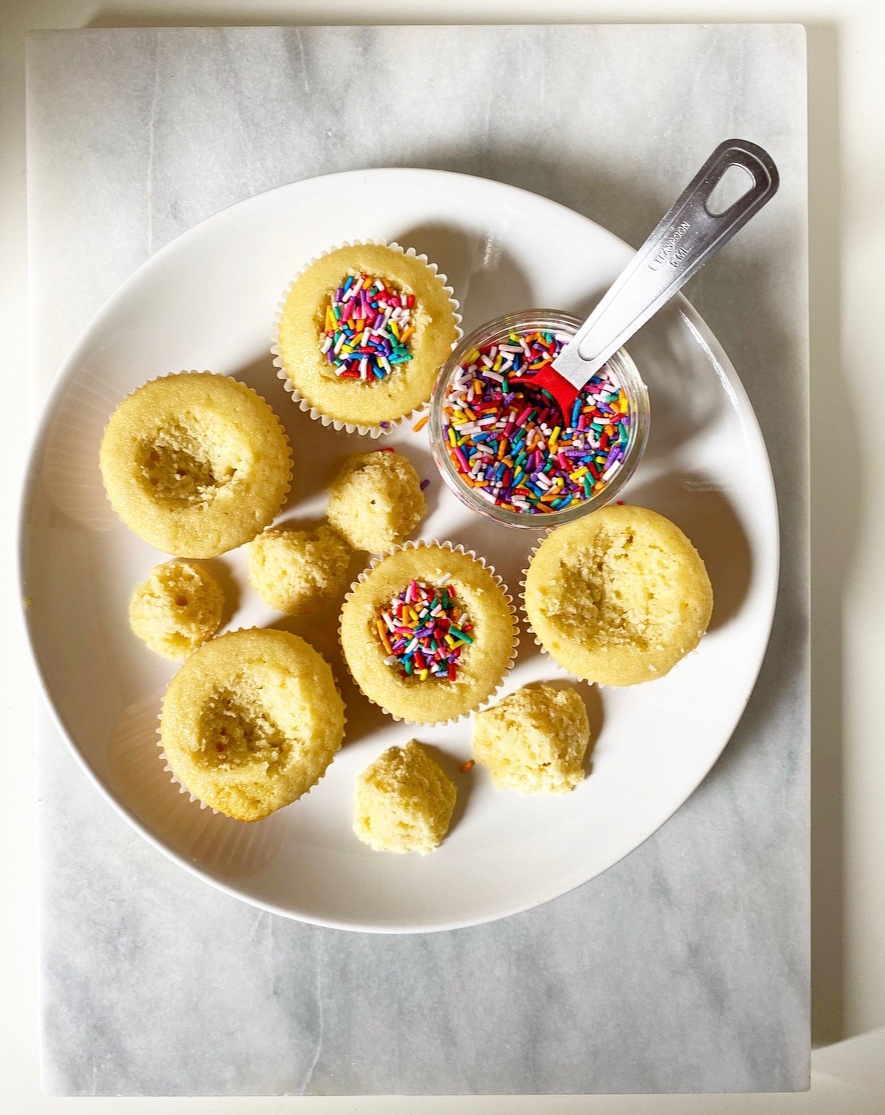
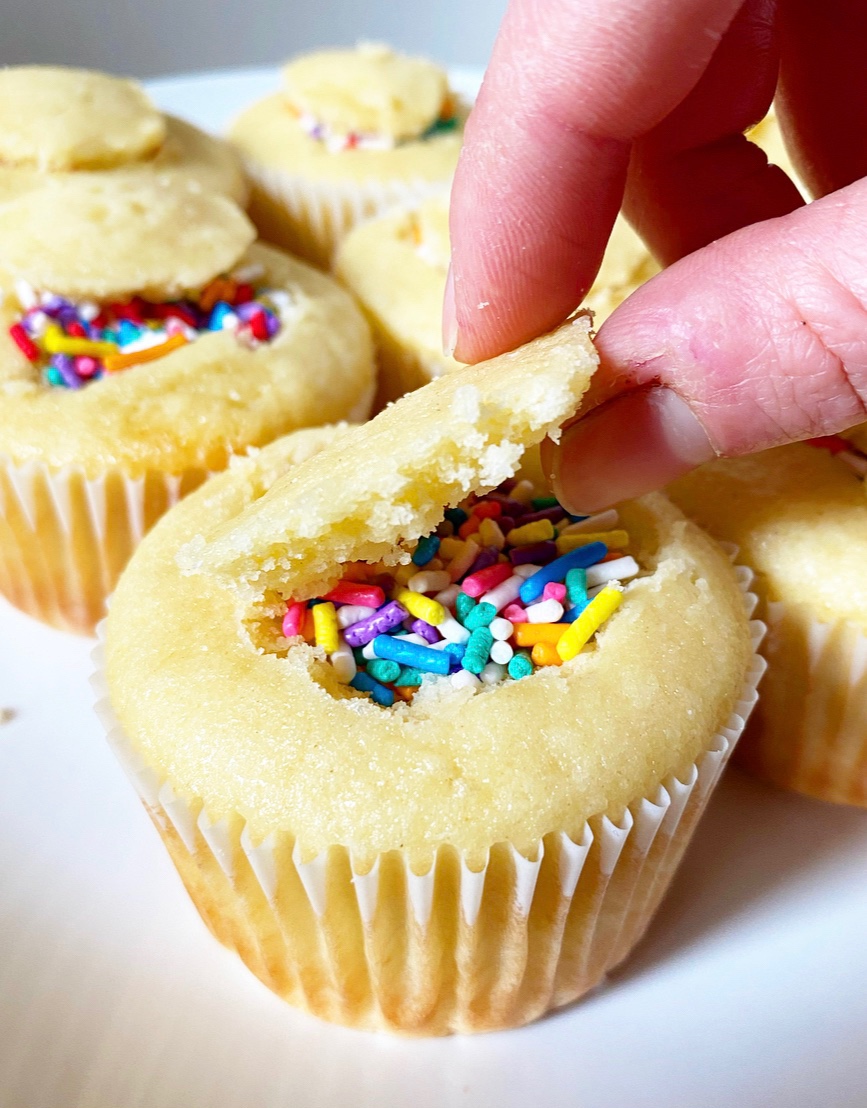 Before frosting, each cupcake is filled with sprinkles for a surprise effect. To achieve this, a cone-shaped piece of cake is cut out of the top of each cupcake, leaving behind just enough room for a teaspoon of sprinkles. Then the little conical toppers are trimmed into disks so that they fit right back on top of the cupcakes, concealing the surprise inside. Once the cupcakes are frosted, the cut-outs won’t be visible, making it all the more fun when your family and friends bite in and sprinkles come running out!
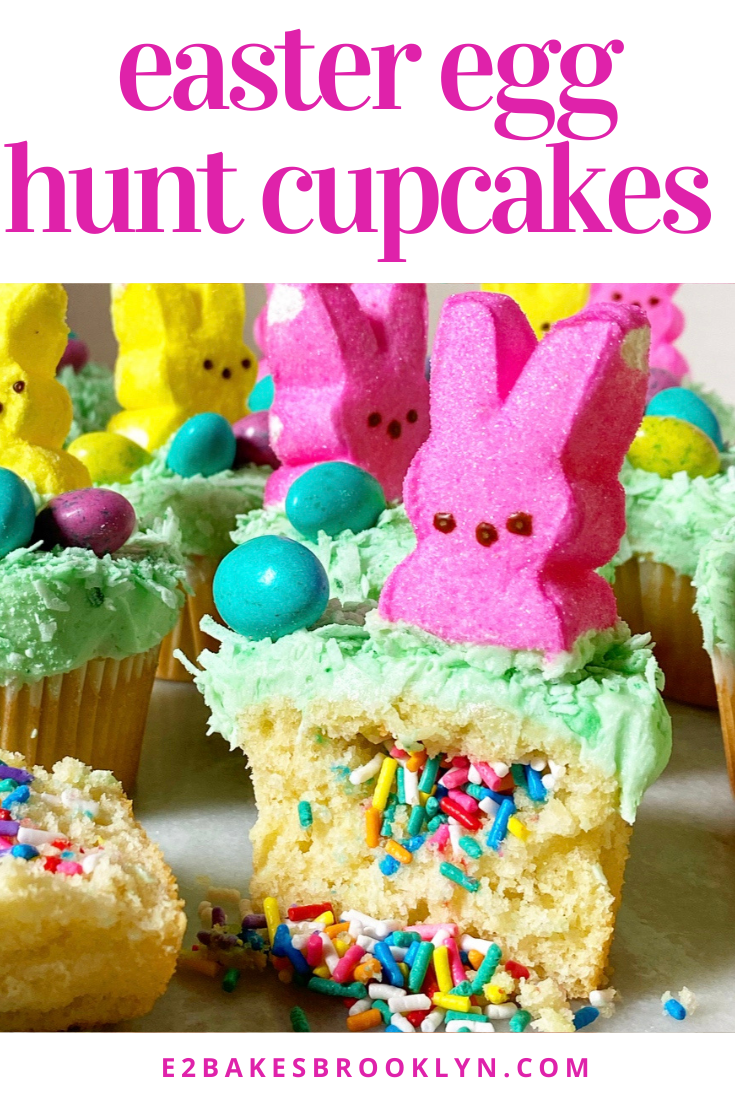
 Like the layer cake that inspired them, these cupcakes are frosted with green-tinted vanilla buttercream and decorated with little Easter scenes made of green coconut “grass,” egg-shaped candies and Peeps bunnies.
 I can’t get over how festive these are! I say this about at least one recipe a year, but these might be the cutest things I’ve ever made. And maybe soon they’ll be the cutest things you’ve ever made.