For the first few years I had this blog, I resisted writing cupcake recipes. It wasn’t for any particularly good reason—just that I think making layer cakes is easier. Also, I really hate washing cupcake pans.

But then the pandemic came, and suddenly nobody needed a layer cake recipe (unless it was tiny), so I got over myself and started making cupcakes. And you know what? I love it. Cupcakes are so much fun to bake (and eat), and they’re pretty dang convenient in situations where you don’t have a knife on hand, which is (ideally) most situations.

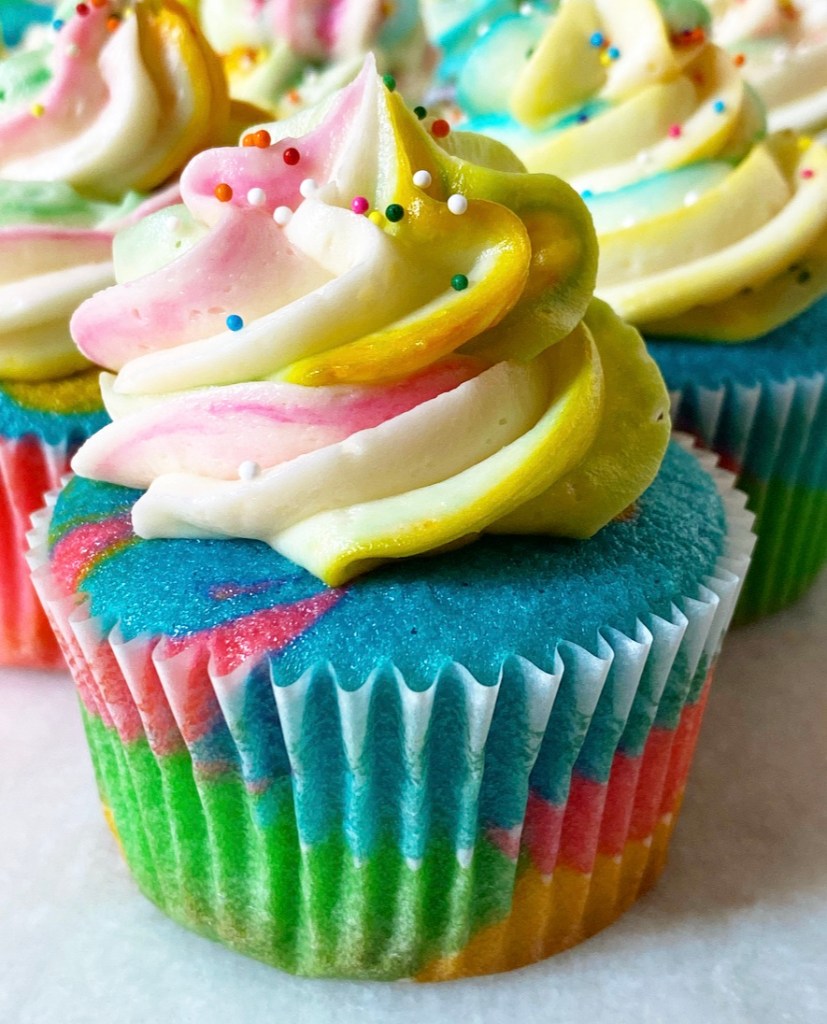
Today’s cupcake recipe isn’t new—it’s been on here plenty of times. Usually it’s all jazzed up with creatively administered food coloring or surprises hidden inside, both of which are fine and good…but sometimes you just need some no-frills vanilla cupcakes. Vanilla Sour Cream Cupcakes to be exact.

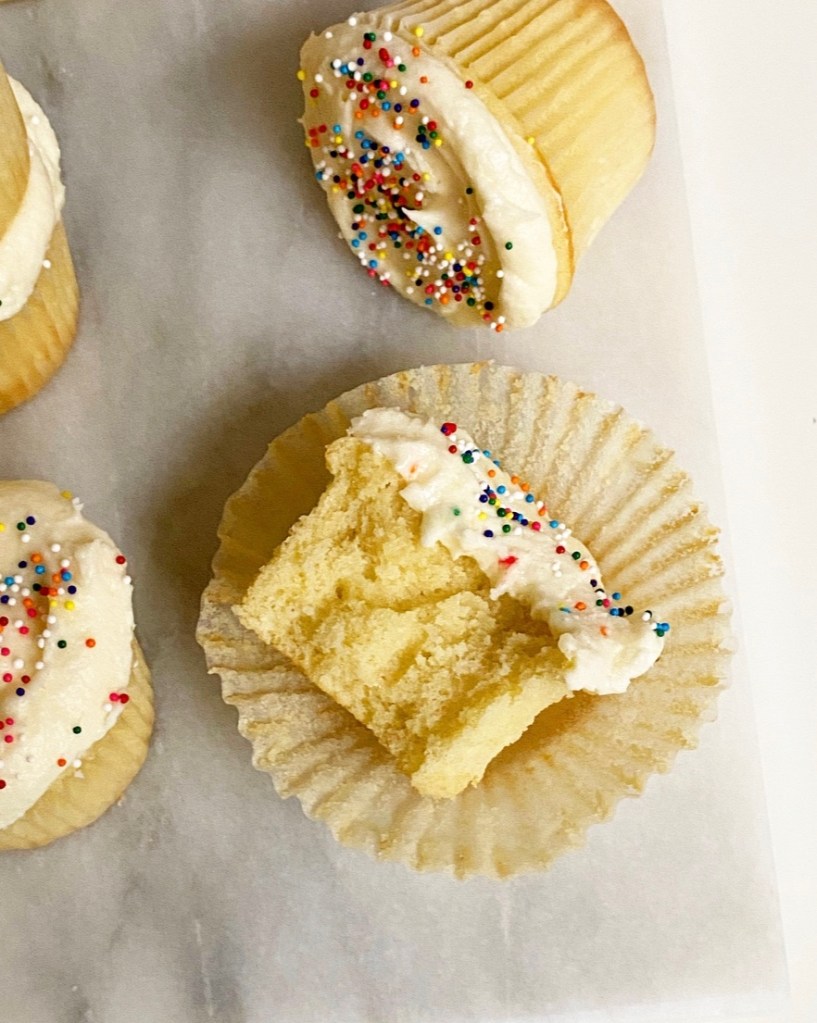
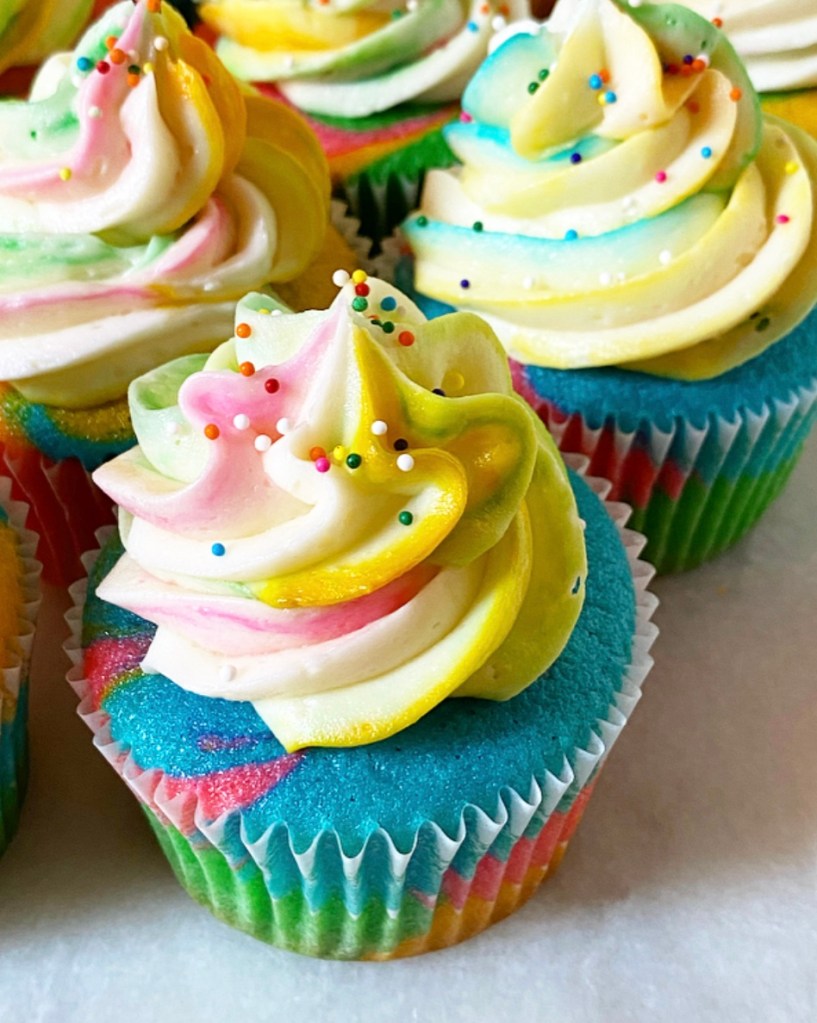
I mean, what’s better than vanilla cupcakes? Made with sour cream, the cakes themselves are soft and buttery, and just dense enough not to disintegrate when their papers are pulled away. The frosting has sour cream in it too, which gives just the slightest tangy finish. It’s super rich and delicious—perfect for spreading into thick blankets over the cupcakes. Oh, and the double dose of vanilla flavor? Out of this world.
The sprinkles? Well, they’re technically optional. We’re going for a plain vanilla cupcake recipe, after all. But as with nearly all “plain vanilla” things around here, there’s no reason simple has to mean boring.
Vanilla Sour Cream Cupcakes
makes 14-16 cupcakes
1/2 cup milk, room temperature
1/2 cup sour cream, room temperature
1 1/2 cups all-purpose flour
2 tablespoons cornstarch
1/2 teaspoon baking powder
1/4 teaspoon baking soda
1/2 teaspoon Kosher or sea salt
1/2 cup (1 stick) unsalted butter, softened to room temperature
1 cup granulated sugar
2 large eggs, room temperature
2 teaspoons pure vanilla extract
Frosting & Garnish:
3/4 cup (1 1/2 sticks) unsalted butter, softened to room temperature
2 1/2 cups confectioner’s sugar
pinch of Kosher or sea salt
1 1/2 teaspoons pure vanilla extract
3 tablespoons full-fat sour cream (or heavy cream)
sprinkles, for garnish (optional)
Make the cupcakes. Preheat oven to 350F. Line a 12-cup standard muffin tin with cupcake liners. Set aside.
Combine milk and sour cream a liquid measuring cup, then use a fork to whisk them together. Set aside.
In a small-medium mixing bowl, whisk together flour, cornstarch, baking powder, baking soda, and salt. Set aside.
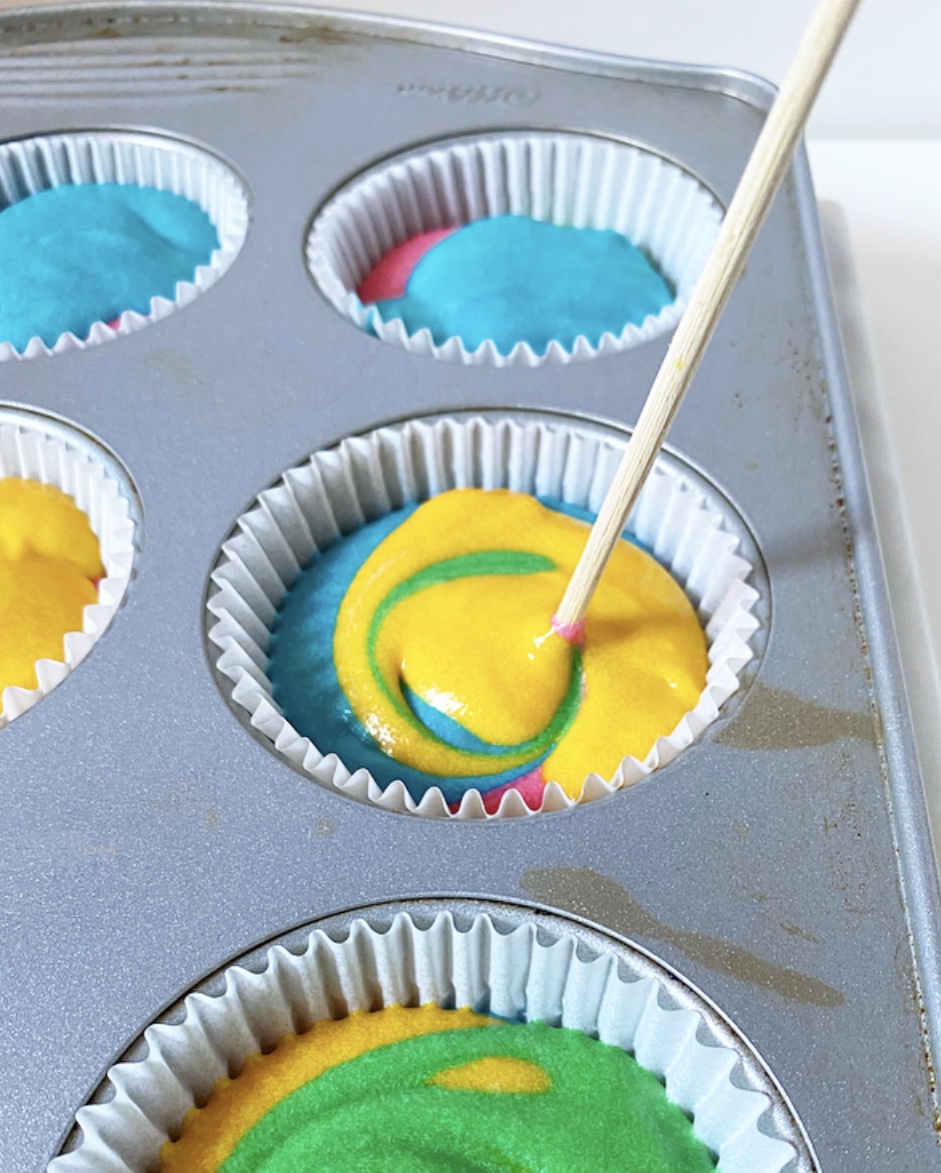
In a large mixing bowl, use an electric mixer to beat butter until light and fluffy. Beat in sugar. Add eggs one at a time, combining completely after each addition. Beat in vanilla. Mix in half the dry ingredients, followed by half the milk/sour cream. Add the remaining dry ingredients followed by the remaining milk/sour cream.
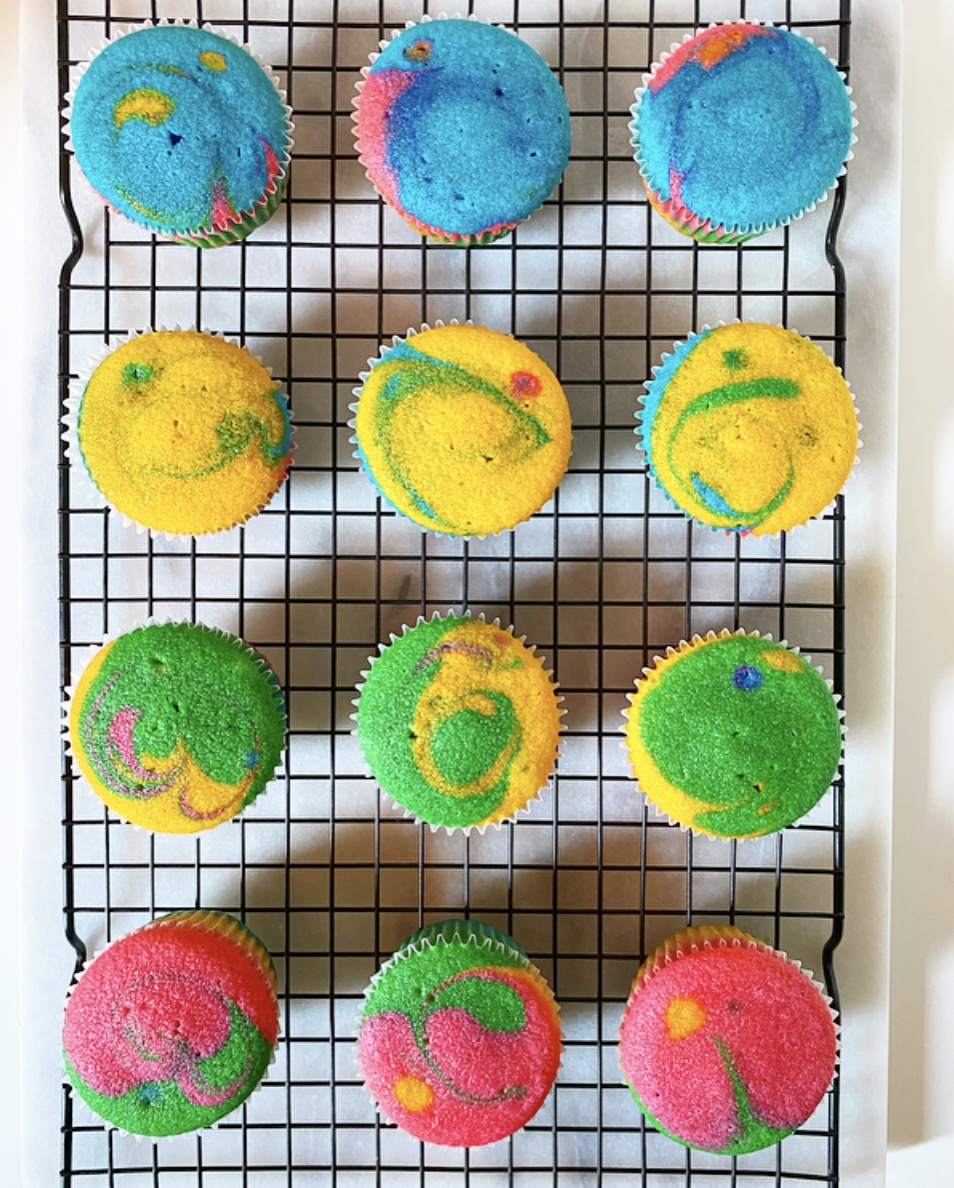
Fill liners 2/3-3/4 full. Tap full pan on the counter five times before baking for 18-19 minutes, until a toothpick inserted in the centers comes out clean. Let cupcakes cool in the pan for 5-10 minutes before removing to a rack to cool completely.
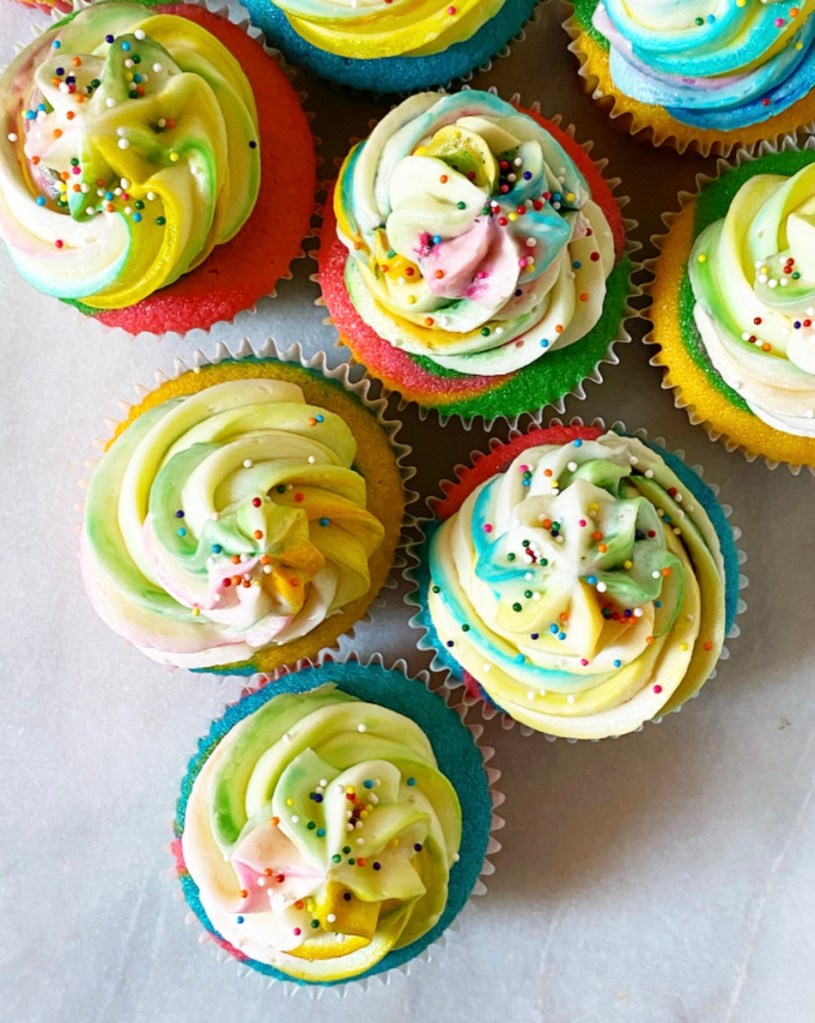
Make the frosting. If you are piping, you may need to double the recipe. In a large mixing bowl, use an electric mixer to beat butter until light and fluffy. Add confectioner’s sugar and salt in two installments, combining completely after each addition. Beat in vanilla & sour cream until combined.
Frost and decorate cupcakes. Use an offset icing spatula (or piping bag) to frost filled cupcakes. Scatter sprinkles over the tops, if using. Serve.
Cupcakes will keep covered at room temperature for up to three days, or in the refrigerator for up to five.


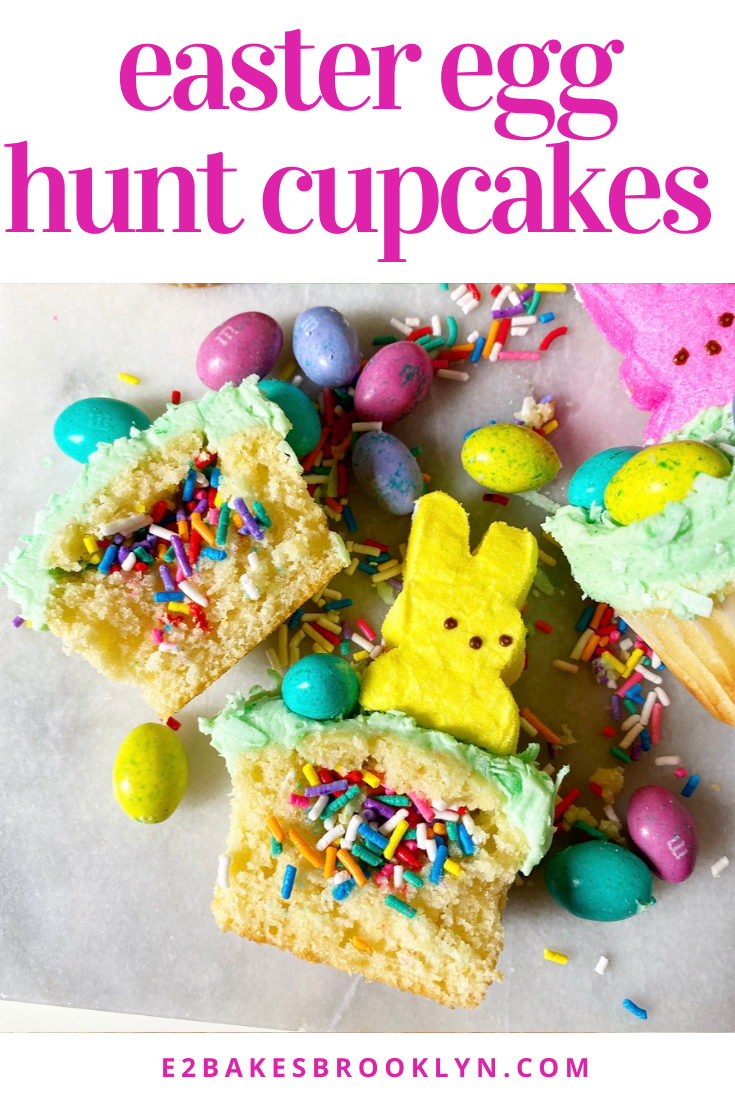
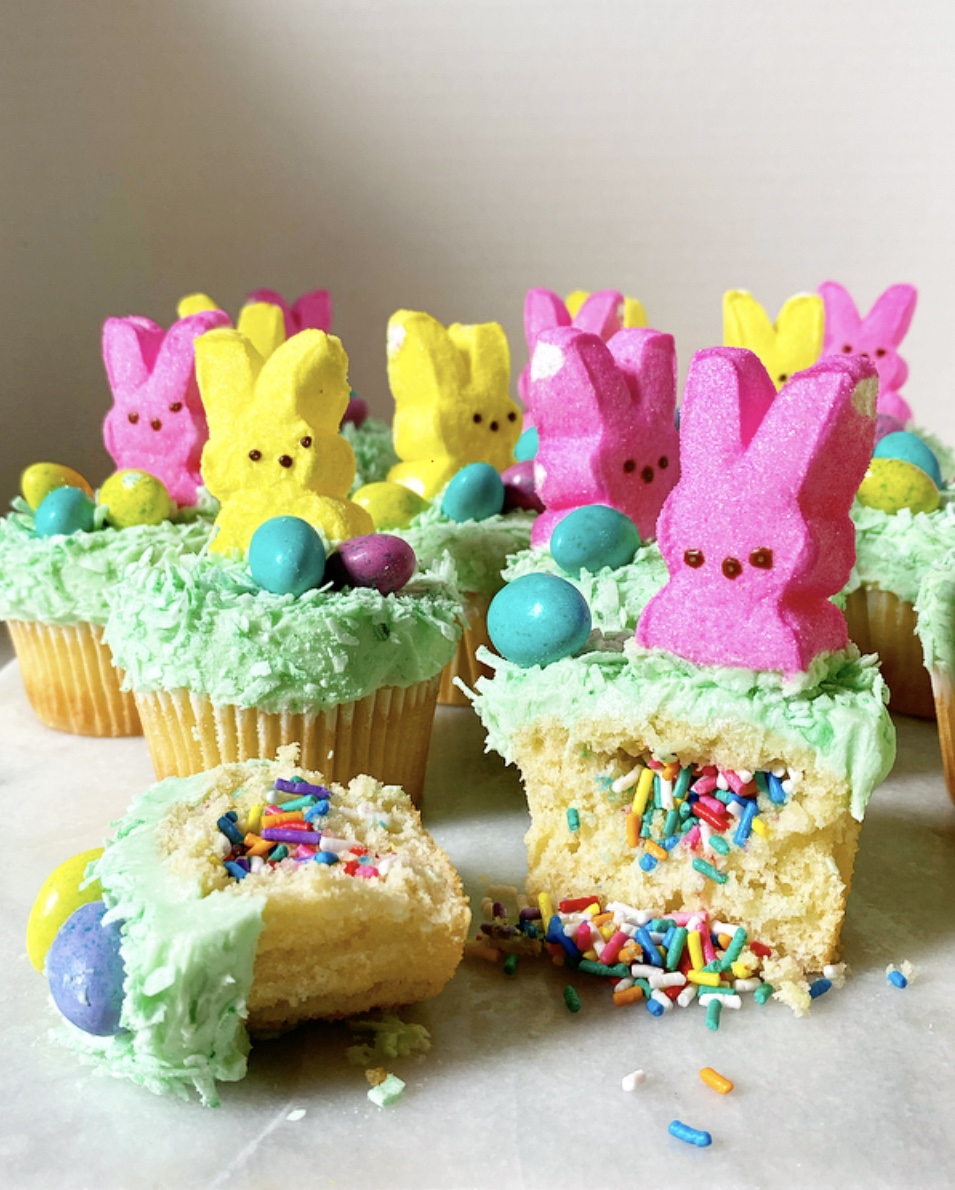 How cute are these Easter Egg Hunt Cupcakes?! They’re a miniature version of the towering surprise-inside
 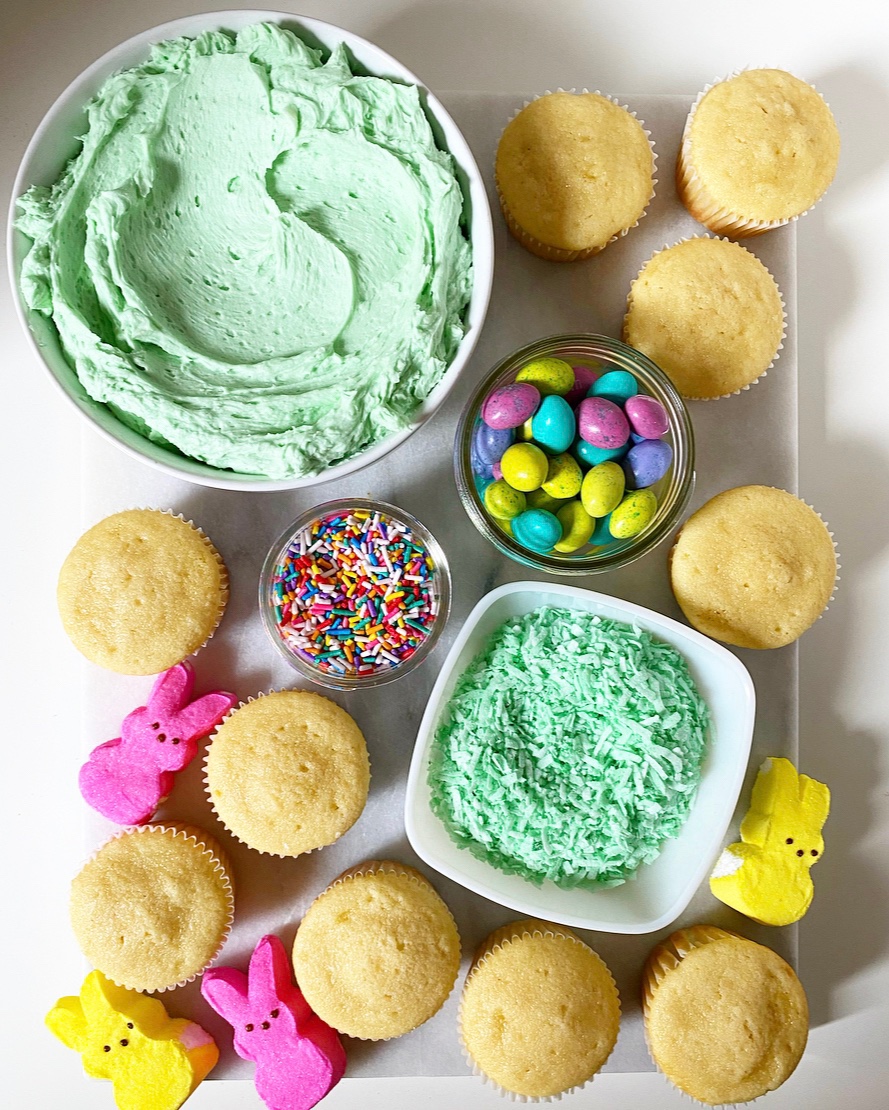 Easter Egg Hunt Cupcakes start with the same vanilla sour cream cupcake base I used for my
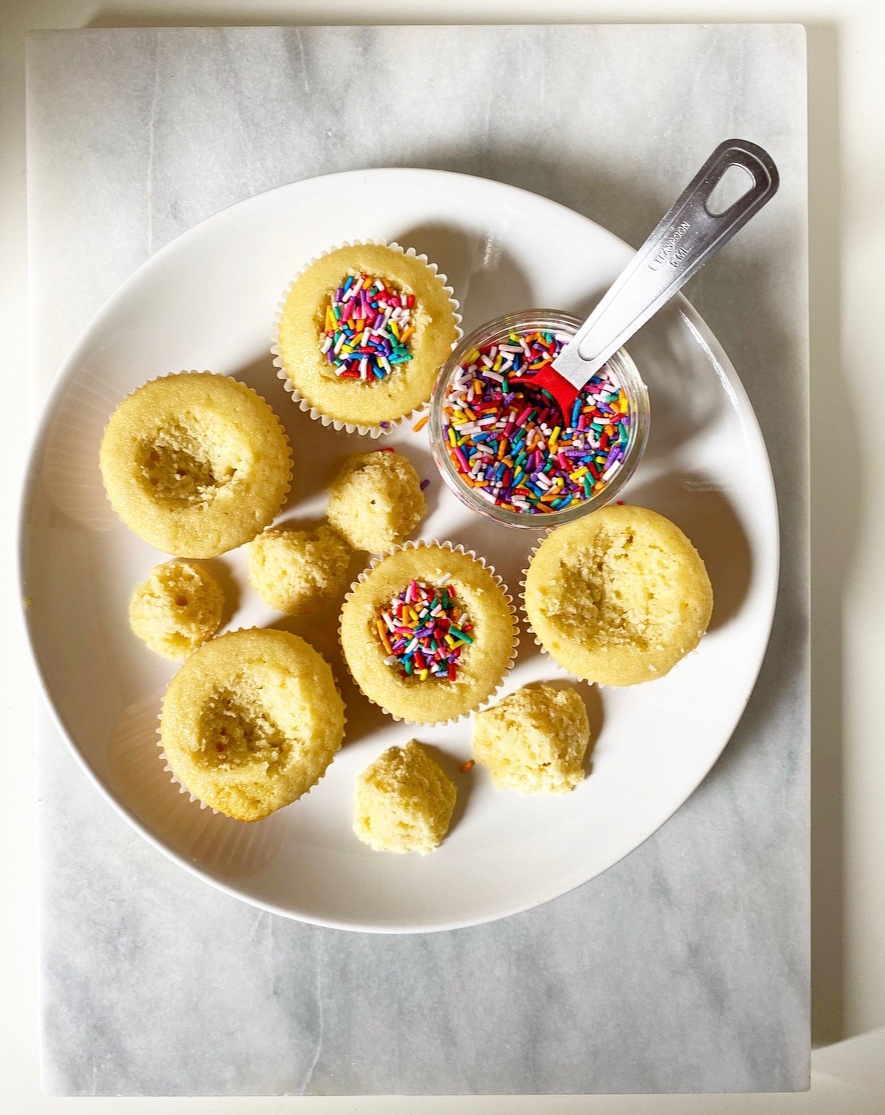
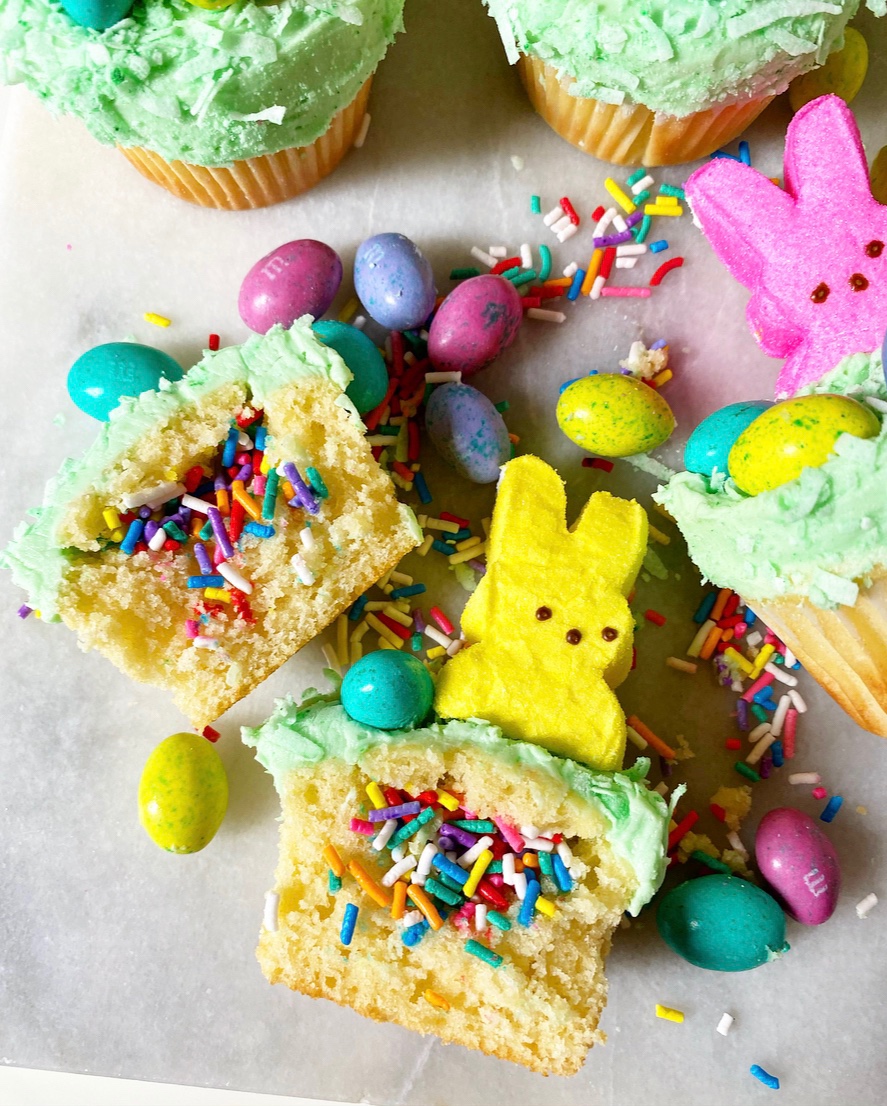
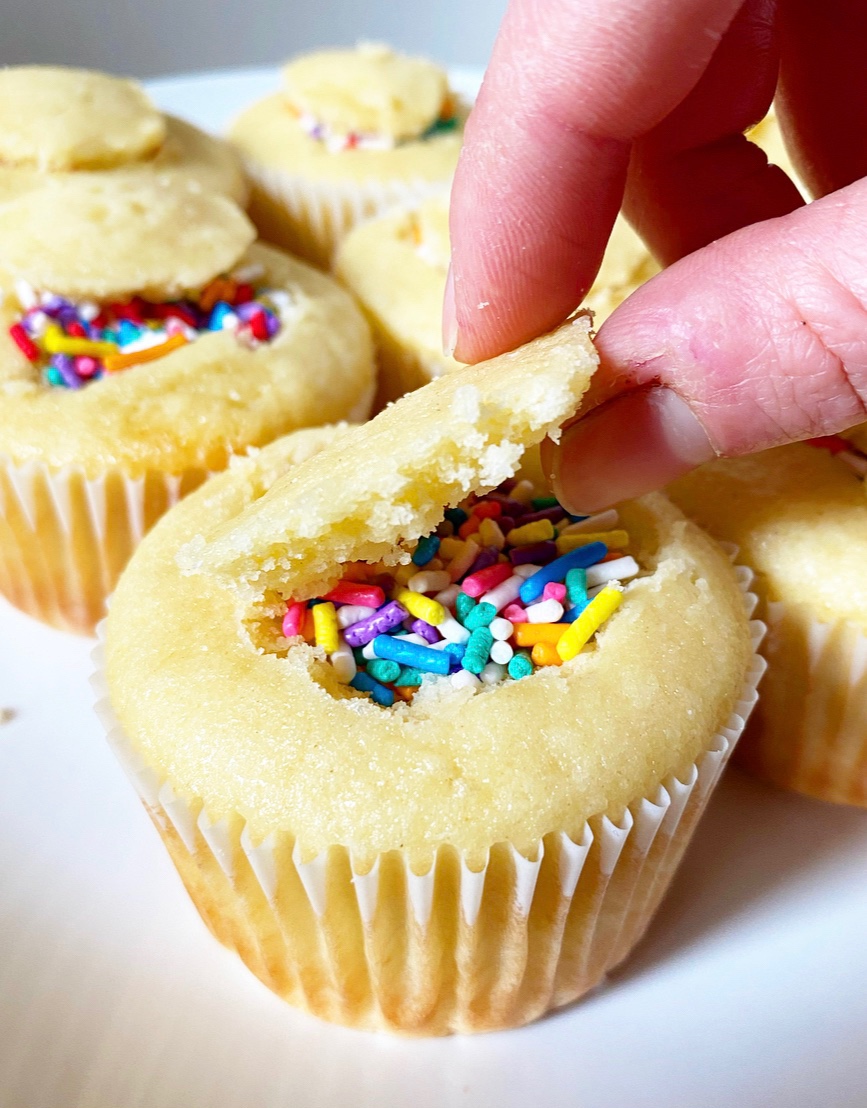 Before frosting, each cupcake is filled with sprinkles for a surprise effect. To achieve this, a cone-shaped piece of cake is cut out of the top of each cupcake, leaving behind just enough room for a teaspoon of sprinkles. Then the little conical toppers are trimmed into disks so that they fit right back on top of the cupcakes, concealing the surprise inside. Once the cupcakes are frosted, the cut-outs won’t be visible, making it all the more fun when your family and friends bite in and sprinkles come running out!
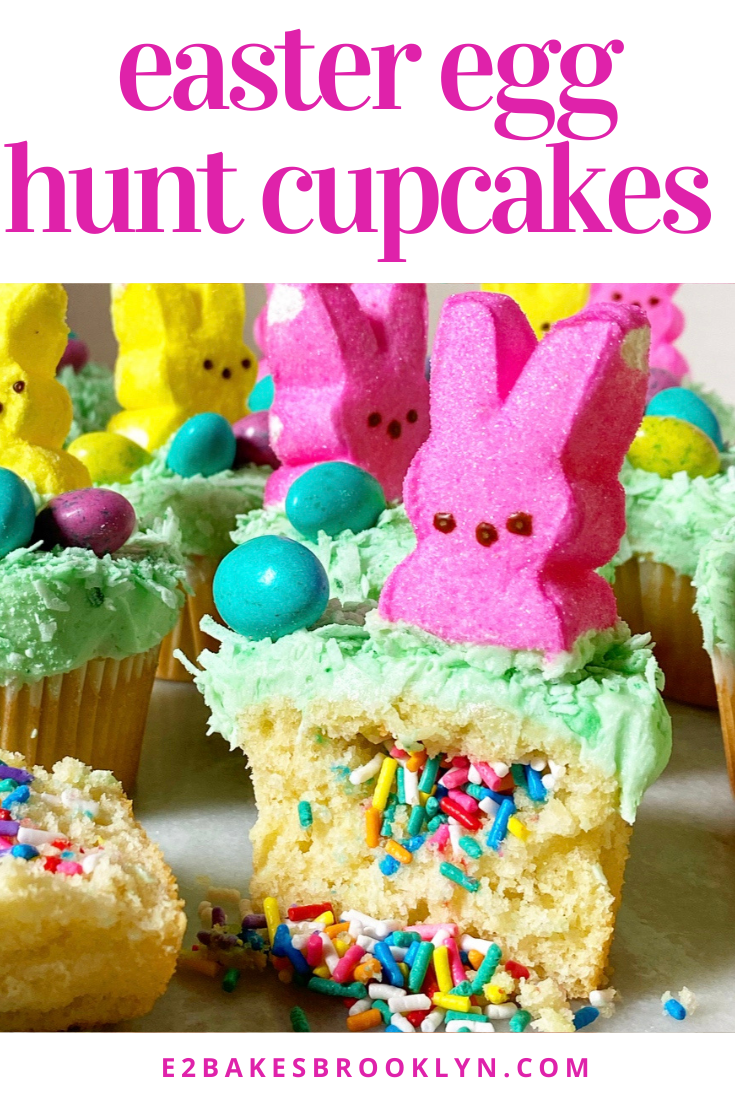
 Like the layer cake that inspired them, these cupcakes are frosted with green-tinted vanilla buttercream and decorated with little Easter scenes made of green coconut “grass,” egg-shaped candies and Peeps bunnies.
 I can’t get over how festive these are! I say this about at least one recipe a year, but these might be the cutest things I’ve ever made. And maybe soon they’ll be the cutest things you’ve ever made.