Hello from New York, where it is 5000% humidity. Thank whatever benevolent power is out there for air conditioning. I’m trying to keep my oven use to a minimum while we ride out another brutal summer (though I do have some baking on the docket), so I am leaning into no-bake recipes like this easy and divine Three Ingredient Nutella Mousse.

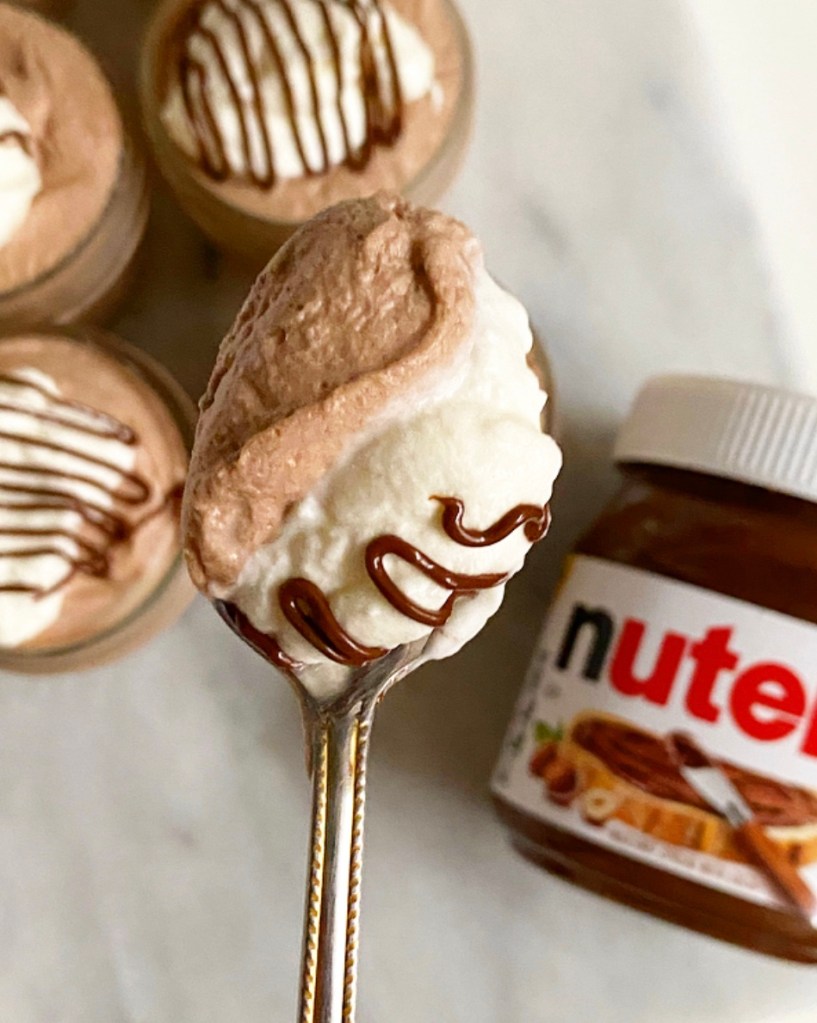
It’s airy and light, just sweet enough, and imbued with the perfect amount of chocolate hazelnut flavor. Truly, it’s little more than a Nutella whipped cream, but when something’s this good, the specificity of the name isn’t terribly important.
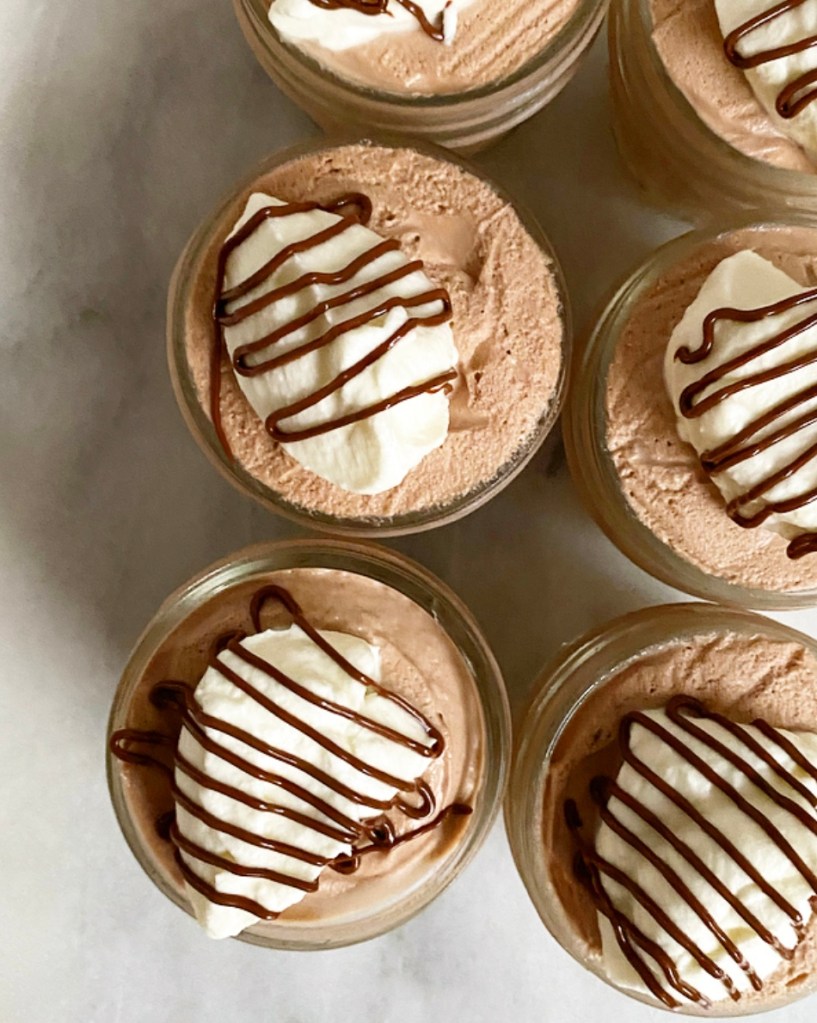
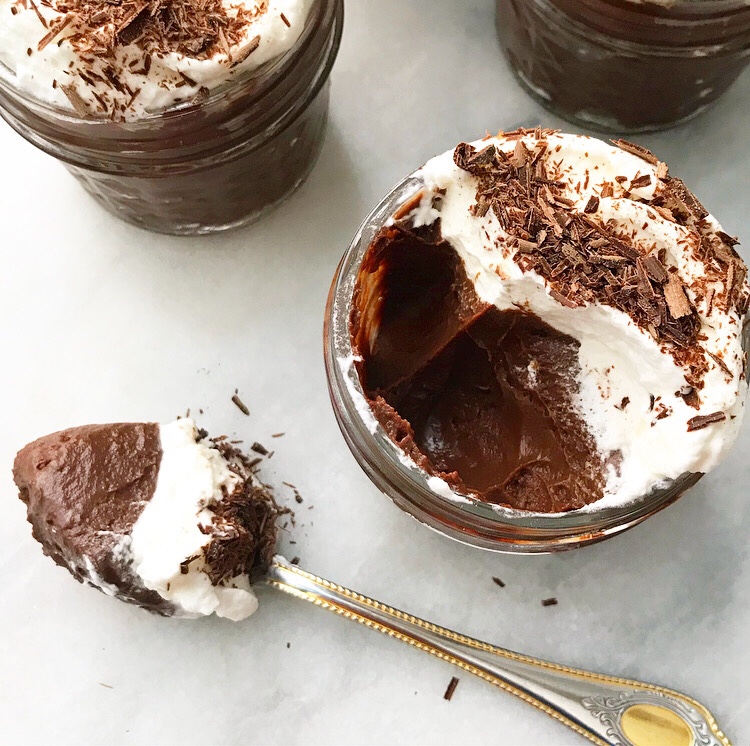
This easy mousse comes together in under 15 minutes and after a two hour chill in the fridge (or up to three days, if you’re working ahead), it’s ready to be served. I like mine with a dollop of whipped cream and a drizzle of Nutella, but shaved chocolate, a few berries, or a chopped up chocolate hazelnut candy bar would be just as good.

Serve your Three Ingredient Nutella Mousse for dessert at a cookout or summer dinner party, or do as I do and eat it directly in front of your beloved air conditioning unit while running it full blast. It’s a delightful way to ride out the summer, if you ask me.
Three Ingredient Nutella Mousse
makes 6 servings

1/3 cup Nutella
1 1/2 cups heavy cream, divided
pinch of Kosher or sea salt

Place Nutella in a medium-large mixing bowl.

Put 1/4 cup heavy cream in a microwave-safe bowl or liquid measuring cup. Please make sure the bowl has some extra room, as cream expands when it’s hot. Microwave cream 50-60 seconds, until bubbling. This step may also be done in a pot on the stove.

Immediately pour hot cream over the Nutella. Let sit 1 minute, then stir until completely combined and smooth. Let cool to room temperature (I like to put it in the refrigerator for a few minutes).

Once your Nutella combination is cool, pour the remaining 1 1/4 cups heavy cream to a separate medium mixing bowl. Add a pinch of salt. Use an electric mixer to whip cream until stiff peaks form.

Using a silicone spatula, stir 1/3 of the whipped cream into the Nutella combination until combined. Then add another 1/3 of the whipped cream to the Nutella combination and gently fold it in until combined. Fold in the remaining 1/3 of the whipped cream just until combined.

Divide the mixture among six small ramekins (these are 4 ounces). Cover with plastic wrap and chill for 2 hours or up to 3 days.

When ready to serve, remove and discard plastic wrap. Top with additional whipped cream and Nutella before serving.