If you’ve spent any amount of time in the recipe development corner of the internet, you know that there are as many different ways to make pumpkin pie as there are stars in the sky.
Okay, I may be exaggerating, but I’m not kidding when I say there are a *lot* of ways to make this classic Thanksgiving dessert. Until today, there were four on this site alone (1, 2, 3, 4), but now there are five. This one, made with one of my favorite ingredients, sweetened condensed milk, might just be my favorite. For now, at least.
You see, sweetened condensed milk can do it all. It sweetens, binds, and gives things and smooth, creamy texture. It carries the load in desserts from key lime pie to magic bars to no-churn ice cream. In short, it’s an incredible tool to have in your baking arsenal, especially if you’re in charge of making pie next week.
Sweetened condensed milk helps to sweeten and set this pumpkin pie filling, just like it does in my seasonal Pumpkin Spice Spread. It has the added benefit of cutting the list of ingredients a little shorter, too—a welcome shift anytime of year, but especially at the holidays.
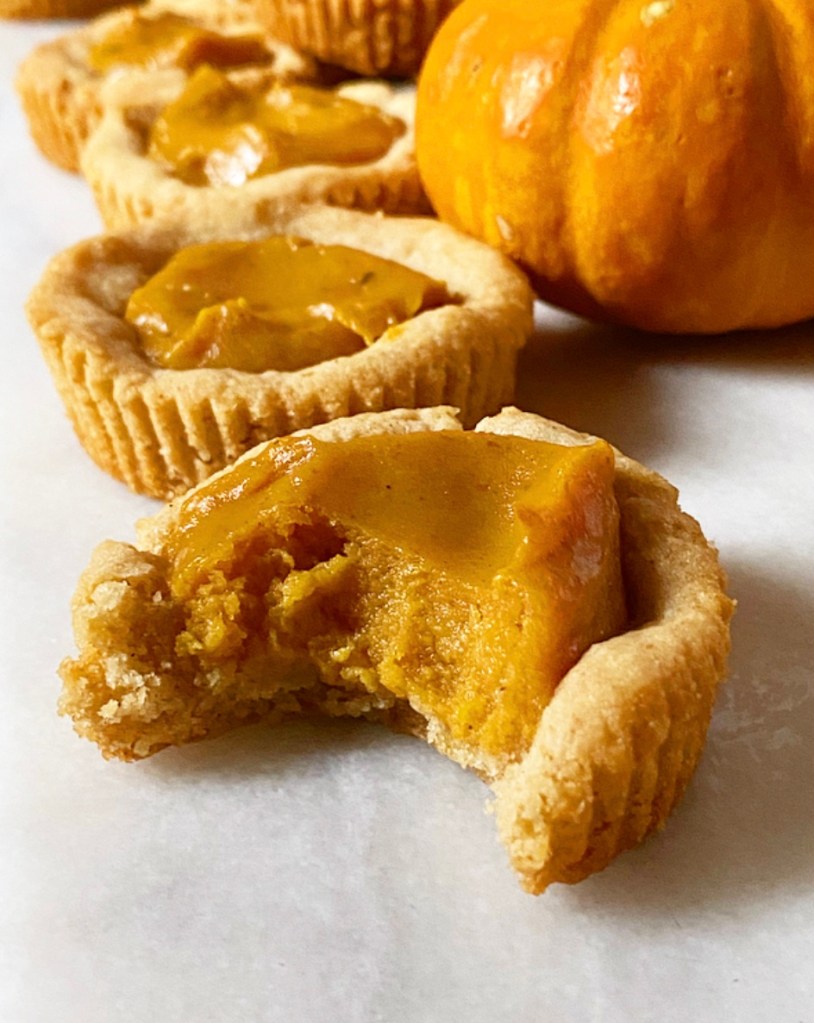
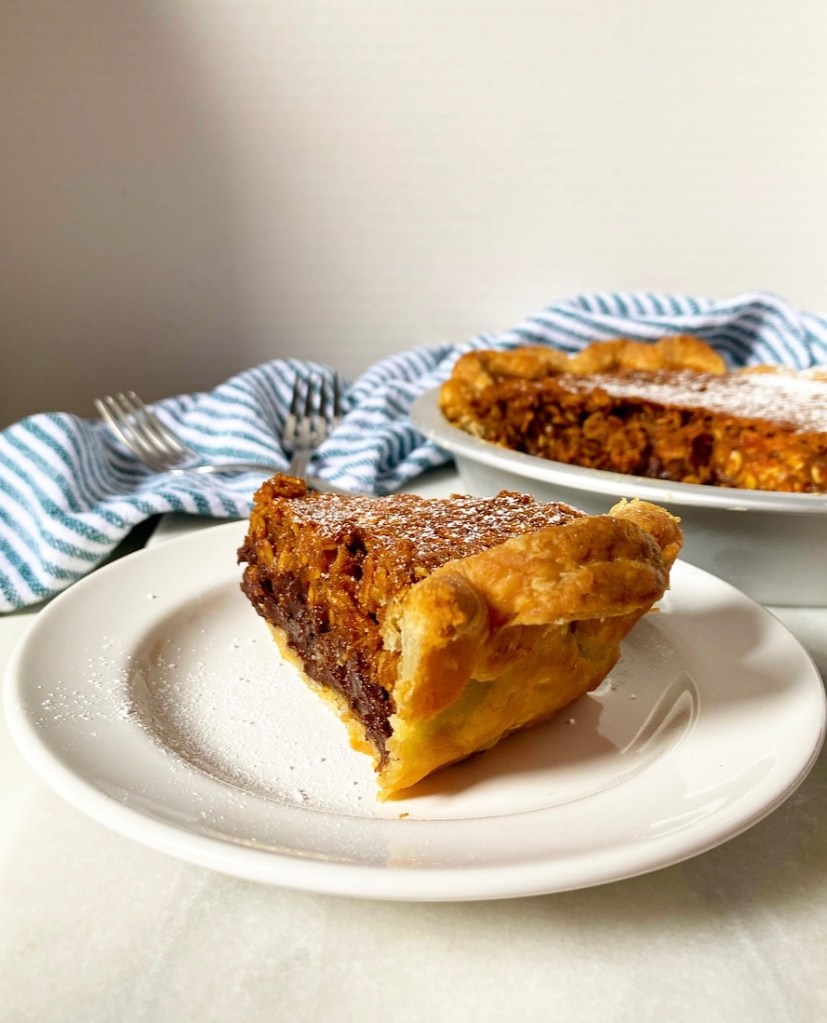
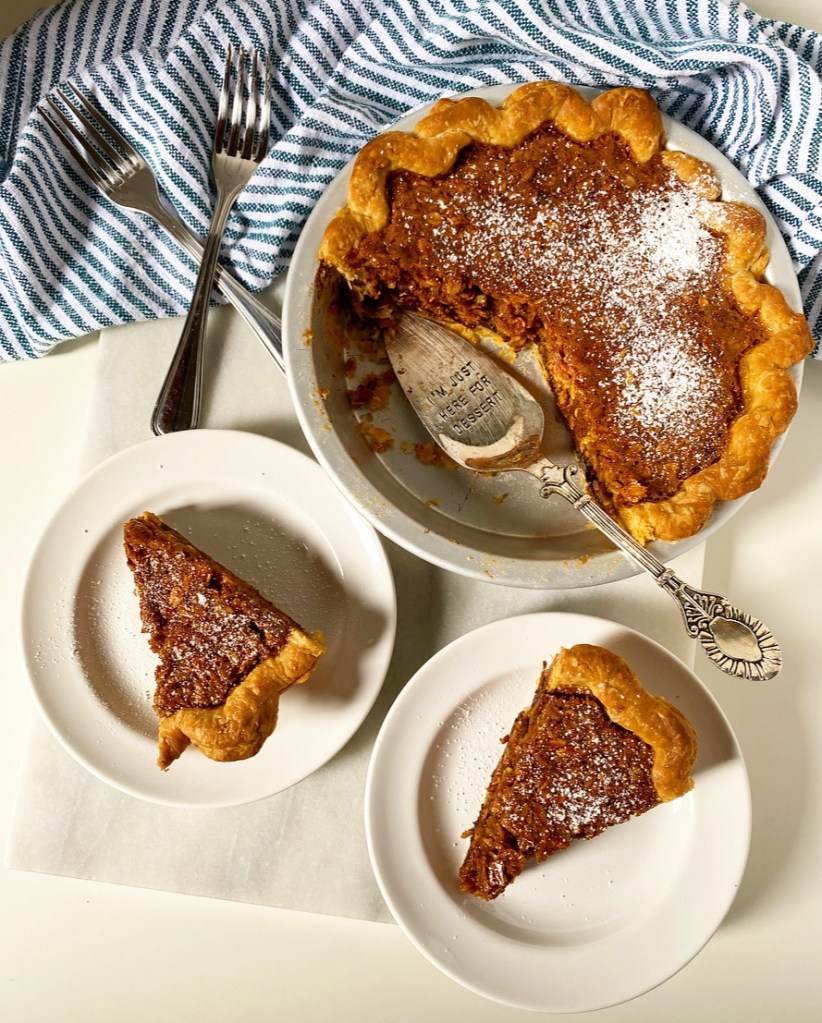
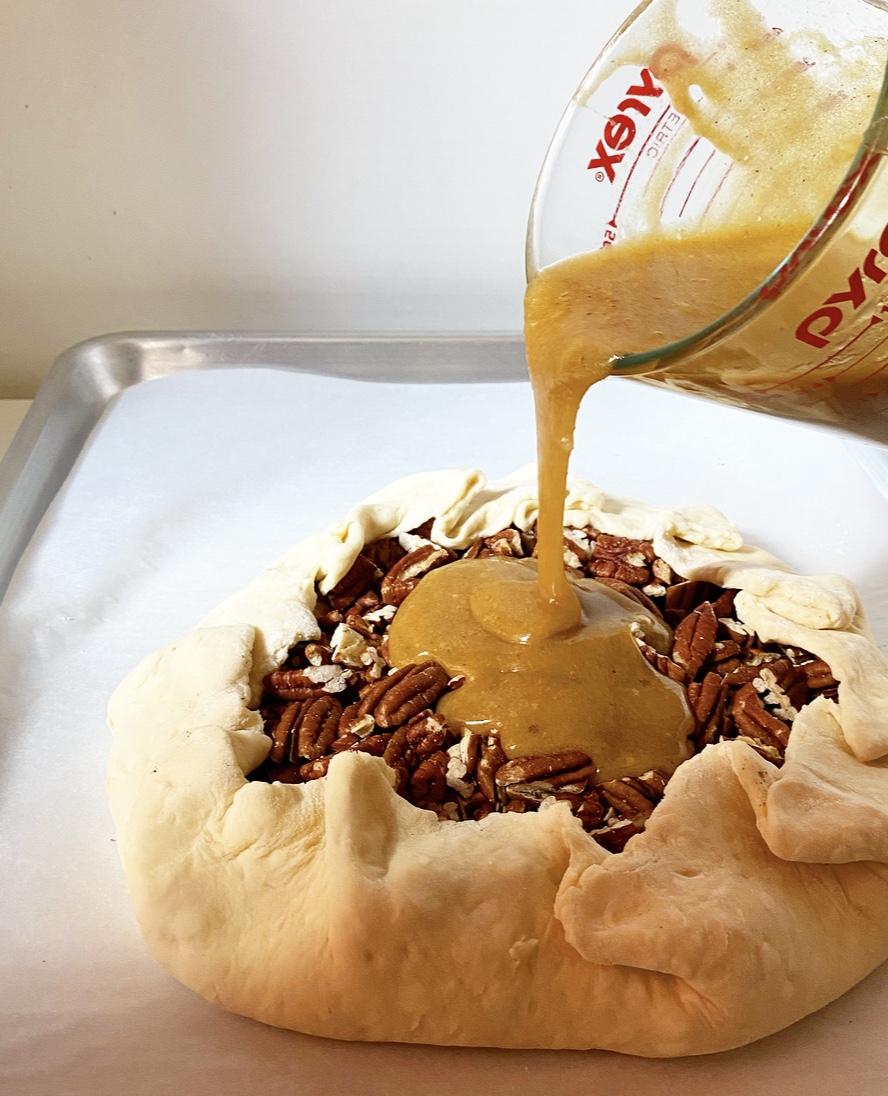
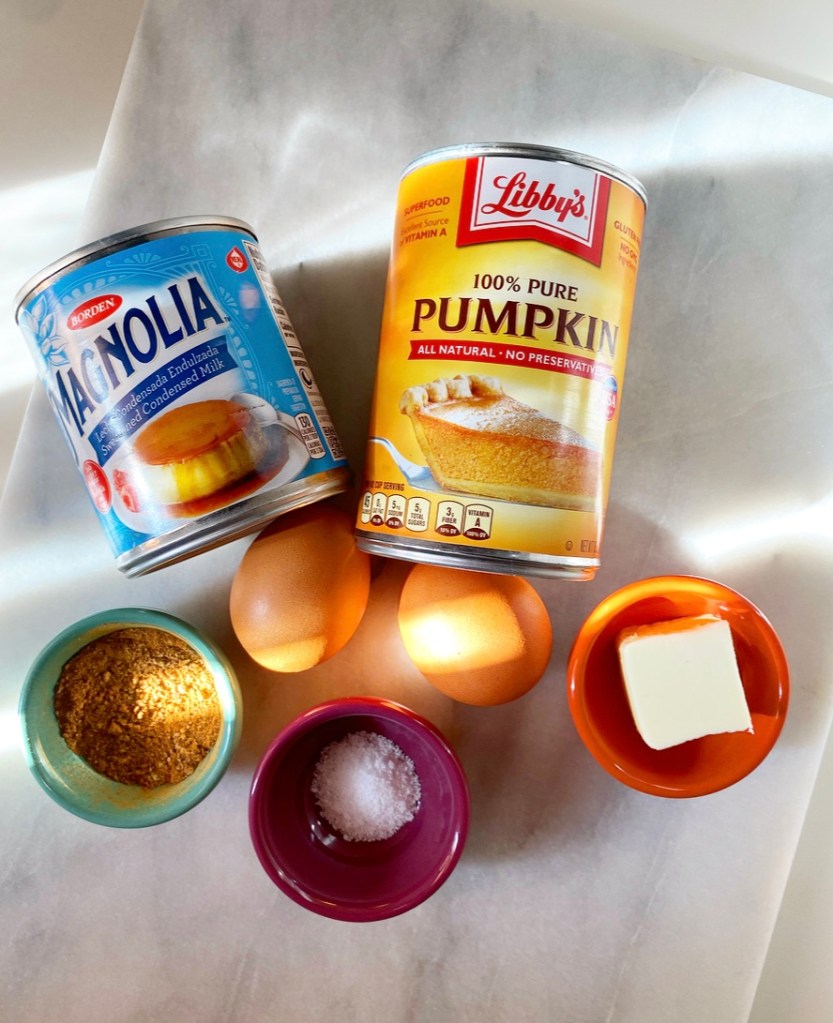
Here, sweetened condensed milk is mixed with all the usual pumpkin pie suspects—a can of pumpkin purée, pumpkin pie spice, salt, eggs, and a touch of butter—and poured into a par-baked crust before baking. You’ll notice that the oven temperature goes from 350F to 425F and then back to 350F before this pie is done; it seems like a lot, but if followed, I can promise you flaky crust and a perfectly smooth set center.
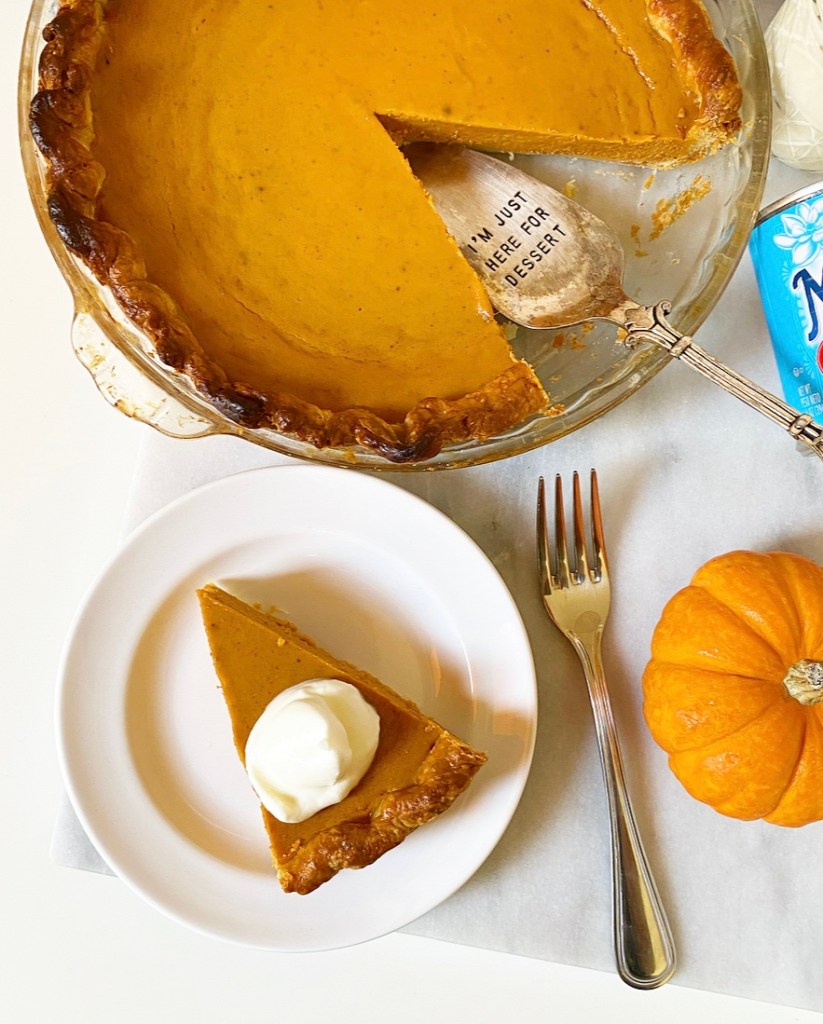
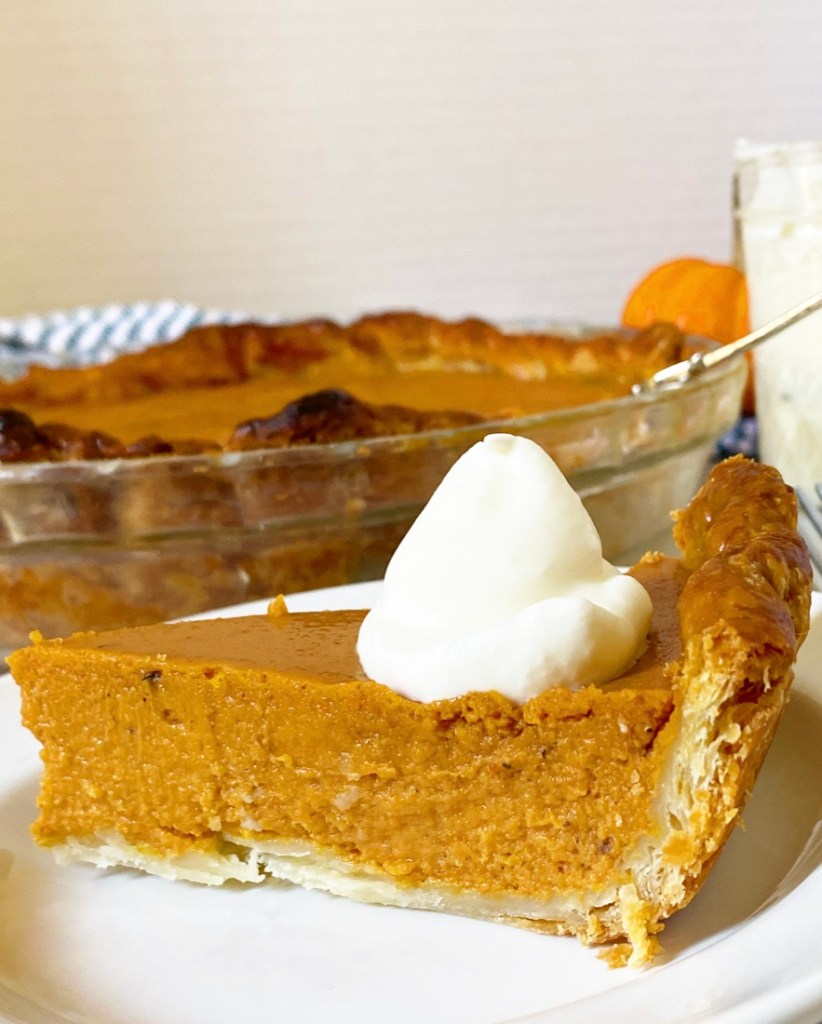
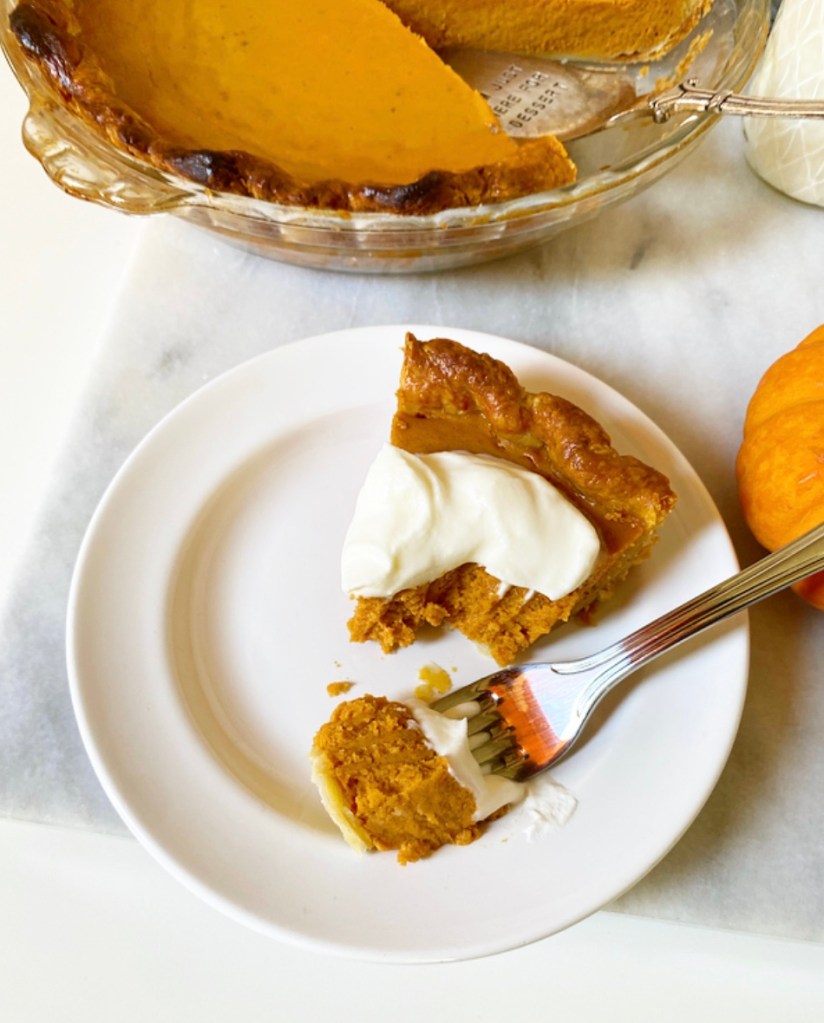
I like to make Sweetened Condensed Milk Pumpkin Pie a day ahead because I prefer my custard pies cold. That’s not the case for everyone though, so feel free to serve it at room temperature. Whichever you choose, don’t forget the whipped cream.
Sweetened Condensed Milk Pumpkin Pie
makes 1 pie
For the crust:
1/2 recipe All Butter Pie Dough or other good single crust recipe
pie weights (or dedicated dried beans or rice) for blind baking
Filling:
2 cups pure pumpkin purée (1 15-ounce can)
2 1/2 teaspoons pumpkin pie spice
1/2 teaspoon Kosher or sea salt
2 large eggs, room temperature
1 14-ounce can sweetened condensed milk (not fat free)
2 tablespoons butter, melted
For serving:
whipped cream
On a floured surface, roll out pie dough to a 12" diameter. Fit into a deep 9-inch pie plate and trim the overhang to 1/2-inch. Crimp the edges and freeze for 30 minutes or refrigerate for an hour.
Place an oven rack in the lowest position. Preheat oven to 350F.
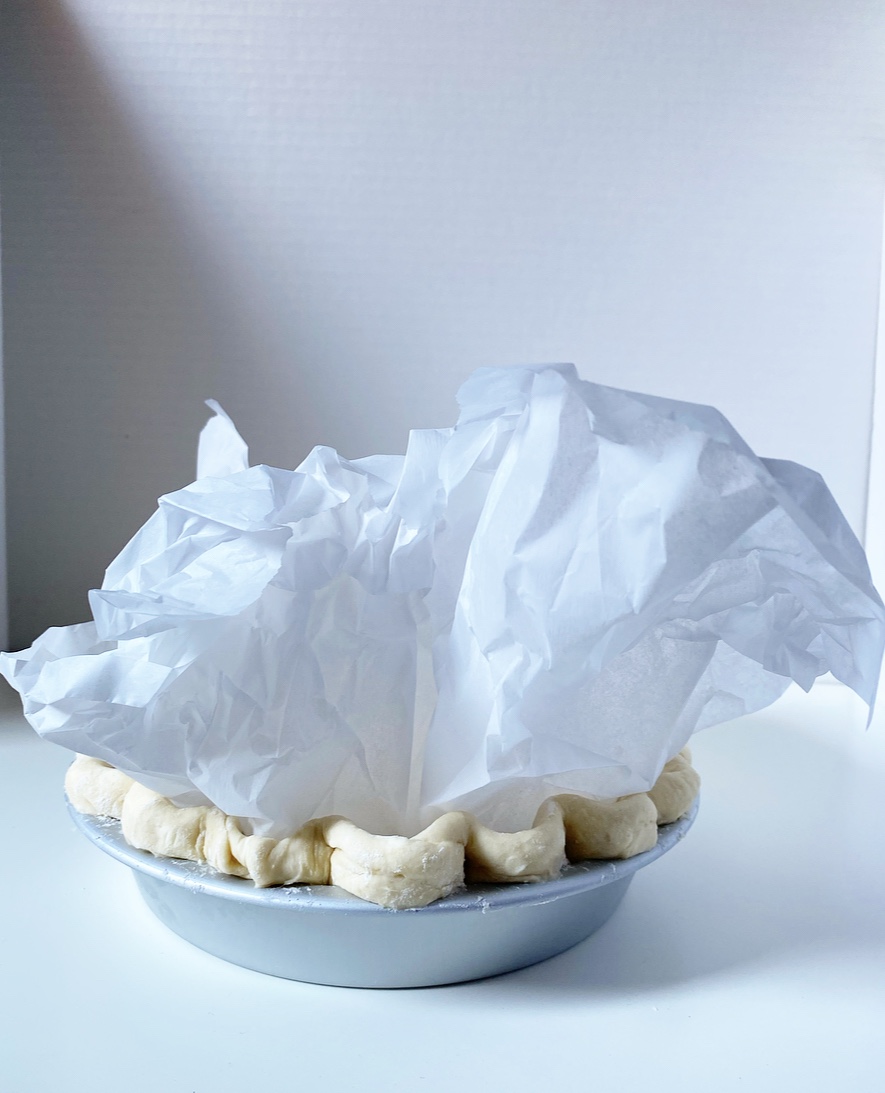
Remove pie crust from the freezer. Prick the bottom several times with the tines of a fork. Line frozen crust with a big piece of parchment. Fill the center with pie weights (or dried beans or rice).
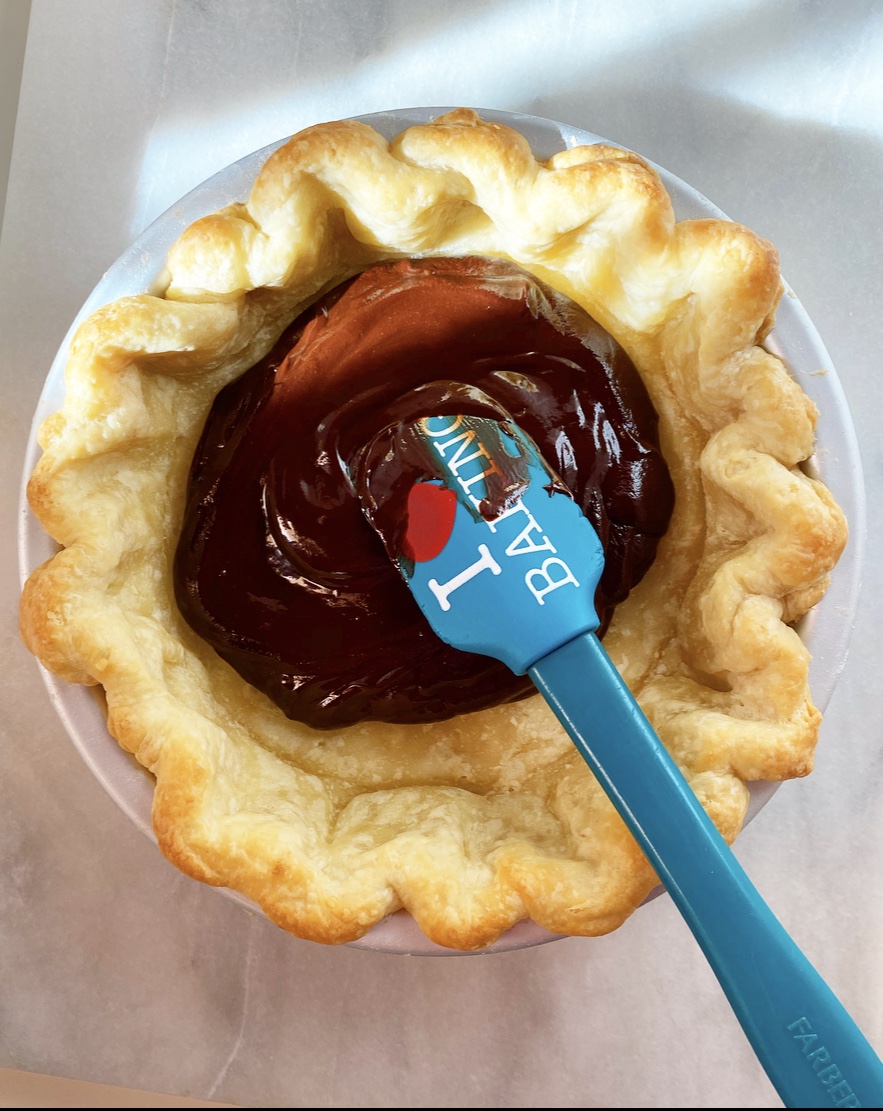
Place the prepared pie crust on a rimmed baking sheet and bake for 20-25 minutes, or until pie crust has “set” and is starting to turn golden in places, but is far from done. Use parchment to lift out pie weights. Return crust to the oven for 10 minutes, then set aside.
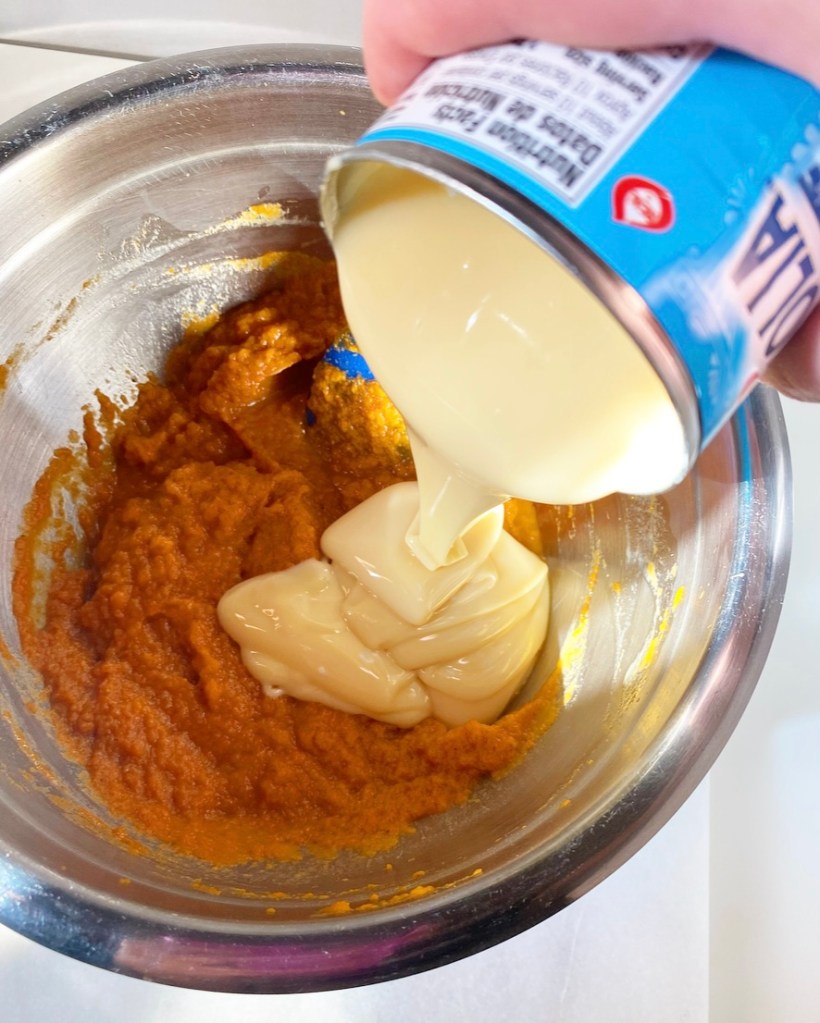
In a large mixing bowl, mix together pumpkin purée, pumpkin pie spice and salt. Whisk in eggs one at a time, followed by sweetened condensed milk and melted butter. Pour pie filling into prepared crust.
Make the egg wash. In a small bowl, use a fork to whisk together egg and water. Brush over exposed crust.
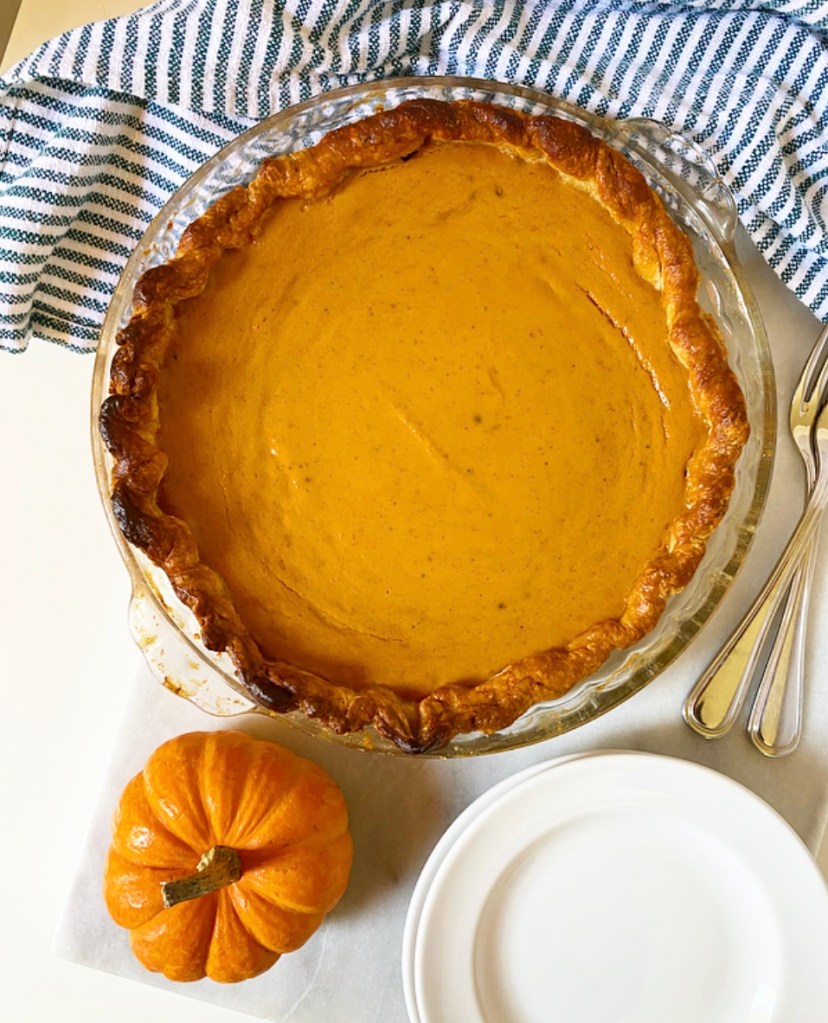
Bake the pie for 15 minutes, then turn the oven temperature to 350F for an additional 45-50 minutes, covering the crust with foil if it starts to get too brown. The pie is ready when the filling no longer jiggles, or when a toothpick inserted in the middle comes out clean.
Let pie cool completely on a rack. Cover and chill, if desired. Serve at room temperature or chilled with whipped cream. Pie will keep covered at room temperature for up to two days or in the refrigerator for up to four days.