Our annual trip to Maine is coming up in just five weeks. In addition spending my days dreaming about what treasures I’m going to pick up at Iverstudio and tiptoeing into the ocean at Fine Sand Beach, I’m diving deep into menu planning.

I cook a primarily vegan, gluten-free menu up there to accommodate all of our various dietary needs. It works for us, and even the guests we’ve had who don’t regularly eat that way seem to enjoy it. We have a list of staple meals—vegan Everyday Cassoulet is always the #1 request—but I am constantly on the lookout for new things to add to our repertoire. Beyond three square meals a day (plus a lot of guacamole), I most look forward to making a vegan, gluten-free dessert for my friends and my blog.
Last year’s offering was an easy Vegan, Gluten-Free Apple Crisp. It was fall on the island, so going with apples made perfect sense. Now in the heat of summer, I’m giving that recipe a peachy berry spin!

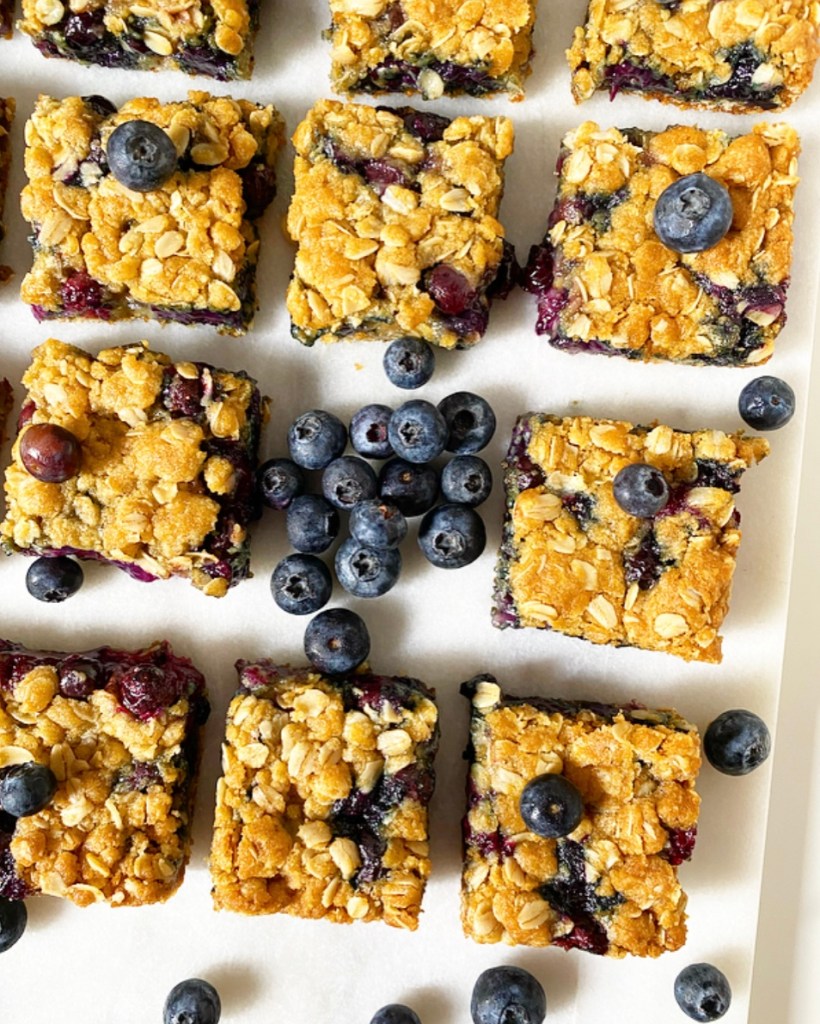
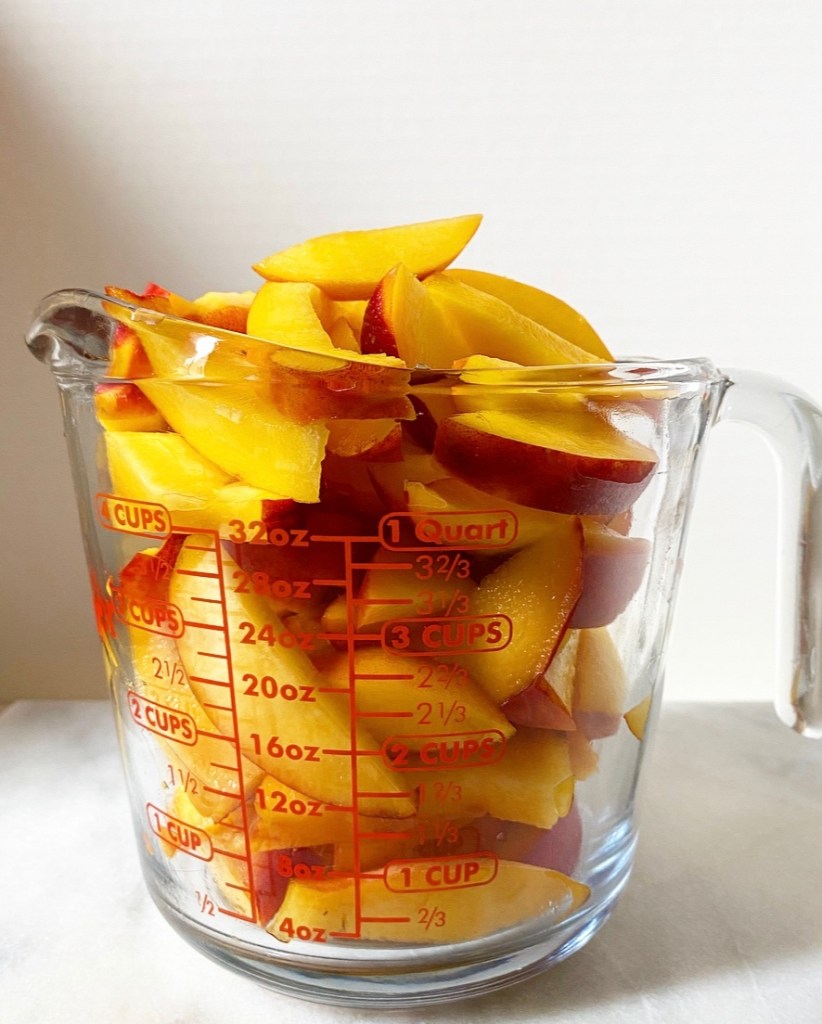
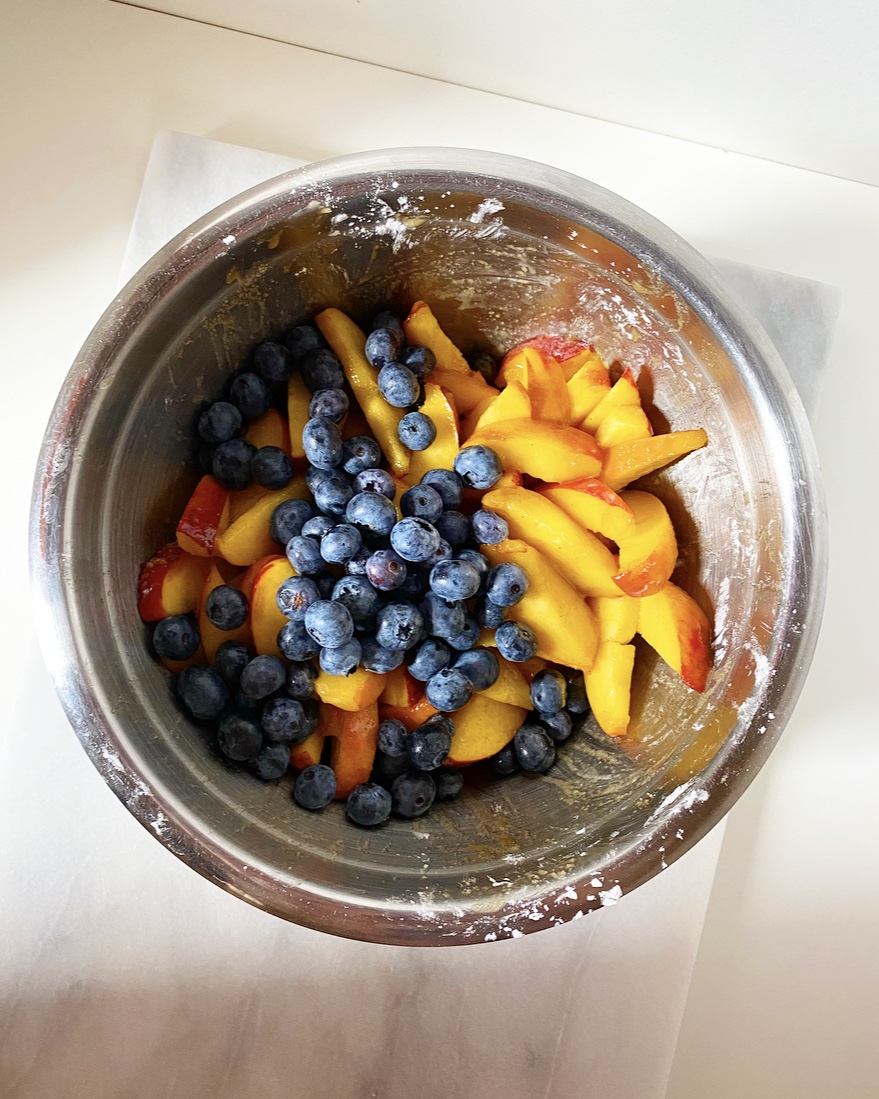
I punched up the original recipe with loads of fresh peaches, brown sugar and lemon, and just a hint of spice—enough so you know it’s there, but not enough to overwhelm the fruit. Once the peaches are prepared and tossed with all that goodness, a cup of fresh blueberries are added to the mix. You could add any berry you like here and it would work, but keep in mind that some may leach color more easily than others.
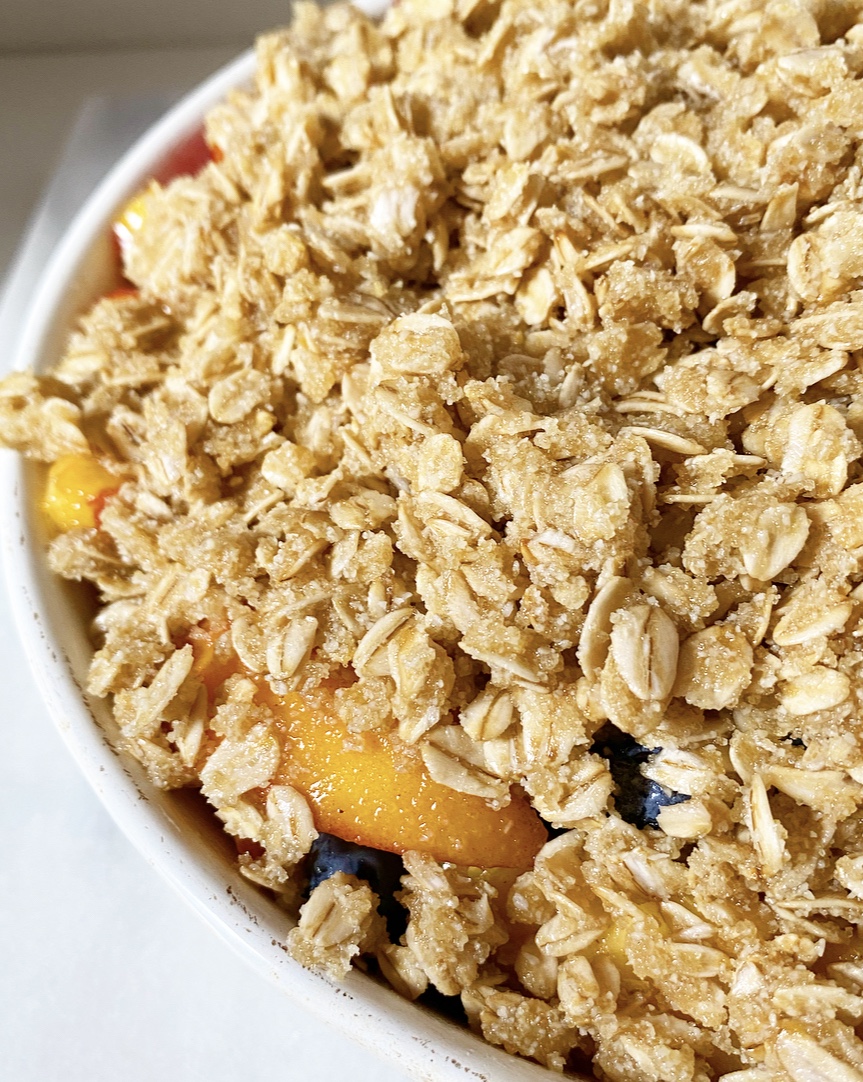
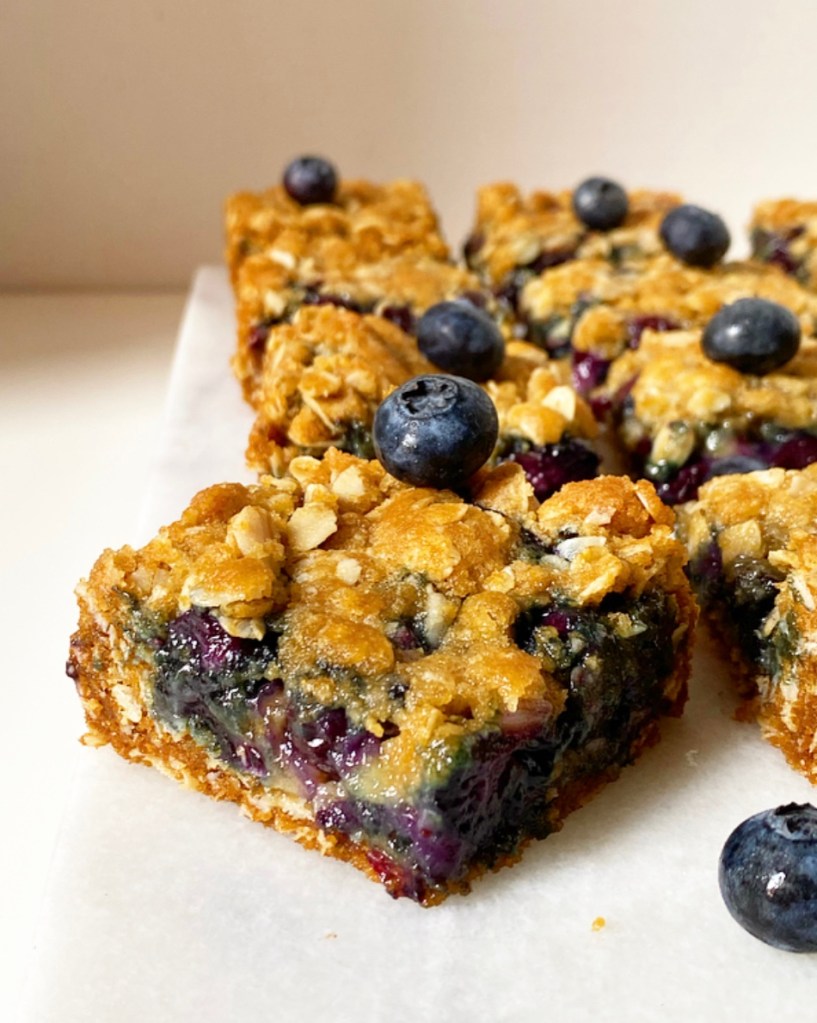
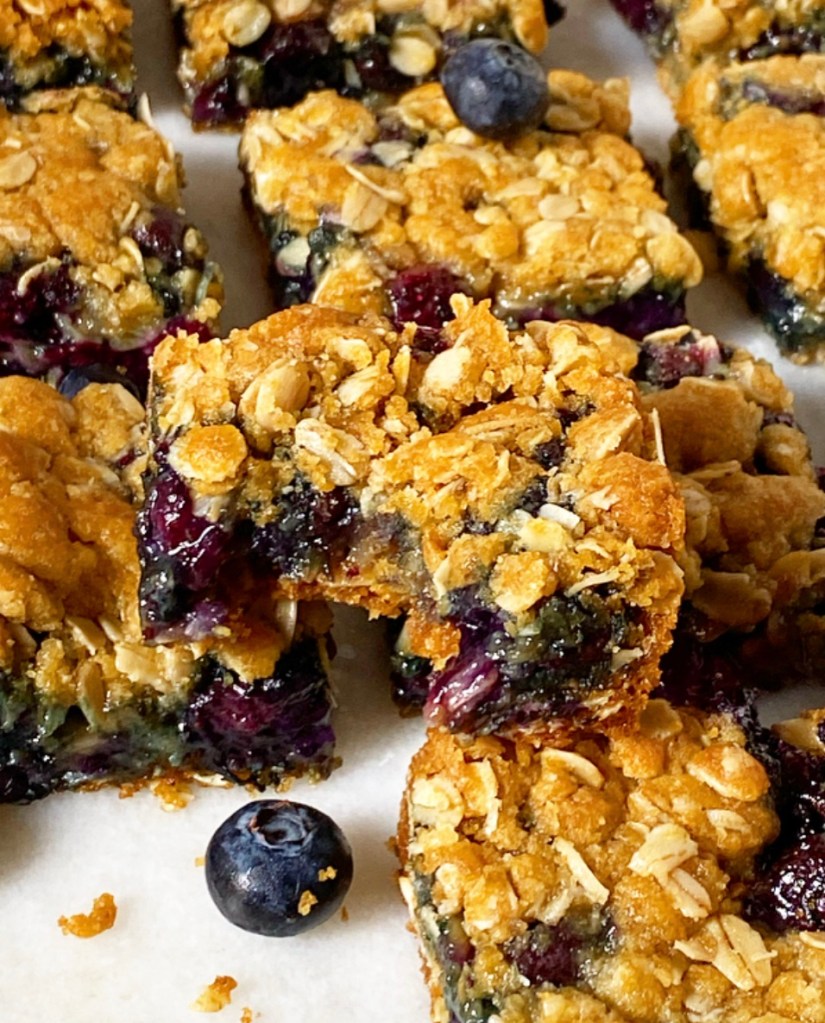
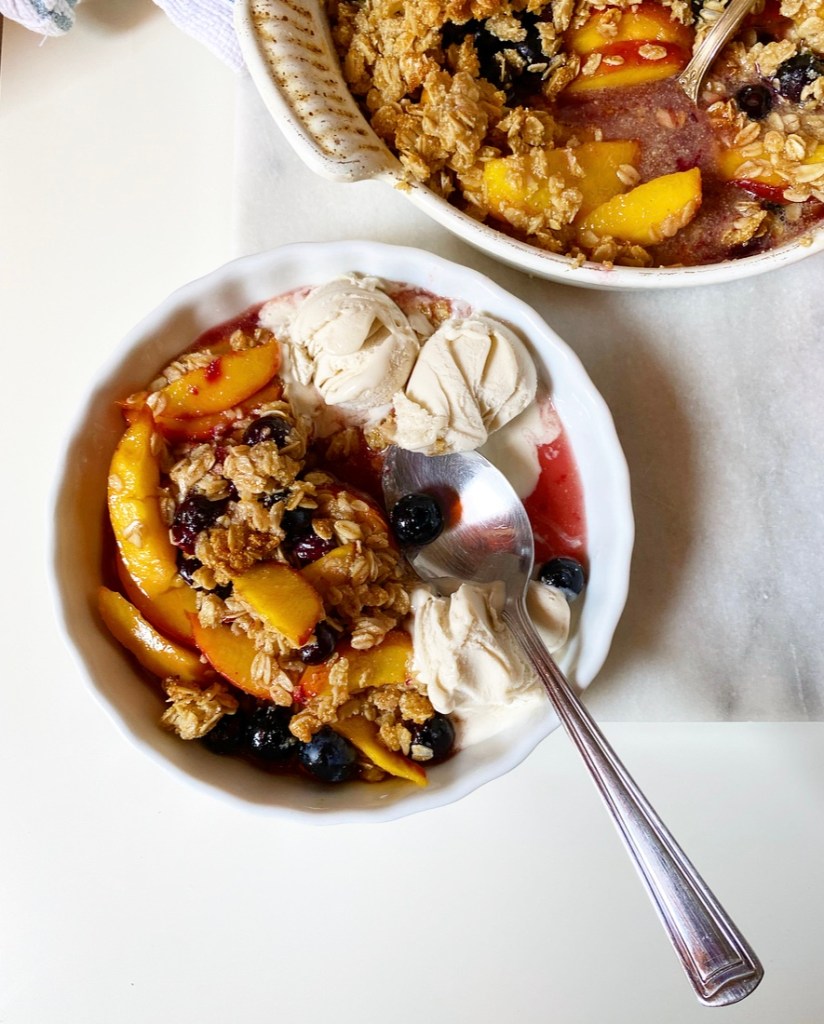
The crisp topping is made primarily with almond flour, gluten-free rolled oats, brown sugar and vegan butter (or coconut oil). A thick layer is scattered over the filling, and then the whole thing is baked until golden, piping hot, and screaming for a scoop (or two or three) of your favorite vegan vanilla ice cream. I’m an oat milk vanilla girl myself.
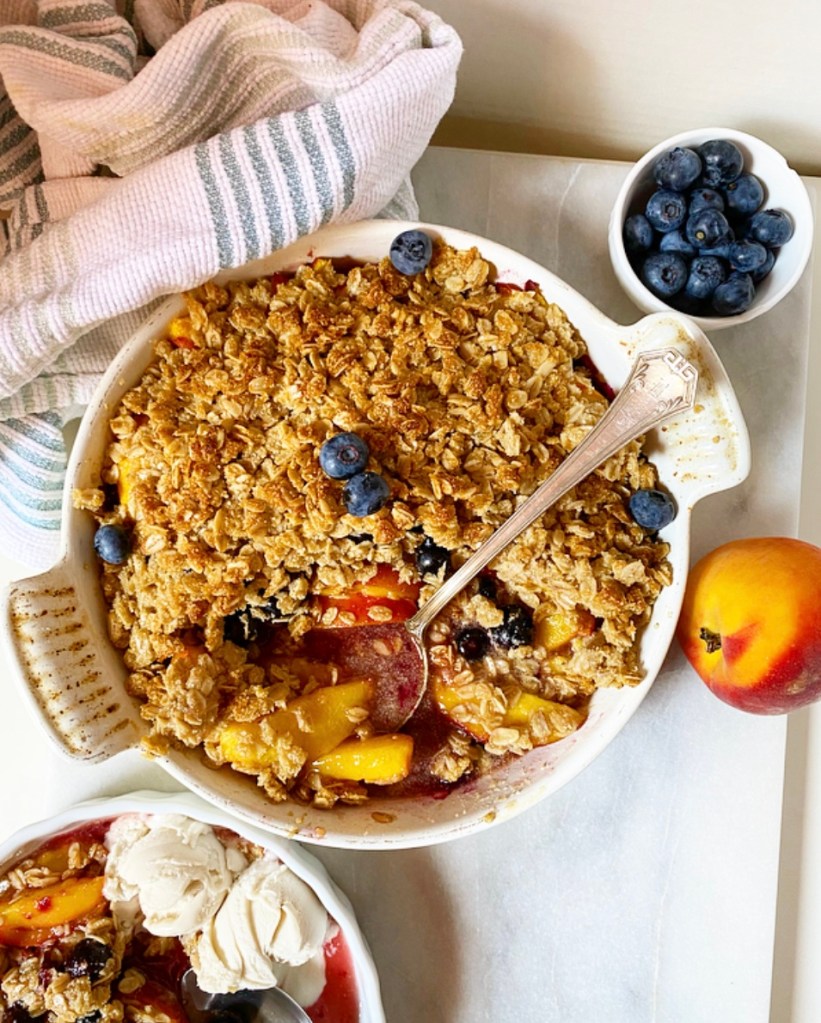
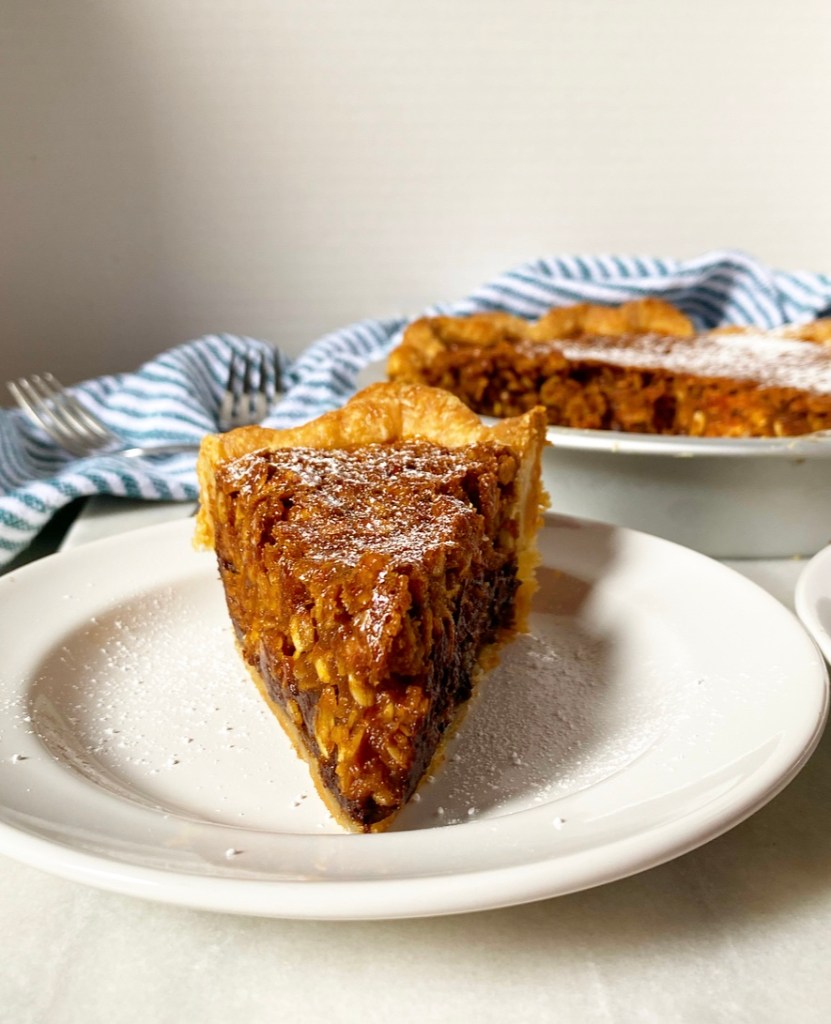
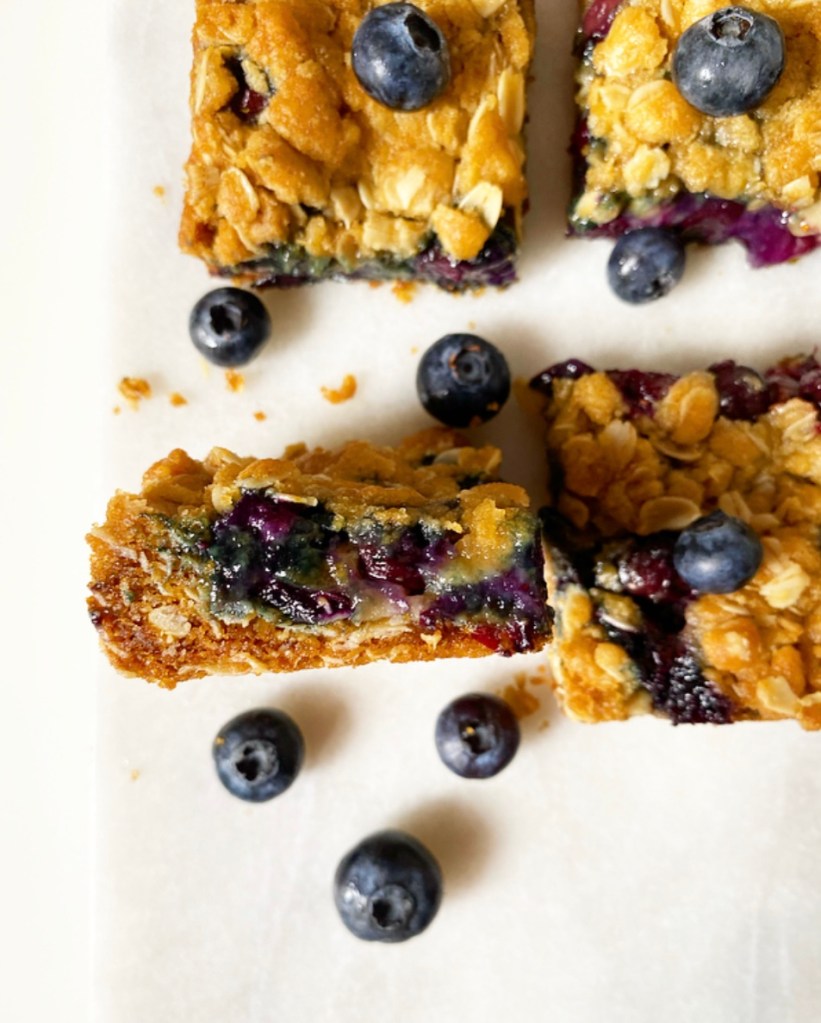
Vegan, Gluten-Free Peachy Berry Crisp is super summery and wildly quick and simple to make. It’s perfect for cookouts and dinner parties, but if you can swing it, it’ll really hit the spot on vacation with two of your favorite people.
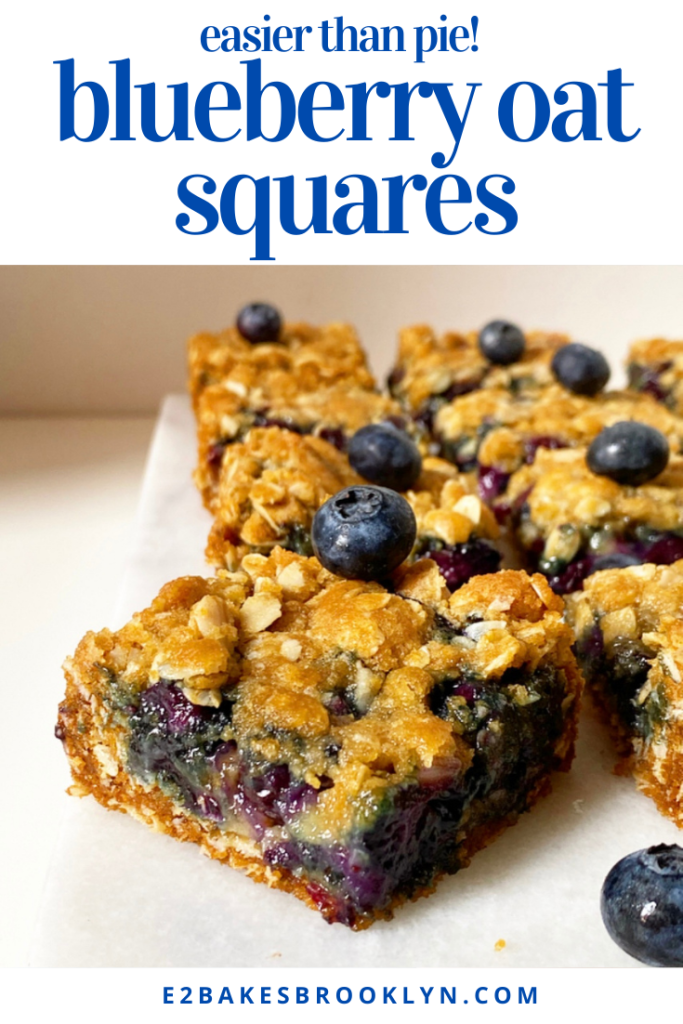
Vegan, Gluten-Free Peachy Berry Crisp
makes one 9-10 inch dish, about 6 servings
Filling:
5 cups sliced ripe peaches (about 7-8 medium peaches)
juice of 1/2 lemon
1/2 cup light brown sugar, packed
2 tablespoons cornstarch
1/8 teaspoon ground cinnamon
1/8 teaspoon ground ginger
1/4 teaspoon Kosher or sea salt
1 cup fresh blueberries
Crisp Topping:
1 cup rolled oats
1/2 cup almond flour
1/2 cup light brown sugar, packed
1/2 teaspoon kosher or sea salt
1/2 cup vegan butter (or refined coconut oil), melted
For serving:
dairy-free vanilla ice cream
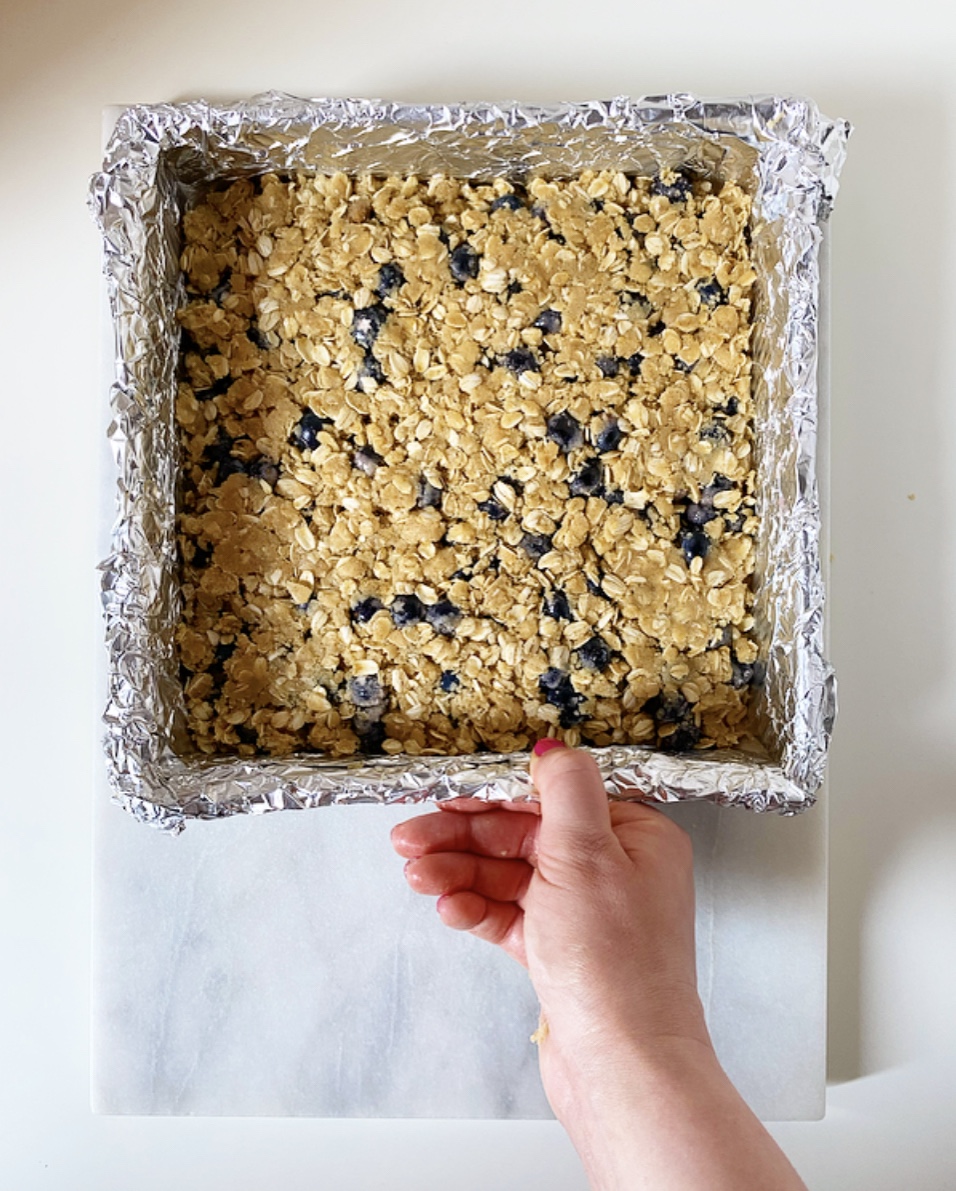
Preheat oven to 350F. Grease a 9-inch casserole dish or cast iron pan with vegan butter (or refined coconut oil). Set aside.
Place peach slices in a medium mixing bowl and toss with lemon juice, brown sugar, cornstarch, cinnamon, ginger, and salt. Add blueberries and gently fold together. Transfer to the prepared baking dish.
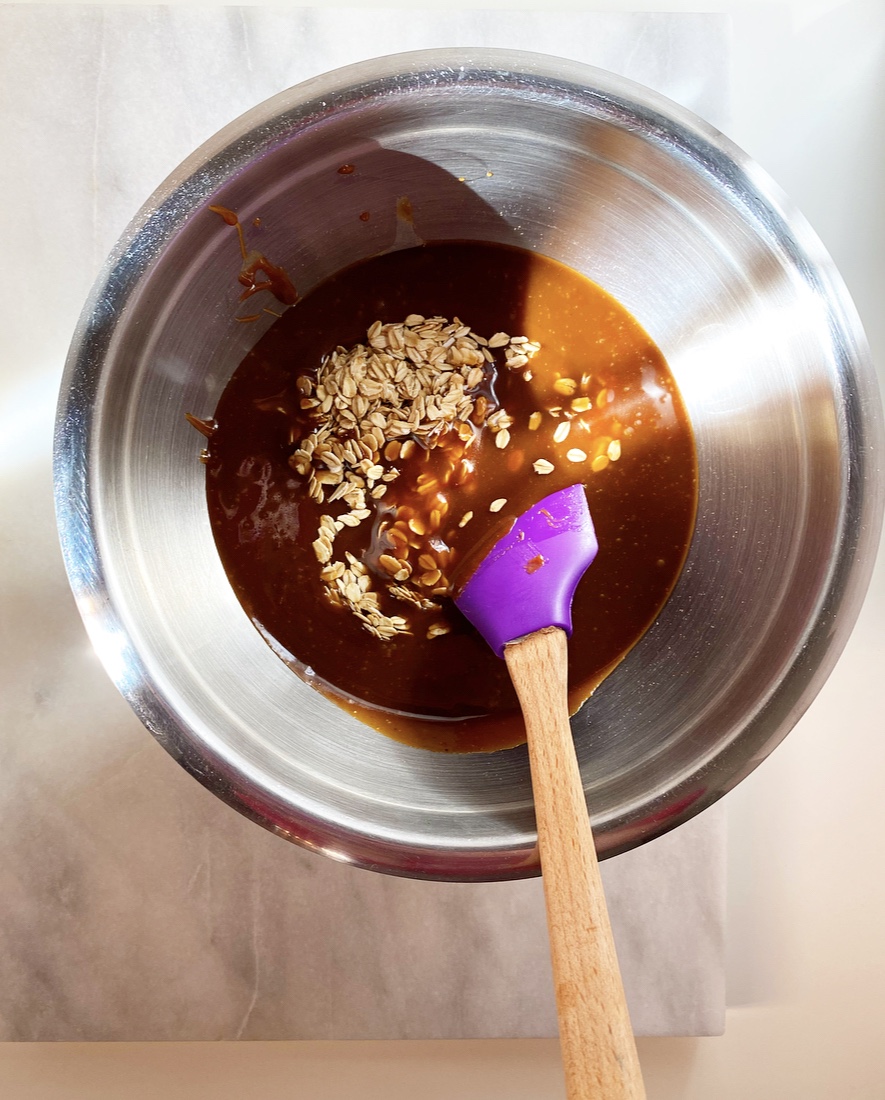
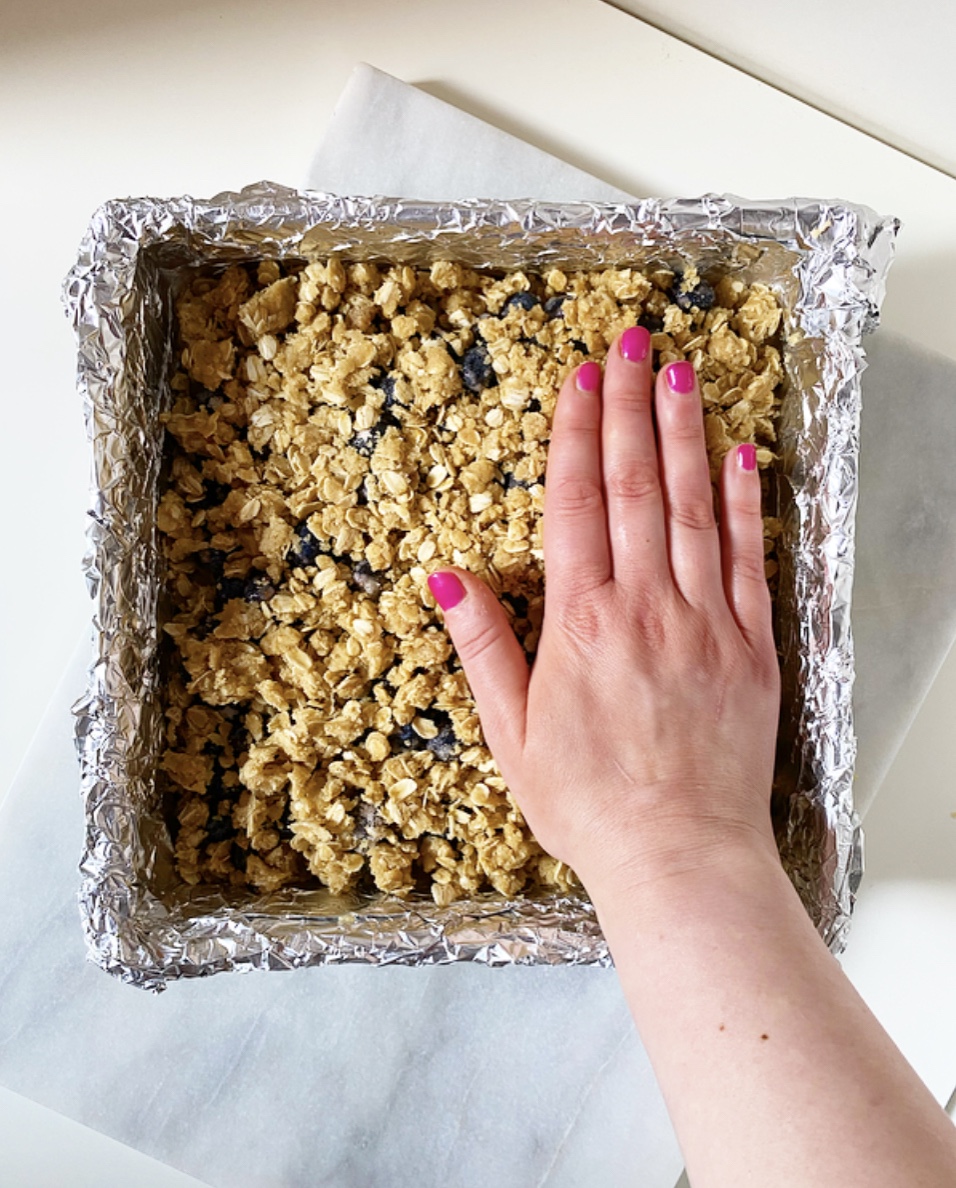
Make the topping. In a medium mixing bowl (I just wipe out the one I used for the fruit), whisk together oats, almond flour, sugar, and salt. Add melted butter (or coconut oil) and stir until everything is saturated. It may seem sandy; this is okay. Scatter topping onto the fruit.
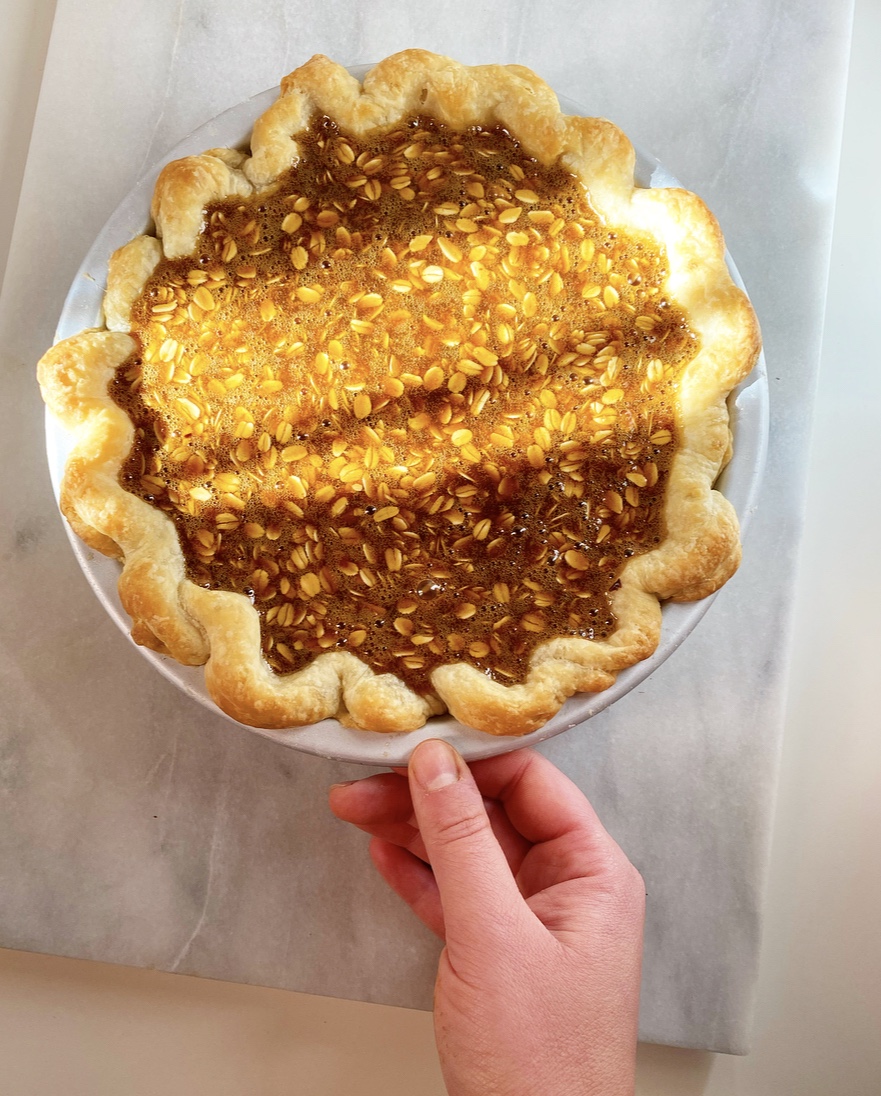
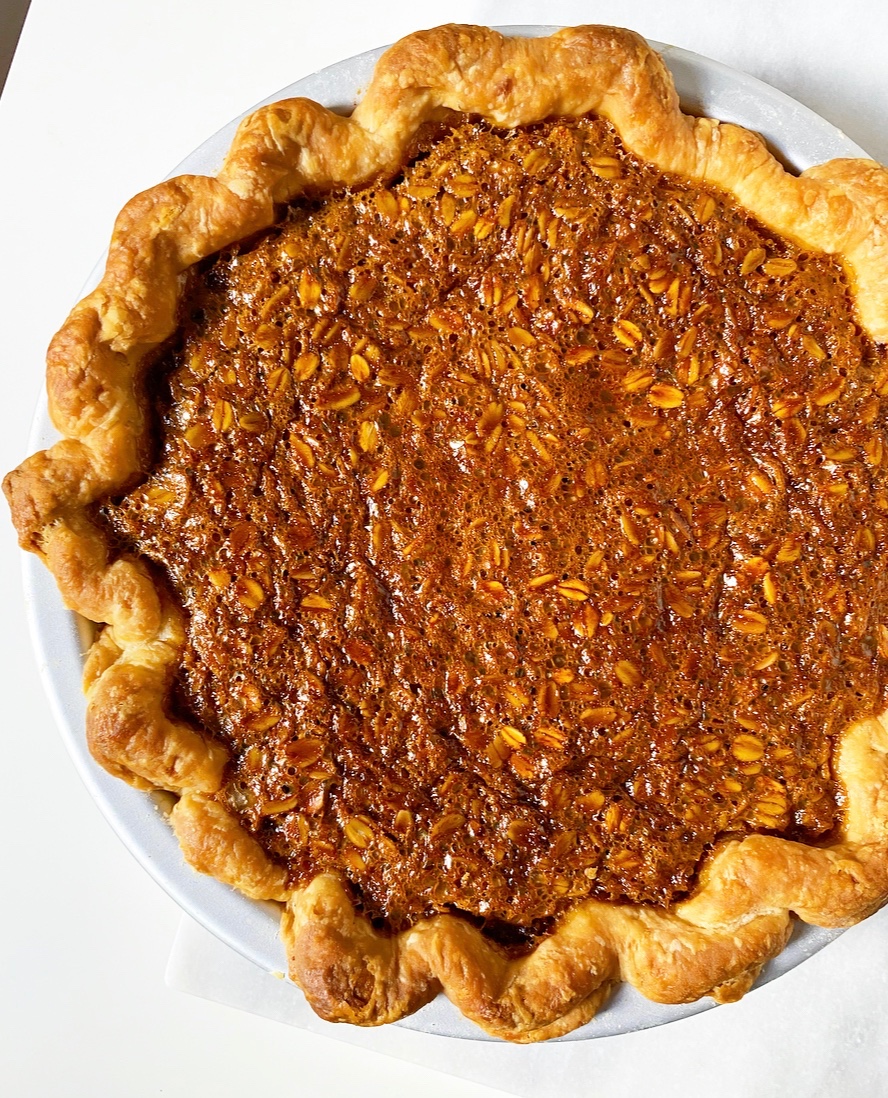
Bake 28-30 minutes, until topping is browned and peaches are tender. Let cool 10 minutes before serving in bowls with dairy-free vanilla ice cream, if desired.
Cover and refrigerate any leftovers for up to 4 days. Reheat before serving.