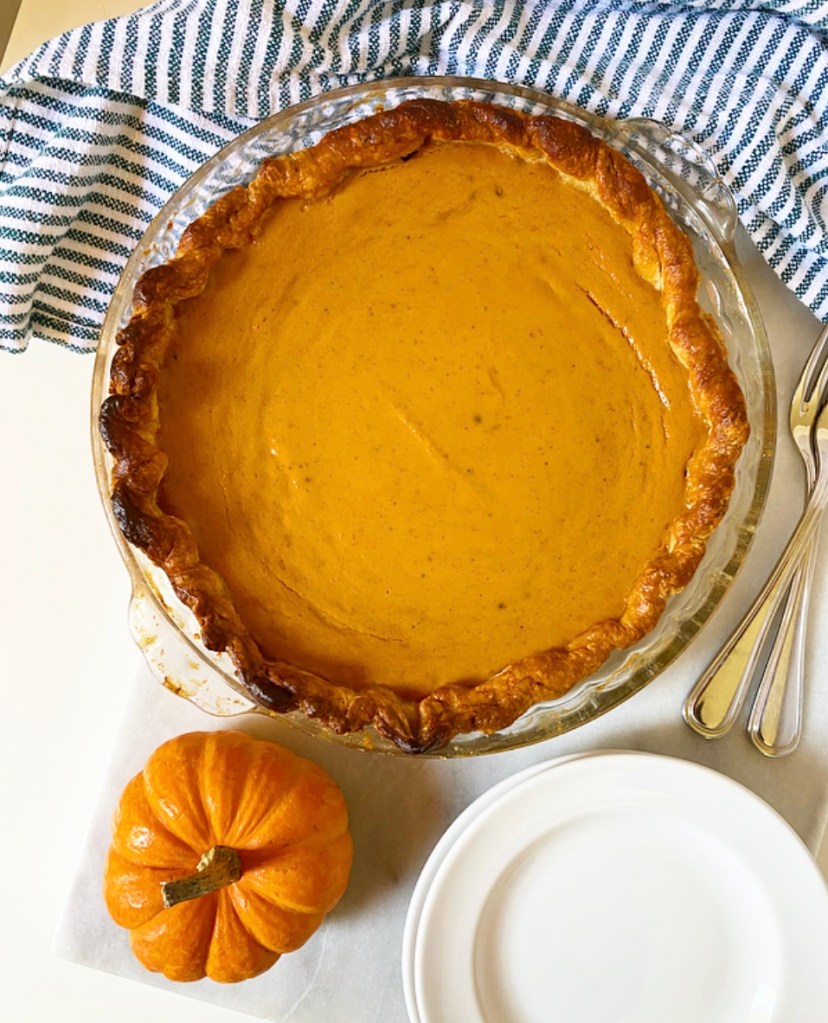
I usually concentrate on pie this time of year, and that’s great—pie is great!—but my favorite part of Thanksgiving is the hors d’oeuvres. Especially if there’s cheese involved (which there absolutely should be).
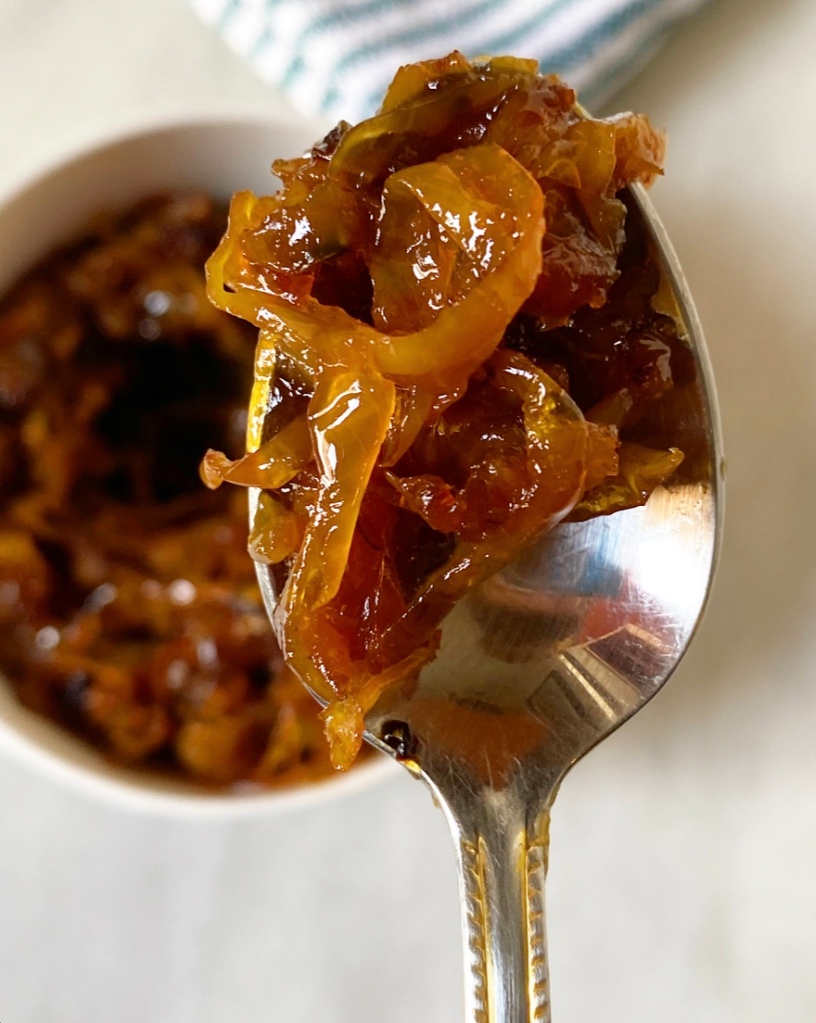
Over the years, I’ve made a cheesy tarte soleil, a flaky baked brie, savory cheddar shortbread, baked feta, and twisty rosemary Parmesan straws, all of which are worthy of the pre-meal spotlight. This year’s recipe finds you while I’m in the middle of a French Onion hyperfixation, so it’s all about caramelized onions and gruyere wrapped up in homemade (or not) flaky pastry.
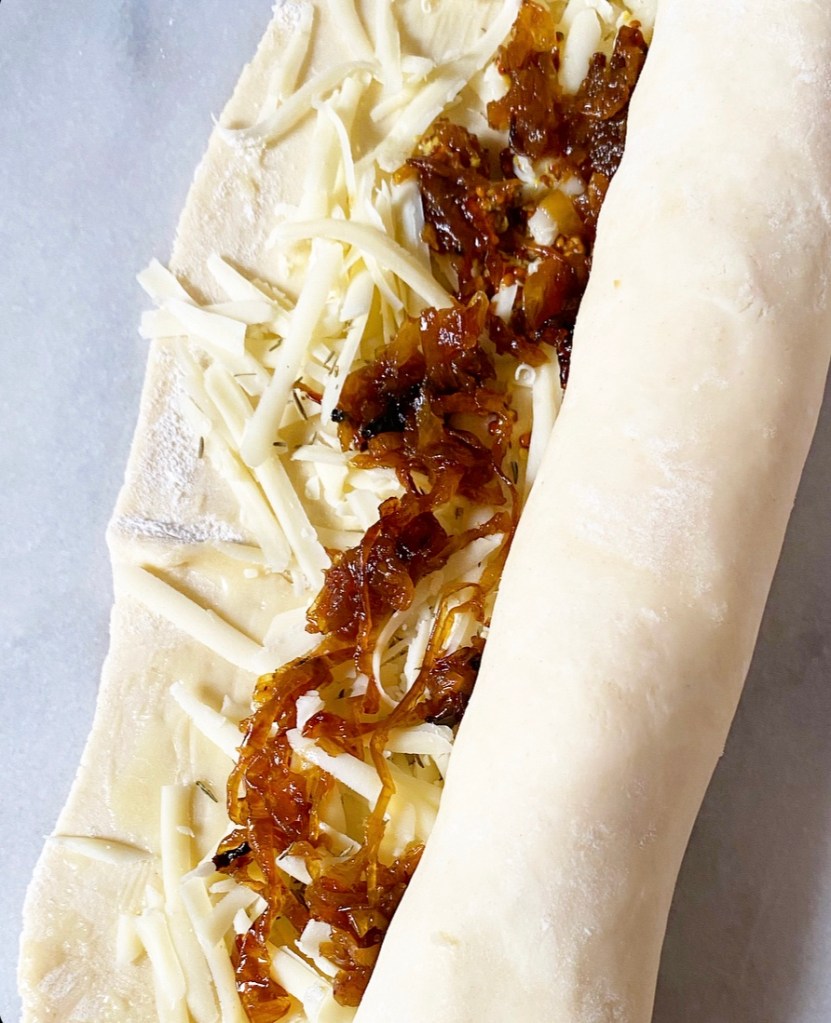
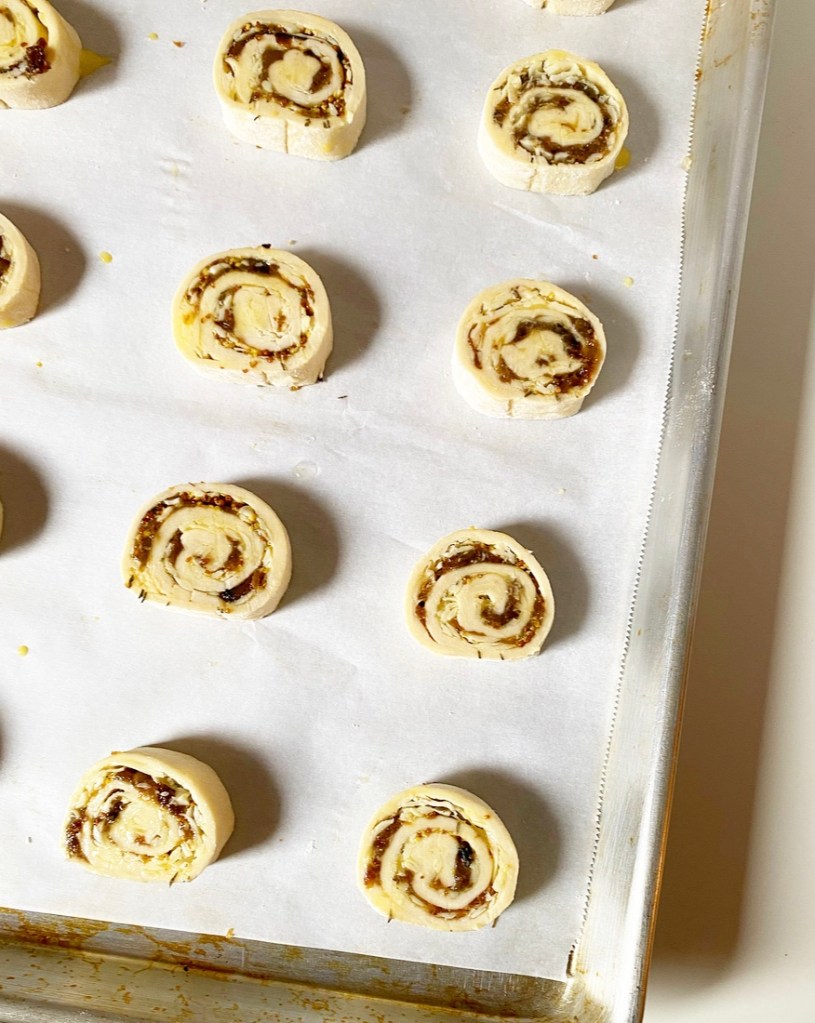
Simply take a sheet of puff pastry (I used homemade rough puff) and layer on everything good.
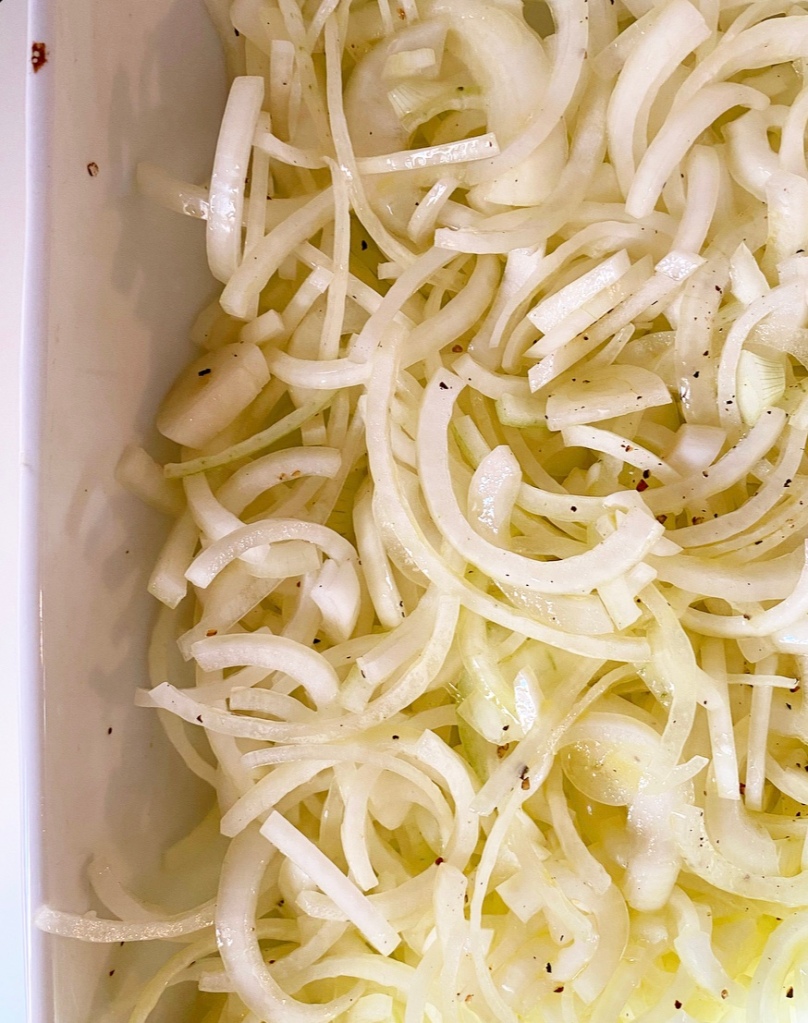
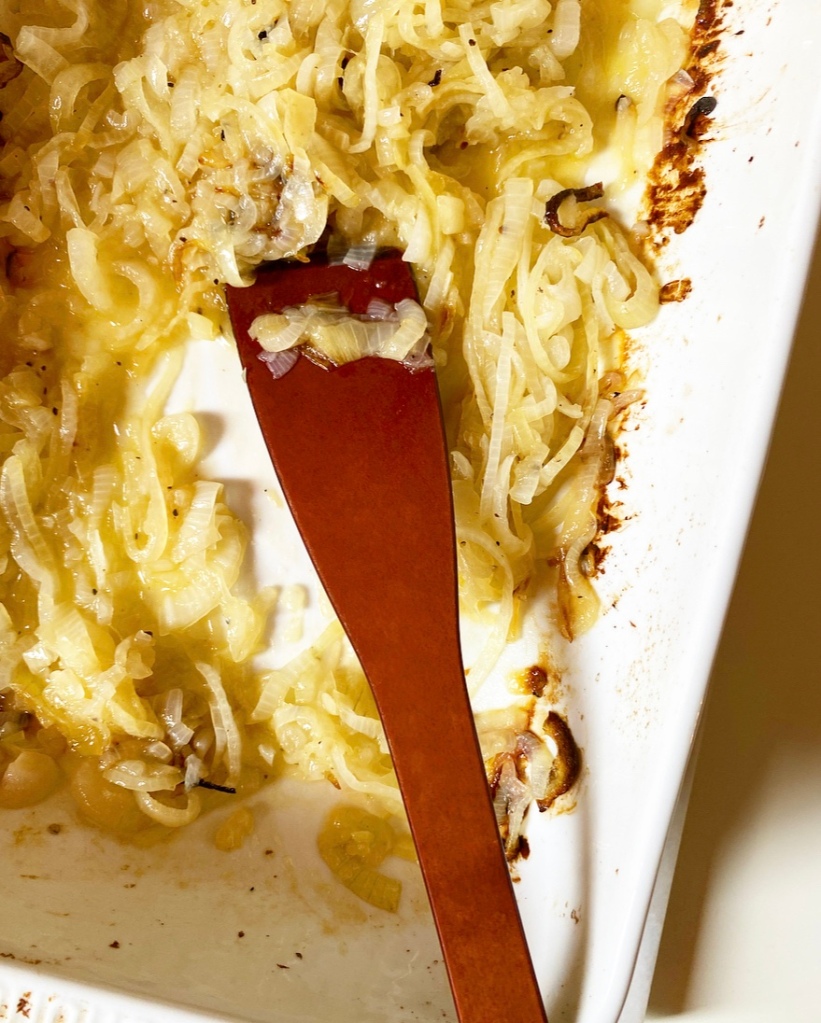
…or to be more specific, layer on melted butter, dijon or grainy mustard, gruyere, dried thyme and the caramelized onions you made in your oven while making some side dishes. Roll the whole thing up into a cylinder, give it a brief chill, then slice and bake.

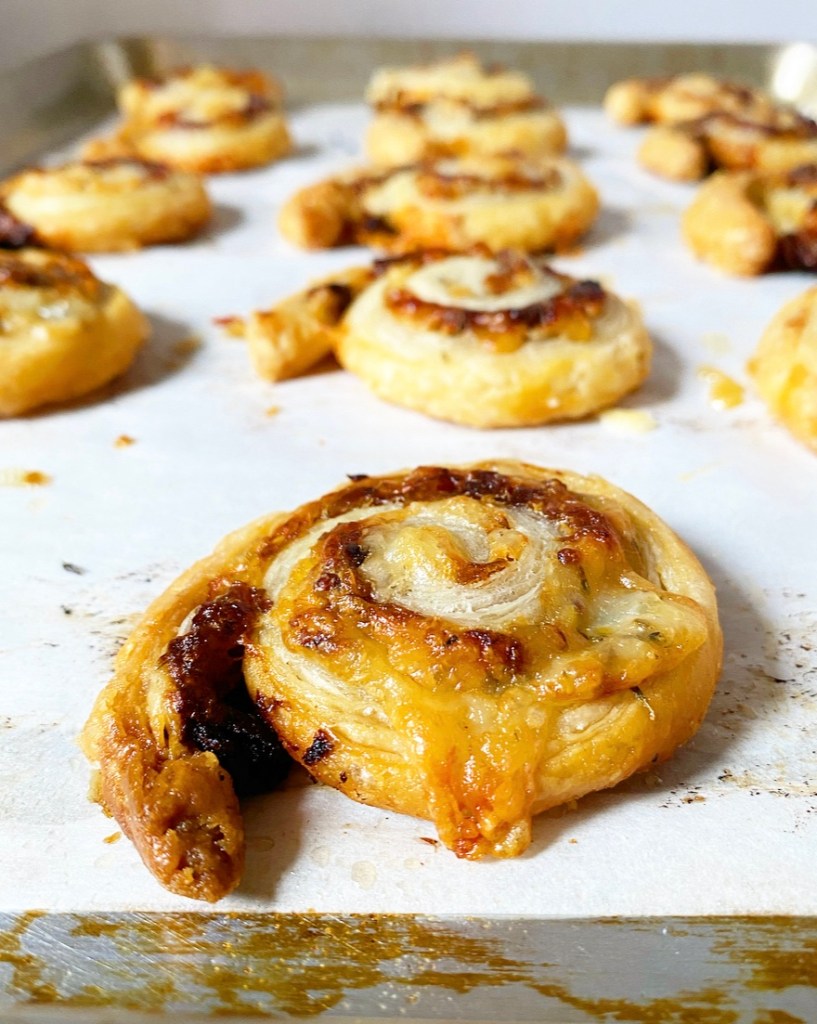
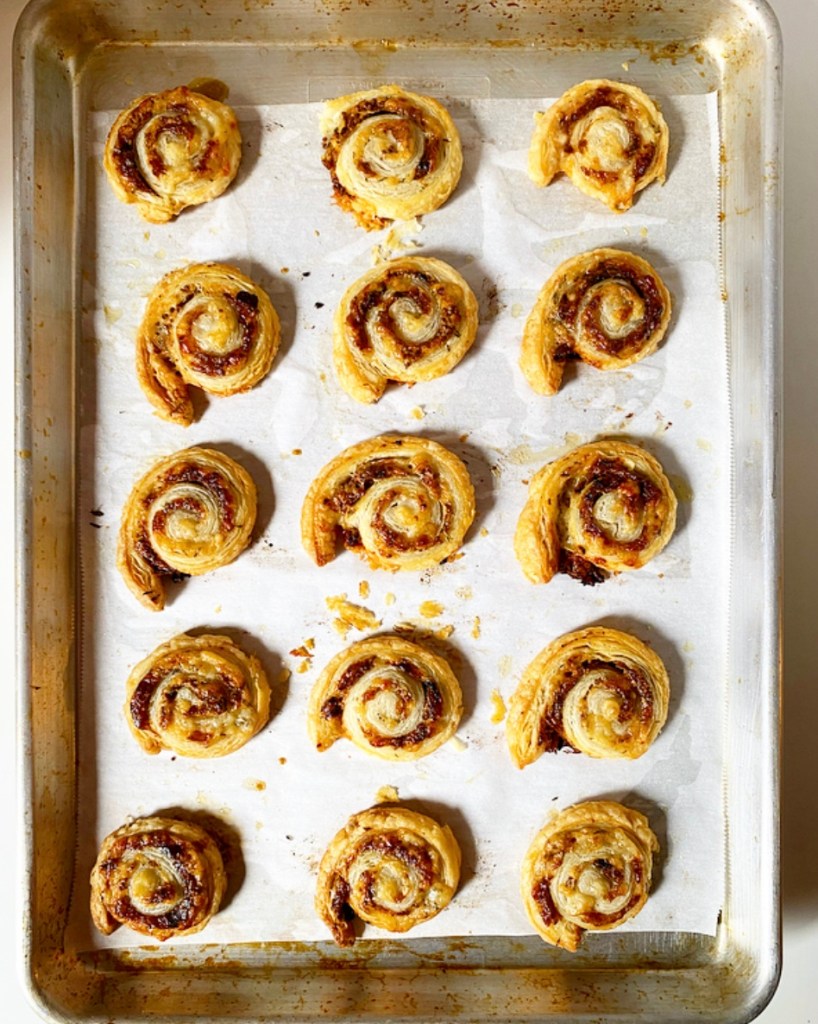
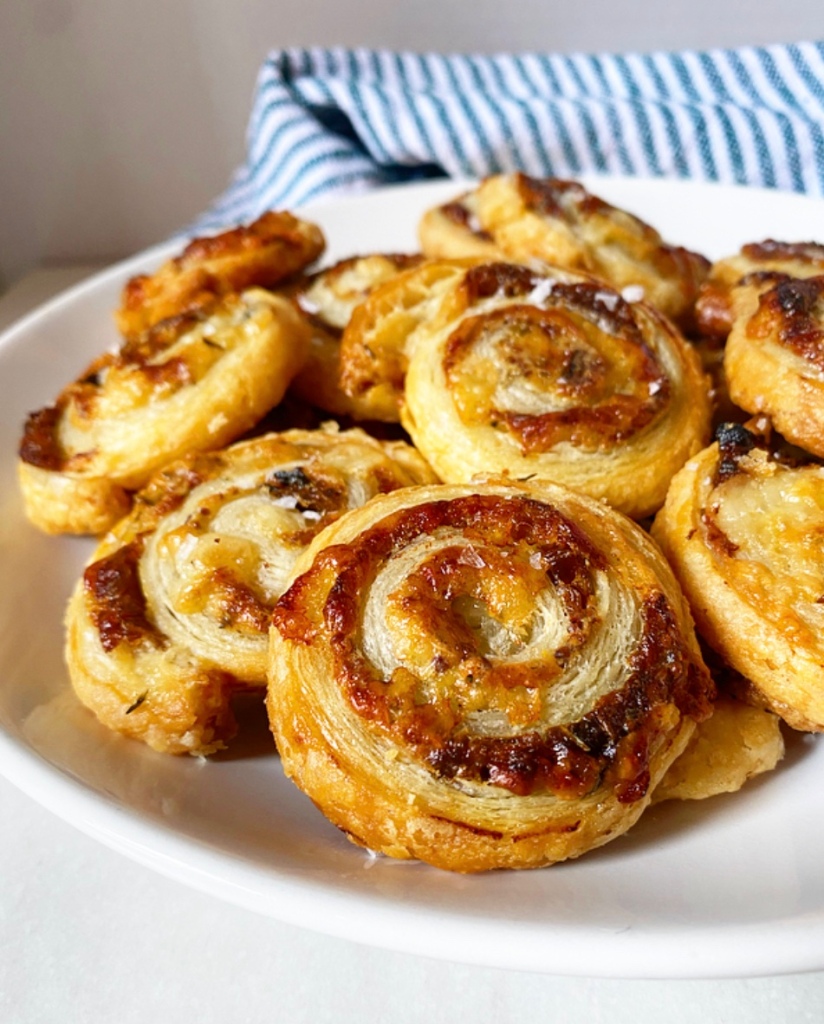
Ugh, can you even take how delicious these look? Golden and flaky, with bubbly cheese puddles and onions peeking through—simply gorgeous. And delicious, too.
French Onion Pinwheels
makes 22-24 pinwheels
Egg Wash:
1 large egg
1 teaspoon cold tap water
Pinwheels:
1 batch rough puff pastry (recipe below) or 1 sheet frozen thawed puff pastry
1 tablespoon melted butter, cooled slightly
1 tablespoon dijon or whole grain mustard
6 ounces gruyere cheese, freshly grated
1/2 teaspoon dried thyme (or 1 tablespoon fresh thyme leaves)
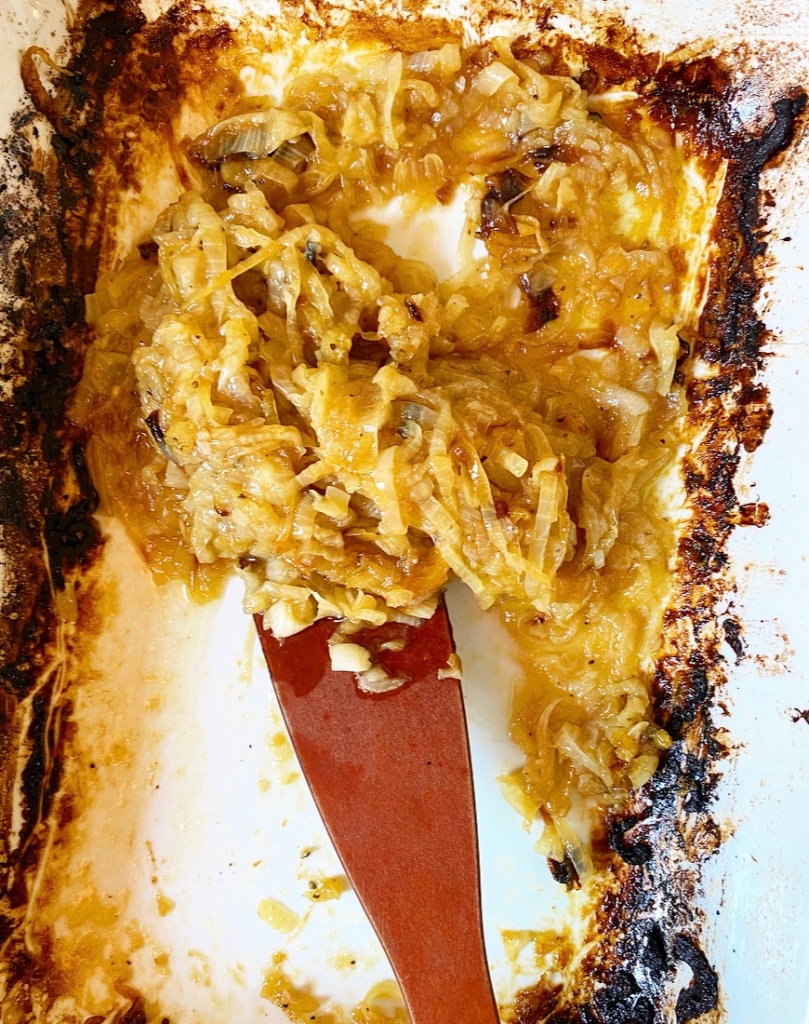
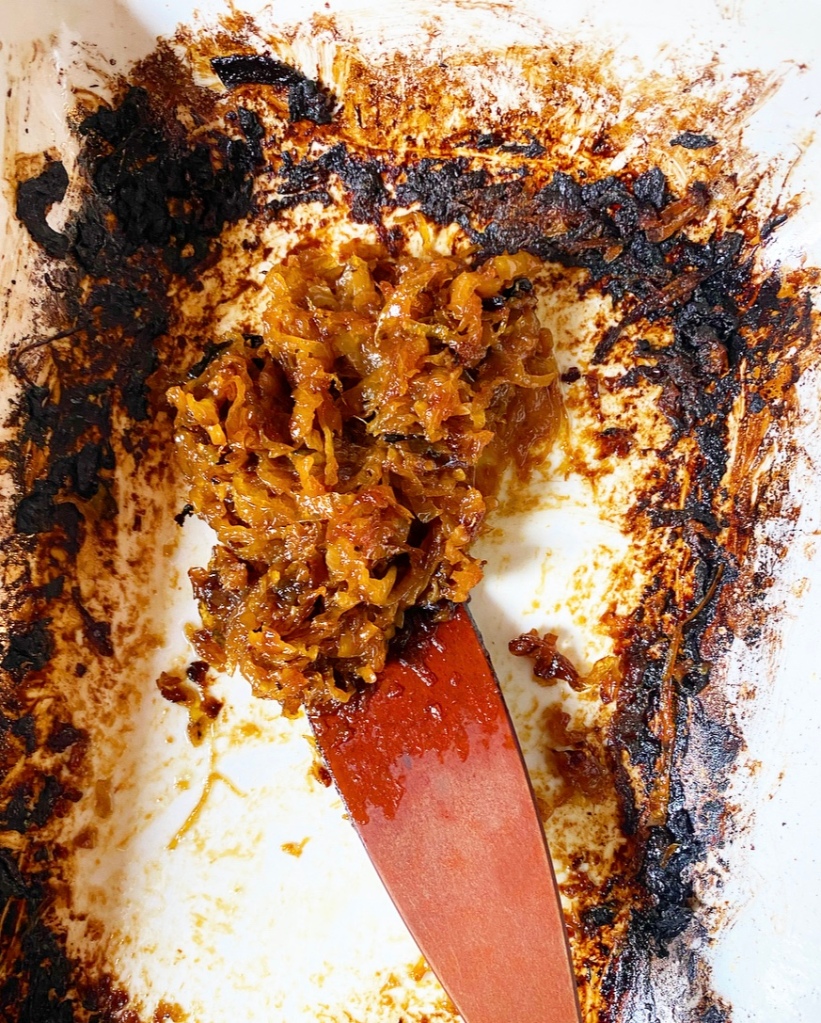
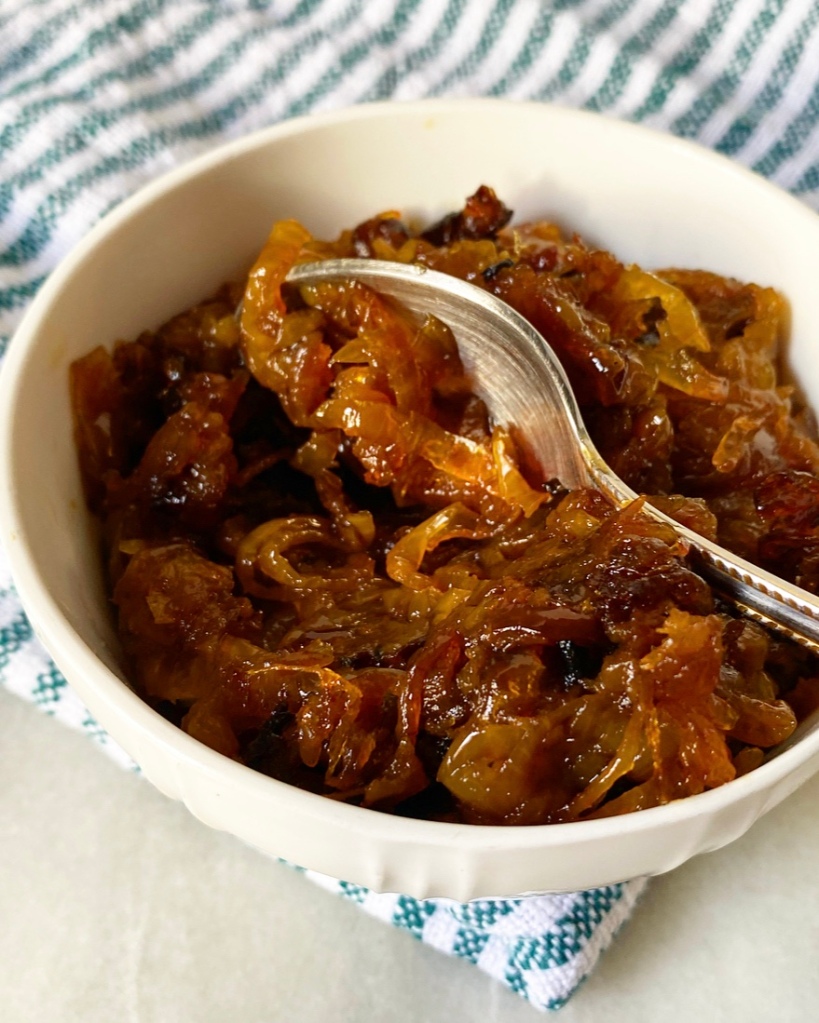
2/3 cup caramelized onions
Make the egg wash. In a small bowl, use a fork to whisk together egg and water. Set aside.
Make the pinwheels. Flour a surface and a rolling pin. Unfold puff pastry and roll to a 10x14-inch rectangle.
Use a pastry brush to brush a thin layer of butter over the surface of the pastry, leaving a 1/2-inch border on all sides.
Spread mustard over the butter. I find this easiest to do by dropping it in spoonfuls over the top, then spreading it out. It doesn’t have to be perfect; it’s going to be rolled up!
Scatter grated gruyere over the top, then sprinkle on the thyme. Drop caramelized onions over the cheese.
Paint the 1/2-inch border on one 14-inch side with egg wash. Starting at the other 14-inch side, tightly roll pastry together like you would cinnamon rolls. Lightly flour a pan or cutting board and place the rolled pastry on top. Freeze for 30 minutes or refrigerate for up to a day.
Preheat oven to 400F. Line two rimmed sheet pans with parchment paper. Set aside.
When freezing time is up, remove the rolled pastry back to the floured surface. Flour a large, sharp chef’s knife and use it to slice the roll into 1/2-inch pieces. Place them 2 inches apart on prepared pans. Brush each with egg wash.
Bake 18-20 minutes, or until golden and puffed. Let cool on their pans for about 5-10 minutes. Serve warm or at room temperature.
Leftovers should be kept in the refrigerator for up to 3 days.
Rough Puff Pastry
makes 1 sheet

1 cup all-purpose flour
1/4 teaspoon Kosher or sea salt
5 ounces unsalted European-style butter, very cold, cut into small pieces
1/4 cup water or milk, very cold

In a large mixing bowl, whisk together flour and salt. Use a pastry blender or two forks to cut butter into dry ingredients until the largest pieces are the size of small peas. Pour in cold water or milk and stir with a silicone spatula or wooden spoon until a shaggy dough forms.

Flour a surface and a rolling pin. Turn dough out onto surface, and use your hands to pat it into a rough rectangle. Roll the dough into an 8x10" rectangle. Fold dough in thirds, and give it one quarter turn. Roll into an 8x10" rectangle again, fold, and turn. Repeat rolling, folding, and turning until it has been done six times total. Wrap folded dough in plastic wrap and refrigerate for at least one hour, or up to 48 hours.