Every Thanksgiving, I forget that I like making pie. I mean, I know I like it, but I forget that I like it more than eating pie (and I quite like eating pie). There’s something soothing about the whole lengthy process of lovingly rolling, crimping and otherwise helicopter parenting a large pastry that just does something for me.
But you know what I like even more than making pie? Making galettes, which is like making pie, but it takes half the time and it doesn’t matter what the final product looks like because it’s supposed to be rustic. Rustic is my middle name.
Just kidding, it’s Ann.
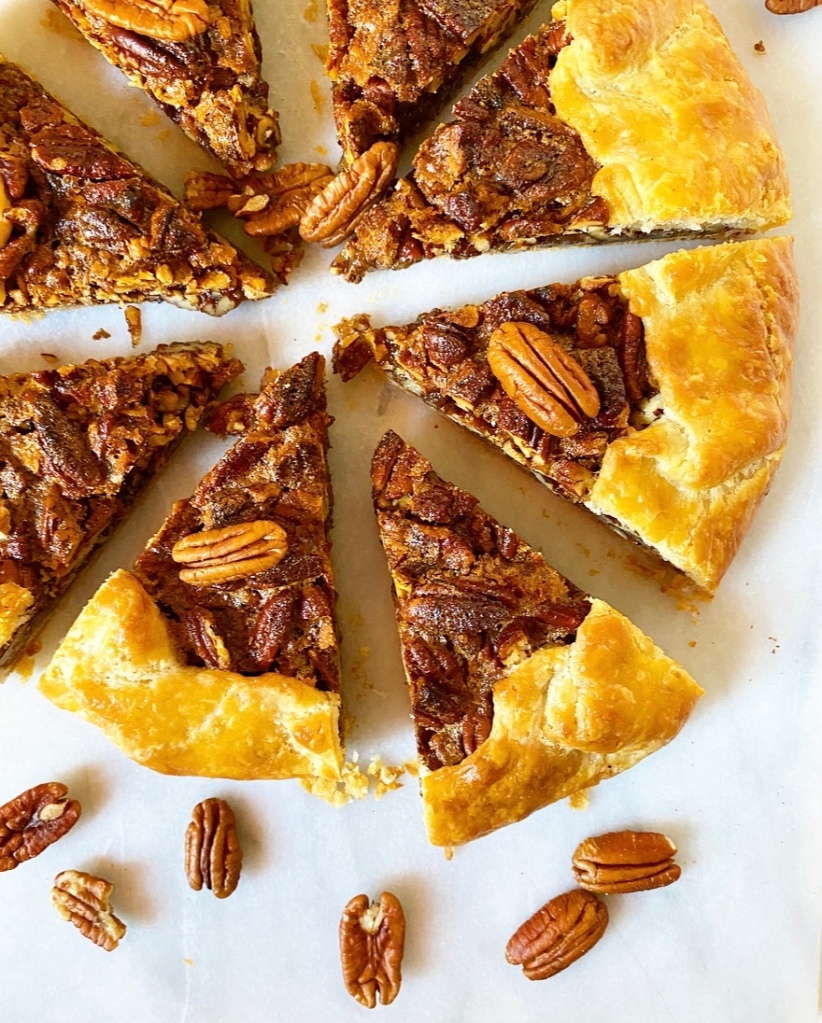
But I digress. Today, I’m taking my favorite pie—pecan, naturally—and folding it up into a rustic galette.
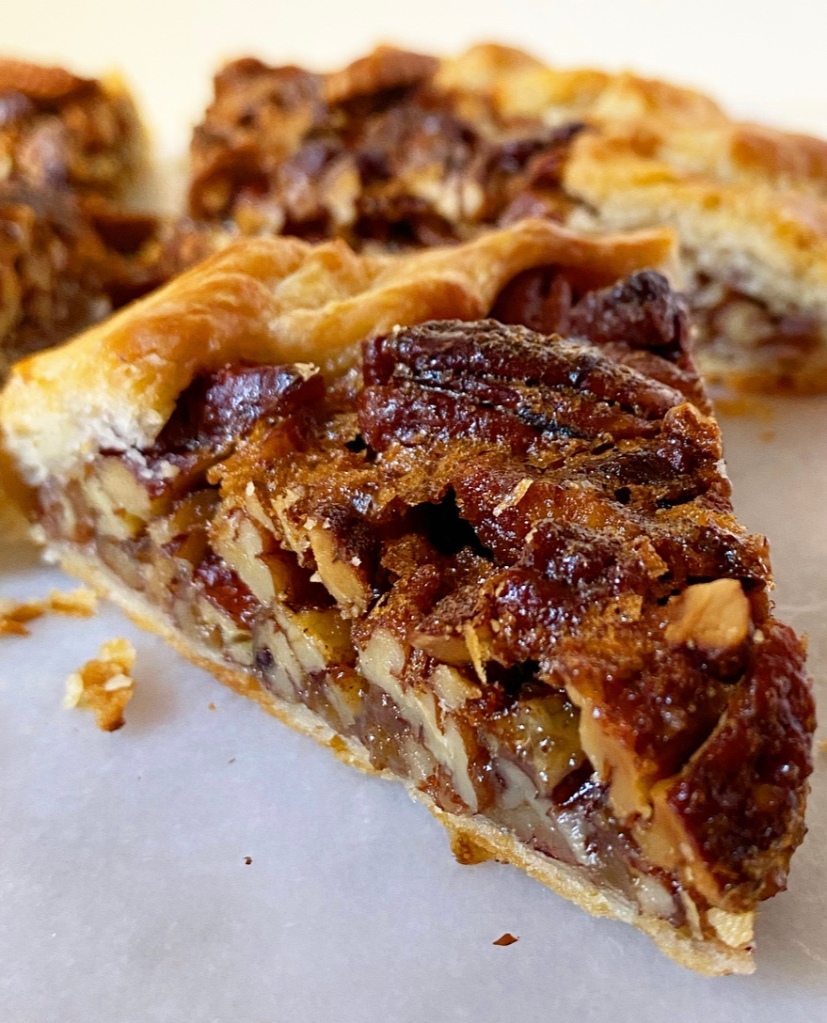
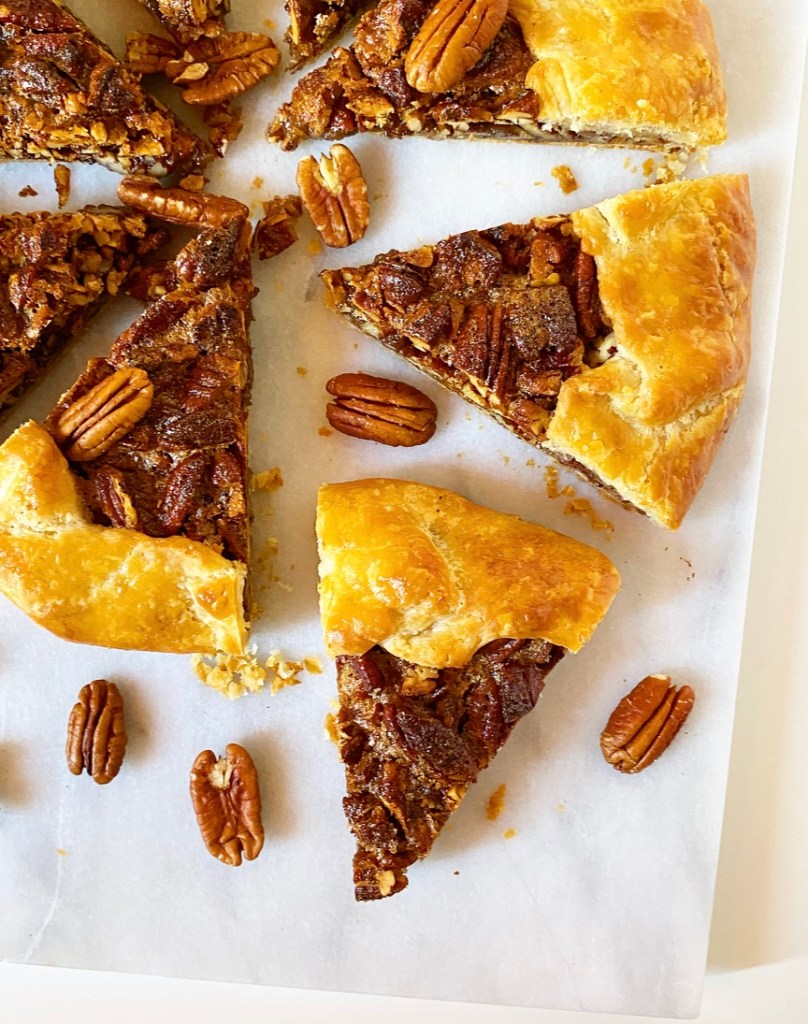
Yes! You can make non-fruit galettes! Here we have all the sticky, crunchy, flaky-crusted magic of traditional pecan pie, but made in a relative snap. No crimping, no endless chills, no waiting half a day for it to be cool enough to slice. This Pecan Galette is Pecan Pie’s low maintenance sister.
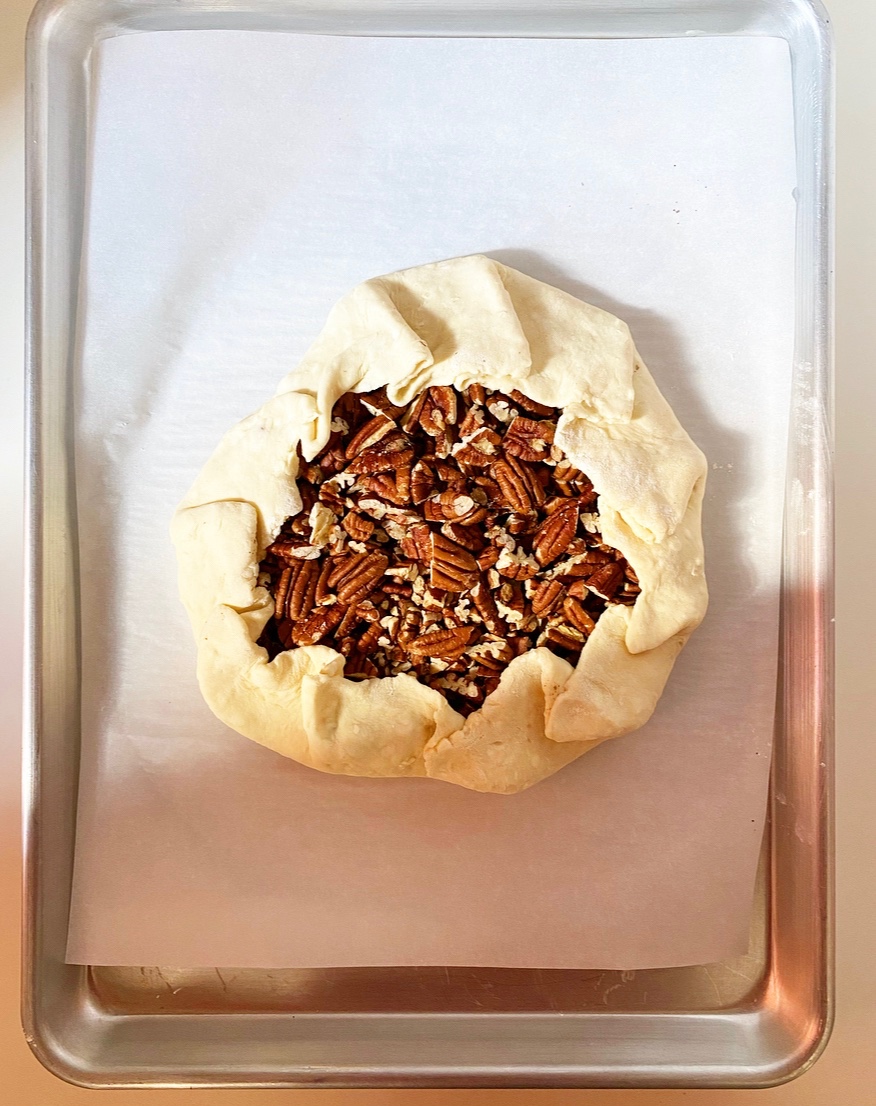

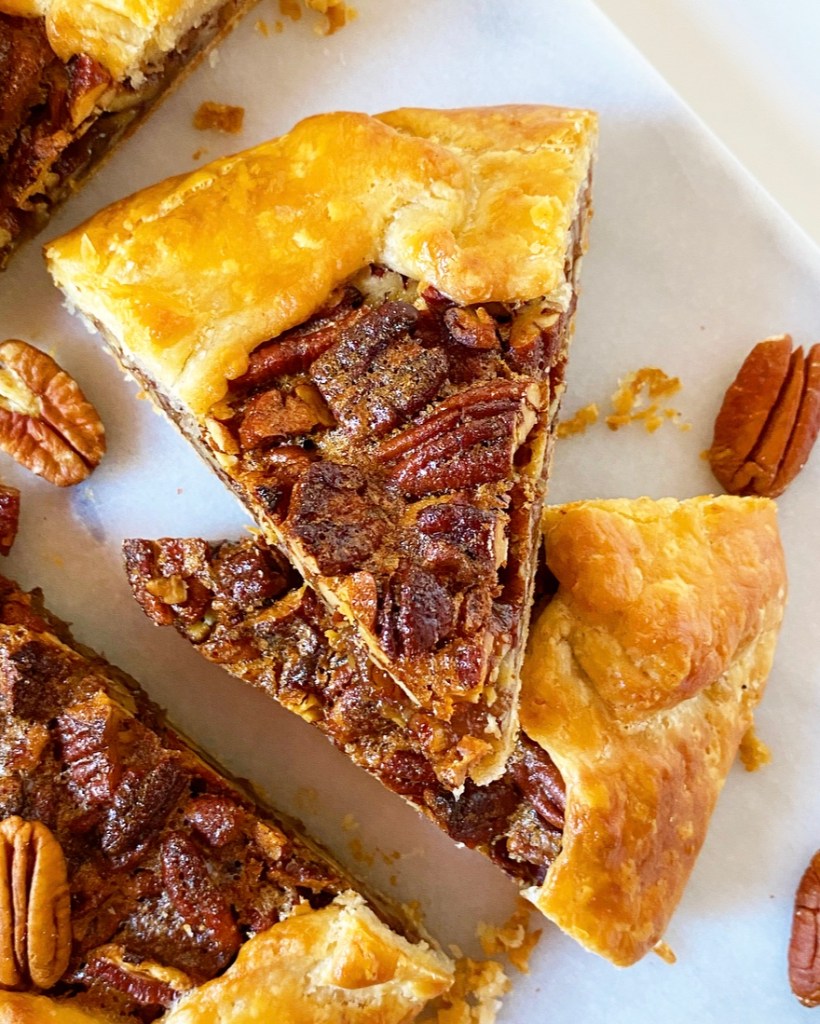
The major hurdle here (and in all custard pies) is containing the liquid. I tried assembling this one two different ways, first adding the complete filling before folding, then taking a note from pie queen Erin McDowell and adding the pecans, folding, then pouring in the liquid before baking. It will come as no surprised that that the pie queen’s method was much less frustrating. It will feel strange to assemble a galette in this order, but it actually makes perfect sense. And you can’t argue with the results.
One of my favorite things about making galettes is that they can be sliced up within a couple hours of baking. That said, if you’re looking to work ahead for Thanksgiving, you can bake this a day or two ahead of time and it will be divine.
Oh yes, I do love a galette.
Pecan Galette
makes 1 galette
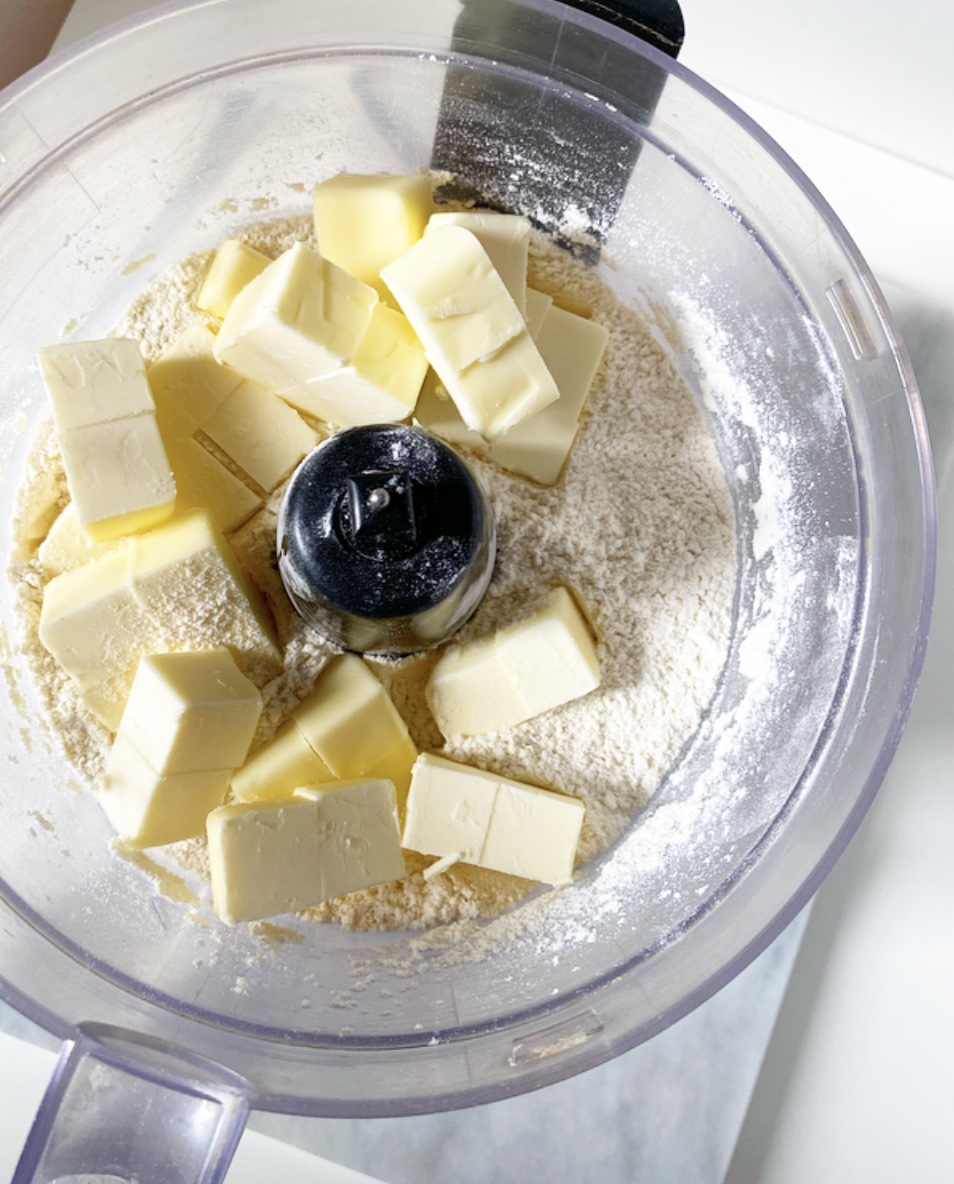
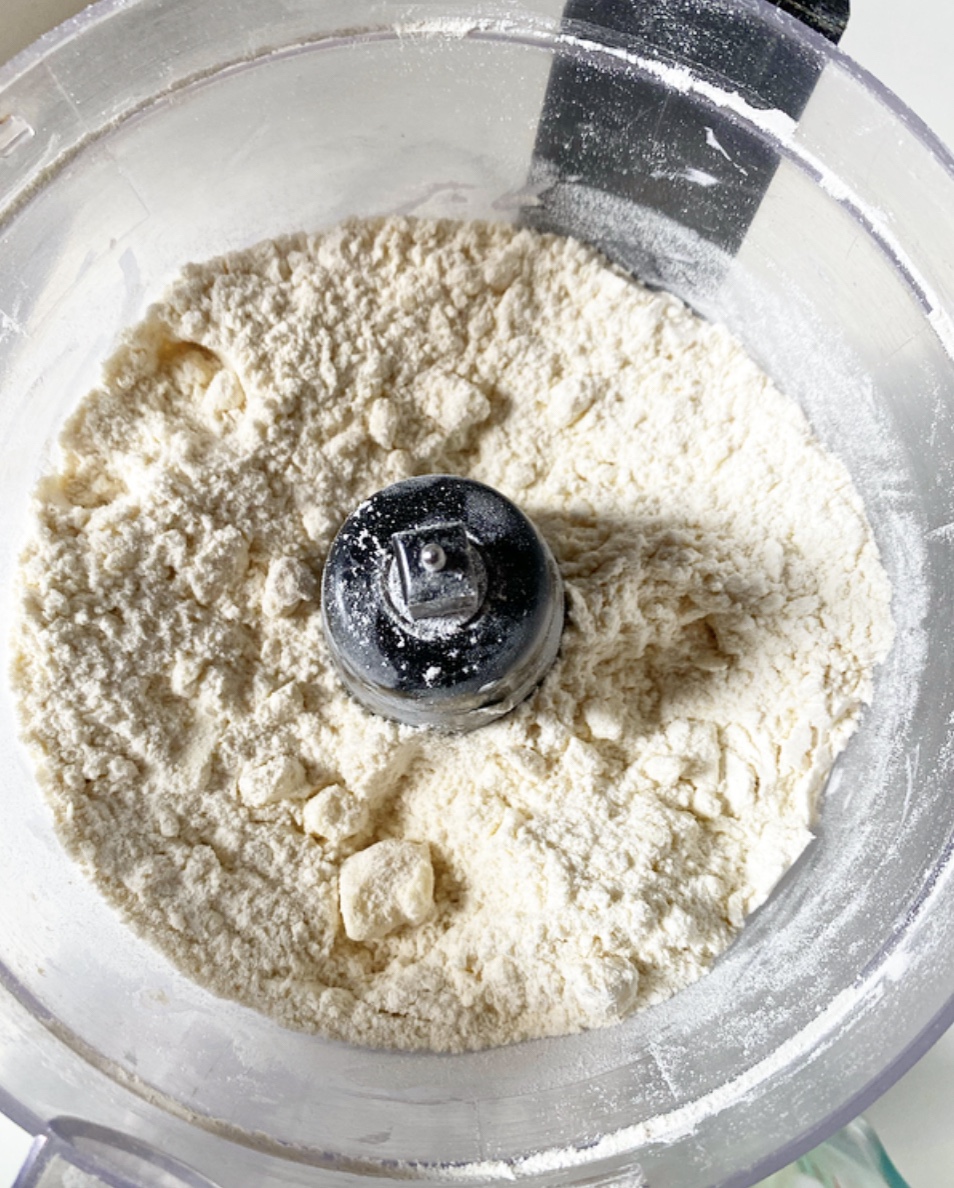
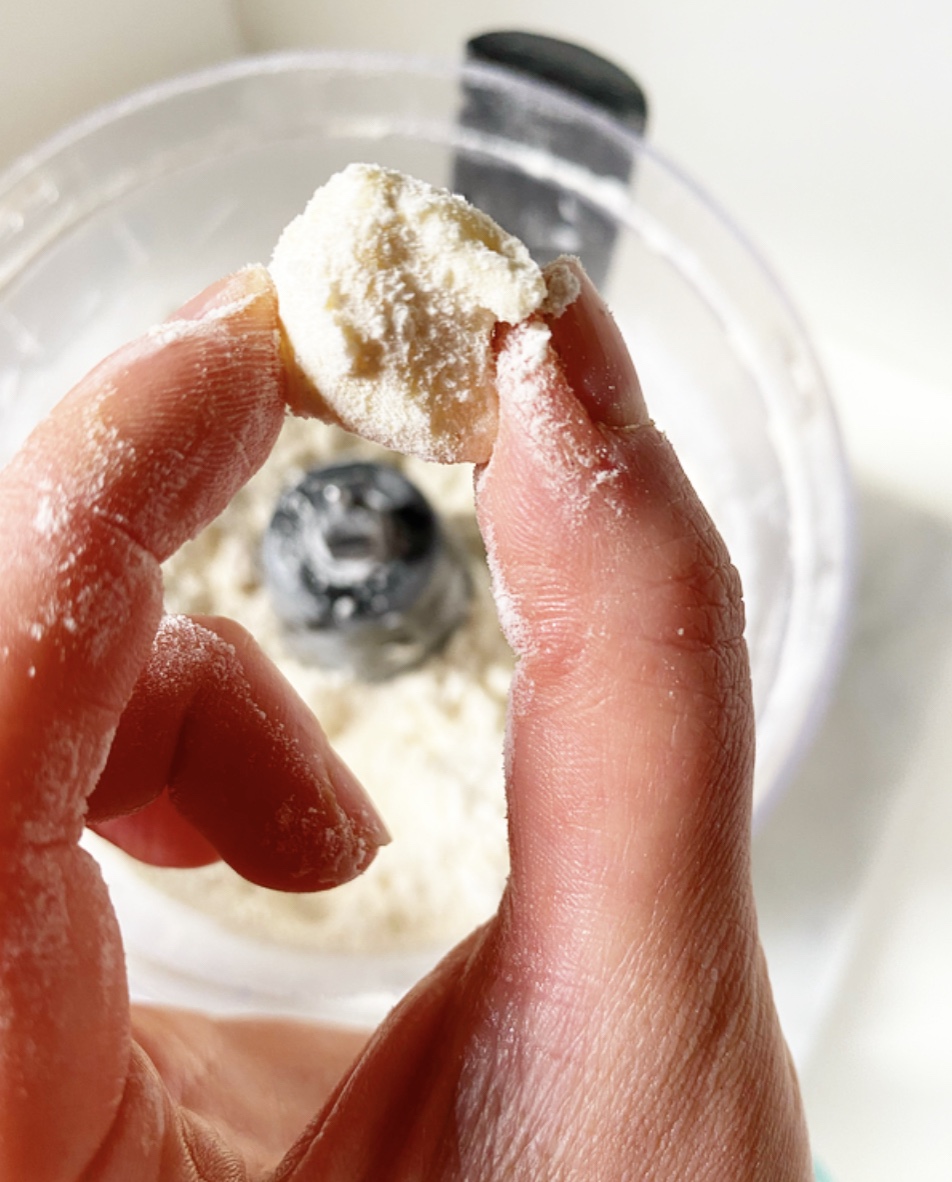
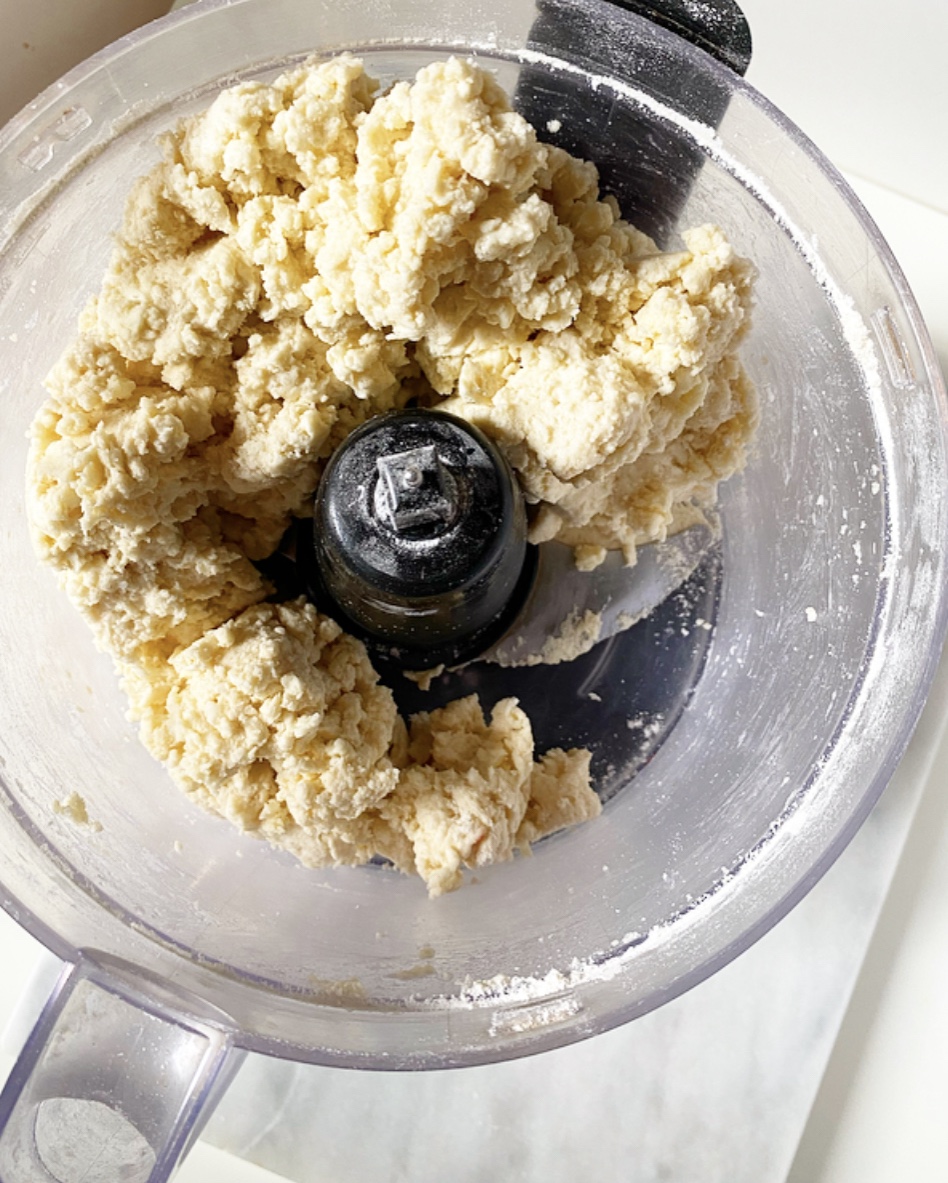
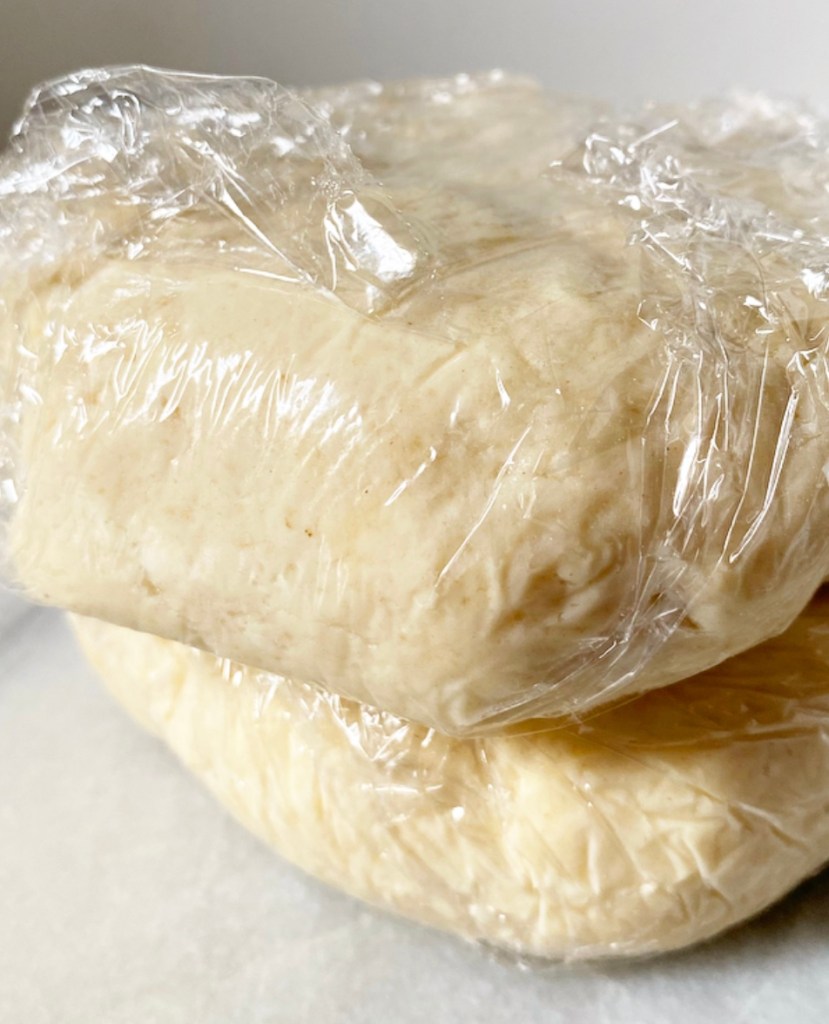
1/2 recipe All-Butter Pie Dough or other good single crust recipe
1 1/2 cups pecan halves, roughly chopped
2/3 cup light brown sugar, packed
1/4 teaspoon ground nutmeg
1/2 teaspoon Kosher or sea salt
2 tablespoons pure maple syrup (or mild honey or light corn syrup)
1 teaspoon apple cider vinegar
1 teaspoon pure vanilla extract
4 tablespoons unsalted butter, melted
1 large egg, room temperature
For assembly:
1 large egg
1 teaspoon water
Arrange oven racks in the upper and lower positions. Preheat oven to 375F. Line a rimmed baking sheet with parchment paper. Set aside.
Place pecans on a dry rimmed sheet pan. Bake for 5-7 minutes until toasted and fragrant. Do not burn. Set aside to cool to room temperature.
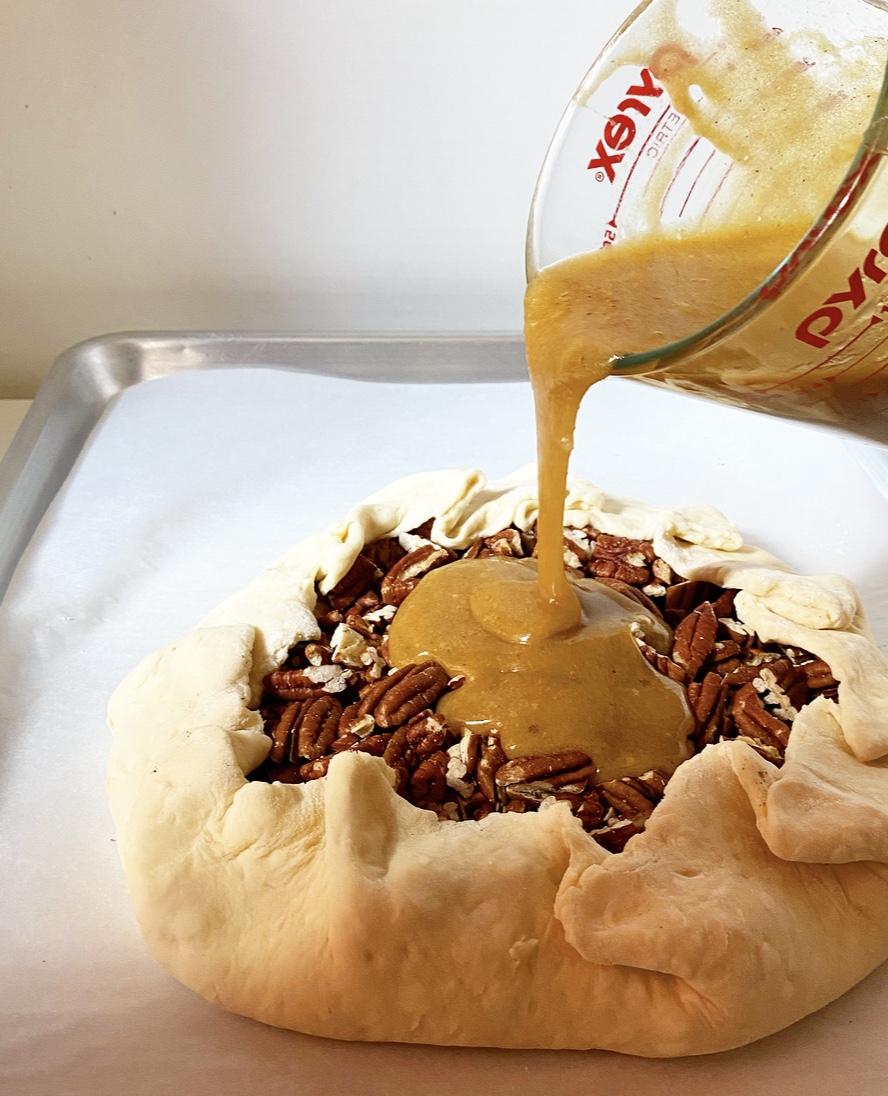
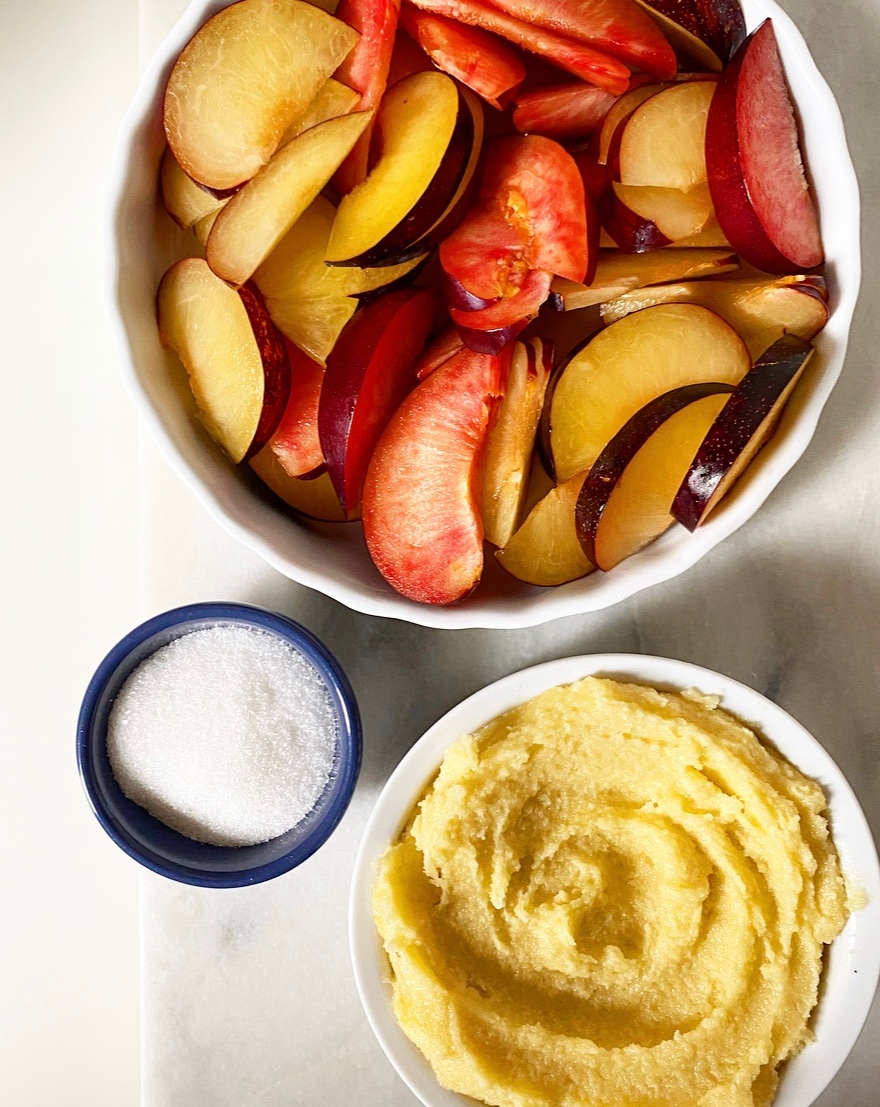
In a liquid measuring cup or small bowl, whisk together brown sugar, nutmeg, salt, maple syrup, apple cider vinegar and vanilla. Add melted butter, followed by egg. Set aside.
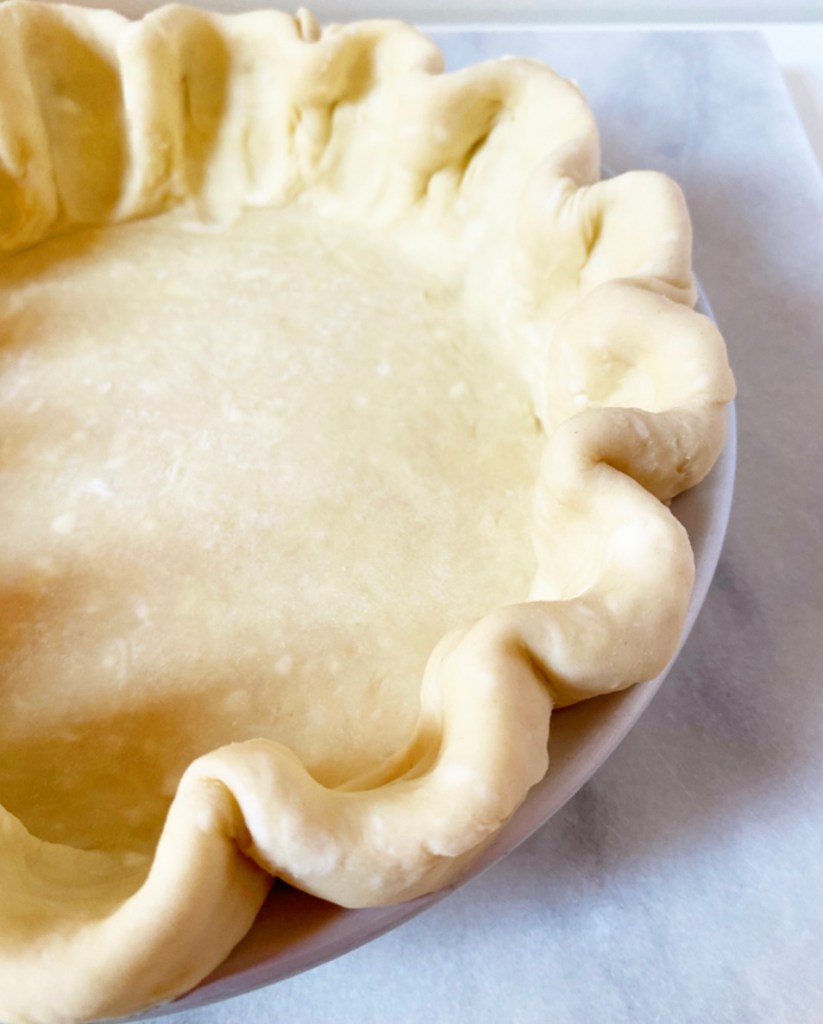
Flour a surface and a rolling pin. Roll pie dough out until it is 1/8-inch thick. Trim edges so that you have a 12-inch circle. Transfer to prepared pan. Mound toasted pecans in the middle of the dough, leaving at least 2 inches of excess on all sides. Fold dough over the pecans to contain them. Slowly (!) pour liquid mixture over pecans, stopping frequently to tap the pan on the counter to help the liquid settle. Continue until all liquid is in the galette.
In a small bowl, whisk together egg and water. Brush mixture on exposed pie dough.
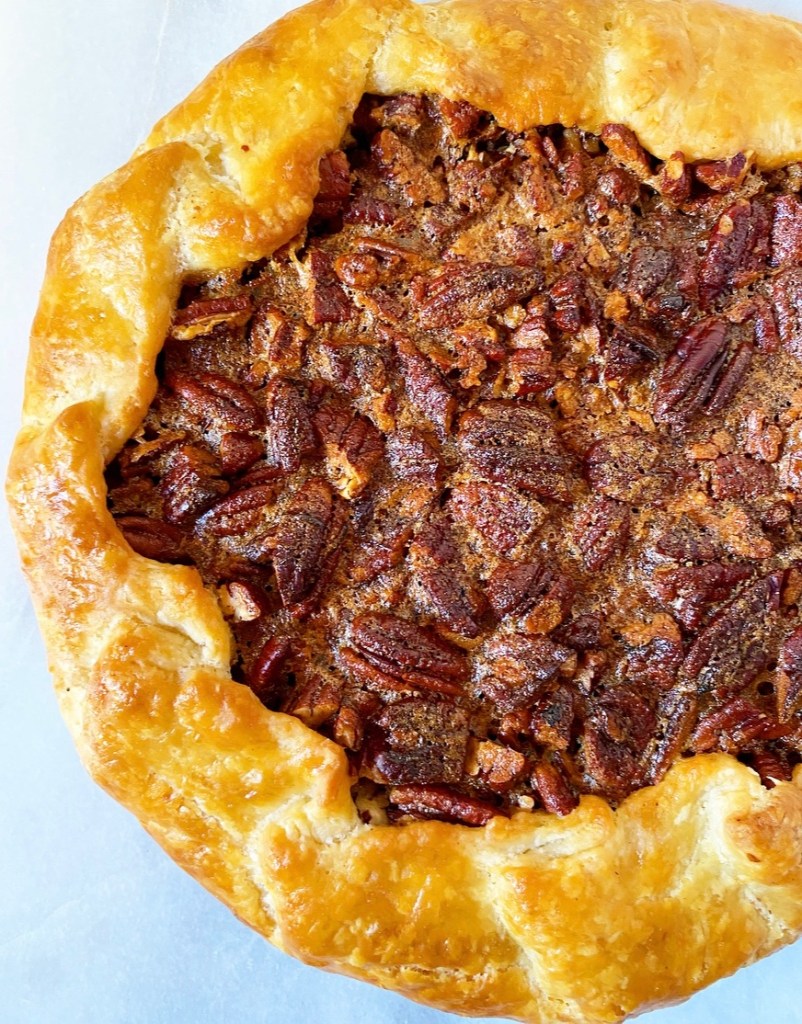
Bake galette on the upper rack for 25 minutes. Move to the lower rack. Bake for 20 more minutes, tenting with foil if anything begins to brown too quickly. Crust will firm up as the galette cools.
Let galette cool completely in the pan on a rack. Remove to a cutting board. Slice and serve.
Galette will keep covered at room temperature for two days, or in the refrigerator for up to five.


 I don’t know why I’ve never thought to make a
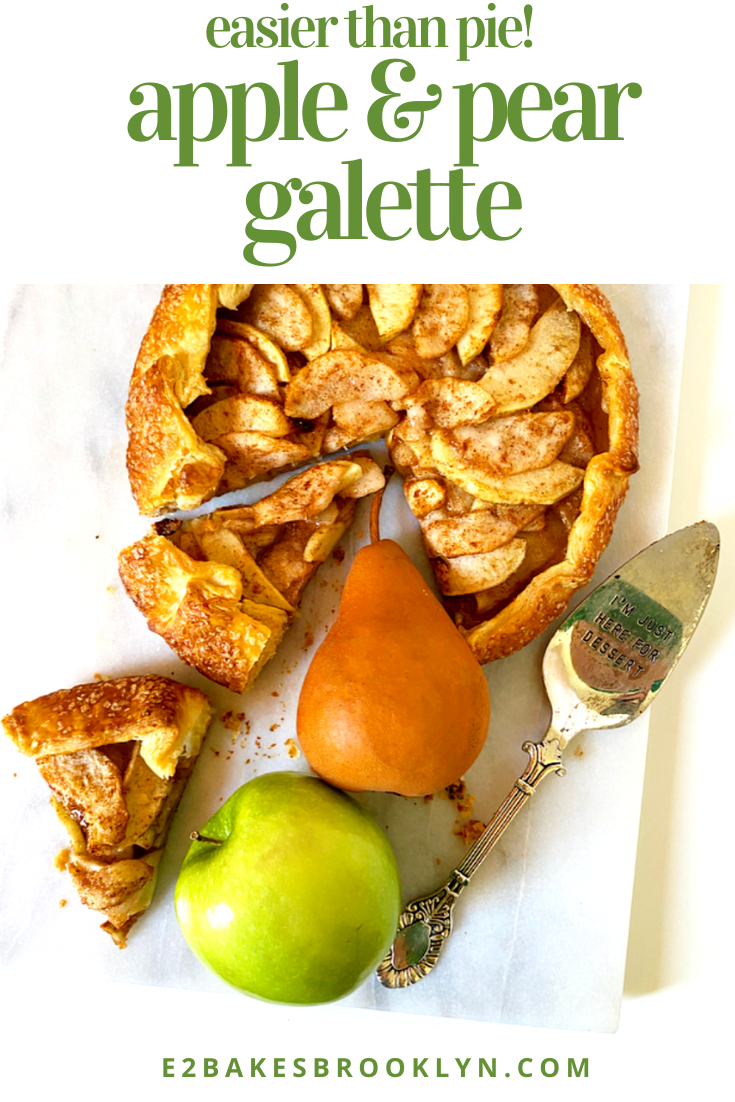
 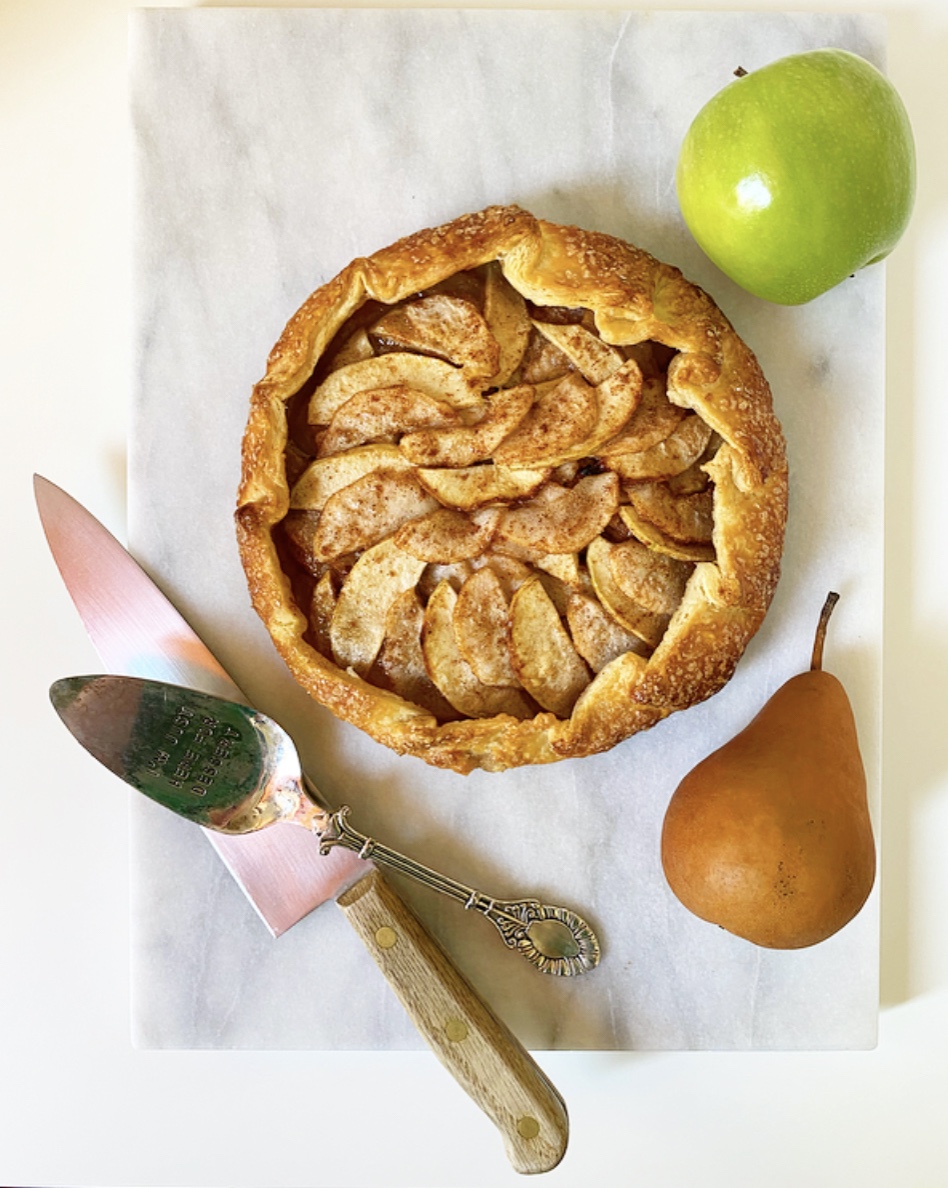 Galettes are pie’s more chilled out cousins. They’re free-form, don’t require a pie plate or crimping, never need blind-baking, and you can put pretty much anything but custard inside. Easy easy easy, and positively perfect for a busy day like Thanksgiving. I’m mystified as to how I didn’t realize that until now–it’s so obvious!
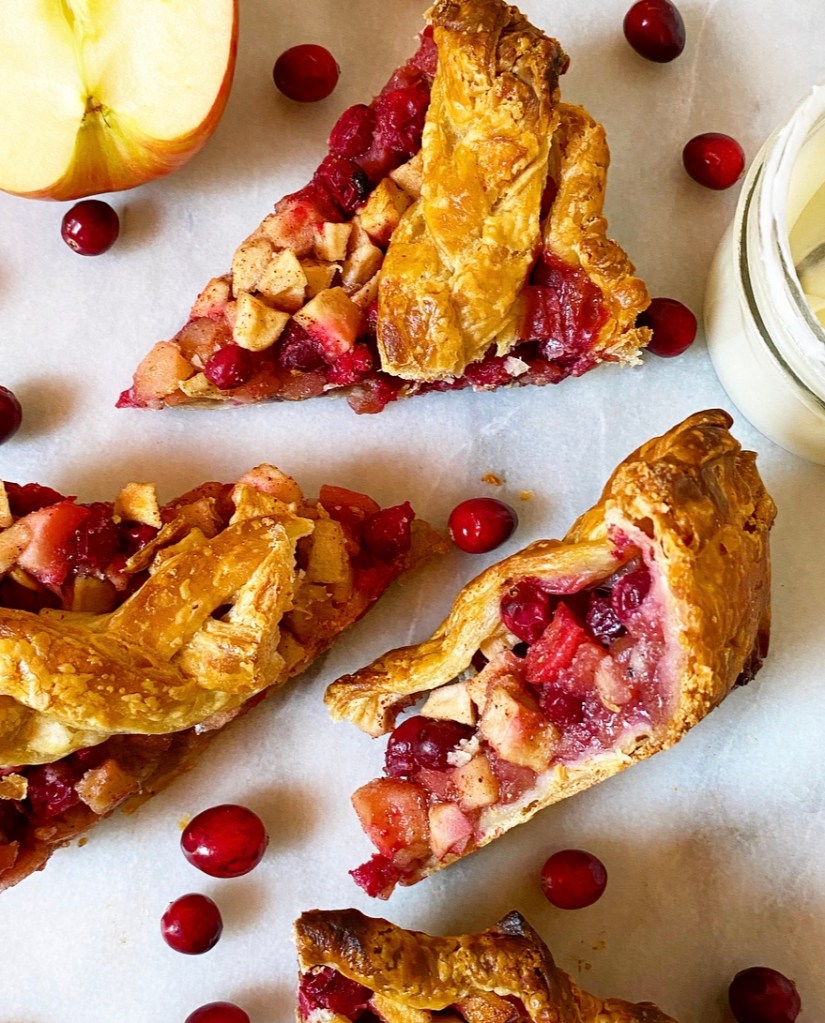
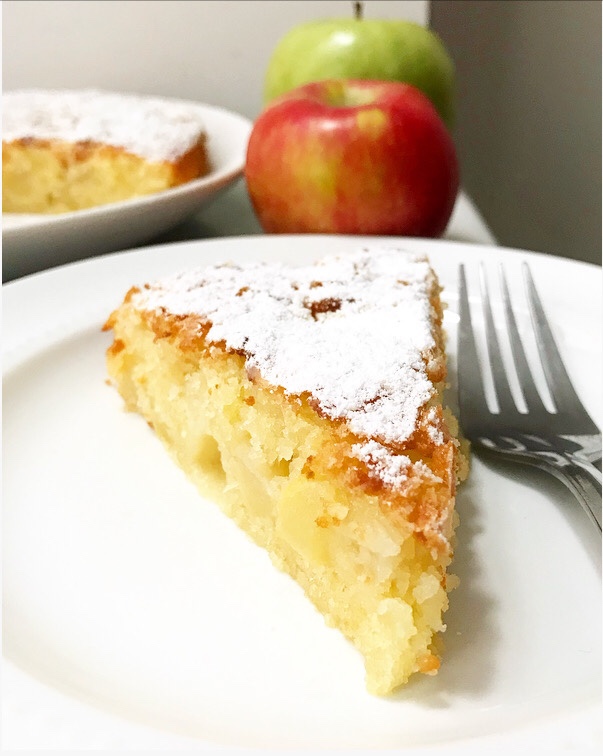
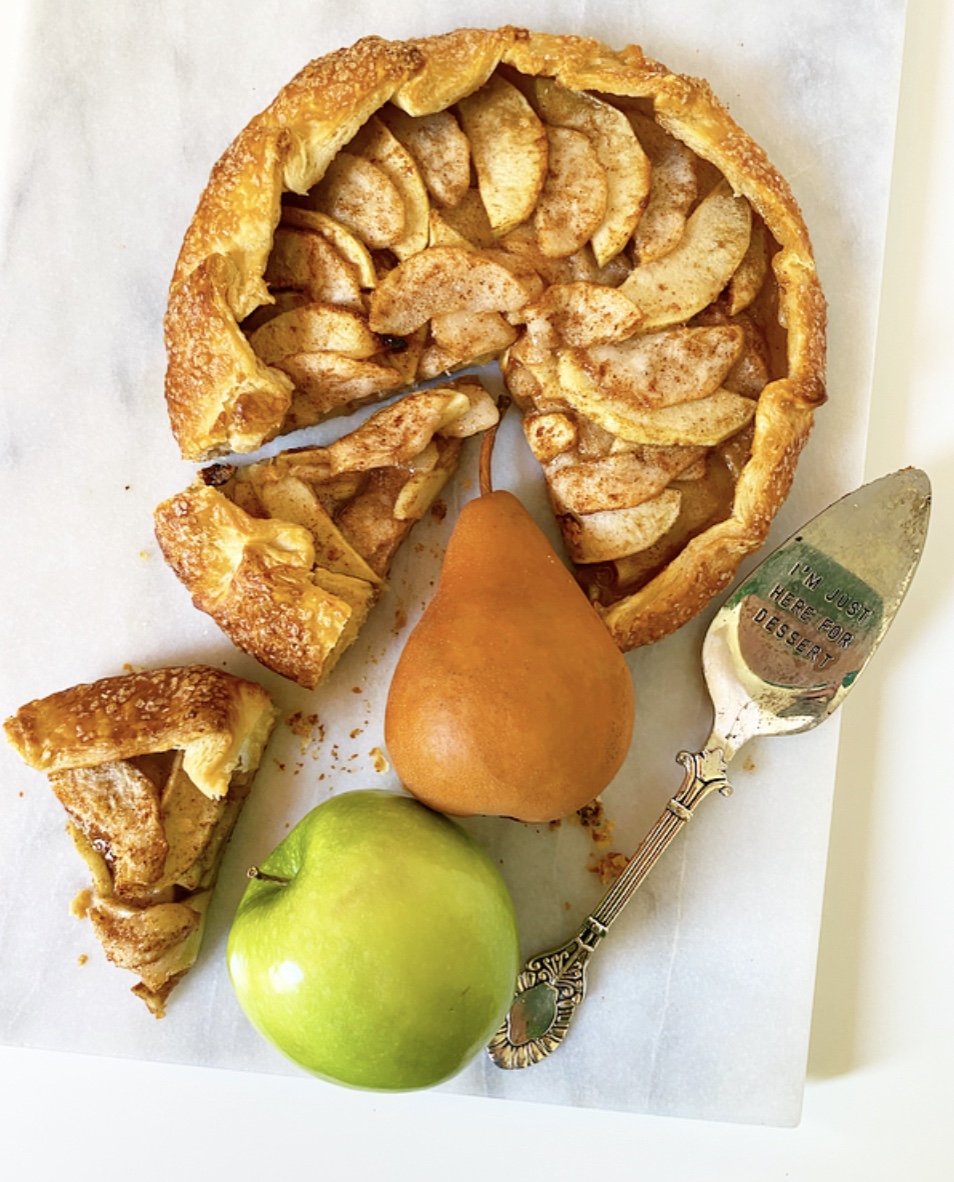 Today’s galette is filled to the brim with sliced tart apples and sweet ripe pears, and it’s seasoned with cinnamon, cardamom, ginger and nutmeg. I like to think of those spices as somewhere between regular
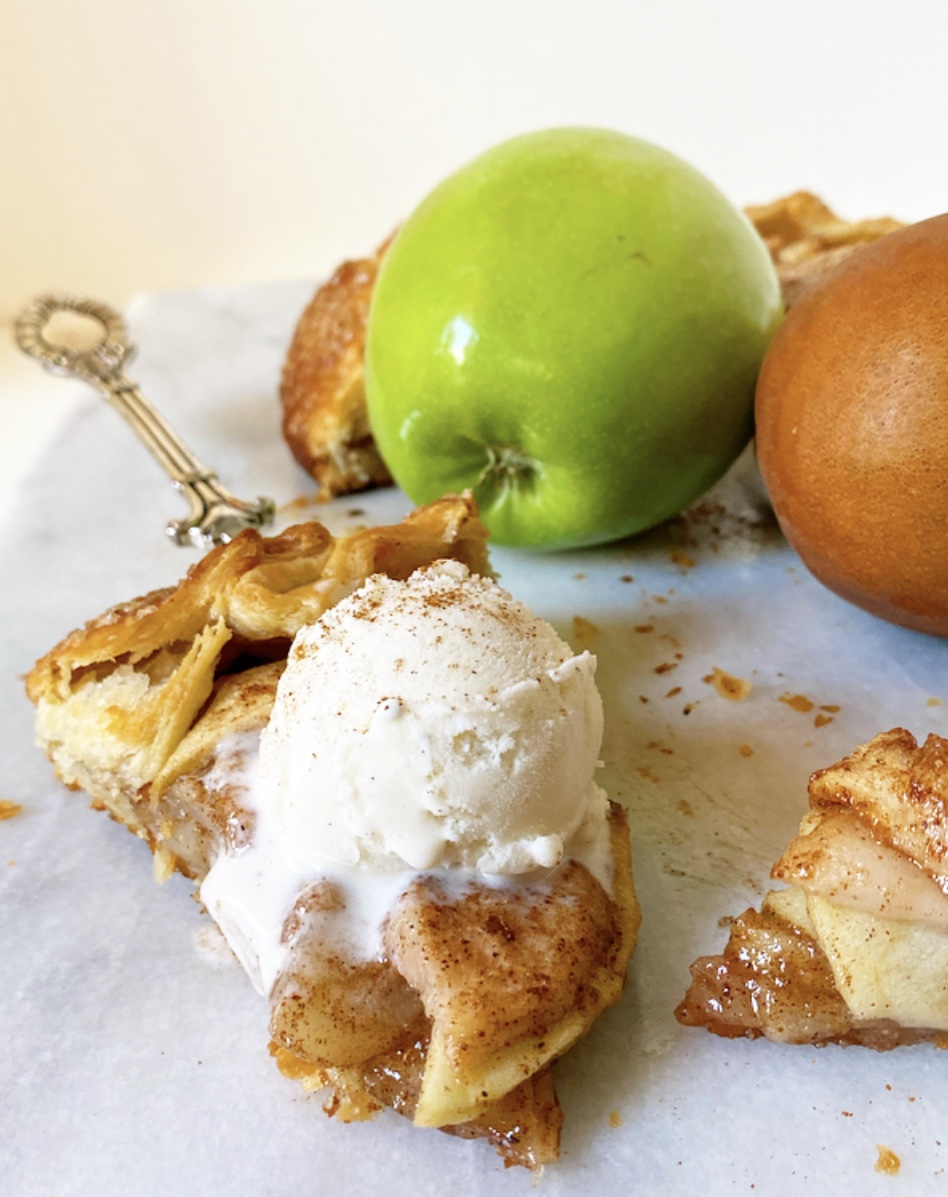
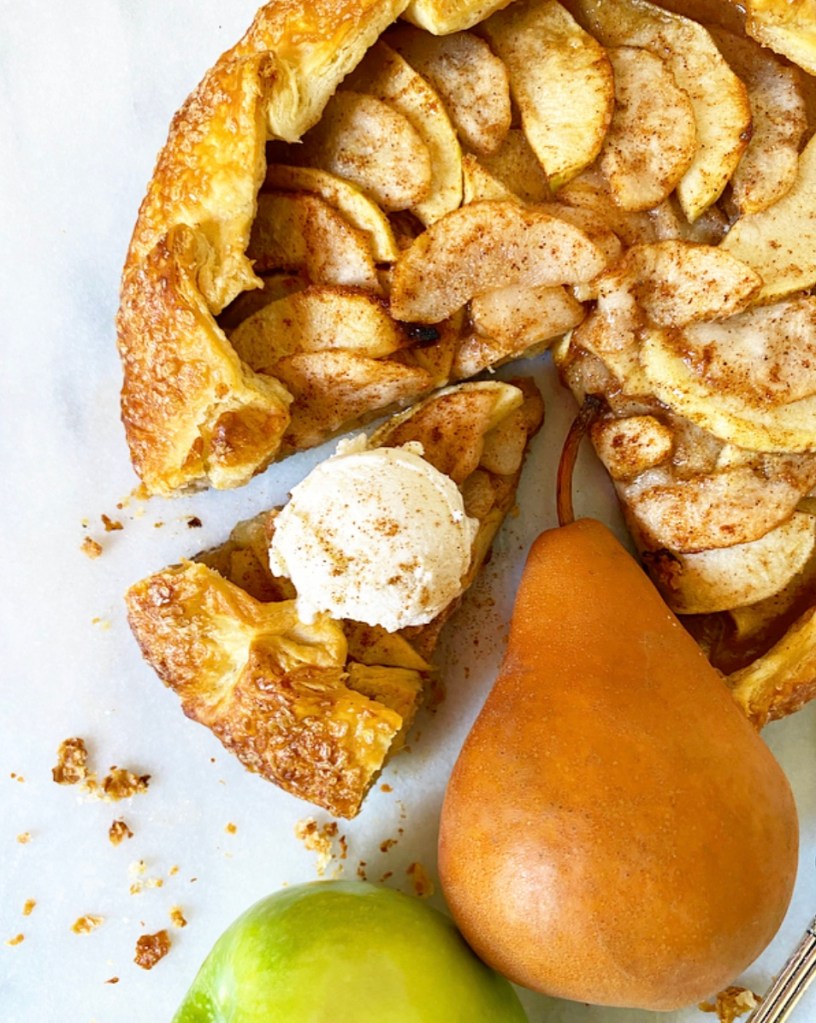
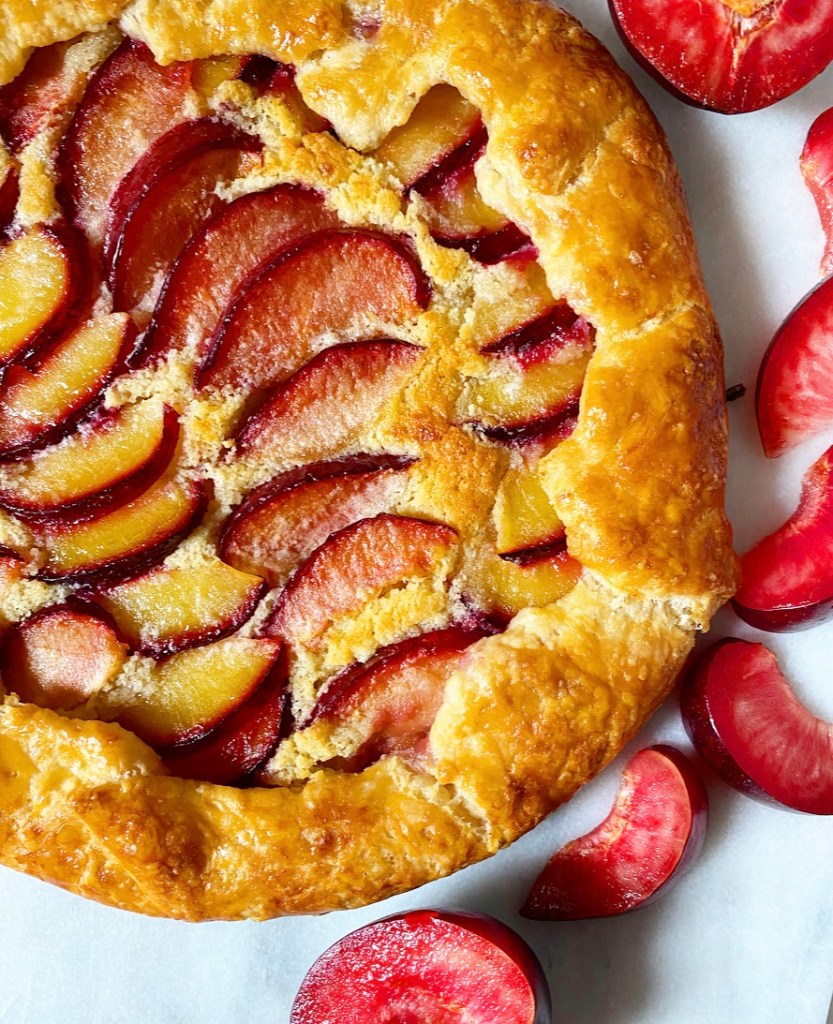
 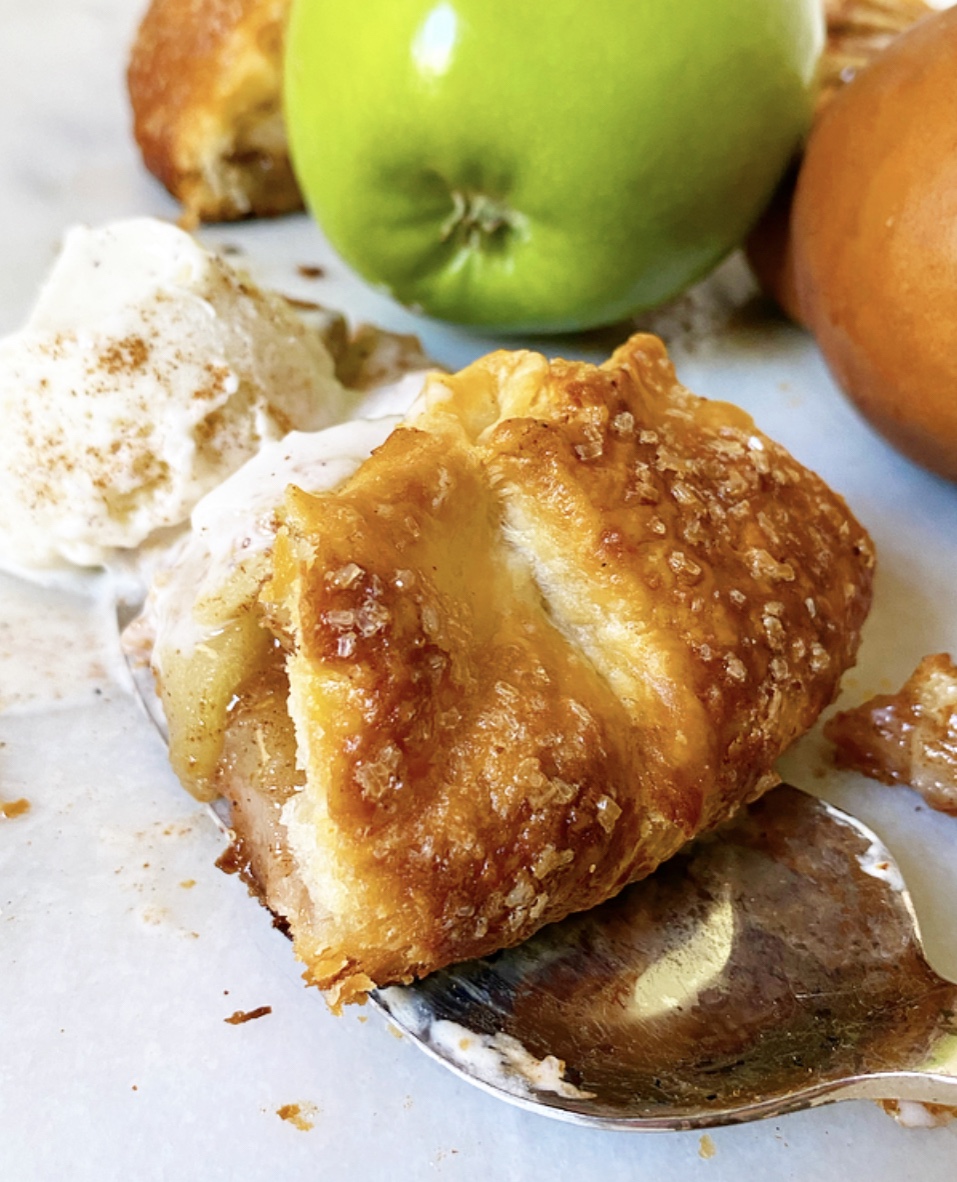 Assembling an Apple & Pear Galette is as simple as mounding your dough in the center of a piece of
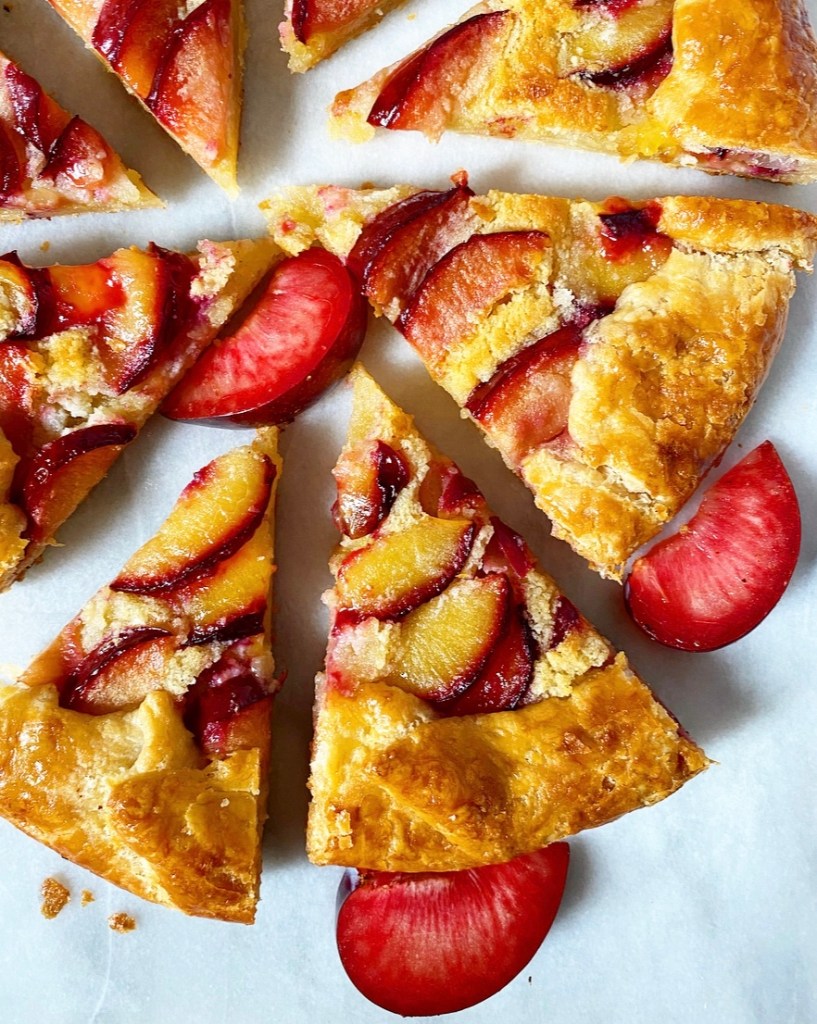
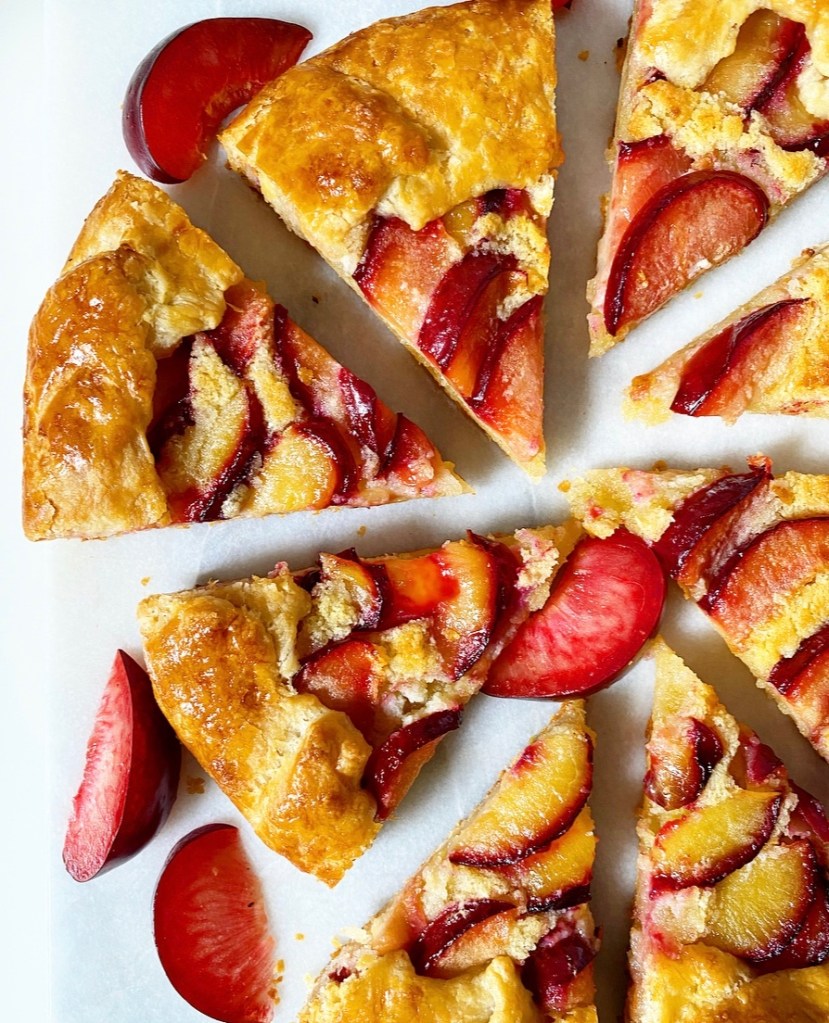
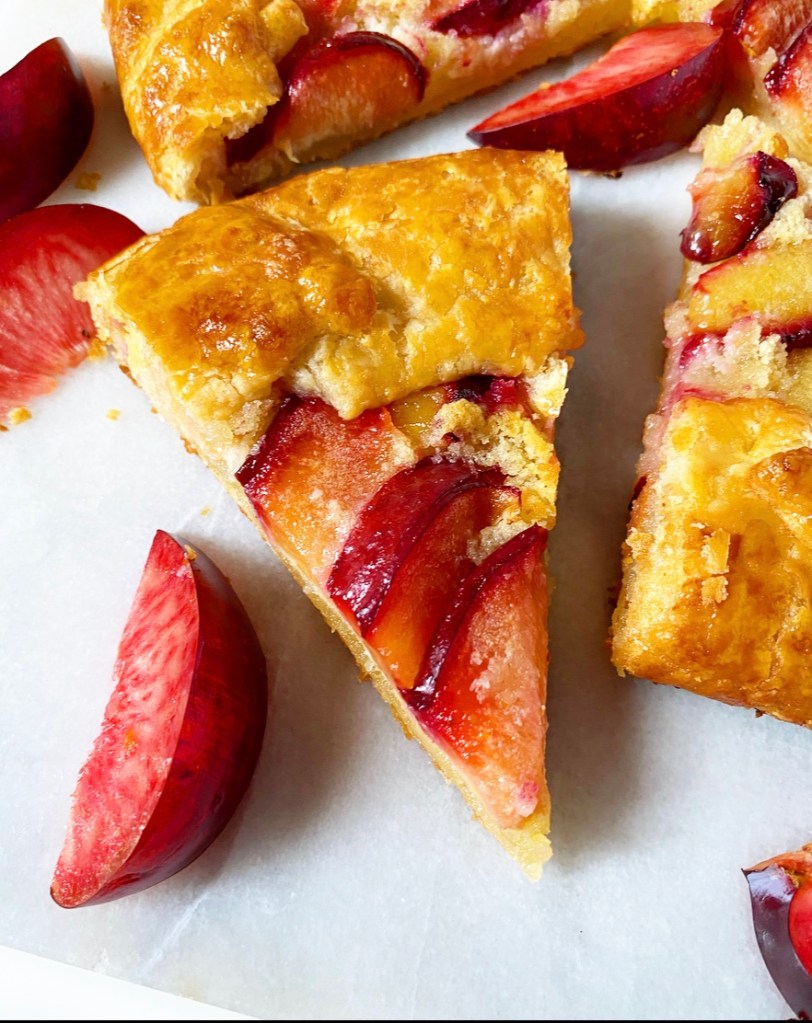
  Another thing galettes have over pies? They cool really quickly. I will pretty much never tell you to slice a pie before it has hit room temperature, which can take hours. Galettes though? They’re thin enough that they can be sliced at warm room temperature without any consequence. This beaut was sliced an hour after it came out of the oven, and the worst thing that happened was that it melted my ice cream slightly more quickly than it would have otherwise. And by worst thing, I mean a very good thing. Very good.