I have been thinking a lot lately about what it means to celebrate this year. Does it feel like the world is crashing down around us and everything is at least vaguely scary? Sure. Is there still stuff to celebrate? You know it.
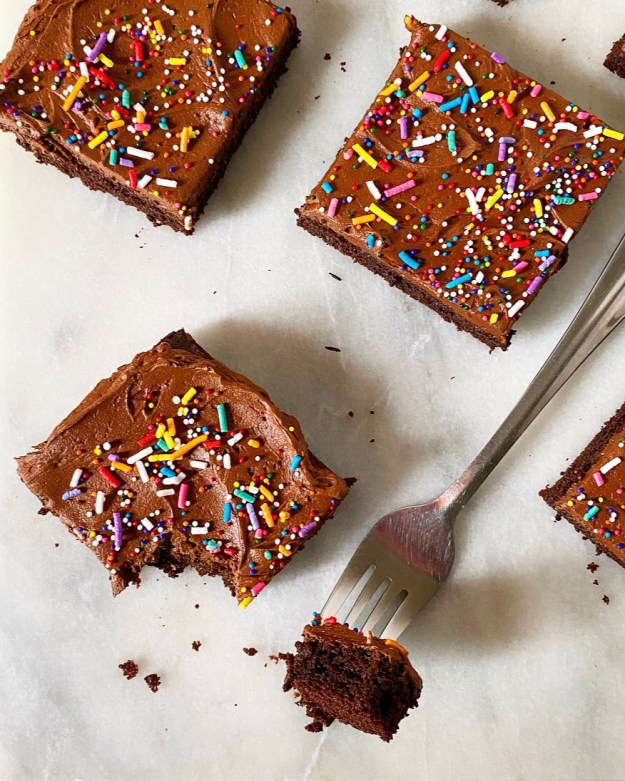
I mean, all of us are going to have pandemic birthdays this year. Every last dang one. Birthday parties are inadvisable, but cake? That’s non-negotiable. If we can’t have cake in times of both joy and crisis, then what on earth are we even doing here?! In that spirit, today’s post is not actually a recipe, but instead is all about how to make a layer cake fit for a pandemic…er, small group. Sure, you could make a single layer of cake for any occasion you have coming up, but some things require a cake that’s stacked up tall, even if it’s on the miniature side. I’ve been making Mini Layer Cakes for years, for everything from birthdays to baby showers to wedding cake practice. It’s super fun and a great way to brighten someone’s day (or your own!) in these rough times.

How Big are Mini Layer Cakes?
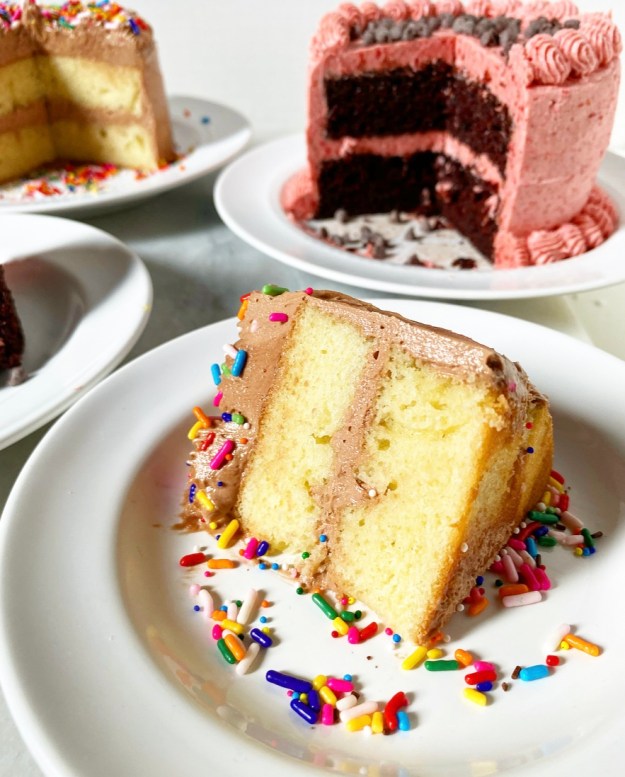
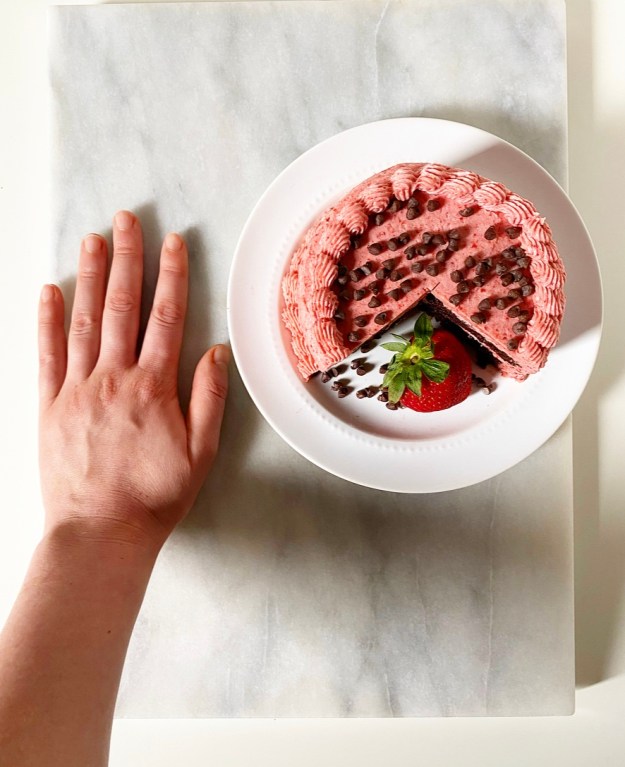
The cakes pictured are 4 inches in diameter and 2.5 and 2.75 inches tall, respectively.
How Many People Can Mini Layer Cakes Feed?
Well, it depends. I think of these as being 4-6 servings, but could go up to eight in a pinch. I’m sure some of you are looking at these and thinking they’d only feed two–I suppose it all depends on exactly how much cake you want to eat in one go. Use your judgment.
What Flavors are Best for Mini Layer Cakes?
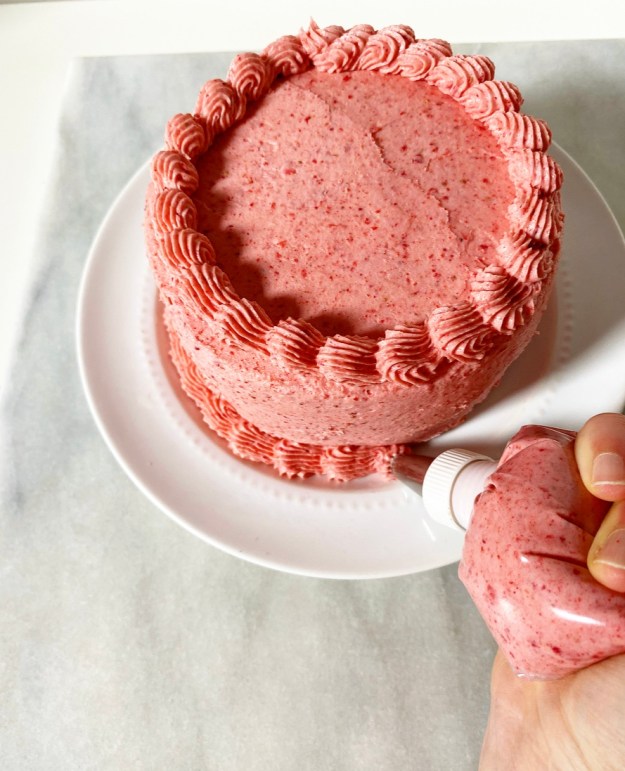
The answer here is pretty much anything your heart desires. The cakes pictured are Vanilla Cake + Nutella Buttercream and Chocolate Cake + Strawberry Buttercream; I chose these flavors based solely on what I had on hand.
The general rule for my Mini Layer Cakes is to make roughly half the recipe of any normal 9-inch layer cake. If you need some inspiration, here are some ideas off the top of my head:
–Funfetti cake + vanilla buttercream
–red velvet cake + cream cheese frosting
–carrot cake (without nuts/fruit) + cream cheese frosting
–white cake + seasonal fruit or jam + whipped cream frosting
–vanilla cake with a little almond extract + mocha buttercream
-vanilla cake + key lime curd + whipped cream frosting
-vanilla cake + lemon syrup + lazy lemon curd + vanilla buttercream with lemon zest
–chocolate cake + Oreo Buttercream
–peanut butter cake + chocolate frosting
–Black Forest Cake {Schwarzvaldtårta}! <—Yes, it works!
Things You Need to Make a Mini Layer Cake
-a single 9-inch layer of cake
-a half-batch of buttercream
-filling of choice, if not using buttercream
-a serving plate or cardboard round
-a ruler
–a 4-inch ring cutter
-a serrated knife for trimming
-an offset icing knife
First things first, you’ve got to have the supplies. This list is pretty similar to what I use for regular layer cakes with a few exceptions. To start, you’ll need one 9-inch layer of cake and a small batch of buttercream…or roughly a half the quantity of most layer cake recipes. I understand that not all cake recipes halve easily (splitting eggs!), so I’ve included halved versions of my vanilla and chocolate cakes at the end of the post. The major specialty item here is a 4-inch ring for cutting small layers. Can you just bake your cake in 4-inch pans? Sure, and I have on many occasions, but they tend to produce dramatically domed cakes, and frankly, you’re never going to get as much use out of those pans as you think you will. As a person who has nearly every piece of kitchen equipment anyone could ever need, please trust me on this. It is much easier to bake a single larger layer of cake and then cut it into smaller ones.
With a 4-inch cutter, you’ll be able to get two small layers out of a single 9-inch round layer. If you measure/have a keener eye than I do, you can bake a 9-inch square layer and get four small layers out of it. That way, you can make two mini cakes at once or freeze two of the layers for another occasion. Either way, you’ll have leftover cake scraps, but I don’t see that as a problem.
Don’t have or want a 4-inch ring? Find a 4-inch circular object, trace it onto parchment, then cut out the circle and use it as a stencil.
How to Assemble a Mini Layer Cake
Mini Layer Cake assembly isn’t rocket science, but has its challenges. There is a lot of measuring and evening out of things, but rest assured that you’ll get the hang of it quickly. Start by using your cutter to cut two small layers out of your larger layer. Make sure that the cutter is as close to the edge of the larger layer as possible, so as to make room for a complete second layer. <—This is important.
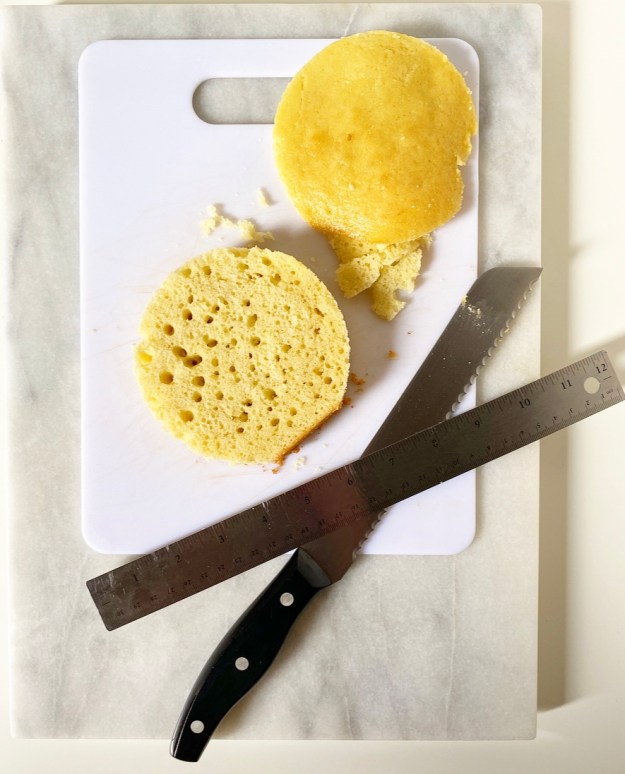 Use your ruler to measure your layers for height. There is a good chance your layers will have an incline, as cakes tend to dome a bit as they bake. Grab your serrated knife and even out the top of one layer. Make sure it’s even (or very close) and measure it again—this how tall you want your other layer to be. Repeat that process to even out that second layer, until they’re identical in height (or very close). Mine are all about an inch tall.
 Next up, stacking. Swipe a tiny bit of buttercream on your plate or cardboard round, then place one of your layers on top. If you’re a messy froster like me, tuck bits of parchment under the cake all the way around for clean edges. Frost the top of your layer, then stack the second layer on top and press down lightly to adhere.
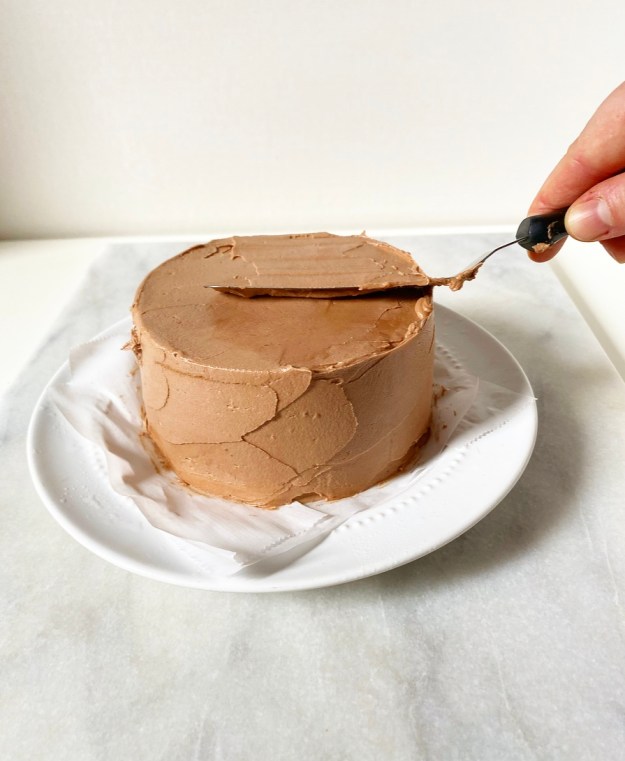
 From here, frost as normal. For me, that means a very light crumb coat (thin layer of buttercream), a 20 minute chill, then a thicker layer of buttercream, piping and decor.
Keep in mind that Mini Layer Cakes are smaller and lighter-weight than what most of us are used to, and therefore cannot take as much physical pressure as a larger cake, particularly when frosting around the sides. Be gentle with the cake and with yourself, and remember that there is no shame in having to move layers back into place and frost over flaws. Buttercream is a surprisingly forgiving medium.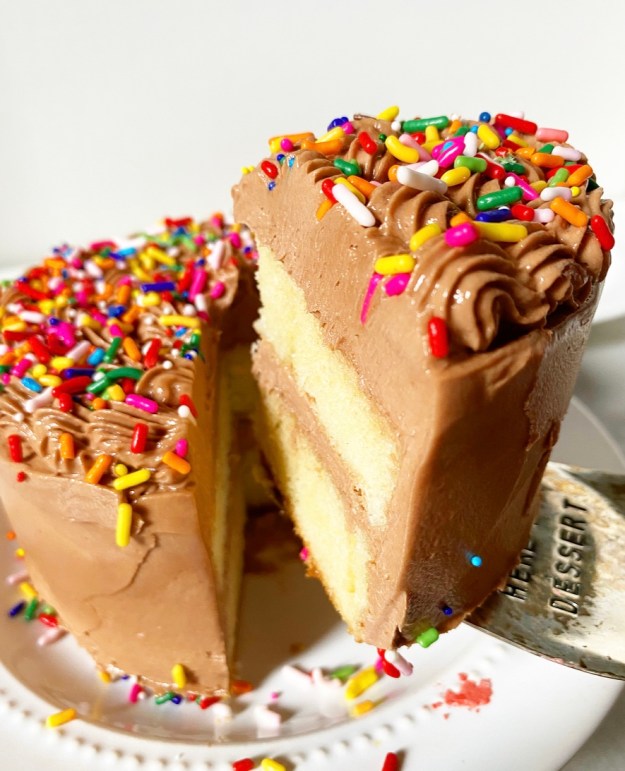
 At this point you can serve your cake. I, however, like to let mine sit for an hour or two ahead of serving, just to let everything adhere nicely. This isn’t strictly necessary, but I find it makes slicing easier and prettier. If you’re refrigerating your cake, make sure to let it sit at room temperature for 20-30 minutes before serving.
How to Transport a Mini Layer Cake
If you’re making a Mini Layer Cake (or any layer cake), chances are you have to take it to a celebrant or they have to pick it up. In more normal times, I box and transport cakes all over NYC. The most important thing in this process is to make sure your cake fits the box beforehand—this is why I have a ruler in my kitchen. My cake boxes are 3-inches tall, so the cardboard round, both layers of cake and any filling and frosting need to be shorter than that when stacked.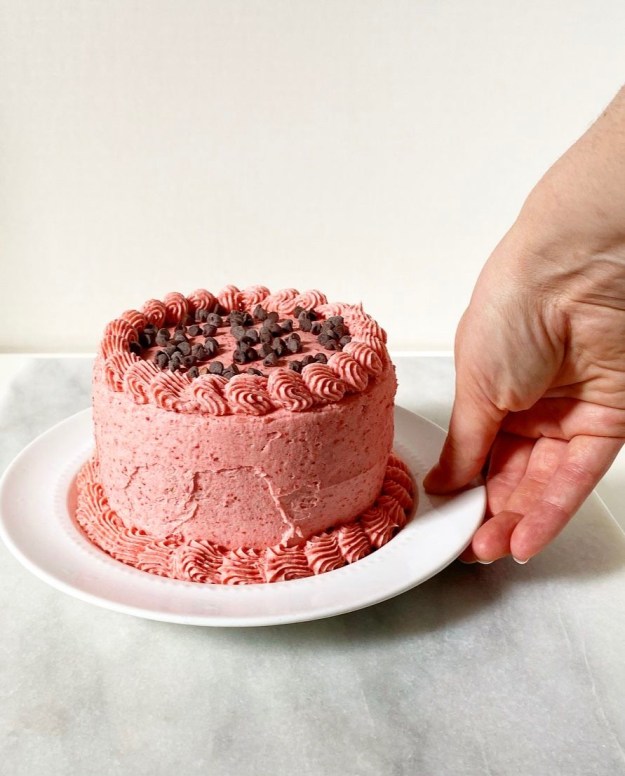 Other important things? Keep your box as level as possible. I’ve gotten pretty good at keeping them level while walking and riding in cars and on the subway. It’s just a matter of remembering that pretty much everything (your body, a car seat, etc.) has a natural slope, and then carrying/positioning your box in a way to counterbalance that. Also, remember that cold cakes are easier to transport. When delivering cakes, I refrigerate them as soon as I’m done assembling, and then let them come back to room temp while en route to wherever I’m going.
Please know that I have shown up a few times with cakes that did not look the way they did when I left the house. This is a hazard of the job–rest assured that ugly cake is still delicious. If you make somebody a cake and they don’t like it because it’s a little disheveled, take it back. You don’t need that negativity.
And on that note, if you are inspired to make a Mini Layer Cake or two and need a place for them to go, I’m gladly accepting donations.
Are there any Mini Layer Cake tutorials you’d like to see? Thinking of doing one for tiered cakes (wedding cake). Let me know what you think in the comments.
Vanilla Cake {Half Recipe}
makes 1 9-inch layer or enough for 1 mini layer cake
1 1/2 cups all-purpose flour
2 1/2 tablespoons cornstarch
1/2 teaspoon baking powder
1/4 teaspoon baking soda
1/4 teaspoon Kosher or sea salt
1/2 cup granulated sugar
1/2 cup light brown sugar, packed
1/2 cup (1 stick) unsalted butter, softened to room temperature
2 large eggs, room temperature
2 teaspoons pure vanilla extract
1 cup buttermilk, room temperature
1/2 batch Nutella Buttercream or other buttercream
Preheat oven to 325F. Grease a 9-inch round or square pan. Line the bottom with parchment. Grease again. Set aside.
Make the cake batter. In a medium mixing bowl, whisk together flour, cornstarch, baking powder, baking soda, salt, granulated sugar and light brown sugar. Set aside.
In a large mixing bowl, cream butter with an electric mixer until light and fluffy, about two minutes. Add eggs one at a time, beating completely after each addition. Mix in half the dry ingredients, followed by half the buttermilk. Add remaining dry ingredients followed by the remaining buttermilk. Scrape down the bowl as necessary.
Pour batter into prepared pan. Tap full pan on the counter five times to release any large air bubbles. Bake cakes 35 minutes, or until a toothpick inserted in the center comes out clean. Let cake cool in its pan for fifteen minutes. Run a small thin knife around the edge of the pans and invert the cakes onto a rack to cool completely. Peel off and discard parchment.
For a Mini Layer Cake, follow instructions detailed in the post above. Fill and frost with Nutella Buttercream or other buttercream.
Chocolate Cake {Half Recipe}
makes 1 9-inch layer or enough for 1 mini layer cake
3/4 cup + 2 tablespoons all-purpose flour
6 tablespoons natural unsweetened cocoa powder (not Dutch process)
1 1/2 teaspoons espresso granules (optional, but recommended)
1/2 cup granulated sugar
6 tablespoons light or dark brown sugar, packed
1/2 teaspoon baking powder
1 teaspoon baking soda
1/2 teaspoon Kosher or sea salt
1/4 cup canola oil
1 large egg, room temperature
1 teaspoon pure vanilla extract
1/2 cup buttermilk, room temperature
1/2 cup boiling water
1 batch Strawberry Buttercream or other buttercream
Preheat the oven to 325F. Grease a 9-inch round or square pan. Line the bottom with parchment. Grease again. Set aside.
Make the cake batter. In a large mixing bowl, whisk together flour, cocoa powder, espresso granules, granulated sugar, brown sugar, baking powder, baking soda, and salt. Set aside.
In a separate large mixing bowl, whisk together oil and egg, followed by vanilla and buttermilk. Whisk in half the dry ingredients, followed by half the boiling water. Whisk in remaining dry ingredients, followed by remaining boiling water.
Pour batter into the pans. Tap full pan on the counter five times to release any air bubbles. Bake 25-27 minutes, or until a toothpick inserted in the middle comes out clean.
Let cake cool in pan for fifteen minutes before running a small, thin knife around the edge. Invert cake onto a cooling rack and allow to cool to room temperature. Peel off and discard parchment.
For a Mini Layer Cake, follow instructions detailed in the post above. Fill and frost with Strawberry Buttercream or other buttercream.


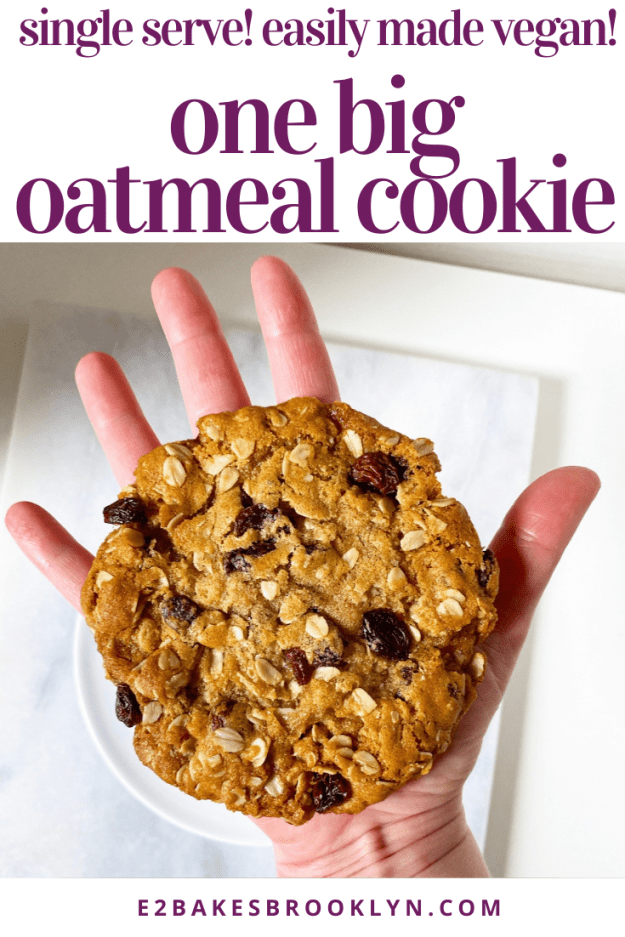
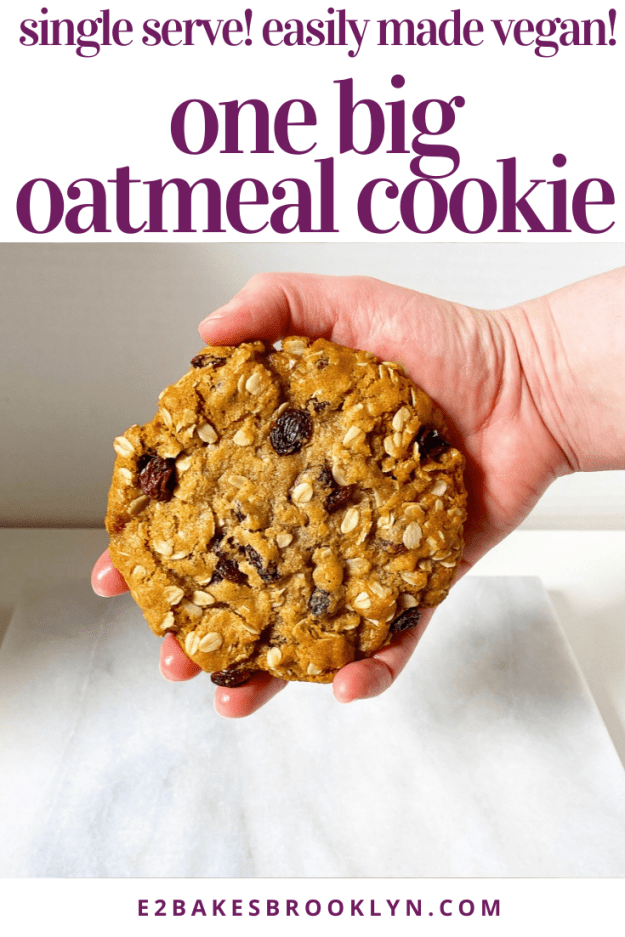
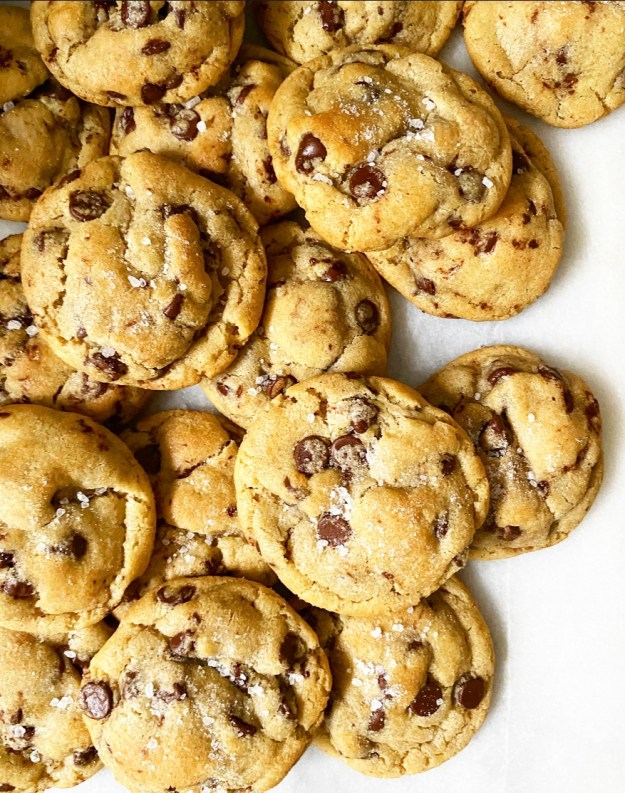
 If you’re the sort of person who loves big cookies and hates sharing, you’ve come to the right corner of the internet. Over the last couple of years, I’ve posted three “One Big” cookie recipes: chocolate chip, chocolate M&M, and snickerdoodle. Each one is a super small-batch version of a classic that yields exactly one big cookie for one hungry person (or two people, if you’re nicer than me).
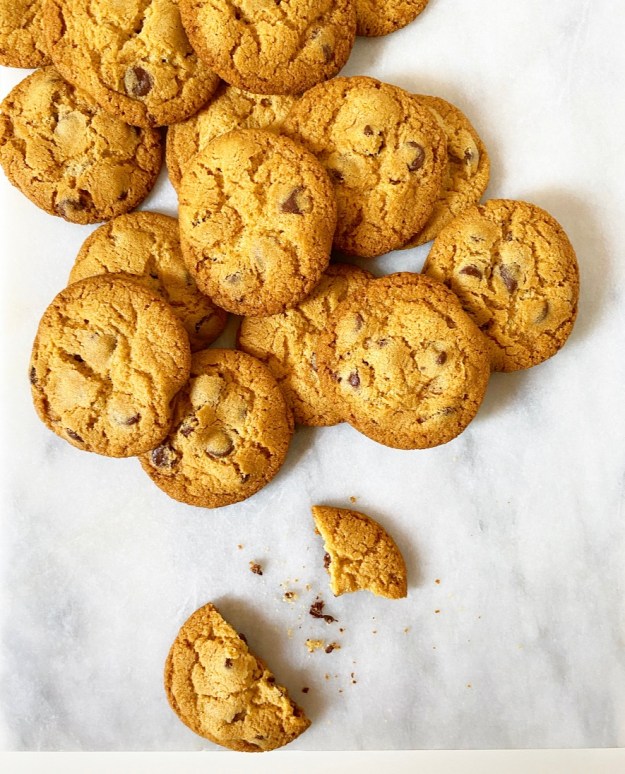
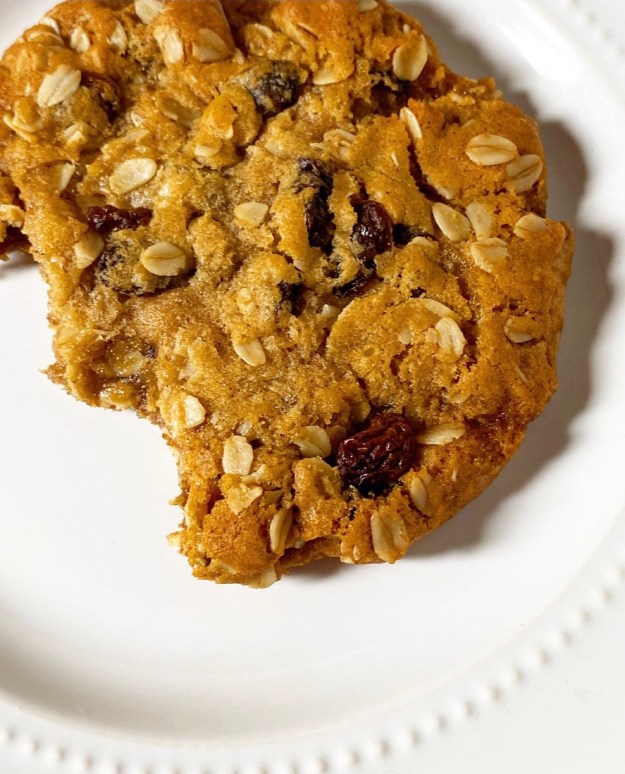 You’d think after posting three single-serve cookie recipes on this site, I’d be able to churn out a new one in my sleep, but you’d be wrong. This lone oatmeal cookie? It took 27 tries. Twenty. Seven. That’s the highest number of concentrated tests I’ve ever done for one recipe.
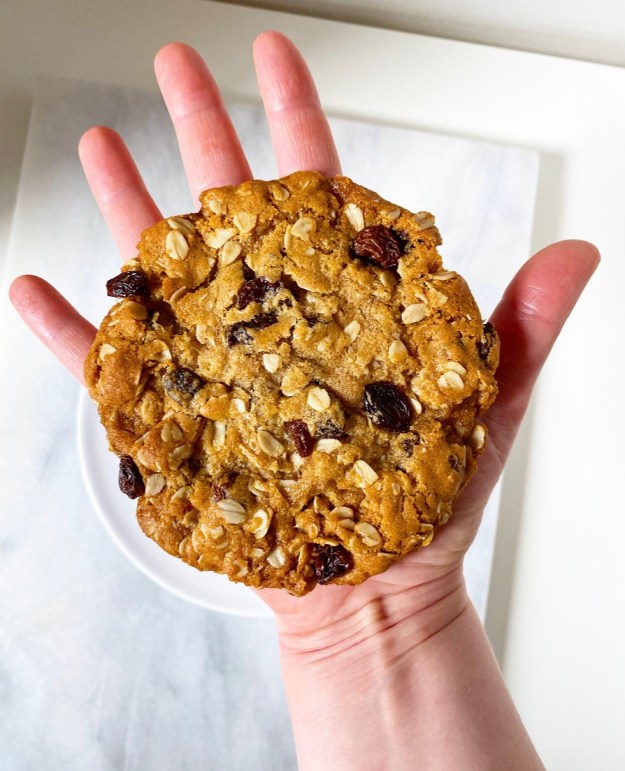 The good news about this recipe, though, is that while it was hard to get it exactly right, it is very simple. Oh, and it makes one kickass, golden brown, chewy as all get-out oatmeal cookie. Oh my goodness, it is so good. Trust me—I’ve bitten into 27 cookies to get this one exactly right. Quality control, you know?
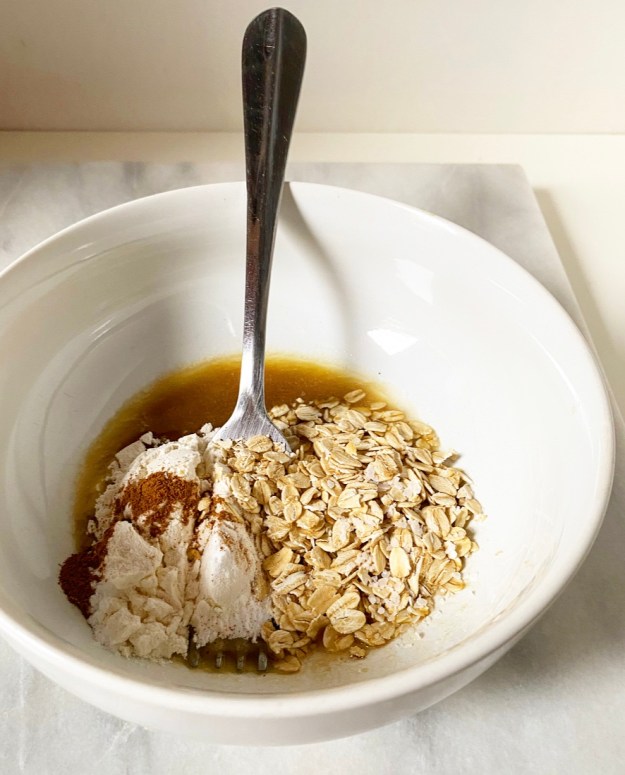 Like all my One Big cookies, the ingredients here are measured by the spoonful rather than in cups. Oats replace some of the usual flour (duh) and I’ve added a hint of cinnamon for that classic oatmeal cookie flavor. You’ll notice that there’s no egg in this dough, as I prefer to use water for such a tiny portion. As a bonus, no egg means this recipe can easily be made vegan! Just swap vegan butter for the dairy butter ☺️
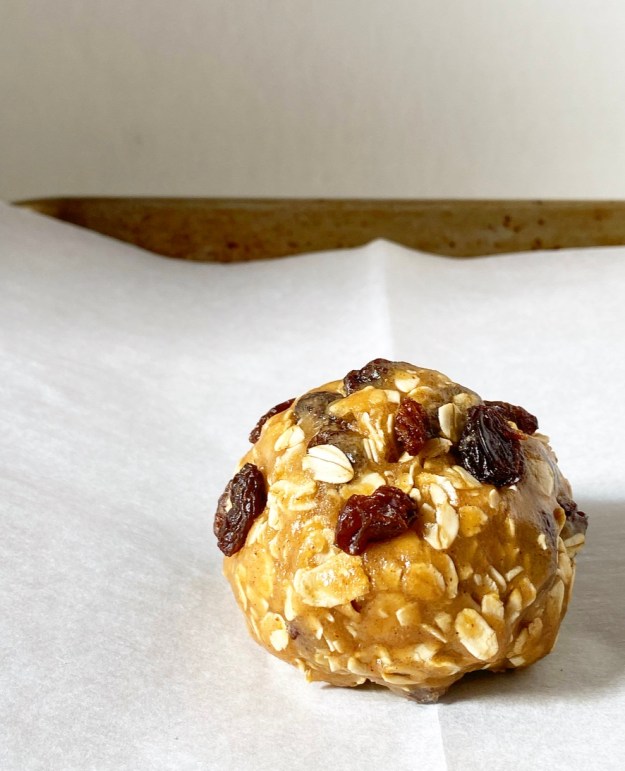
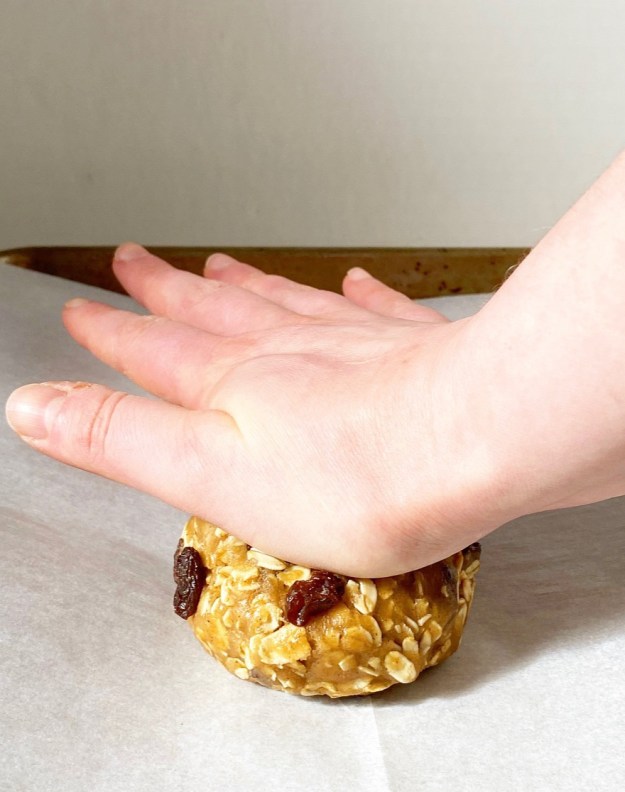
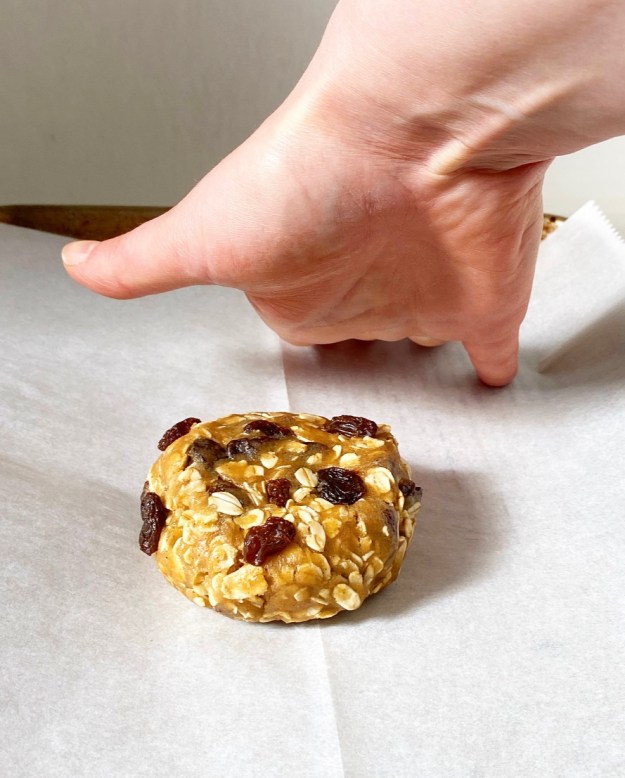 The big secrets to golden, chewy oatmeal cookie success? Before baking, press down on the dough ball to form a puck. This encourages a consistent shape, texture and browning pattern. Nothing terrible will happen if you don’t press down your dough ball, but your cookie likely won’t look like mine.
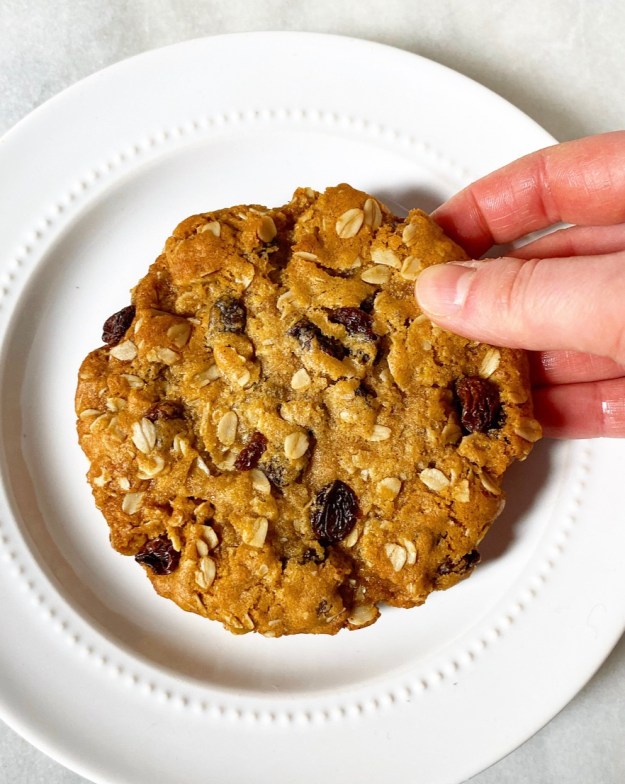 As far as mix-ins go, use whatever you like. I went for classic oatmeal raisin for photos, but rest assured that I made a few with chocolate chips, too. Nothing but the most thorough cookie testing here at E2 Bakes.
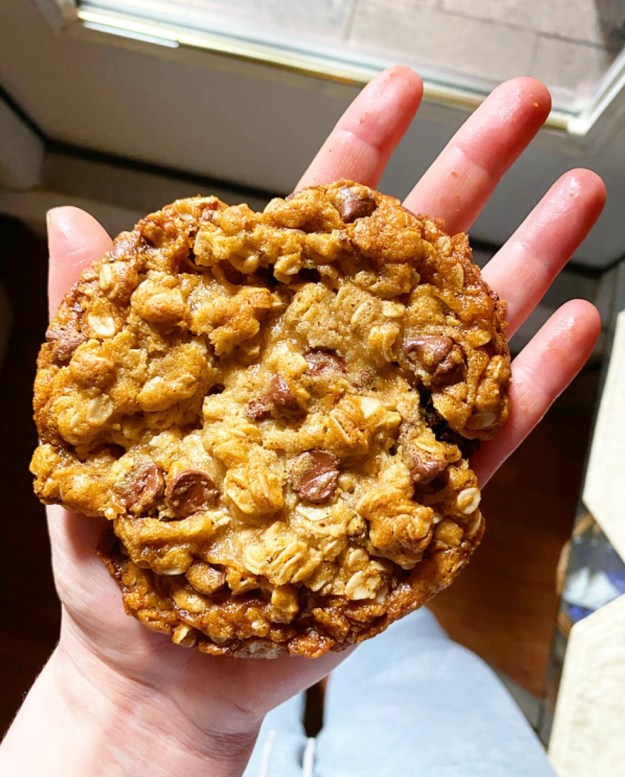 Have a good weekend, y’all. Make yourself a cookie.
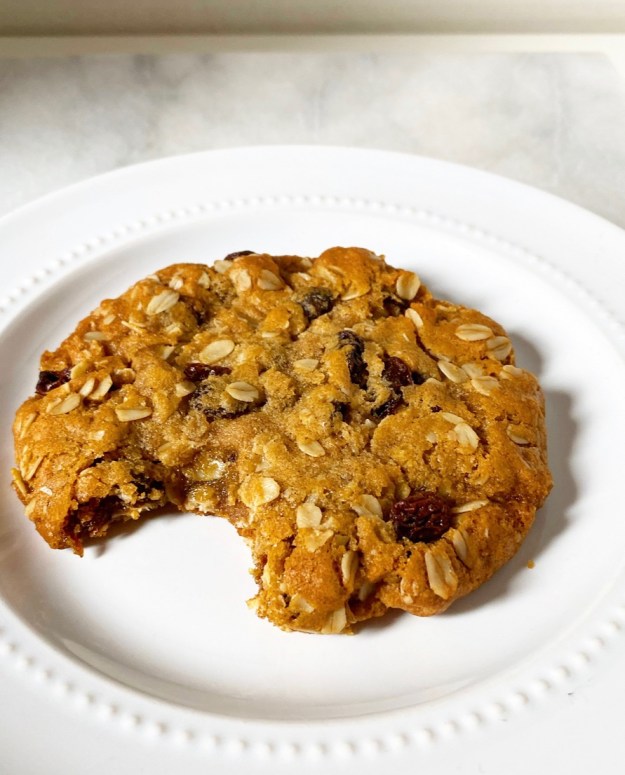
 Happy New Year! This post is coming at you from the recent past—December 29th—so I hope no new terrible things have happened between then and this posting. 2020 was such a weird year. It started off okay, but quickly devolved to…well, whatever this is. I, for one, am hoping for hope in 2021.
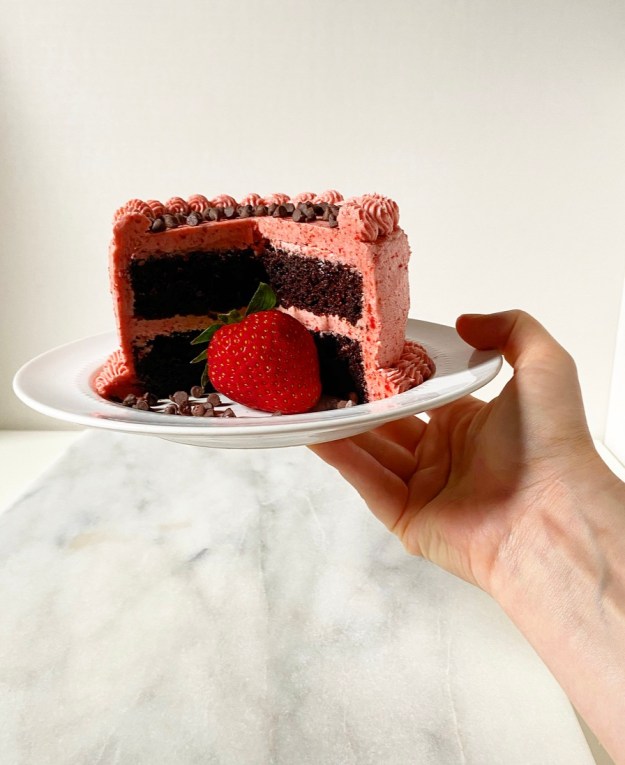


 People tell me all the time that they don’t bake because it doesn’t allow for improvising. I’m here to tell you that assumption about baking being all about precision is a big ol’ myth. At least half of the recipes in my archives started from a place of improvisation.
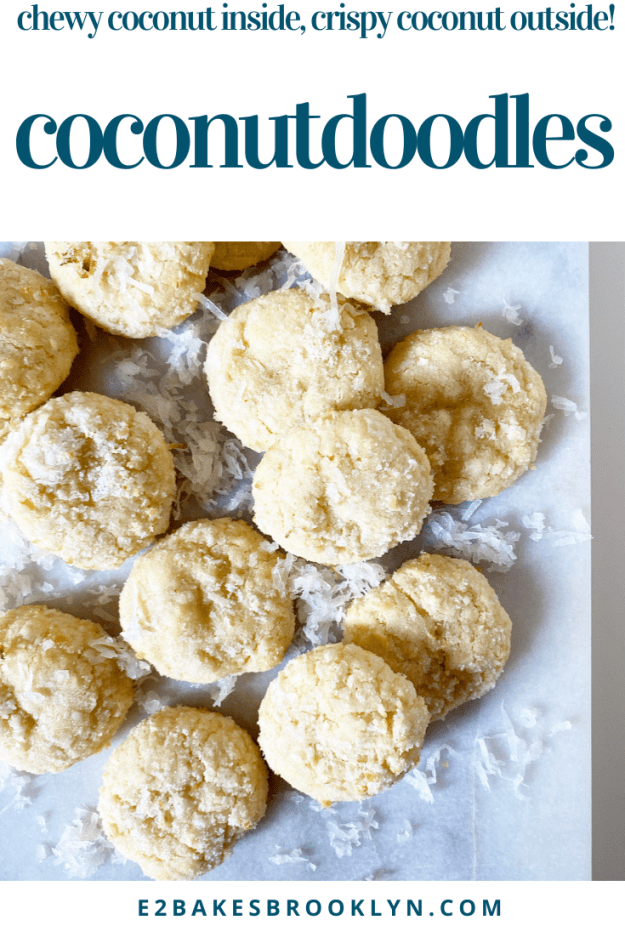
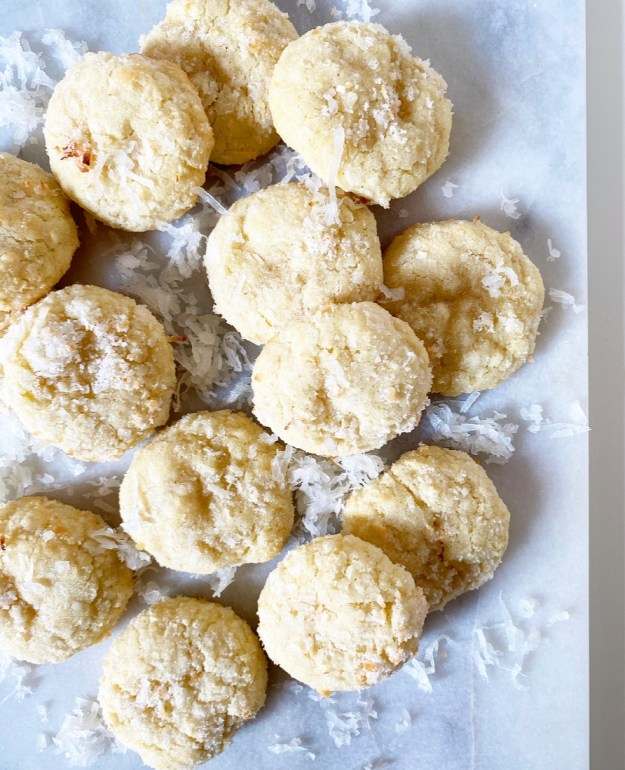 The base recipe for these Coconutdoodles has been on here once already this year. It looks different
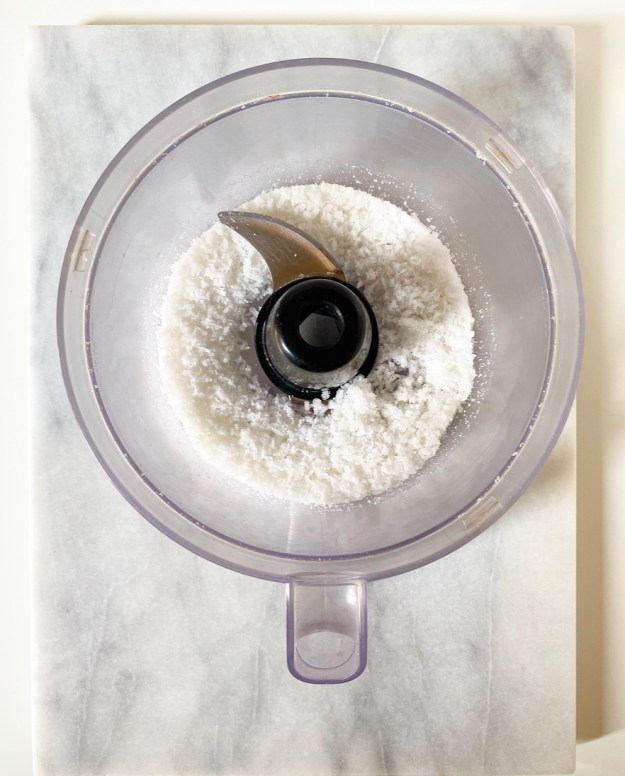


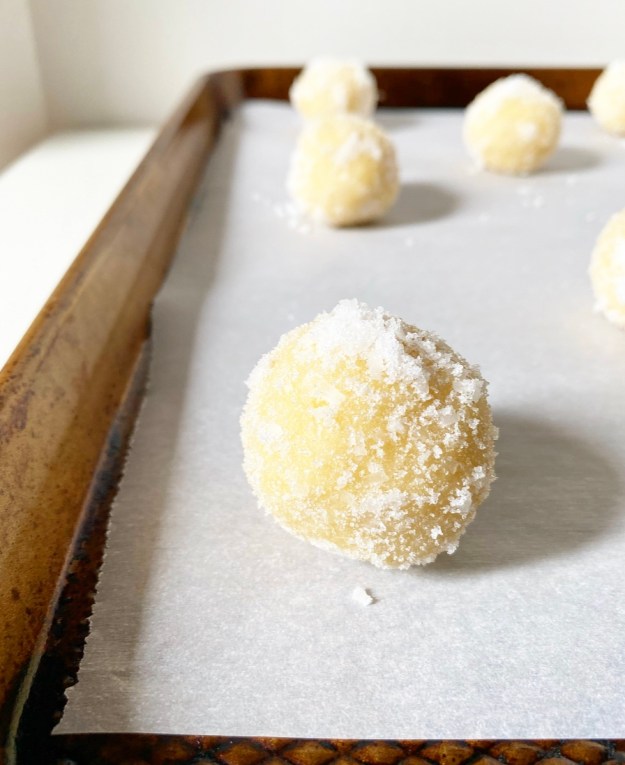 That’s right, a blank slate. A new start. A place to improvise by adding that random half-bag of coconut you have leftover from…well, I don’t remember what, but that’s beside the point. The point (!) is to load up that dough with as much coconut as it can take, then blitz the rest into a powder with some sugar and roll your cookie dough balls in it,
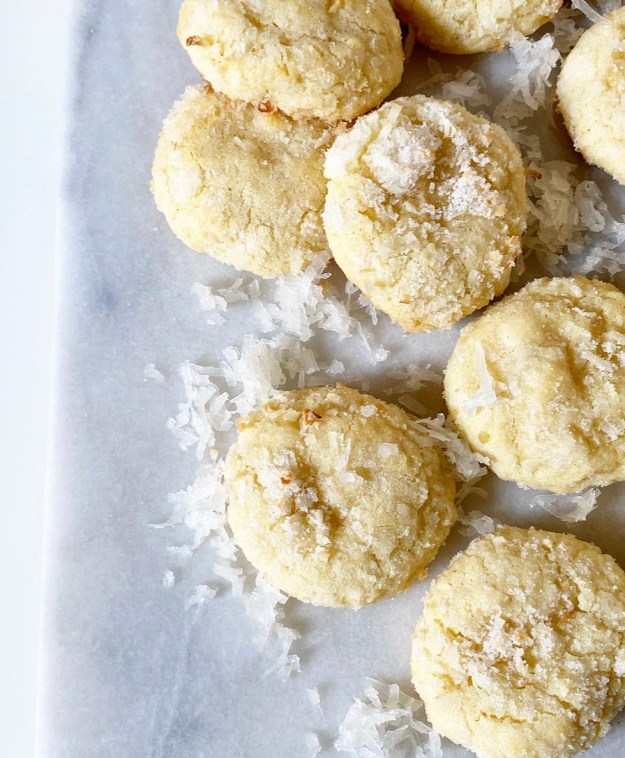
 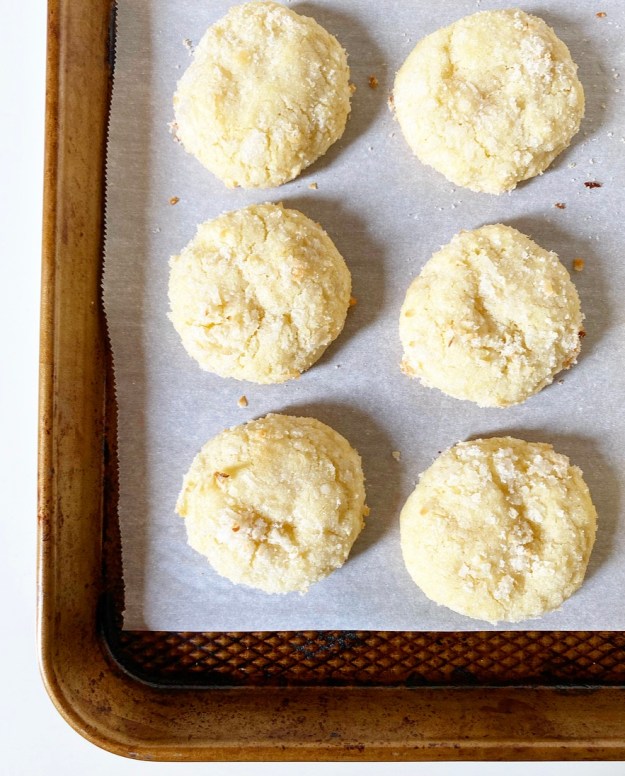 Coconutdoodles bake up super thick and puffy, and while the sugary coconut-crusted exteriors don’t really toast, they do get extra crispy. Oh, and the insides are super chewy and loaded with an obscene amount of coconut. Ob-scene. I really thought it might be too much, or that it might make the cookies crumbly, but it‘s the exact right amount and these cookies stay soft for days. I know because I ate this whole batch myself. That was weeks ago and I’m still sad that they’re gone.
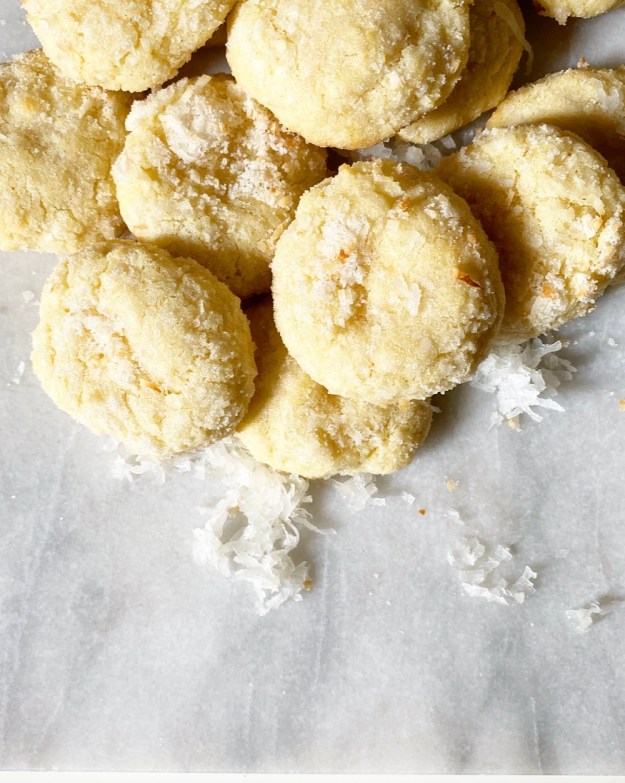 But you know what? I have this blank slate sugar cookie dough, and I’ve got another half-bag of coconut, and heaven knows I’ve got time to make cookies this weekend. I’ll save my crippling fear of failure for next weekend.
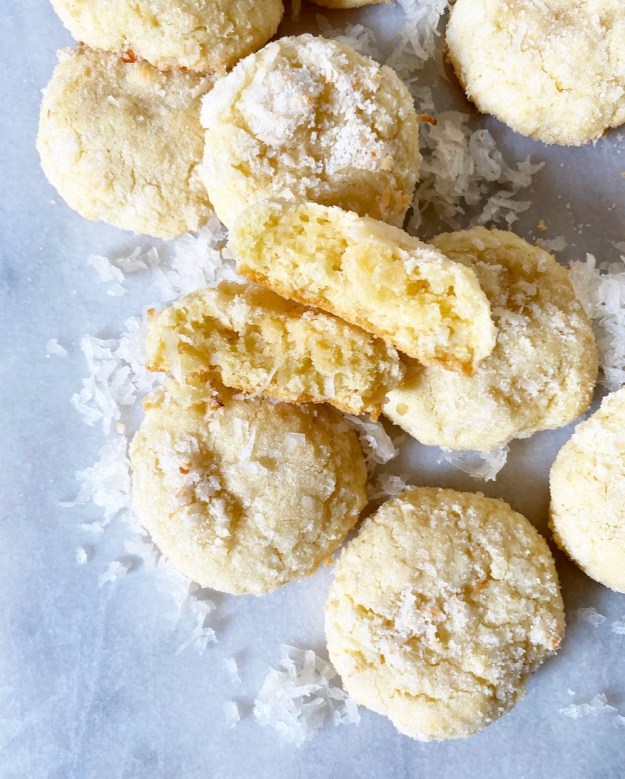

 It has been documented on here that I fear making cheesecakes, but that’s not exactly true. I don’t fear cheesecake, I fear a leaking springform pan in a water bath (bain marie). Yes, I know you are supposed to wrap it in foil, but I’ve never seen anyone explain in exacting, painstaking, borderline-dull detail how you should do that so that there is absolutely no risk of leakage. And so, I have still (!!!) never made a traditional baked-in-a-springform cheesecake.
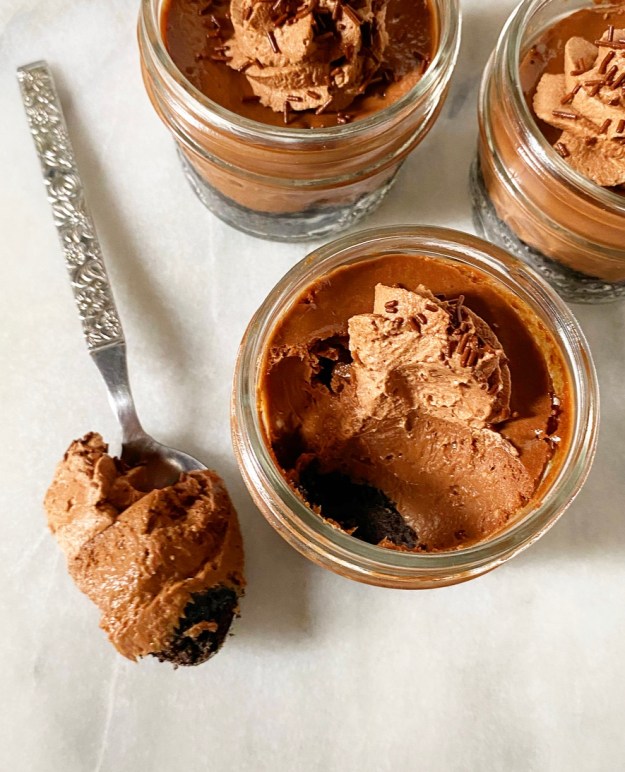
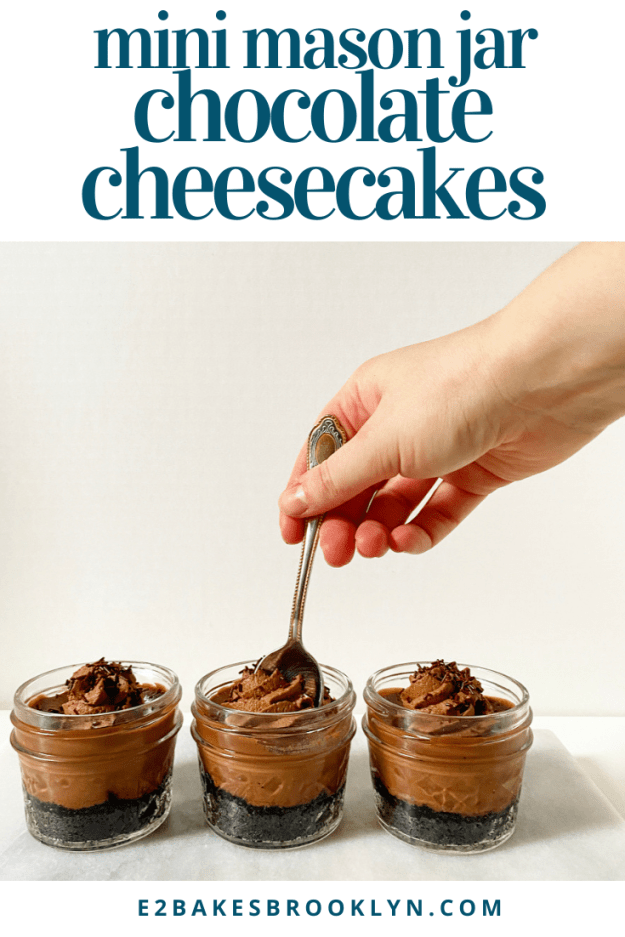
 These Mini Mason Jar Chocolate Cheesecakes are SO good, y’all. So. Good. And they come in very cute, water tight, social distancing-approved serving vessels. Super rich, chocolaty filling, Oreo crust *and* no fiddling with a springform pan? Sign me up!
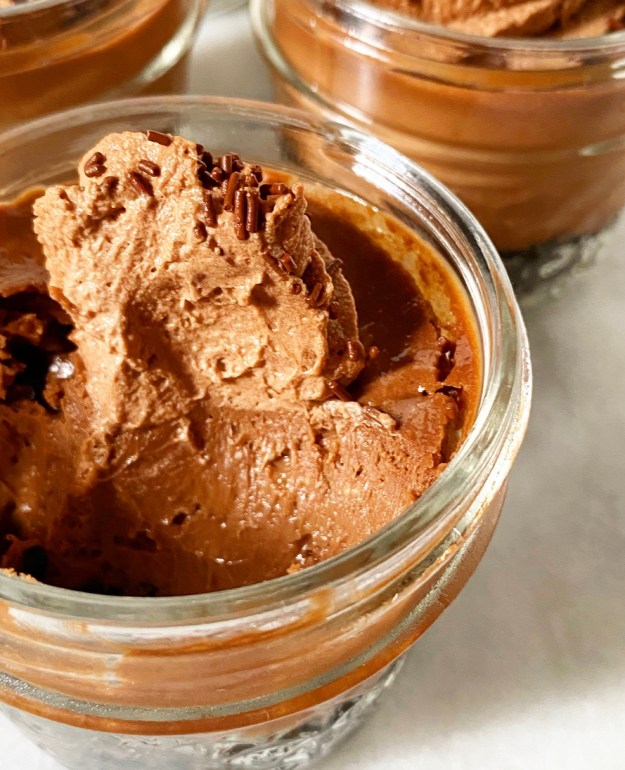 The crusts for these little cheesecakes are just Oreos and melted butter blitzed together in a food processor. Spoon a couple tablespoons into each of your mason jars and give them a few minutes in the oven before adding your filling.
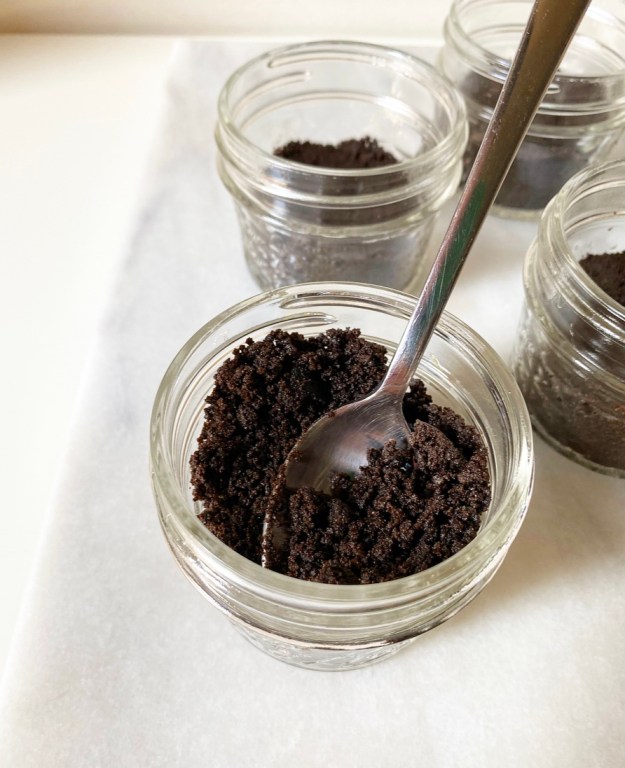 This chocolate cheesecake filling is super chocolaty from melted dark chocolate and cocoa powder, and has a little extra depth from light brown sugar (though granulated works too). The rest of the ingredients are standard cheesecake fare: cream cheese, sour cream, vanilla and an egg.
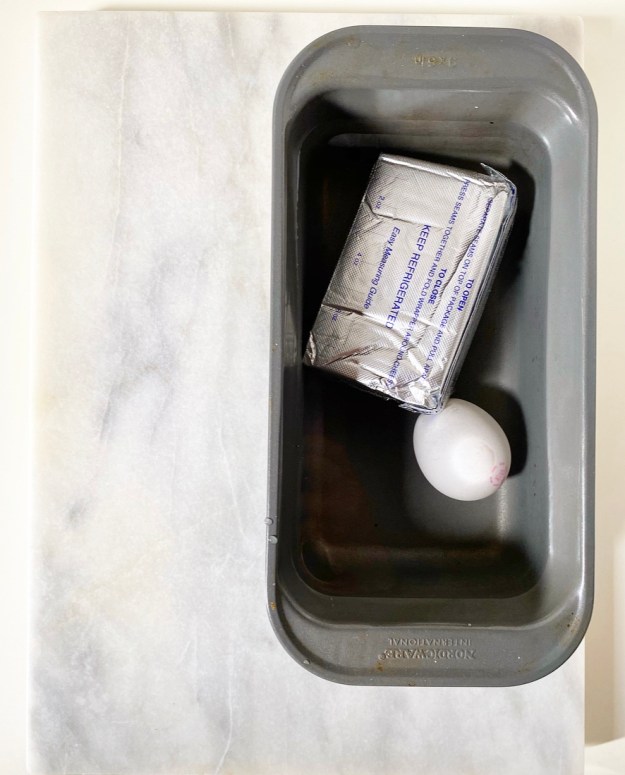 By far, the most important advice I can give you about making cheesecake is to make absolutely sure that your ingredients are at room temperature. If you’re more organized than I am, you can set your cream cheese out the night before. If you’re like me, just let it hang out (in its packaging) in a bowl of lukewarm tap water for 15 minutes. Throw your egg in there for maximum efficiency.
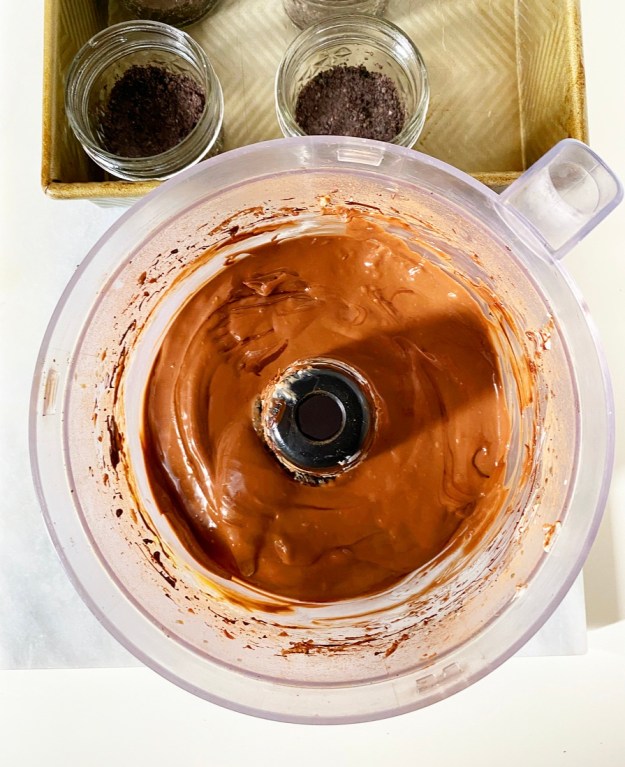
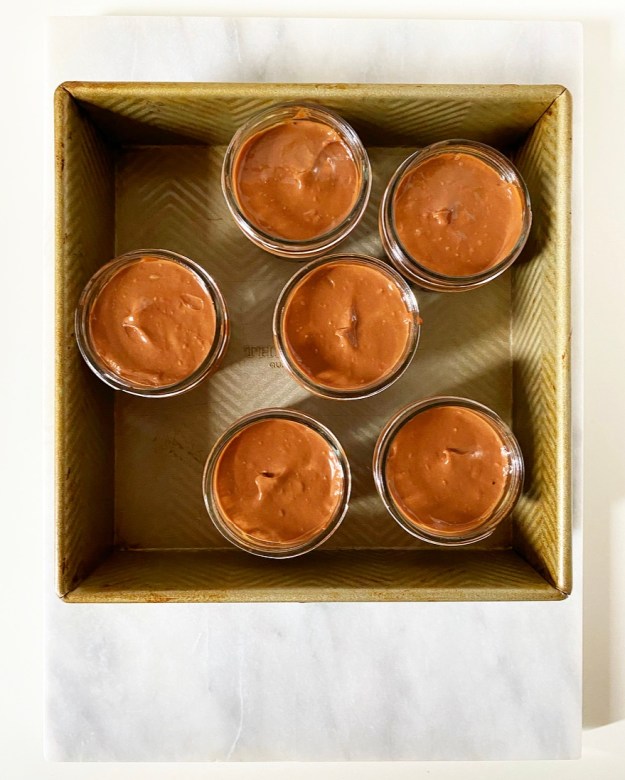 You can make the filling in your food processor (just wipe it out) or use a mixer. Either way, make sure to give the bowl some taps on the counter and let it rest a few minutes to release any large air bubbles before baking. Then spoon it onto your crusts and bake for about 25 minutes. Let the baked cheesecakes hang out in their water bath for five more minutes before transferring them to a rack to cool completely. This brief step helps them transition from the hot oven to your cooler counters more seamlessly. Cheesecakes are divas, in case you couldn’t already tell.
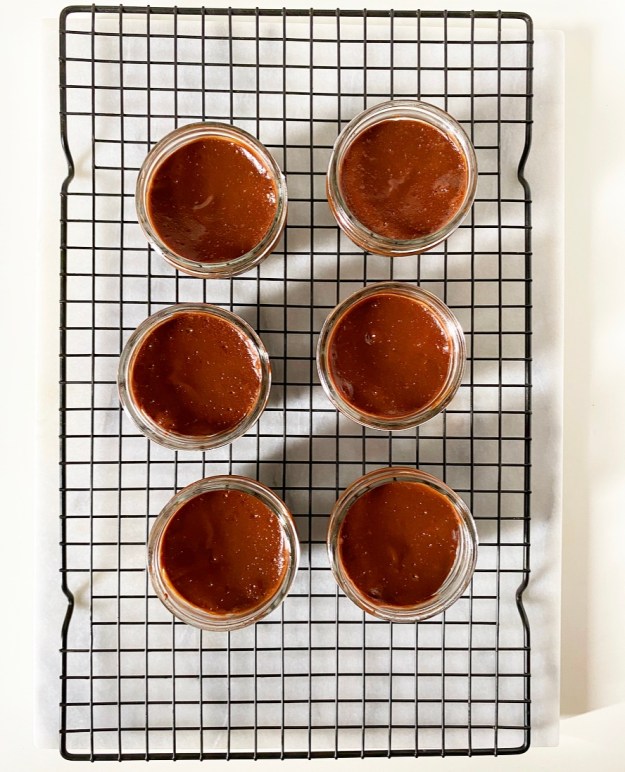 Once your chocolate cheesecakes hit room temperature, throw them in the fridge for a few hours to get nice and cold. This will seem endless, but will give you plenty of time to dream up toppings. I went for my new favorite
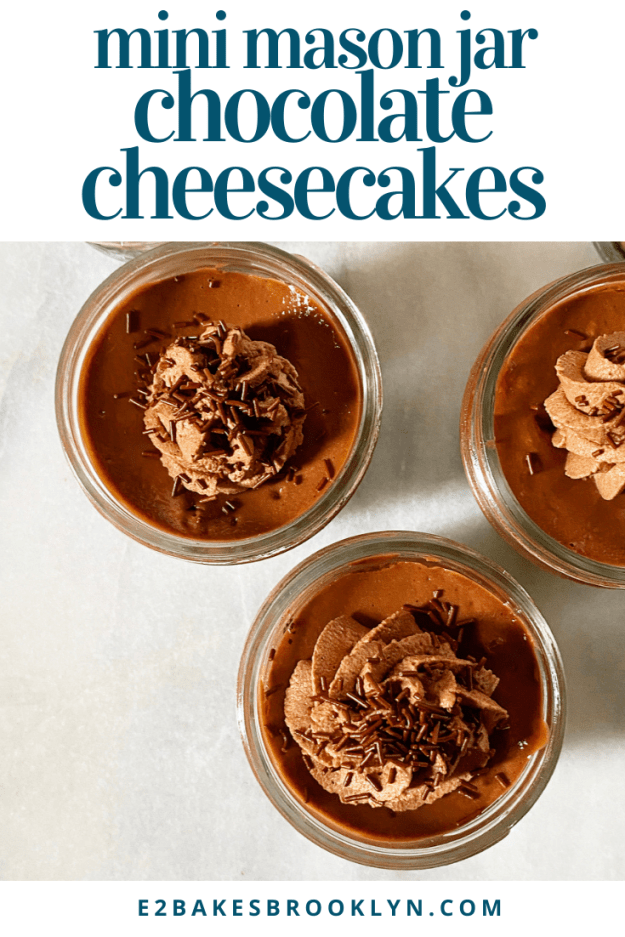
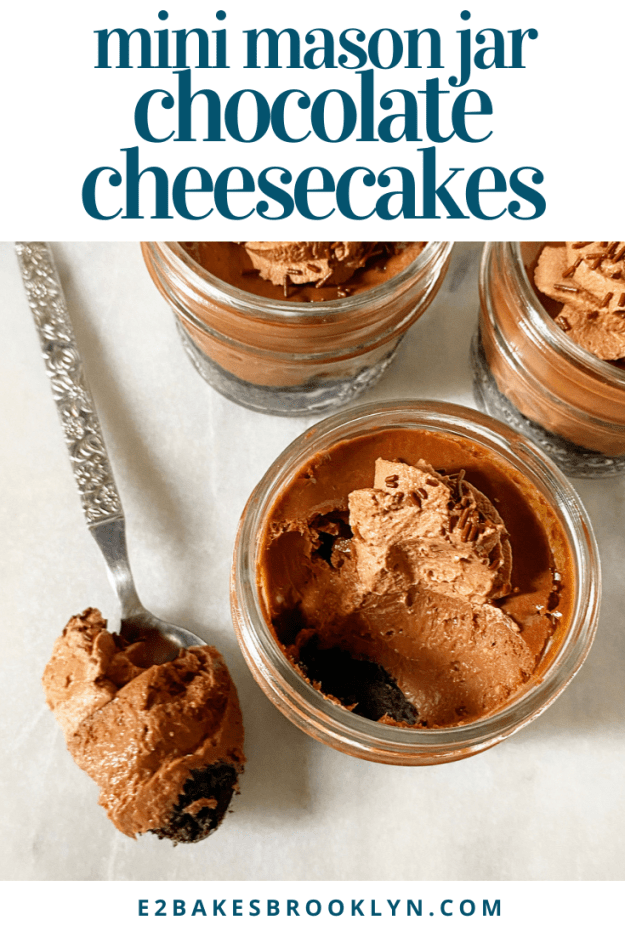
 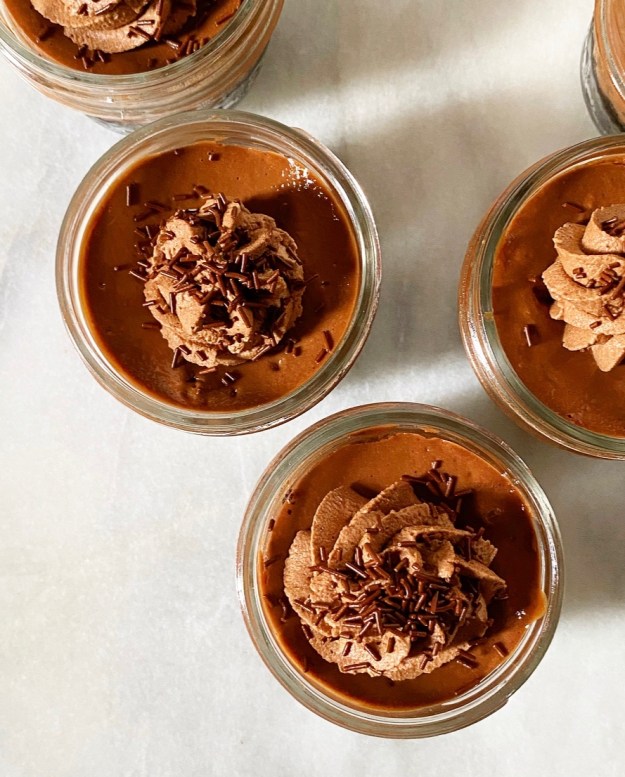 I won’t lie to you, Mini Mason Jar Chocolate Cheesecakes are a commitment, but take one bite and I promise you’ll agree that theyre entirely worth the effort. They’re super smooth and tangy with a big hit of chocolate, and that Oreo crust…well, I think we can all agree that Oreo crust should probably run for president.
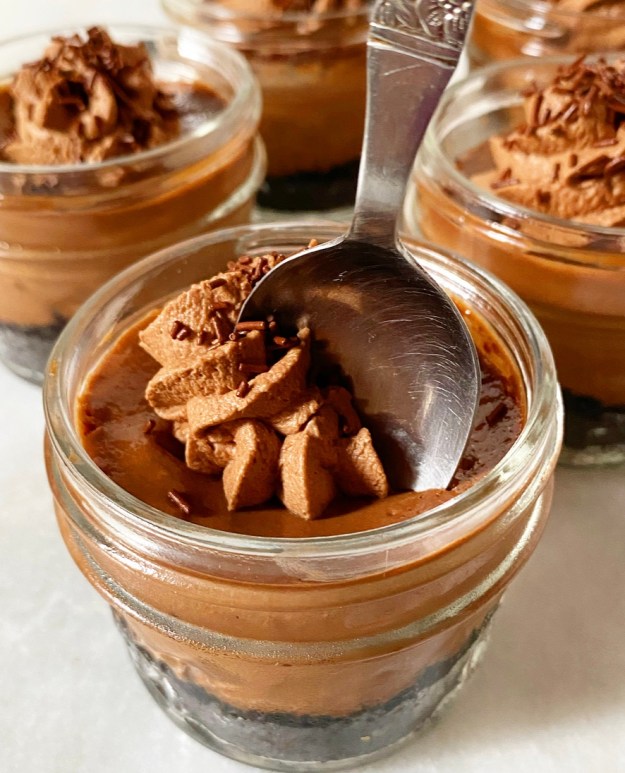 And on that note, enjoy this unofficial last weird weekend of this extremely weird summer. It’ll be two more weeks before I break out the pumpkin, and while that seems like eternity, I hope these chocolate cheesecakes soften the blow.