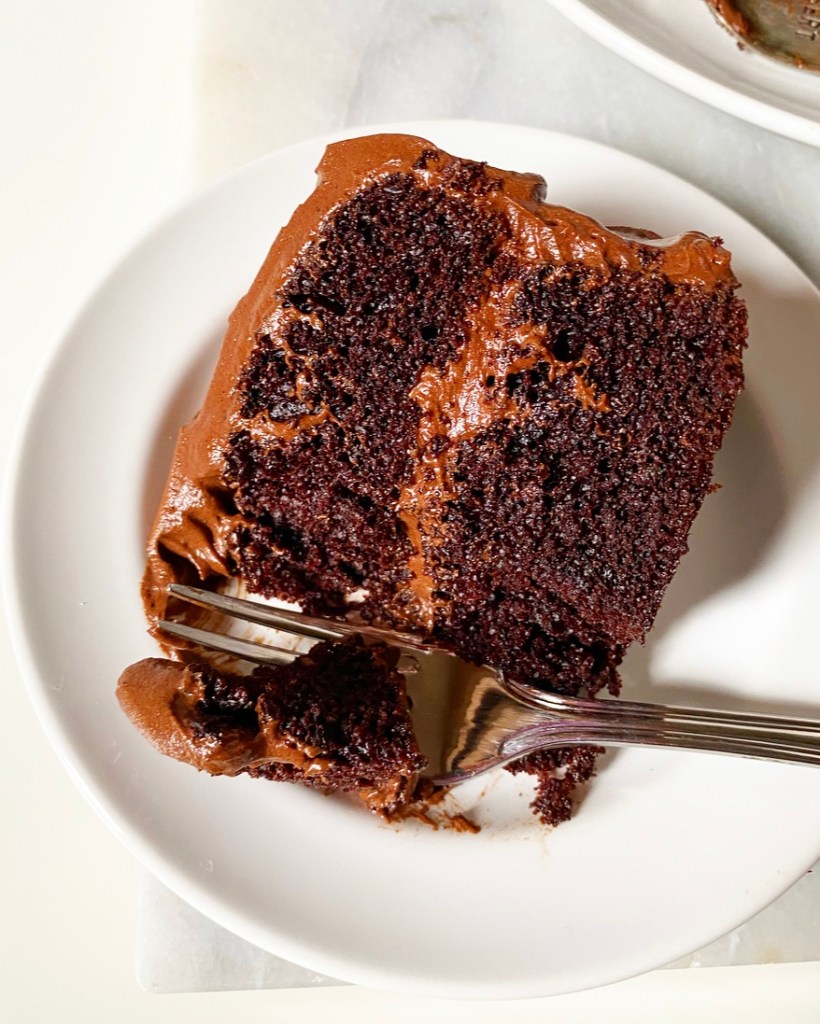
Where have I been? Making crumb cake, that’s where.
“But Liz,” you say, “this post isn’t a recipe for crumb cake. This is an update of your Peanut Butter Cupcakes.”
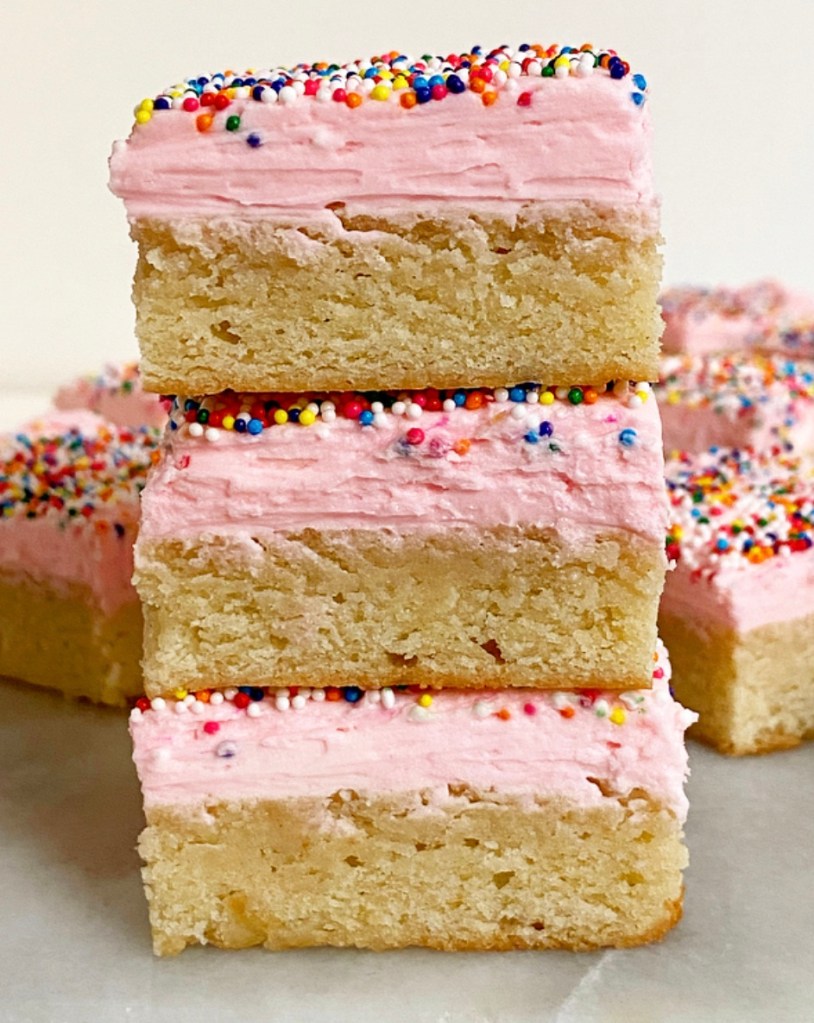
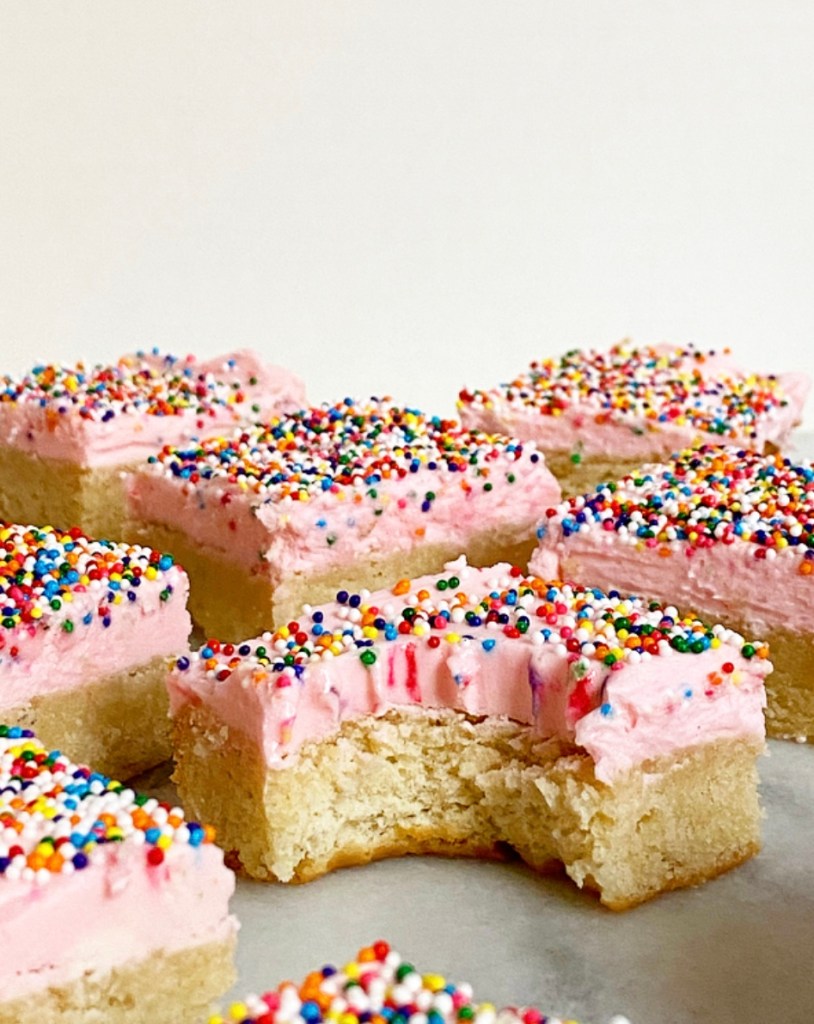
Yeah, yeah, I know. I decided I had to take a little break after 15+ crumb cakes over the course of the last three weeks, so I switched to another recipe lest I go insane, never to blog again. The full crumb cake deets are on their way the second I figure out why it tastes great but is sinking in the center.
(Help.)
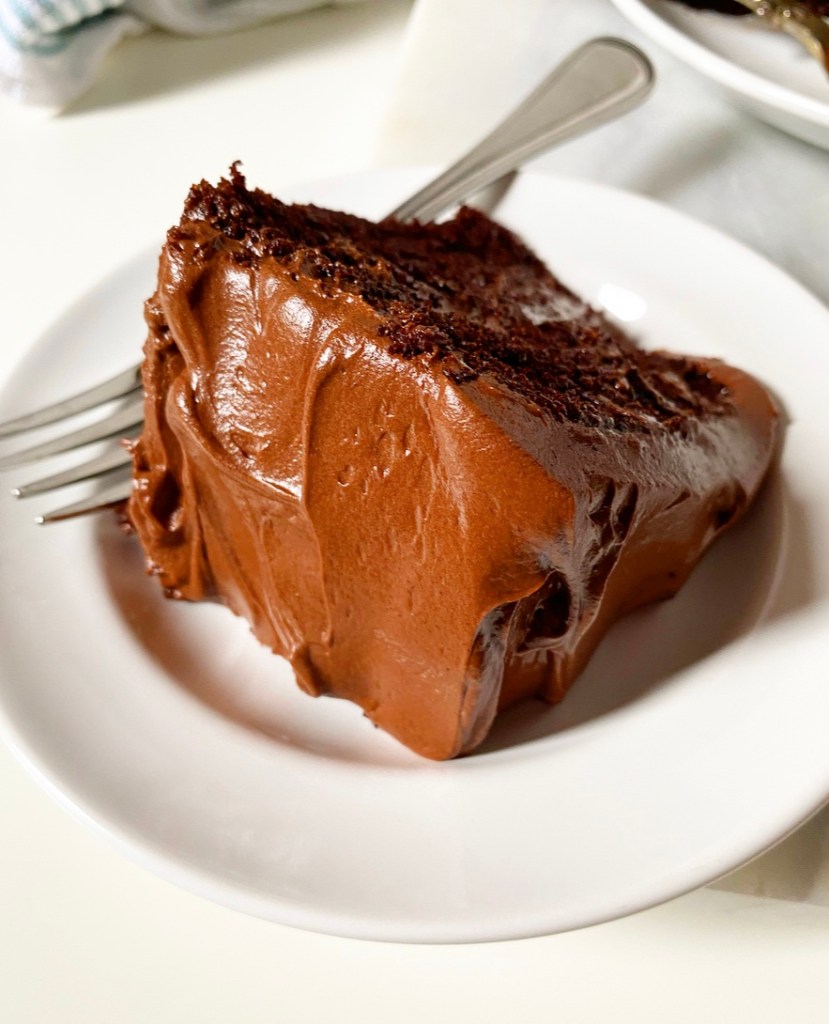
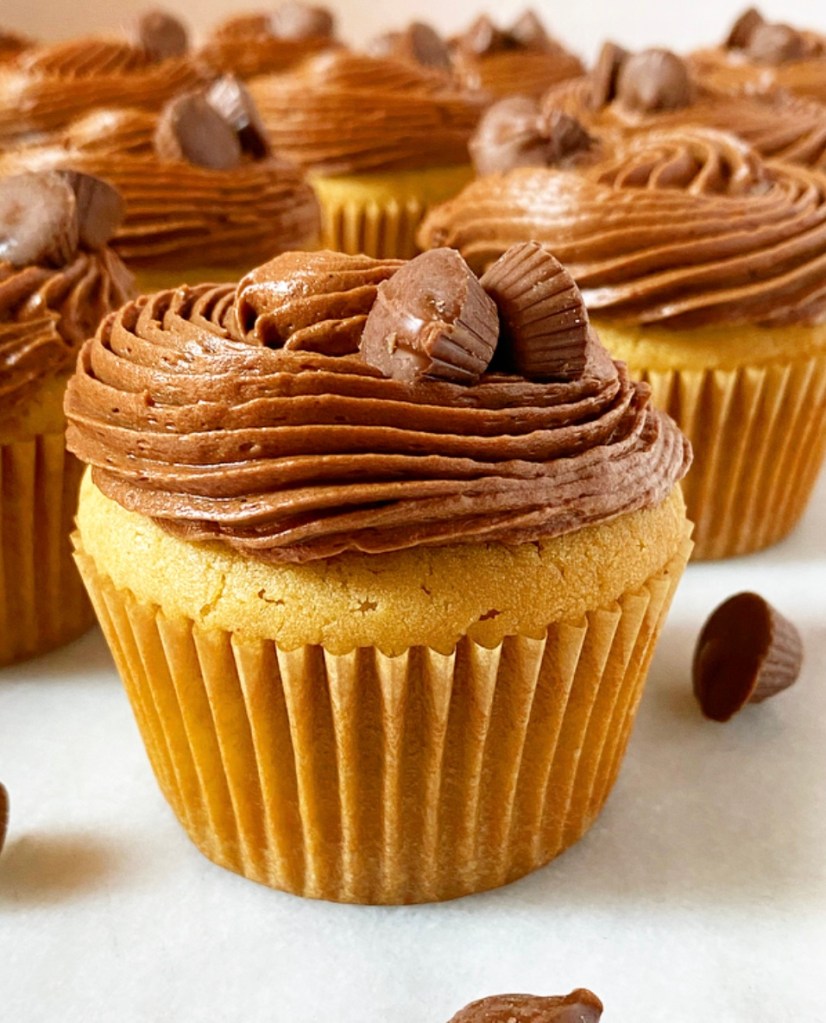
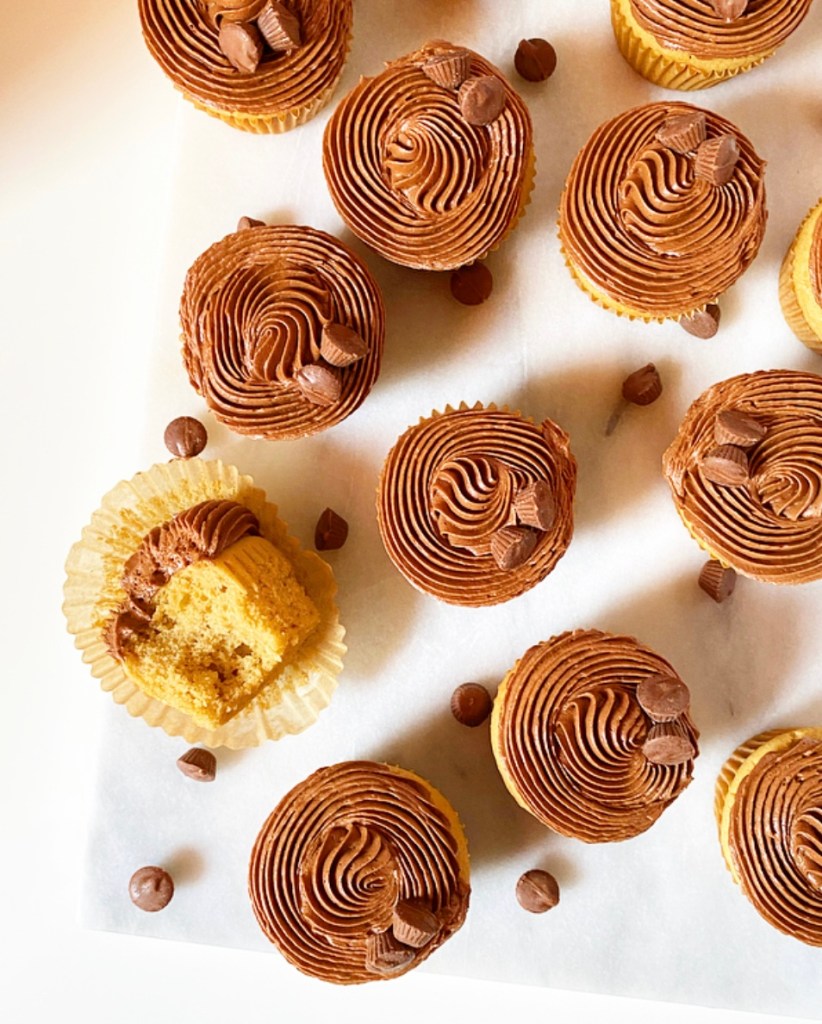
For now though, let’s talk about Peanut Butter Cupcakes. I posted a recipe for them in the first few months of blogging, blanketed with Oreo frosting, and I was so, so proud. I think I ate like four in a day when I finally got those right. But then I made them again a year or two ago for some dude’s birthday and they were…dry. And I can’t be going around peddling recipes for dry cupcakes. It’s bad for my brand.
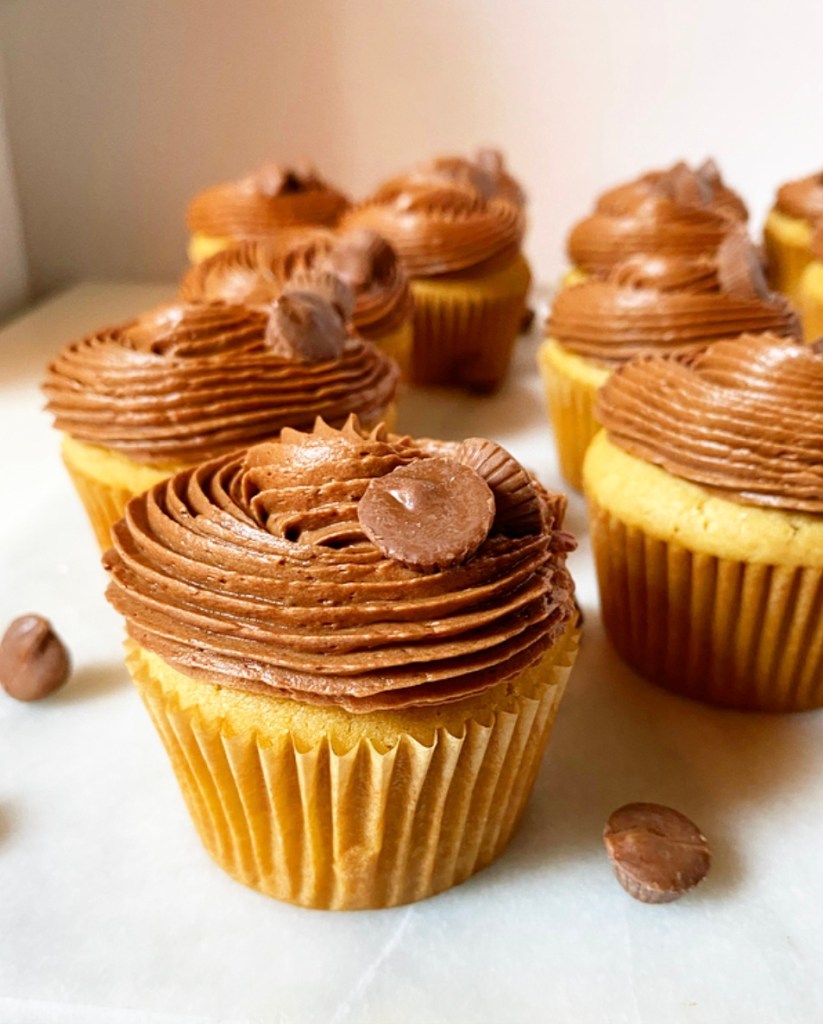
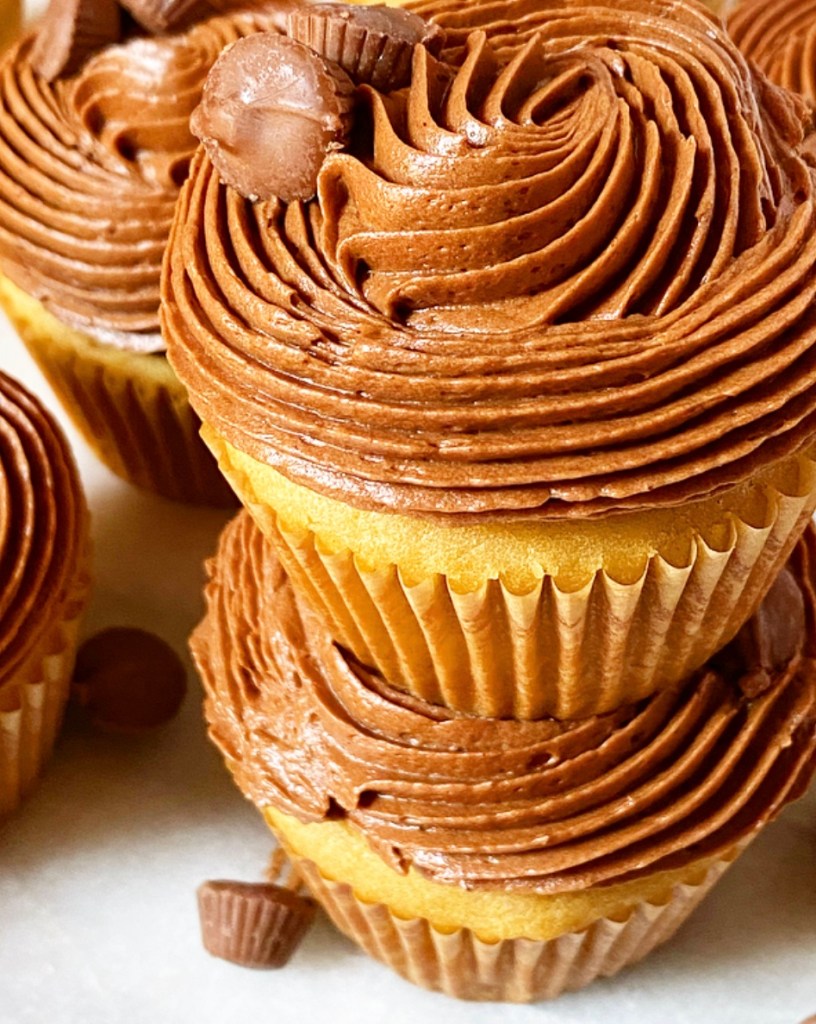
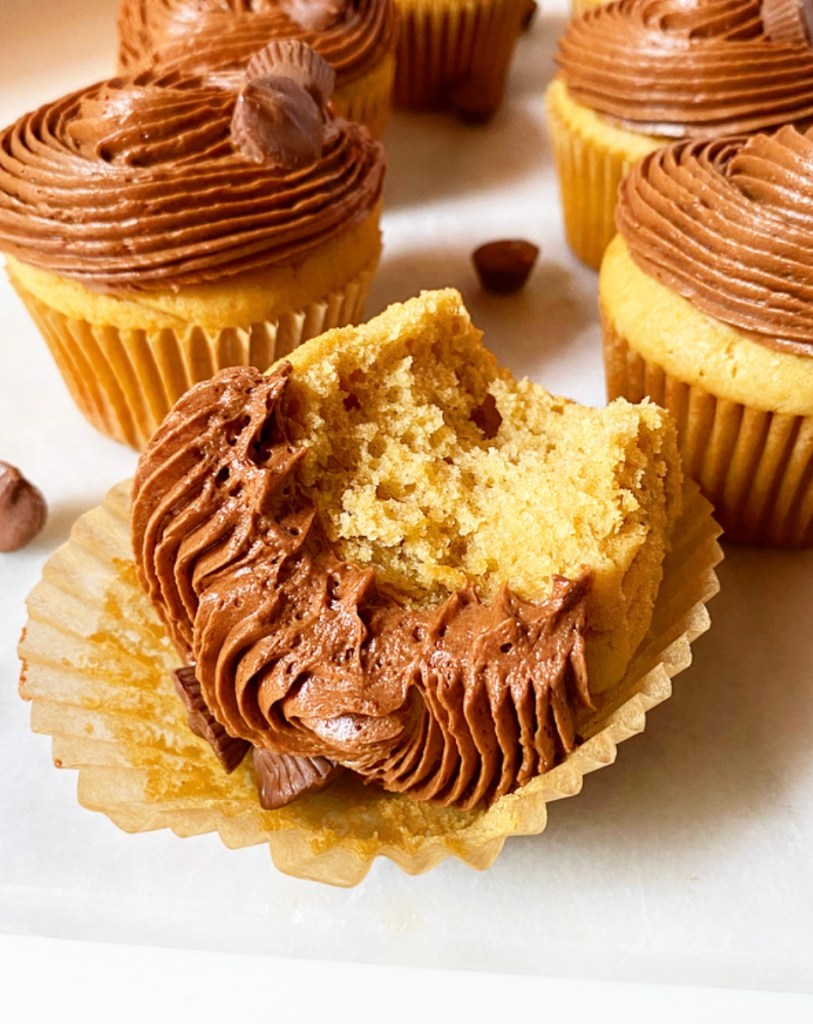
So, for my tenth sobriety anniversary, I went back to the drawing board with seven more years baking experience and a mission to fix these peanut butter beauties. I upped the butter, swapped buttermilk for an extra moist mix of sour cream and whole milk, adjusted the bake time, and well, the results speak for themselves. Especially with a little chocolate buttercream and a mini peanut butter cup garnish.
Peanut Butter Cupcakes
makes about 14-16 cupcakes
Cupcakes:
1 1/4 cups all-purpose flour
1/4 cup cornstarch
1/2 teaspoon baking powder
1/4 teaspoon baking soda
1/2 teaspoon Kosher or sea salt
1/2 cup whole milk
1/2 cup full-fat sour cream
6 tablespoons (3/4 stick) unsalted butter, softened to room temperature
2/3 cup creamy-style peanut butter*
1 cup dark brown sugar, packed
2 large eggs, room temperature
2 teaspoons pure vanilla extract
Chocolate Buttercream & Garnish:
1 cup (2 sticks) unsalted butter, softened to room temperature
2 1/2 cups confectioners sugar
3/4 cup natural unsweetened cocoa powder
pinch of Kosher or sea salt
2 teaspoons pure vanilla extract
6 tablespoons heavy cream
mini peanut butter cups, for garnish
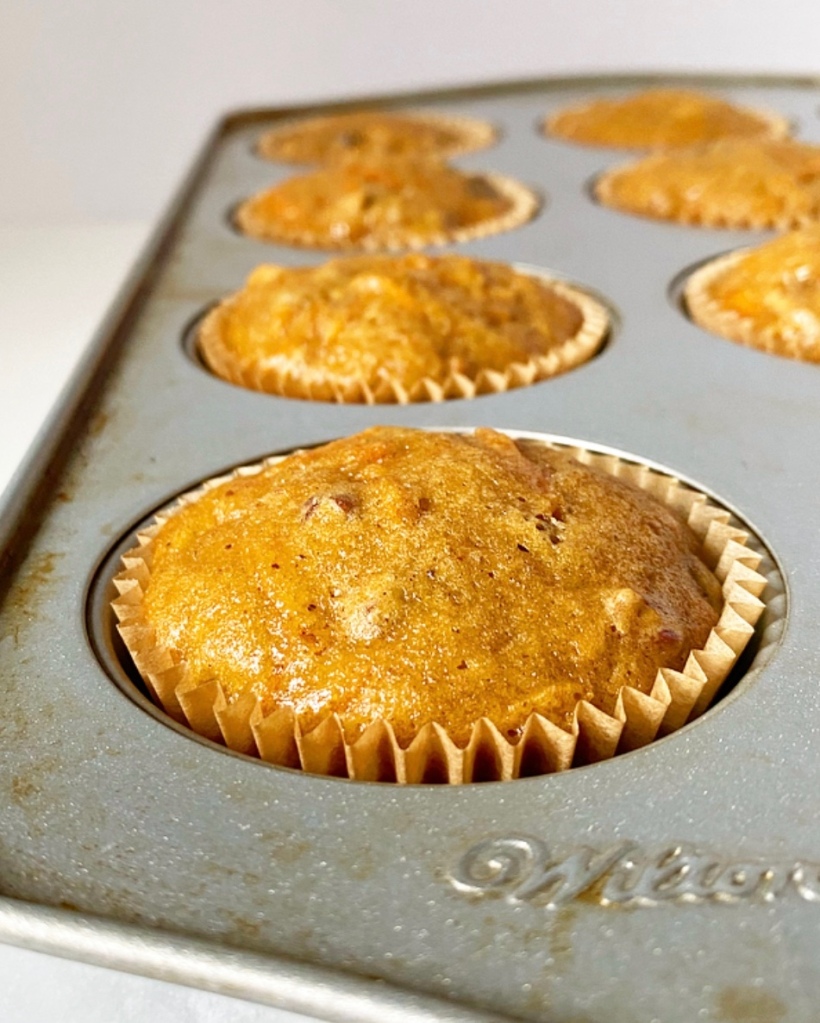
Preheat oven to 350F. Line 14-16 cups in muffin/cupcake pans with liners. Set aside.
Make the cupcakes. In a medium mixing bowl, whisk together flour, cornstarch, baking powder, baking soda, and salt. Set aside.
In a liquid measuring cup or small bowl, whisk together whole milk and sour cream.
In a large mixing bowl, use an electric mixer to beat butter and peanut butter until combined and fluffy. Mix in dark brown sugar. Beat in eggs one at a time, followed by vanilla. Add half the dry ingredients followed by half the milk/sour cream. Add the remaining dry ingredients followed by the remaining milk/sour cream.
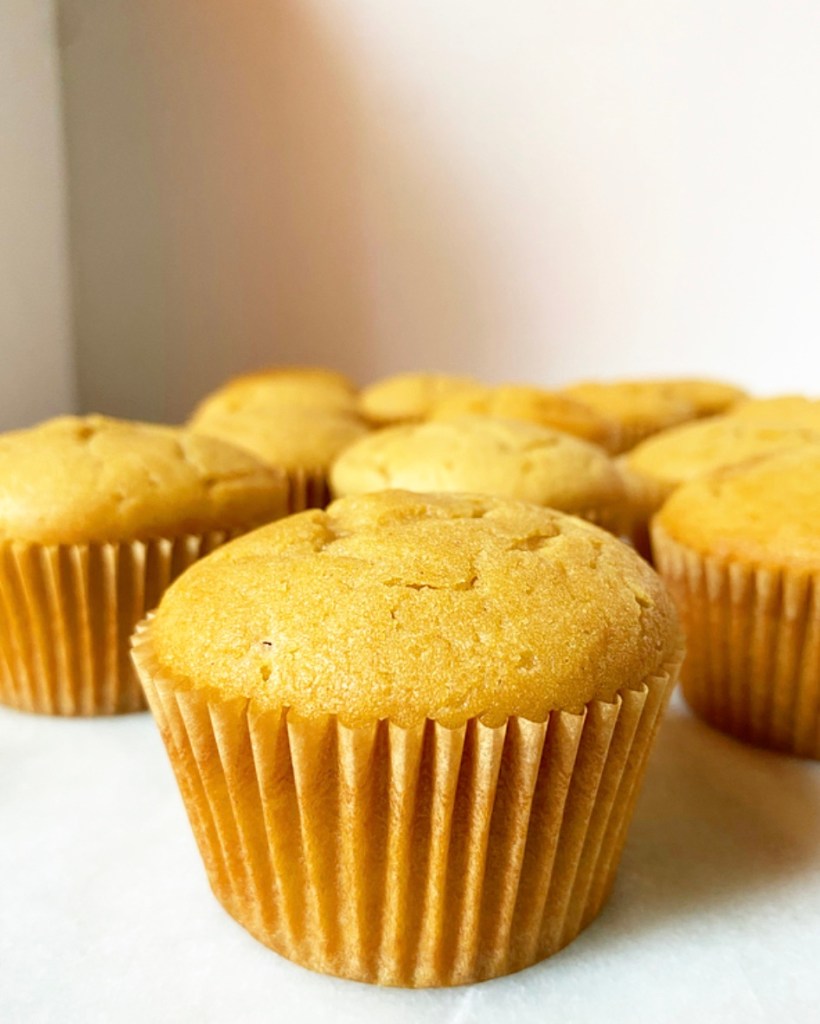
Fill prepared muffin cups 2/3 full of the batter. Gently tap pan on the counter five times to release any large air bubbles. Bake cupcakes 22-24 minutes, until a toothpick inserted in a couple of cupcakes comes out clean. The tops will look crackly—this is normal.Let cupcakes cool in the pan for five minutes before removing to a rack to cool completely.
Make the buttercream. In a large mixing bowl, use an electric mixer to beat butter until light and fluffy (about two minutes). Beat in confectioner's sugar, followed by cocoa powder and salt, scraping down the bowl as necessary. Add in vanilla and heavy cream. Beat on high for 1-2 minutes, until very fluffy.
Load into a piping bag fitted with a tip (I used a star tip here) or use an offset icing spatula to frost cupcakes. Garnish with mini peanut butter cups as desired. Serve.
Leftover cupcakes will keep covered at room temperature for a few days or in the refrigerator for up to a week.