I happily bake year-round, but I’ll be the first to tell you that my favorite kind of summer baking is no-baking. Like leaving the oven off. Like letting the fridge do all the work. Like not heating up my remarkably well-insulated New York City apartment on an already steamy day, and still having incredible dessert.
Today’s recipe is a variation on the queen of no-bake desserts: icebox cake! At its simplest, it’s just layering whipped cream and thin cookies (usually chocolate wafers or graham crackers) together and then letting the assemblage chill out in the fridge for a few hours. The cookies soften against the whipped cream and become cakelike—it’s very good.
Icebox cakes have been around for a good long time now, since the advent of the home refrigerator. In all those years—and in all the recipes I’ve tried—I’ve yet to find one that isn’t outstanding. Icebox cakes can be as easy or complicated as you want them to be. Low brow, high brow, whatever. The two ingredient classics are just as delicious as more intricate variations. I guess what I’m saying is that you should absolutely get on the icebox cake train if you haven’t already, and then, once you are a believer, twist up the original recipe and make it Triple Raspberry.
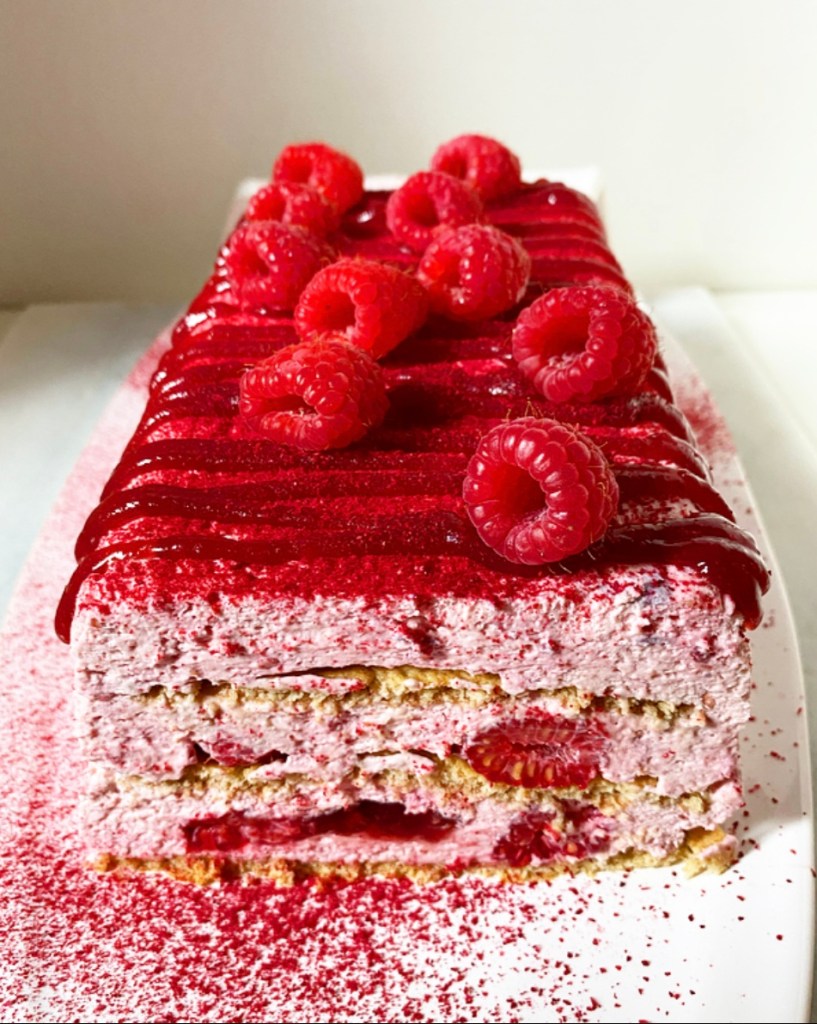
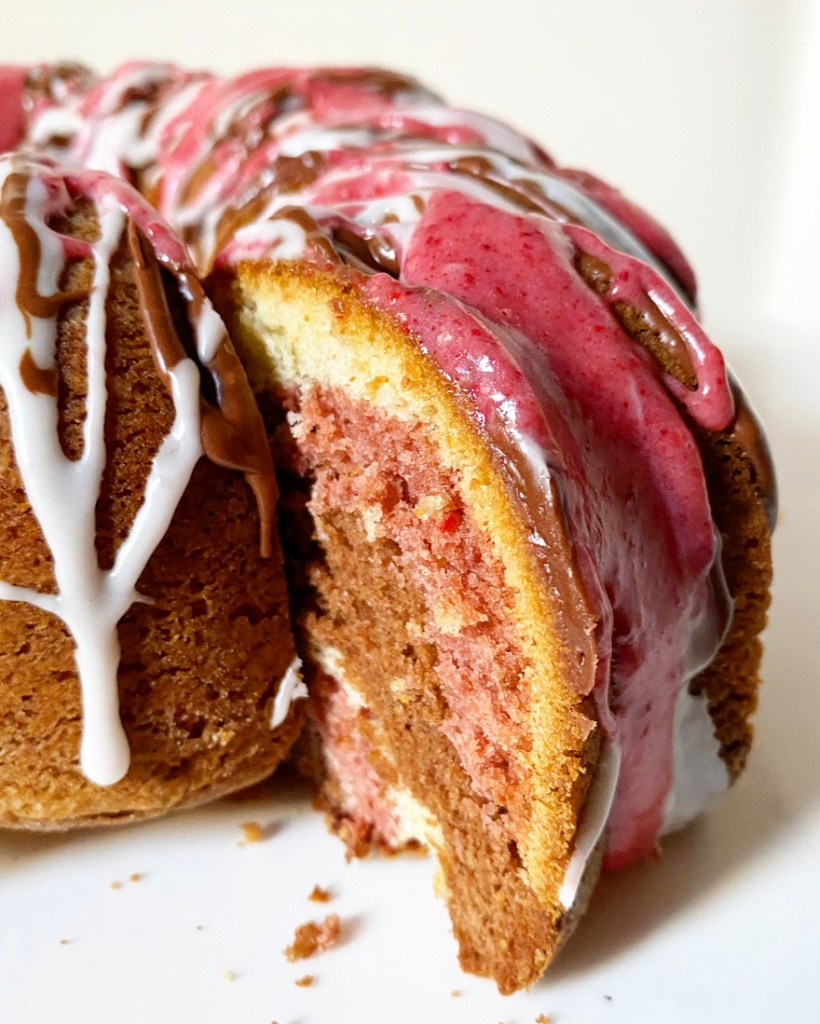
Oh yes, this cool & creamy pink icebox cake is loaded with raspberry flavor. From whole fresh raspberries to spoonfuls of raspberry jam to airy raspberry whipped cream, this cake is about as raspberry as it is possible to be!


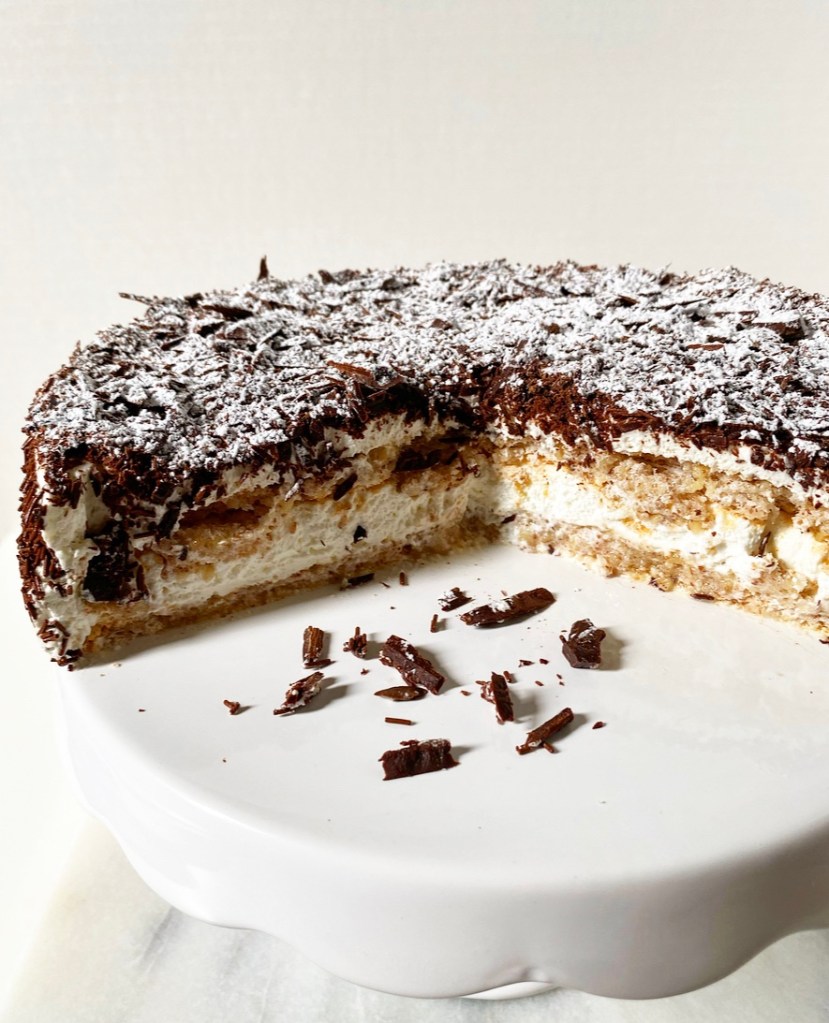
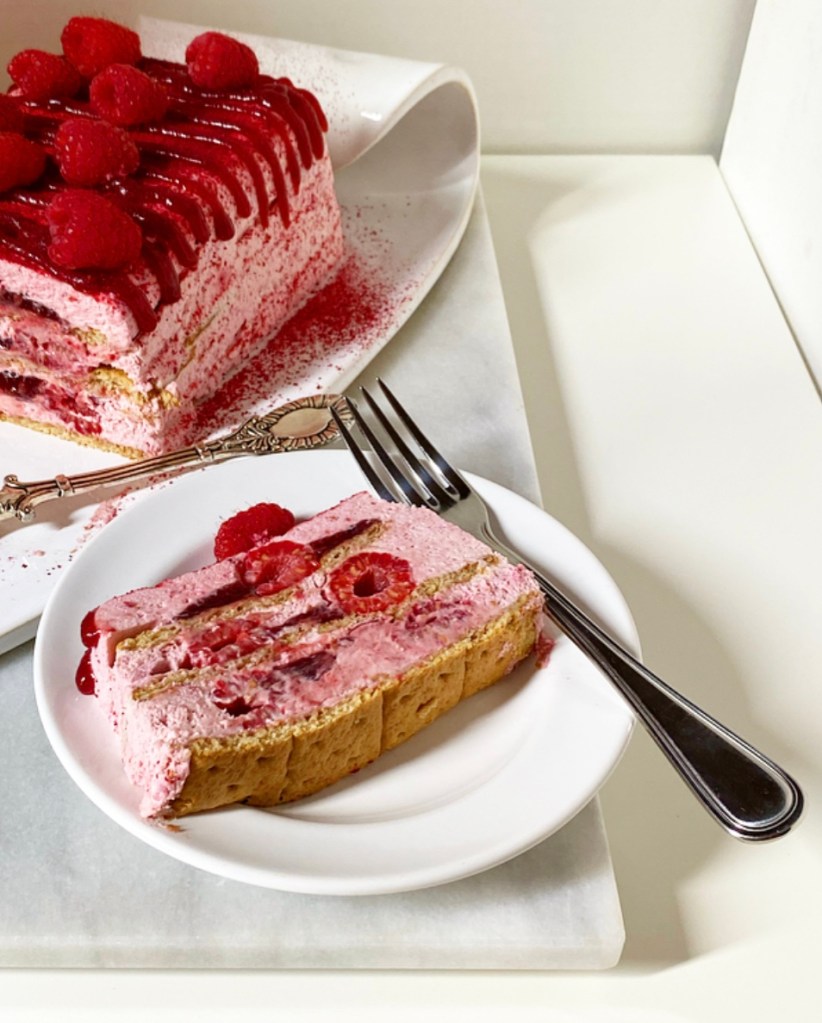
All the ingredients are stacked in a loaf pan with plain honey graham crackers to divide the layers. After a long chill, the crackers are tender as can be, making for clean slices.

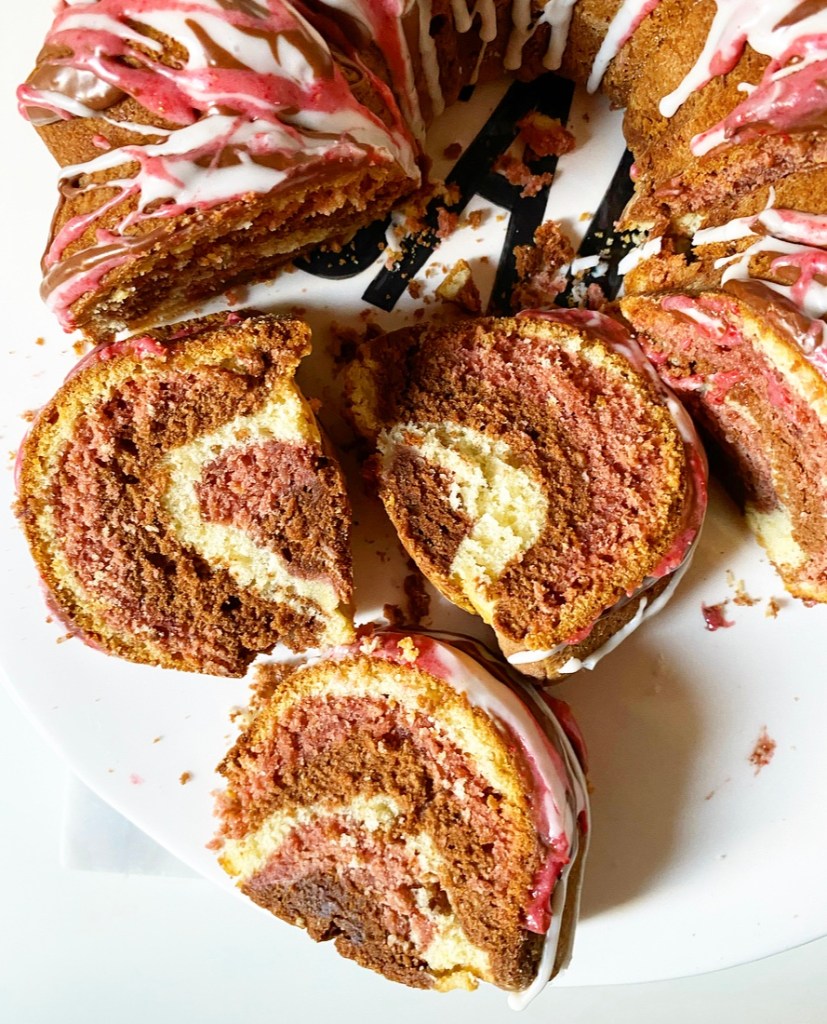
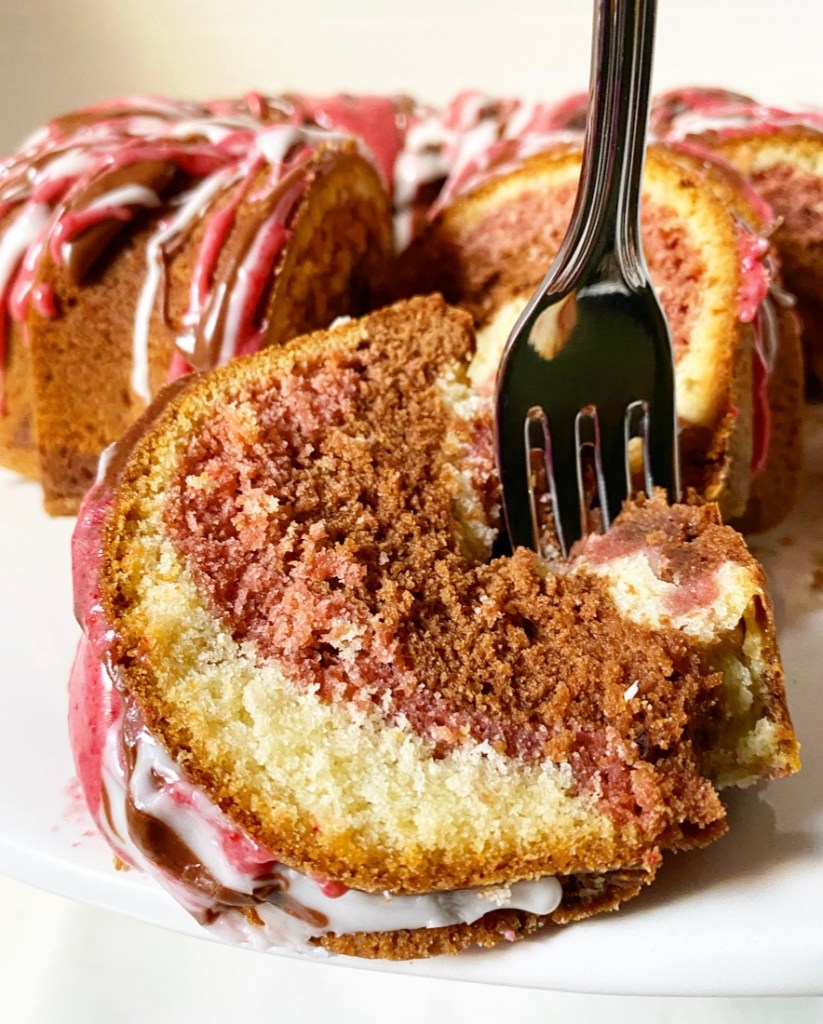
Can we discuss the cross-sections of fresh raspberries and ruby red streaks of jam? Because those…well, they’re my jam. I mean that in every sense of the word.

Like its predecessors, this cake is so much more than the sum of its parts. It’s about as easy as from-scratch summer desserts come, and about as raspberry-forward as it can be! It’s berry good, if I do say so myself.

Triple Raspberry Icebox Cake
makes one 9x5-inch cake, about 8-10 servings

Raspberry Whipped Cream:
6 tablespoons pulverized freeze dried raspberries
1/2 cup confectioner’s sugar
3 cups heavy cream, very cold

For Assembly:
10-12 whole graham crackers (4 sections per cracker), divided
1 6-ounce package fresh raspberries, divided
1/2 cup raspberry jam, divided

Decoration & Garnish:
1/2 cup raspberry jam, strained
2-3 teaspoons pulverized freeze dried raspberries
fresh raspberries

Lightly grease a 9x5-inch loaf pan. Line with parchment paper, leaving a little overhang on the long sides. Set aside.

Make the raspberry whipped cream. Place freeze dried berries in a food processor and process until they are powder, about 45-60 seconds. Alternatively, place the berries in a sealed zip-top bag and crush well with a rolling pin or other heavy object.

Measure out 2 tablespoons of pulverized berry powder, and reserve any remaining powder for another use.

In a medium-large mixing bowl, combine heavy cream, vanilla, confectioner’s sugar, and pulverized berries. Use an electric mixer to whip cream until stiff peaks form. Do not over whip (but if you do, just add a little more cream).

Gently spread 1/3 of the whipped cream in an even layer in the bottom of the prepared pan. Scatter 1/3 of the raspberries over the top and spoon 1/3 of the raspberry jam over, so that there are little globs everywhere. Tile a single layer of graham crackers over the top, breaking the crackers to fit, as needed. Press the graham crackers down *lightly* with your palm to adhere. Repeat layering step 2 more times.

Gentry cover the loaf pan in plastic wrap and refrigerate for at least 6 hours or overnight.

When you’re ready to serve, remove the pan from the refrigerator and discard the plastic wrap. Place a serving plate upside-down over the pan. Holding tightly to both the pan and the plate, flip them over so that the pan is now sitting upside-down on top of the plate. Gently lift the pan up to remove it. Gently peel off the parchment.

Decorate. Place jam in a small microwave-safe bowl and microwave for 15 seconds so it’s a bit loose. Push through a fine mesh strainer (set over a bowl) to remove seeds. Transfer warmed, seedless raspberry jam to a piping bag and snip the tiniest corner. Drizzle the cake with the jam as desired.

Dust cake with pulverized raspberry powder. Garnish with whole fresh raspberries. If not serving immediately, refrigerate.

Serve cake cold. Slice with a serrated knife, wiping it clean between cuts.