Tag Archives: butterscotch

Pineapple Upside-Down Cake Sherbet

Pineapple Upside-Down Cake Sherbet

Last year, I posted a recipe called Easiest Ever Mango Sherbet. The gist is that you blend frozen fruit and a can of sweetened condensed milk, then freeze it and scoop it like regular sherbet/ice cream…but you don’t have to have an ice cream machine, you know? And that’s ideal because I think if I bring another piece of equipment home, my beloved roommate will abandon me and I’ll have to build a house out of all my cake pans.

But I digress.

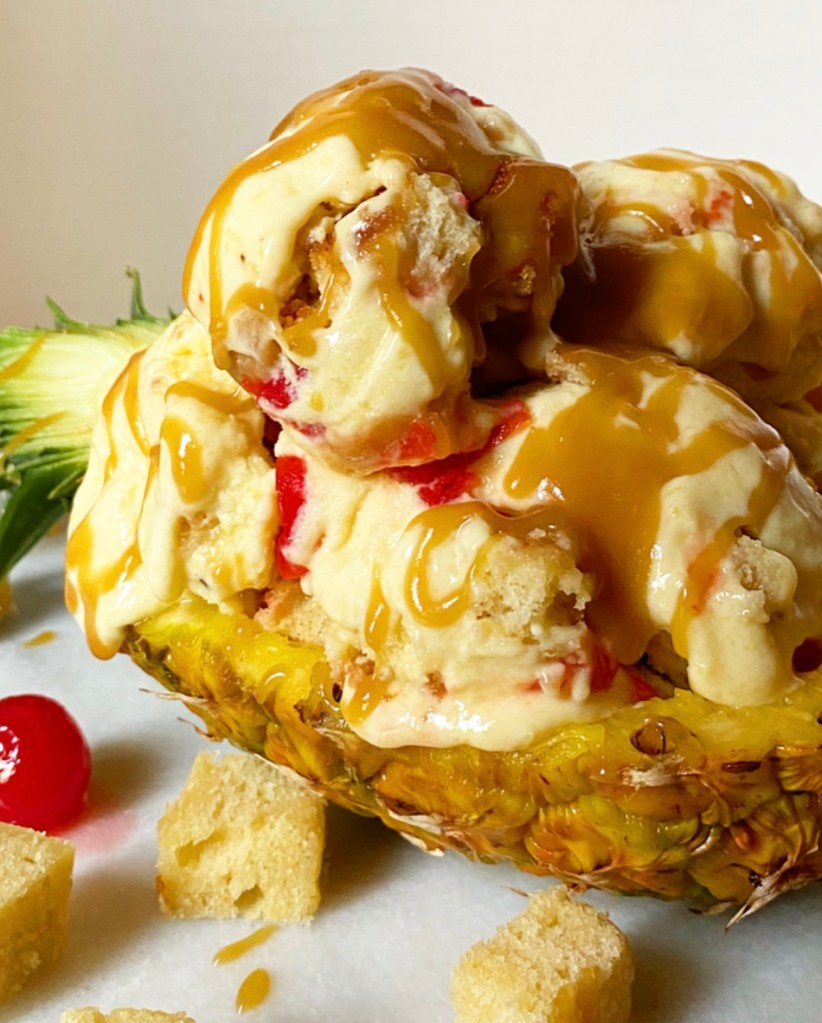
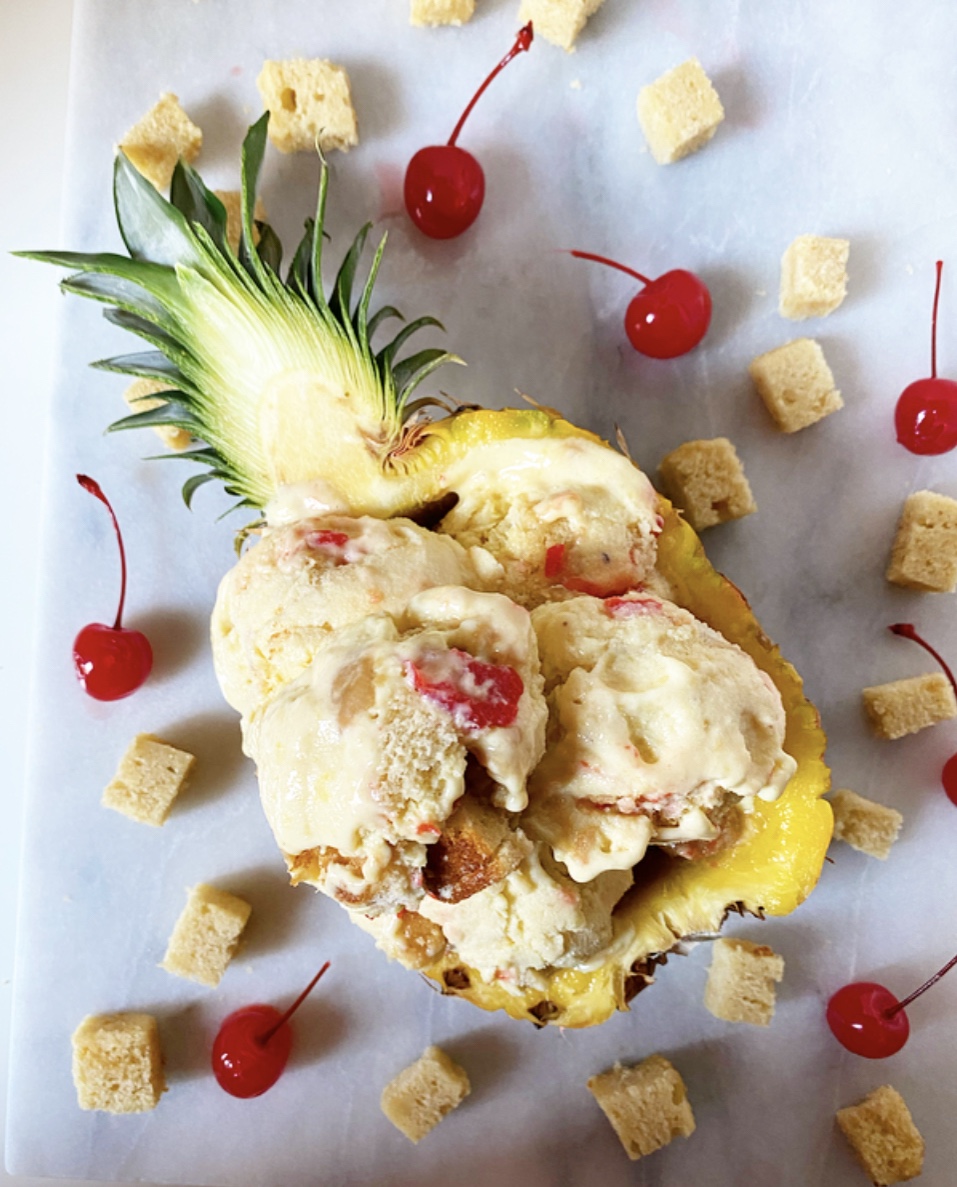
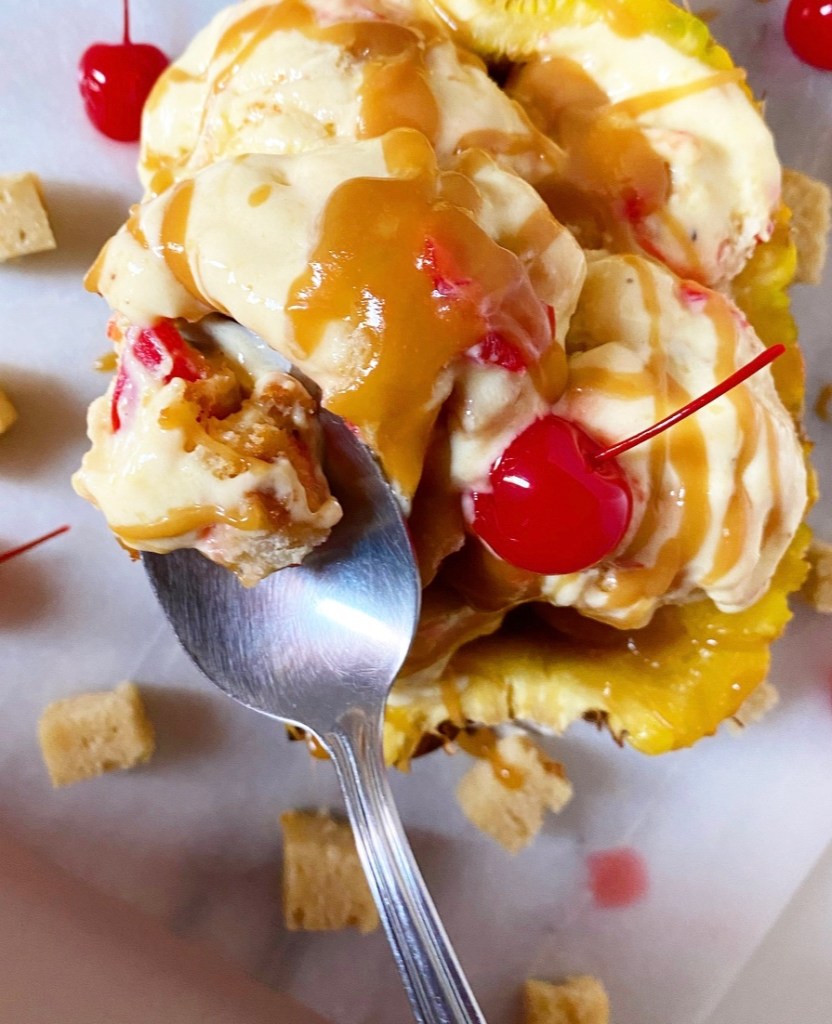
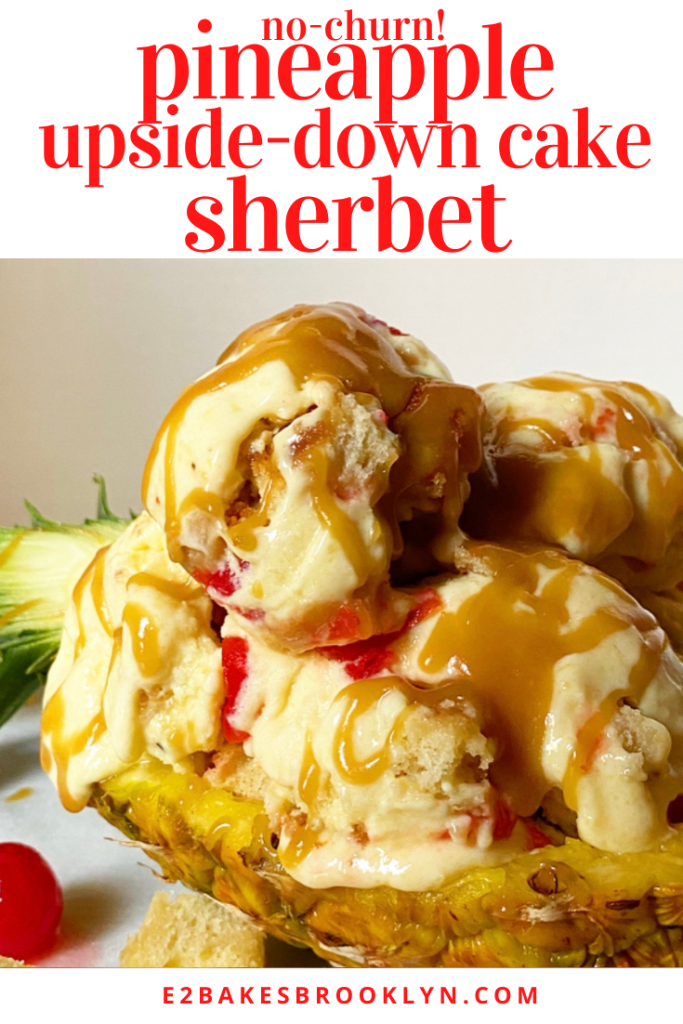
Today, I took that easy formula and complicated it in the very best way: the Pineapple Upside-Down Cake way! That’s right—all the flavors that you love in the undisputed queen of everyday cakes are packed into this cold, creamy, scoopable treat! The base is buttery brown sugar-roasted pineapple bliss, and every bite is filled with bits of vanilla cake, maraschino cherries and butterscotch sauce!

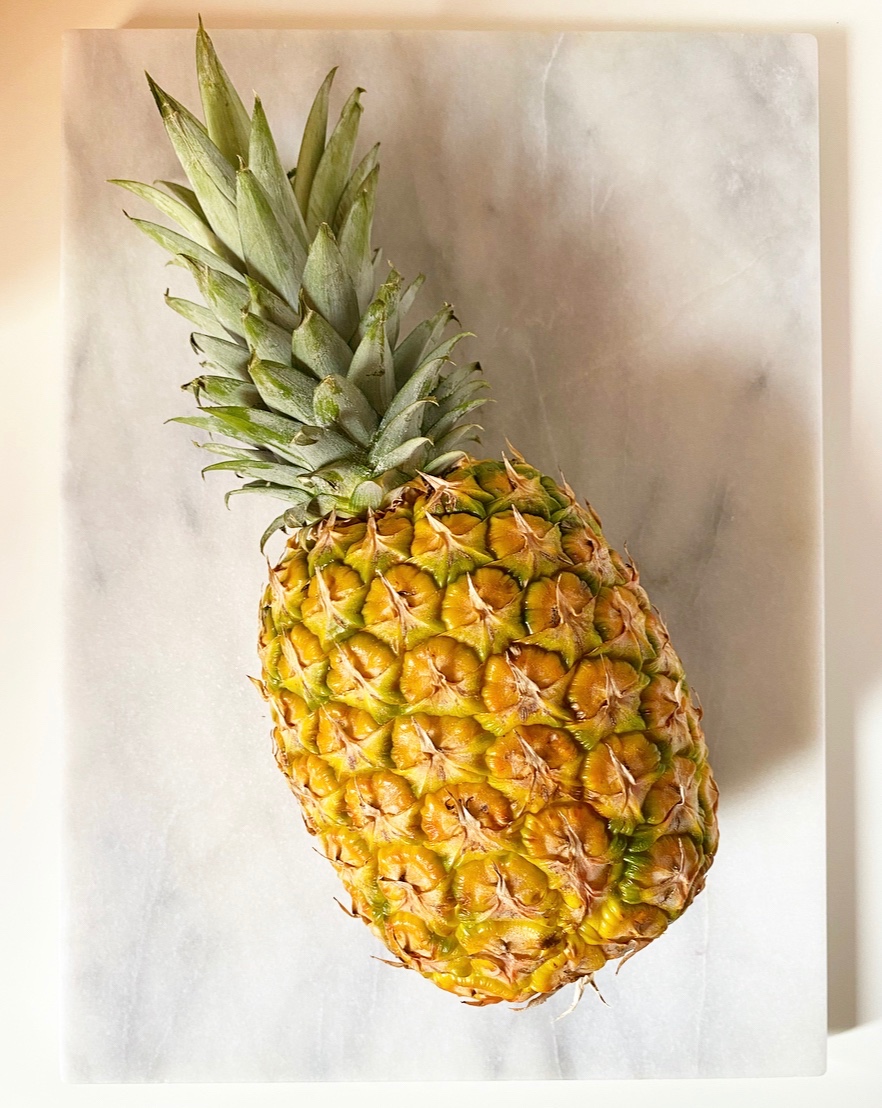
Pineapple Upside-Down Cake Sherbet starts with a whole pineapple. You could, of course, do this with about 2 1/2 pounds of pre-cut pineapple, but buying whole is much cheaper. Don’t fret—I’ve detailed how to slice up a pineapple in the recipe.

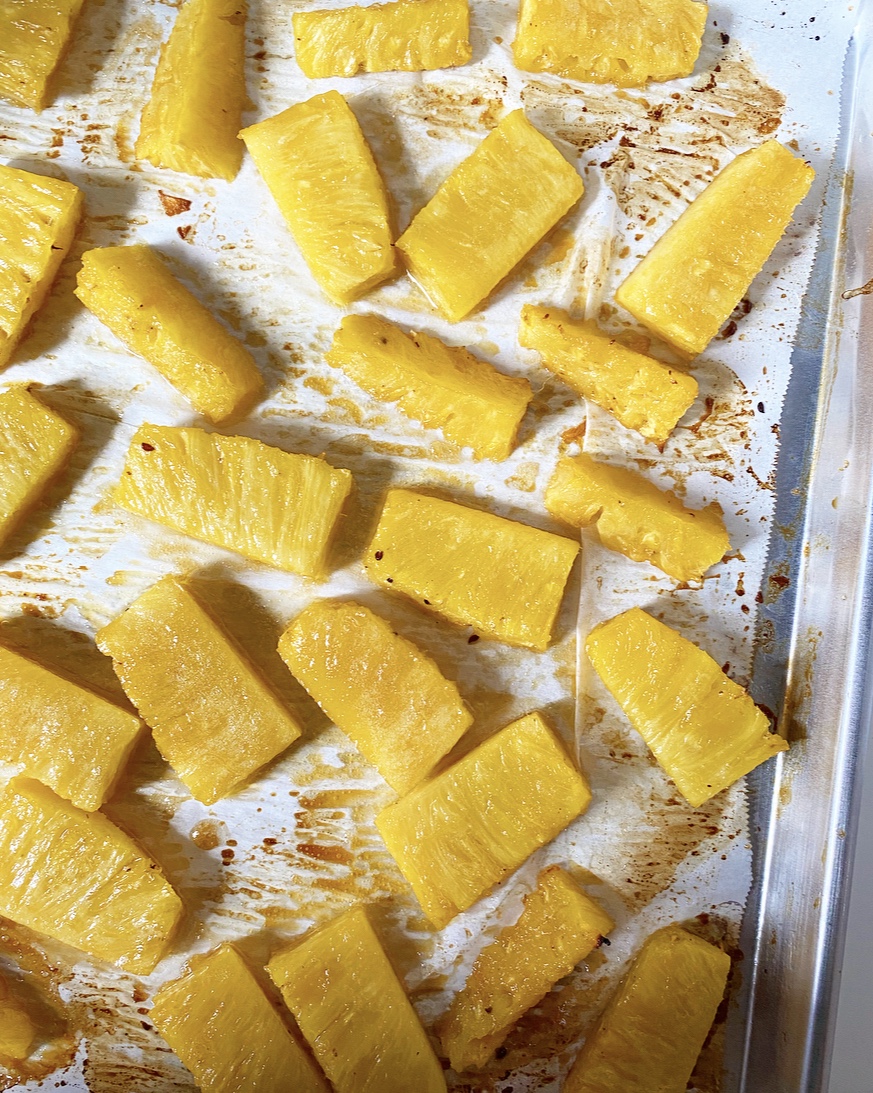
Once it’s sliced up, the pineapple is brushed with melted butter & brown sugar and roasted until tender, fragrant, and rich yellow in color. This concentrates the flavor and softens the fruit’s natural tartness. Also, it smells out-of-this-world good. Please resist eating half of it in one sitting so you can make it into no-churn sherbet, okay?!

After roasting, let your pineapple cool before freezing it. The sherbet base requires only frozen fruit and sweetened condensed milk—don’t try to take any shortcuts here! I find it easiest to freeze the pineapple by arranging it in one layer on a small sheet pan, then freezing until…well, frozen. You can do this a few days (or even weeks!) in advance; just transfer your frozen roasted pineapple into a freezer bag for longer storage.

Pineapple Upside-Down Cake Sherbet

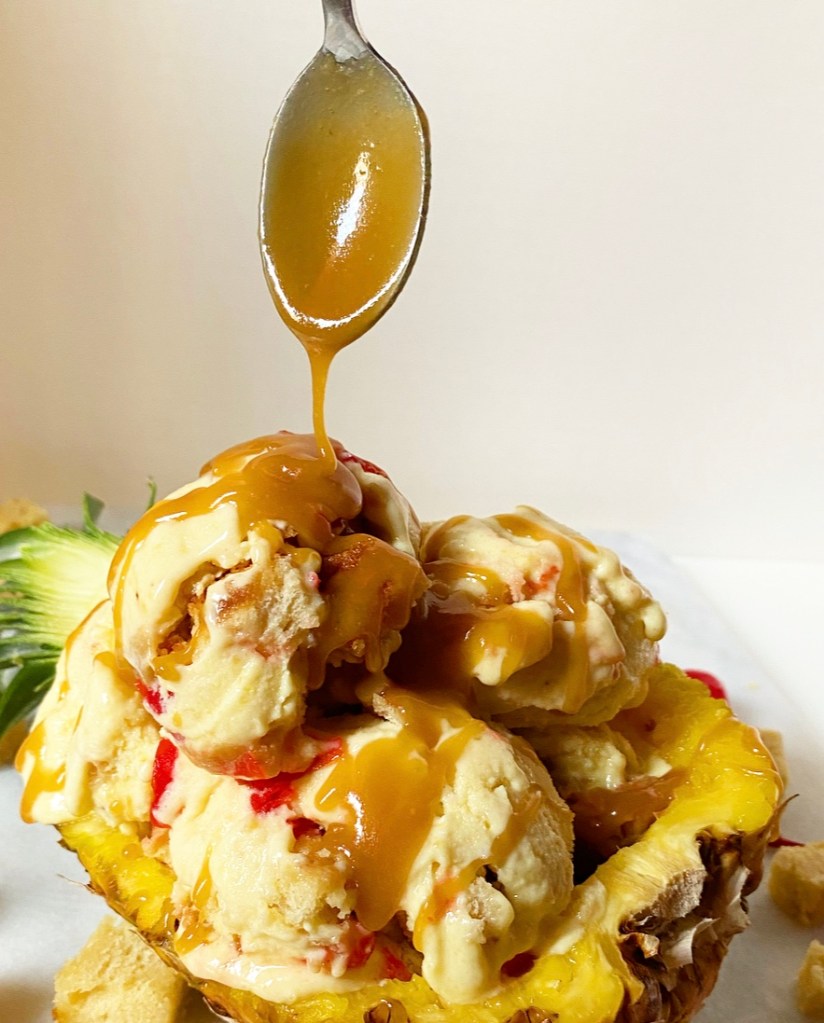
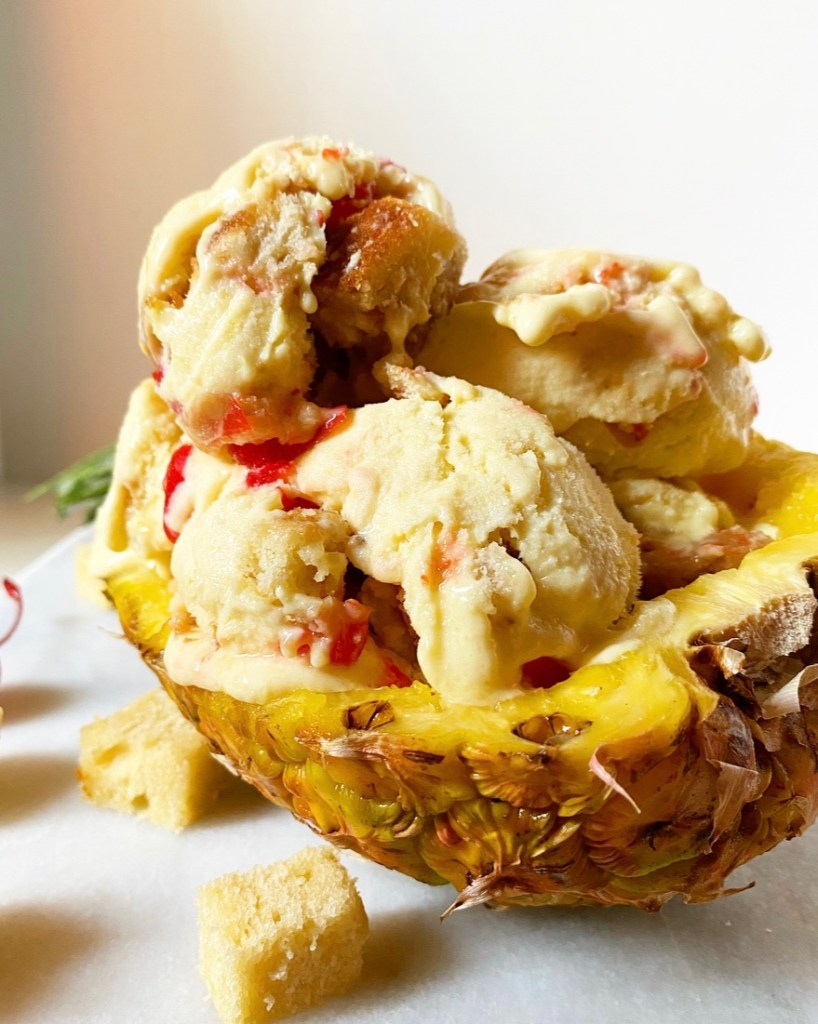
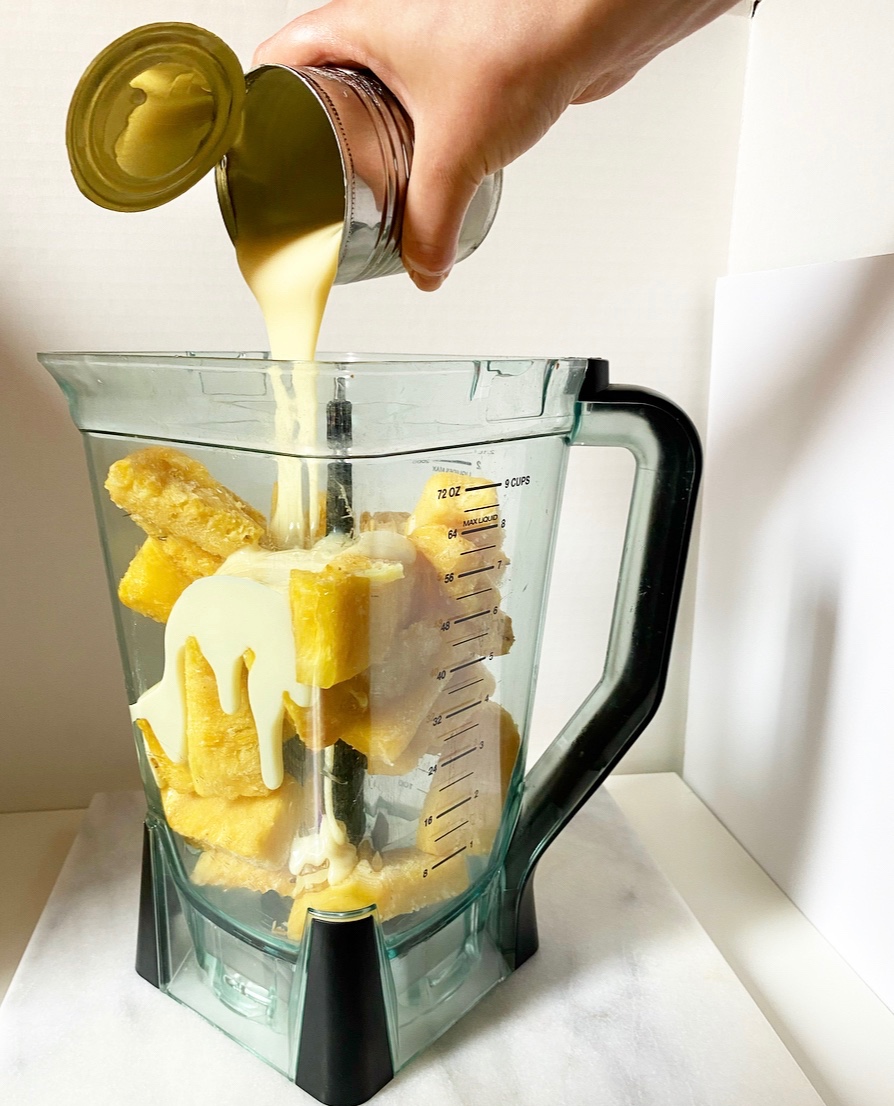
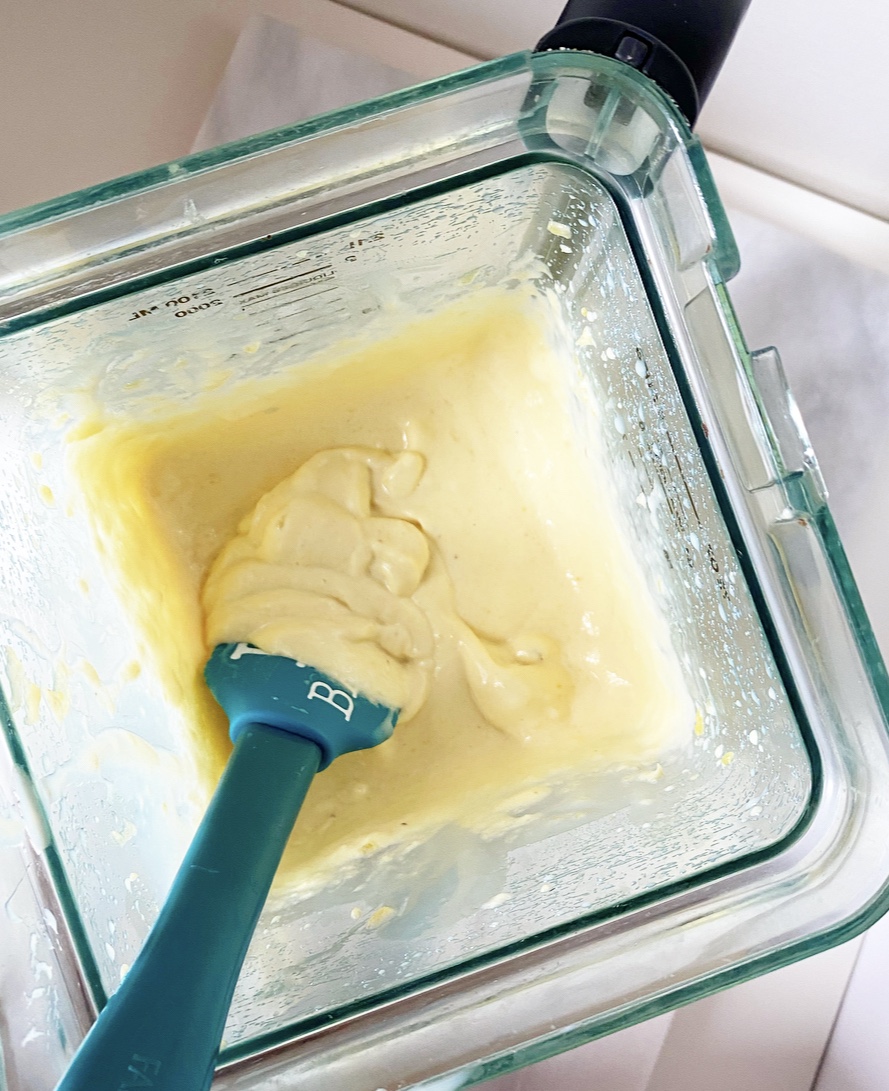
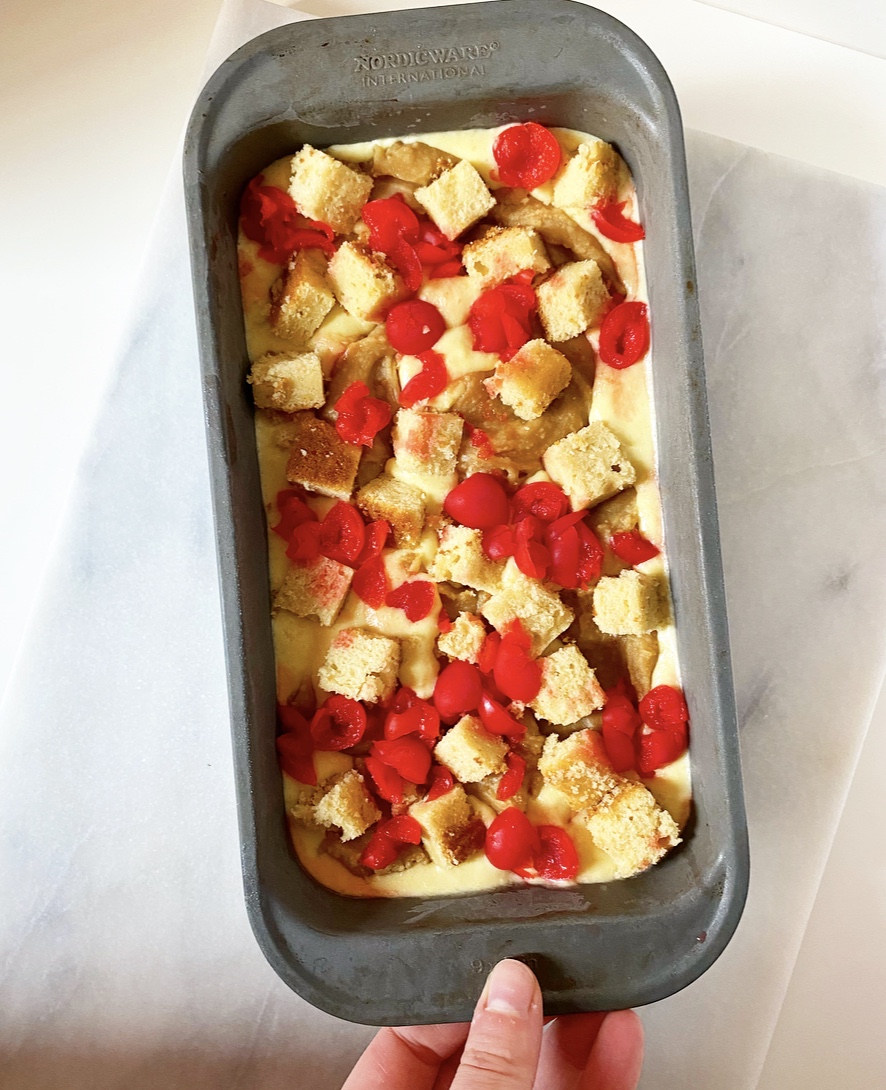
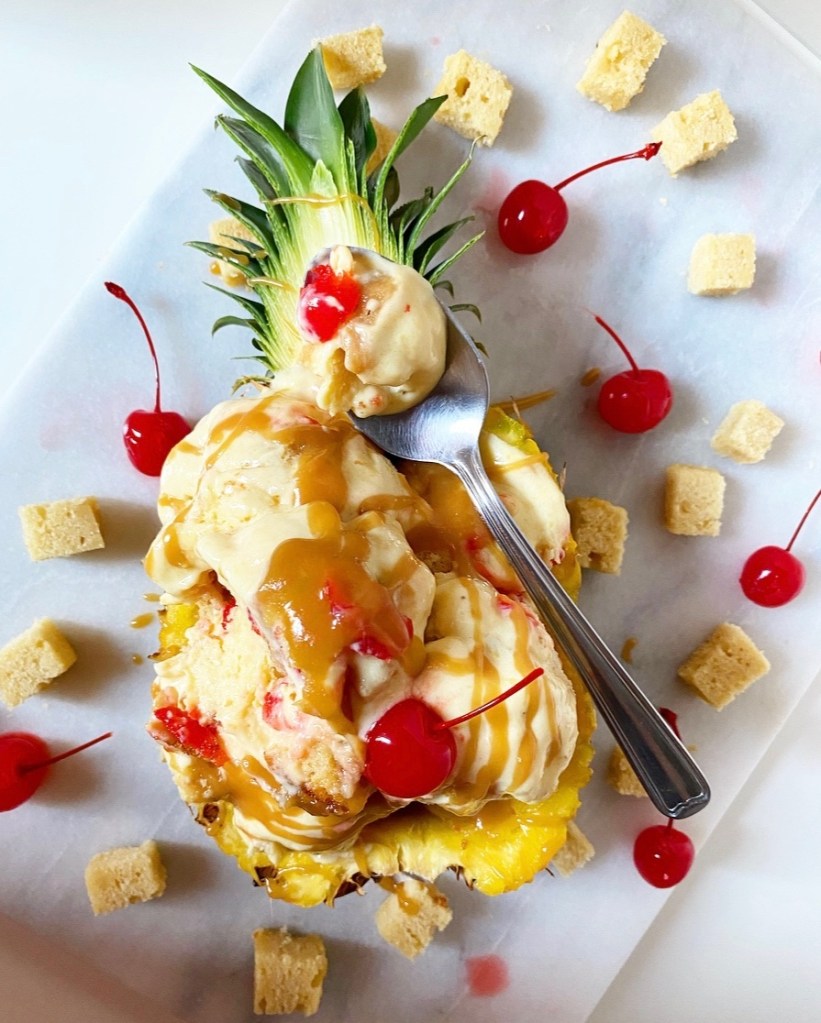
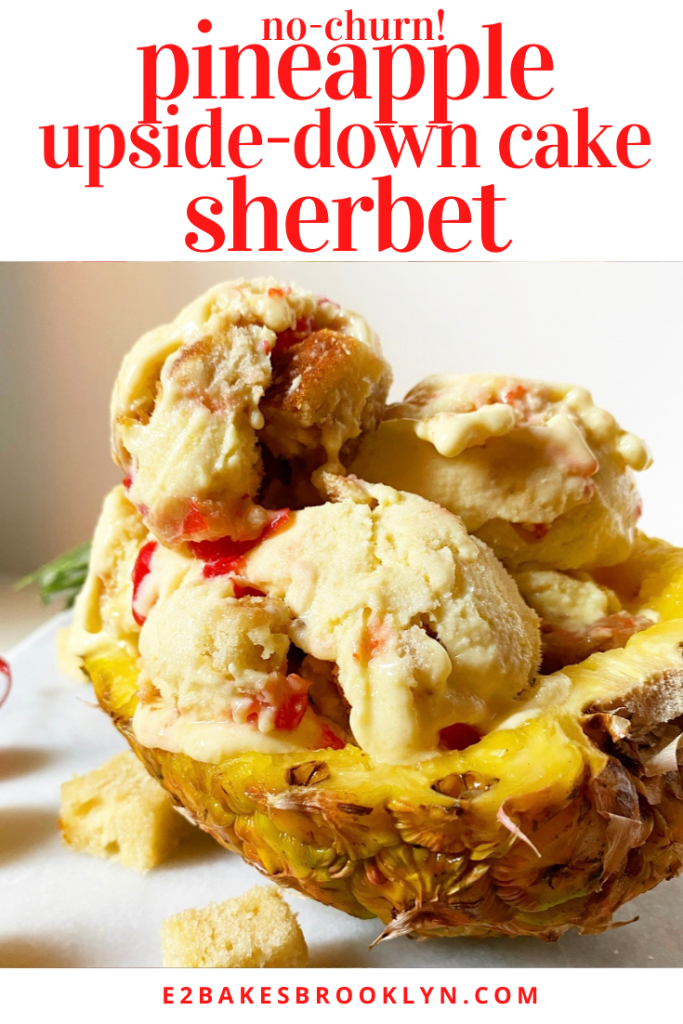
Next up: blend the base! This is easy. Just combine your frozen roasted pineapple and sweetened condensed milk in a blender and blitz away! Pour half the creamy, pale yellow mixture in a loaf pan, then top it with Pineapple Upside-Down Cake mainstays like maraschino cherries, cubes of vanilla cake, and spoonfuls of brown sugary butterscotch. Repeat the layering with the remaining pineapple base and toppings and then freeze until scoopable. Finish it with more butterscotch and cherries, if desired. Pineapple bowl optional, but recommended.

One quick thing before I get to the recipe. This recipe has a lot of steps, but can be as easy or as complicated as you like. For instance, I baked my own vanilla cake and made a batch of butterscotch for this sherbet, but this recipe would work just as well with store bought pound cake and jarred butterscotch (or caramel sauce or dulce de leche). As with all the recipes on this site, we’re aiming for delicious and fun here. If making the base, some cake and butterscotch ceases making this process enjoyable, by all means take some shortcuts.

I won’t tell anyone. I’ll be too busy shoving bites of Pineapple Upside-Down Cake Sherbet into my face to even care.

Pineapple Upside-Down Cake Sherbet
makes about 8-10 servings

Roasted Pineapple:
1 whole pineapple (about 4 lbs)
3 tablespoons unsalted butter, melted
2 tablespoons light or dark brown sugar, packed
pinch of Kosher or sea salt

For the Sherbet Base:
1 14-ounce can sweetened condensed milk

For Assembly (all divided):
2/3 cup maraschino cherries, drained & cut into small pieces
3/4-1 cup butterscotch sauce (or caramel sauce)
1 1/2 cups 1/2-inch vanilla cake cubes (cake recipe below)

Roast the pineapple. Preheat the oven to 400F. Line a rimmed sheet pan with parchment. Set aside.

Place your pineapple on its side on a cutting board. Use a large, sharp chef’s knife to lop off the top & bottom. Move the pineapple so that it is standing on the flat spot where the bottom used to be. Use the knife to remove the rind (skin) in strips, being sure to also remove the brown dots beneath it. Slice around the core, then discard it so that only the flesh (good fruit) remains. Slice your pineapple flesh into spears, and then split each spear into 2 shorter spears. Place them in an even layer on the prepared sheet pan.

Place butter and brown sugar in a small microwave-safe bowl. Microwave in 30 second increments, stirring in between, until butter is melted and mixture is combined.

Brush half the butter & brown sugar mixture on the pineapple pieces. Roast pineapple 20 minutes. Flip the pieces and brush with remaining butter & brown sugar. Roast another 20 minutes. Cool pineapple completely.

Freeze the roasted pineapple. Line a rimmed sheet pan that will fit in your freezer with parchment. Arrange roasted pineapple pieces in one layer on the pan, then place the pan in the freezer for at least four hours or overnight. If not making sherbet immediately, remove frozen roasted pineapple to a freezer bag before returning to the freezer.

Make the sherbet base. Combine frozen roasted pineapple and sweetened condensed milk in a high-powered blender. Blend on high for about 1 minute, or until smooth and thick. Use a silicone spatula to scrape down the sides of the carafe as necessary.

Assemble the sherbet. Transfer half the sherbet base to a loaf pan or other vessel. Scatter with half the maraschino cherries and cake cubes. Drizzle on butterscotch sauce, or drop on by the spoonful. Top with remaining sherbet base, spreading it to the edges to cover the add-ins. Top with remaining cherries, cake cubes & butterscotch. Freeze 4-6 hours before scooping and enjoying.

Pineapple Upside-Down Cake Sherbet will keep covered in the freezer for up to a month.
Vanilla Cake
makes 1 9x5” layer

3/4 cups all-purpose flour
1 tablespoons cornstarch
1/4 teaspoon baking powder
1/8 teaspoon baking soda
1/2 teaspoon Kosher or sea salt
1/4 cup (1/2 stick) unsalted butter, softened to room temperature
1/4 cup granulated sugar
1/4 cup light brown sugar, packed
1 large eggs, room temperature
1 teaspoons pure vanilla extract
1/2 cup buttermilk (not skim or fat free), room temperature

Preheat oven to 350F. Grease a 9x5-inch loaf pan. Line with parchment, leaving some overhang on the two long sides for easy removal. Grease again. Set aside.

Make the cake batter. In a small mixing bowl, whisk together flour, cornstarch, baking powder, baking soda, salt, granulated sugar and light brown sugar. Set aside.

In a medium mixing bowl, cream butter with an electric mixer until light and fluffy, about two minutes. Beat in the egg. Mix in half the dry ingredients, followed by half the buttermilk. Add remaining dry ingredients followed by the remaining buttermilk. Scrape down the bowl as necessary.

Pour batter into prepared pan. Tap full pan on the counter five times to release any large air bubbles. Bake cakes 33-37 minutes, or until a toothpick inserted in the center comes out clean. Let cake cool in its pan for fifteen minutes. Use parchment overhang to lift cake onto a rack to cool completely. Peel off and discard parchment.

For Pineapple Upside-Down Cake Sherbet, you will only need about half this cake (1 1/2 cups 1/2-inch cubes). Use the other half for snacking, or triple wrap in plastic and freeze for up to 3 months.
Pineapple Upside-Down Cake Sherbet

Hot Butterscotch {Seasonal Beverage}

Hot Butterscotch {Seasonal Beverage}Hello! I hope you had a nice Thanksgiving. I’m still in D.C., but am looking forward to getting back to NYC to put my Christmas tree up and really get into the swing of holiday baking—look out for my first Christmas cookies of the season next Wednesday!Hot Butterscotch {Seasonal Beverage}Today’s recipe is hardly a recipe at all. When I was visiting my friend, Tad, in San Francisco last month, we stopped for an ice cream cone at The Castro Fountain. While I was waiting for my order, I spotted a sign for Hot Butterscotch. I initially assumed they meant the sauce, but on further inspection, I saw it was a beverage akin to Hot Chocolate. But, you know, with butterscotch. 
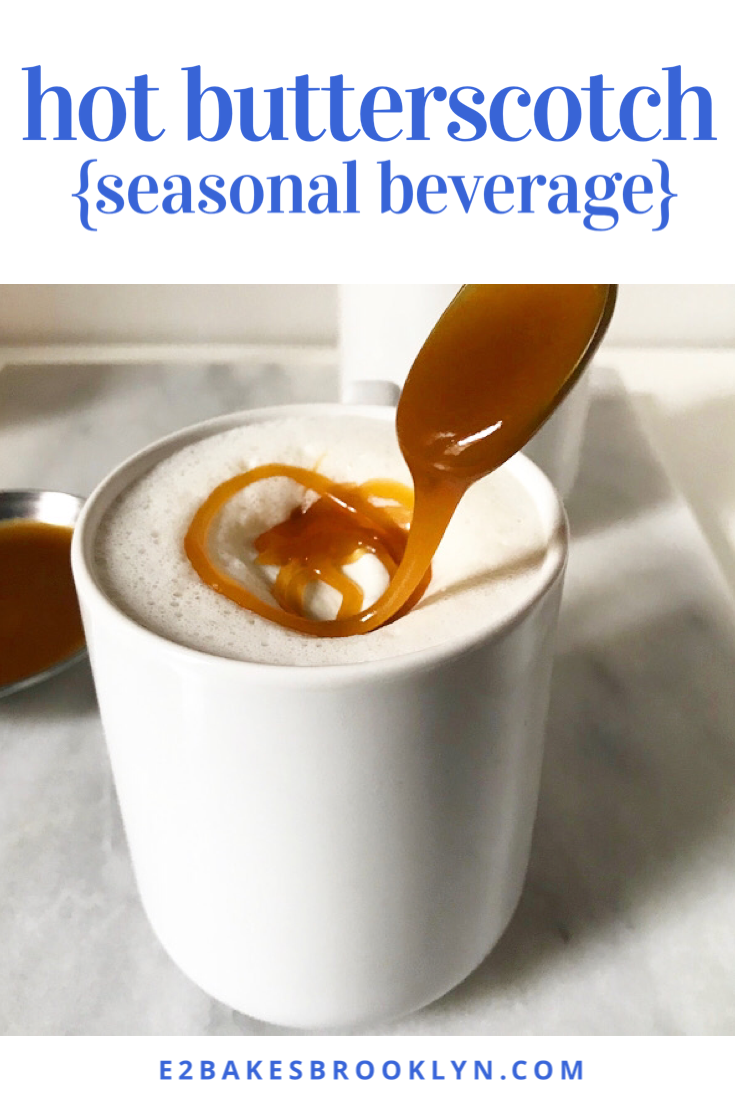
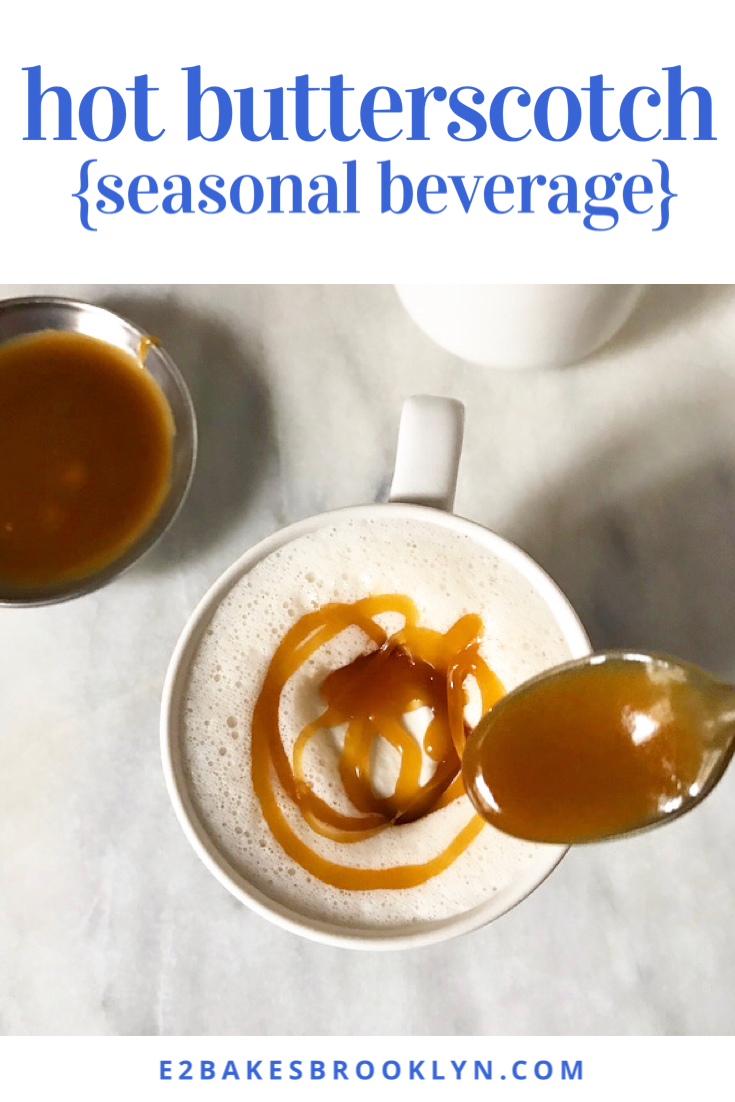
I decided then and there that I would figure out a Hot Butterscotch recipe by Thanksgiving, and lo and behold, here it is. Rocket science, this is not, but those Castro Fountain guys are on to something!Hot Butterscotch {Seasonal Beverage}Hot Butterscotch {Seasonal Beverage}Hot Butterscotch {Seasonal Beverage}
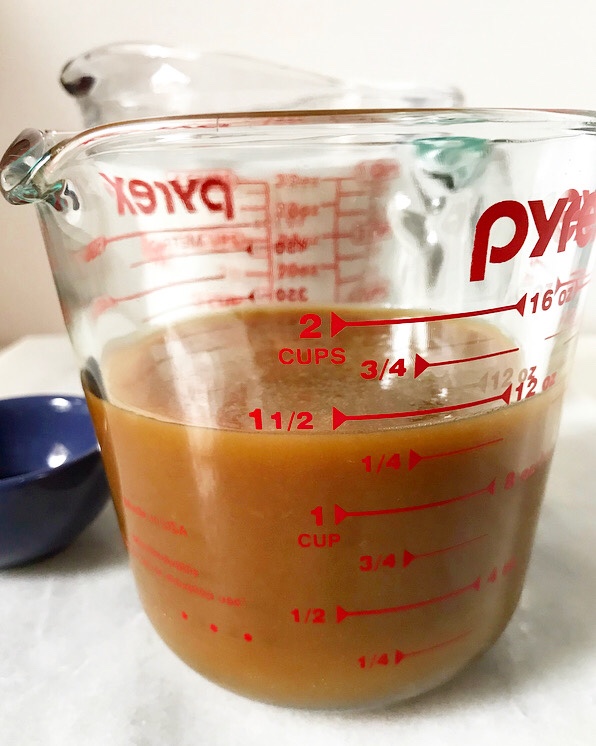
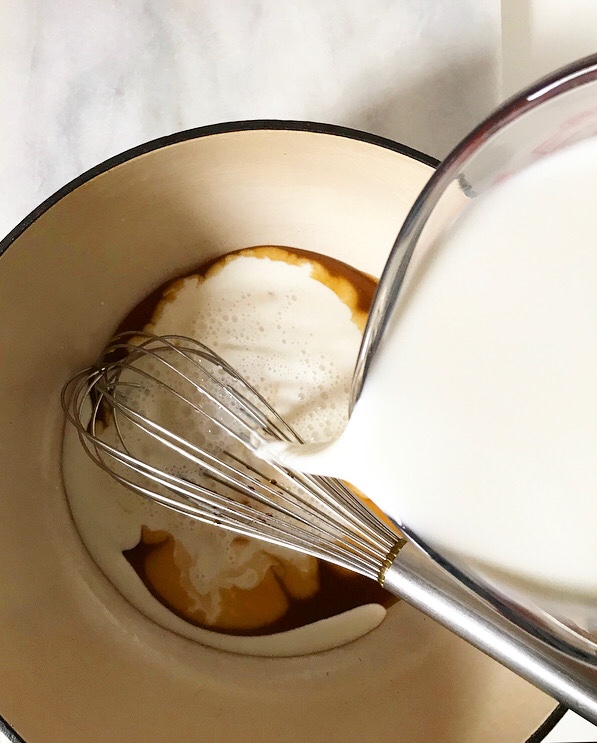
Simply whisk a cup of butterscotch and some vanilla into a quart of whole milk. Heat that to a simmer, divide it among a few mugs, and top ‘em off with whipped cream, marshmallows and a drizzle of butterscotch. That’s it!Hot Butterscotch {Seasonal Beverage}Hot Butterscotch {Seasonal Beverage}
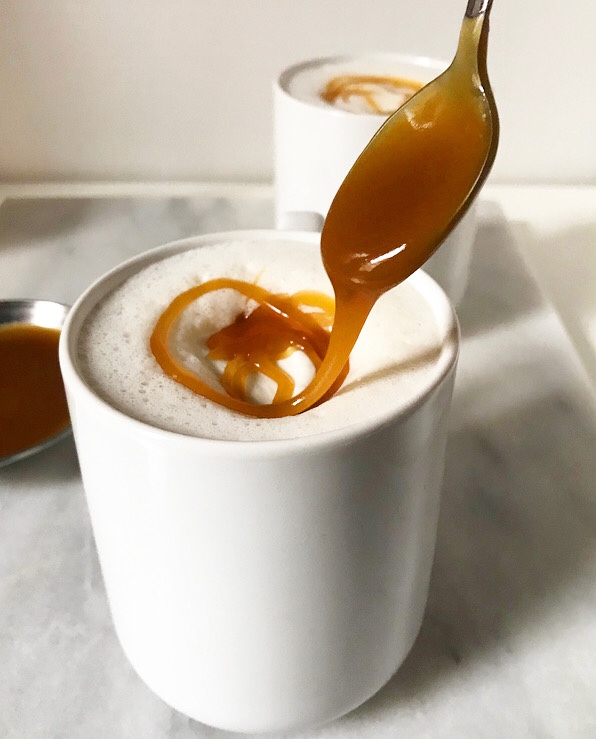
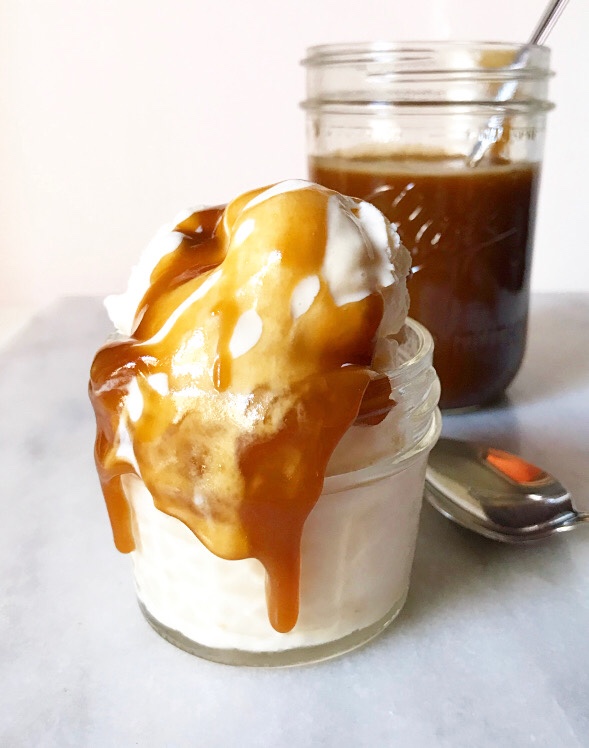
Hot Butterscotch is creamy and comforting with plenty of buttery brown sugar and vanilla flavor. I like it as written, but if you want something a little more decadent, feel free to swap half & half or heavy cream for some of the milk.Hot Butterscotch {Seasonal Beverage}
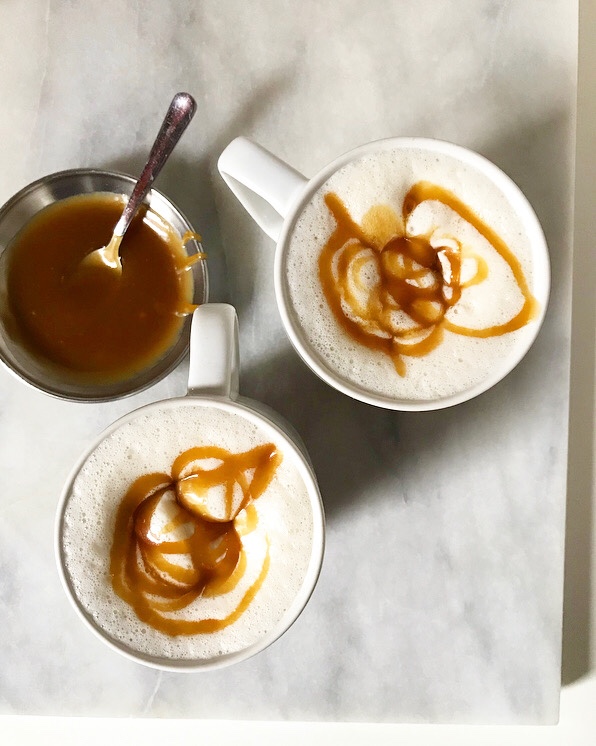
No matter how you mix it up, this is the perfect low-maintenance treat to make this Thanksgiving weekend. You could even give jars of homemade butterscotch as food gifts and attach a label with the recipe. But then again, I may be getting ahead of myself.

Have a great weekend, y’all!Hot Butterscotch {Seasonal Beverage}

Hot Butterscotch {Seasonal Beverage}
makes 4-6 servings

1 cup prepared butterscotch sauce
1 quart whole milk (or a mix of whole milk and half & half or heavy cream)
1 teaspoon pure vanilla extract

For serving:
whipped cream
miniature marshmallows
butterscotch sauce, for drizzling

In a large, heavy-bottomed pot, combine butterscotch, whole milk, and vanilla. Set over medium heat. Continue to whisk near-constantly (to prevent scorching) until mixture is steaming and bubbles are forming at the edges. Do not boil. Remove from heat.

Ladle mixture into mugs. Top with whipped cream, miniature marshmallows, and/or a drizzle of butterscotch sauce, if desired. Serve immediately.Hot Butterscotch {Seasonal Beverage}

Butterscotch Sauce

Butterscotch Sauce
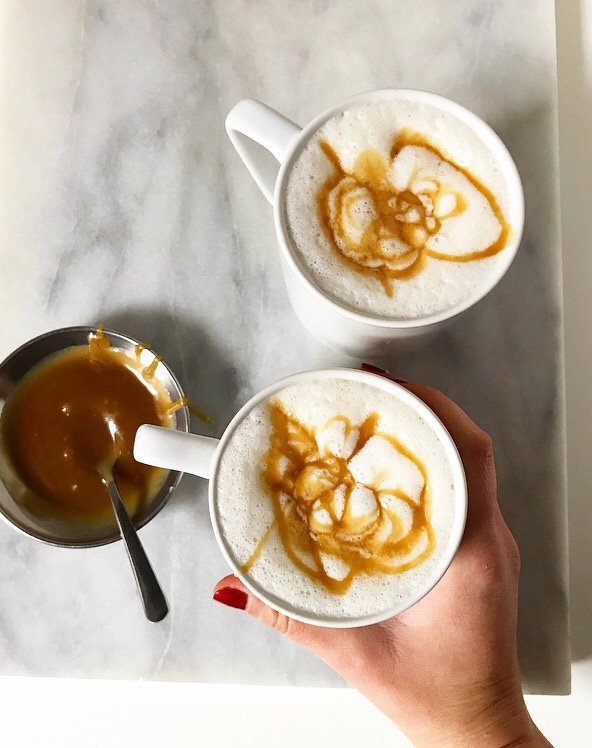
It seems like every time I think a recipe is going to be a snap, it’s a total nightmare. Butterscotch Sauce is a classic example of this—I went into testing thinking this would be a one-and-done situation, but instead I made sauces that:

  • separated in seconds.
  • required a candy thermometer.
  • burned.
  • crystallized.
  • hardened immediately upon hitting ice cream.Butterscotch Sauce

Testing was a bummer, to say the least. I mean, all I really wanted was a blog recipe that would also allow me to have ice cream with buttery brown sugar sauce for lunch and call it work. Is that too much to ask?!Butterscotch Sauce
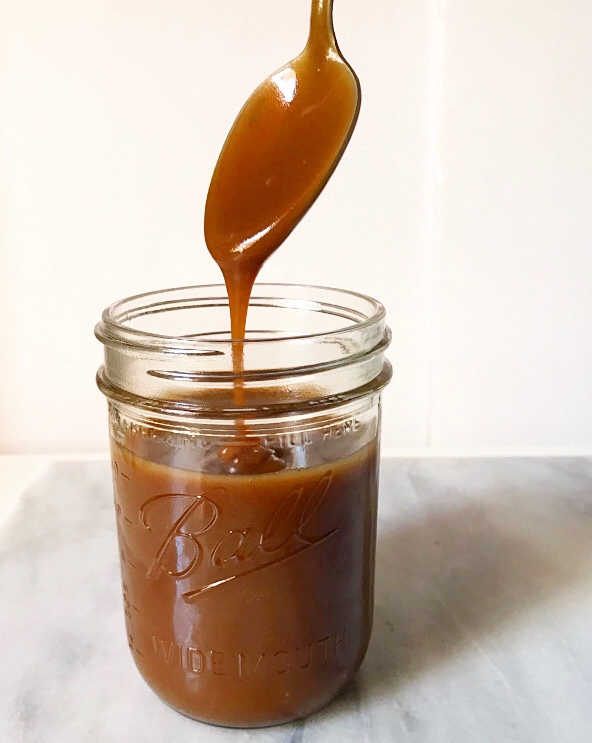
Turns out it’s not. I “fixed” my first five test batches by slapping a metaphorical culinary bandaid on each one (less butter, less complication, less time, less movement, more liquid), and this all led me back to a method I knew worked: the way I make the caramel for my caramel corn, which is literally the easiest molten sugar recipe of all time. Just put it all in a pot and leave it alone.Butterscotch SauceButterscotch Sauce
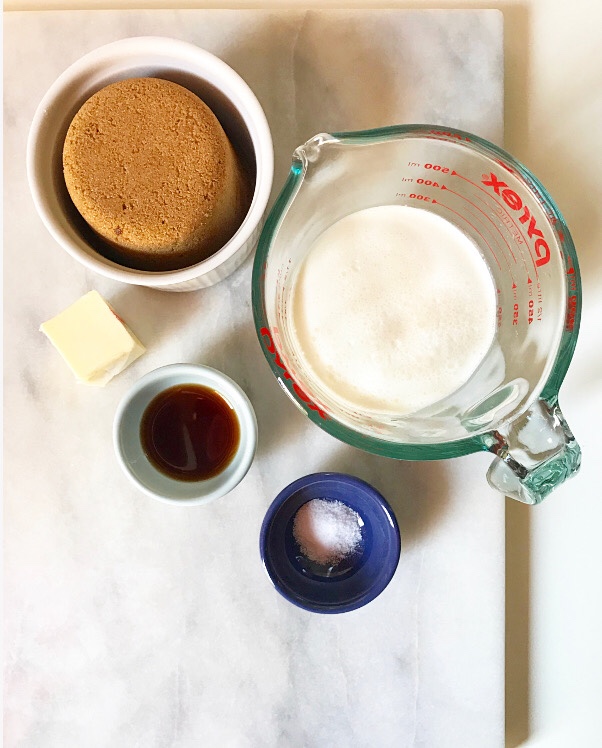
Here’s the gist of my Butterscotch Sauce recipe:

  • put dark brown sugar, butter, salt and heavy cream in a pot and don’t stir it.
  • bring it to a boil and don’t stir it.
  • cook it for five minutes and don’t stir it. Just don’t do it.
  • remove it from the heat, add some vanilla and…okay, stir it now.

That’s it. Wait a few minutes before spooning it over a scoop of ice cream so you don’t burn the roof of your mouth. Safety first.Butterscotch Sauce
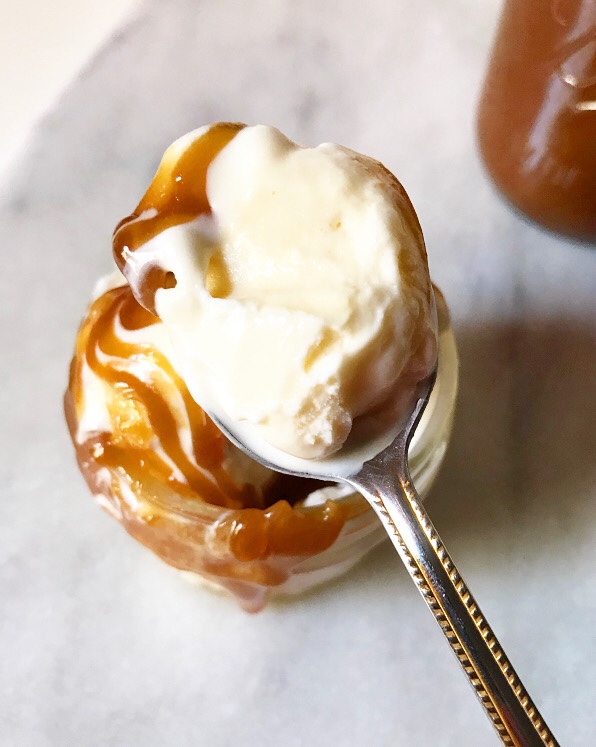
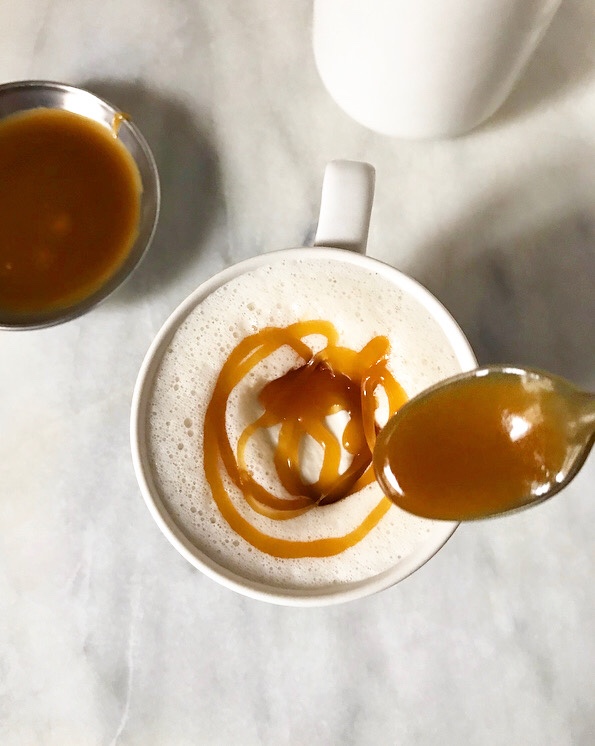
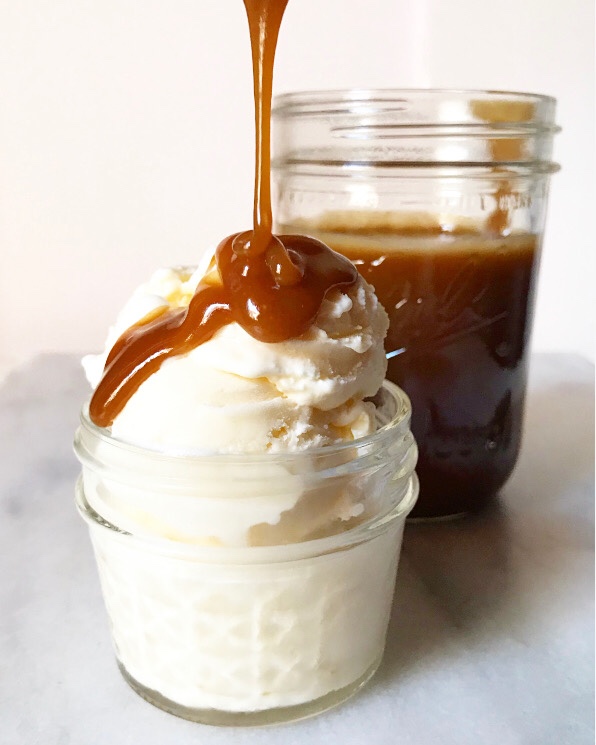
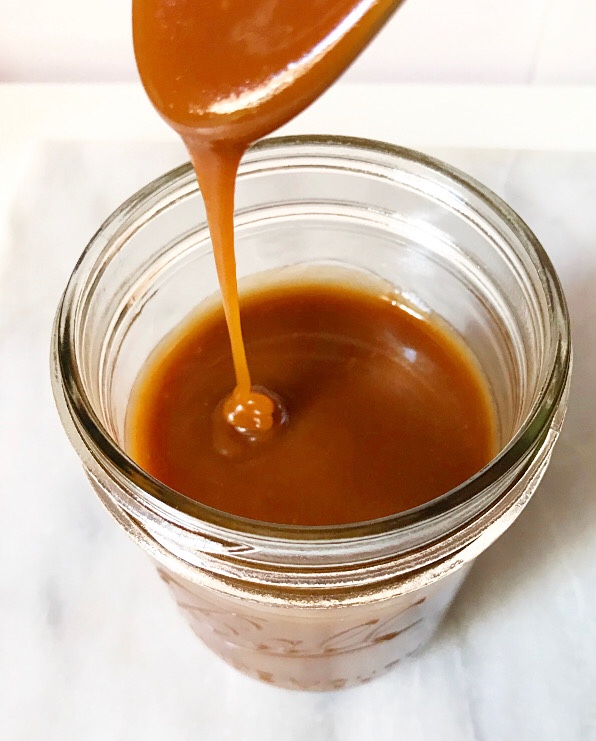
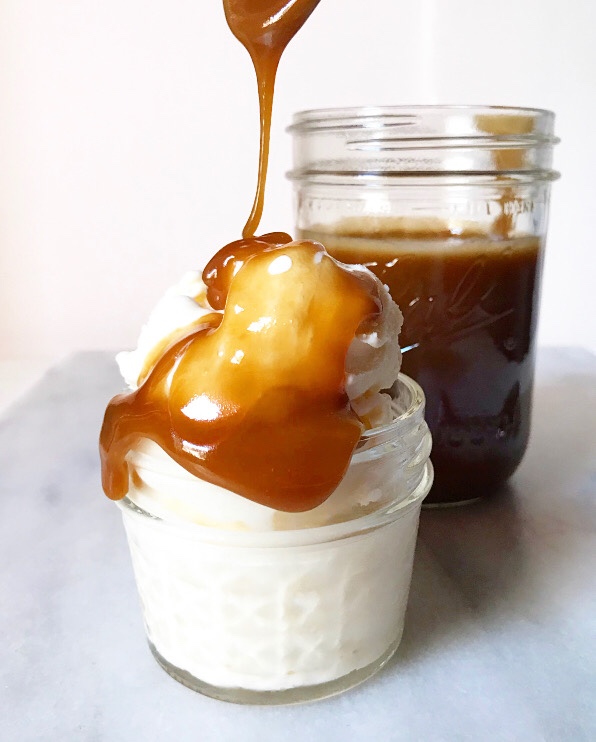
This sauce is thick and golden and best served piping hot, so that it will set softly on whatever delicious thing over which it’s been poured. It’s rich, buttery and has good hits of salt and vanilla to complement its brown sugar flavor. And it’s easy to make.Butterscotch Sauce
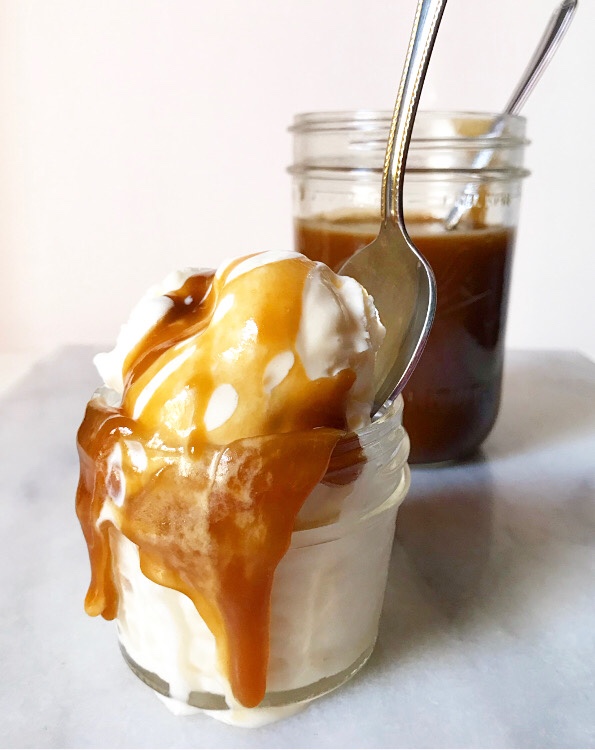
You might even say it’s a snap.Butterscotch Sauce

Butterscotch Sauce
makes about 1 1/4 cups

1 cup dark brown sugar, packed
2 tablespoons unsalted butter
1/4 teaspoon Kosher or sea salt
1 cup heavy cream
2 teaspoons pure vanilla extract

Without stirring or jostling, combine dark brown sugar, butter, salt, and heavy cream in a 4-quart pot. Bring to a boil over medium heat. Let boil 5 minutes. Do not stir. Remove from heat. Stir in vanilla.

Let cool 10 minutes before serving hot over ice cream. Leftovers keep well in the refrigerator for at least a week.

The best way to reheat this sauce is by putting it in a pot over medium-low heat and stirring just until heated through. Butterscotch may also be warmed in 30 second intervals in the microwave, stirring between, until hot.

Butterscotch SauceButterscotch Sauce

Butterscotch Cream Pie {Two Year Anniversary!}

Butterscotch Cream PieThis blog is going to turn two this weekend. Two!

When I posted my first recipe in October of 2015, I didn’t know if I’d make it two months as a blogger, let alone two years!

Butterscotch Cream PieFor those keeping count, that’s 220 recipes, 230 total posts, and about 2,147 cans of LaCroix 😊

Thank you for reading my posts, following me on social media, sharing my work, and most importantly, making my recipes! Your support makes running this little site more fun than work–I can’t wait to see what we bake up in year three 💗 But before we get to that, let’s finish out this second year with Butterscotch Cream Pie.

Butterscotch Cream PieSomething happens around this time every year where I totally lose my ability to think about anything but pie. It’s fall in New York City, y’all–the light is golden, the leaves are turning, it’s…77 degrees.

Butterscotch Cream PieI’ve got plenty of traditional pastry crust pies coming your way next month (because Thanksgiving!), but on what is probably, hopefully one of the last warmish days we’ll have for a while (please, please, please let it be so), I’m sharing a pie that is nearly-no-bake, bursting with caramelized brown sugar flavor, and best served ice cold.

Butterscotch. Cream. Pie.

Butterscotch Cream PieLet’s talk pie crust. I love a traditional graham cracker crust. I’m just crazy about the crumbly texture, the honey graham flavor, and the butter–it’s a combination that simply can’t be beat…

Butterscotch Cream PieButterscotch Cream PieButterscotch Cream Pie…unless you cut it with jagged pieces of saltine cracker. And then mix that combination with dark brown sugar and melted butter. And press it into a pie plate. And bake it ‘til it gets a little toasty. This is definitely one for the sweet & salty obsessed 🙋

Butterscotch Cream PieButterscotch Cream PieIt gets better. We’re going to fill that crust with homemade butterscotch pudding! I took the liberty of testing eight different iterations of butterscotch pudding, and this version is everything I hoped for and more. It’s smooth and creamy and straightforward and you don’t need a candy thermometer to make it. Oh, and it tastes like butterscotch and not just brown sugar…which wouldn’t be anything to complain about, but that’s not what we’re going for today.

Butterscotch Cream PieMaking butterscotch pudding is super simple, but it’s a little different from the pudding fillings you’ll find in my Chocolate and Coconut Cream Pies. One thing it definitely has in common with them? It cannot be left alone. Do not step away. Do not stop whisking. Make sure all your ingredients are prepared and within arm’s reach because once you start making pudding, you’re in it for the long haul. Or like fifteen minutes.

My butterscotch pudding starts with bringing dark brown sugar, light corn syrup (not the same as high fructose corn syrup!), water, and lemon juice to a bubble. This melts the sugar, keeping the finished pudding from being grainy, and gives us that caramelized brown sugar flavor that makes butterscotch so dang good.

Butterscotch Cream PieLet it boil for a minute, whisking constantly all the time, before turning the heat to low and adding some cornstarch and a teaspoon of salt. Then slowly and carefully whisk in three cups of whole milk. This will cause the molten sugar to bubble up somewhat dramatically, but don’t panic! Just keep whisking. Just keep whisking.

From there, the pudding is pretty straightforward. Bring the milk mixture to a boil, whisk half of it into some beaten egg yolks, bring that to a boil, and then remove everything from the heat and stir in some butter and vanilla. For whatever reason, this pudding is more prone to lumps that any others I’ve made. I highly recommend passing it through a sieve (or a clean wire mesh colander) before pouring the filling into the pie crust.

Butterscotch Cream PieOh my.

Press plastic wrap to the top of the pudding and then chill the pie for a few hours. You want it super cold. Remove the plastic wrap, whip some cream, and spread it all over the surface of the pie.

Butterscotch Cream PieButterscotch Cream PieButterscotch Cream PieButterscotch Cream PieMmhmm.

Butterscotch Cream PieY’all, it doesn’t get much better than this. Butterscotch Cream Pie is cold, creamy, sweet, full of buttery, dark brown sugary butterscotch flavor, and has a salty punch from that graham and saltine crust. Aside from a dog, a good man, and a job where I can wear stretchy pants everyday, it’s basically everything I want in life.

Butterscotch Cream PieHappy Friday, y’all. Happy two years, E2 Bakes.

Butterscotch Cream PieLooking for more butterscotch? Or more pie? Try my Salted Butterscotch Pie–it’s the best of both worlds.

Butterscotch Cream Pie
makes 1 9-inch pie

Crust:
3 ounces saltine crackers (about 30 crackers/most of a sleeve)
5 full sheets honey graham crackers
1/4 cup dark brown sugar, packed
1/2 cup (1 stick) unsalted butter, melted

Butterscotch Filling:
1 1/4 cups dark brown sugar, packed
2 tablespoons light corn syrup
2 tablespoons water
1 teaspoon lemon juice or apple cider vinegar
1/4 cup cornstarch
1 teaspoon Kosher or sea salt
3 cups whole milk
4 large egg yolks, lightly beaten
4 tablespoons unsalted butter
2 teaspoons pure vanilla extract

Whipped Cream:
1 cup heavy cream, cold
2 tablespoons confectioner’s sugar
1 teaspoon pure vanilla extract

Preheat oven to 350F. Lightly grease a 9-inch pie plate. Set aside.

Place saltines and graham crackers in a gallon-size zip-top bag. Close the bag and use a rolling pin to crush them into small pieces. Pour saltine/graham cracker mix to a medium mixing bowl and stir in dark brown sugar. Add melted butter and fold to coat. Press mixture onto the bottom and up the sides of the prepared pan. Use a measuring cup to help pack the mixture down. Bake for 8-10 minutes. Cool on a rack while you prepare the filling.

Combine dark brown sugar, light corn syrup, water, and lemon juice in a 4-quart saucepan. Whisking constantly, bring to a bubble over medium-high heat. Let boil one minute before turning heat to low. Do not burn. Whisk in cornstarch and salt. Stir in milk–mixture may boil up violently, but just keep whisking. Return heat to medium-high and continue whisking until mixture thickens and boils for one minute. Remove from heat.

Temper the egg yolks. Whisking the yolks constantly, slowly pour in half of the molten mixture until completely combined. Add egg yolk mixture to the pot and turn heat back up to medium-high. Continue to whisk until mixture boils for 1 minute. Remove from heat. Whisk in butter and vanilla. Mixture should coat the back of a spoon.

Push filling through a sieve to remove any lumps. Pour filling into prepared crust. Cover the pie with plastic wrap and chill for at least six hours or overnight.

Make the whipped cream. In a medium-large mixing bowl, combine heavy cream, sugar, and vanilla. Use an electric mixer to whip cream until stiff peaks form. Top pie with whipped cream.

Serve immediately. Leftover pie will keep covered in the refrigerator for up to three days.

Butterscotch Cream Pie

Salted Butterscotch Pie

Salted Butterscotch PieDid y’all watch the World Series? I did–I always do. I don’t care who’s playing (unless it’s the Texas Rangers), I just love baseball. Over the last month, I have watched nearly every single game that was broadcast. I’ve politely turned down invitations, ducked out early, and informed friends that I’d be back up for socializing just as soon as the World Champions were crowned. That’s not to say that I have been a hermit. My friend, Jody, and I have a running text chat for the duration of every postseason (check out his web comic here). And my pal, VJ, was brave enough to watch the last game of the NLDS with me. While I experienced the full range of human emotion over the first few innings, she said “Betsy,* watching you watch baseball is way more interesting than actual baseball.” Perhaps it’s a good thing that the postseason is over now 😬

*Yes, she calls me Betsy. Read the story on that here.

Salted Butterscotch PieI’ve been a little slow to blog these past few weeks, but can you blame me? The Chicago Cubs were playing. And they WON after 108 years! I couldn’t miss that.

Now that all the baseball is suddenly over, I’ve got a bit of a postseason hangover: I kind of don’t know what to do with myself if I’m not watching a high-stakes game! Rest assured, it’ll pass. I’ve got plenty to do to distract myself–Thanksgiving is coming up in a few weeks! Here on E2 Bakes, that means it’s pie season. I’ll be sharing three new pie recipes leading up to Turkey Day.

First up? This Salted Butterscotch Pie. You read that right. Salted. Butterscotch. Pie. YUM!

Salted Butterscotch PieThis pie, y’all. It’s going to be a new favorite. Not only is it bursting with the buttery brown sugar flavor of butterscotch–it’s quick and easy to assemble and slices like a dream! The crust is my go-to Cream Cheese Pie Dough. It’s my favorite pie dough ever: there’s no guess work with the liquid, it never tears, and it is seriously flaky and delicious. Try it sometime!

Anyway, roll out your crust, fit it in a pie plate, and crimp it. Then throw it in the freezer. Freezing the shaped dough will help keep your pie crust from shrinking while baking. Since this pie’s filling is just liquid (and liquid moves when heated), there’s not a whole lot keeping it in place. Don’t skip this step!

Salted Butterscotch PieThe butterscotch filling is super easy to make. It’s mostly just whisking. Start with two cups of dark brown sugar and a bunch of eggs. There are four eggs and two egg yolks in this pie. That may seem like a lot, but they are a powerhouse in this filling. The eggs, along with the brown sugar, provide the smooth texture as well as richness and structure!

Once the dark brown sugar and eggs are combined, mix in milk, apple cider vinegar, vanilla, and melted butter. Lastly comes a little flour to thicken the filling, some cinnamon and nutmeg for depth, and salt. The filling will be soupy going into the oven, but once it bakes, it will become dense and custardy.

Salted Butterscotch PieWhen the pie comes out of the oven, sprinkle it with finishing salt. I am partial to Trader Joe’s Cypriot Pyramid Salt because of the big crunchy flakes, but use whatever salt you like. Gray salt and Fleur de Sel are good choices, but if you have some specialty salt in the back of your spice cabinet, feel free to use that. As the pie cools, the salt will adhere itself to the top, adding a little salty punch to every sweet butterscotch bite.

And speaking of cooling, this Salted Butterscotch Pie doesn’t require a long rest between baking and eating. The pie pictured was sliced just one hour after baking! It’s super structurally sound at any temperature and can be served warm, room temperature, or cold. It’s the dream. And if you have vanilla ice cream to go with it, all the better.

Salted Butterscotch PieSalted Butterscotch PieLooking for more Thanksgiving pie inspiration? Check out this Black Bottom Pear & Almond Pie and this light and fluffy Pumpkin Pie!

Salted Butterscotch Pie
makes one 9-inch standard pie

1/2 recipe Cream Cheese Pie Dough or other good crust
2 cups dark brown sugar, packed
4 large eggs + 2 large egg yolks, room temperature
1/2 cup whole milk
1 tablespoon apple cider vinegar
2 teaspoons pure vanilla extract
4 tablespoons unsalted butter, melted and cooled slightly
2 tablespoons all-purpose flour
1/8 teaspoon ground cinnamon
1/8 teaspoon ground nutmeg
1/2 teaspoon Kosher or sea salt
1/2-1 teaspoon finishing salt, for topping
vanilla ice cream, for serving (optional)

Roll out pie crust to a 12-inch diameter and fit it in a 9-inch standard pie plate. Trim the excess to 1/2-inch and crimp as desired. Freeze prepared crust for 15 minutes while you make the filling.

Position oven racks to the top and bottom positions. Preheat oven to 350F. Place dark brown sugar in a large mixing bowl. Whisk in eggs and yolks one at a time until completely combined. Stir in milk, apple cider vinegar, and vanilla. While whisking constantly, drizzle in the melted butter until combined. Stir in flour, cinnamon, nutmeg, and salt. Let filling sit five minutes for any large bubbles to dissipate. Remove crust from the freezer and place it on a baking sheet. Pour filling into prepared crust (you may have a few tablespoons leftover).

Bake pie for 25 minutes on the bottom rack of the oven. Move pie to the top rack of the oven and tent loosely with foil. Bake 25-35 minutes, until filling is puffy. When the filling is done, it should jiggle just slightly when the pan is jostled and a toothpick inserted in the middle should come out clean. Once the filling deflates, sprinkle the pie with finishing salt. Let pie cool on a rack until it reaches room temperature. Serve in small slices with ice cream, if desired.

Pie will keep covered at room temperature for up to three days, or in the refrigerator for up to five.

Salted Butterscotch Pie