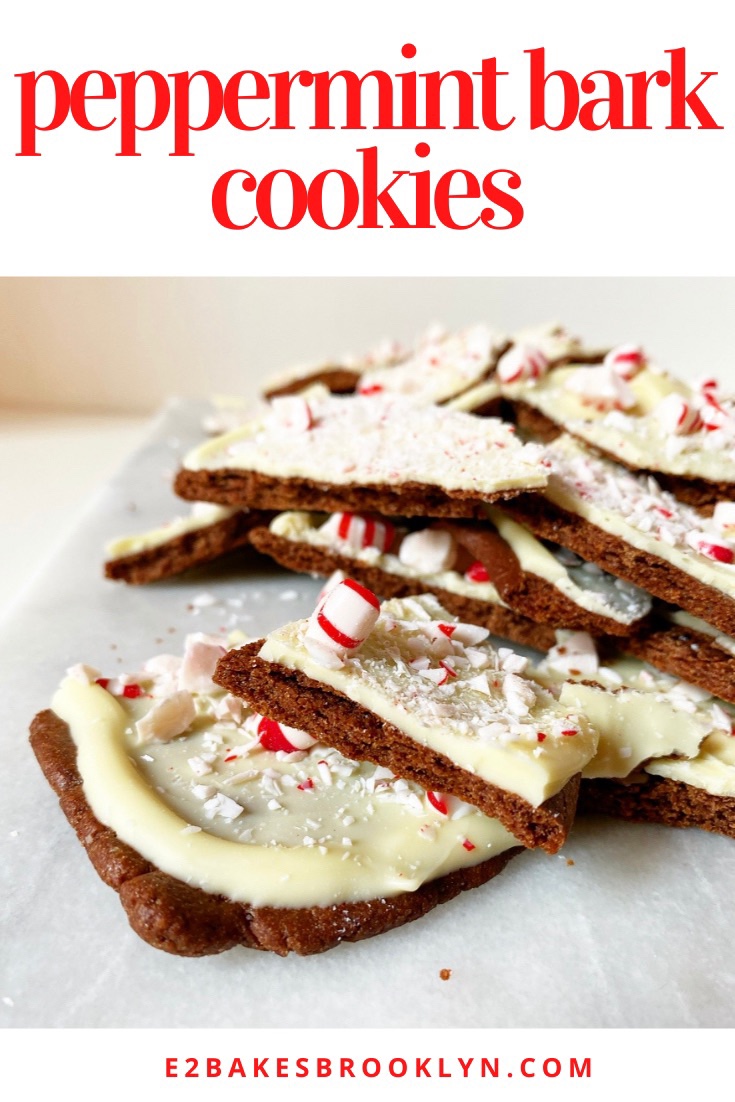
 How have I never put peppermint bark on here? It’s chocolate, it’s peppermint, it’s festive, it’s iconic, and yet it’s never graced this blog. That is, unless you count assembling it on top of a giant sheet of chocolate cookie and then breaking it into a zillion jagged pieces, which I very much do.
 Ooooh y’all, these have been a long time coming. Over the years, I have tested putting peppermint bark on a cookie cake, shortbread bars, potato chips and brownies, none of which have made to on the blog, but these Peppermint Bark Cookies? These are where it’s at. If you make one new cookie recipe this holiday season, let this be it. It’s the best of two worlds (peppermint bark and cookies, duh), surprisingly simple, and so, so good.
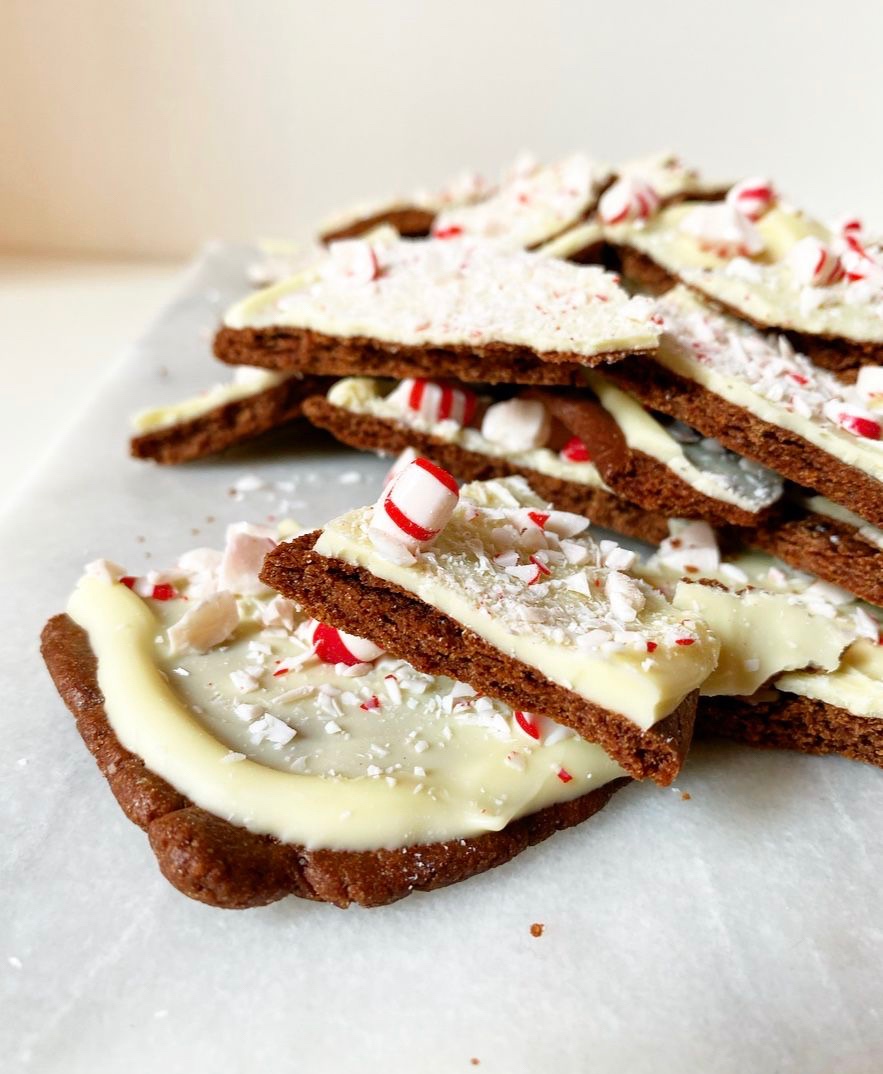 The dough comes together in a flash. It’s just my chocolate cut-out cookie recipe, but instead of stamping out cookies with graduated cutters, it’s divided in two and rolled into big rectangles. Each one gets a 15 minute freeze, a 17 minute bake and then has to cool completely before the peppermint barking. <—Sounds weird, keeping it anyway.
The way the recipe is written, these big cookies retain a good amount of softness, but aren’t gooey or underdone at all. Once baked and cooled, you can wrap them in plastic and wait a day or two before assembly, or you can get right to it.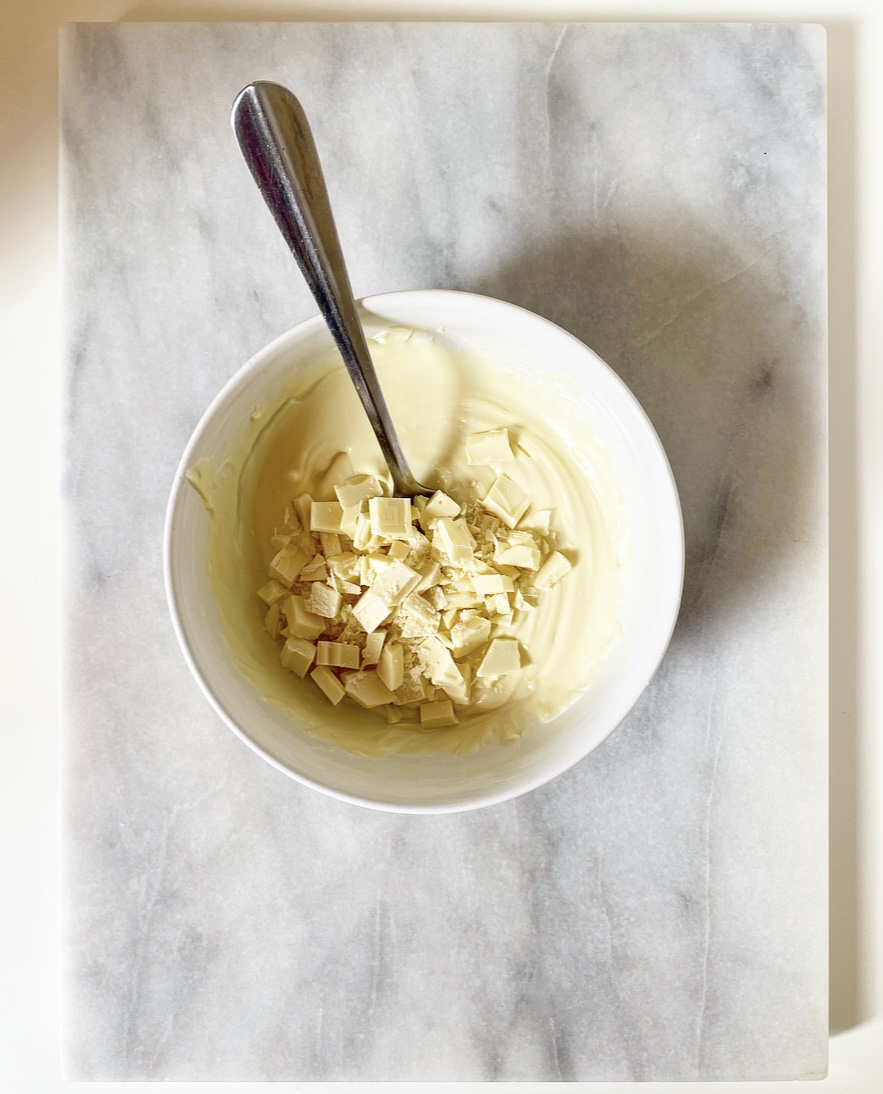
 This part—the peppermint bark part—is easy, but I still have a few tips for you.
Use good quality pure white chocolate, like Ghirardelli or even Baker’s. Please don’t use white chocolate chips. Just don’t. Melting white chocolate is always a little finicky, but white chocolate chips? Forget it—too many stabilizers. I’ve outlined a microwave method for melting white chocolate in the recipe; it’s easy, but involves a few stops and starts and adding more chopped white chocolate at a certain interval. You may be wondering if any of that matters and if you can’t just chuck it all together and call it a day. And yeah, you can, but your white chocolate will never be as smooth and spreadable as what you see here. Heat and time, y’all. They’re important.
After your white chocolate is melted, add 1/2 teaspoon of peppermint extract. This will make your white chocolate seize slightly for a few seconds, but just keep whisking and it will smooth out. Could you skip the extract? Sure. But that extra hint of peppermint is wonderful.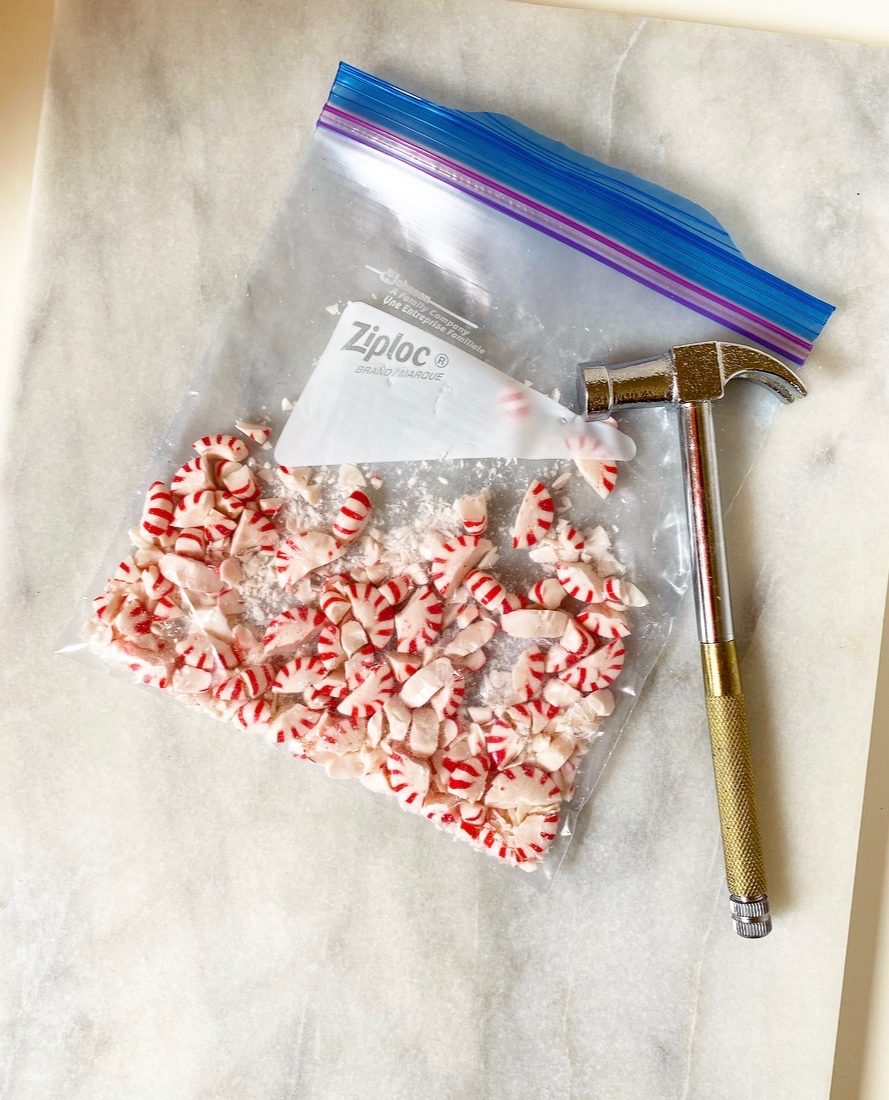 And speaking of peppermint, I like to use starlight peppermints in my Christmas baking. Some bakers prefer candy canes, but peppermints are cheaper ($1!) and look the exact same as candy canes when all bashed up. Oh, and unpopular opinion? They taste better than your average candy cane. Fight me.
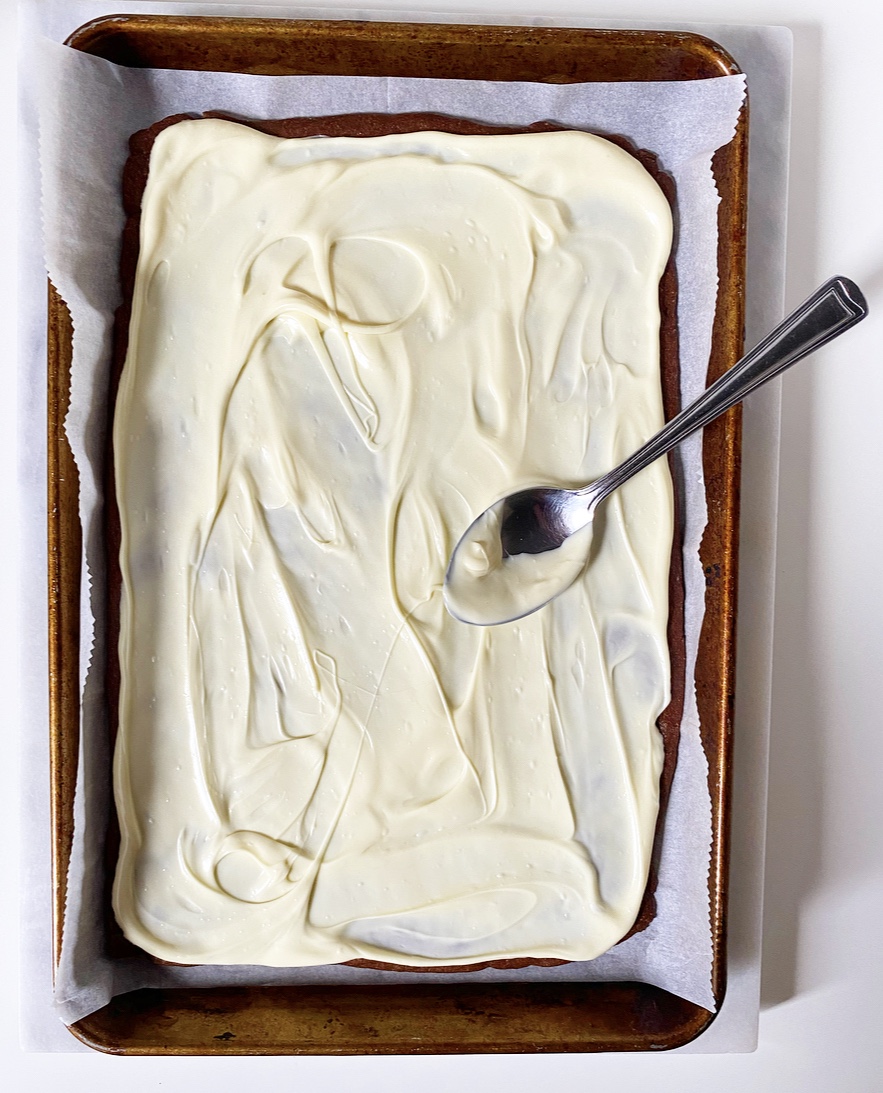
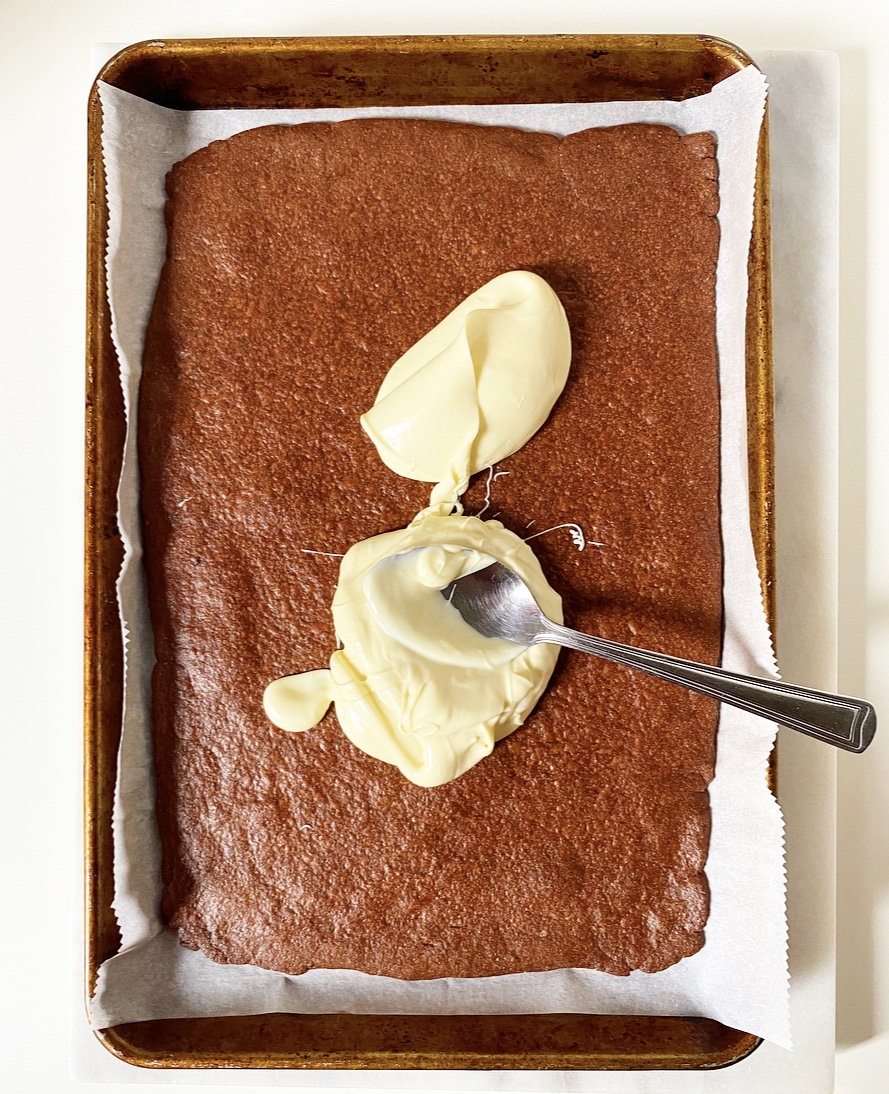
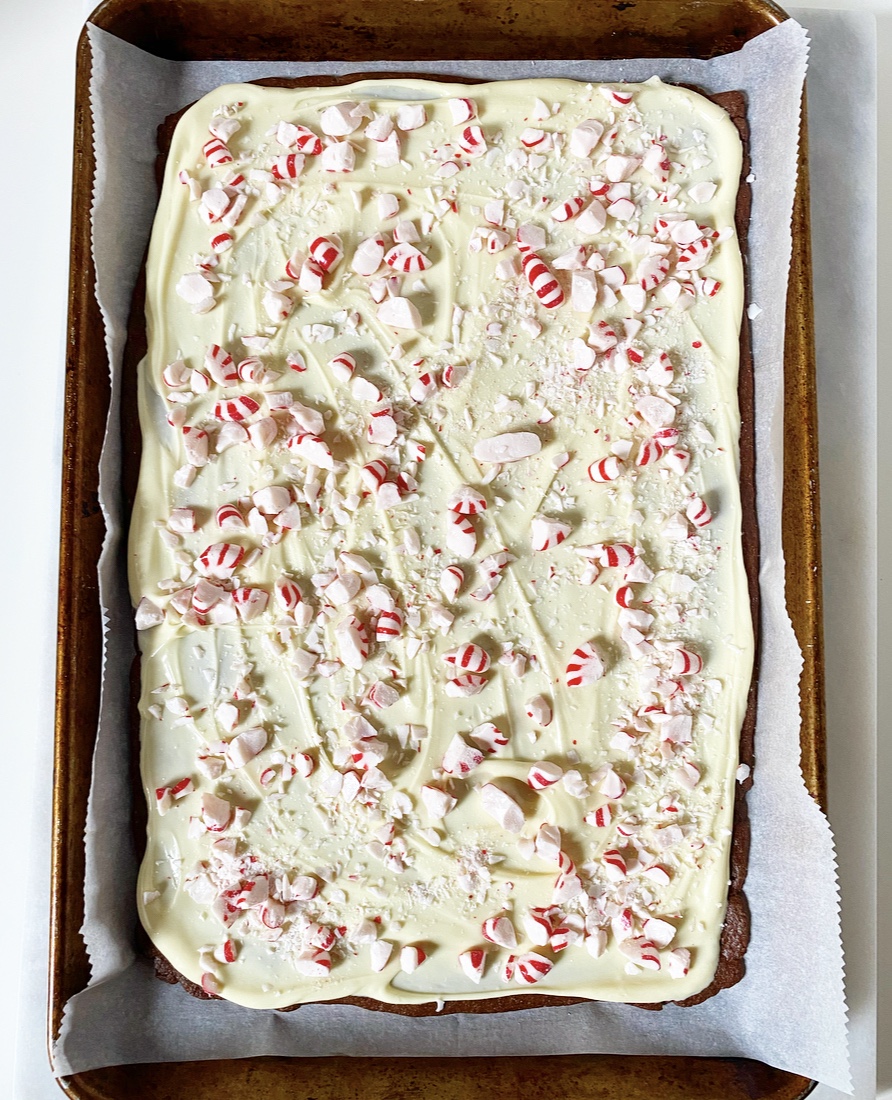 To make the peppermint bark, spread the melted white chocolate all over the big chocolate cookies and scatter on the bashed peppermints. Then give your cookies a 20 minute freeze to set the bark. You can also let it set at room temperature, but it will take a couple of hours and that seems like a lot when cookies can be had so much sooner.
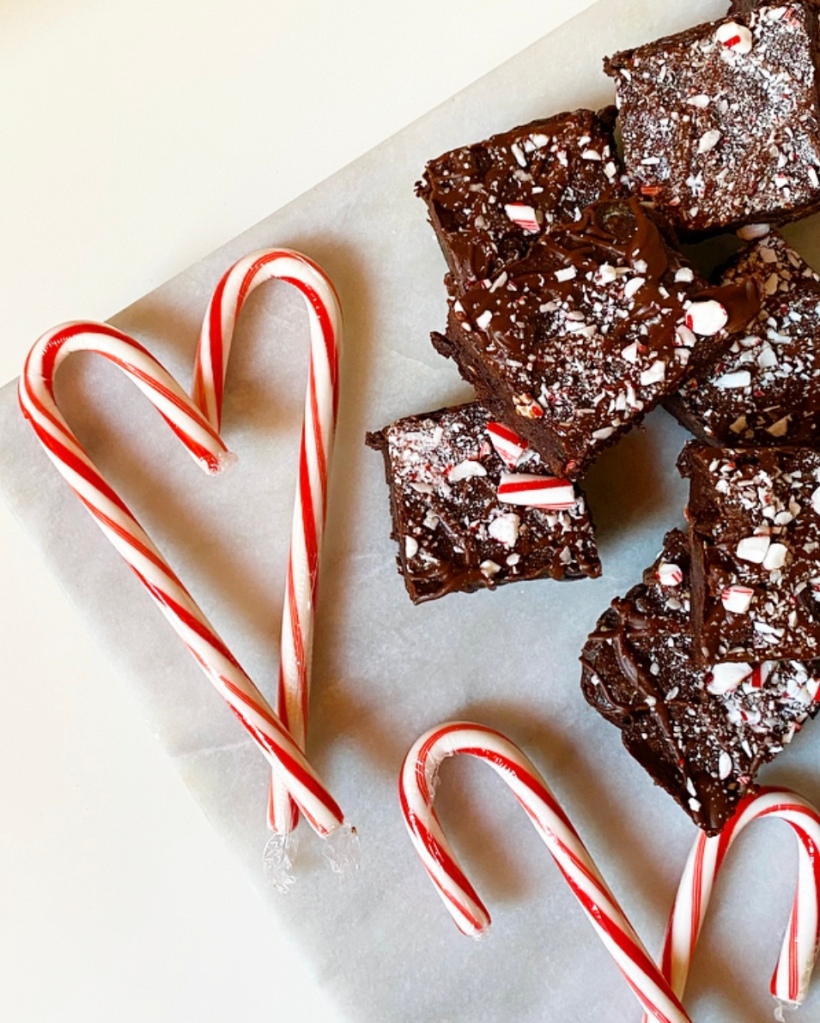
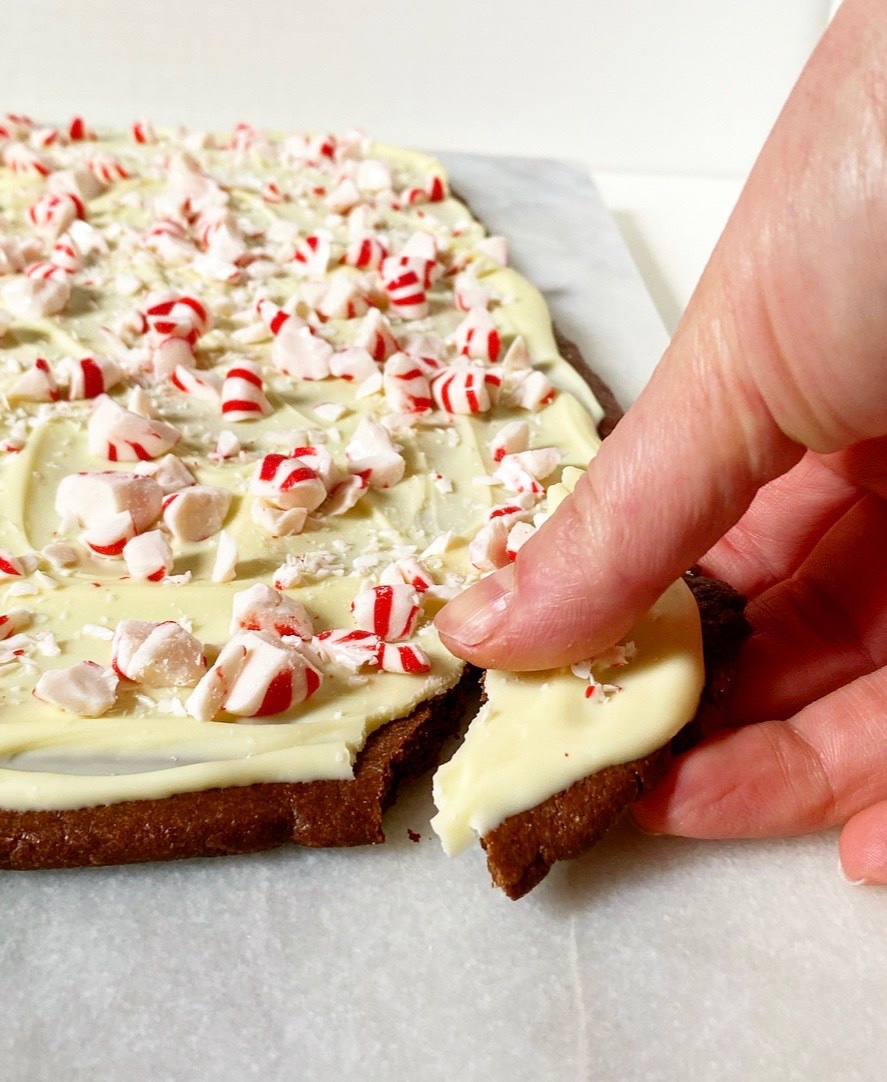 The last step in this process is the most fun: breaking the big cookies into shards! Just like with traditional peppermint bark, make the pieces as big or small as you like. Try to let go of the outcome—the charm here is that each piece is different. If you need uniformity with your Peppermint Bark Cookies, you can obviously slice the big rectangles into squares.
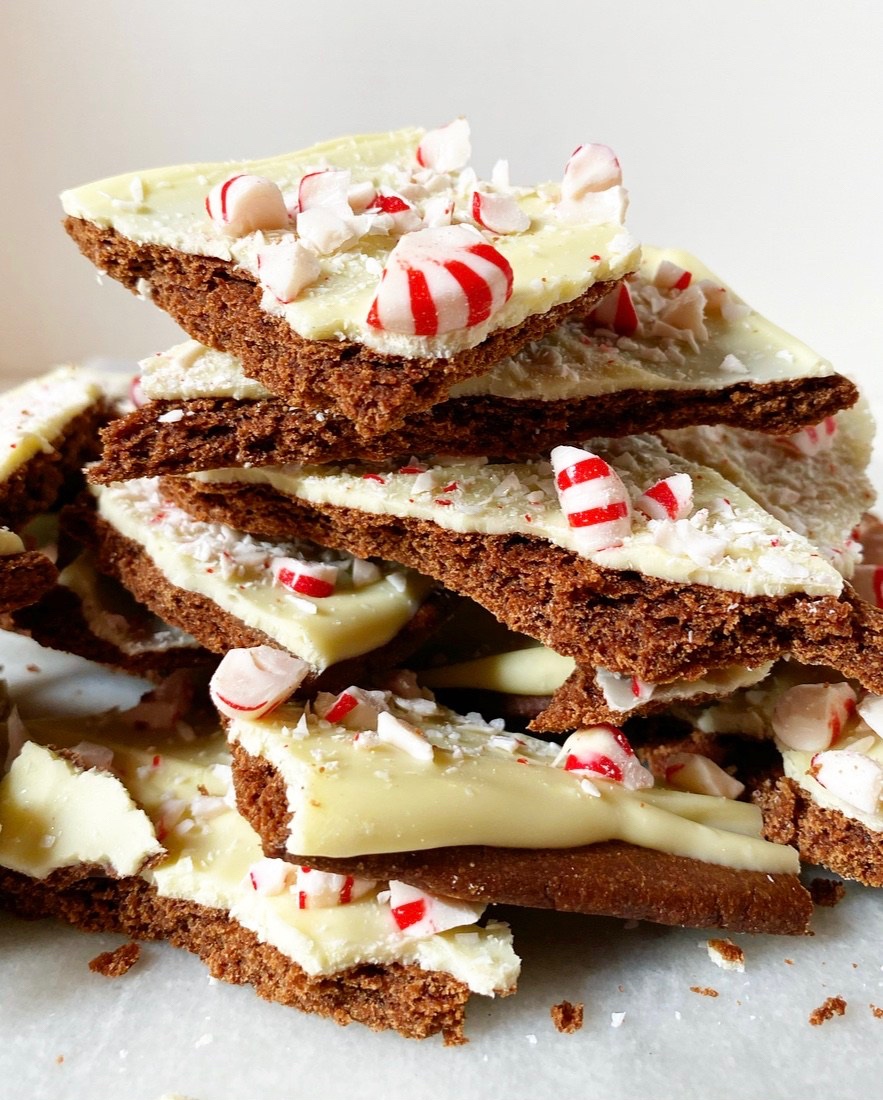
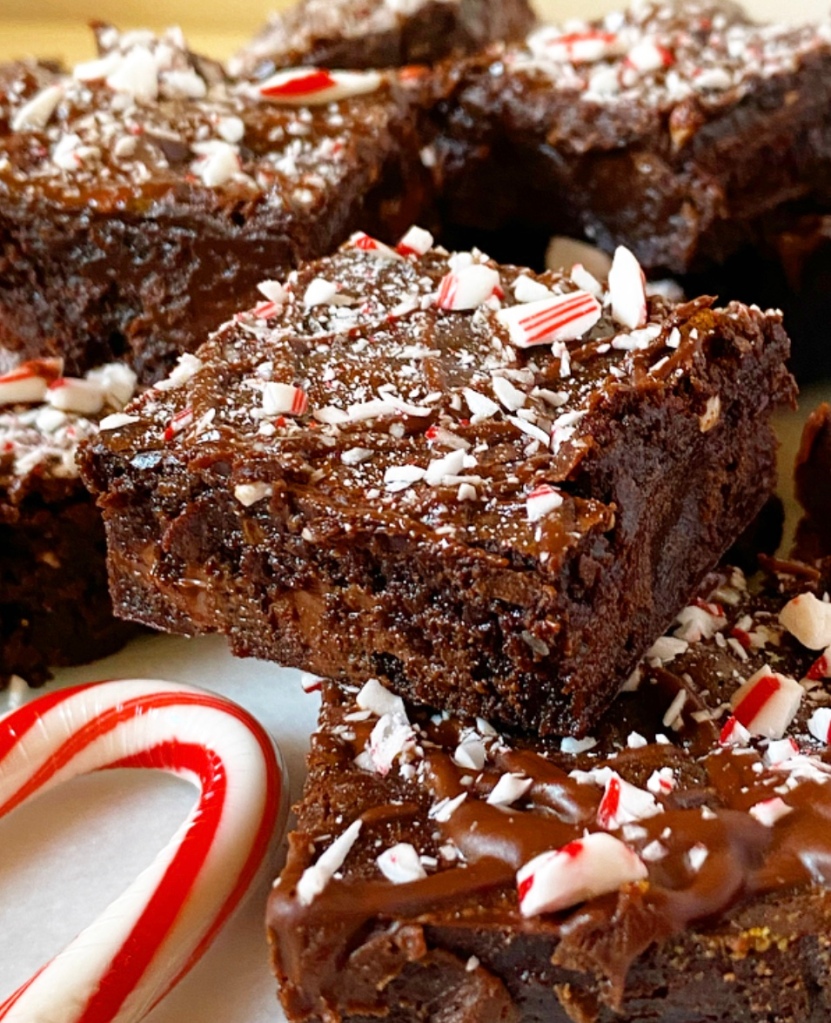
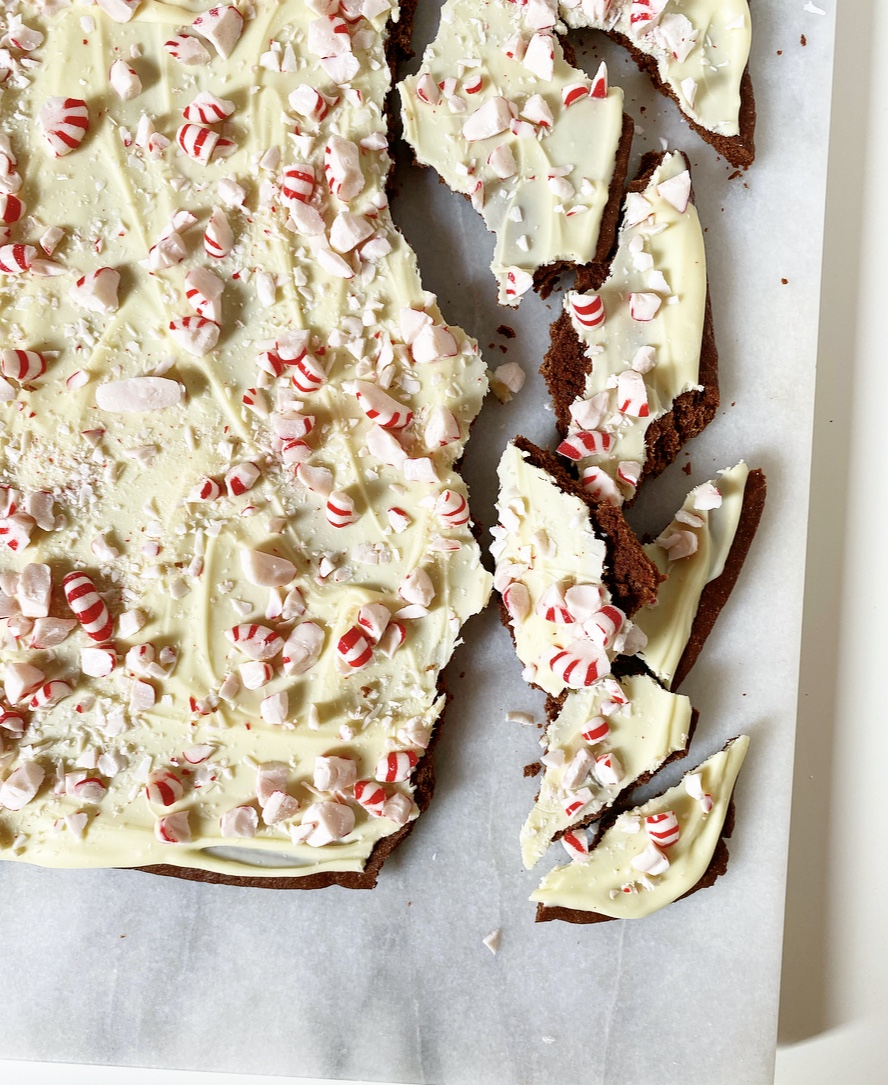 After that, it’s time to treat yourself! These cookies have it all: a soft chocolate base, a layer of smooth, snappy, peppermint-spiked white chocolate, a smattering of candy, and a whole lot of holiday cheer. They’re so delicious that you could easily hoard the whole batch to yourself, but I think they’d be amazing packed up in tins and gifted. And speaking of food gifting, that’s what we’re talking about on Friday. See you then!
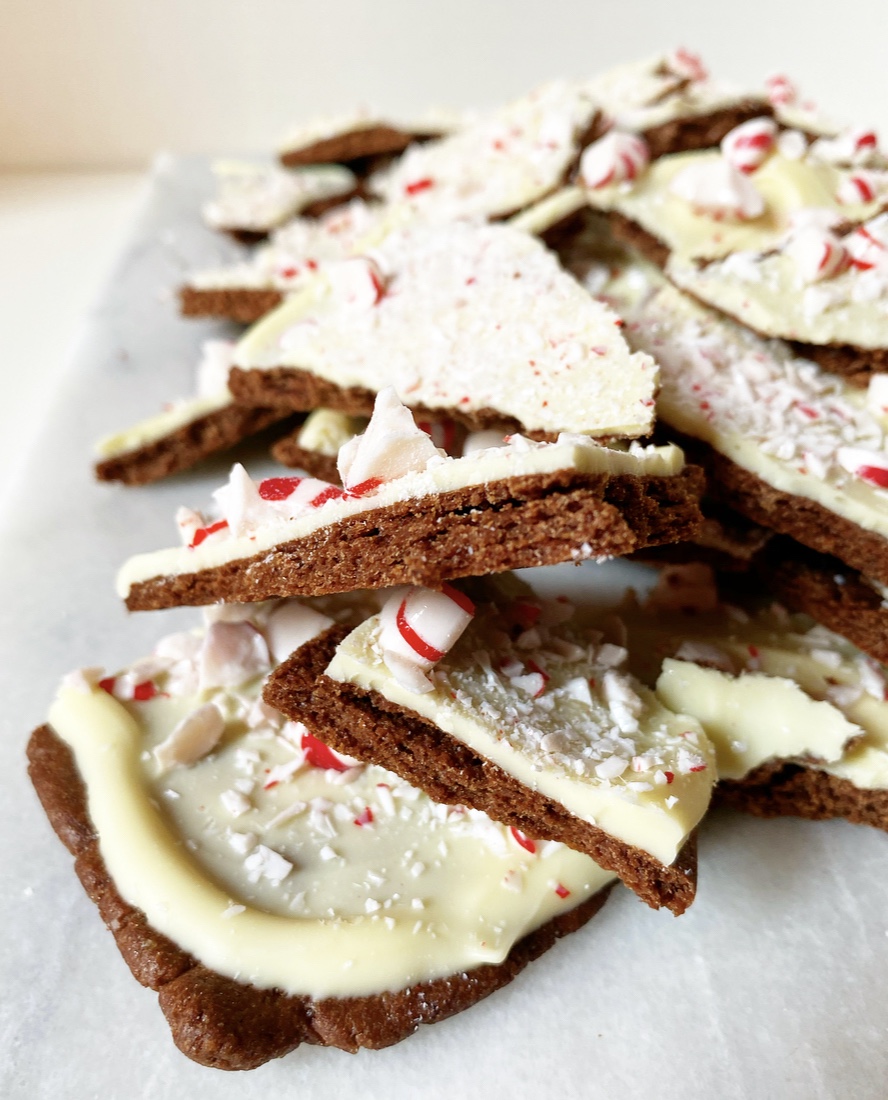
Peppermint Bark Cookies
makes lots
Chocolate Cookie Base:
2 1/2 cups all-purpose flour
3/4 cup unsweetened cocoa powder (natural or Dutch process)
1 1/2 teaspoons baking powder
1/2 teaspoon Kosher or sea salt
1 cup (2 sticks) unsalted butter, softened to room temperature
1/2 cup granulated sugar
1/2 cup light brown sugar, packed
1 large egg, room temperature
2 teaspoons pure vanilla extract
For peppermint bark:
40 starlight peppermints
16 ounces pure white chocolate (not white chocolate chips)
1/2 teaspoon pure peppermint extract (not mint extract)
Special Equipment:
rolling pin
2 12×16-inch sheets parchment
2 quarter sheet pans or jelly roll pans
small hammer/meat tenderizer/heavy object
Place oven racks in central positions. Preheat oven to 350F.
Make chocolate cookie base. In a large mixing bowl, whisk together flour, cocoa powder, baking powder, and salt. Set aside.
In a separate large mixing bowl, use an electric mixer to beat butter until light and fluffy, about 2 minutes. Mix in granulated and light brown sugars, followed by the egg and vanilla extract. Add dry ingredients in 3 installments, combining completely after each. Use your hands to knead dough into a mass, then divide it in two.
Lightly flour your rolling pin. Place one half of the dough on a sheet of parchment. Gently pat it into a rectangle shape before rolling it out to an 8×12-inch rectangle. You may need to slice off edges and patchwork your corners together—this is fine. Transfer dough (on parchment) to one rimmed sheet pan. Freeze 15 minutes. Repeat with remaining half of dough.
Bake frozen dough rectangles 17-18 minutes, until puffed and no longer raw looking. Watch the edges to make sure they don’t burn. Let cool completely on their pans on racks.
Prepare the peppermint bark. Place starlight mints in a ziptop bag and seal. Place bag on a cutting board, or other surface that can take some light bashing. Use a small hammer or other heavy object to smash peppermints into small pieces (follow your preference). Set aside.
Chop 12 ounces of the white chocolate and place in a medium microwave-safe bowl. Microwave in 30 second increments, stirring between, until melted (this takes 60 seconds in my microwave). Chop remaining 4 ounces of white chocolate and add to melted white chocolate. Microwave in 15 second increments, stirring between, until melted (this takes about 30 seconds in my microwave).
Add peppermint extract to white chocolate and stir until smooth. White chocolate may appear to seize at first, but just keep stirring and it will smooth out.
Divide white chocolate mixture onto the two rectangles and use the back of a spoon or offset knife to spread it to the edges, leaving a narrow border if desired. Sprinkle crushed peppermints over the top. Freeze cookies for 20 minutes to set white chocolate.
Remove cookies from freezer and let thaw a few minutes before breaking into pieces. Serve.
Leftovers will keep in an airtight container for a few days. Peppermints may degrade over time.


 Yesterday was my birthday. I’m 33 now.