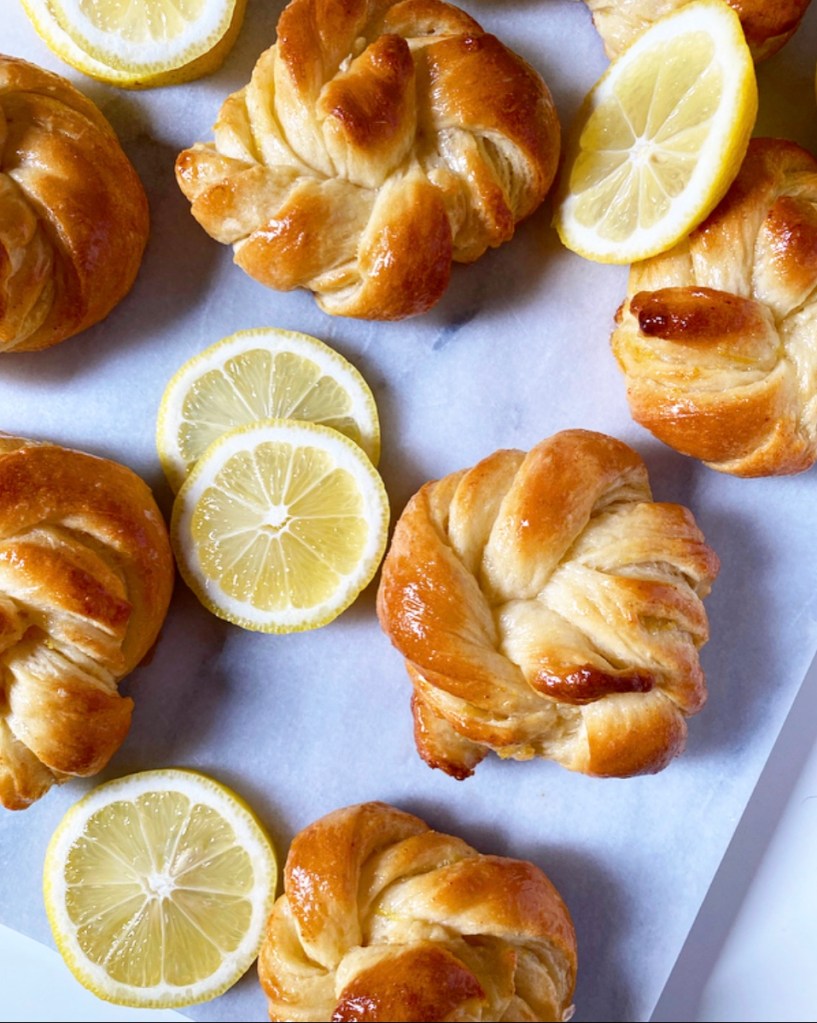
If you’re searching for a way to brighten up your weekend, look no further than these Lemon Morning Buns. They’re glossy, golden, gorgeous and swirled with fresh lemon flavor throughout.
This is my third morning buns recipe, and there’s a reason I keep returning to them: I get a lot of bang for my baking buck. Though these twisty little guys look like they take some real skill, the truth is that if you can make cinnamon rolls and tie a knot, you can make morning buns.
I’ve posted detailed shaping tutorials previously and will link to them in the recipe below, but rest assured that these buns really are simple beginning to end. The entire recipe has just 8 ingredients with several being used in multiple places. The dough is enriched with butter, egg and whole milk, and is a pleasure to work with; it’s smooth and sticky and kneads like a dream. Let it rise for 45 minutes or so, then layer it with a lemon-sugar filling and twist it into knots. Let them rise a little more, then bake and brush with a lemon glaze, leaving them shiny and a little sticky. Oh, and bursting with buttery lemon flavor.
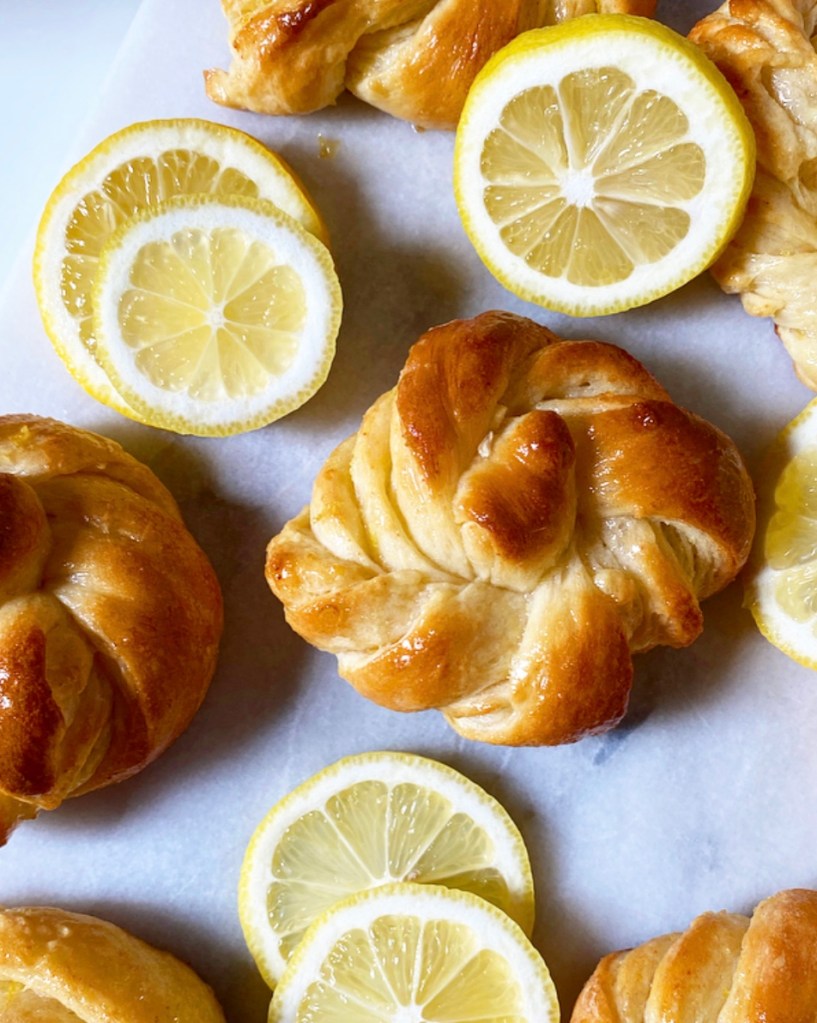
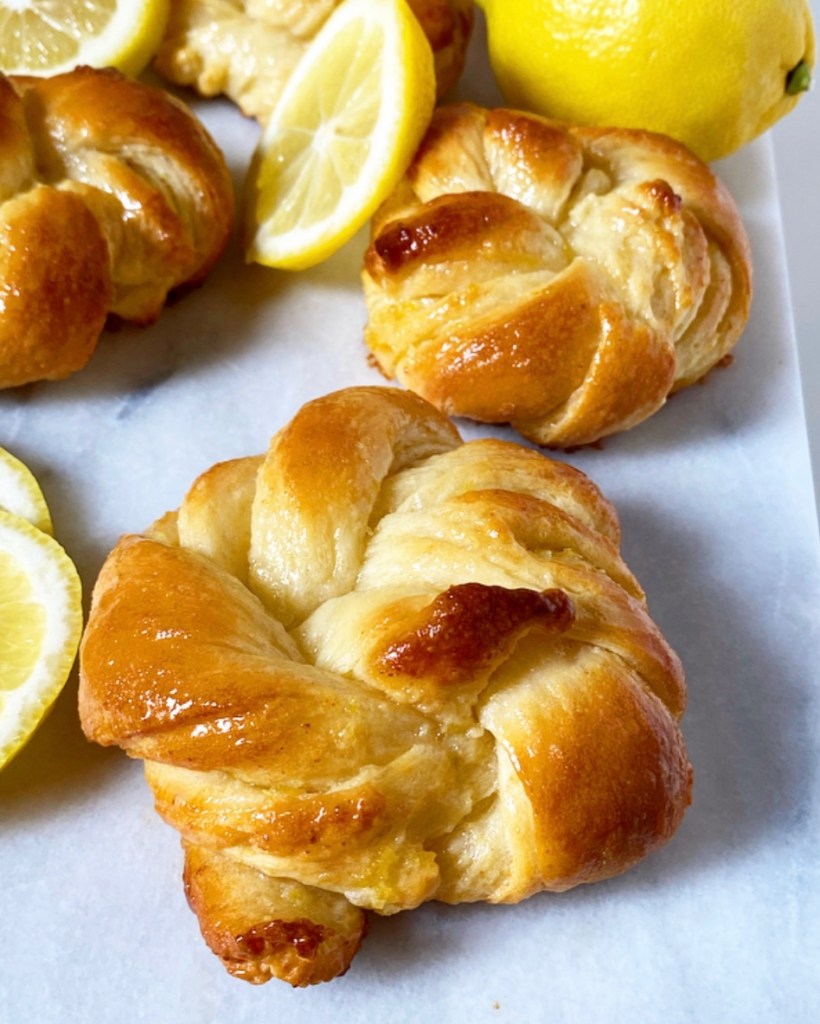
These Lemon Morning Buns are a great way to put a little sunshine in your weekend. Between their fluffy texture and intense lemon flavor, they’re guaranteed to brighten your day.

Lemon Morning Buns
makes 12 buns
Dough:
2 3/4-3 cups all-purpose flour
3 tablespoons granulated sugar
1 packet (2 1/4 teaspoons) instant yeast
1 teaspoon fine sea salt
3 tablespoons unsalted butter
1 cup whole milk
1 large egg, room temperature
Filling:
3 tablespoons granulated sugar
1 1/2 tablespoons fresh lemon zest
pinch of Kosher or sea salt
3 tablespoons unsalted butter, melted
Glaze:
1/3 cup fresh lemon juice (from about 1 1/2 medium lemons)
1/3 cup granulated sugar
1 tablespoon unsalted butter, cut into 4 pieces
Make the dough. In a medium-large mixing bowl, whisk together 2 3/4 cups all-purpose flour, sugar, instant yeast, and salt. Set aside.
In a small saucepan over medium-low heat, melt butter and milk together until just warm to the touch, about 95-110 degrees.
Crack the egg into a small mixing bowl. Whisking constantly, add the butter/milk mixture in a thin stream until completely combined. Add mixture to the dry ingredients and fold together. A shaggy dough should form and be pulling away from the bowl. Gradually add flour in 2 tablespoon increments until the it pulls away a bit.
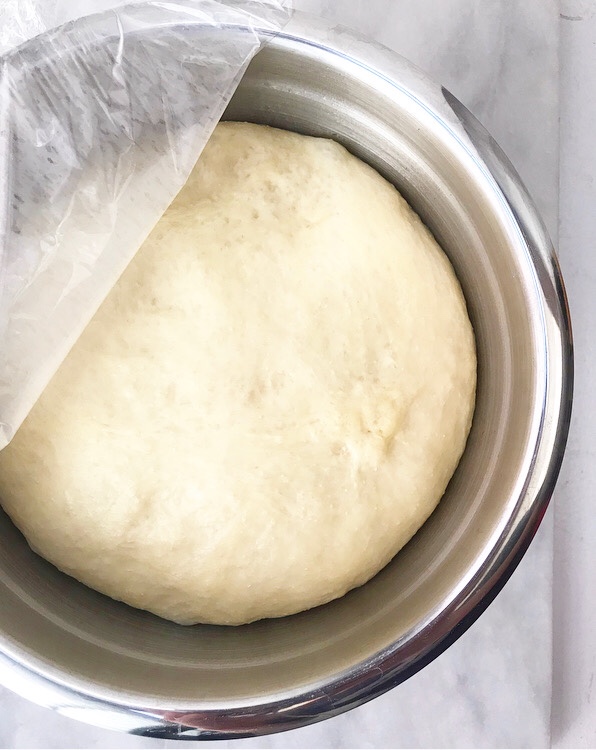
Turn dough onto a floured surface and knead 5-6 minutes, until smooth. Gather dough into a ball and place it in an oiled bowl, making sure to get a little oil on all sides. Stretch some plastic wrap over the top and allow dough to rise in a warm, draft-free environment for 45 minutes to 1 hour or until doubled in bulk.
In the meantime, line two rimmed baking sheets with parchment. Set aside.
Make the filling. Combine sugar, lemon zest and salt in a small bowl. Rub together with your fingers to release the oils in the zest.
**Shaping photo tutorial here!**
Shape the buns. Return dough to floured surface. Flour a rolling pin and roll dough into an 18x12-inch rectangle. Brush dough with butter, leaving a 1/2-inch border on all sides.
Mentally divide the dough into thirds, like an unfolded letter. Place half the sugar mixture in the middle third of the dough—it’ll be a 12x6-inch section surrounded by two buttered sections of the same size.
Carefully grab one short side of the dough and fold it over the center, so that the dimensions are now 12x12-inches. Brush the top of the folded section with more butter and scatter on the remaining sugar mixture. Fold the other short side over the top so that the dimensions are 12x6-inches. Tap edges “closed” with your rolling pin.
Carefully lift and turn dough over so that the seam is against the floured surface. Roll the dough so that the dimensions are 14x8-inches.
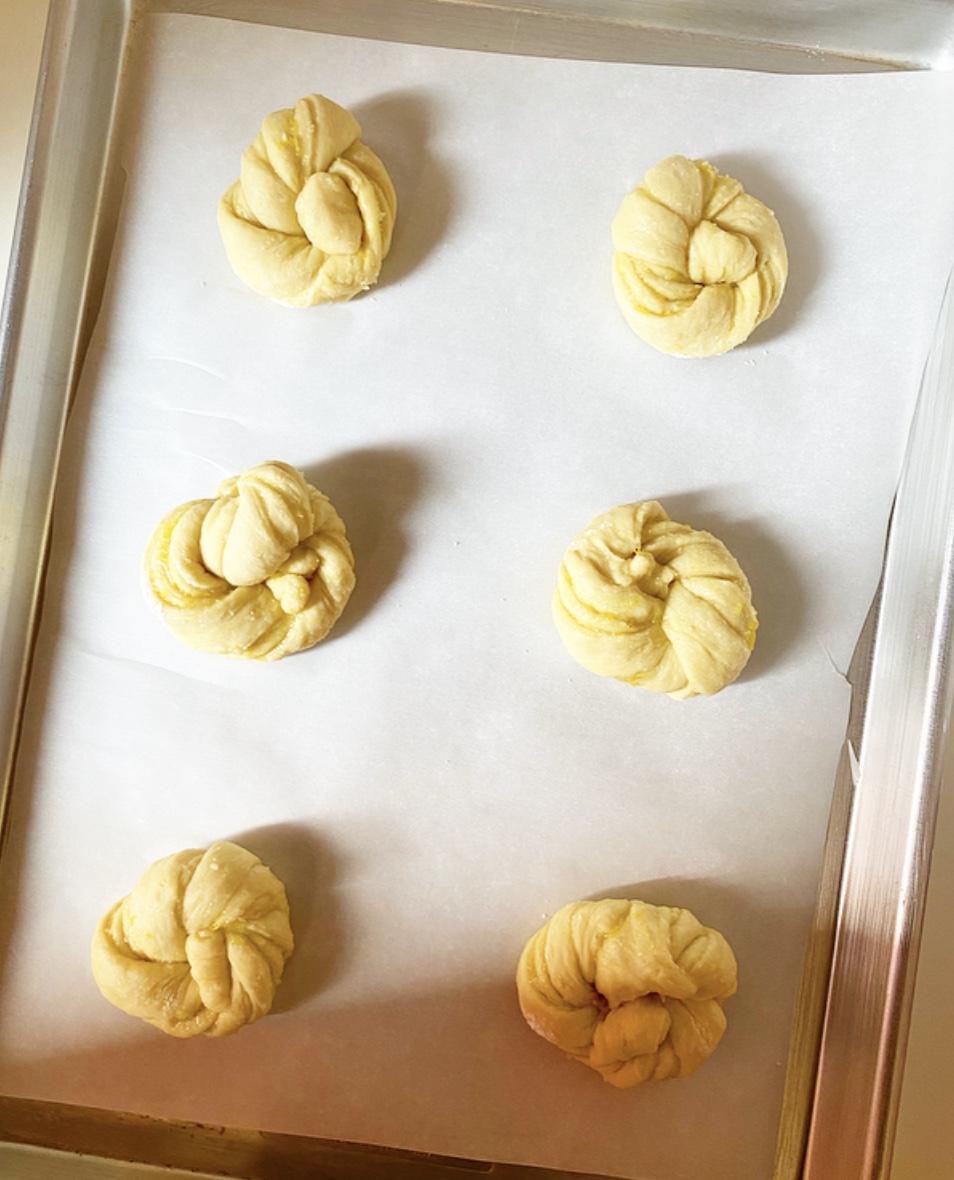
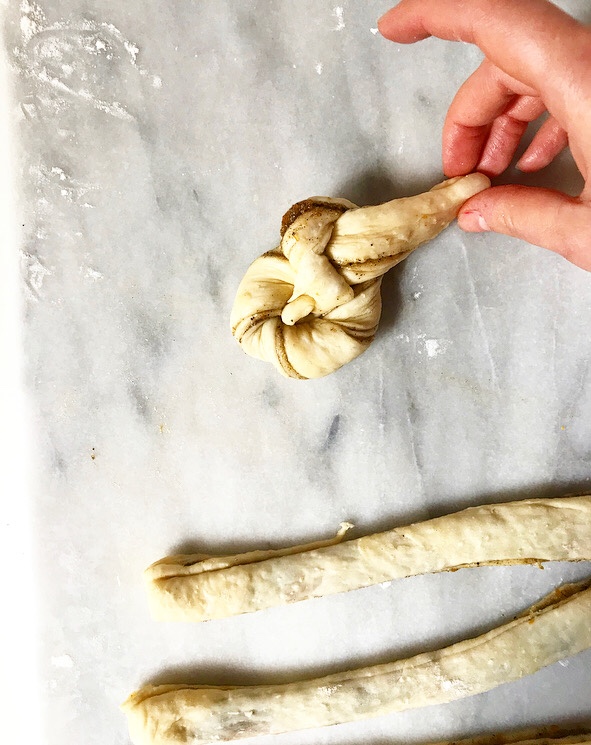
Use a large, sharp chef’s knife to trim the short edges of the dough by about 1/2-inch. Slice dough into 12 strips. Working with one strip at a time, twist the ends until you have a loosely-twisted rope of dough. Carefully bring ends toward one another until they cross over one another and create a small hole. Tuck ends into that hole. Place shaped buns on prepared pans, leaving about 6 inches of space between (I put 6 on a half-sheet sized pan).
Cover pans loosely with parchment or a clean tea towel and let rise in a warm, draft-free environment for another 25-30 minutes. Remove parchment/tea towel. The buns will not seem to have changed drastically, but if you poke one with your finger, the indentation should remain. If any ends have come loose, just nudge them back into the centers.
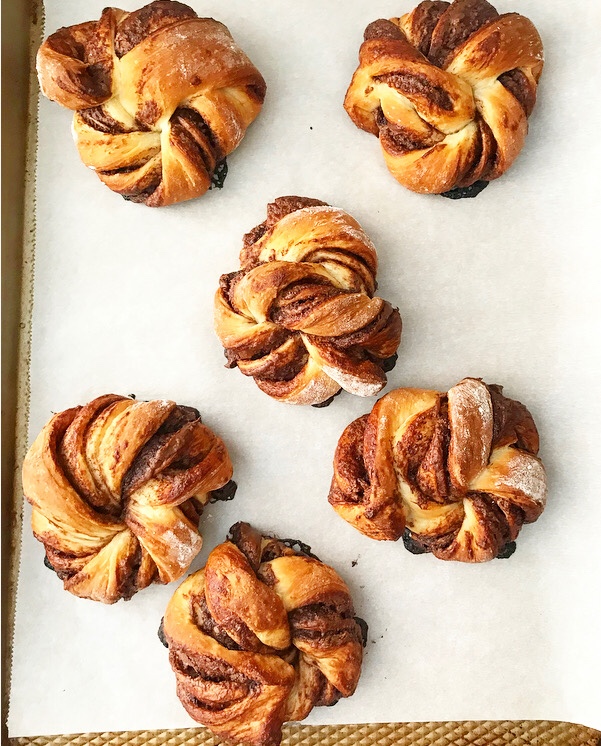
Place oven racks in the center positions. Preheat oven to 375F. Bake buns for 9 minutes. Rotate pans top-to-bottom and front-to-back. Bake another 8-9 minutes, or until golden brown.
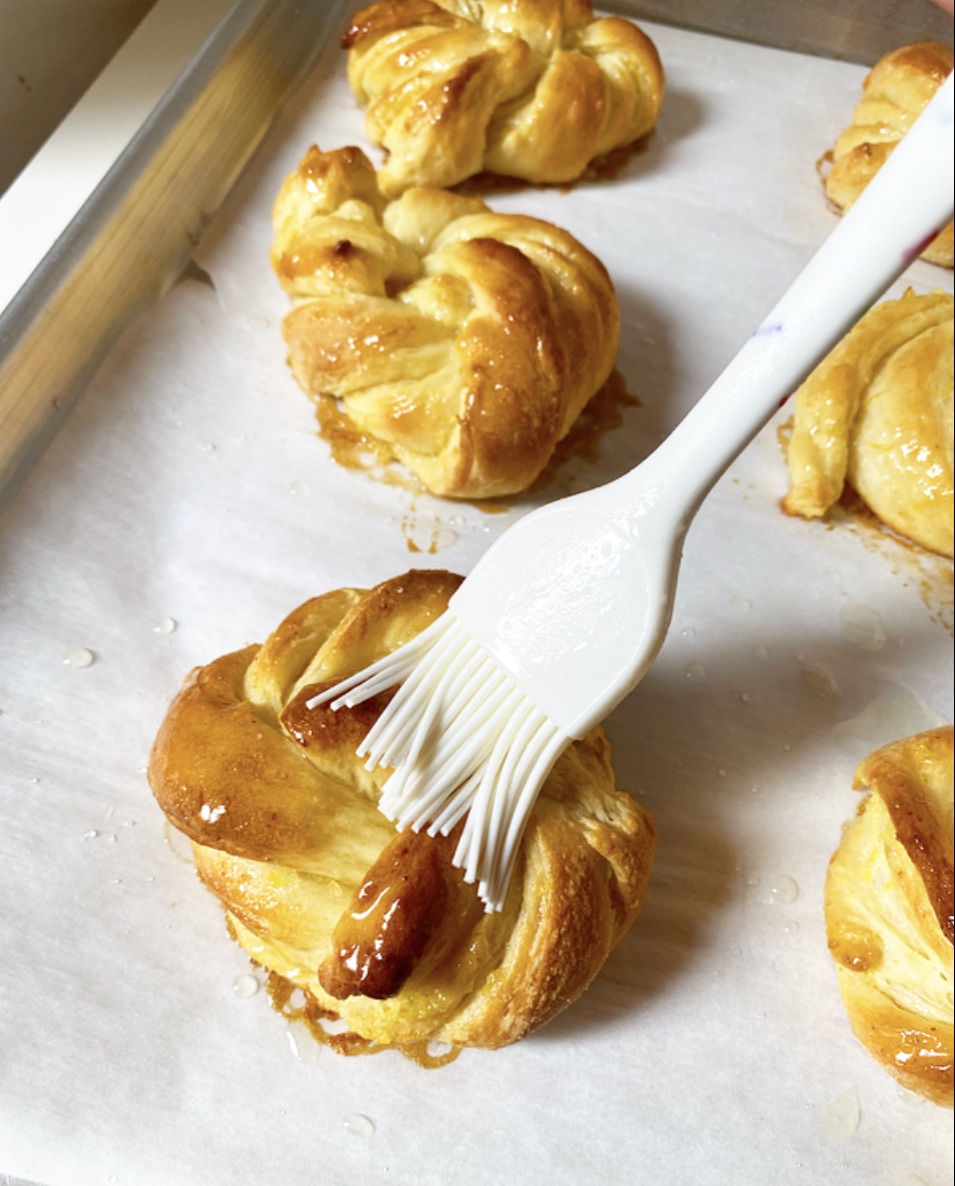
While Buns are baking, make the glaze. Combine lemon juice and sugar in a small saucepan over medium-low heat, stirring constantly until sugar dissolves (about 3-5 minutes). Remove from heat and stir in butter.
Brush warm buns with glaze. Let cool a few minutes before serving. Baked buns are best the day they are made, but will keep in an airtight container at room temperature for a day or so.
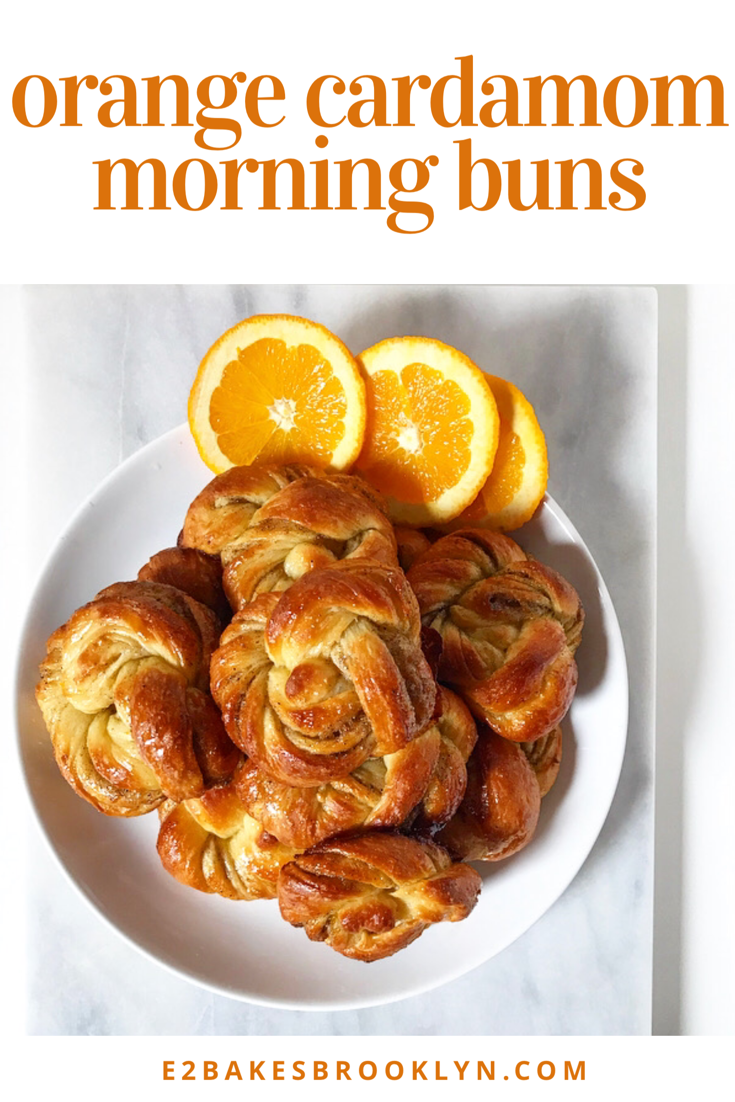
 There’s little rhyme or reason as to what I choose to blog—it’s usually just whatever I’ve felt like making lately. In case you hadn’t noticed, I’ve been on a bit of a breakfast kick. I’m not exactly sure how many fall breakfast options I think you need, but it’s at least three:
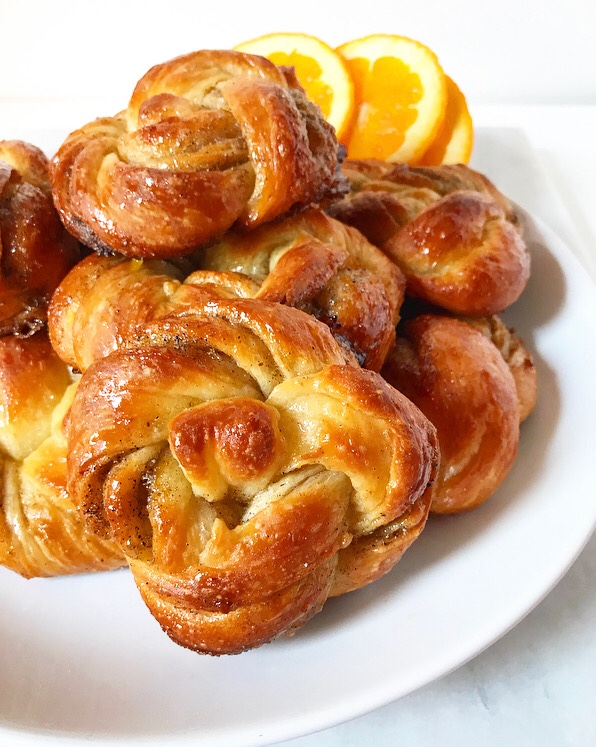
 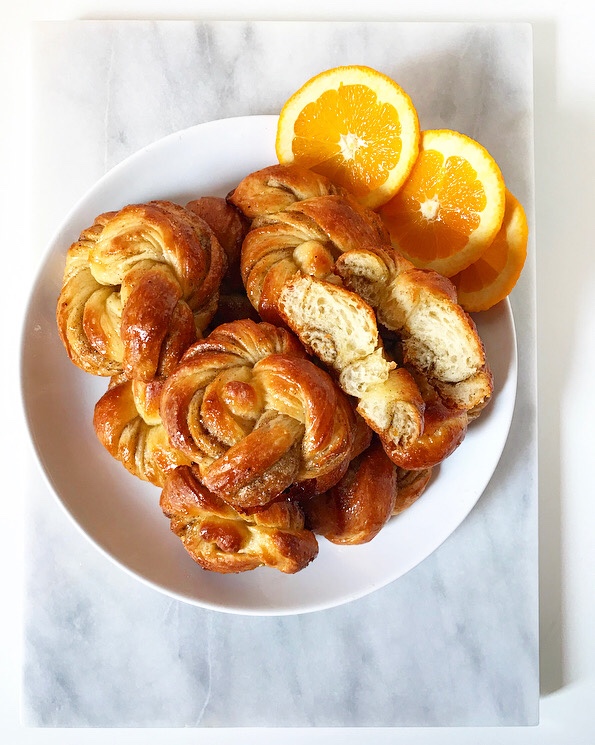 I mean, look at these sticky, swirly things! You need them. I need them. Preferably on Saturday morning alongside my daily French press.
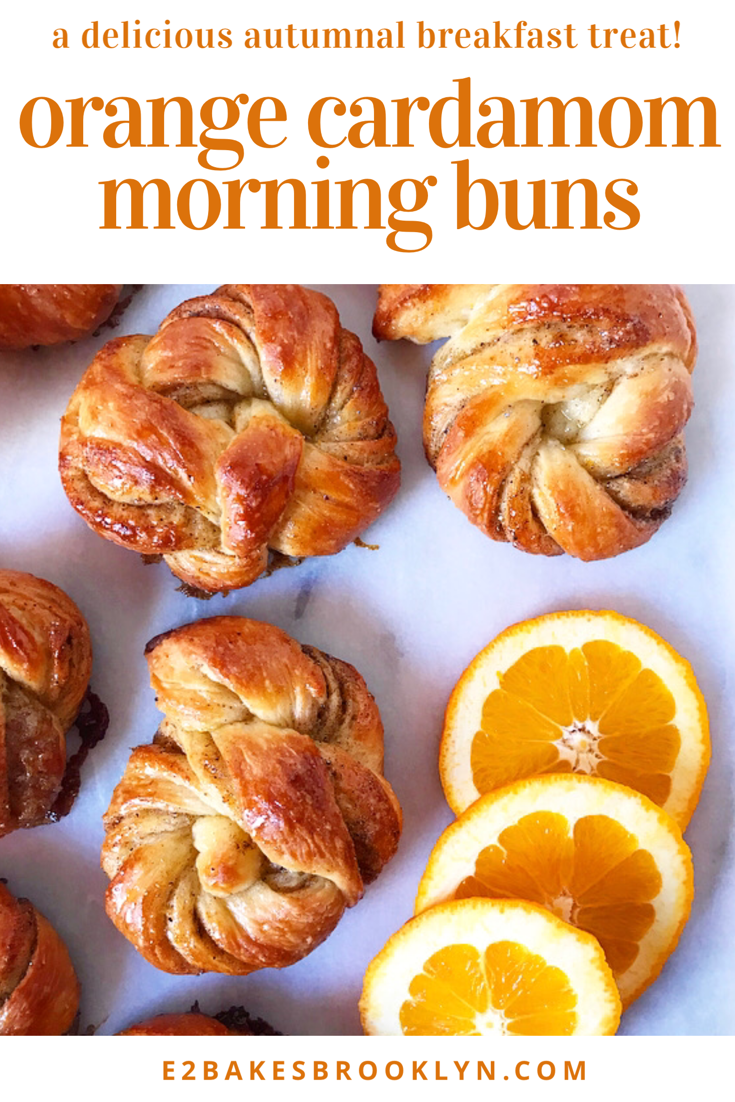
 They’re flaky and fluffy, filled with a fragrant orange-cardamom sugar, and twisted to perfection. The crowning glory is a brush of orange-cardamom glaze as soon as the buns come out of the oven, which gives them an extra layer of flavor and their gleaming appearance.
 Oh, and they take two hours start-to-finish—a rarity in the from-scratch breakfast bun realm. And their twists? Much easier than they look. My motor skills are seriously lacking (I am comically bad with scissors), so if I can shape them, anyone can.
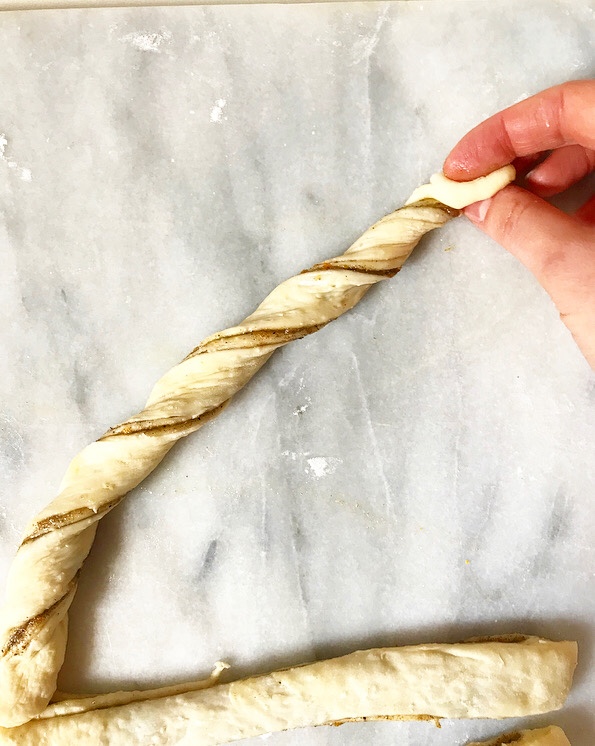
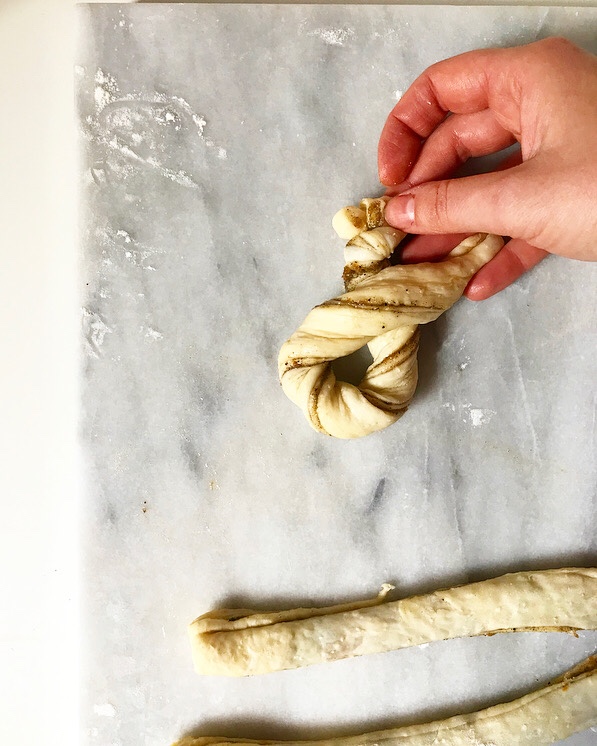
 Just twist a strip of dough and tie it in a knot. Boom, done.
 Even if you do it “wrong” (which is near-impossible), I promise they will still turn out beautifully. And even if they don’t (which is also near-impossible—can you see that I did this with one hand?), call ‘em rustic. That’s what I do. If anyone complains, eat theirs. That’s also what I do.
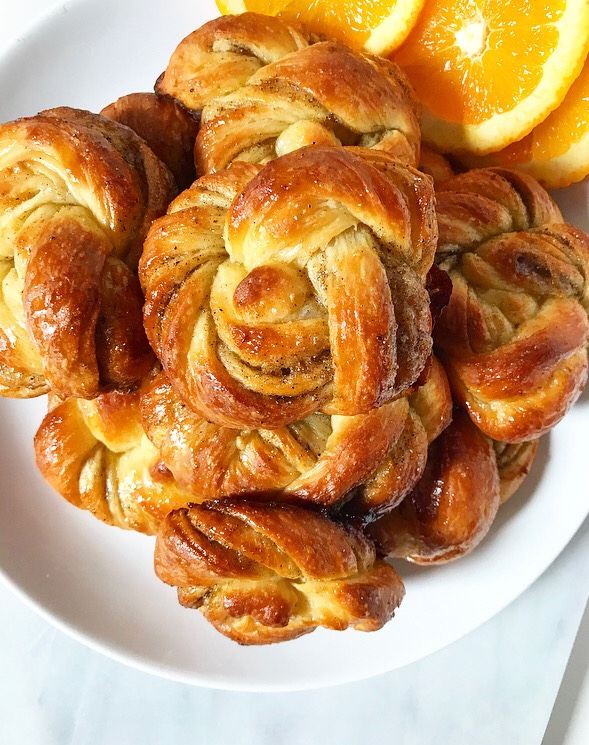 What?! You don’t need that negativity at breakfast.
 If I could change one thing about myself, I think I’d like to be a morning person. I really like mornings (especially the lazy variety), but I have such difficulty getting myself out of bed that I rarely enjoy them. It’s a whole horrible, eight-alarm ordeal on weekdays and I almost always sleep past 11 on the weekends, so I’m either a bleary-eyed mess or out like a light for the start of most days. But, on extremely rare occasions, I wake up early of my own volition—usually with the aid of jackhammers outside my window or the sun shining in my eyes—and I get to enjoy the morning, starting with making myself a nice breakfast.
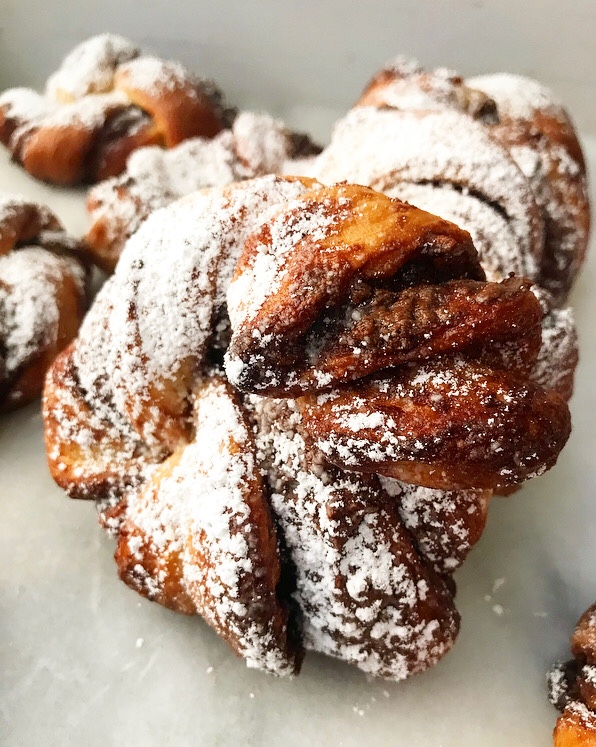 Sometimes mixing flour, sugar, and butter is an act of self-care.
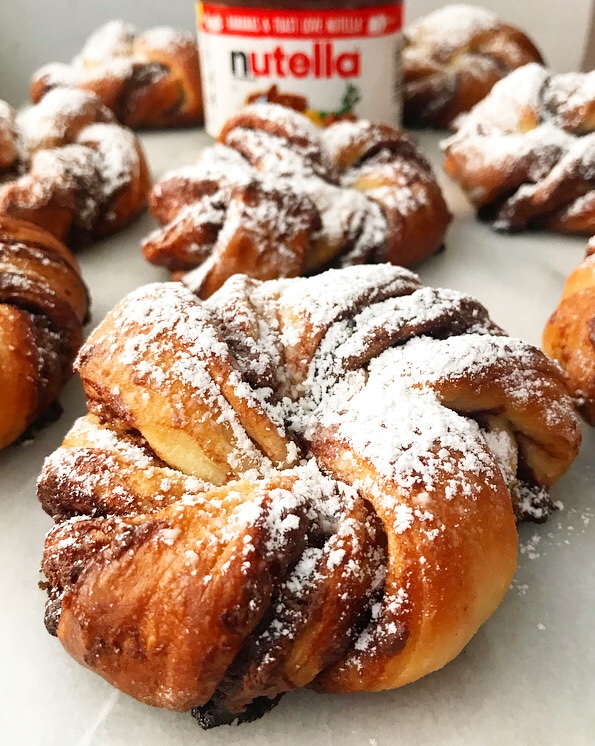
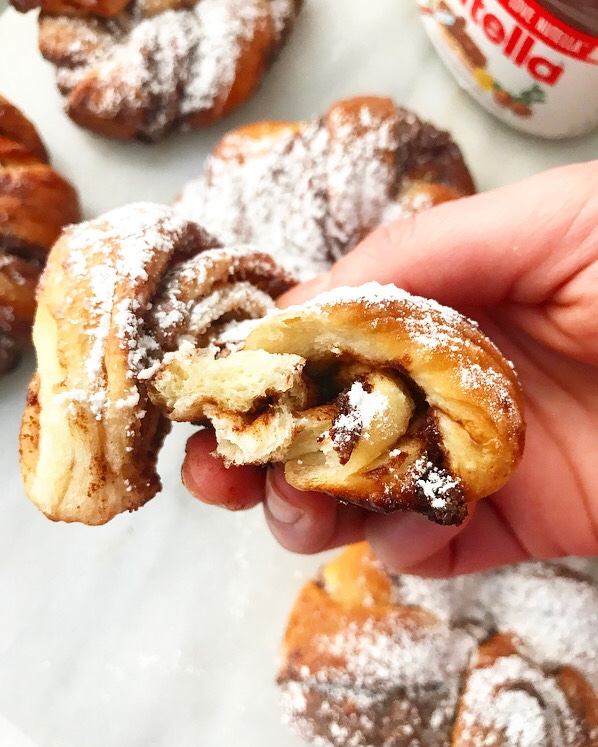
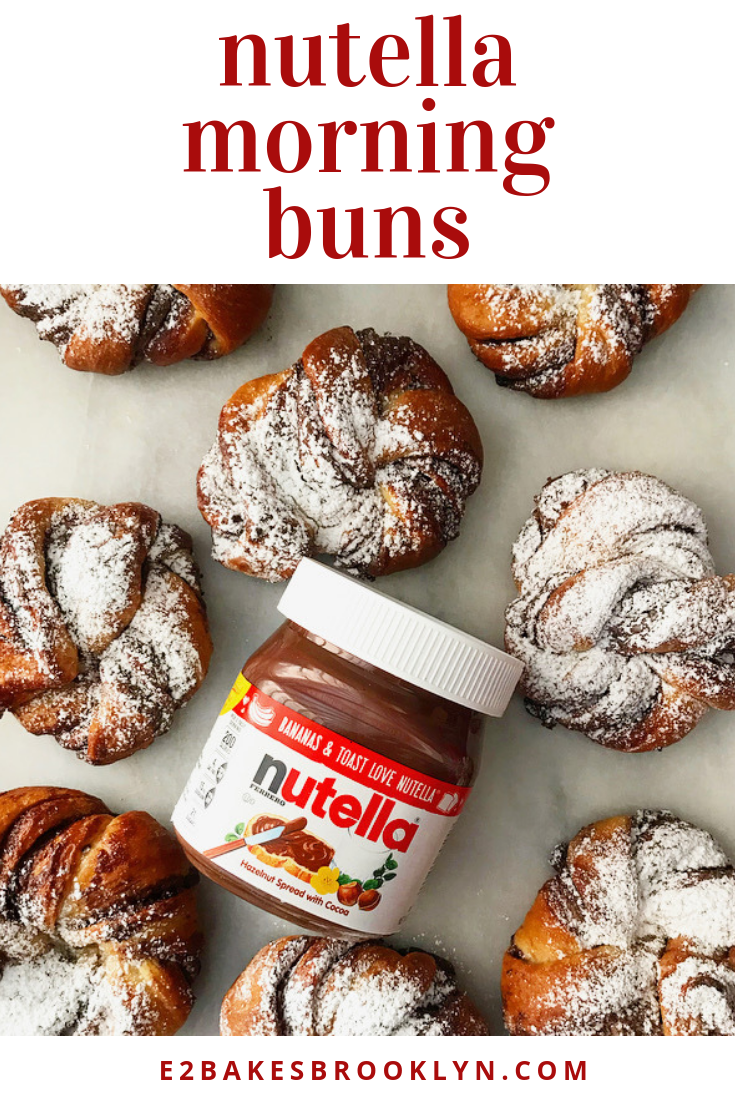
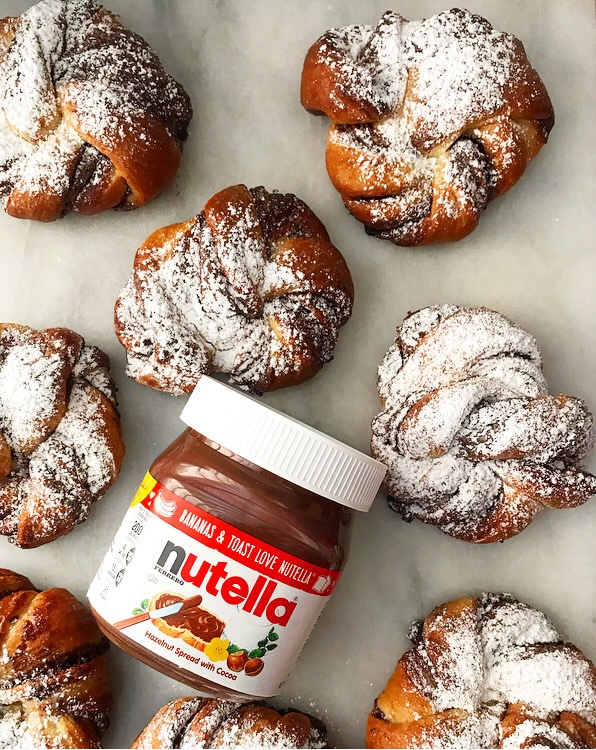
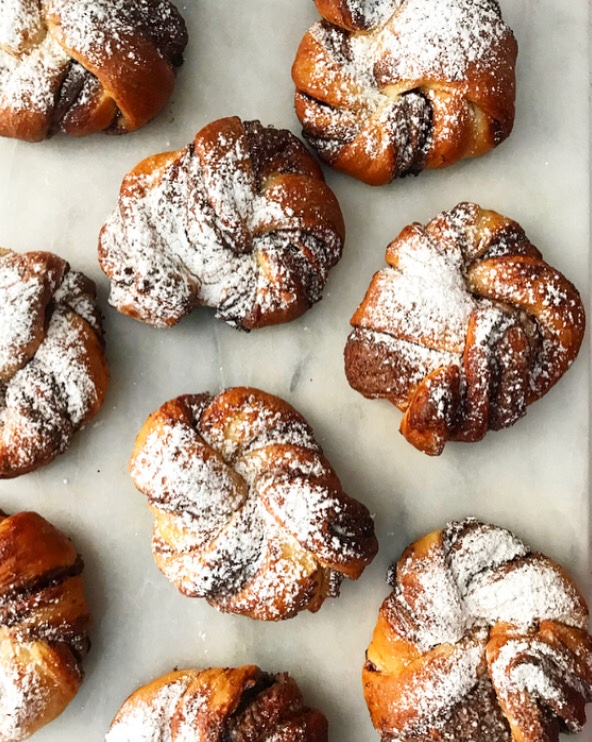
 For something so rustic and beautiful, Nutella Morning Buns are surprisingly simple to make and come together in a pretty reasonable amount of time. It takes me about two hours to make a batch from the time I decide that a soft, warm bun full of chocolate-hazelnut spread might be nice to the time I dust them with confectioner’s sugar and dig in.
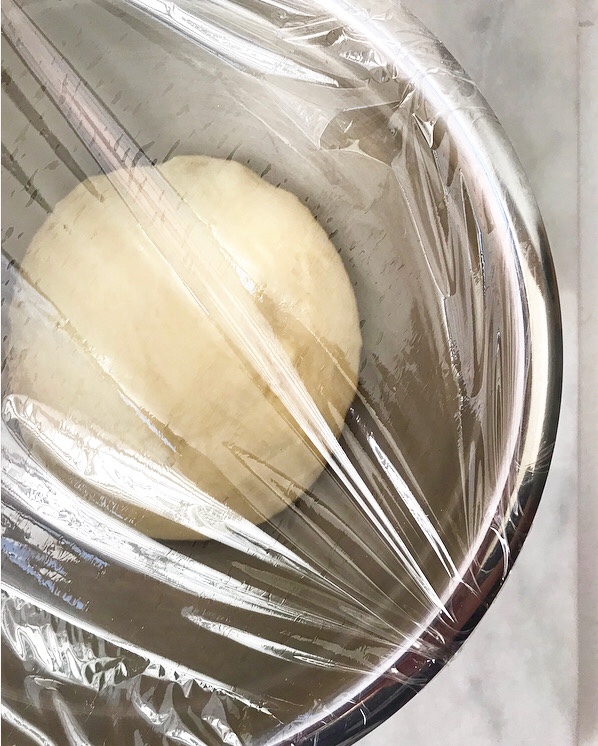
 The dough is very straightforward. It’s got all the usual suspects: flour, a little sugar, butter, milk, and an egg. It requires yeast, of course, but I use the instant stuff here, which simplifies the already simple process, making these buns incredibly approachable.
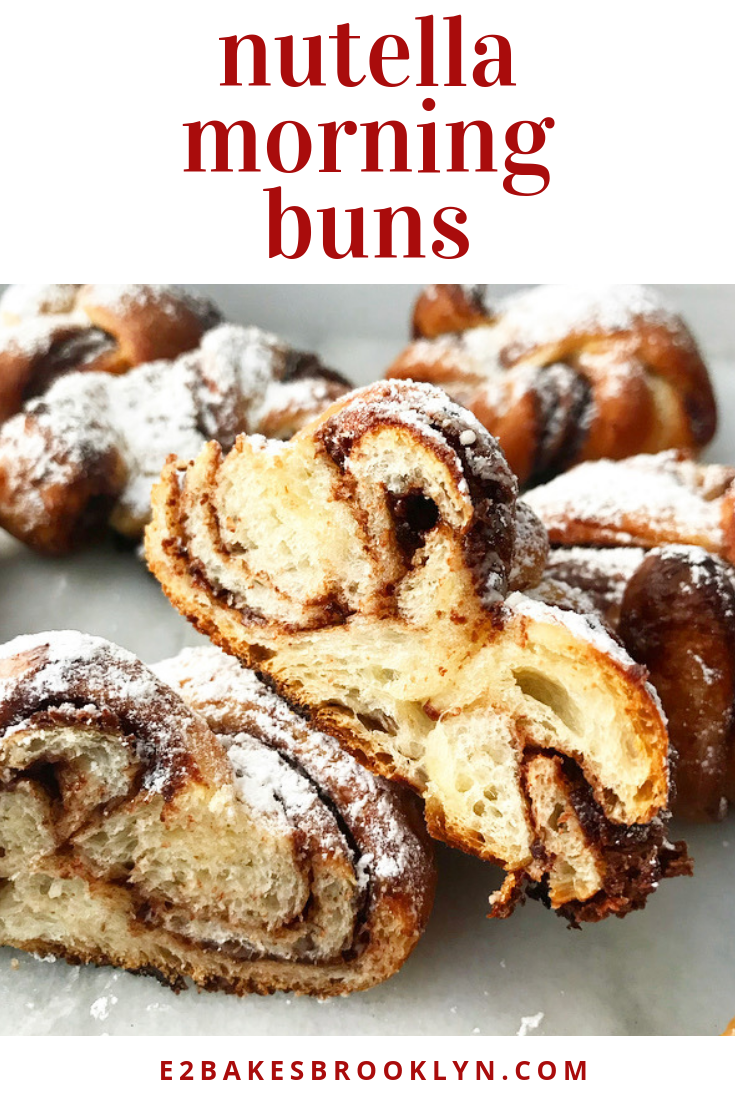
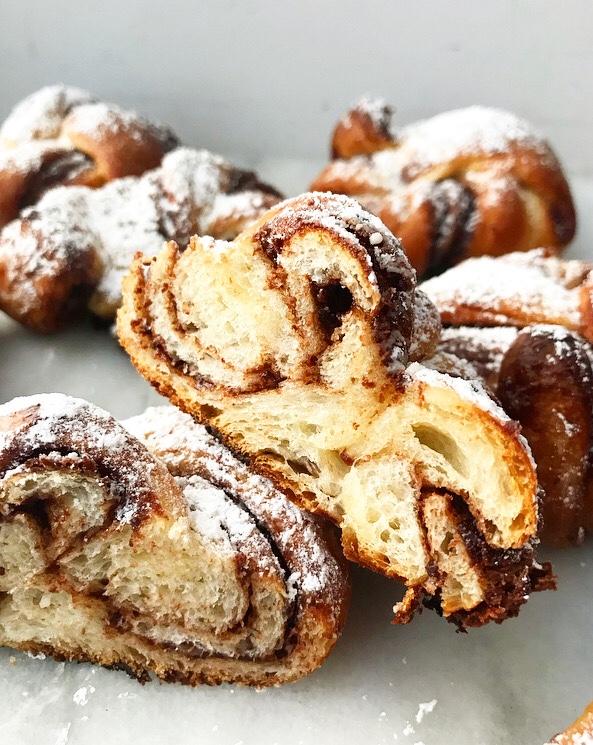
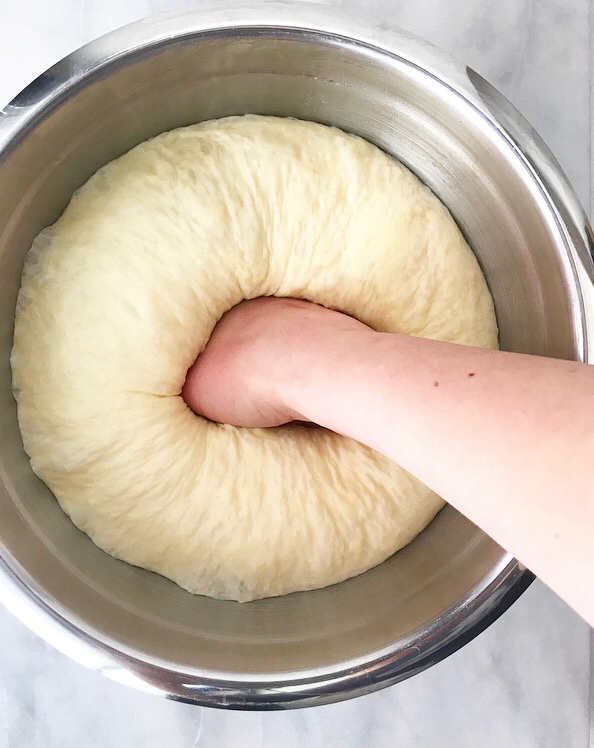 If there’s anything that’s intimidating about making Nutella Morning Buns, it’s probably shaping. Never fear though—it’s really simple and satisfying. Once your dough has risen for 40 minutes, punch it down and roll it into a large rectangle. Spread it with a thin layer of Nutella and then fold it like a letter, so that you have alternating layers of dough and filling. Use a sharp chef’s knife to trim off the ends and slice the rest into a dozen 8×1” strips.
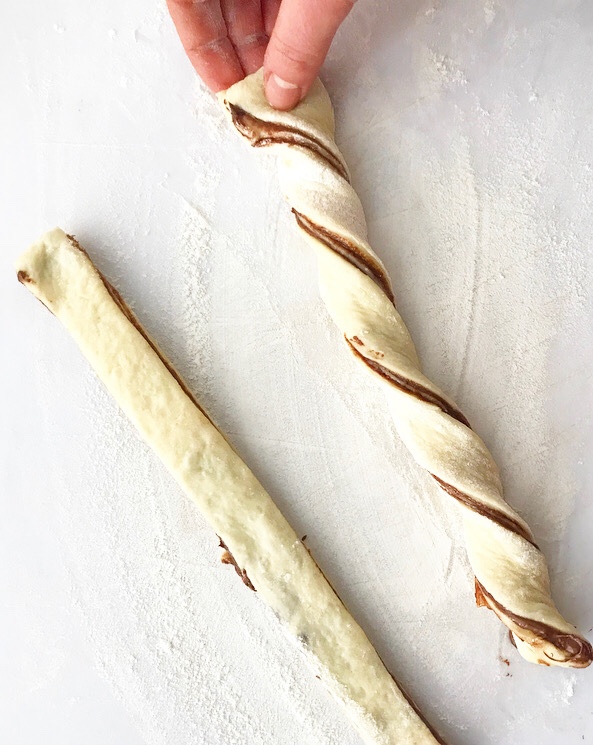
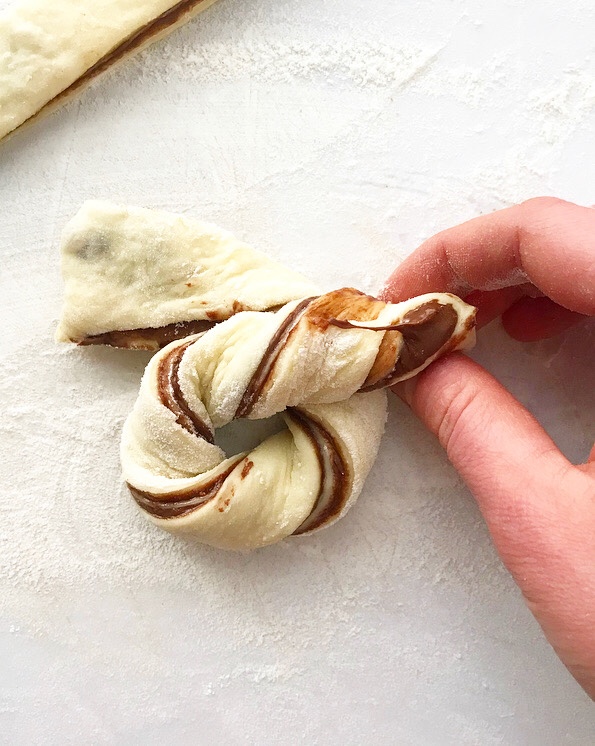
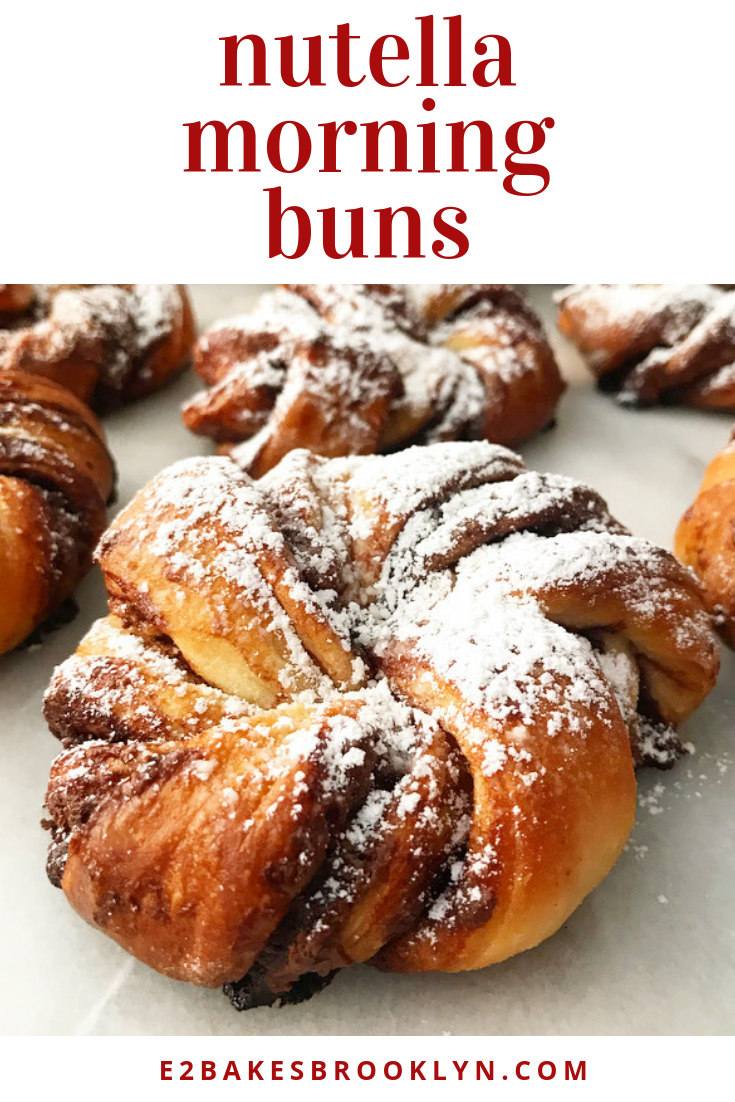
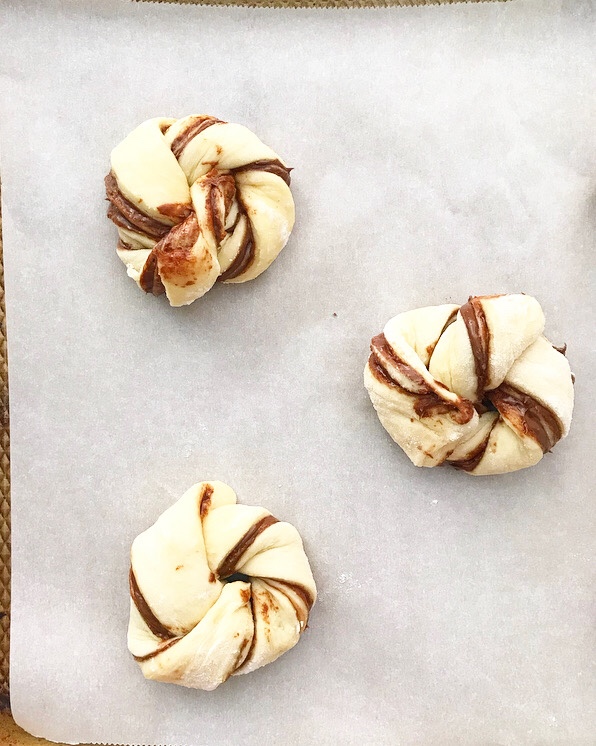 Working with one strip at a time, twist it up. Then cross the two ends over each other and tuck them into the hole that forms in the center. BOOM! Dough shaped!
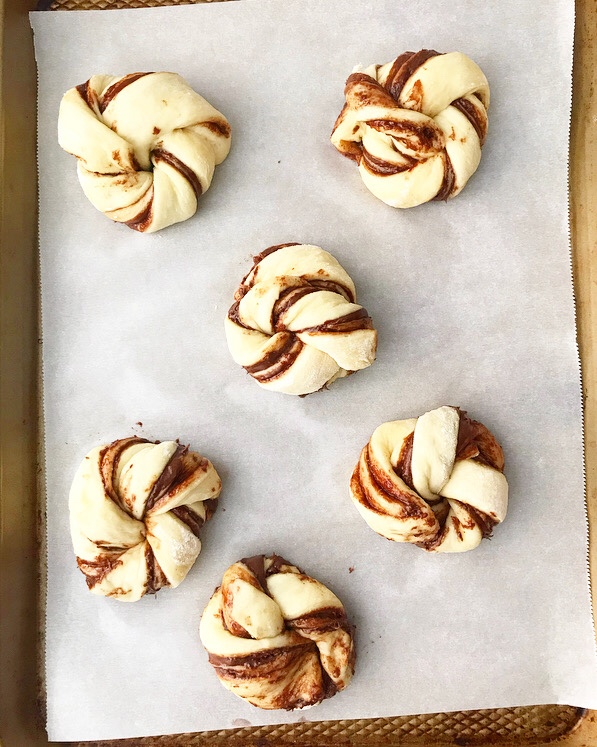
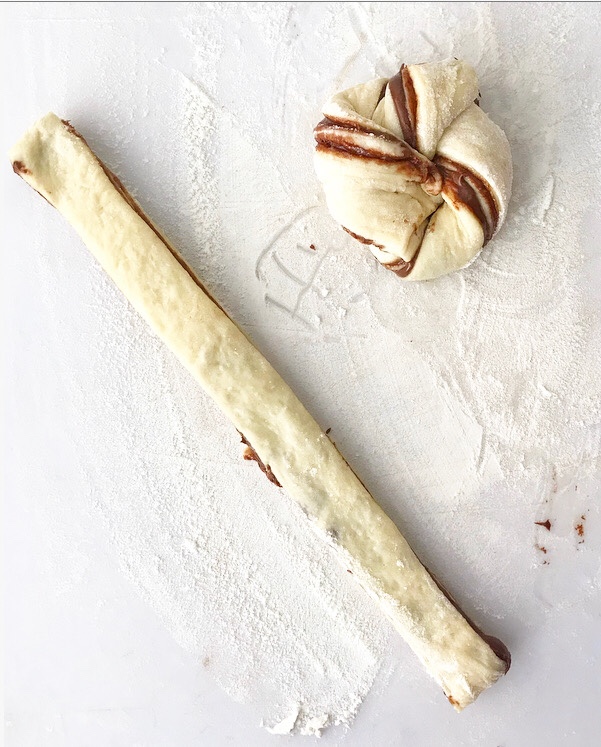
 Repeat with the rest of your strips and then let them rise a little longer. If some ends come untucked, just nudge ‘em back with your fingers before baking. Or don’t. These are the sort of buns that can take all sorts of manipulation and still look gorgeous when all is said and done. And even if they don’t, a swipe of melted butter and a dusting of confectioner’s sugar can cure all manner of ugly pastry.
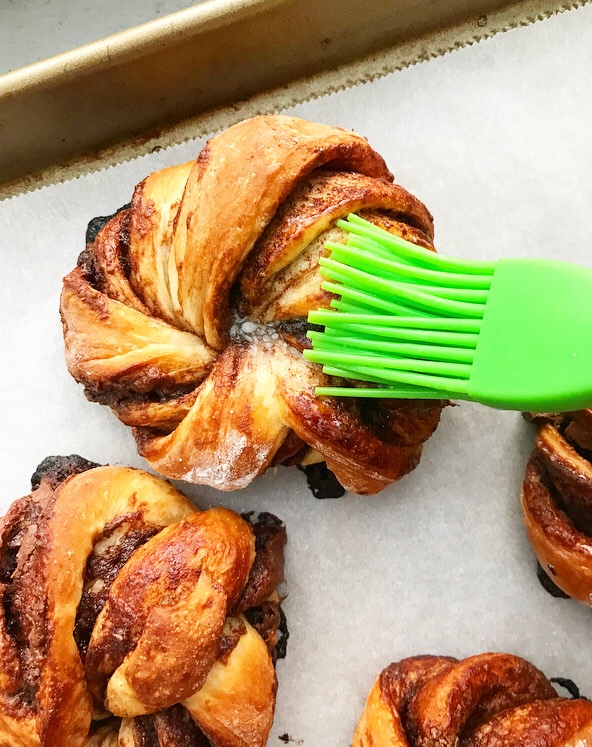
 But is there such a thing as ugly pastry when Nutella is involved? I don’t think so. Or if there is, nobody who tried one of these buns during testing found the time to tell me. Oh, and all the test batches were gone (GONE!) within 45 minutes of coming out of the oven, so I’ll just let that speak for itself.
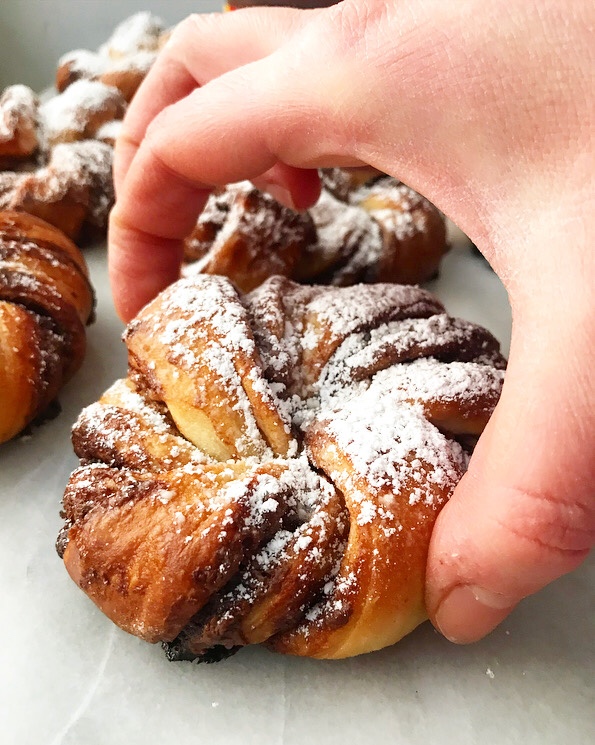 I’m pretty sure it’s impossible to have anything but a beautiful morning when these are around.