 It may have been 90 degrees in NYC this past Monday, but nobody is happier than I am that fall is finally here, not least because it means I have an excuse to make these Maple Thumbprints.
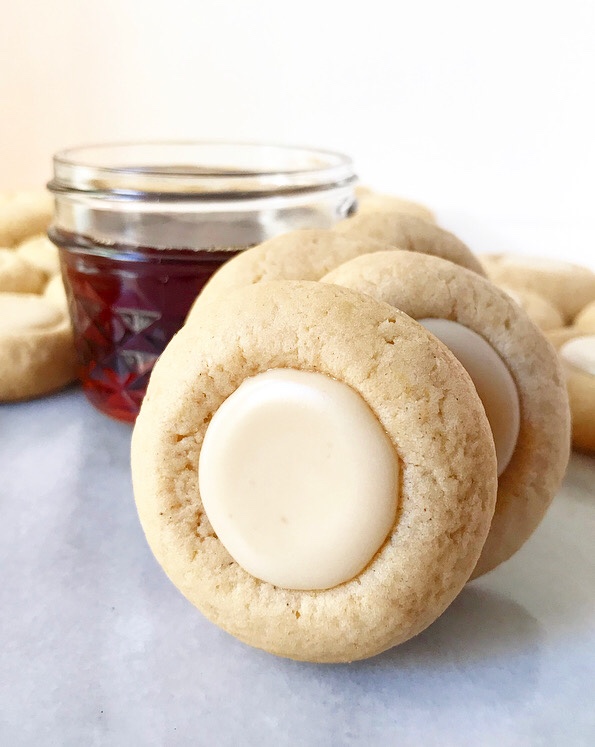
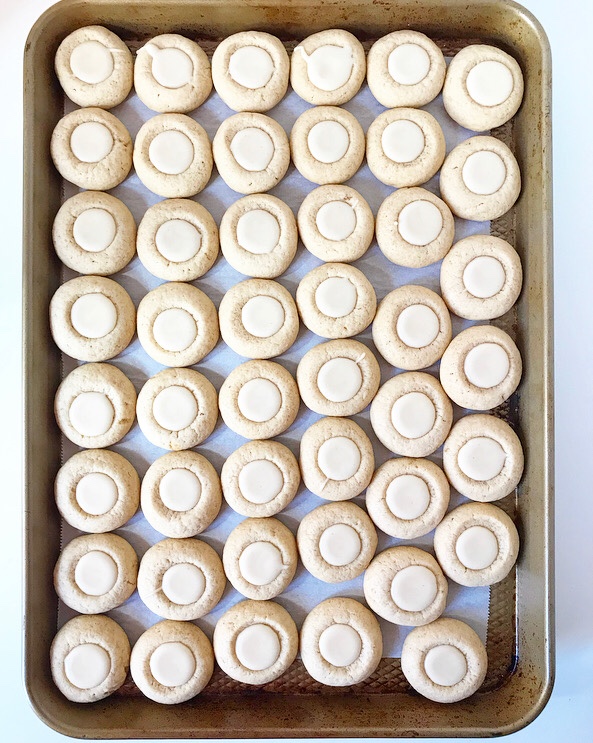
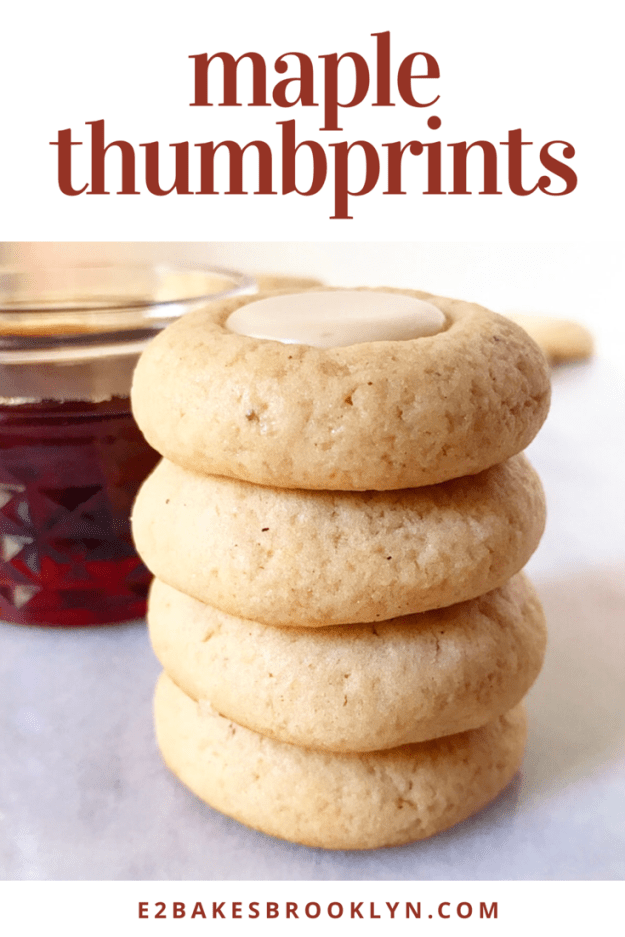
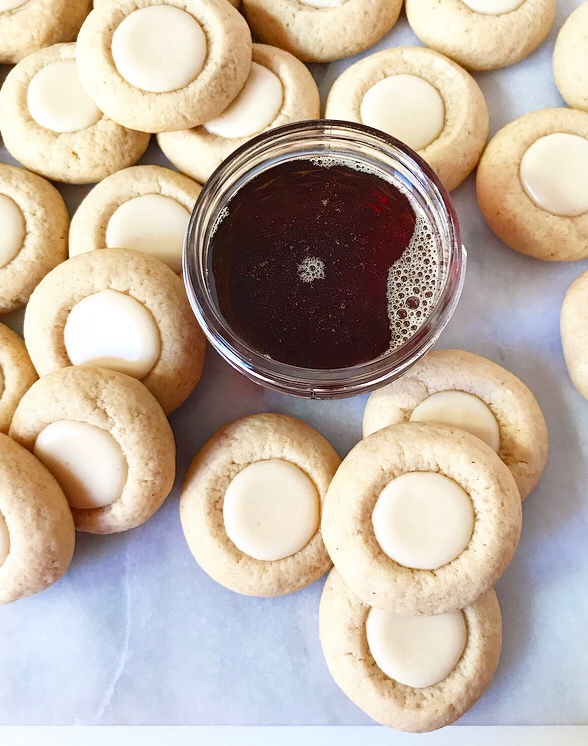 And make them, I have—five test batches before getting them just right. I used the dough from my Maple Spice Stars as a starting place, and then adjusted the spice, sugars, and leavener until I achieved exactly what I wanted: a puffy, slightly soft maple cookie with hints of cinnamon and nutmeg and a well of maple icing in the center. The ideal accompaniment to a cup of tea on a fall afternoon, you know?
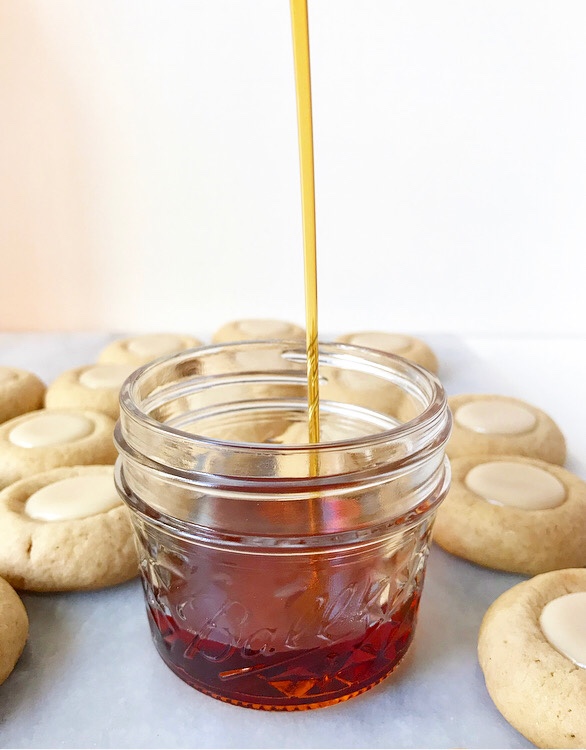 If you love maple syrup like I do, these cookies are for you. The dough contains 2/3 cup and the icing has another 1/4 cup! I vastly prefer Grade A Dark Amber & Robust Taste (formerly known as Grade B) for its deep flavor, but any pure maple syrup you have will do the trick.
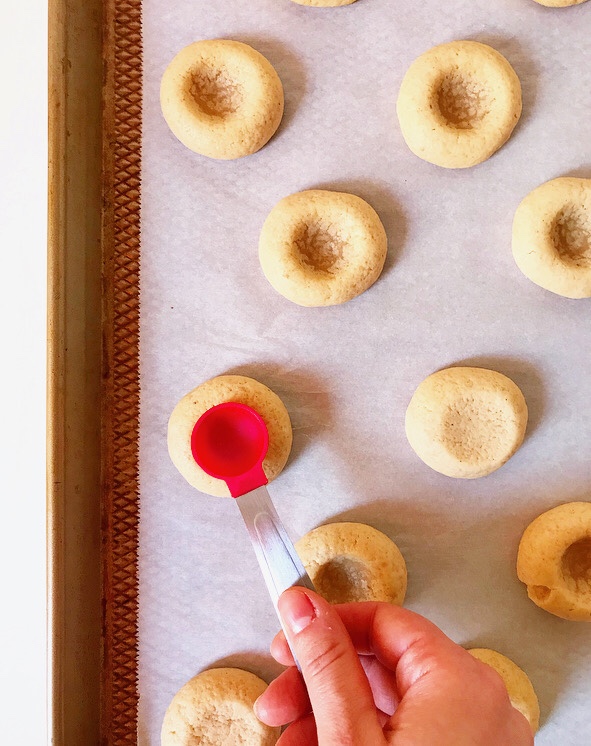
 Maple, like pumpkin, is a flavor that improves over time. Though these cookies will taste good immediately after they’re baked and filled, they won’t taste particularly maple-y until a few hours later. By the next day, you’ll have no problem finding the sweet nuances of maple syrup in both the cookies and the icing.
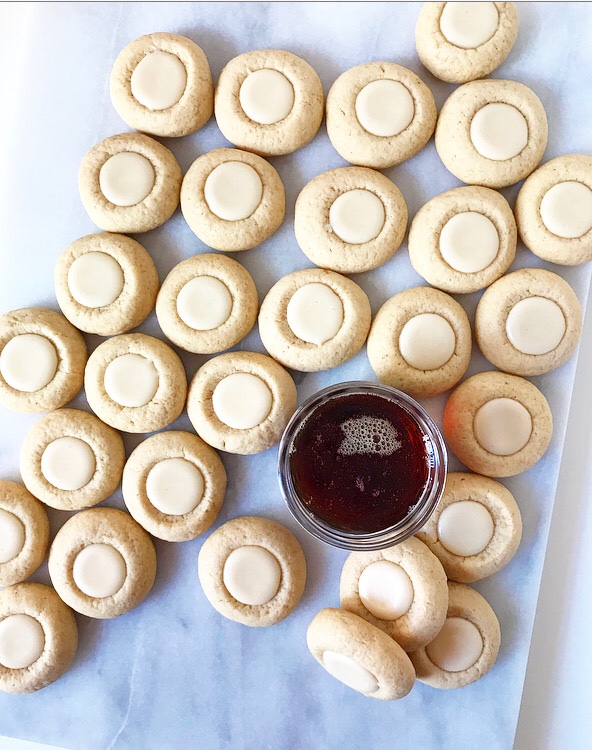 You’ll notice that many of the maple cookie recipes out there (including this one) call for maple extract for a richer flavor. This is because maple is a delicate flavor in baking, easily masked by its own sweetness. To that point, I tested both the dough and icing with 1/2 teaspoon each of maple extract (I like Boyajian), and while it works and certainly amplifies the flavor, I don’t think this recipe needs it. I did multiple taste tests and preferred the cookies made with only maple syrup every time. If you feel otherwise, feel free to add some extract. To each their own!
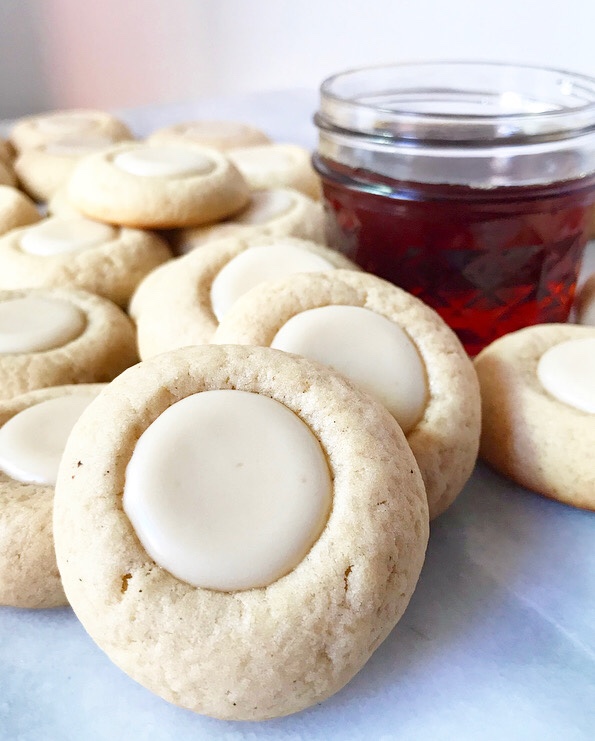 The point, as always, is to bake the cookies you want to eat. And to bake for the weather you want, not the weather you have. At least, that’s what I’m doing. If it means I’m eating autumnal cookies while sitting in front of a blasting air conditioner and praying for some crunchy leaves to step on, so be it.
Maple Thumbprints
makes about 4.5 dozen cookies
Cookies:
4 cups all-purpose flour
1/4 teaspoon ground cinnamon
1/4 teaspoon ground nutmeg
1 teaspoon baking powder
1/2 teaspoon Kosher or sea salt
1 cup (2 sticks) unsalted butter, at room temperature
1/2 cup light brown sugar, packed
1/4 cup granulated sugar
2/3 cup pure maple syrup (I like Grade A dark amber & robust taste)
1 large egg, room temperature
2 teaspoons pure vanilla extract
Icing:
3 cups confectioners sugar
pinch of Kosher or sea salt
4 tablespoons pure maple syrup
3-4 teaspoons water
Make the cookies. In a large mixing bowl, whisk together flour, cinnamon, nutmeg, baking powder, and salt. Set aside.
In a separate large mixing bowl, beat butter with an electric mixer until light and fluffy, about two minutes. Beat in brown and granulated sugars, followed by the maple syrup. Beat in the egg and vanilla. Turn the mixer to low, and add the dry ingredients in three installments, stopping frequently to scrape the bowl.
Divide dough in half. Wrap each half in plastic wrap and flatten into a disc. Chill for at least 2 hours or up to 3 days.
Place oven racks in the top and bottom thirds of the oven. Preheat oven to 350F. Line two baking sheets with parchment paper.
Remove dough from the refrigerator. Scoop dough by the tablespoon and roll each into a ball. Place dough balls at least 2 inches apart on prepared pans. Use the back of a very small spoon (like a 1/2 teaspoon measuring spoon) to slowly press a well into each dough ball. They may crack a bit—just smooth them with your fingers.
Bake cookies 12-13 minutes, rotating top-to-bottom and front-to-back. Cookies are done when puffed and no longer wet-looking. When you remove the cookies from the oven, press the back of a small spoon (I use a 1 teaspoon measuring spoon) into the centers again. Let cookies cool on the pans for 10 minutes before carefully removing to a rack to cool completely. Repeat rolling and baking process with all remaining dough, letting the cookie sheets come back to room temperature between batches.
Arrange cookies on a parchment or wax paper-lined surface for filling.
Make the icing. In a small mixing bowl, whisk together confectioner’s sugar, salt, maple syrup, and 3 teaspoons of water until smooth. Add more water by the 1/2 teaspoon, if needed, until the glaze is thick but pourable.
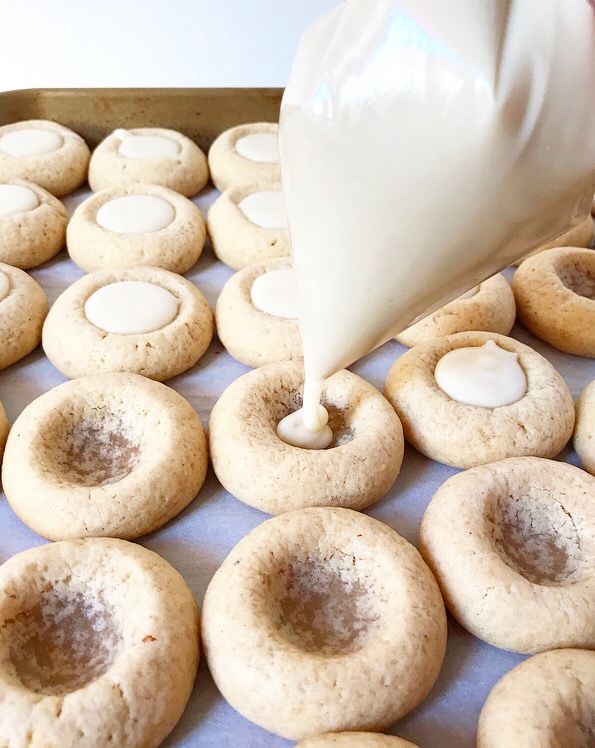
Transfer icing to a piping bag (or ziptop sandwich bag), twist it tight and snip off a very small corner. Fill wells in cookies as desired.
Icing will set after a few hours. Cookies will keep in an airtight container at room temperature for up to a week. Place wax paper between layers for easiest storage.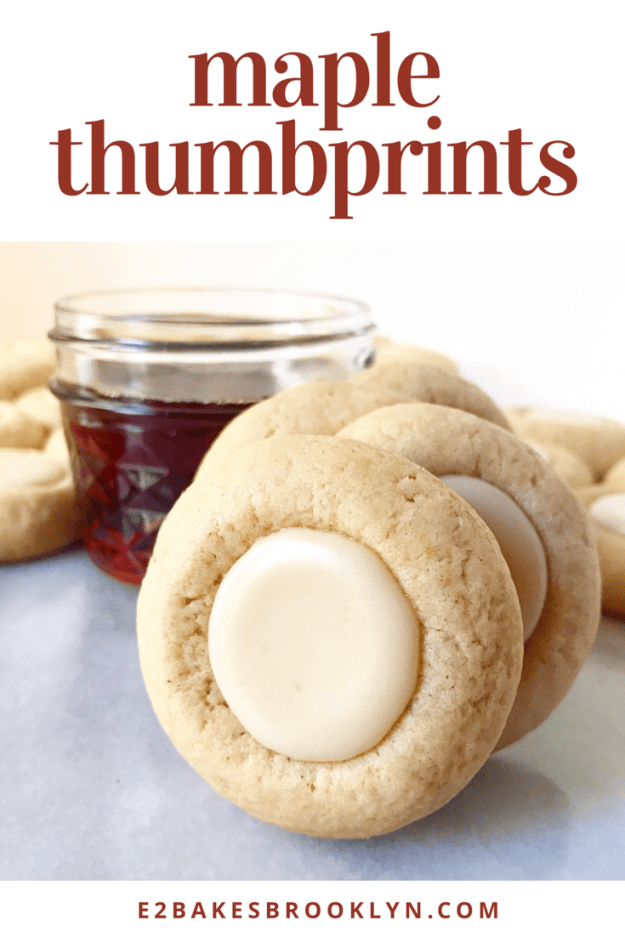
 I’m continuing through my list of classic Christmas cookies/treats of which I have previously been deprived My latest observation in this multi-year endeavor is that a lot of popular holiday desserts are just variations on sugar cookie dough. If you need proof, see
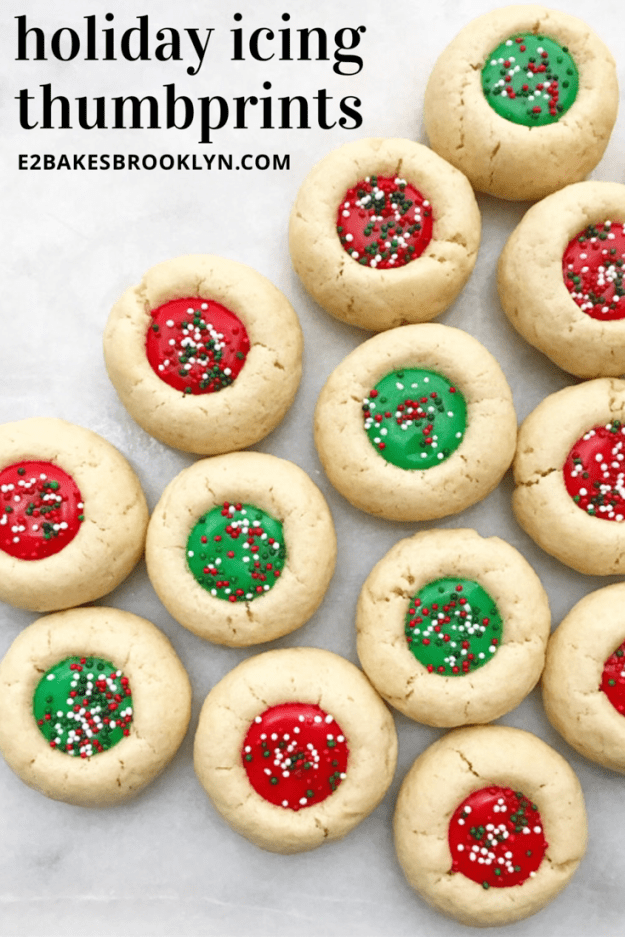
 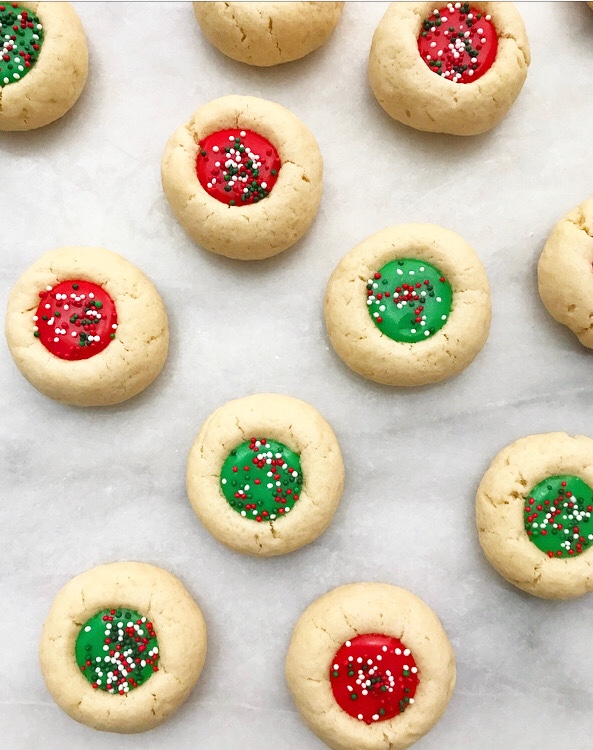 You’d think this would somehow make Christmas cookie trays boring, but how could anyone *possibly* be bored when there are Holiday Icing Thumbprints to be had?!
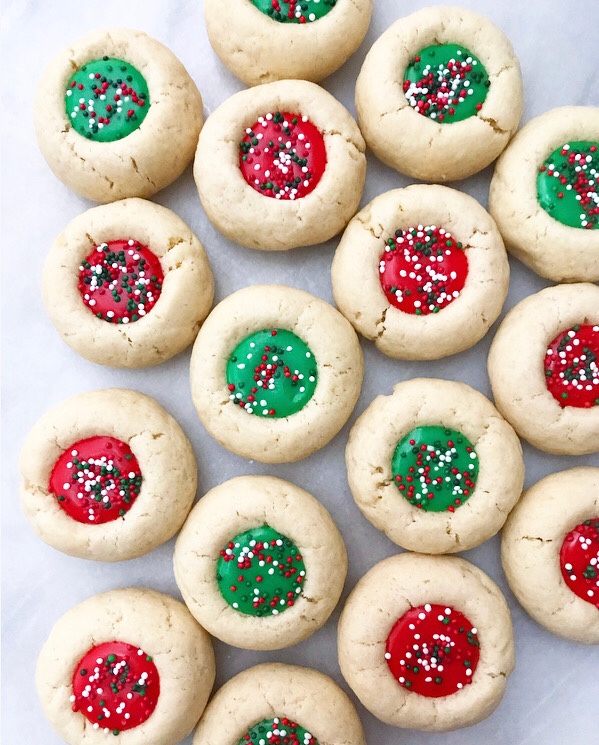 You are probably familiar with the more traditional jam thumbprints—usually a sugar or shortbread cookie with a little well of jam (the titular “thumbprint”) baked into the middle. Those are great and all, but these are their more fun cousins. I mean, these are basically just a socially acceptable vehicle for eating icing. And they have sprinkles. Yesssssss.
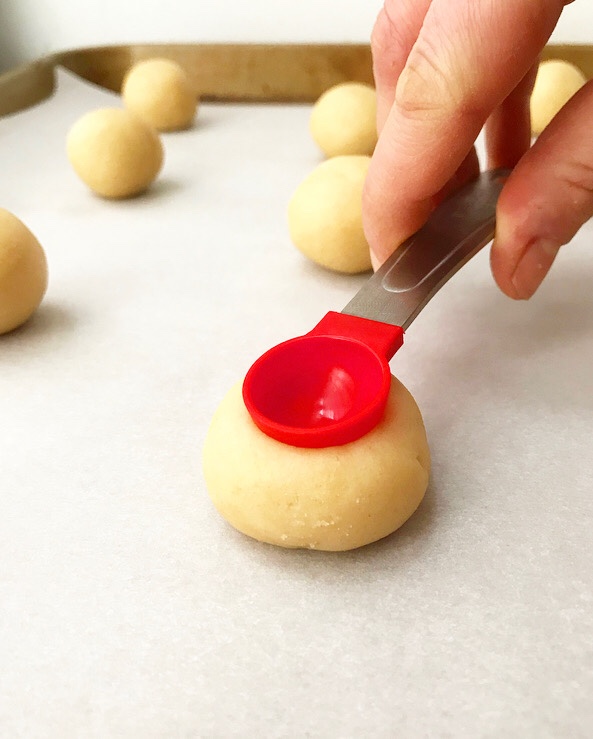
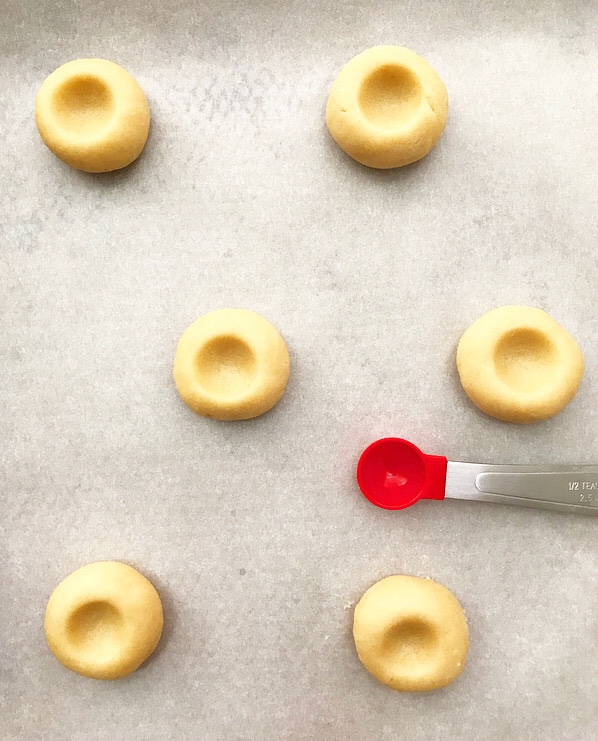 Holiday Icing Thumbprints are super easy to make. Mix the dough and then chill, scoop, and roll it into balls. Press the back of a small spoon into each dough ball before baking for 12-13 minutes. You could, of course, make the “thumbprints” with your thumb, but I vastly prefer the consistent shape that comes from using a 1/2 teaspoon.
 Since these thumbprints are baked without a filling, their centers will puff dramatically while they’re in the oven. The pre-baking press is less for the sake of the wells and more because it means the cookies won’t be as prone to unsightly cracking when you press wells into them again after baking. It’s the most tedious part of this recipe, but it makes for really aesthetically pleasing results. (Also, it’s really satisfying.)
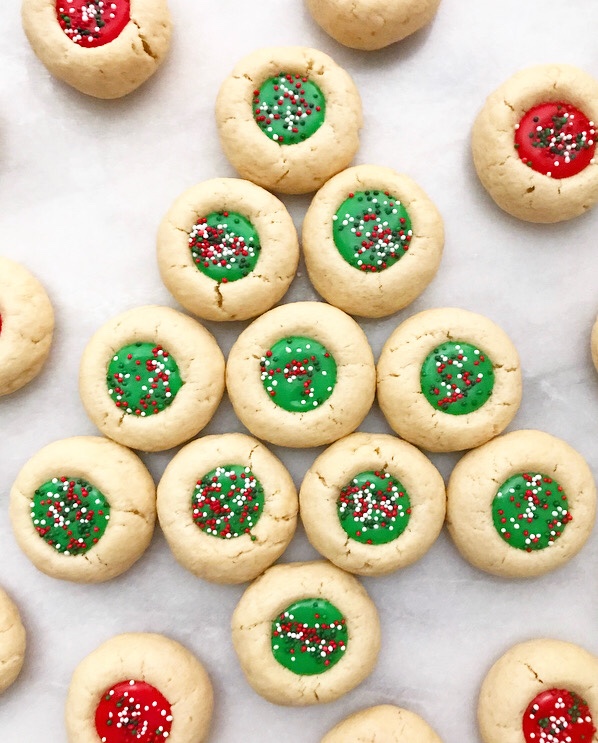
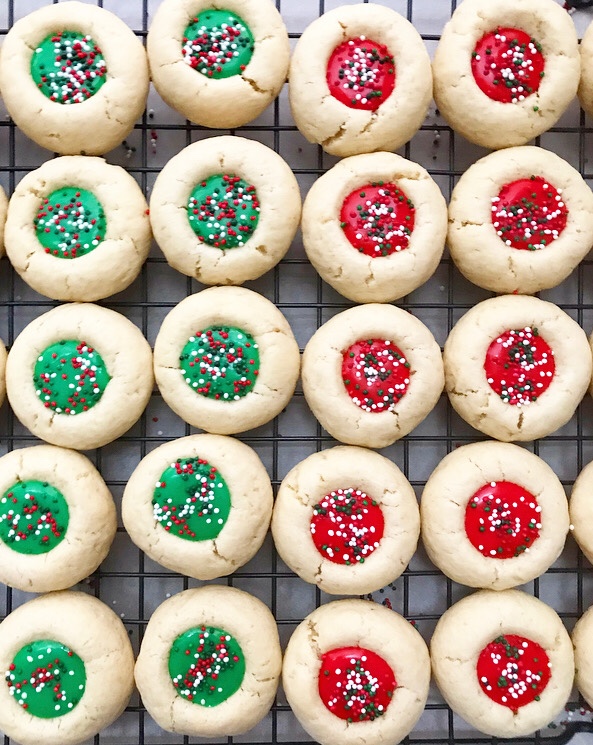 After that, there’s nothing left to do but squeeze red and green icing into the wells and scatter holiday sprinkles over the tops!
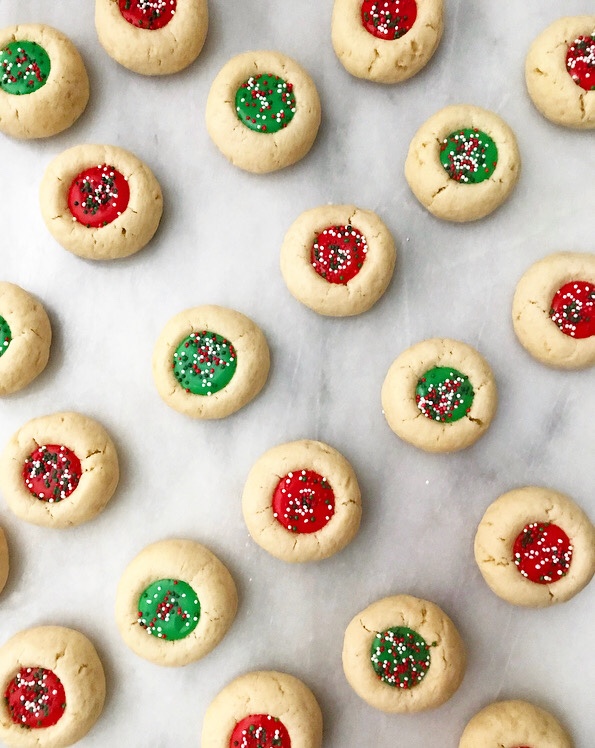 Oh, and to admire them for their undeniable cuteness and holiday cheer. And to eat like four of them while nobody’s looking.