Category Archives: berry

Blueberry Ginger Ales

Blueberry Ginger Ales

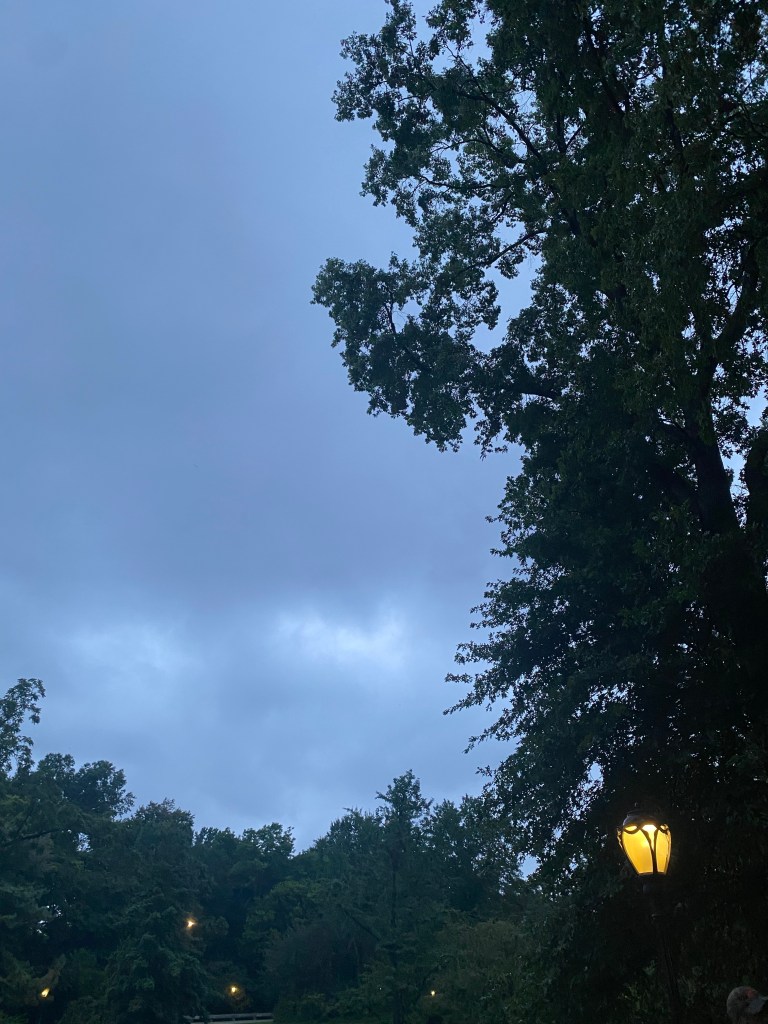
Hello from the Shakespeare in the Park cancellation line in Central Park, where I am one of two hundred or so people hoping to keep the late summer gloom away with free world class theatre. I just got home from Maine a few days ago and am, in fact, wearing a dress last washed in a lobster pot in the backyard of our cottage and hung to dry on a line. Excuse me for waxing poetic, but if you’ve ever spent any time in Maine, you know these doldrums. Hell, if you’ve ever taken a vacation, you know.

Blueberry Ginger Ales

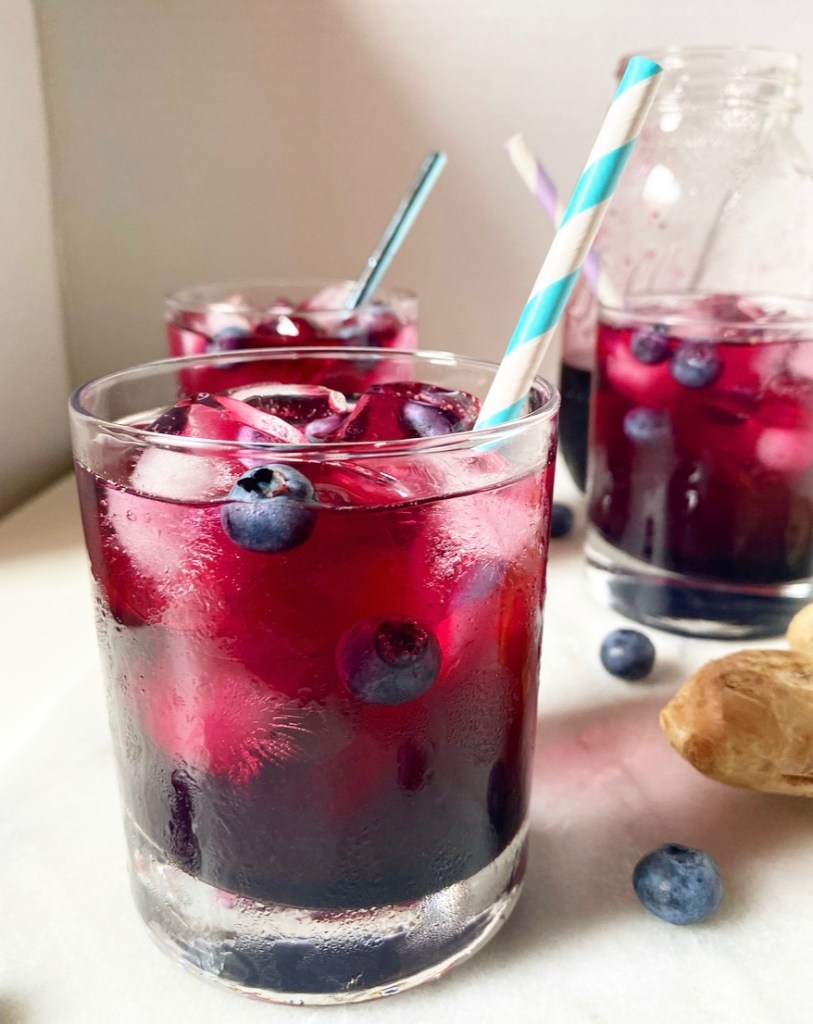
So what does this have to do with Blueberry Ginger Ales? Not a lot, I suppose. I started fooling around with this recipe mid-July in anticipation of our trip to Maine, but didn’t post it beforehand and now Maine has come and gone (though watch out for a mid-autumn sequel). I just wanted to make sure that you knew that you could make these seasonal homemade sodas before summer unofficially ends.

Blueberry Ginger Ales

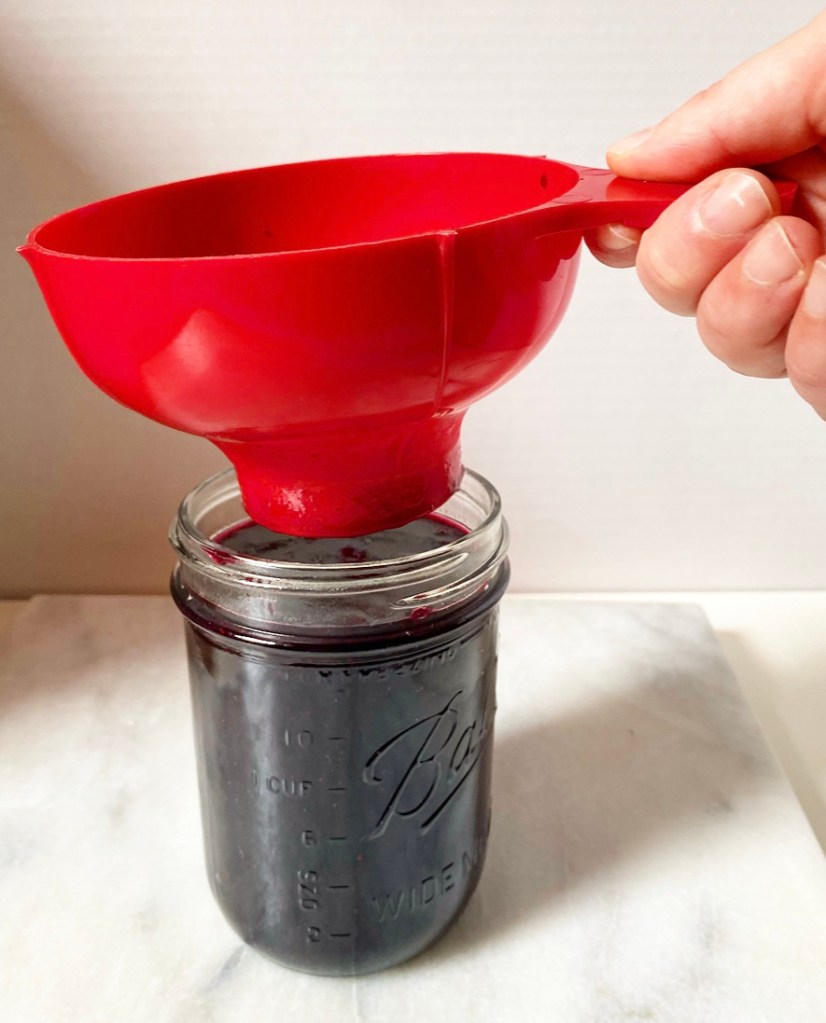
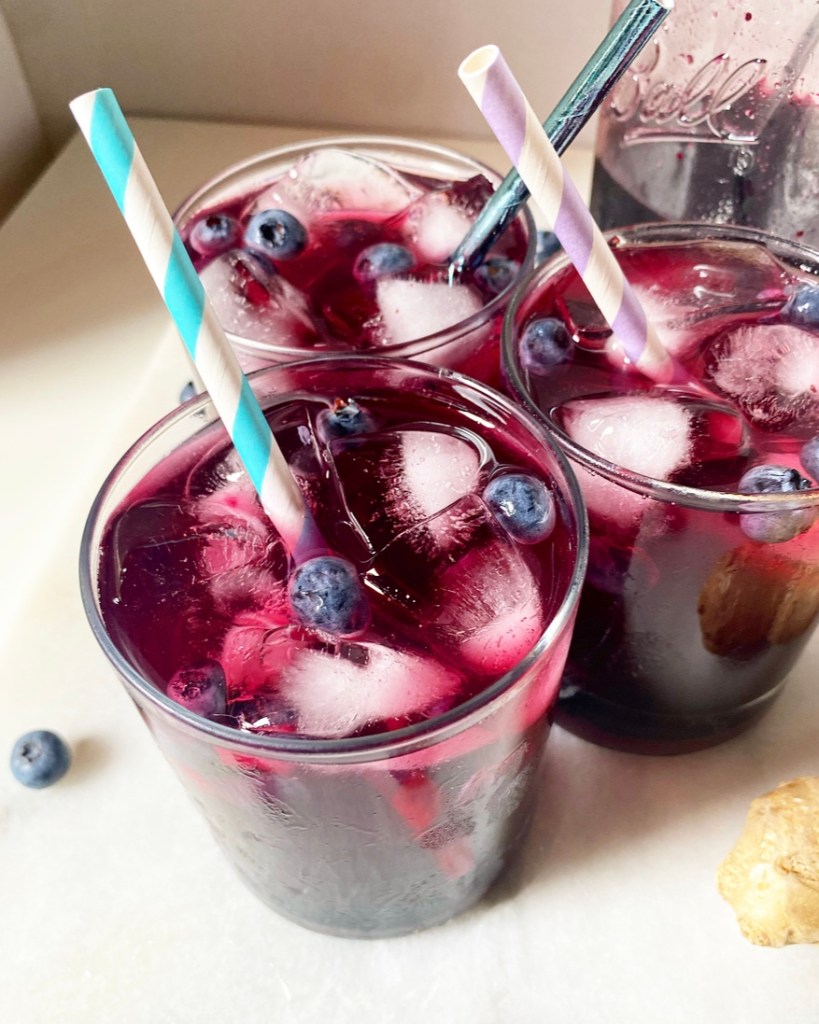
As with many of the homemade beverages you’ll find on this site, this recipe takes only a few minutes of active work—in this case, making a syrup and straining it—but makes plenty to enjoy. Simply pour some syrup over ice, top with seltzer, stir, and sip.

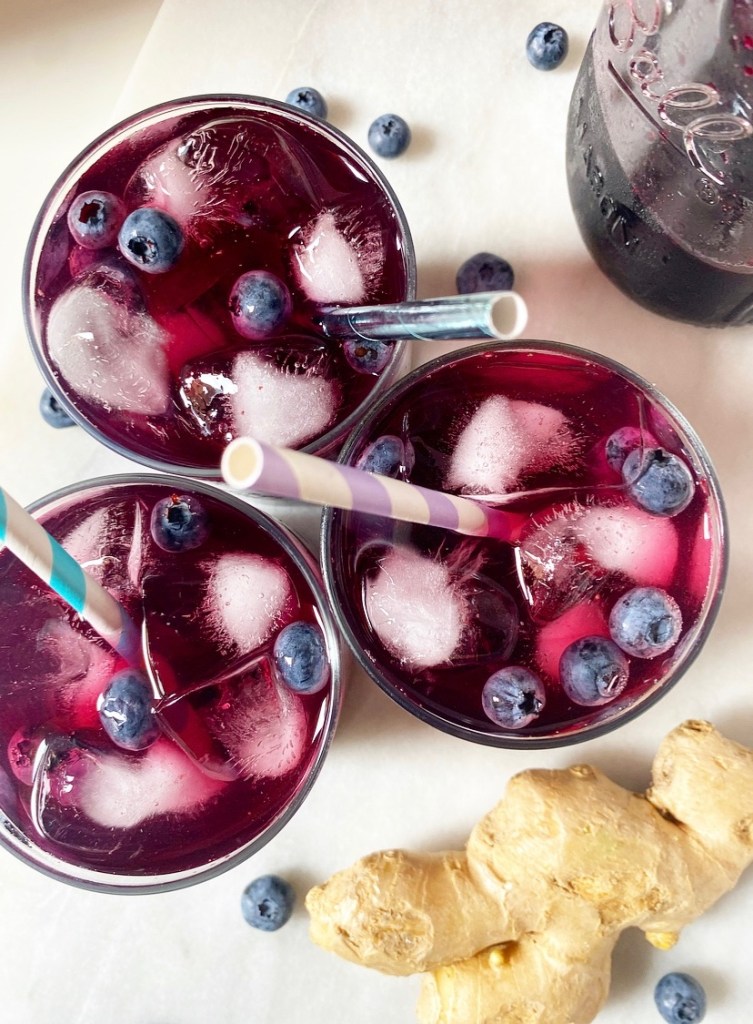
With a balanced berry flavor and a good spicy punch of ginger, Blueberry Ginger Ales would be a perfect booze-free addition to any menu. From end-of-summer festivities to lazy weekend afternoons, you really can’t go wrong. I mean, I could certainly go for one in this cancellation line.

Blueberry Ginger Ales

Or at least I could have, because I ended up getting a ticket. Doldrums be gone.

Blueberry Ginger Ales
makes 8-12 small sodas

Blueberry Ginger Syrup:
1 5-7 inch piece fresh ginger (about 1/3 lb)
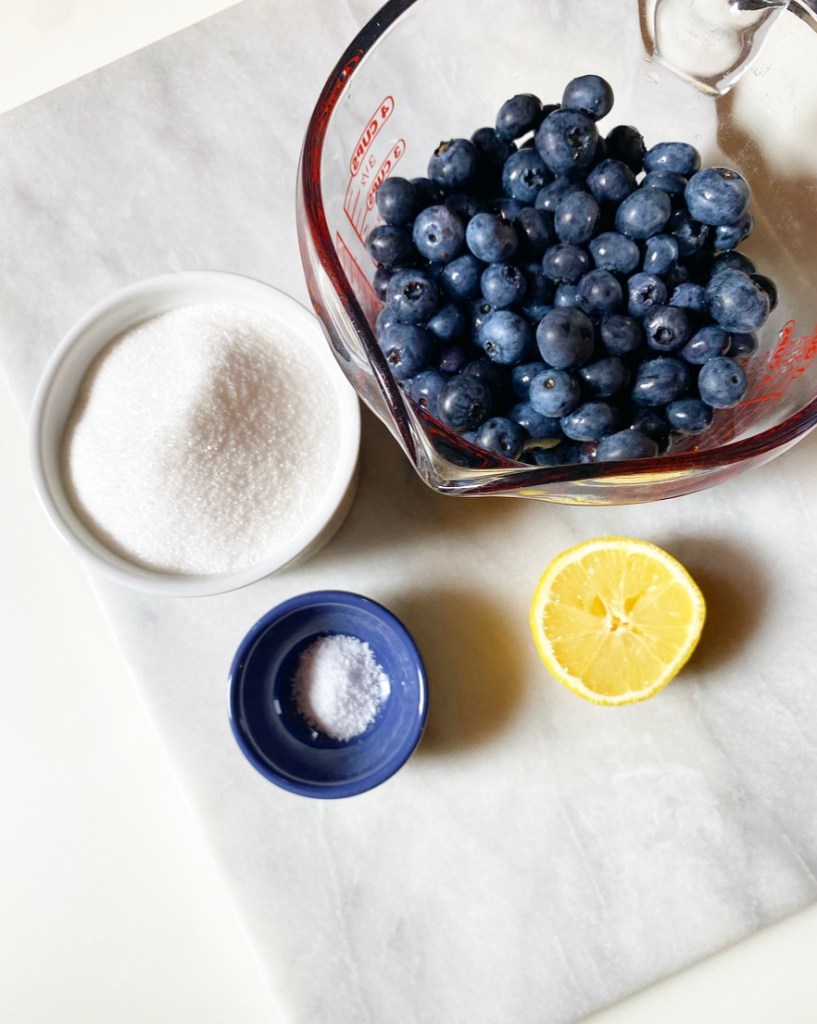
16 ounces (about 3 cups) fresh or frozen blueberries
1 1/2 cups granulated sugar
pinch of salt
1 cup water
1 tablespoon lemon juice

For Blueberry Ginger Ales:
1 batch blueberry ginger syrup
2 large bottles sparkling water

For Serving:
ice
fresh blueberries (optional)
straws (optional)

On a cutting board, scrape the edge of a spoon across the ginger to peel. Discard peelings. Slice ginger as thinly as possible—you should have about 1 cup slices.

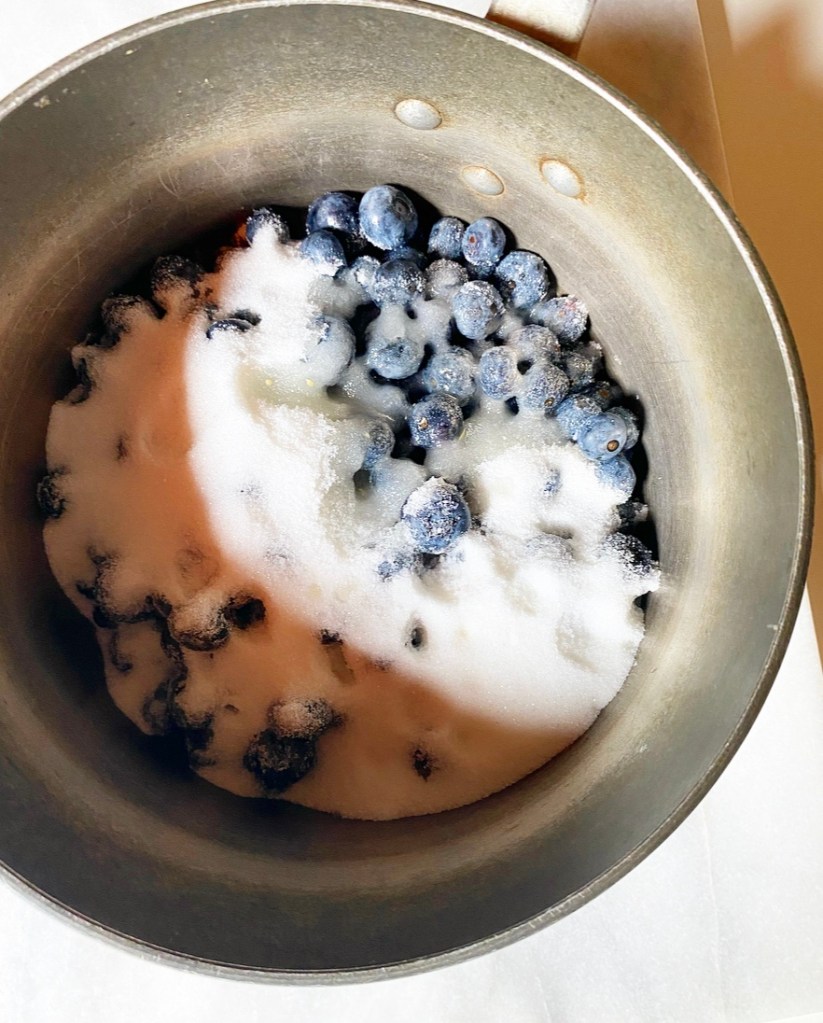
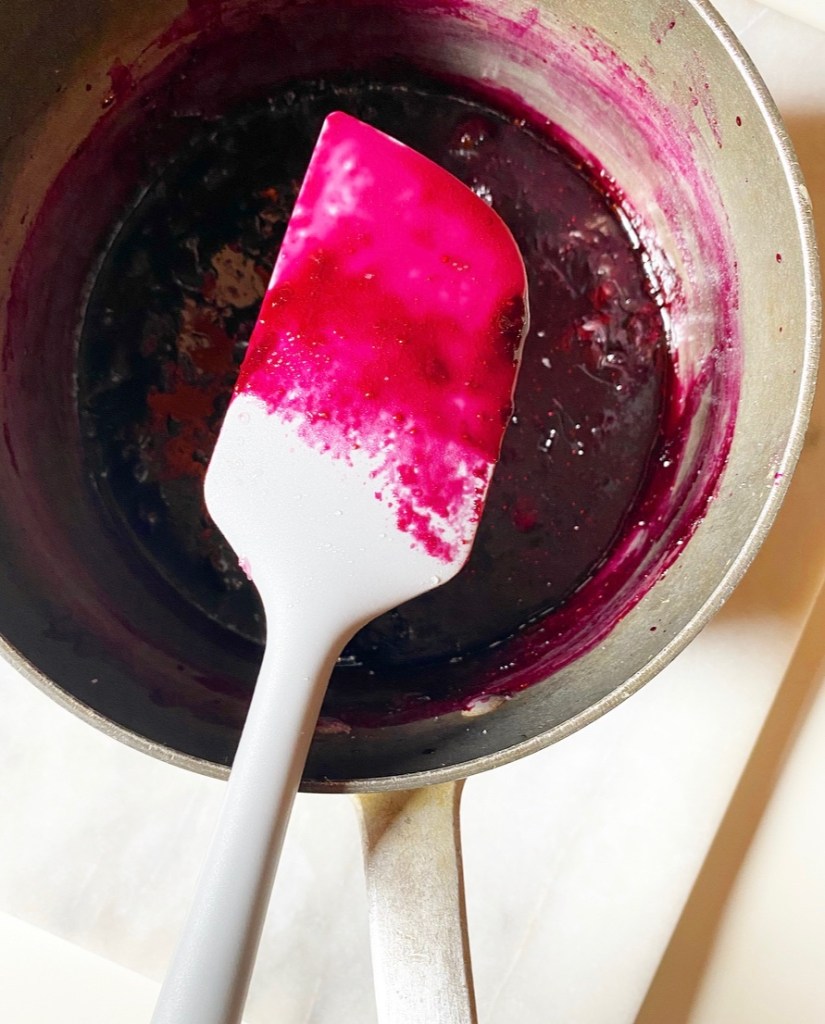
Combine ginger, blueberries, sugar, salt, and water in a small pot. Bring to a simmer over medium-low and then let cook, stirring occasionally, for 15 minutes. It’s done when the berries have burst, sugar has dissolved, and the syrup coats the back of a spoon.

Remove from heat, mash berries a bit if needed (we want them all burst), and stir in lemon juice. Cool the syrup without straining. Once cool, strain ginger and blueberries out, pressing them to remove as much syrup as possible. Discard ginger and blueberries. You should have 1 1/2-2 cups syrup.

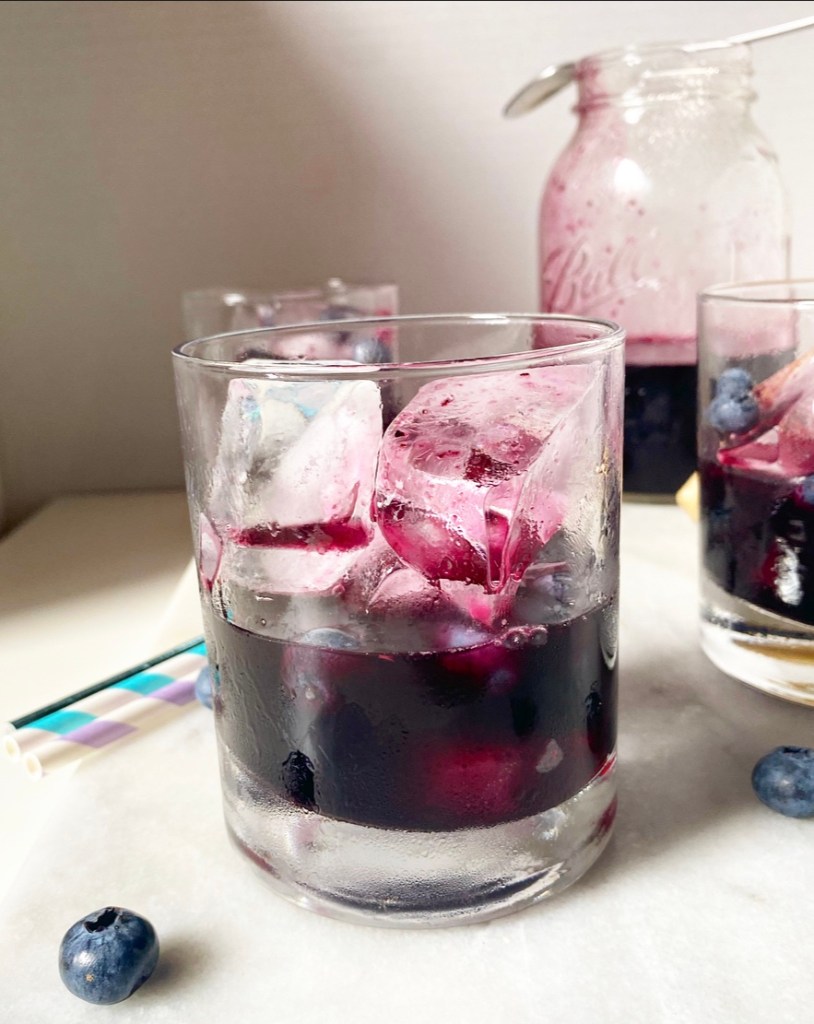
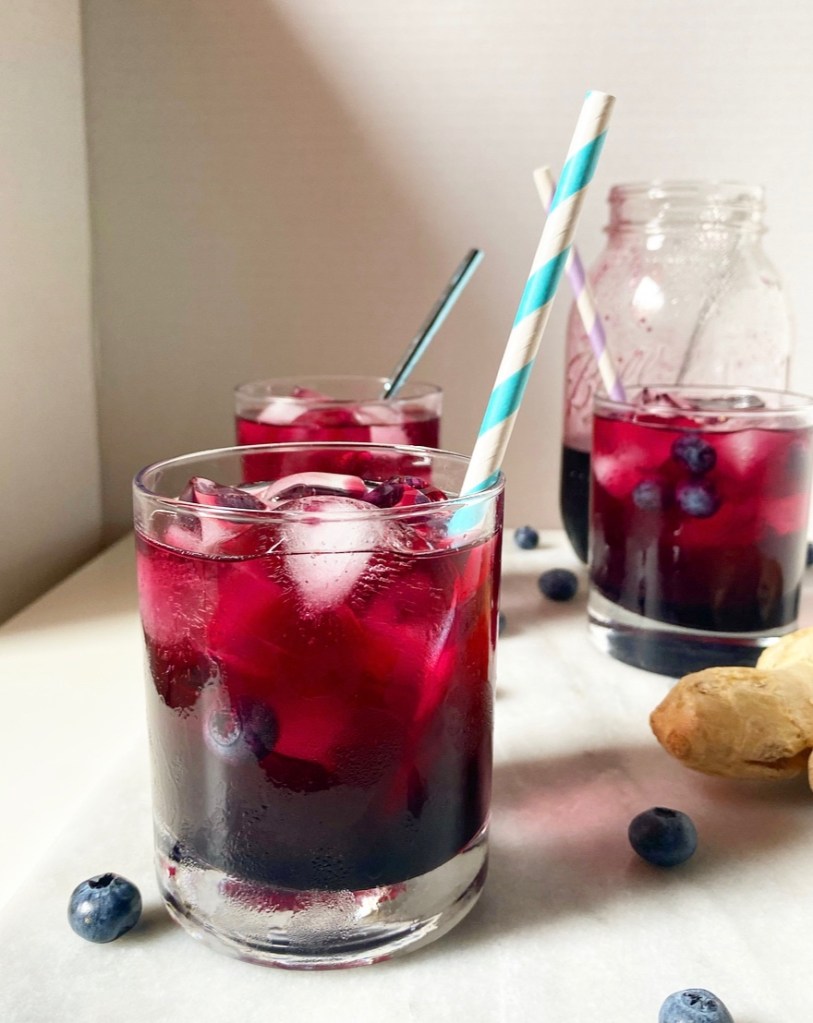
To make Blueberry Ginger Ales, add ice to your glasses. Pour about 3-4 tablespoons of syrup into each glass. Top with sparkling water, then stir to combine. Taste and adjust with more syrup or sparkling water as desired. Add a few blueberries for garnish, if desired. Pair with a cute straw and enjoy!

Leftover syrup will keep in an airtight container in the refrigerator for at least a week.

Blueberry Jam

Blueberry Jam

Every once in a while I mention that I spent a good amount of 2010 making jam, but I’ve never once put a recipe for it on here. Thing is, I don’t even like jam that much. But I do like making it, and I’m always surprised by how delicious it is, especially from scratch.

Blueberry Jam

I had a ton of blueberries on my hands and Maine on my mind a few weeks ago, and figured we could all use a little reminder that homemade jam is easier and more delicious than we all remember. There’s a reason people have been making it for centuries.

To make the best Blueberry Jam you’ll eat all year, all you really need are fresh ripe blueberries, sugar, salt, lemon juice, a pot, a warm jar, and about 30 minutes. Stir all the ingredients together in the pot and set it over medium heat. Before you know it, the mix will go from sugared fruit to boiling lava to gelling on a frozen plate (“the plate test”).

Blueberry Jam

Pour it into the warm glass jar (hot things need hot containers), twist the lid finger-tight and let it cool down before storing it in the refrigerator. If you’d like to make several jars or store at room temperature, I can point you to canning resources. That said, I enjoy jam-making far more than water-bath canning, so I like to make my preserves in small batches.

Blueberry Jam

Once your jam cools and settles, slather your dark purple blueberry jam on anything your late summer heart desires—I went for biscuits. Truly though, it will blow your mind on just about anything you put it on. Even if you don’t like jam that much.

Blueberry Jam
makes about 2 cups

3 cups fresh blueberries
1 cup granulated sugar
pinch of Kosher or sea salt
1 tablespoon fresh lemon juice

Place a small plate in the freezer.

Stir/toss all ingredients together in a medium heavy-bottomed pot. Heat over medium heat, stirring frequently, until it comes to a boil. Skim and discard any foam that accumulates on top.

The jam is near-ready when the fruit has softened and burst and the liquid appears to be thickening. To test for doneness, remove the frozen plate from the freezer and dribble a drop jam on it. If, after a few seconds, it wrinkles when nudged with your finger, it’s done. If not, return the plate to the freezer and perform the test after another minute or two of cooking. You can also use a candy thermometer; it’s done when it registers at 220F. When it’s done, remove the jam from the heat.

Use a jar funnel or a spoon to transfer the jam to a warm glass mason jar (I rinse a jar in HOT water as soon as I take the jam off the heat, then dry well). Do not, under any circumstances, put hot jam into a room temperature or cold jar—it can and will shatter. This is not the same as canning and is not meant for long term storage at room temperature.

Place a warm lid on top of the jar, then use the ring to tighten to finger tightness. Let jam cool to room temperature on the counter, then transfer the jar to the refrigerator.

Use jam as desired and store it in the refrigerator.

Blueberry Sour Cream Scones

Blueberry Sour Cream Scones​

If you’re on the hunt for impossibly tender scones, look no further. Beneath these nubbly exteriors lie the softest, most buttery interiors. The secret? A hefty spoonful of sour cream.

Blueberry Sour Cream Scones​

Oh, yes. Where most scones are bound with heavy cream, half & half or just plain ol’ milk, these get their delicate decadence from thick, rich sour cream. Between its texture and natural acidity, its scone game simply cannot be beat.

For those concerned that sour cream’s tanginess might overwhelm the other flavors, rest assured that it does not. The acidity is neutralized with a bit of baking soda, ensuring that the end results have a smooth, buttery flavor to accompany their perfect texture.

You can bake this scone base by its lonesome, of course, but blueberries are at their best right now, so we’re tipping a full cup into the mix today. Blueberry Sour Cream Scones? Sign. me. up.

Blueberry Sour Cream Scones start just how any other scone recipe might—cutting butter into dry ingredients—but where the next step is usually to add heavy cream or half & half, these are bound with an egg and 1/2 cup of sour cream. The dough may simultaneously seem both too wet and too dry during mixing (weird and true), but it will come together. Once mixed, it’s filled with blueberries, formed into a disk and sliced into wedges before baking.

These scones bake up craggy and golden with juicy burst blueberries throughout. You may serve them as soon as you can handle them, but you can also wait a few more minutes and give them a drizzle with a quick blueberry glaze. You know, if you’re the kind of person who needs your Blueberry Sour Cream Scones to have a vibrant purple drizzle…which I very much am.

Blueberry Sour Cream Scones​
Blueberry Sour Cream Scones
makes 8 scones

1 large egg, cold
1/2 cup full-fat sour cream, very cold
1 teaspoon pure vanilla extract
1/3 cup light brown sugar, packed
2 cups all-purpose flour
2 teaspoons baking powder
1/2 teaspoon baking soda
1/2 teaspoon Kosher or sea salt
1/2 cup (1 stick) unsalted butter, very cold, cut into cubes
1 cup fresh blueberries
2 tablespoons milk of choice, heavy cream, or half & half

Glaze:
1 tablespoon pulverized freeze dried blueberries (about 2 heaping tablespoons whole)
1/2 cup confectioner’s sugar
pinch of Kosher or sea salt
3-4 teaspoons milk of choice

Make the scones. Place an oven rack in the center position. Preheat oven to 400F. Line a baking sheet with parchment. Set aside.

In a liquid measuring cup, use a fork to whisk together cold egg, sour cream, and vanilla. Refrigerate.

In a large mixing bowl, whisk together flour, light brown sugar, baking powder, baking soda, and salt. Add cold butter. Use a pastry blender or clean fingertips to cut the butter into the flour until the largest pieces are the size of small peas. Stir in sour cream mixture. Add blueberries and fold them in as gently as you can. Some will break; that’s just the nature of this.

Turn dough out onto a floured surface. Pat it to 1-inch thick circle. Use a large, sharp chef’s knife to slice circle into 8 wedges. Place scones at least 2 inches apart on prepared pan. Brush with milk, cream, or half-and-half. Bake 21-23 minutes, until puffed and golden.

Meanwhile, set a cooling rack over a piece of parchment paper. Let scones cool on the pan on a rack for a few minutes, before removing to the prepared rack.

When scones are cool enough to handle but still a little warm, make the icing. In a small mixing bowl, whisk together pulverized freeze dried blueberries, confectioners sugar, salt and 3 teaspoons milk. Add more milk by the 1/2 teaspoon until icing is thick, but pourable. Pour or drizzle icing over the scones as desired. Icing will set quickly, and eventually harden completely after a few hours.

Scones are best the day they are made, but will keep in an airtight container at room temperature for up to 2 days.

Vegan, Gluten-Free Peachy Berry Crisp

Our annual trip to Maine is coming up in just five weeks. In addition spending my days dreaming about what treasures I’m going to pick up at Iverstudio and tiptoeing into the ocean at Fine Sand Beach, I’m diving deep into menu planning.

Vegan, Gluten-Free Peachy Berry Crisp

I cook a primarily vegan, gluten-free menu up there to accommodate all of our various dietary needs. It works for us, and even the guests we’ve had who don’t regularly eat that way seem to enjoy it. We have a list of staple meals—vegan Everyday Cassoulet is always the #1 request—but I am constantly on the lookout for new things to add to our repertoire. Beyond three square meals a day (plus a lot of guacamole), I most look forward to making a vegan, gluten-free dessert for my friends and my blog.

Last year’s offering was an easy Vegan, Gluten-Free Apple Crisp. It was fall on the island, so going with apples made perfect sense. Now in the heat of summer, I’m giving that recipe a peachy berry spin!

Vegan, Gluten-Free Peachy Berry Crisp

I punched up the original recipe with loads of fresh peaches, brown sugar and lemon, and just a hint of spice—enough so you know it’s there, but not enough to overwhelm the fruit. Once the peaches are prepared and tossed with all that goodness, a cup of fresh blueberries are added to the mix. You could add any berry you like here and it would work, but keep in mind that some may leach color more easily than others.

The crisp topping is made primarily with almond flour, gluten-free rolled oats, brown sugar and vegan butter (or coconut oil). A thick layer is scattered over the filling, and then the whole thing is baked until golden, piping hot, and screaming for a scoop (or two or three) of your favorite vegan vanilla ice cream. I’m an oat milk vanilla girl myself.

Vegan, Gluten-Free Peachy Berry Crisp

Vegan, Gluten-Free Peachy Berry Crisp is super summery and wildly quick and simple to make. It’s perfect for cookouts and dinner parties, but if you can swing it, it’ll really hit the spot on vacation with two of your favorite people.

Vegan, Gluten-Free Peachy Berry Crisp
makes one 9-10 inch dish, about 6 servings

Filling:
5 cups sliced ripe peaches (about 7-8 medium peaches)
juice of 1/2 lemon
1/2 cup light brown sugar, packed
2 tablespoons cornstarch
1/8 teaspoon ground cinnamon
1/8 teaspoon ground ginger
1/4 teaspoon Kosher or sea salt
1 cup fresh blueberries

Crisp Topping:
1 cup rolled oats
1/2 cup almond flour
1/2 cup light brown sugar, packed
1/2 teaspoon kosher or sea salt
1/2 cup vegan butter (or refined coconut oil), melted

For serving:
dairy-free vanilla ice cream

Preheat oven to 350F. Grease a 9-inch casserole dish or cast iron pan with vegan butter (or refined coconut oil). Set aside.

Place peach slices in a medium mixing bowl and toss with lemon juice, brown sugar, cornstarch, cinnamon, ginger, and salt. Add blueberries and gently fold together. Transfer to the prepared baking dish.

Make the topping. In a medium mixing bowl (I just wipe out the one I used for the fruit), whisk together oats, almond flour, sugar, and salt. Add melted butter (or coconut oil) and stir until everything is saturated. It may seem sandy; this is okay. Scatter topping onto the fruit.

Bake 28-30 minutes, until topping is browned and peaches are tender. Let cool 10 minutes before serving in bowls with dairy-free vanilla ice cream, if desired.

Cover and refrigerate any leftovers for up to 4 days. Reheat before serving.

Double Raspberry Bostock {Brioche with Almonds}

Double Raspberry Bostock {Brioche with Almonds}​

Welcome back to the summer of frangipane, where we find any and all excuses to put sweet almond pastry cream in things. A few weeks ago, I dropped spoonfuls of frangipane onto a puff pancake. This week, I’m keeping things a little more traditional with Double Raspberry Bostock.

Double Raspberry Bostock {Brioche with Almonds}​

If you’ve never heard of Bostock, think of it as French toast’s glamorous pastry cousin—stale slices of rich brioche painted with simple syrup, topped with frangipane, and baked until brown. What a way to use up leftover bread! You can leave it plain or top it with fruit if that’s your jam. It’s definitely my jam, as evidenced by today’s recipe.

Double Raspberry Bostock {Brioche with Almonds}​

You see, where traditional Bostock is painted with simple syrup, Double Raspberry Bostock is painted with thinned raspberry preserves before being topped with frangipane and fresh raspberries. The tart nature of the berries cuts through the sweetness of the brioche and the frangipane and, well, it just works. It’s balanced, it’s berry, it’s delicious.

Double Raspberry Bostock {Brioche with Almonds}​

Oh, and it’s easy. Bostock is technically considered a pastry, even though it’s mostly just an excuse to use up old bread. Who doesn’t love a treat that helps prevent food waste?!

As you’ve likely realized, you can make Double Raspberry Bostock your own by using the fruit and preserves of your choice. Keep it all one flavor profile or mix and match. That’s the great luxury of making your own Bostock at home—you can my recipe and make it yours.

Double Raspberry Bostock {Brioche with Almonds}​
Double Raspberry Bostock {Brioche with Almonds}
makes 8 servings

Frangipane:
1 cup blanched almond flour or 4 ounces blanched almonds
1 tablespoon all-purpose flour
pinch of Kosher or sea salt
6 tablespoons granulated sugar
6 tablespoons unsalted butter, cold-ish room temperature, cut into cubes
1 large egg
1/2 teaspoon pure almond extract

Raspberry Preserves:
1/2 cup raspberry preserves
2 tablespoons water

For Assembly:
8 thick slices brioche, preferably a bit stale 1/2-1 6 oz package fresh raspberries
2-3 tablespoons sliced almonds (optional)
2 tablespoons confectioner’s sugar

Arrange a rack in the center of the oven. Preheat the oven to 350F. Line a rimmed sheet pan with parchment paper. Set aside.

Make the frangipane. In a food processor (or very good blender), pulse almond flour, all-purpose flour, salt and sugar together. Pulse in butter. Pour in egg and almond extract, and process until frangipane is a homogenous paste.

Thin the raspberry preserves. Use a fork to whisk jam and water together in a small microwave safe bowl. Warm in the microwave for 15 seconds, just so that it thins out even more. This step may also be done over a low flame on the stove.

Place brioche slices in a single layer on the prepared pan. Brush each slice with the thinned preserves, making sure to use up all of it. Spread about 2 heaping tablespoons of frangipane over each slice of brioche, covering the entire top. Press in raspberries, then sprinkle on sliced almonds, if using (I skipped these).

Bake Bostock for 25-30 minutes, until the frangipane as begun to brown in places. Let cool on a rack for at least 15 minutes before dusting with confectioner’s sugar and serving slightly warm or at room temperature.

Double Raspberry Bostock is best the day it’s made, but may be wrapped and kept in the refrigerator for a couple of days.