 I can’t believe it’s taken me so long to post this Tomato Pesto Tart. I’ve been thinking about it for years!
 I always intend to bake something savory during the summer, but I inevitably become consumed with berries and cherries and peaches, and before I know it, I’m cracking open a can of pumpkin. I’m in my third year as a blogger and I’m pretty sure that this is my very first savory, summery baked main course!
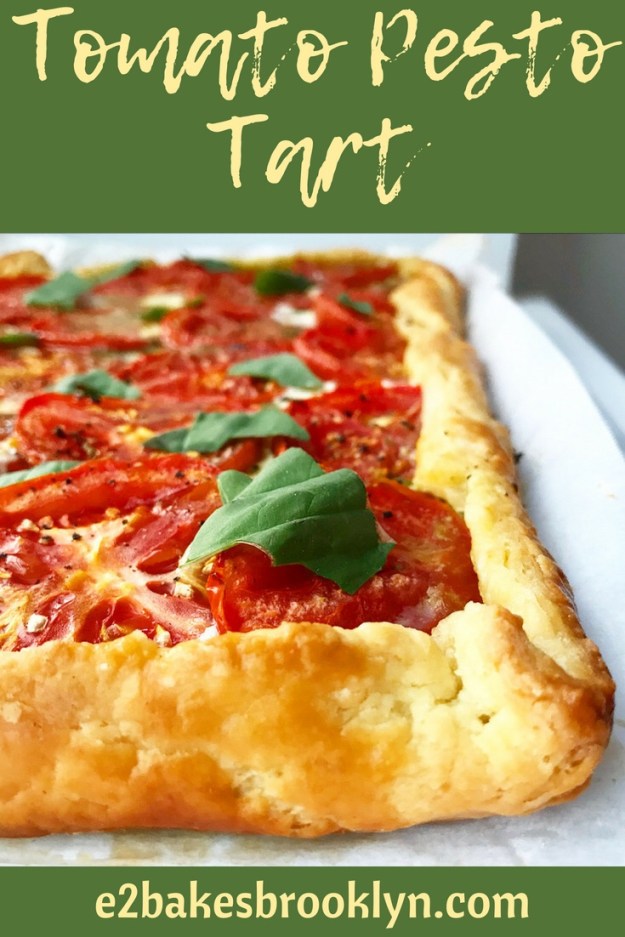
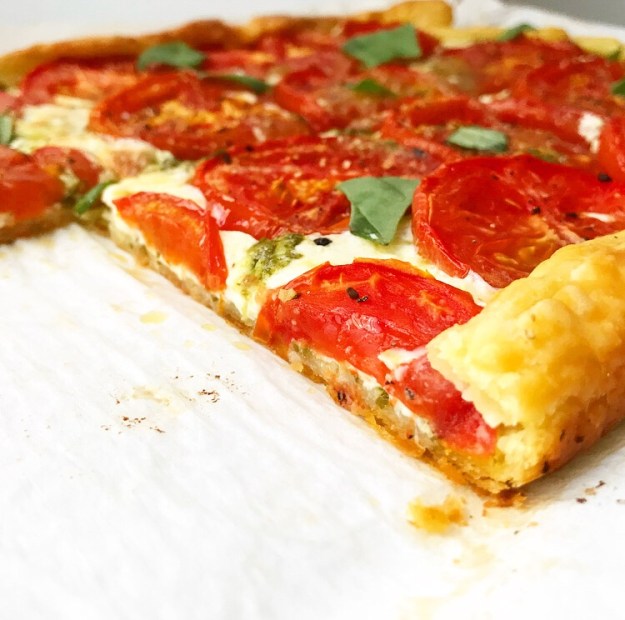 This Tomato Pesto Tart is basically everything you love about caprese salad, wrapped up in crazy-flaky Rough Puff Pastry and baked until bubbly.
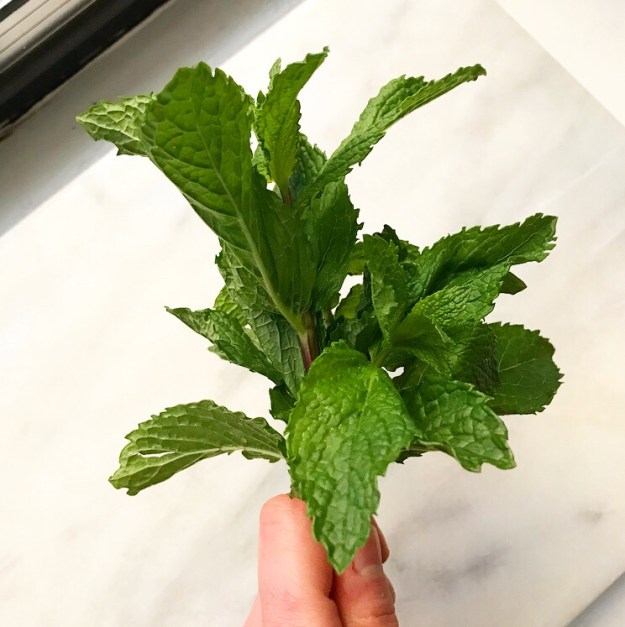
 There’s a layer of basil pesto…
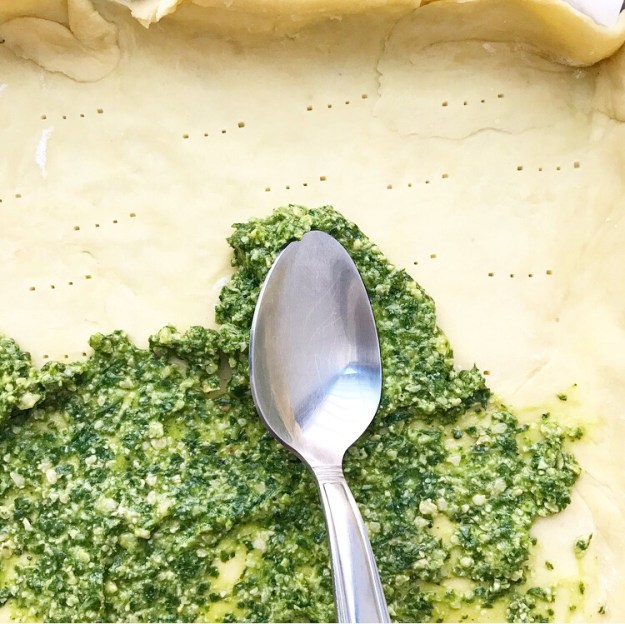 a layer of torn fresh mozzarella cheese…
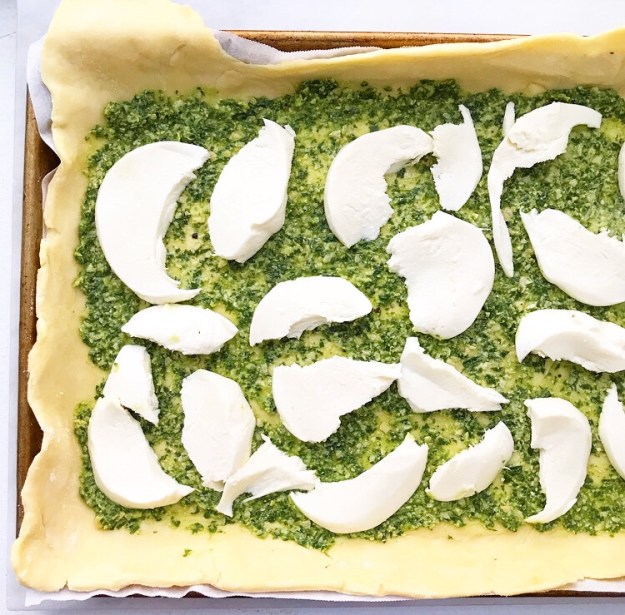 and a layer of sliced fresh tomatoes.
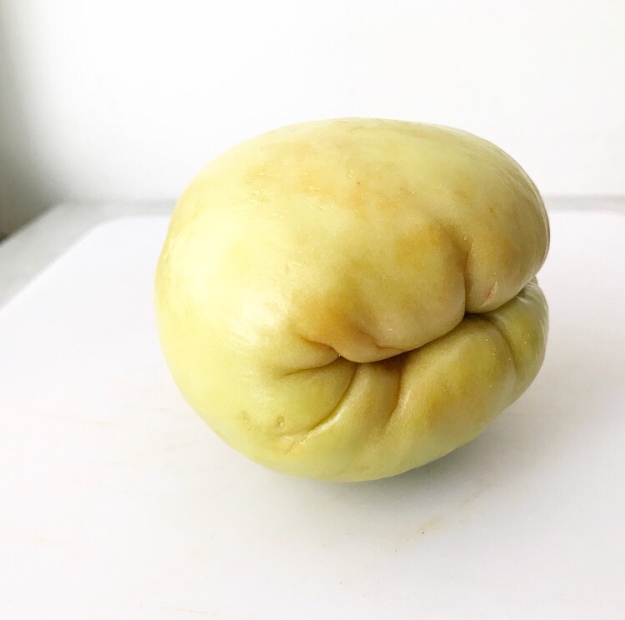
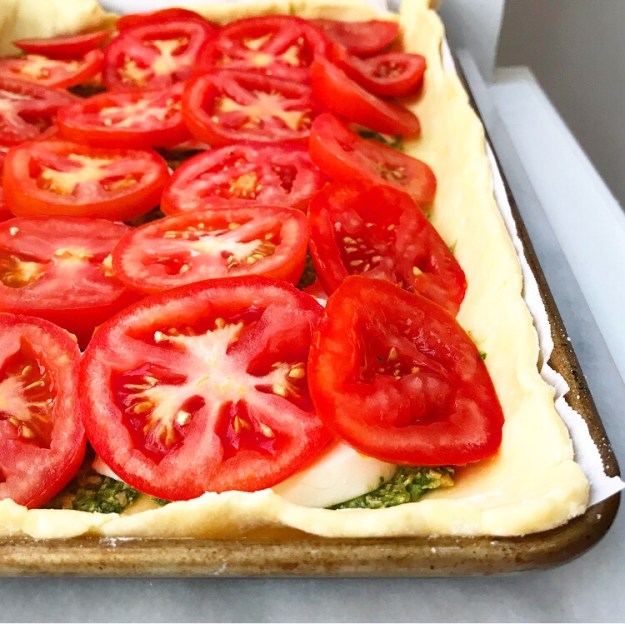 I used some vine-ripened tomatoes that looked good at the green market, but feel free to use heirloom tomatoes, cherry tomatoes, or any other variety you like! Just make sure to drain them on paper towels so they don’t make the tart too wet.
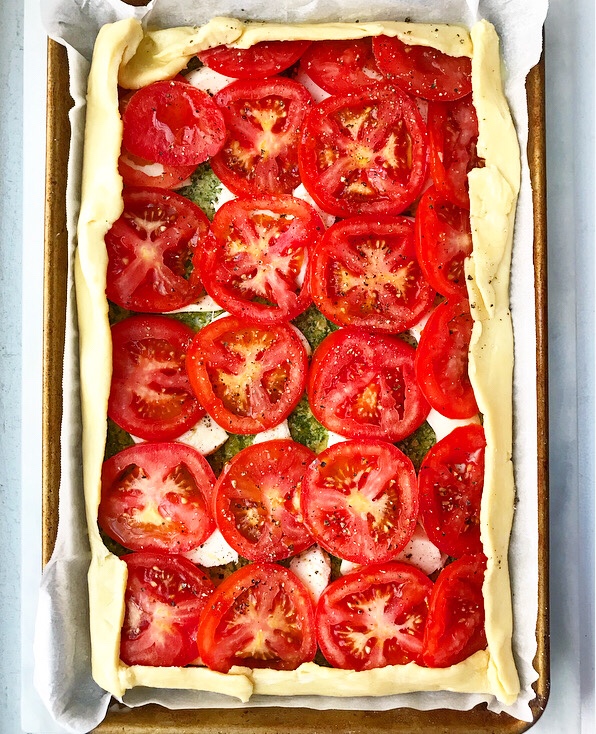 Drizzle the tart filling with olive oil and give it a good sprinkle of salt and pepper before baking for about half an hour. You’ll know it’s ready when the filling is a little bubbly and the crust is golden.
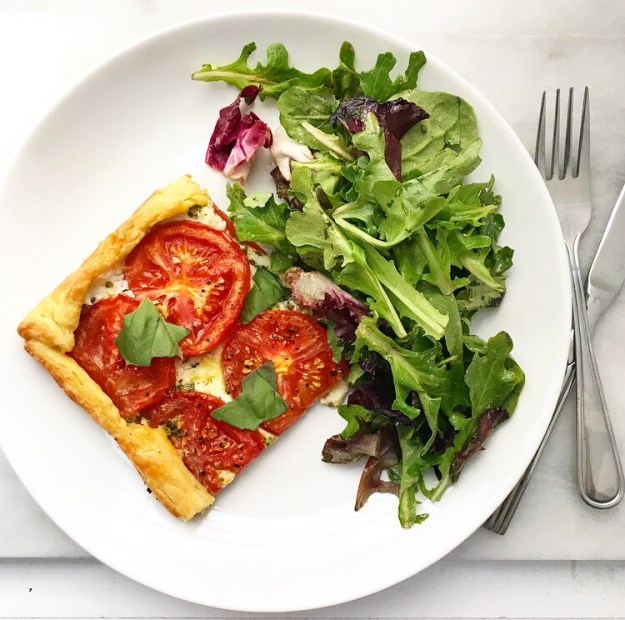
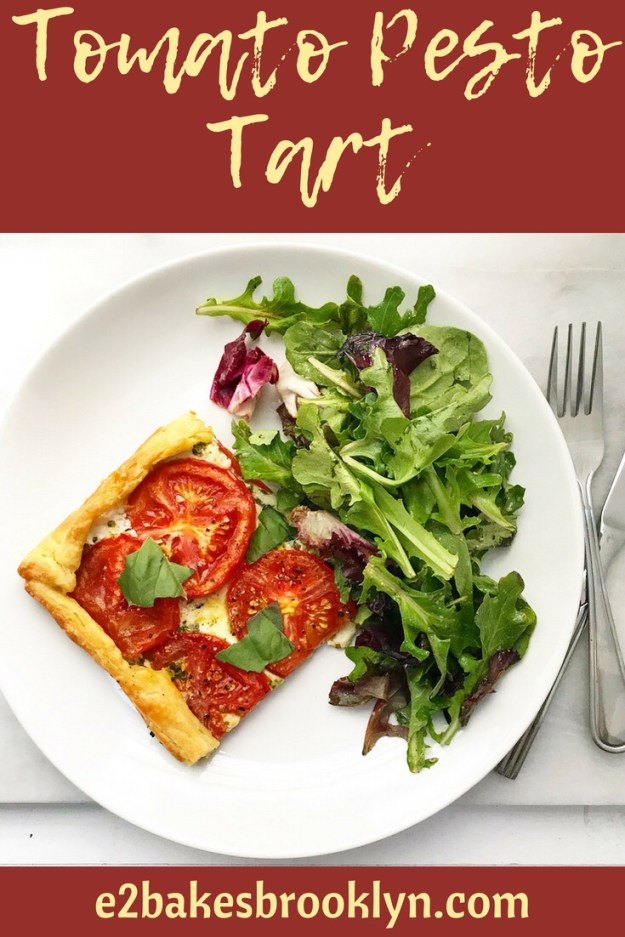
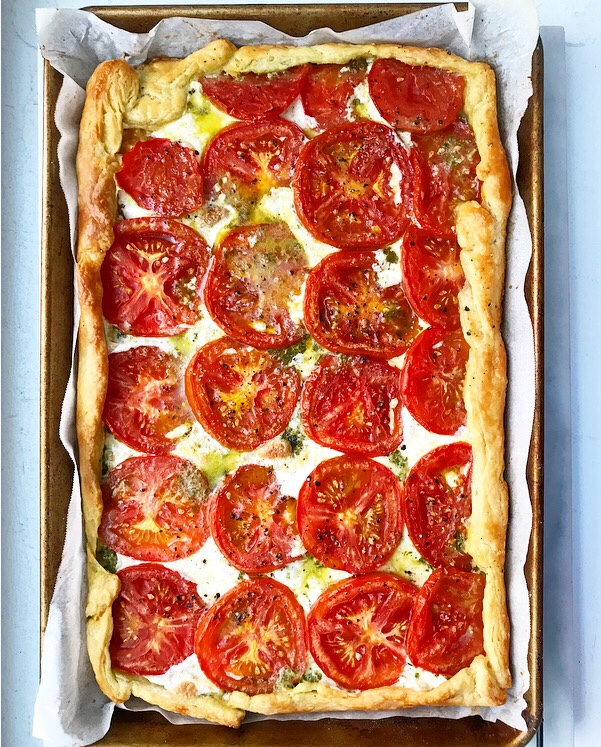 Let the tart cool for a few minutes before slicing it up. Add a side salad and you’ve got a great weeknight meal! This would also be a good dinner party option.
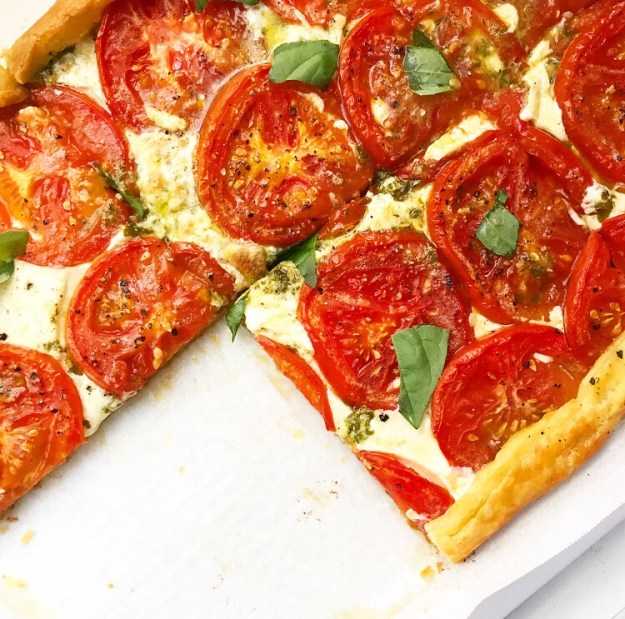
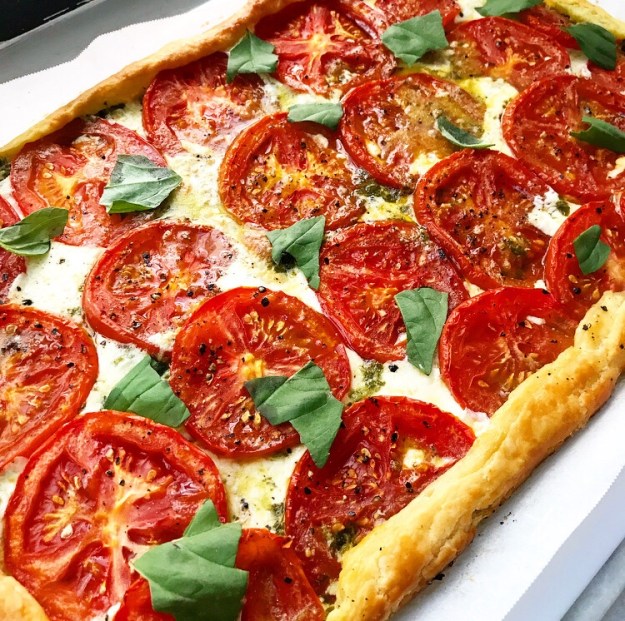
 Oooh, or a garden party! I don’t have a garden, nor do I throw very many parties, but I could see this being absolutely perfect for a garden party.
 I also don’t know anyone who throws garden parties (because New York), but if you have a garden and want to throw a party in it (or if you are buddies with the garden party queen, Ina Garten) please make this tart and invite me so I can live out my Tomato Pesto Tart fantasy, okay? Okay.
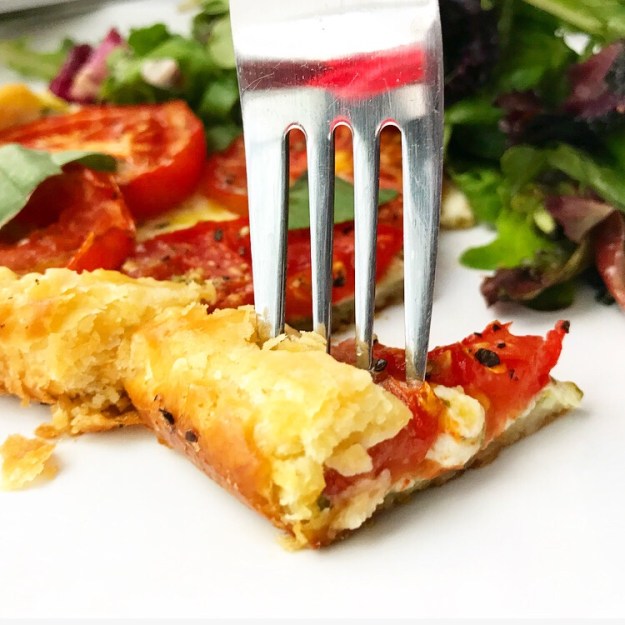
Tomato Pesto Tart
makes one tart, about 6-8 servings
Rough Puff Pastry:*
1 cup all-purpose flour
1/4 teaspoon Kosher or sea salt
5 ounces unsalted European-style butter, very cold, cut into small pieces
1/4 cup water or milk, very cold
For assembly:
5-6 vine-ripe tomatoes, 1/4-inch slices
1/2 cup Basil Pesto (homemade or prepared)
8 ounces fresh mozzarella, torn
1 tablespoon olive oil
freshly cracked black pepper, to taste
pinch of Kosher or sea salt, optional
1 large egg
1 teaspoon water
torn fresh basil, for garnish (optional)
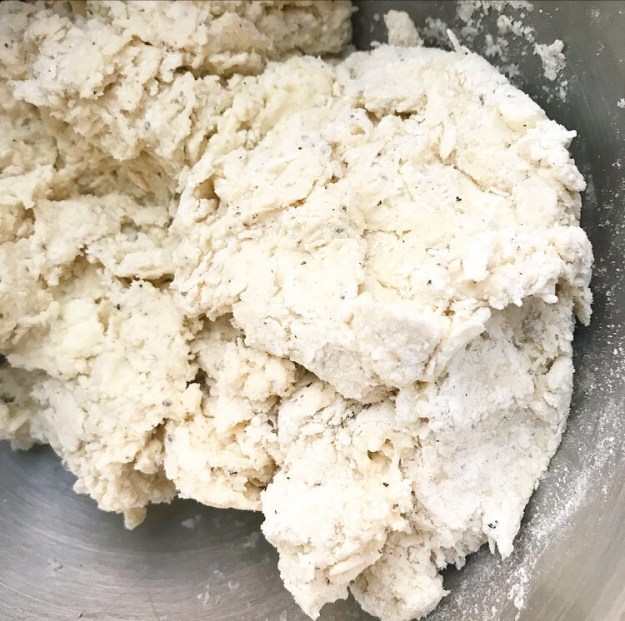
Make Rough Puff Pastry. In a large mixing bowl, whisk together flour and salt. Use a pastry blender or two forks to cut butter into dry ingredients until the largest pieces are the size of small peas. Pour in cold water or milk and stir with a silicone spatula or wooden spoon until a shaggy dough forms.
Flour a surface and a rolling pin. Turn dough out onto surface, and use your hands to pat it into a rough rectangle. Roll the dough into an 8×10″ rectangle. Fold dough in thirds, and give it one quarter turn. Roll into an 8×10″ rectangle again, fold, and turn. Repeat rolling, folding, and turning until it has been done six times total. Wrap folded dough in plastic wrap and refrigerate for at least one hour, or up to 48 hours.
Make the tart. Place an oven rack in the center position. Preheat oven to 400F. Line a rimmed quarter-sheet pan or jelly roll pan with parchment.
Drain tomatoes. Place tomato slices on triple-layers of paper towels. Let sit 10 minutes before gently flipping. Let sit another 5-10 minutes, or until you are ready to use them. Do not skip this step.
Flour a surface and a rolling pin. Unfold dough. Roll dough out to 10×14-inch rectangle. Transfer dough to the prepared pan. Trim any overhang to 1 inch. Dock center of the dough with a fork. Refrigerate for 15 minutes if dough becomes too sticky.
Spread basil pesto over the docked dough. Scatter torn mozzarella over the top. Remove tomato slices from paper towels and arrange them over the mozzarella, slicing them to fit, if necessary. Drizzle olive oil over the top and sprinkle with salt and pepper. Fold overhang over the edges of the filling. Refrigerate for 15 minutes if dough becomes too sticky.
Make an egg wash. In a small bowl, use a fork to whisk together egg and water. Use a pastry brush to apply egg wash over any exposed crust.
Bake 28-30 minutes, until edges are puffed and golden brown. Large bubbles may form during baking. Pop them with a fork or sharp knife, as needed.
Let tart cool completely in the pan on a rack. Use parchment to remove tart to a cutting board. Remove parchment. Scatter with torn fresh basil, if desired. Slice tart into pieces. Serve immediately.
Tart is best eaten the day it’s made, but may be refrigerated for up to three days. If stacking slices, use wax paper as a barrier.
Note:
If you do not wish to make the Rough Puff Pastry, you may use one sheet of frozen all-butter puff pastry that you have thawed according to package directions.
 It has come to my attention that a shocking amount of my friends and acquaintances have never attempted to roast a chicken. In fact, some have admitted to being terrified of the process. Not intimidated. Terrified.
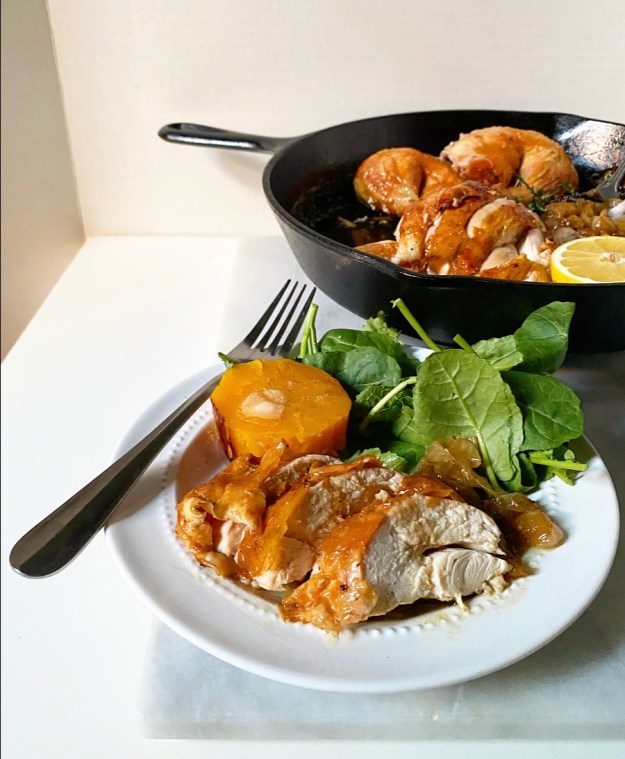 Here’s everything you’ll need to make a quality roast chicken: salt and pepper, olive oil, garlic, thyme (or rosemary), a lemon, a lot of onions, and a whole chicken.
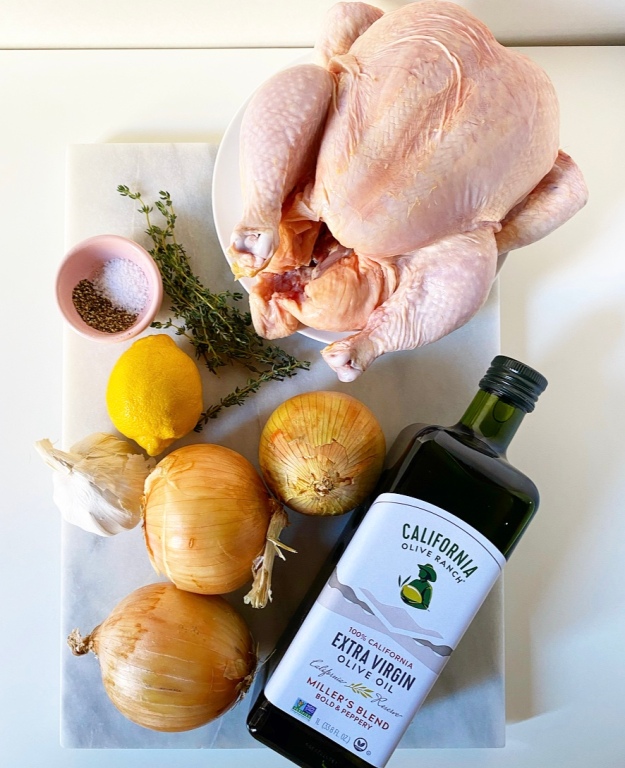 First things first—slice up the onions and toss them together in the pan. You want your pan to be almost full of onions.
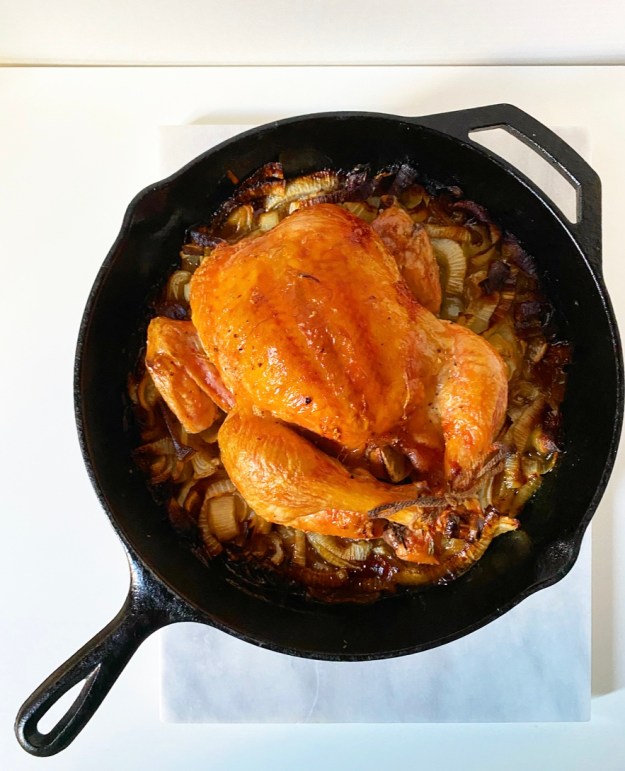
 Stuff the lemon, garlic, and thyme in the cavity, and truss the legs (tie them together) if that’s your bag. Whether you choose to truss or not, the next step is to slide the chicken into a 450F oven. Yes, 450F. This initial burst of high heat helps the skin turn golden. As the cooking time moves on, the heat will be turned down to 400F. This keeps the chicken from burning or drying out throughout the long roasting time.
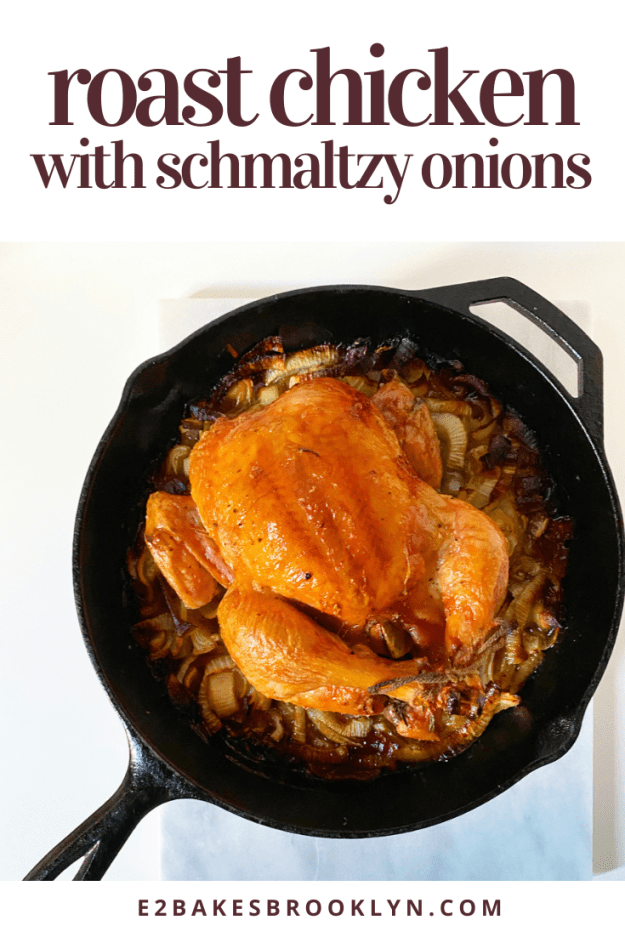
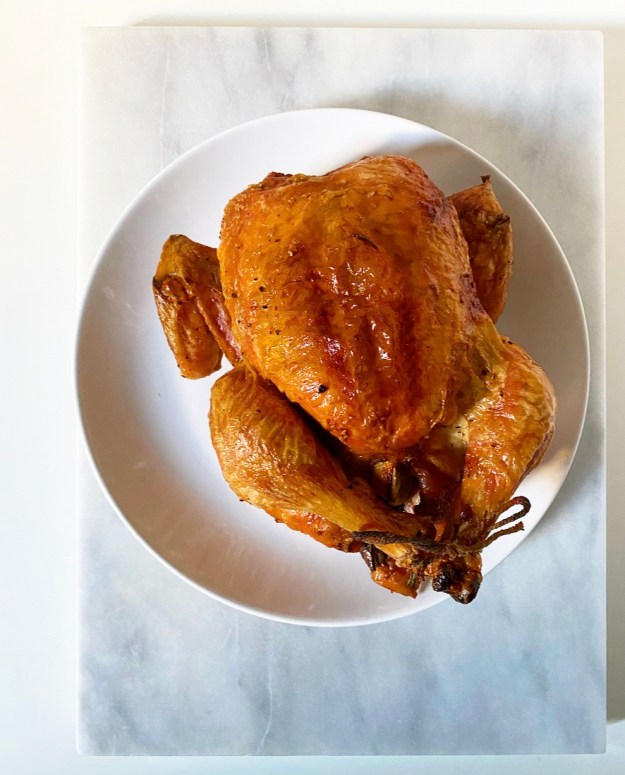 When you finally remove the chicken from the oven, it’ll be golden and beautiful. When I roast chickens, I nearly always get comments on how aesthetically pleasing they look.
 But who cares about looks—it’s all about flavor! And this chicken has plenty of it. The skin is crispy, the meat is moist, and everything is well seasoned.
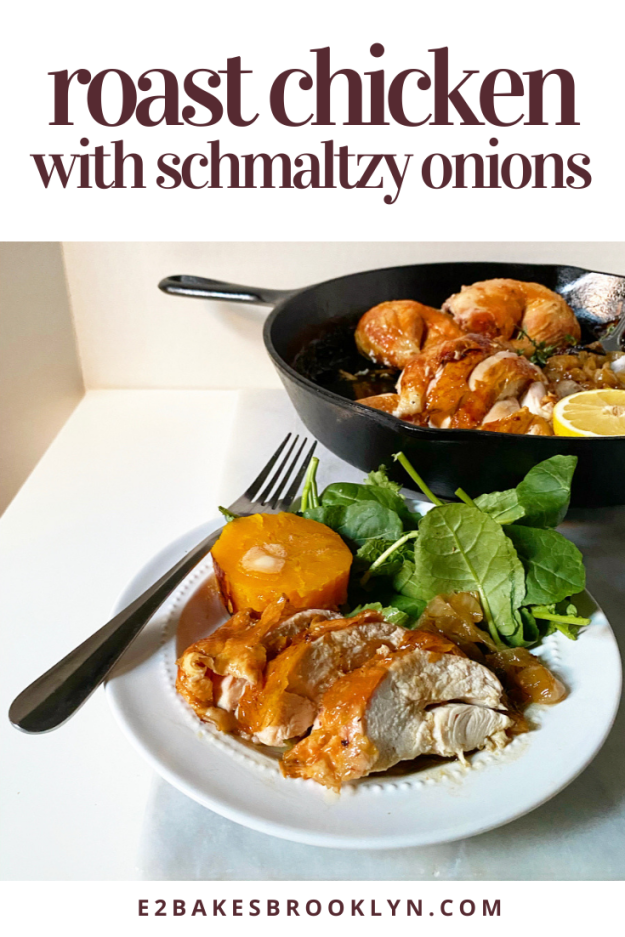
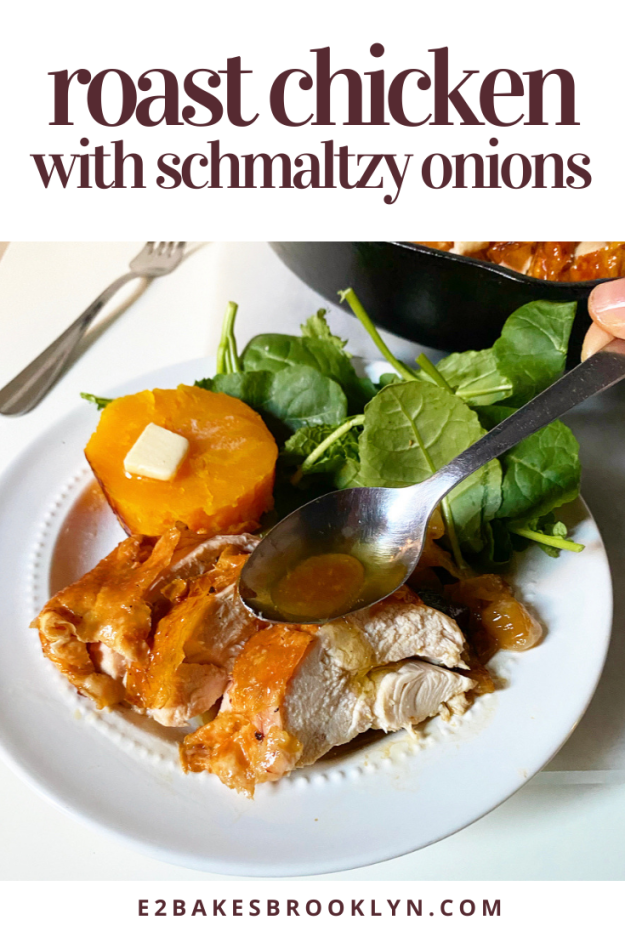
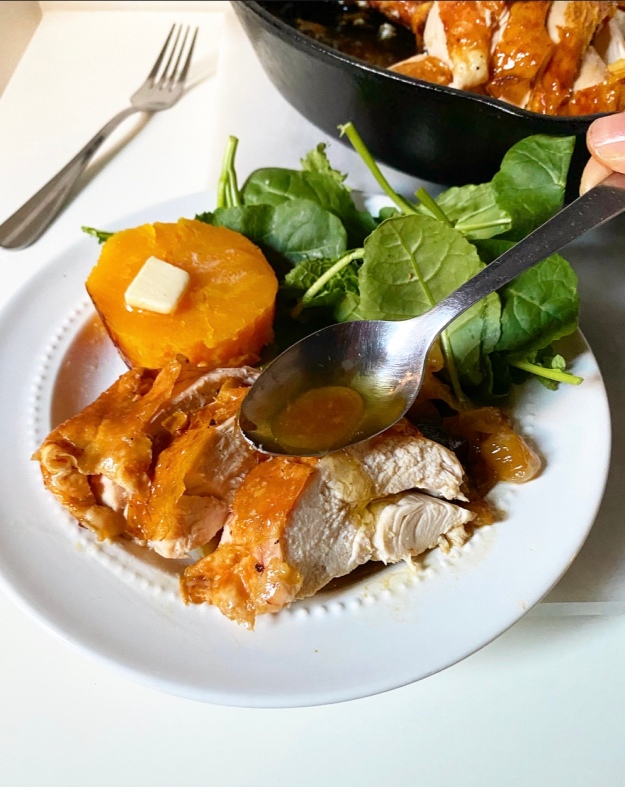 And that’s to say nothing of the soft roasted onions that are coated in rendered chicken fat (aka schmaltz). Seriously, if you’ve never tasted a sweet onion that’s been cooked in chicken fat, you’ve been deprived.
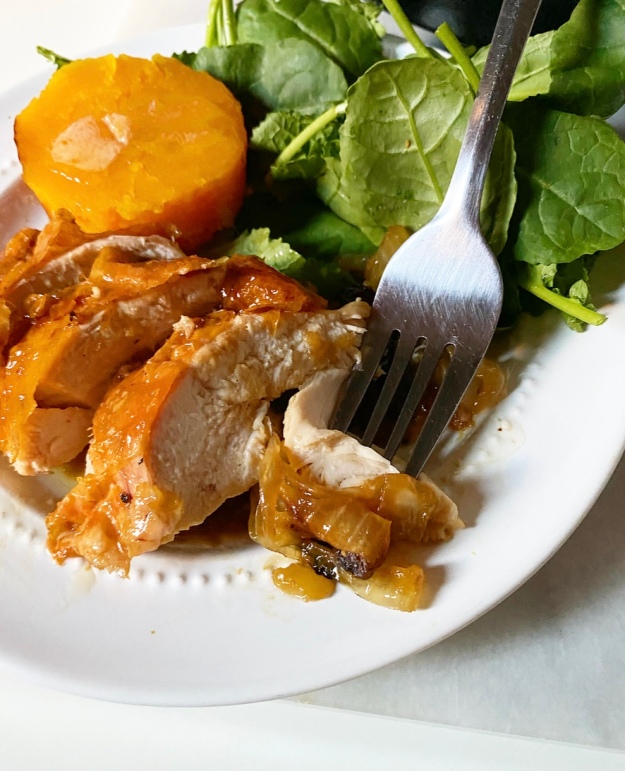
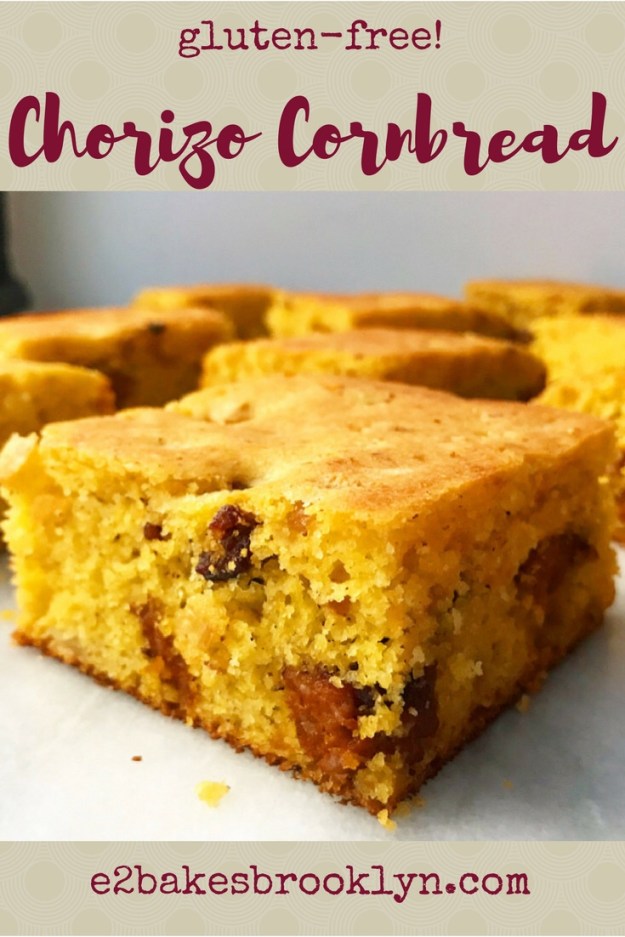
 I repeat recipes so infrequently that this is only the third time I’ve made this Chorizo Cornbread since discovering it three years ago. It came to be during a late-January snowstorm that was billed as the storm of the century (as all of them are), but was wholly unremarkable.
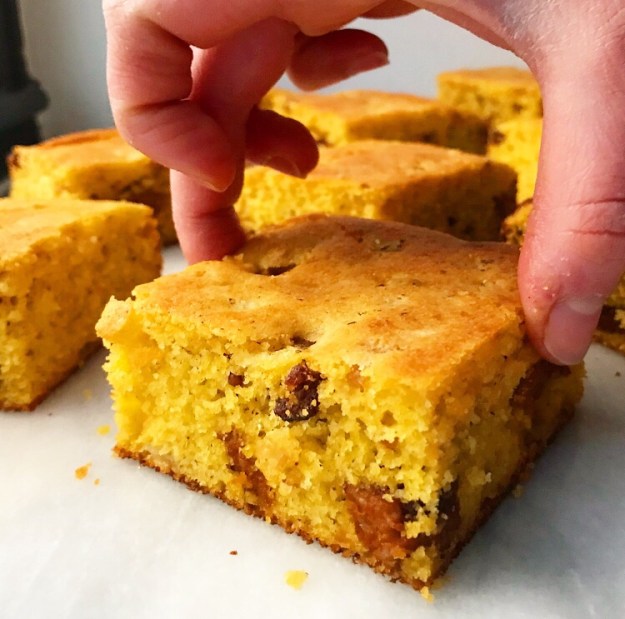 Except for the cornbread. That part was pretty memorable. Especially the near-perfect breakfast sandwich I made with the leftovers.
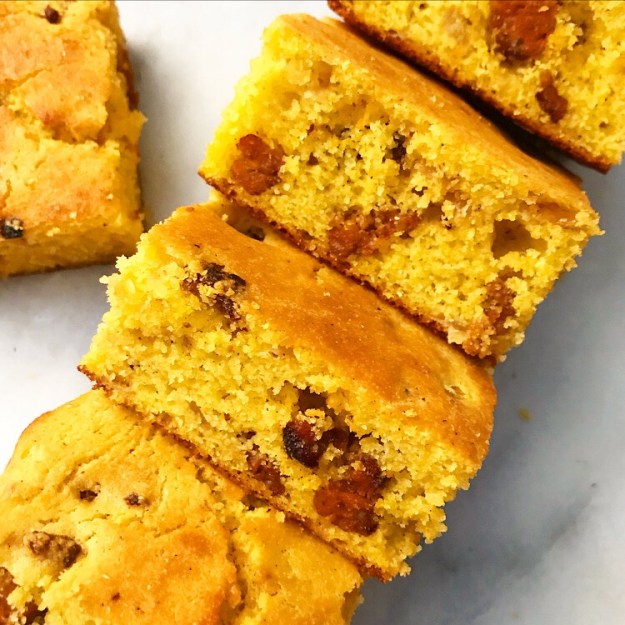 But I’m getting ahead of myself.
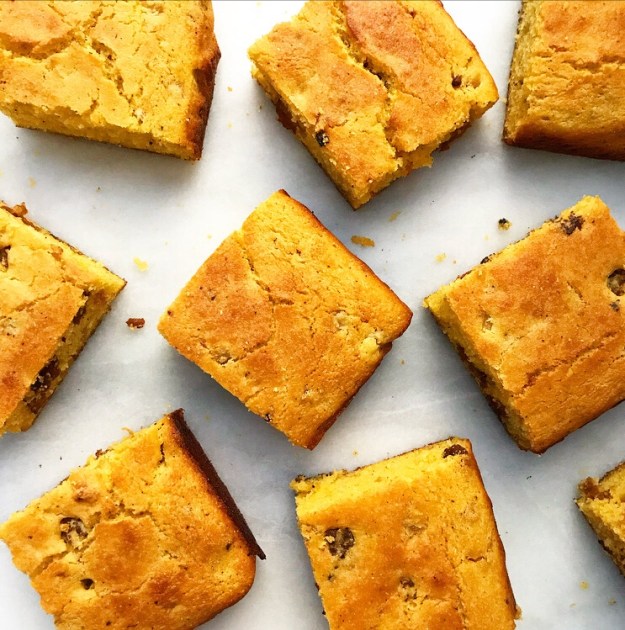 Before we talk about leftovers or magnificent fried egg sandwiches, let’s talk about how good salty, savory chorizo is when it’s enveloped in a barely-sweet piece of cornbread. Because it’s really, really good.
 It’s easy too—this recipe takes just about an hour from the time you start browning the chorizo to the time you pull the finished cornbread from the oven. You won’t need a mixer or anything more than a bowl and a silicone spatula either 🙂
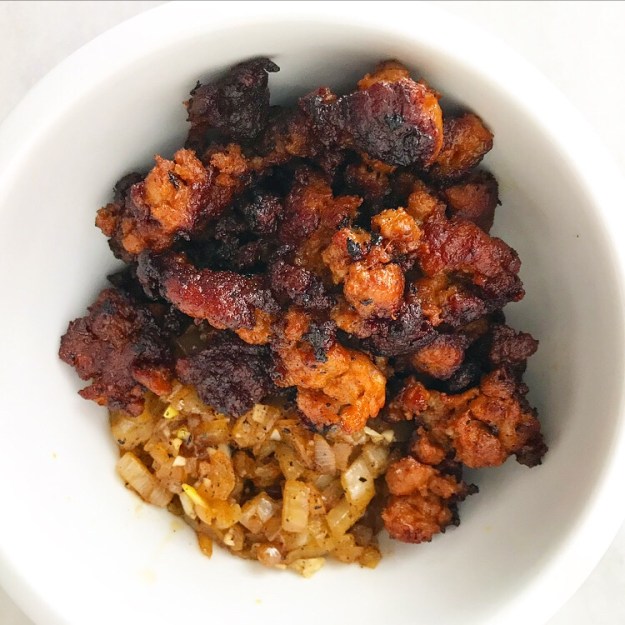 Start by browning eight ounces of raw chorizo and sautéing some diced onion and minced garlic in the rendered fat.
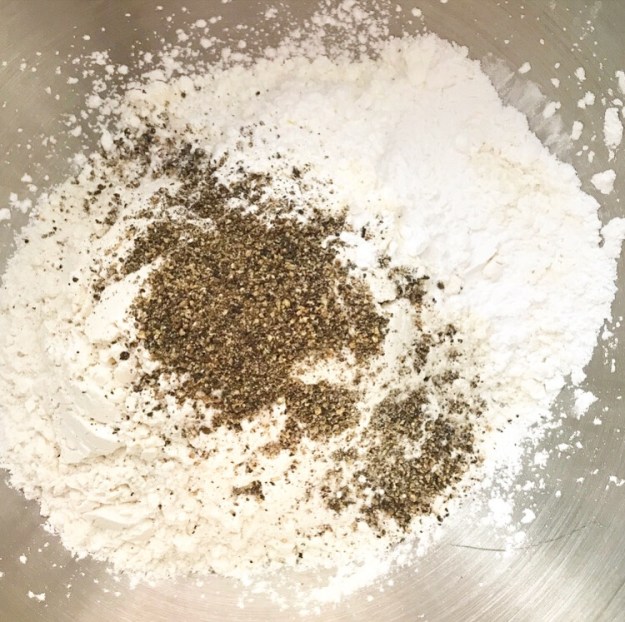
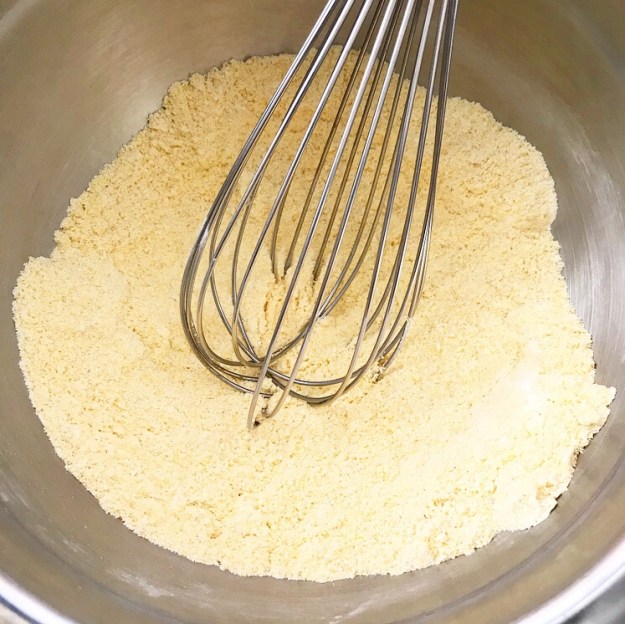 Mix together some yellow cornmeal, baking powder, salt, and a couple of tablespoons of sugar. I don’t usually add sugar to my
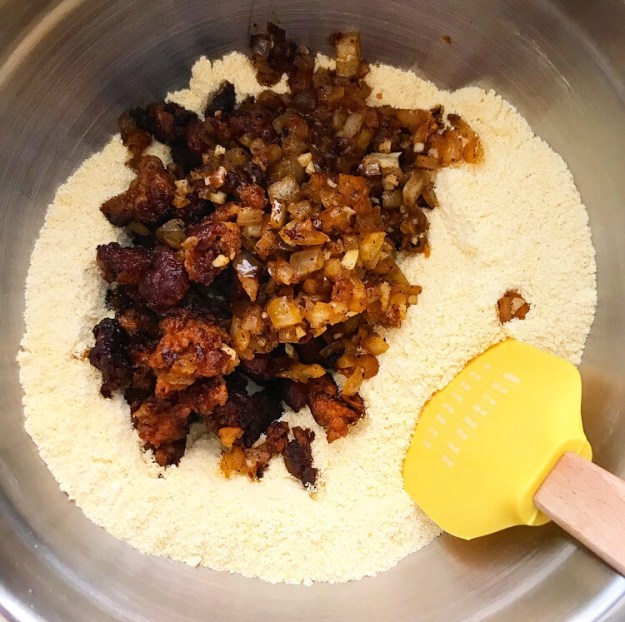
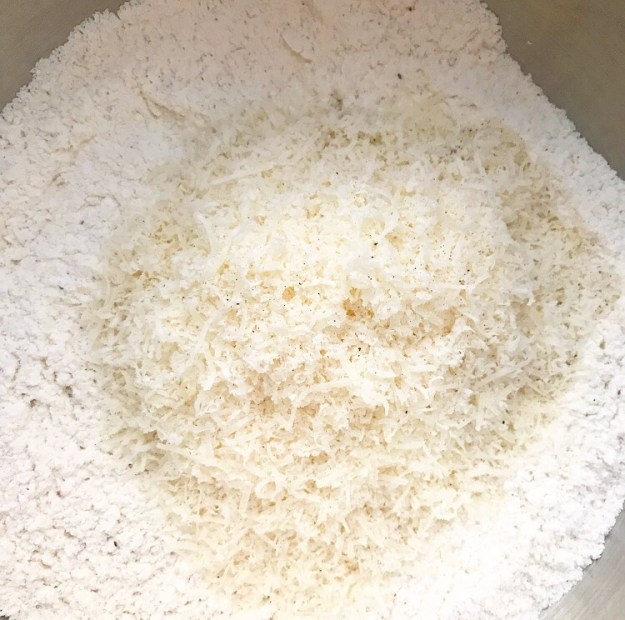
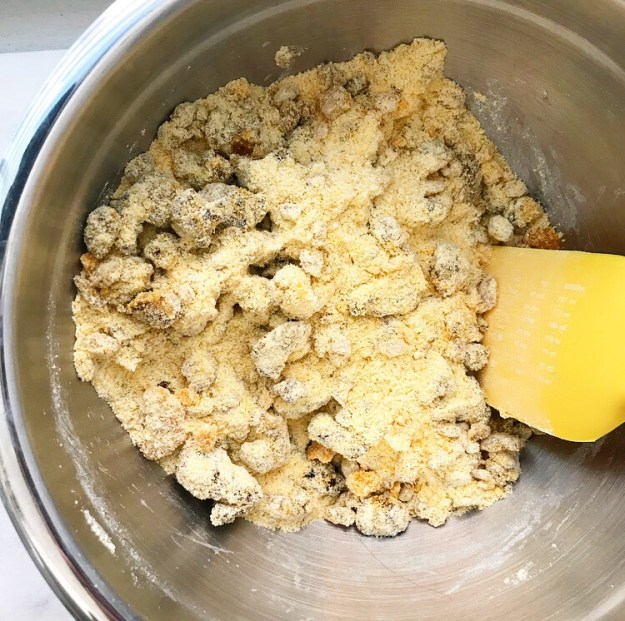 Toss the chorizo, onion, and garlic with the dry ingredients. This allows some of the baking powder to adhere to the meat and keeps it from sinking to the bottom of the finished cornbread.
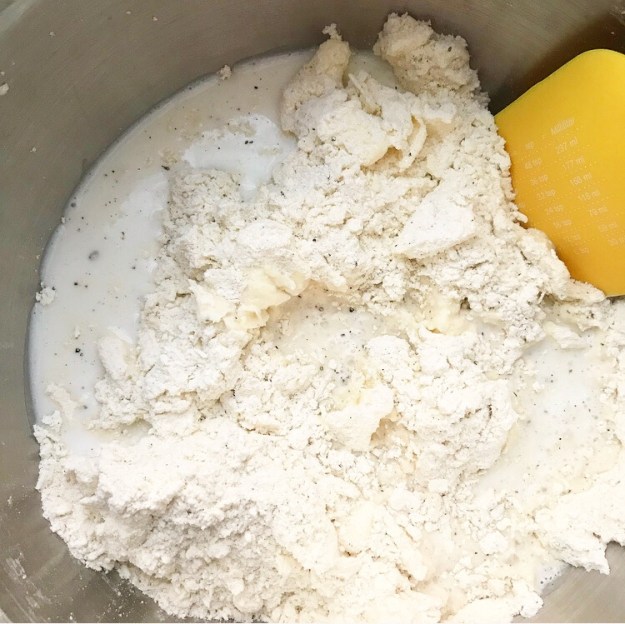
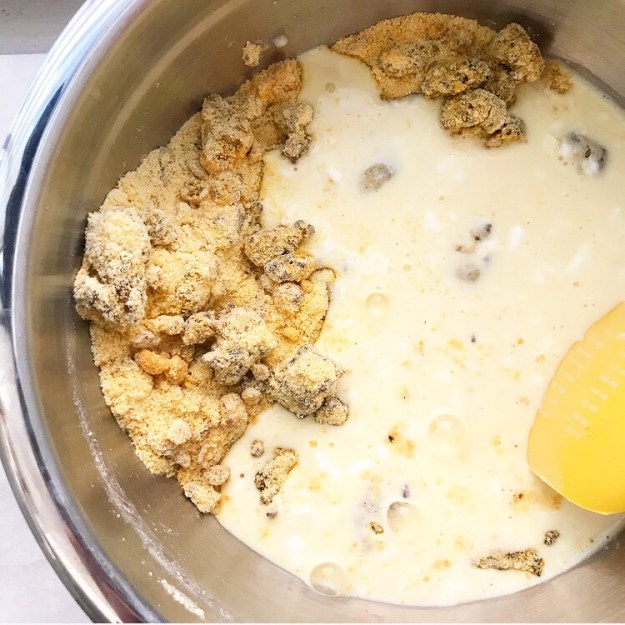 Add some milk, sour cream, and eggs…
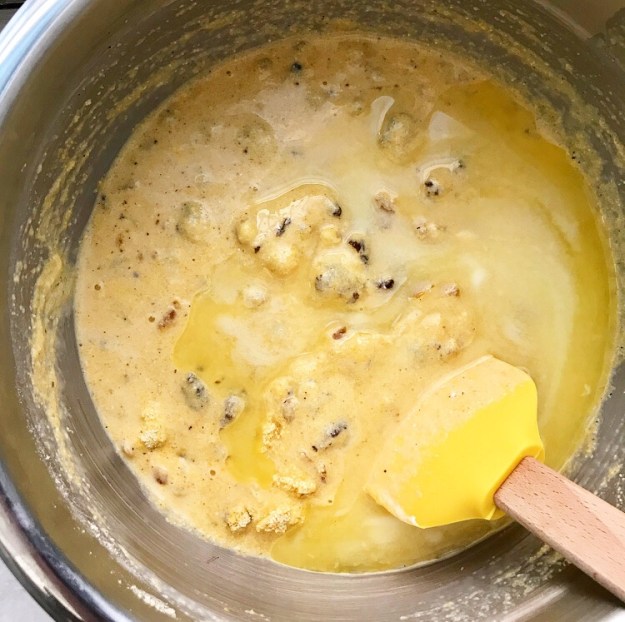 …followed by some melted butter.
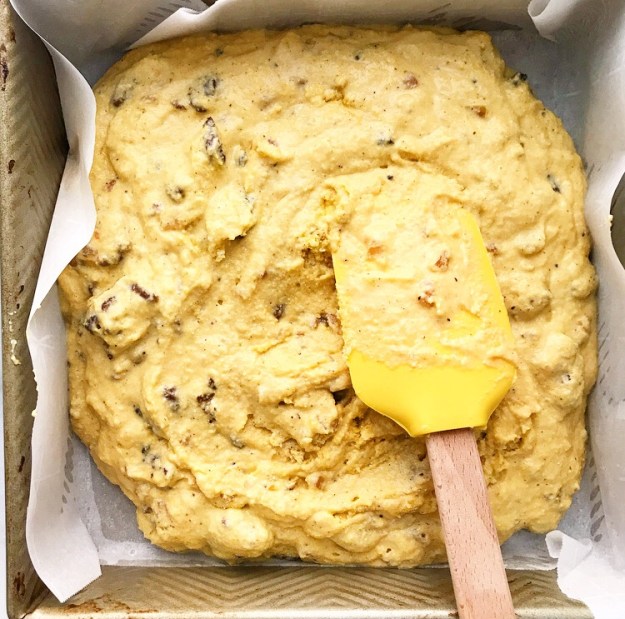 Spread it all into a parchment-lined pan…
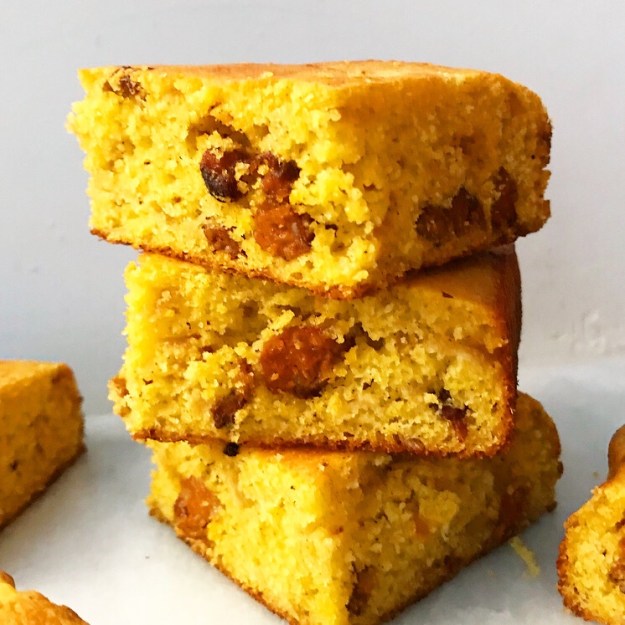
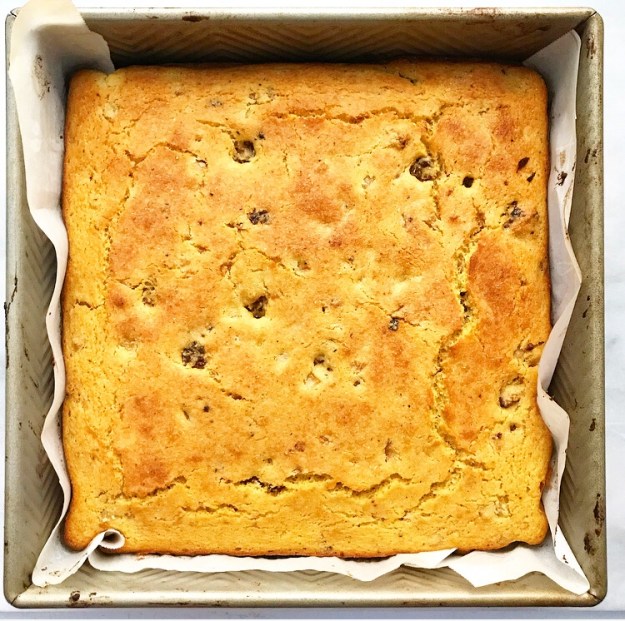 …and bake until browned and a little, uh, dimply.
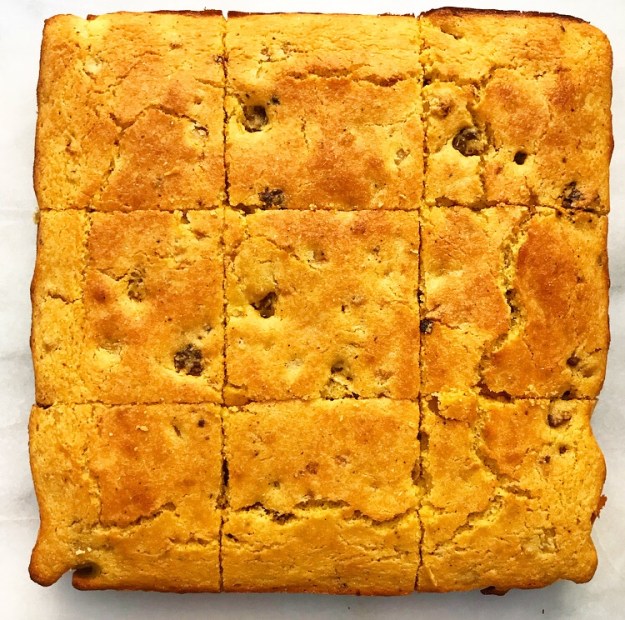
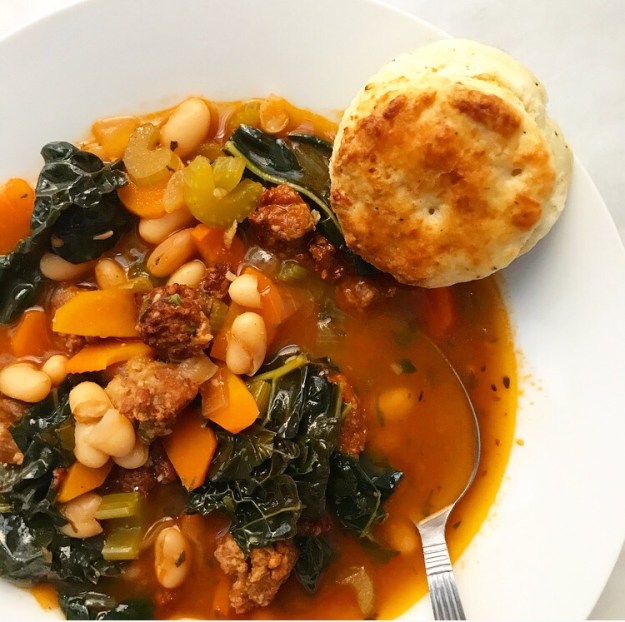
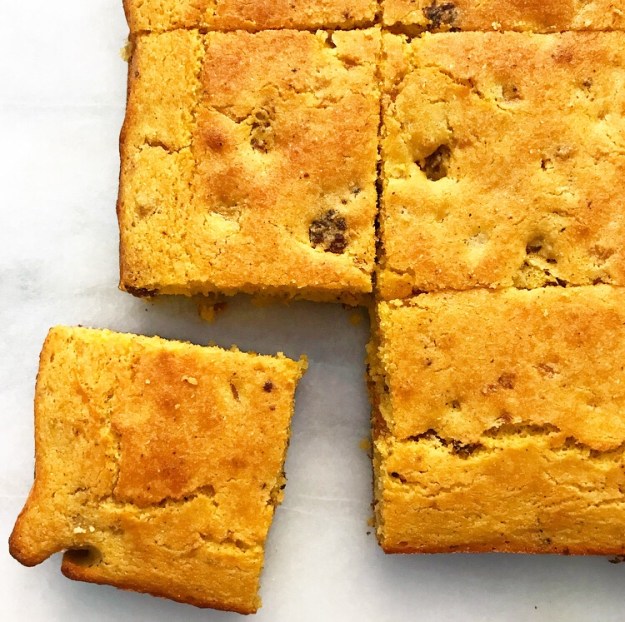 Slice it into pieces while it’s still warm. I like my Chorizo Cornbread served alongside a kale salad or with a vegetable soup or even just by itself, with or without a pat of butter.
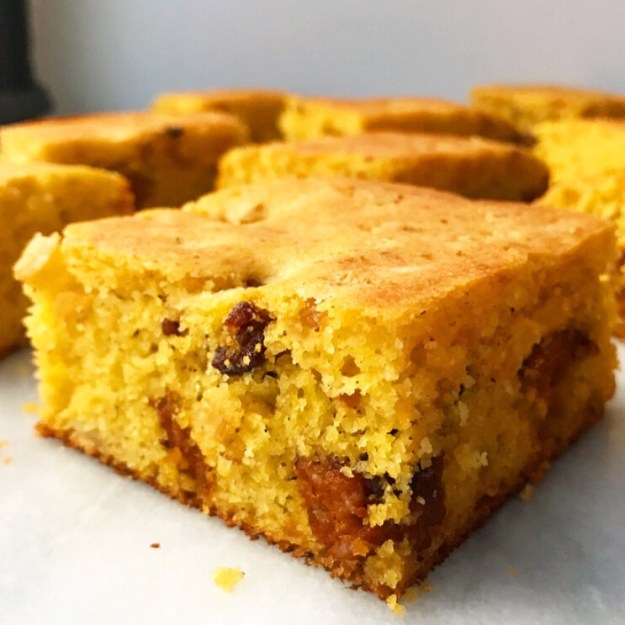 But like I said, the best way to enjoy this Chorizo Cornbread is to sandwich your slice with a runny egg.
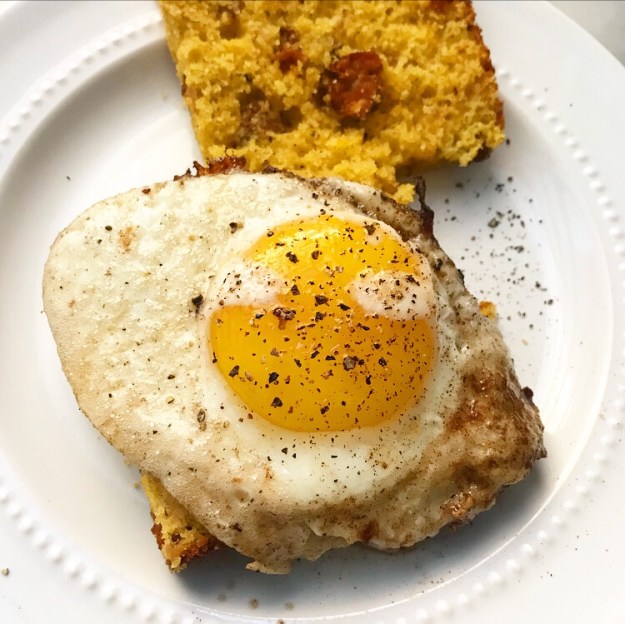 You can leave it simple (like I did) or jazz it up with cheese and greens and a big hit of sriracha. Either way, it’s basically the best egg sandwich ever.
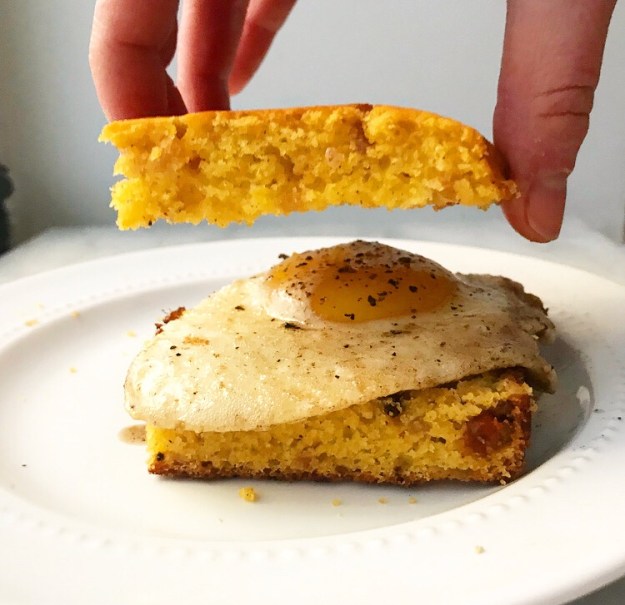 Have a great weekend, y’all.
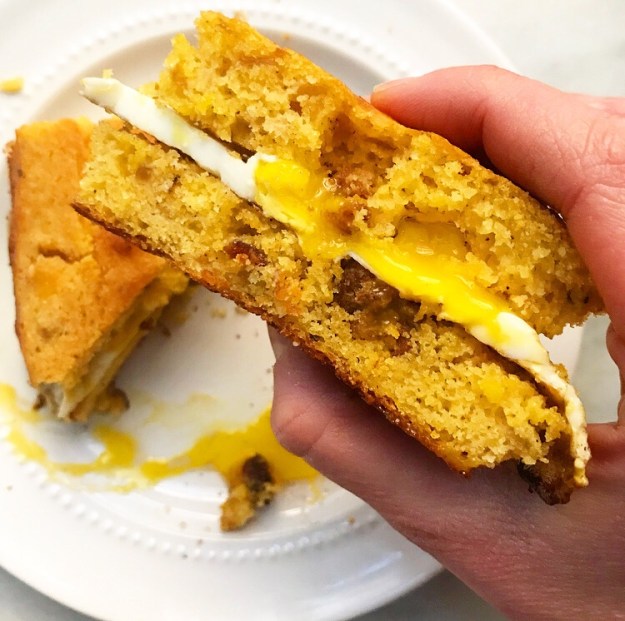
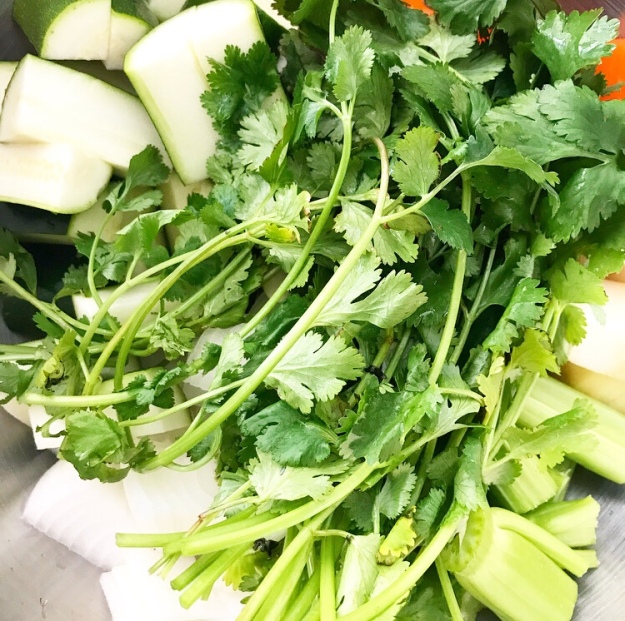
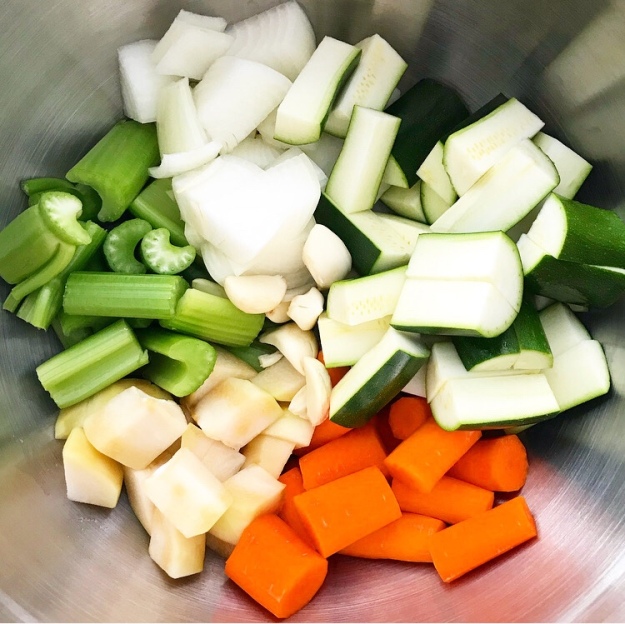
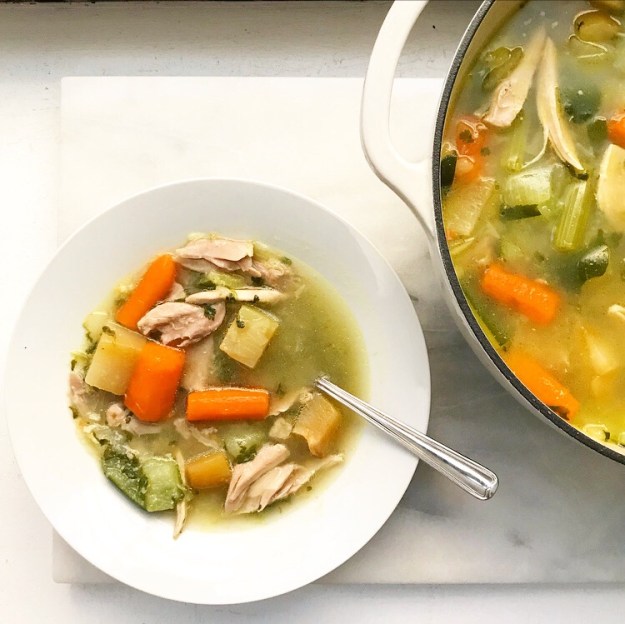 Everybody has a favorite chicken soup recipe—until very recently, the
  This Sopa de Pollo is adapted from


 My sister,