 Over the past couple of years, I’ve learned that a shocking number of people I know and love don’t know how to make one of the simplest recipes in the wide world: Grilled Cheese. It’s not because they’re incapable in the kitchen—it’s just that nobody ever taught them how to make it so that the bread cooks and the cheese melts at similar rates, and the butter doesn’t blacken and smoke up the house.
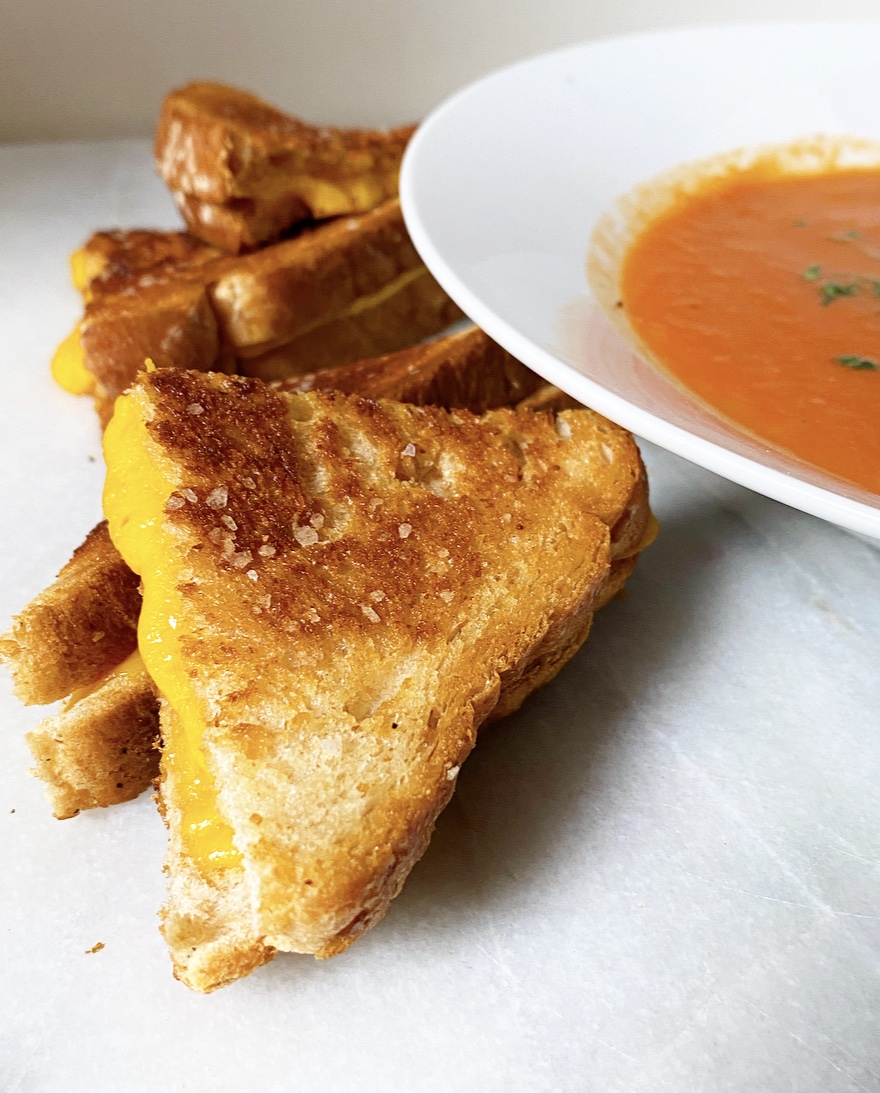 Luckily (maybe?), they’re friends with me, a person who will make them a grilled cheese in the moment and then spend four months dwelling on the (non-)event until the middle of January when she decides to write a blog post about the whole (inconsequential) thing. And that’s how we got here. Luckily. Maybe.
Anyway… I make Grilled Cheese for dinner at least once a week because a) it’s easy and I don’t have to think about it too hard, and b) I always have sandwich bread, butter and some sort of melting cheese (usually extra sharp cheddar). It only takes a couple of minutes to butter two pieces of bread and layer cheese in the middle. You’ll notice I don’t use sliced cheese here—that’s simply because I prefer to buy the brick and slice it myself. Do whatever works for you, with the exception of pre-shredded cheese because it’s coated in an anti-caking agent that prevents proper melting. You do not want to impede proper melting on a Grilled Cheese!
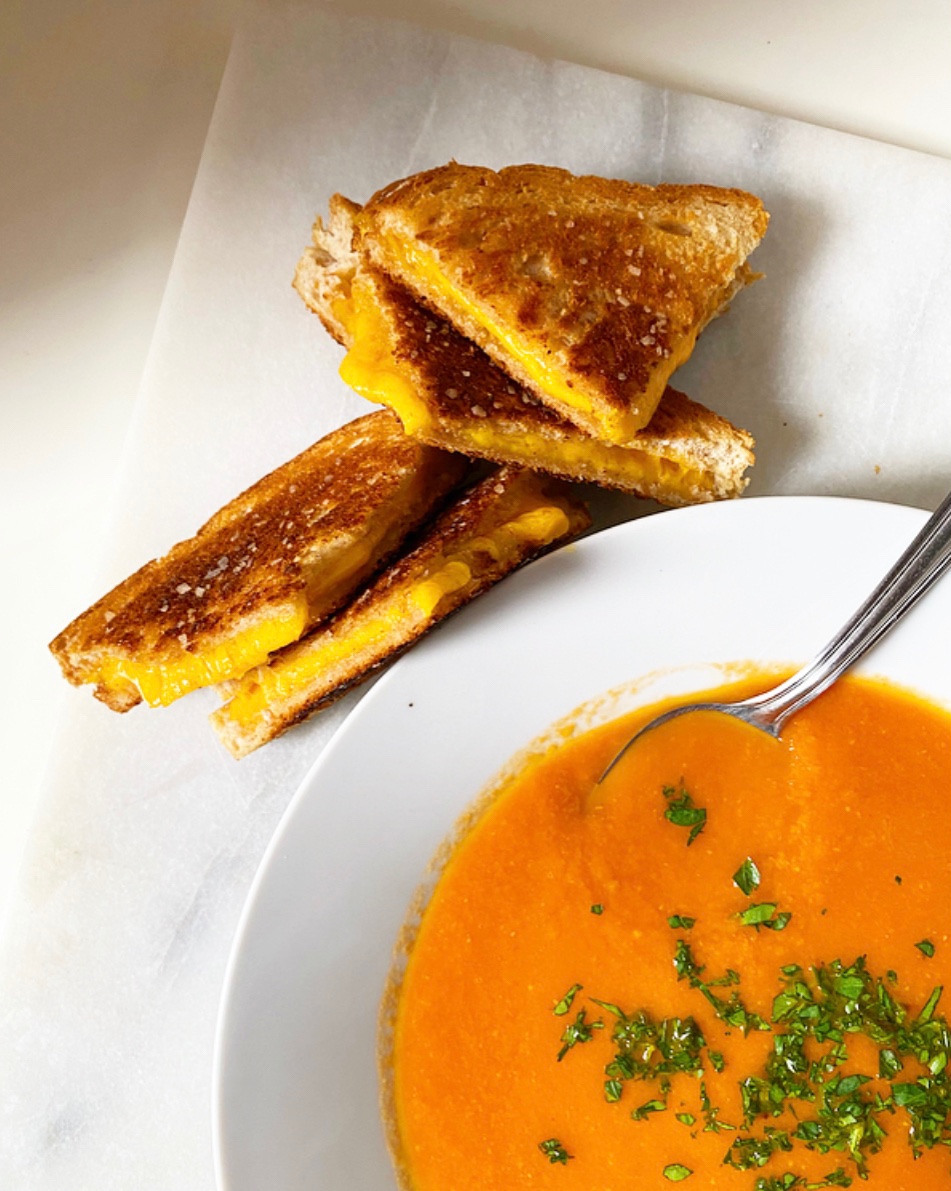
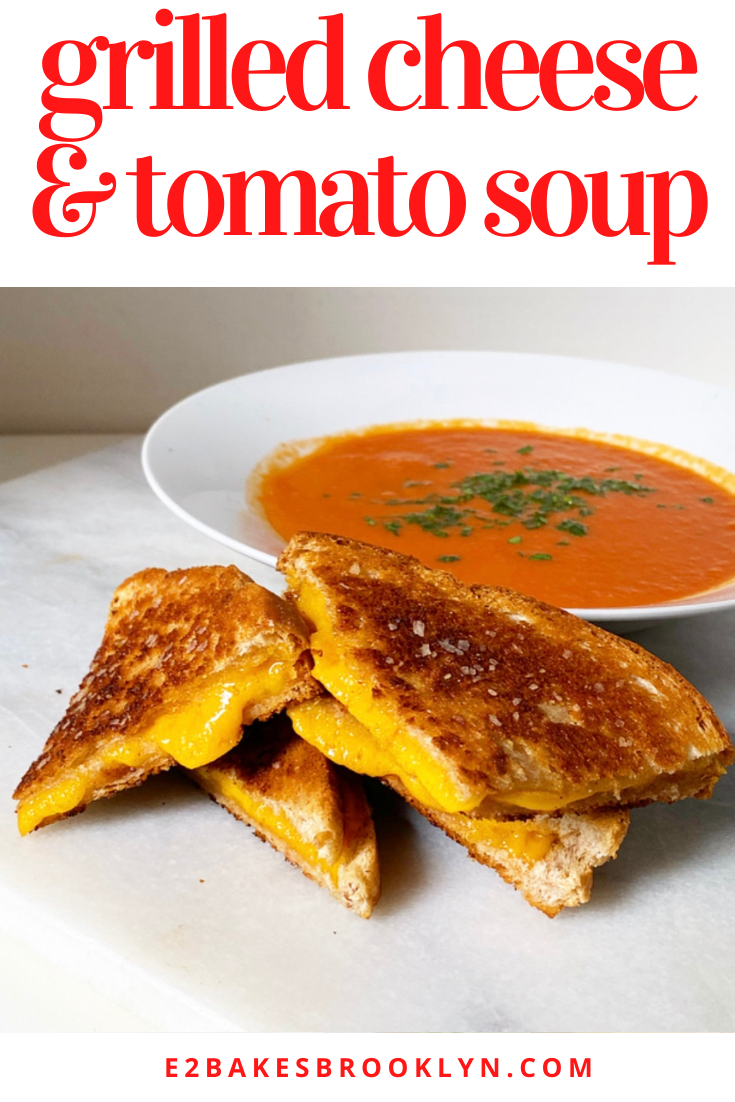
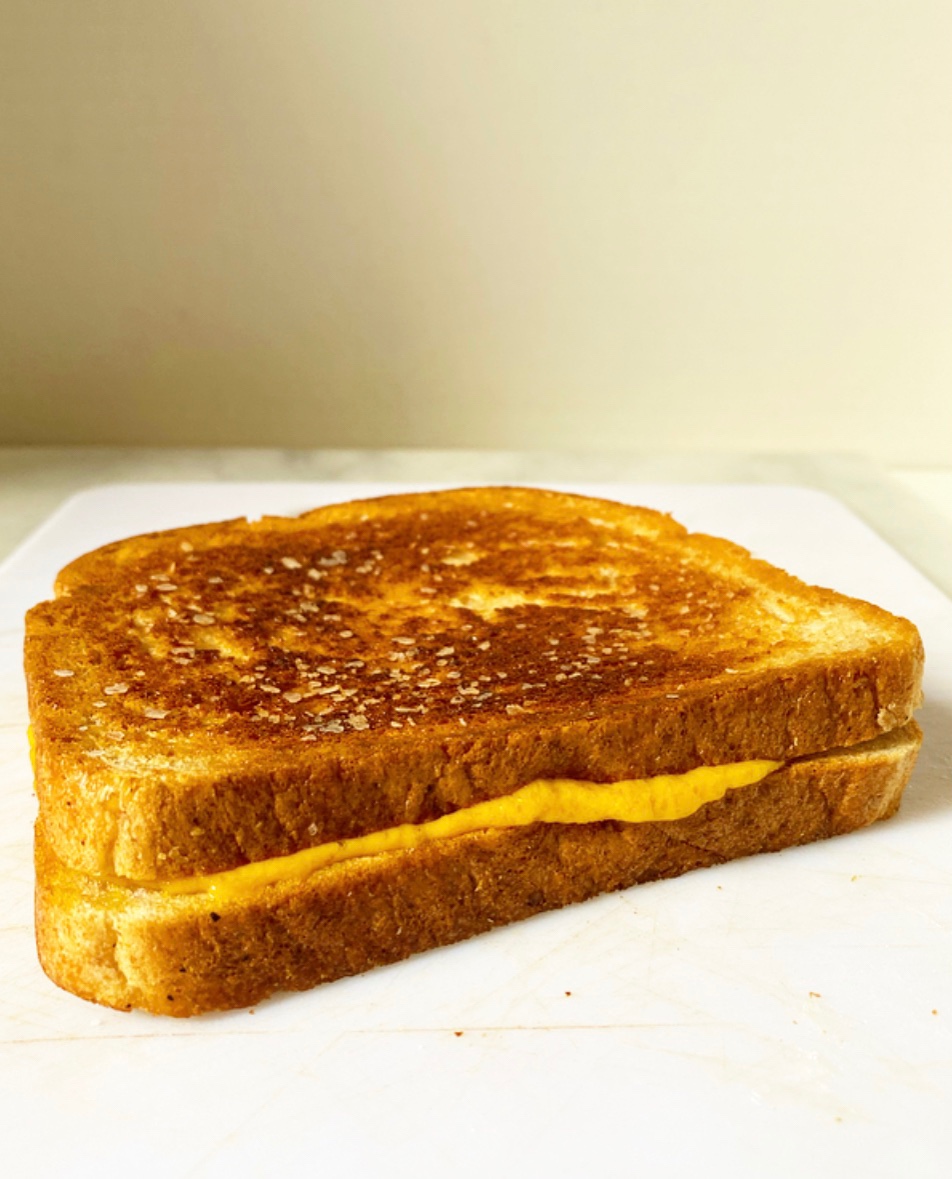 As far as cooking goes, I think it’s a pretty human thing to want to cook crispy foods over the highest heat for a couple of minutes, but when it comes to Grilled Cheese (and so many other things), it’s best to ignore that thought, turn down the flame and take your time. Whereas 3-4 minutes over high will yield cold cheese between burnt slices of bread, 7-8 over medium-low will give you perfect melted cheese and buttery, golden edges every time. Those extra four minutes make all the difference in the world.
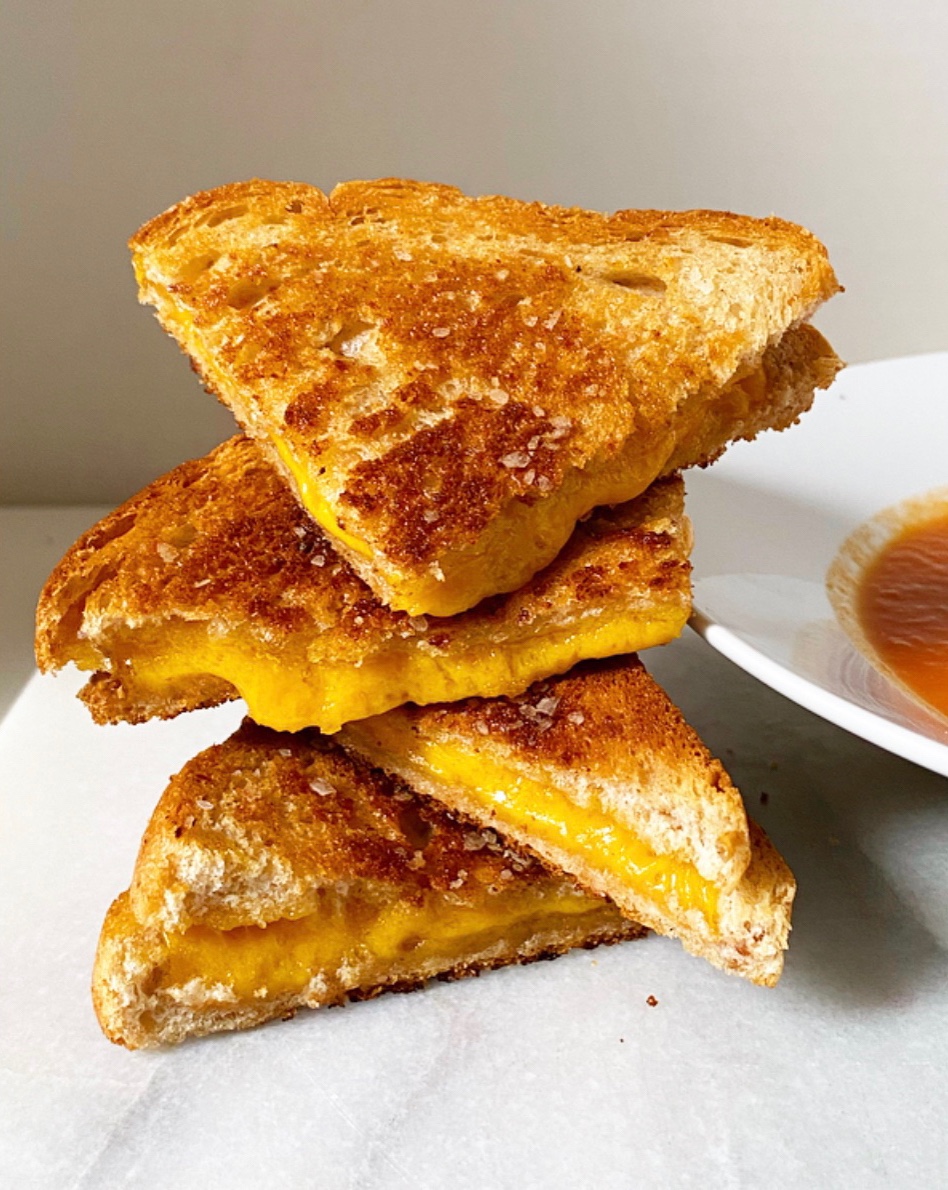 Boom! That’s all you need to know to make a basic Grilled Cheese. You can change up the cheese and bread depending on your mood, but as long as you butter the outsides of the bread instead of melting butter in the skillet and cook things low and slow, you will always have perfect Grilled Cheese.
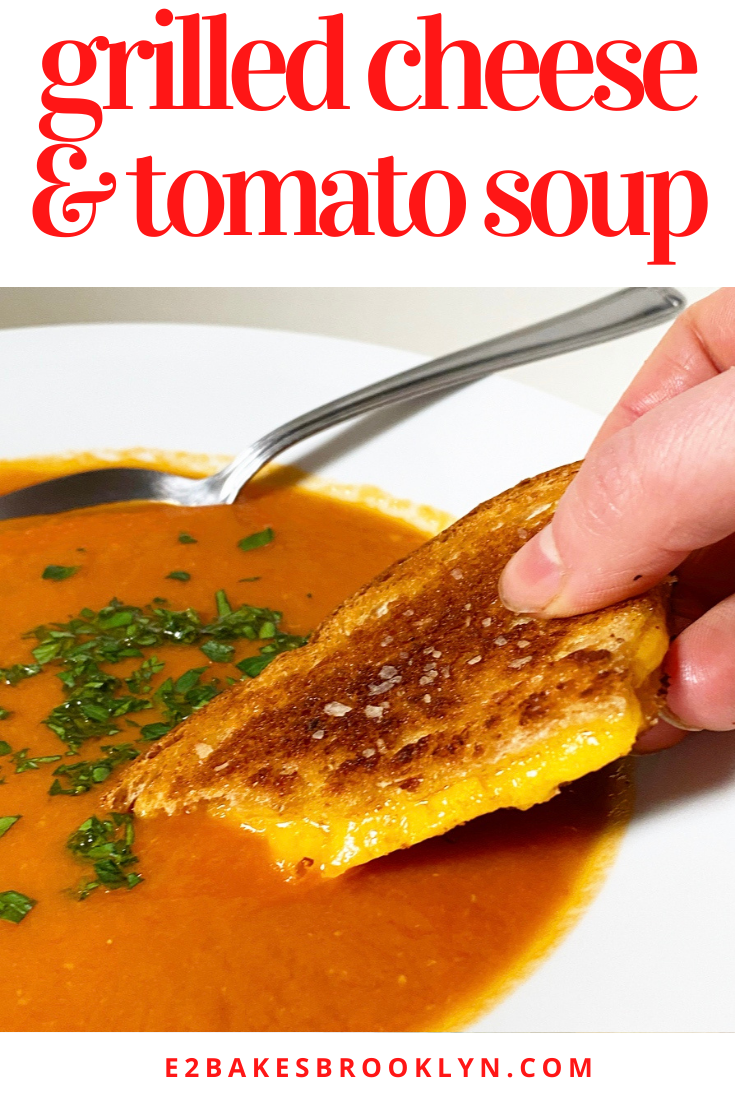
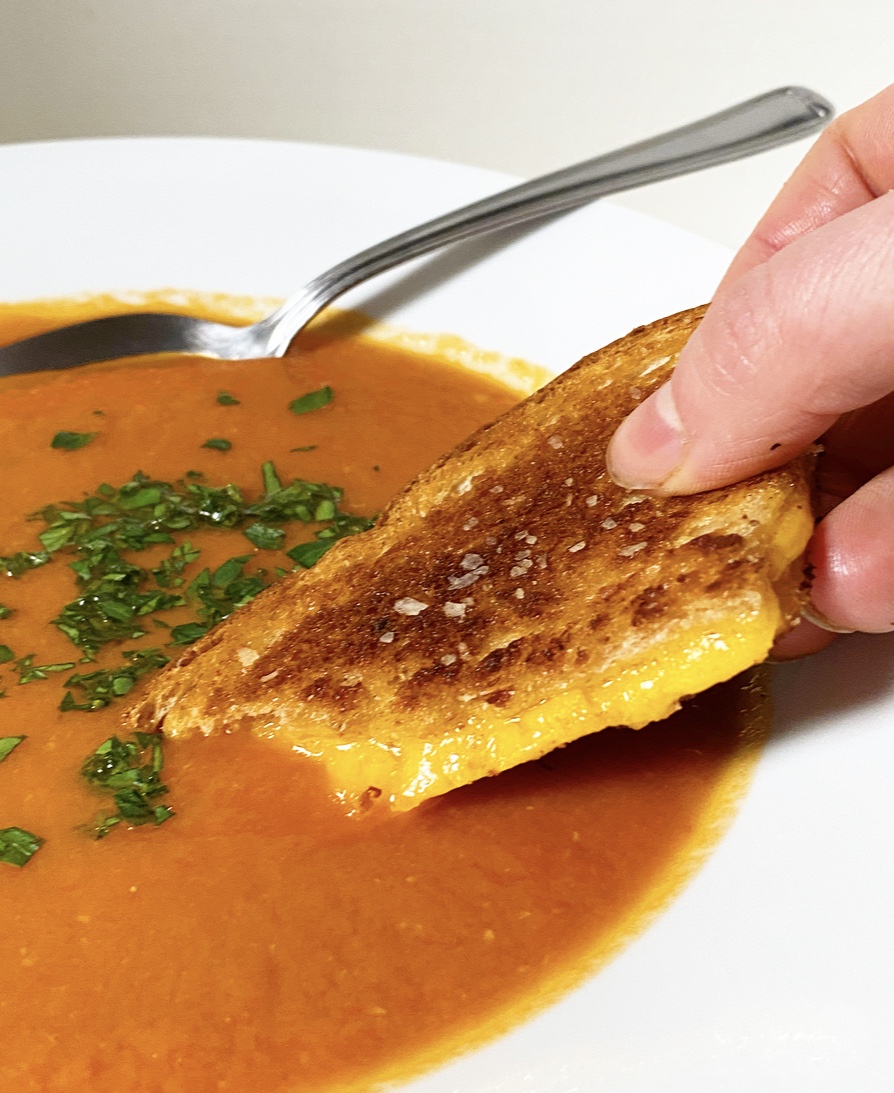 And what’s Grilled Cheese without Tomato Soup? This combination is a classic for a reason—the tang of tomato pairs perfectly with the rich, cheesy, crispy sandwich, making for a simple, satisfying meal.
 As with Grilled Cheese, my go-to Tomato Soup recipe is easy as can be. Whole peeled tomatoes are crushed by hand, then simmered in vegetable stock with carrots, onion, garlic, tomato paste and spices before being puréed until velvety smooth. Easy peasy.
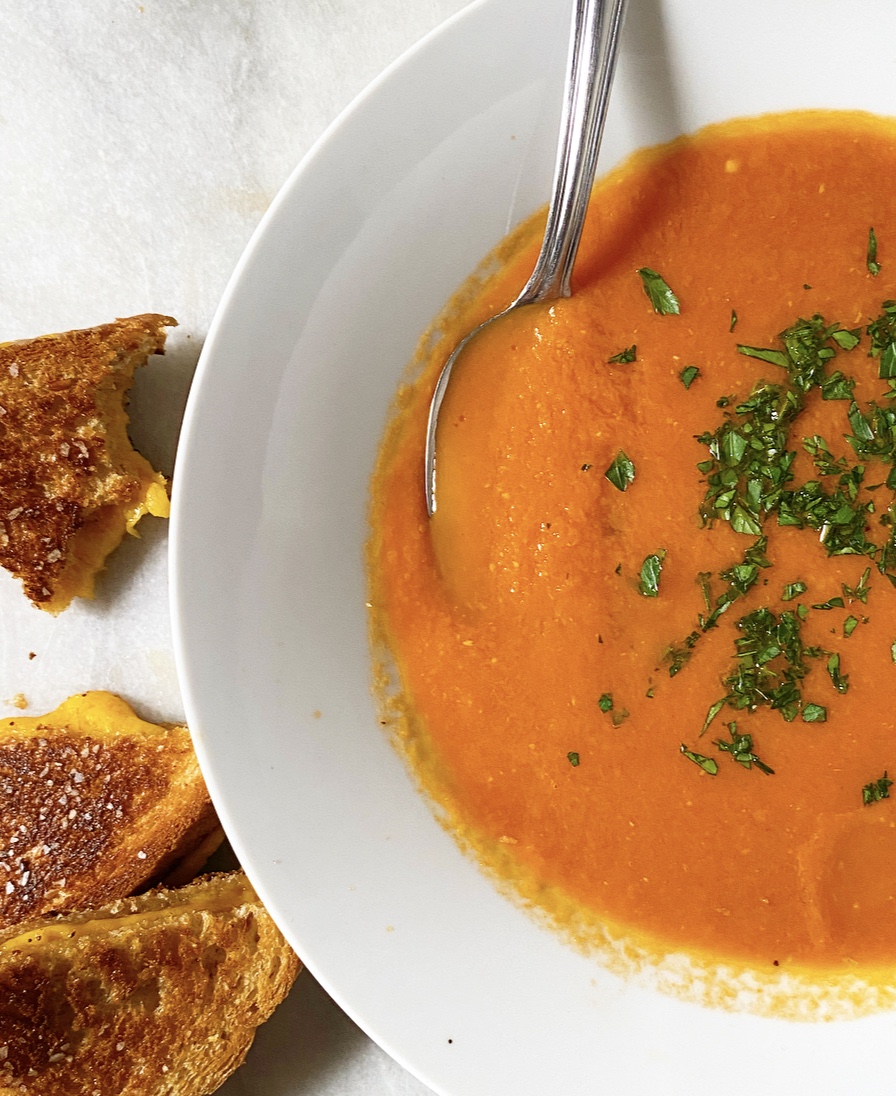 Two things to note:
• I prefer to use canned whole peeled tomatoes instead of fresh. This is for a few reasons, but mainly because canned tomatoes give consistently delicious results. I love fresh tomatoes, but they are only in season for a few months of the year and January isn’t one of them.
• You’ll notice I like to add a pinch of baking soda at the end of cooking to neutralize some of the acidity, but you may also use a teaspoon of sugar or honey. Whatever works for you.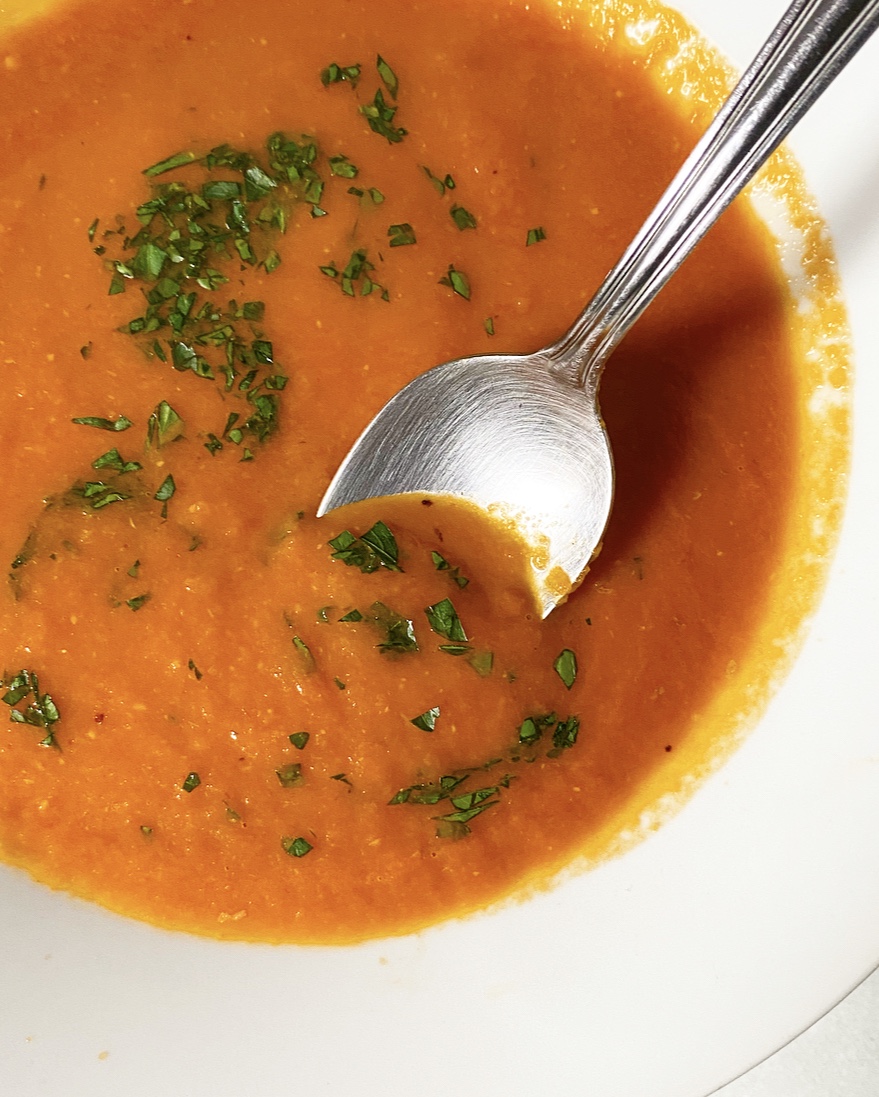 So there you have it—one of the simplest meals in the world, explained. Maybe you knew all this or maybe you didn’t. Either way, I hope you treat yourself this weekend. I know we could all use some comfort. No “maybe” about it.
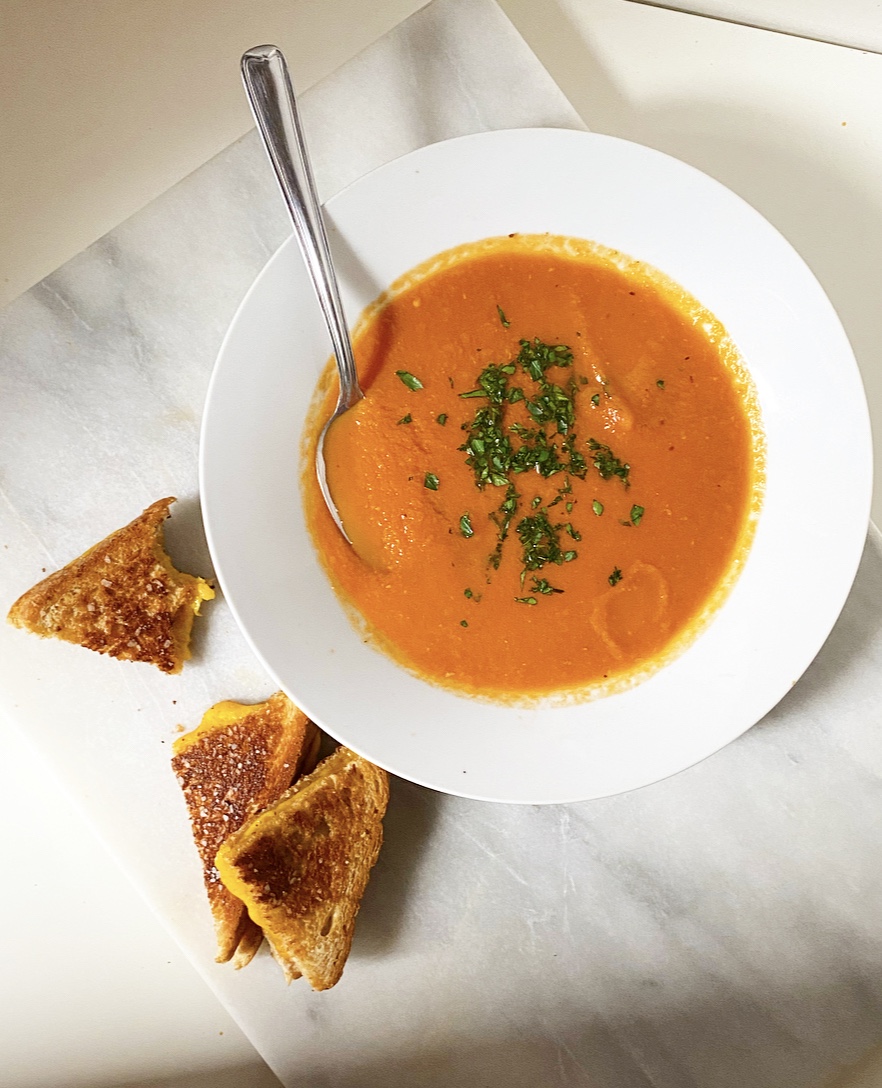
Grilled Cheese Sandwiches
makes 2 sandwiches
4 slices sandwich bread (I like Dave’s Killed Bread White Bread Done Right)
2 tablespoons butter, softened
small pinch of salt, if using unsalted butter
4 ounces extra sharp cheddar or other melting cheese, thinly sliced
Spread 1/2 tablespoon of softened butter over one side of each piece of sandwich bread. If using unsalted butter, sprinkle butter with a small pinch of salt.
Turn 2 pieces of bread plain-side-up. Lay sliced cheese evenly over each plain side. Top cheese with remaining pieces of bread, buttered-side-up, so that the buttered sides of each slice of bread are on the outsides of the sandwiches.
Heat a medium-large heavy-bottomed skillet over medium-low heat. Add sandwiches and let cook, without moving or squishing, until they are golden on the bottom, about 4 minutes. Flip sandwiches and let cook, without moving or squishing, until they are golden on the other side, about 3-4 more minutes.
Serve immediately, with tomato soup (recipe below), if desired.
Tomato Soup
makes about 4 servings
1 28-ounce can whole peeled tomatoes
3 tablespoons unsalted butter
1 medium-large Spanish onion, diced
3-4 medium carrots, peeled and diced (about 1 cup)
1/2-1 teaspoon Kosher or sea salt, divided
4 cloves garlic, smashed, peeled & sliced
1/4 cup tomato paste
1/8-1/4 teaspoon red pepper flakes (or a pinch of ground cayenne)
4 cups vegetable stock (I use Better than Bouillon)
small pinch of baking soda or teaspoon of sugar, optional
chopped parsley, optional
Place tomatoes and any liquid in a mixing bowl. Use your clean hands to crush the tomatoes. Set aside.
Melt butter in a heavy-bottomed pot over medium heat. Add onion, carrots and pinch of salt, and cook for 5-7 minutes, until onion is starting to turn translucent but nothing has browned. Add minced garlic and cook about 1 minute or until fragrant. Add tomato paste and cook, stirring frequently, for about 5 minutes, until starting to darken.
Stir in red pepper flakes, hand-crushed tomatoes & their liquid, followed by vegetable stock. Bring to a boil, reduce to a simmer, and let cook for 20-25 minutes, until carrots have softened.
Purée soup with a hand blender. Alternatively, let hot soup cool for 15 minutes before transferring to a high-powered blender and puréeing. Be careful, as hot liquids expand during blending.
Taste soup and add salt as desired. If soup is too acidic, stir in a small pinch of baking soda or a teaspoon of sugar. Garnish with parsley and serve, with Grilled Cheese (recipe above) if desired.
Leftover soup will keep in an airtight container in the refrigerator for up to four days.


 Although I have never publicized it this way, I have privately referred to this time of my blogging year as “Savory January” for some time now. You see, every January since starting this site, I (mostly) switch focus from sweets to weeknight meals, sides and other savory pursuits. It’s not for weight loss, “cleansing” or any reason beyond keeping things interesting—I cook as much as I bake, and those recipes deserve their moment in the blogging sun, too. Is switching up my blog POV for one month a year weird? Sure. But I like variety, and also this is my website and I can do what I want.
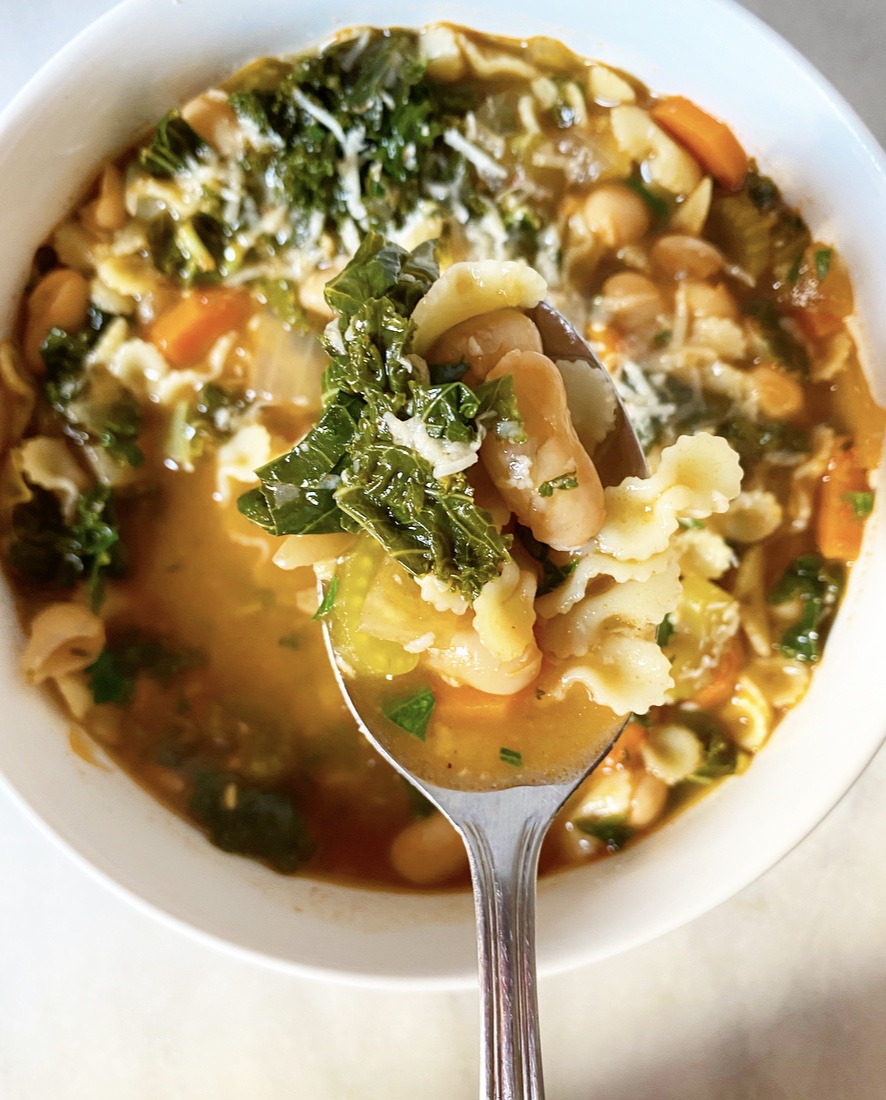
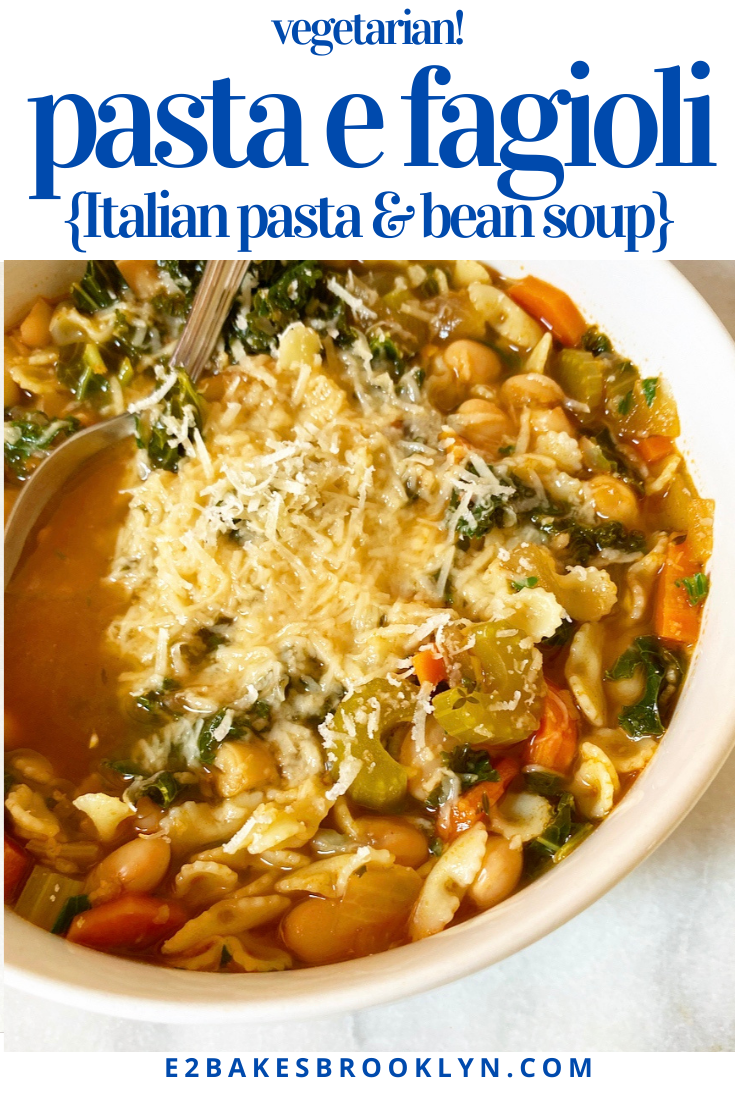
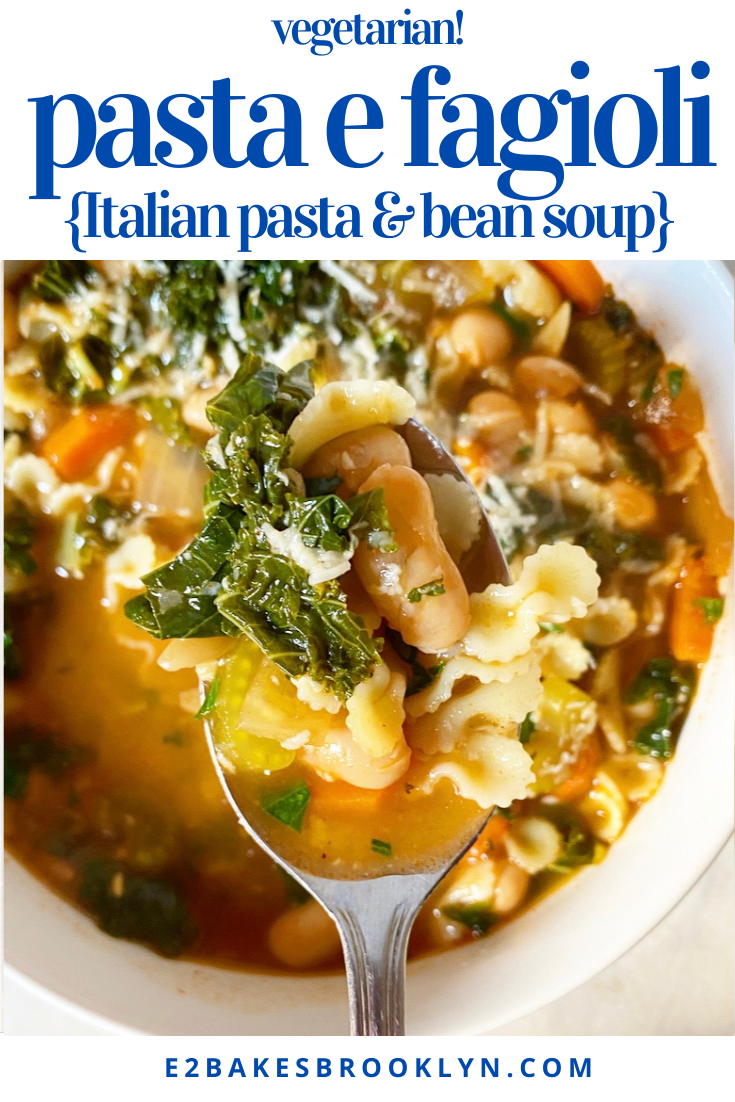
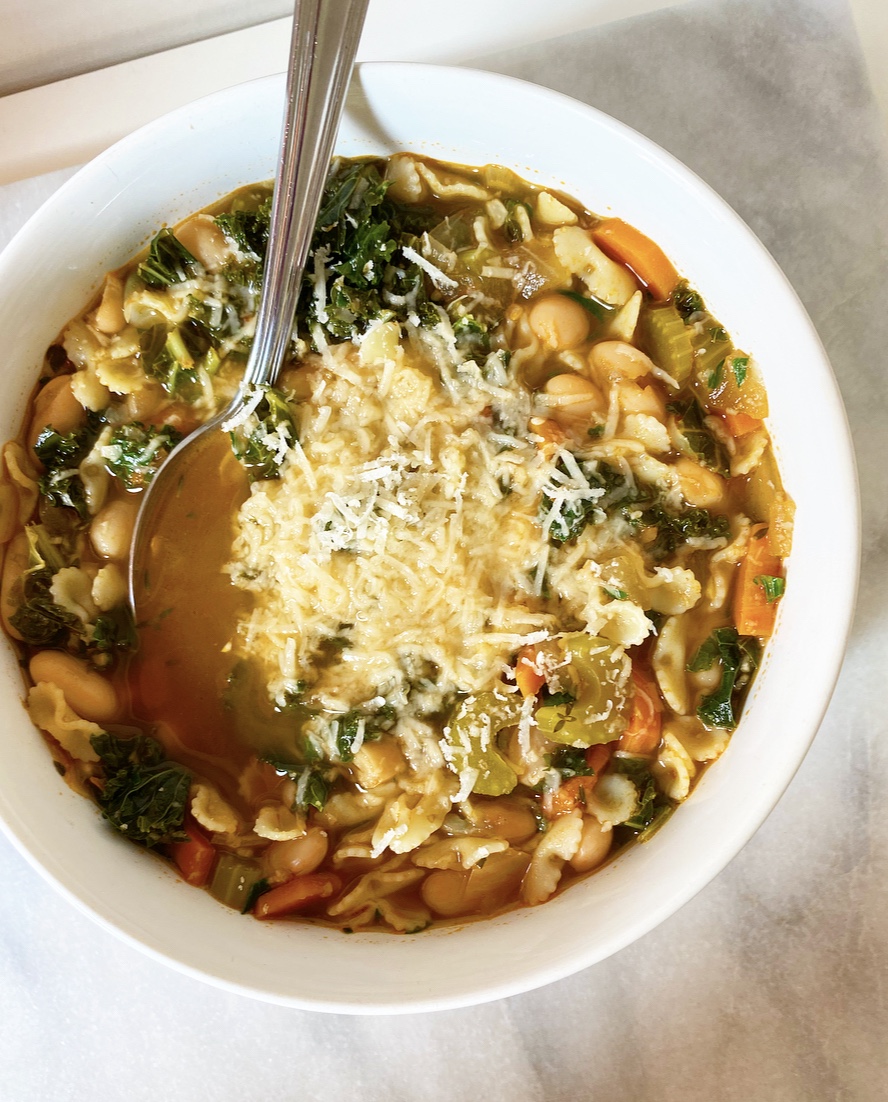
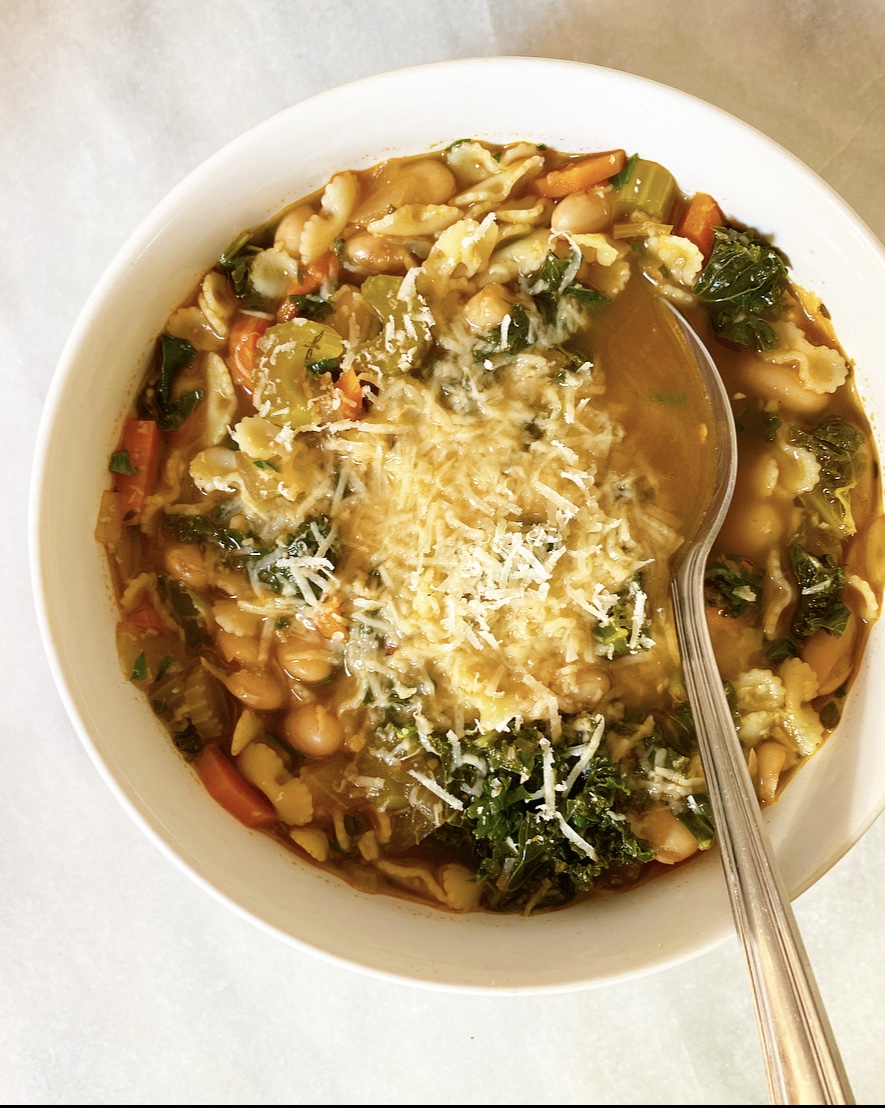 Pasta e Fagioli has been one of my favorite recipes for years and years. At its most basic, it’s a vegetable soup with pasta and beans, but it’s so much more! It’s easy, it’s cheap, it’s hearty, and it’s dang delicious. Oh, and it’s vegetarian—vegan without the cheese, gluten-free depending what kind of pasta you use. Yesssss.
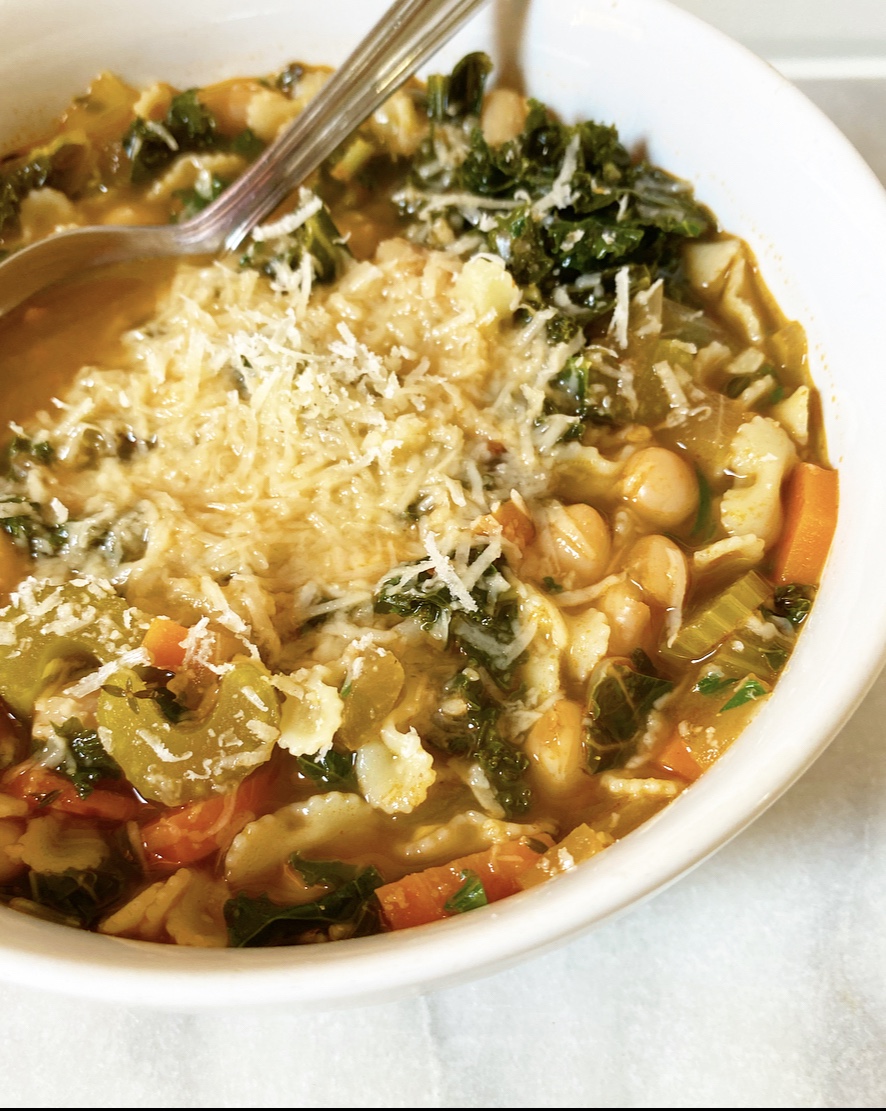 I made this Italian staple all the time when I first moved to NYC, but moved on to other things because that’s just how cooking goes for me. I make something regularly for a few weeks/months/years and then I completely forget about it for a few more weeks/months/years. In this case, I remembered Pasta e Fagioli on the last night of our Maine trip this past October. We had some produce to use up, and we had some tomato paste, beans (aka fagioli), pasta and cheese ends lingering…and well, when life gives you lemons, you know.
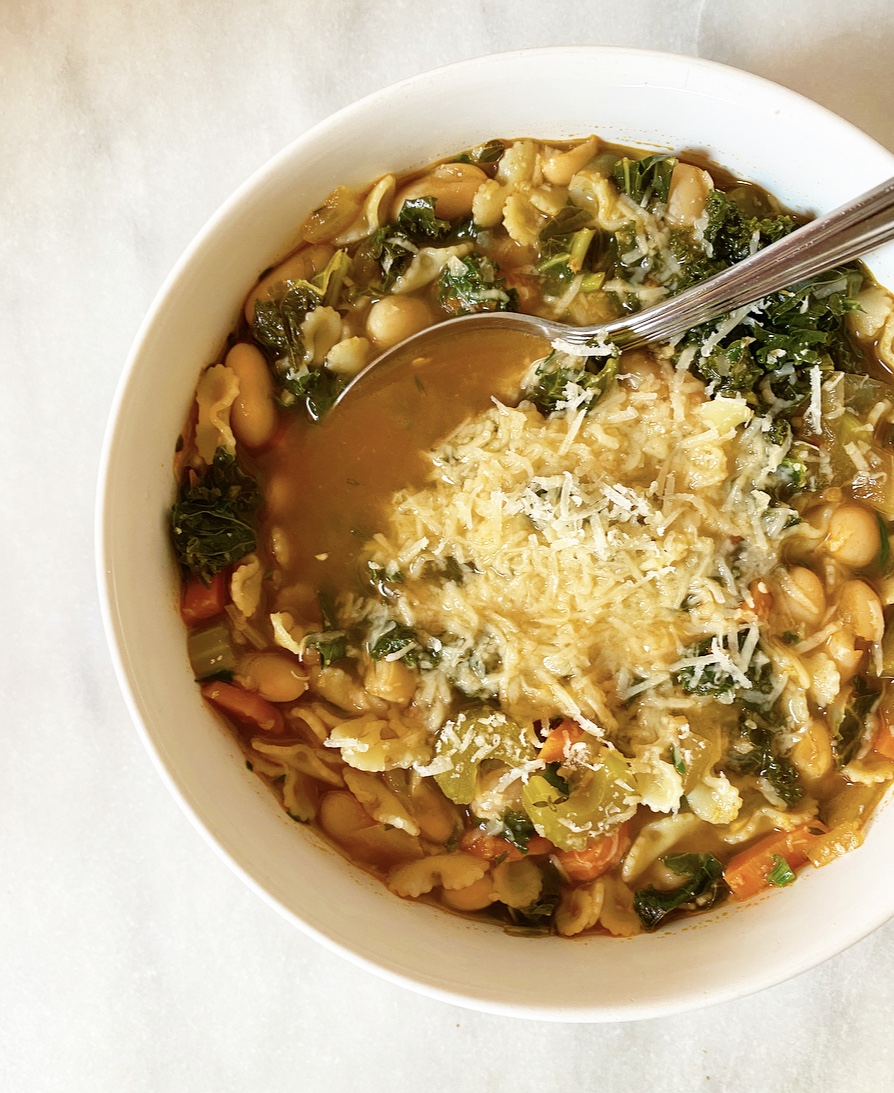 Making Pasta e Fagioli is super simple and you probably have most of the ingredients already. The method is nearly identical fo the way I make
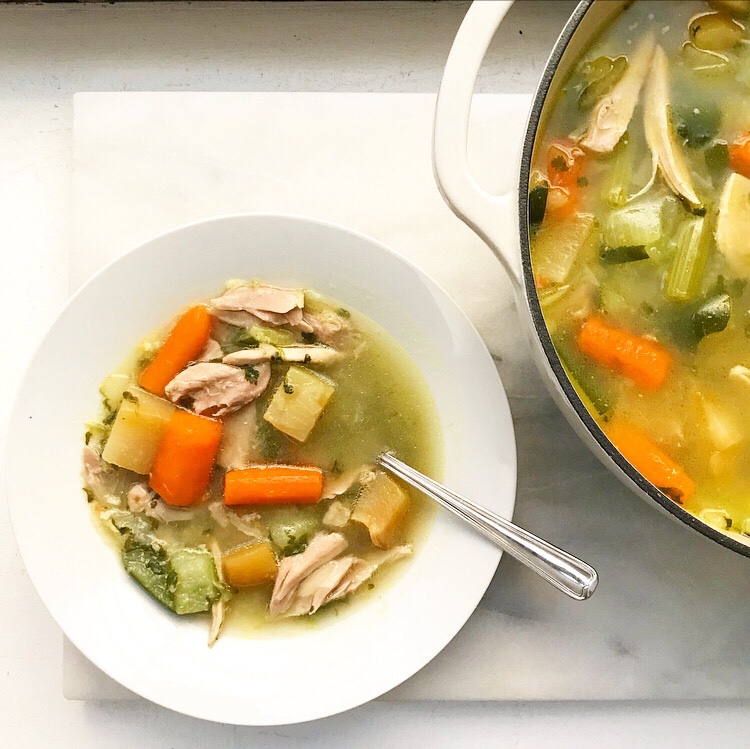
 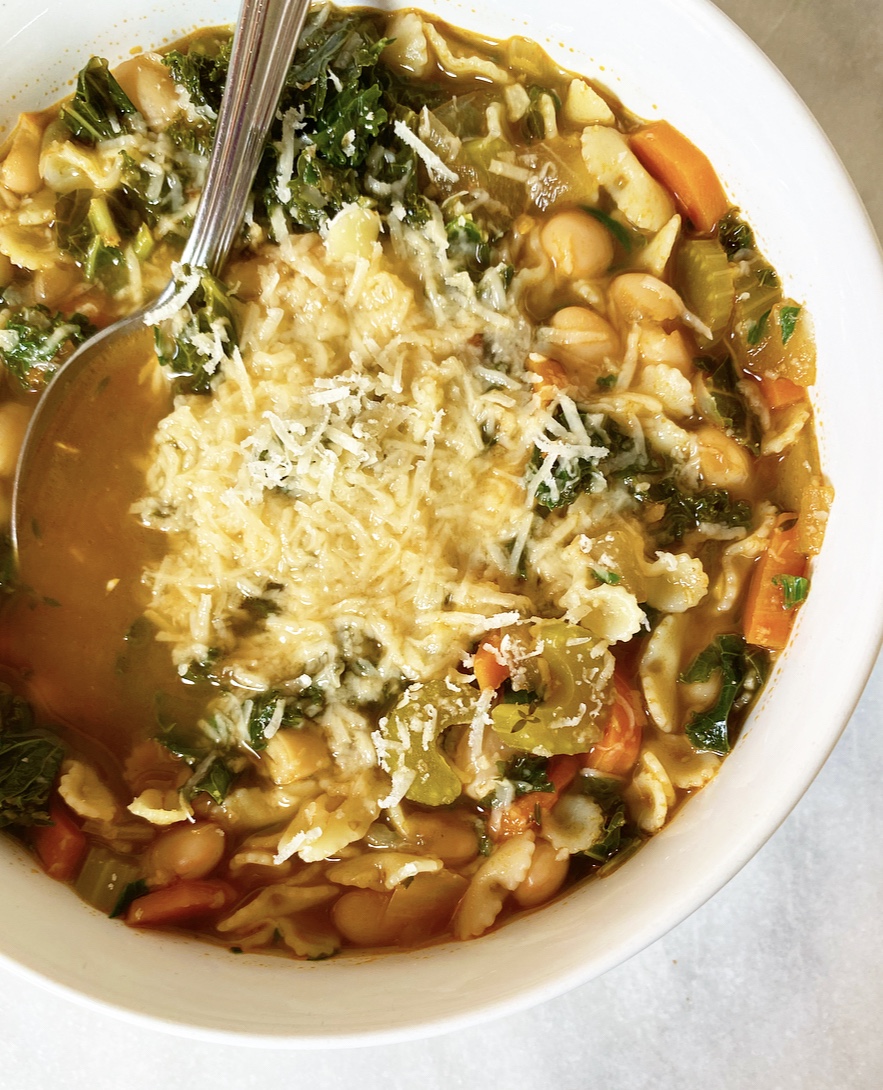 If you’re wondering why I cook the pasta separately from the rest of the soup, it’s because I’m a single lady who eats a lot of leftovers and hates mushy pasta. I do this with chicken noodle soup as well—by keeping the two components separate, the pasta doesn’t overcook or get waterlogged and sad. If you have a group to feed or will otherwise not have leftovers (or maybe like your pasta really soft?), feel free to toss it in the pot with the beans and kale.