Whether you’re vegetarian or just not into the usual turkey, you’re going to want to add these Pumpkin Ricotta Gnocchi to your Thanksgiving line-up. These little dumplings may not be a traditional part of the holiday menu, but they are tender, seasonal, and an oh-so-fun way to jazz things up.
If you’re stressed out by the idea of making homemade gnocchi, please listen to me: you (yes, you!) can make gnocchi at home during the holidays and not lose your mind in the process. Really! For the longest time, I thought gnocchi were one of those things I needed to leave to the professionals. Turns out, they are much simpler to make than anticipated. Oh, and I guess working in food for six years makes me one of the professionals—oops.
Let’s get down to it. First of all, for a beginner gnocchi maker, ricotta is the way to go. I’ve futzed around with the traditional potato variety and while that’s fun for a weekend project, it’s not the type of recipe I’m looking to take on a week before the biggest food holiday of the year. Nope. Enter ricotta gnocchi, the potato version’s just-as-good, low-maintenance cousin. It can be made in under an hour start-to-finish with no fretting over leaden results. Today’s version is getting a little autumnal flair from pumpkin purée. Yesssss.
The process of making Pumpkin Ricotta Gnocchi is very simple, but here are some tips for success.
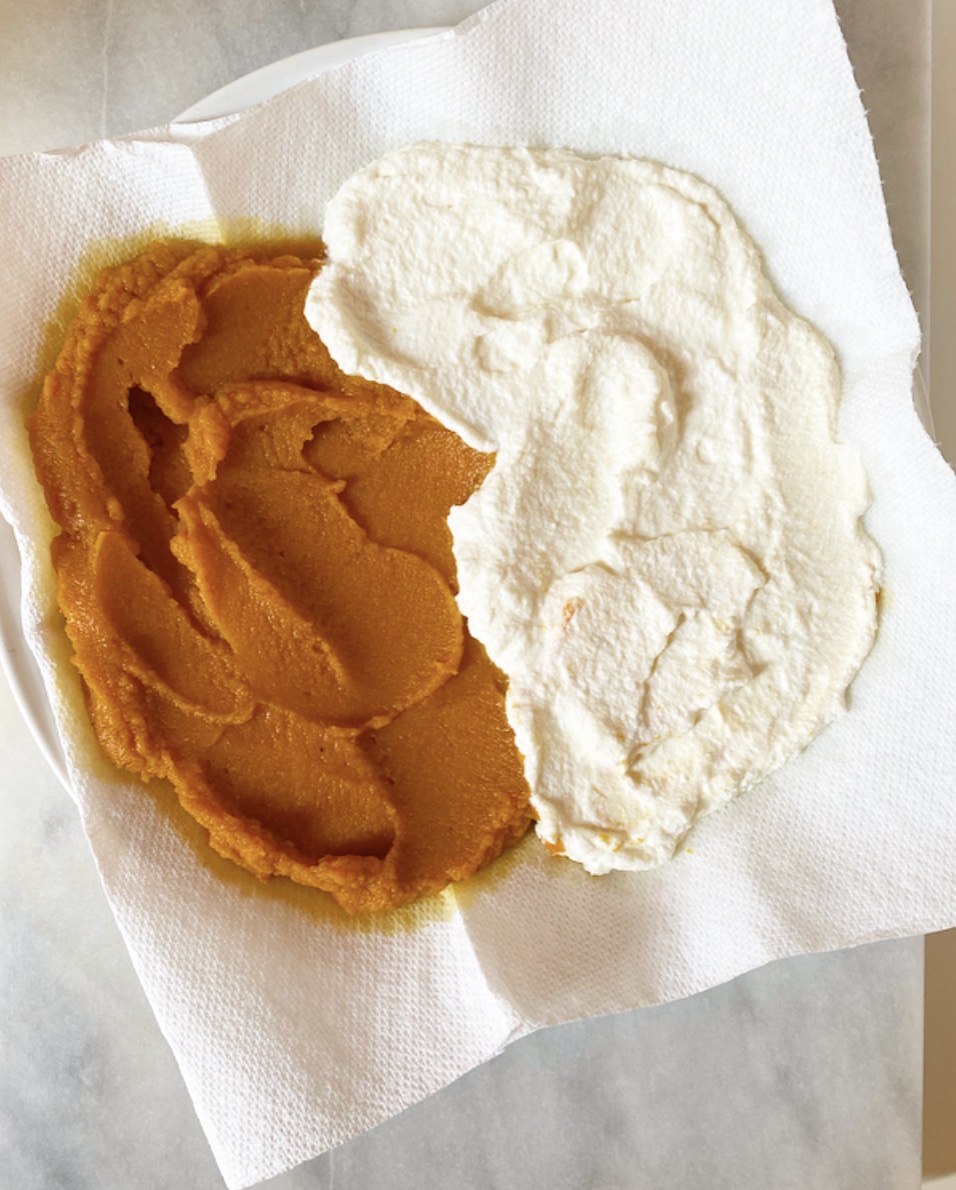
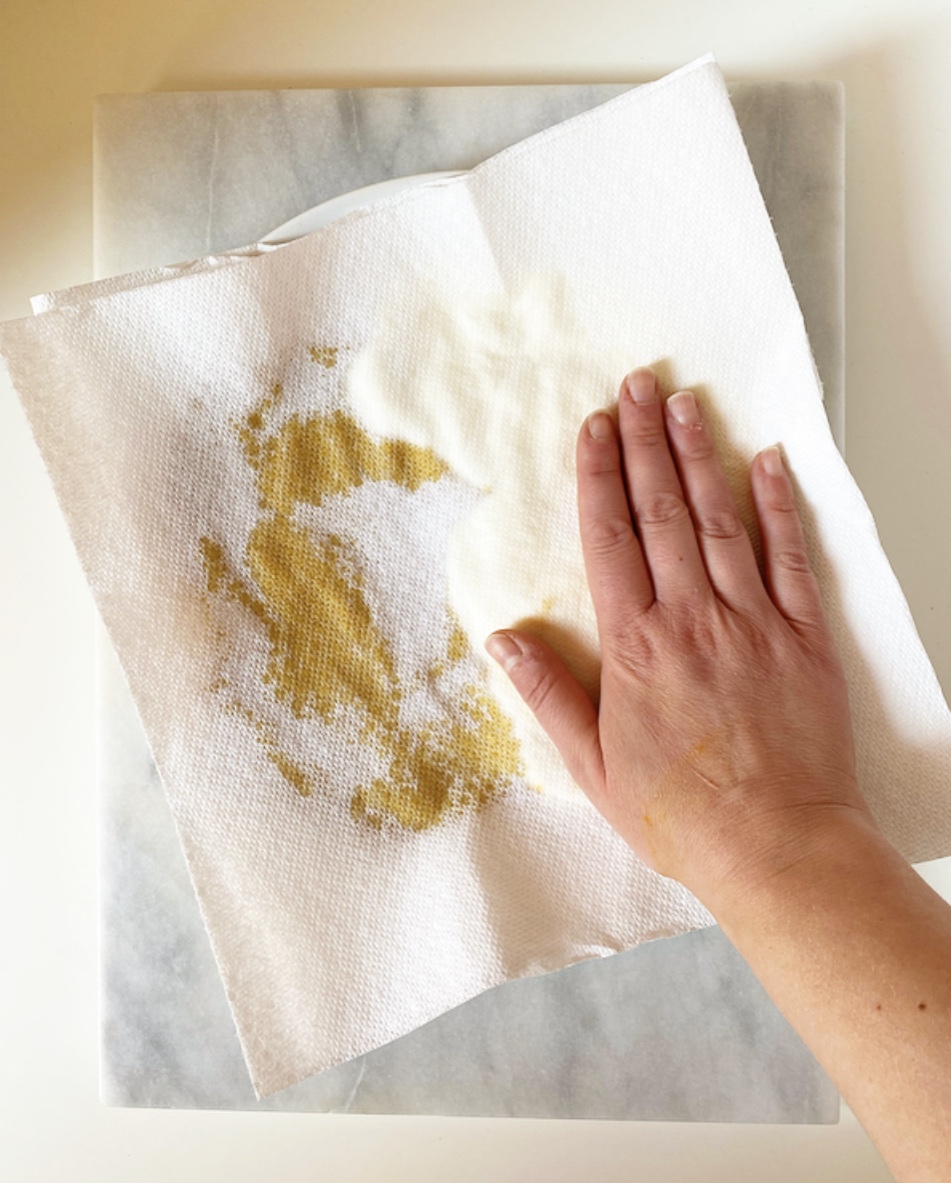
- Make sure to drain your pumpkin purée and ricotta on paper towels before mixing. This comes straight from the brilliant J. Kenji Lopez-Alt, so you know it’s important. Getting rid of the extra moisture in your cheese and purée will make your dough much easier to work with and your final gnocchi much prettier.
- Flour your surface, knife, and hands really well. Like with other doughs, this will make the whole process much less frustrating (and sticky).
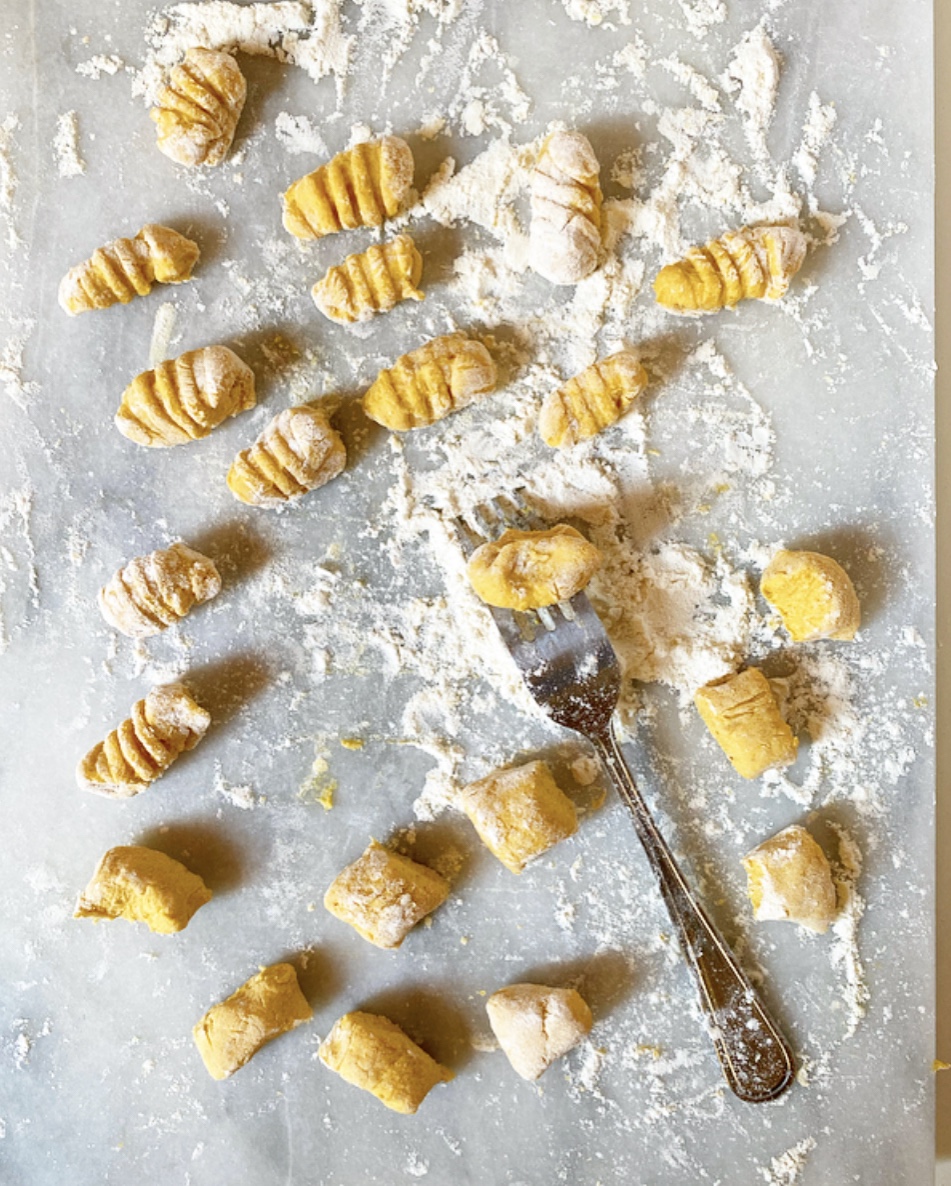
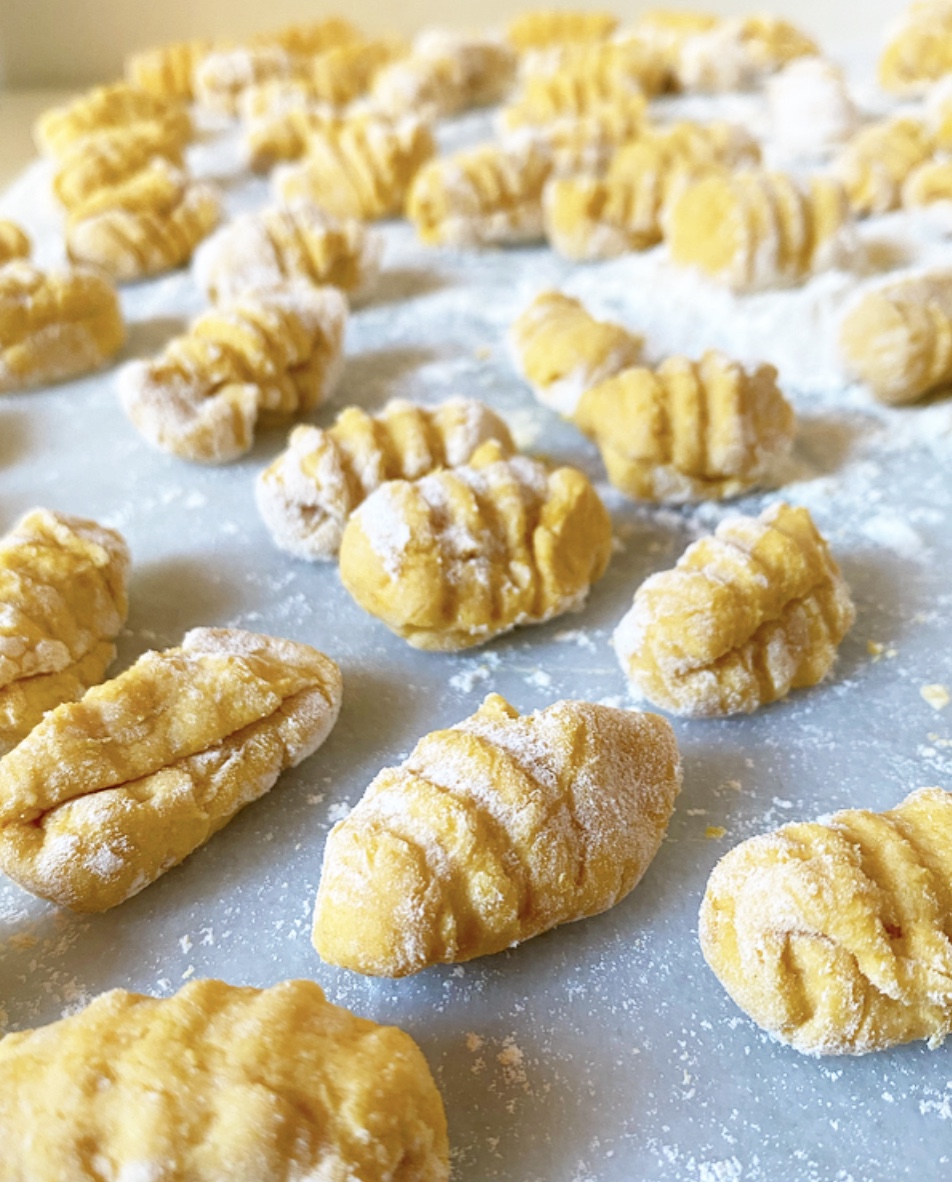
- You don’t have to shape the gnocchi. Nobody is going to care if your gnocchi have ridges or are simply shaped like little pillows. I took the liberty of rolling mine across the back of a fork, but this is completely cosmetic and in no way required for gnocchi success.
- You can make these ahead and freeze them! Once they’re cut, you can flash freeze your Pumpkin Ricotta Gnocchi on a baking sheet and store them in a freezer bag until you’re ready to cook. You can boil them straight from the freezer; starting frozen will only add 30-60 seconds to the cook time.
- Cooking gnocchi takes just a minute or two! Boil them just until they float, then drain immediately.
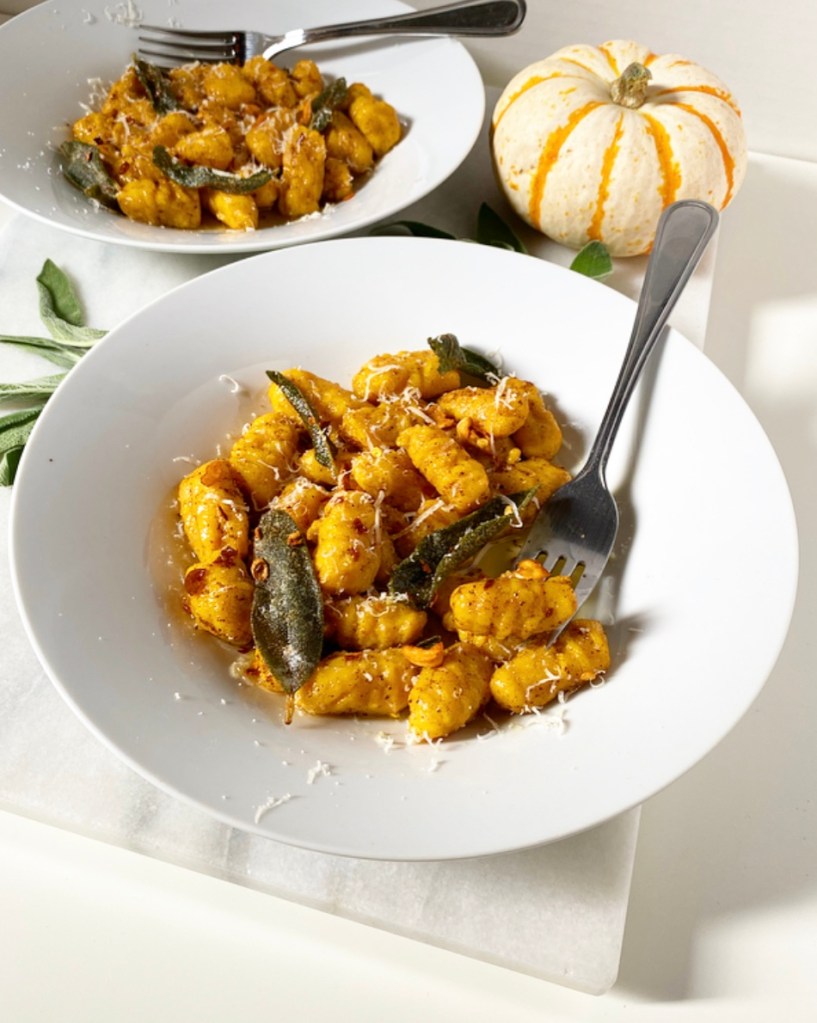
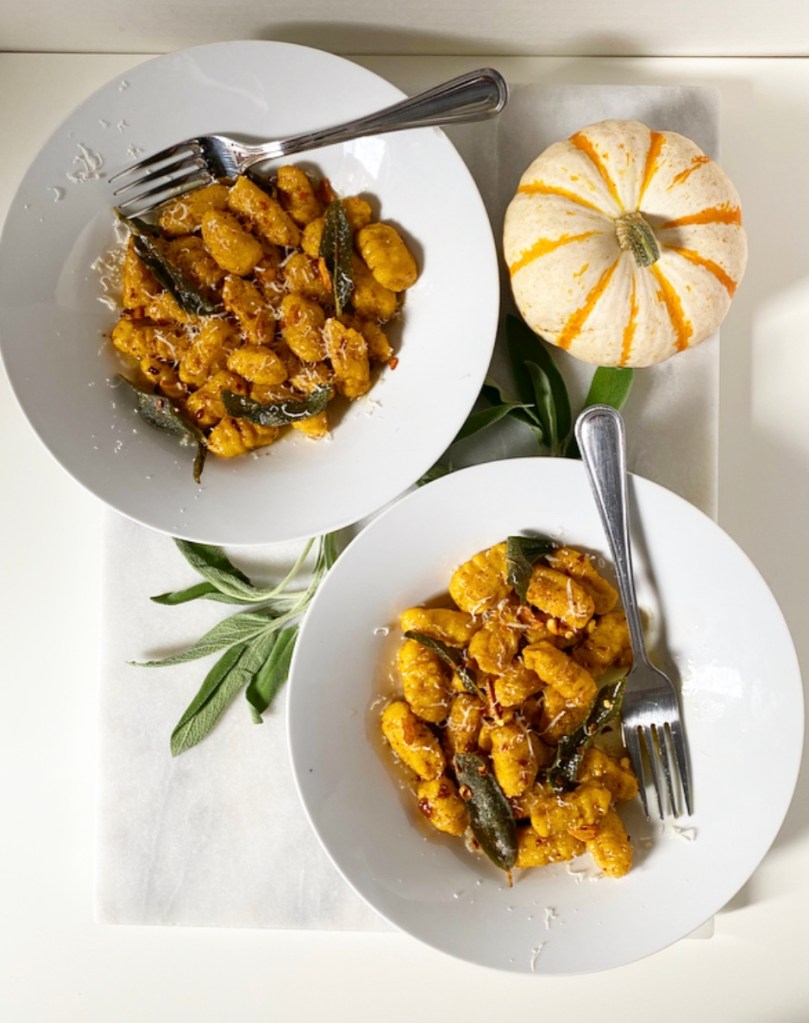
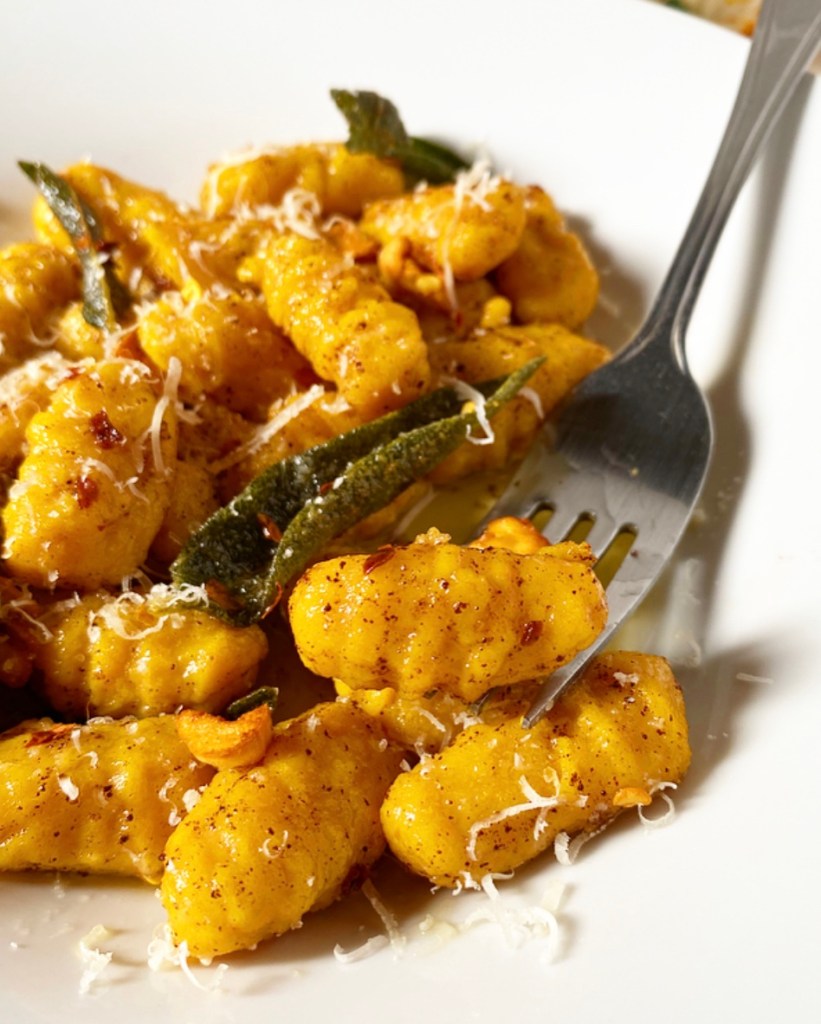
- Serve Pumpkin Ricotta Gnocchi with any sauce you like! Despite their seasonal ingredients and color, their flavor is pretty mild and will go with a multitude of sauces. I went with Spicy Sage Brown Butter because it’s exactly what I want this time of year, but I think a seasonal pesto (kale! beet greens! pepitas! feta!) would be amazing. Get creative with it!
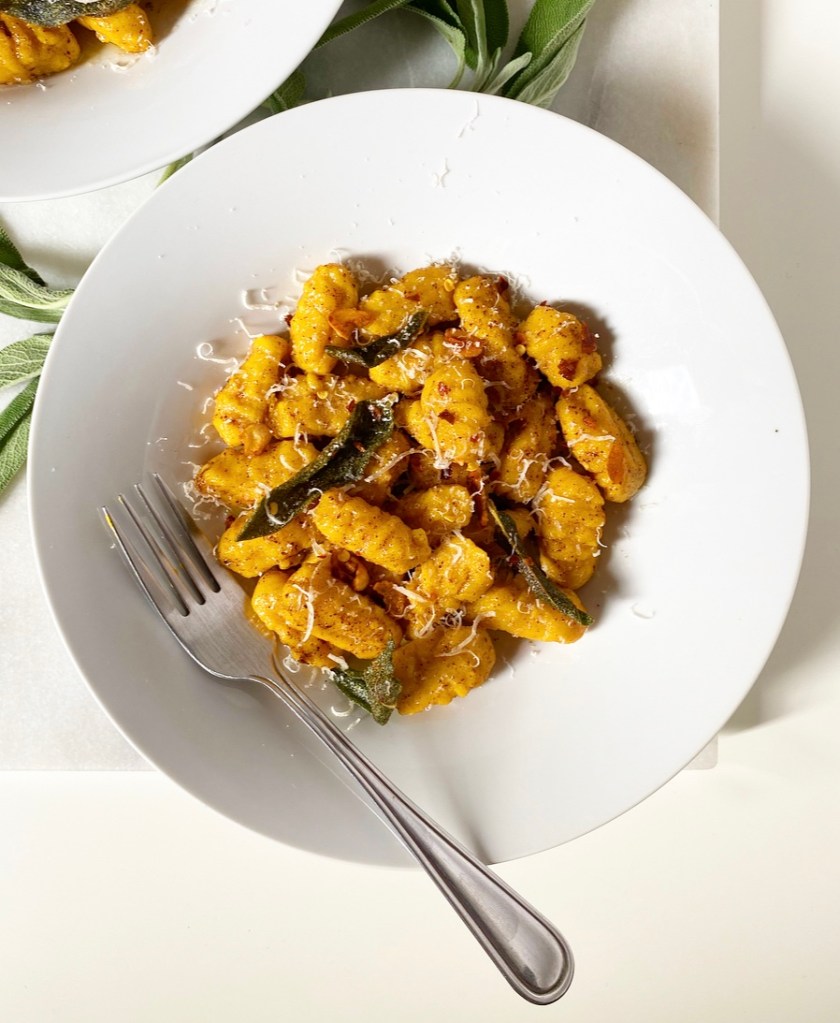
Y’all, these are so good. Pumpkin Ricotta Gnocchi are sophisticated seasonal comfort food at its finest—a perfect vegetarian dish or starter for Thanksgiving, or any fall day. They’re so quick and simple, you could even make them for a weeknight dinner like you’re Ina freaking Garten or something.
That said, if you’re dishing up homemade gnocchi on a Wednesday night, please invite me over.
Pumpkin Ricotta Gnocchi
makes 4-6 servings
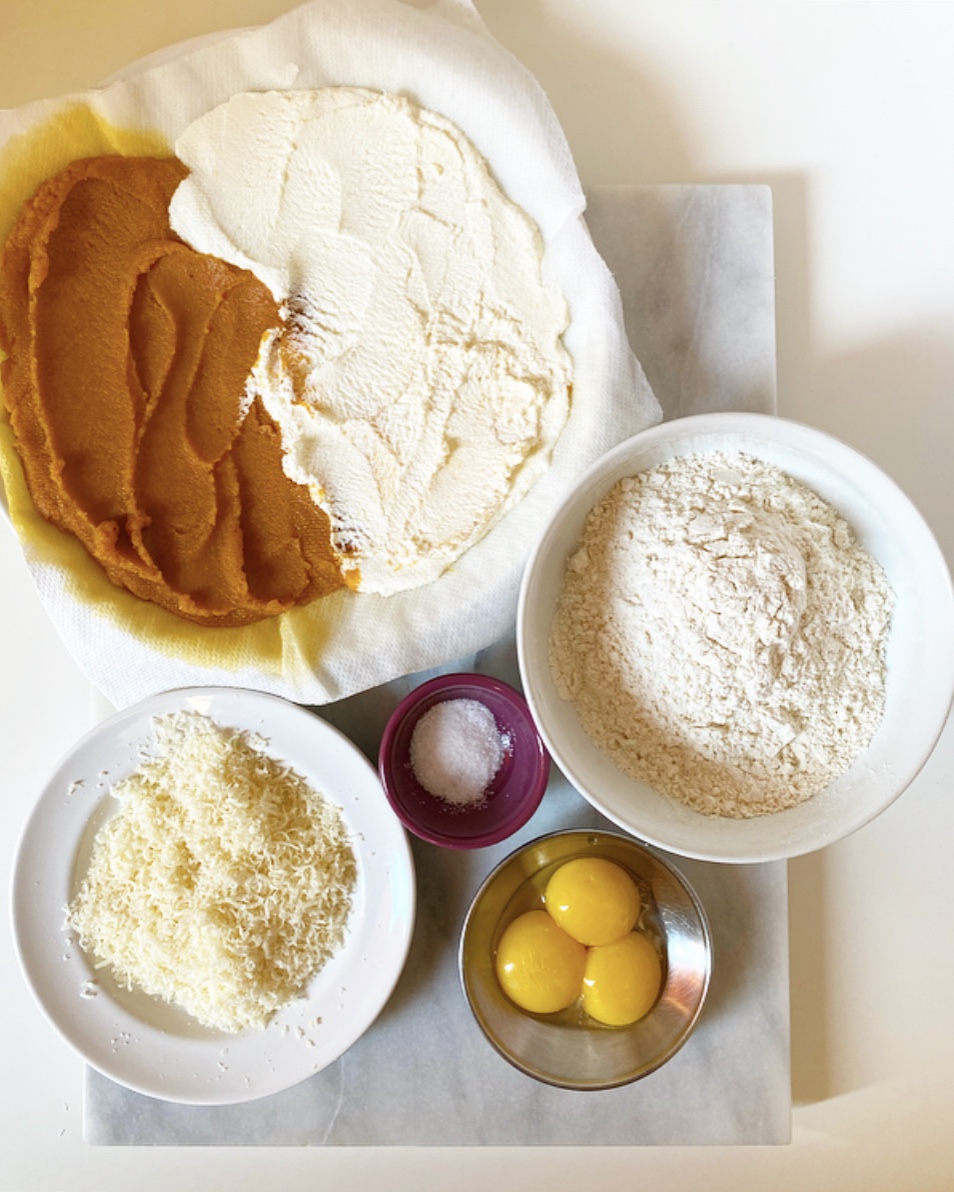
1 cup pure pumpkin purée
1 cup whole milk ricotta cheese (2/3 of a 15-ounce tub)
3 large egg yolks
1/2 cup grated parmesan or pecorino cheese
1 teaspoon Kosher or sea salt
1 1/2 cups all-purpose or “00” flour
For cooking:
water
Kosher or sea salt
For serving:
Spicy Sage Brown Butter (recipe below)
parmesan or pecorino cheese, for serving
Line a plate with 2-3 layers of paper towels. Spread pumpkin and ricotta onto the paper towels and press 2-3 more layers of paper towels on top. Let sit 15-20 minutes. Peel off and discard top layers of paper towel and then remove pumpkin and ricotta to a medium mixing bowl. Discard remaining paper towels.
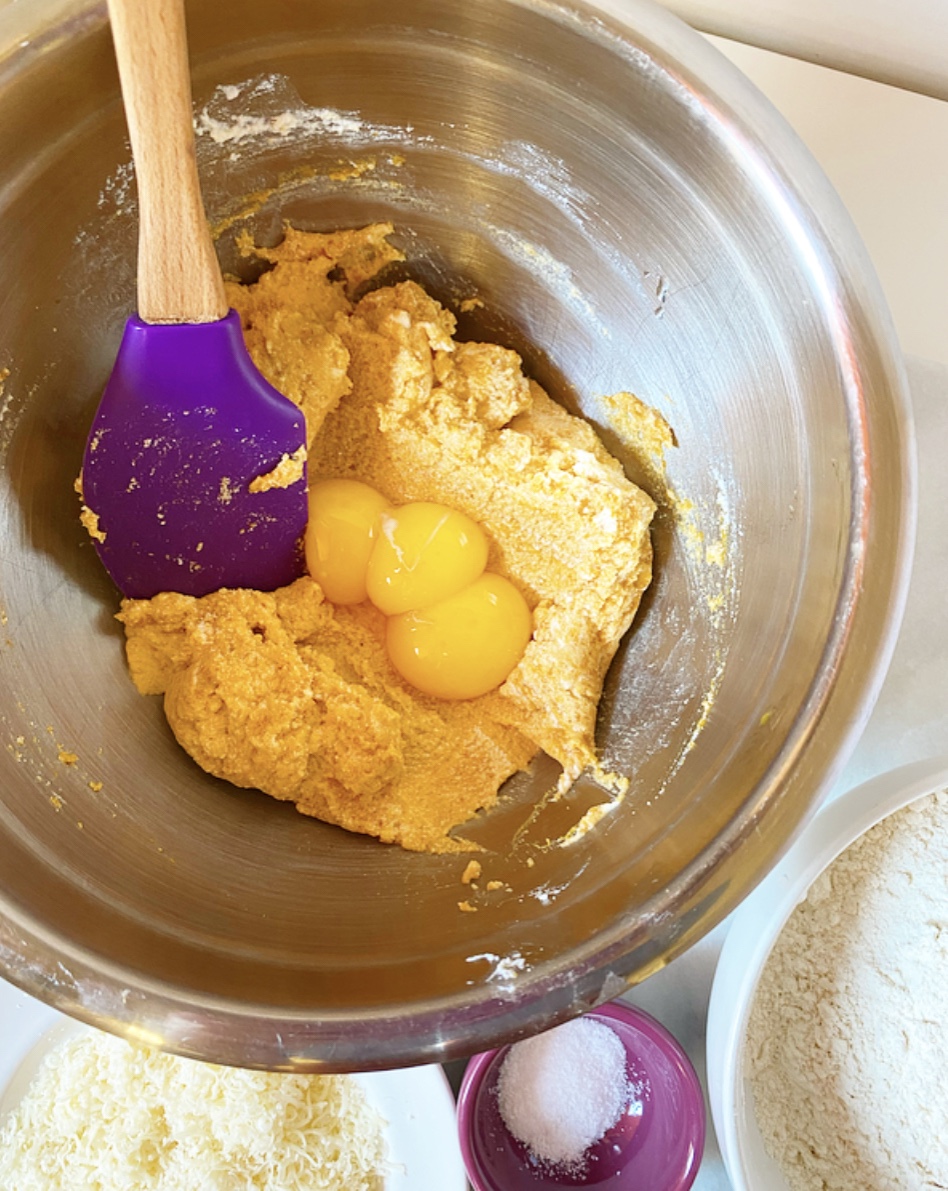
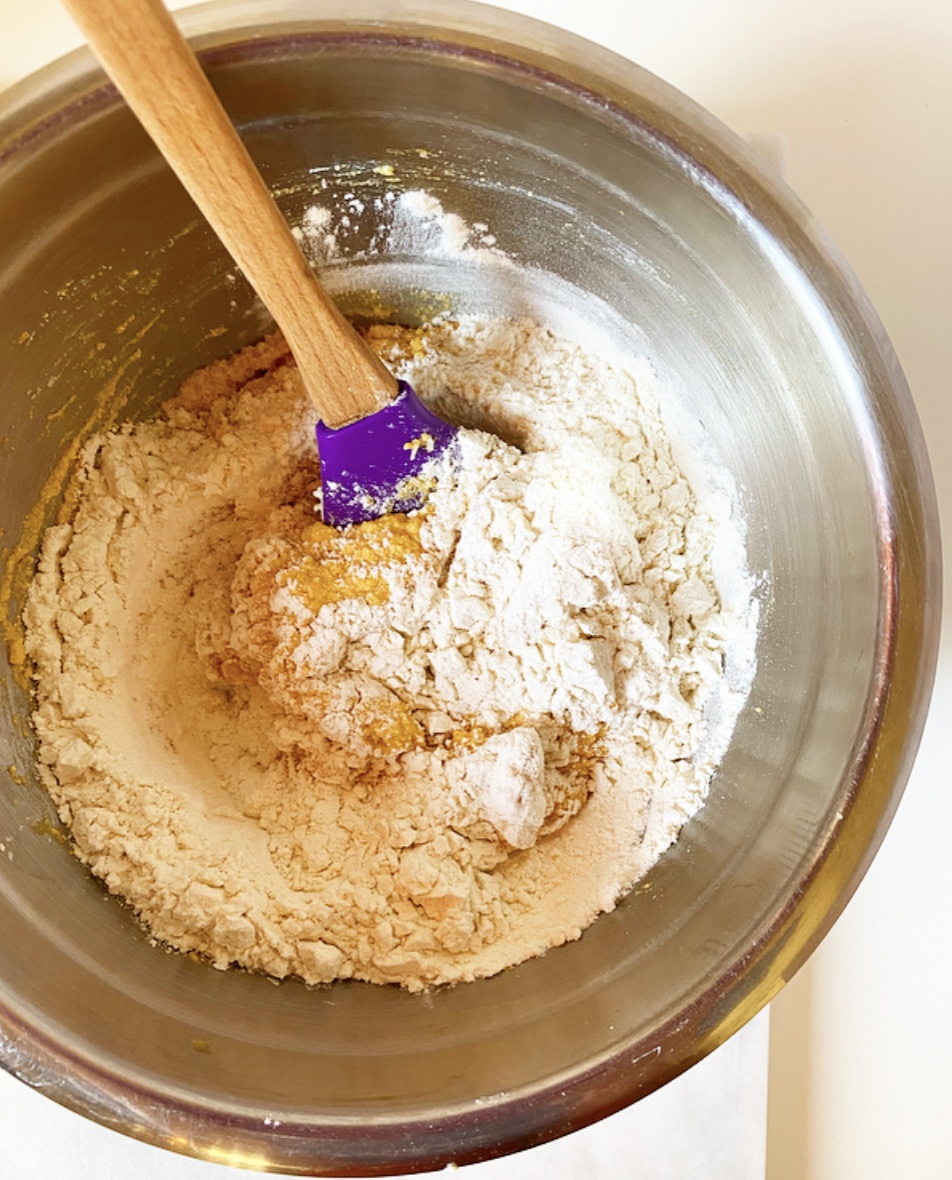
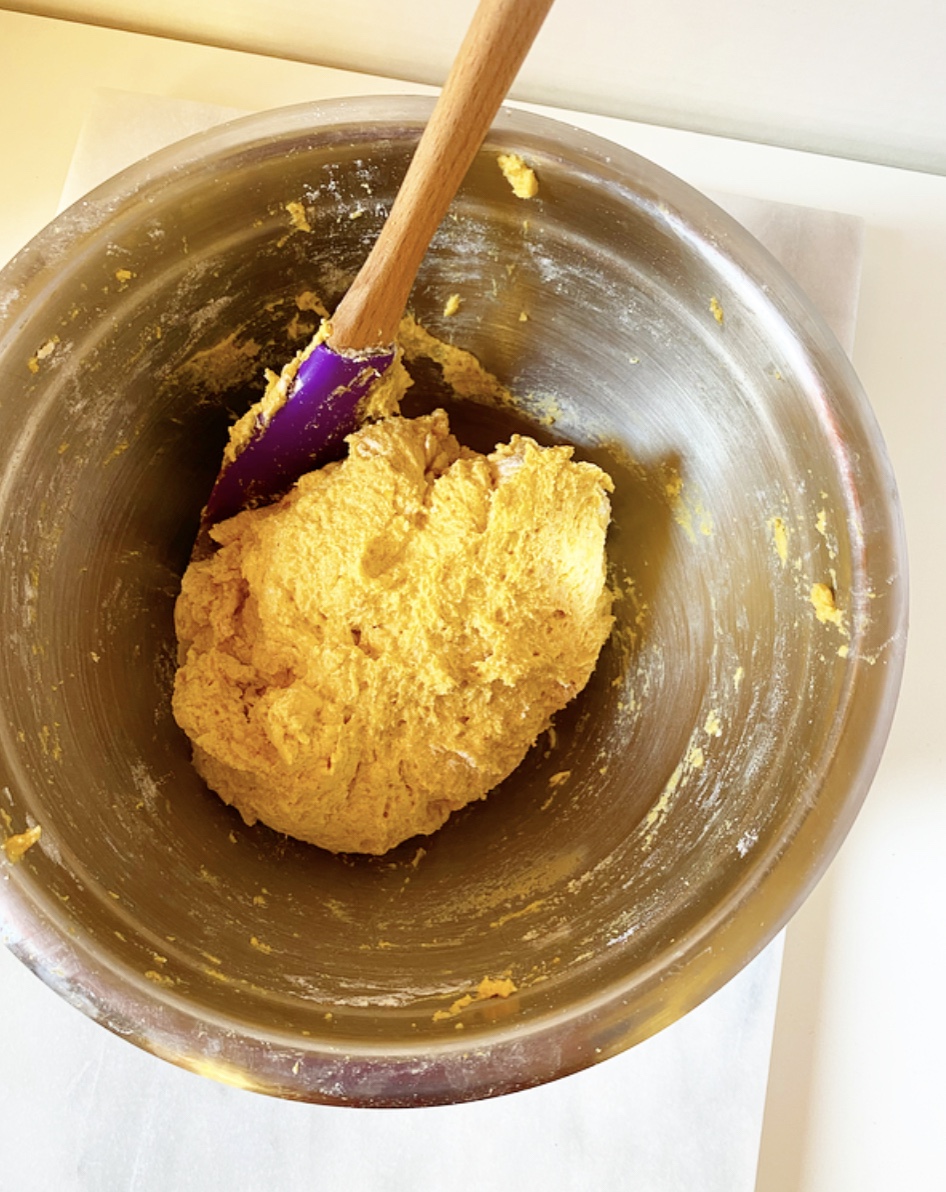
With a silicone spatula or wooden spoon, stir together pumpkin and ricotta. Stir in egg yolks, followed by Parmesan and salt. Add half the flour, followed by the remaining half. The dough should be a little sticky but not impossible to handle. If needed, add more flour by the tablespoon until it is coming away from the walls of the bowl in a single mass.
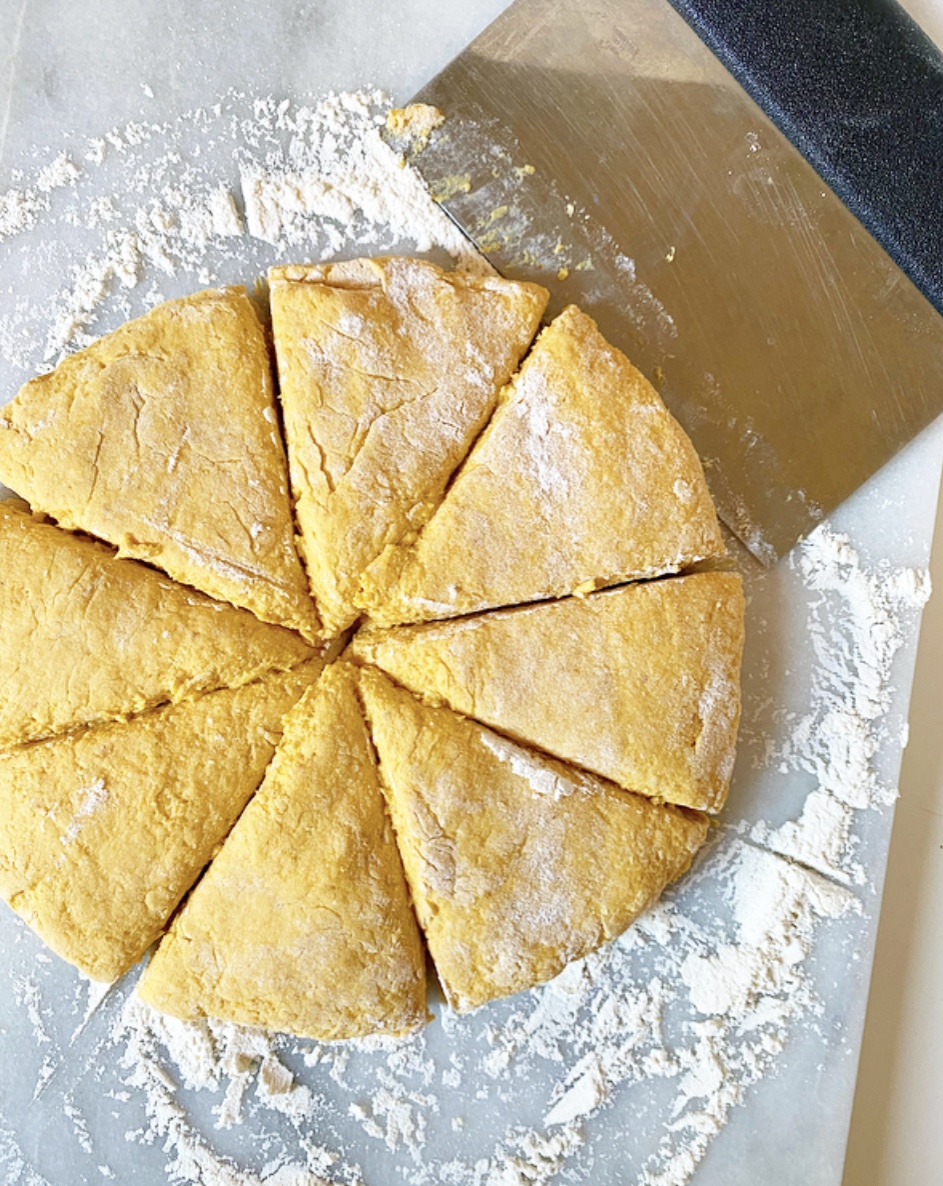
Flour your hands, a chef’s knife (or bench scraper), and a surface. Pat the dough into a circle, then slice it into 8 wedges.
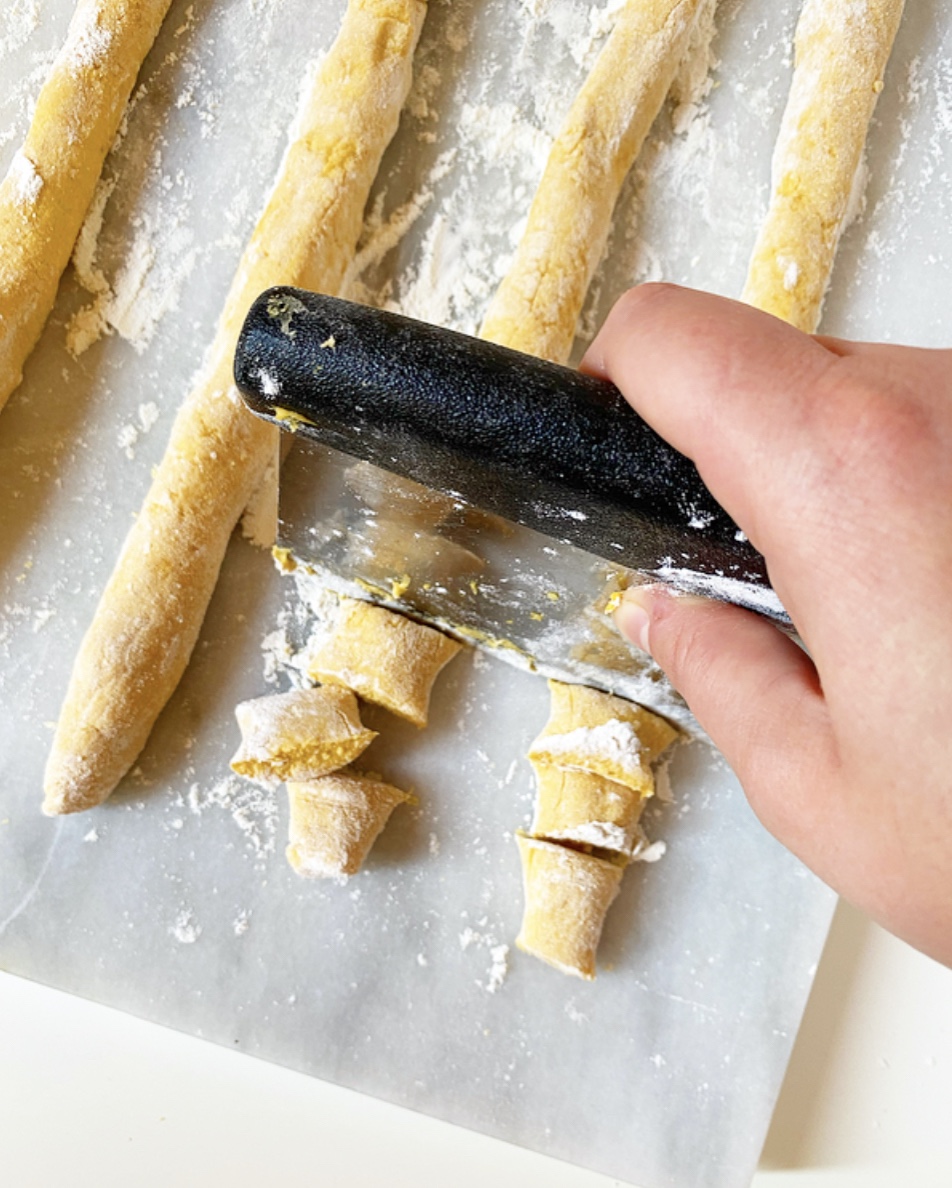
Use your hands to roll each wedge into a rope about 3/4-inch thick. Slice the gnocchi into bite-size pieces (keep in mind that they will expand slightly during cooking). If you would like your gnocchi to have ridges, you can roll each one along the back of a fork (or a special gnocchi board if you’re fancy), but this is totally optional.
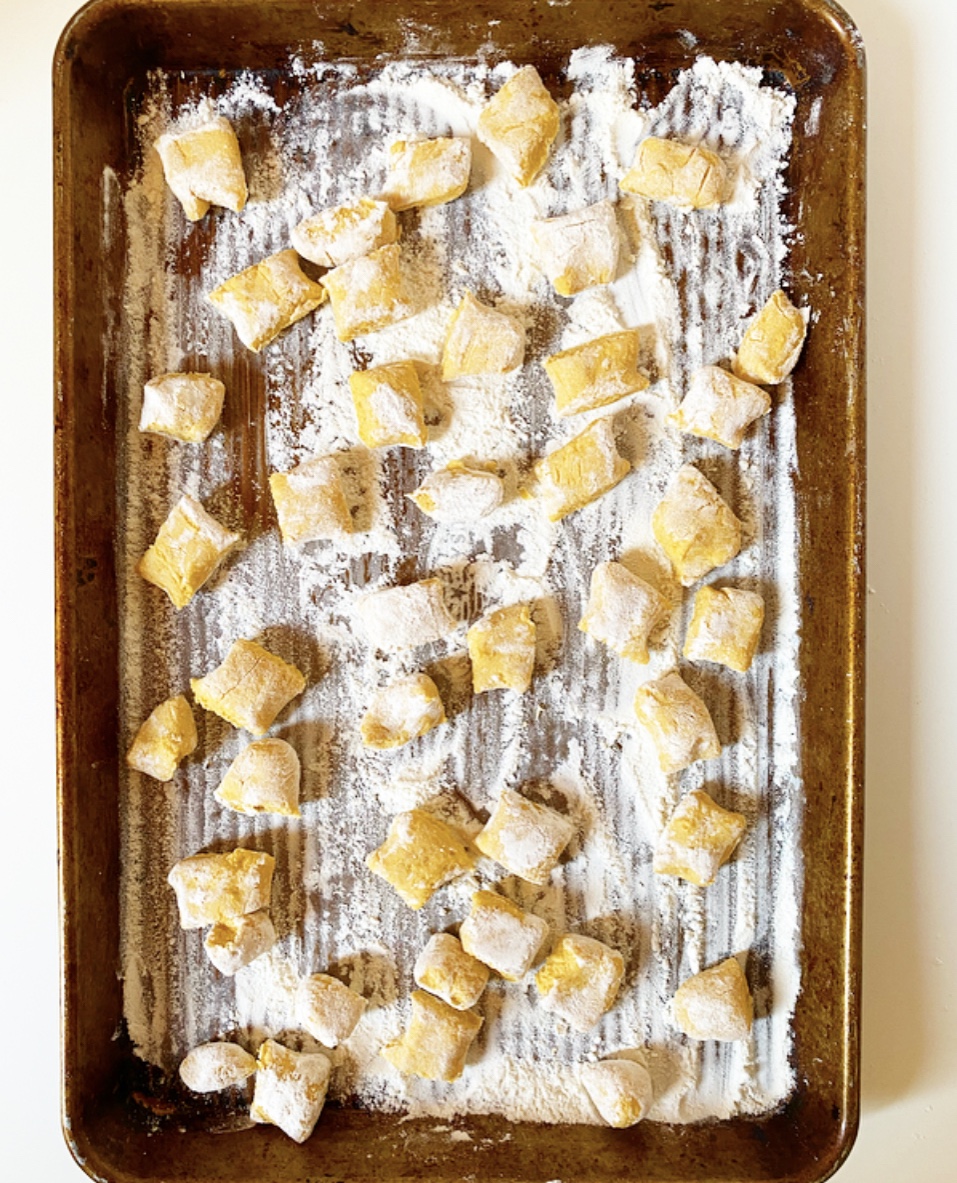
At this point you may freeze your gnocchi. Heavily flour a rimmed sheet pan and add your gnocchi, making sure they are in an even layer. Freeze for a couple of hours, until frozen, then transfer to a freezer bag for up to a couple of months.
To cook gnocchi, bring a large pot of water to a boil. Salt well. Add gnocchi and let cook just until they float (1-2 minutes). Drain immediately and toss with Spicy Sage Brown Butter (or other sauce). Garnish with cheese and enjoy immediately.
Spicy Sage Brown Butter
makes enough for 1 batch Pumpkin Ricotta Gnocchi
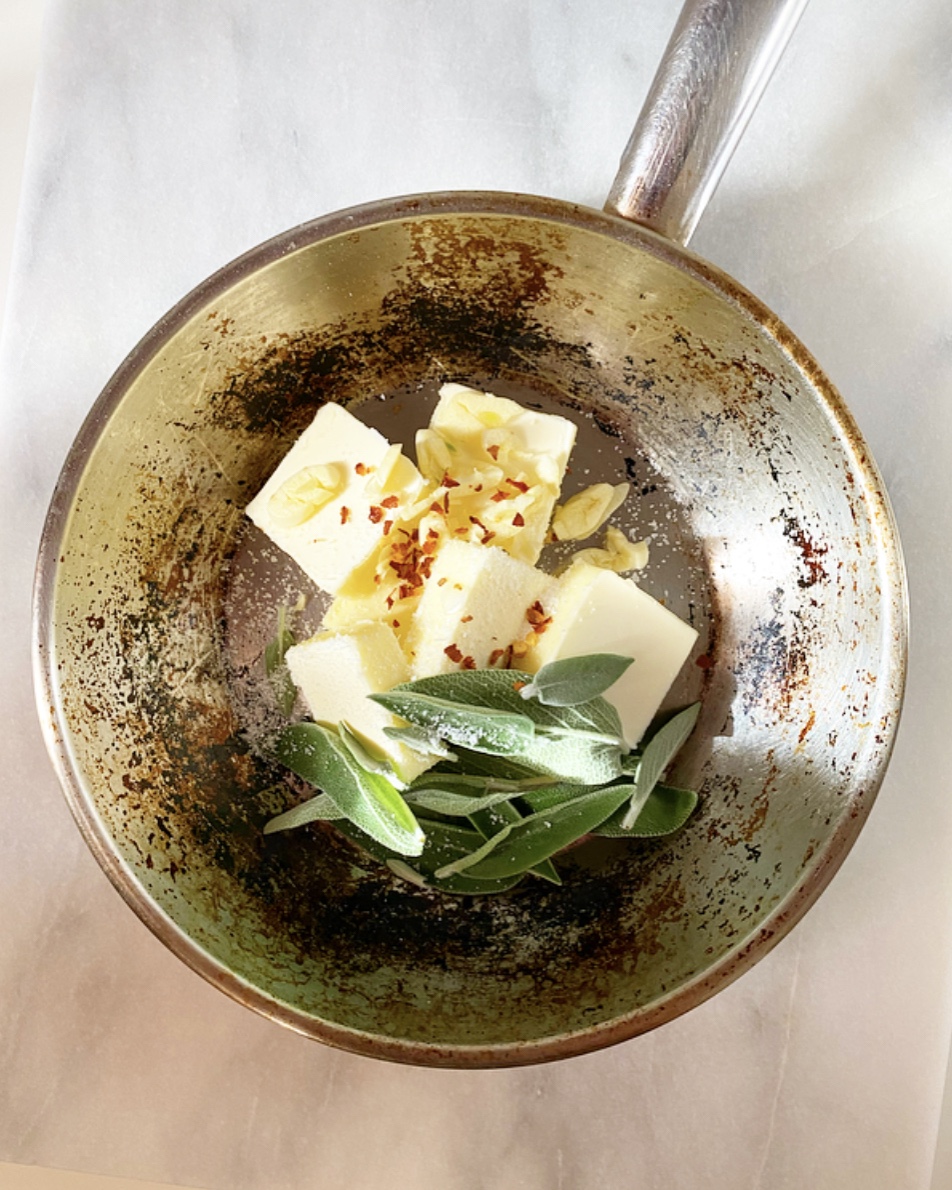
1/2 cup (1 stick) unsalted butter, cut into pieces
20 fresh sage leaves
2 cloves garlic, crushed
1/4-1/2 teaspoon Kosher or sea salt
1/8-1/4 teaspoon red pepper flakes
1 tablespoon apple cider vinegar
parmesan cheese, for garnish
Add butter, sage leaves, garlic, 1/4 teaspoon salt, and red pepper flakes to a small light-colored saucepan over medium heat. Butter will bubble and crackle as the water content evaporates. Swirl the pan frequently for 5-7 minutes, keeping an eye on the color. When the solids are turning brown and the butter is nutty and fragrant, remove the pot from the heat.
Use a fork or slotted spoon to fish out the sage leaves (they should be crispy) and place them on a a paper towel-lined plate.
Stir vinegar into the butter and taste and adjust for salt. Toss with gnocchi and use sage leaves as a garnish.