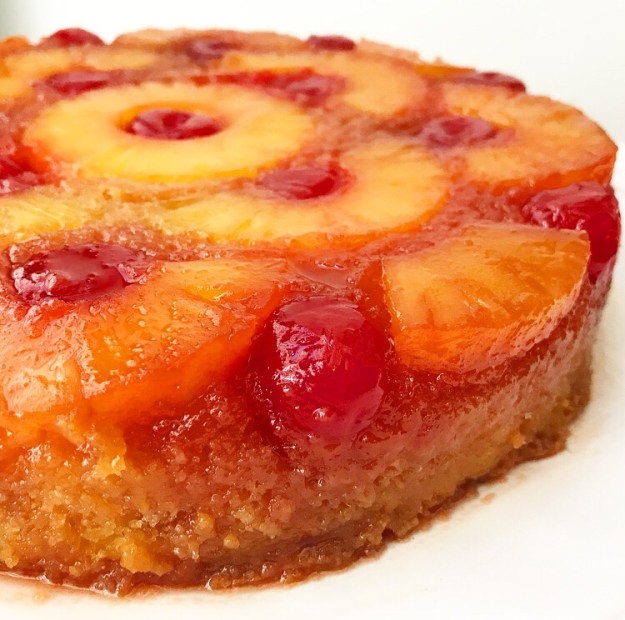
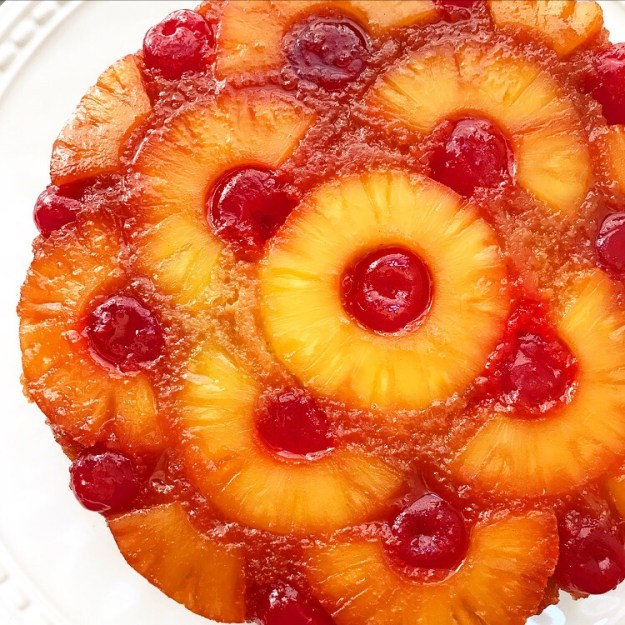
 There’s just something about Pineapple Upside-Down Cake.
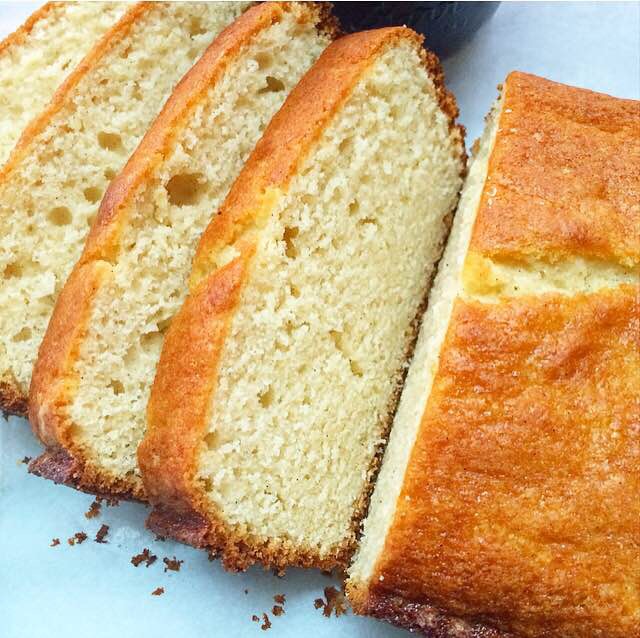
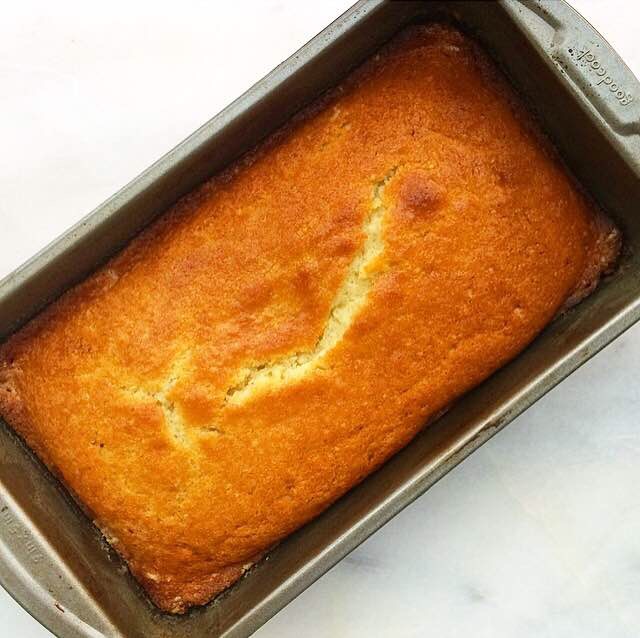
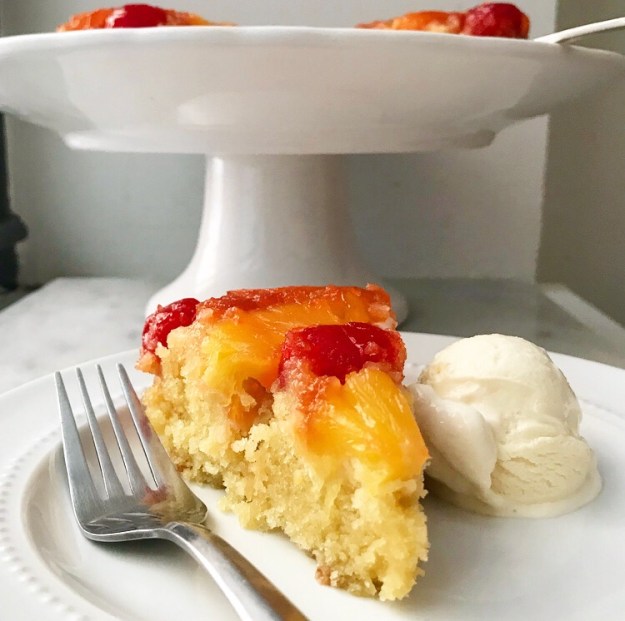 I don’t know if it’s the buttery cake or the mosaic of canned fruit that I would otherwise never eat or the way the brown sugar glaze caramelizes perfectly during the 50 minute bake time.
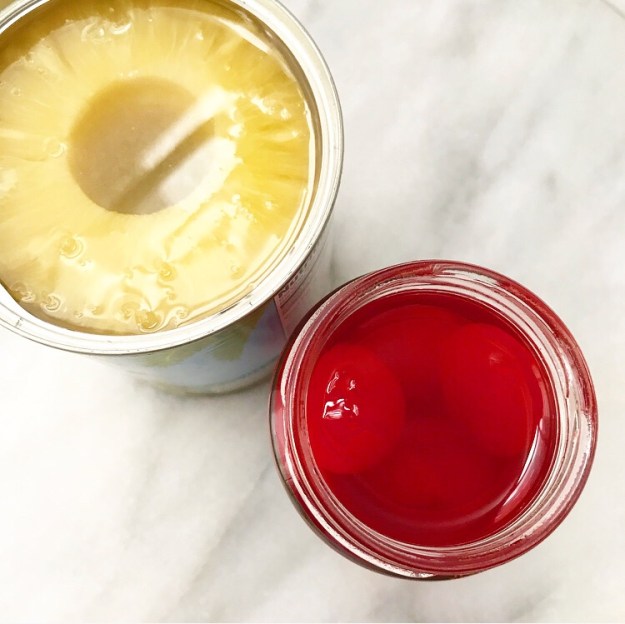
 Perhaps it’s the way that it somehow straddles the line between Everyday Cake and Celebration Cake.
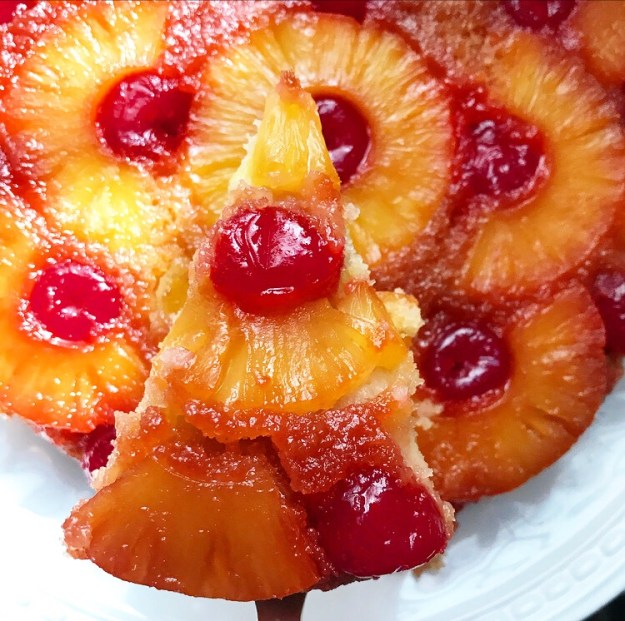
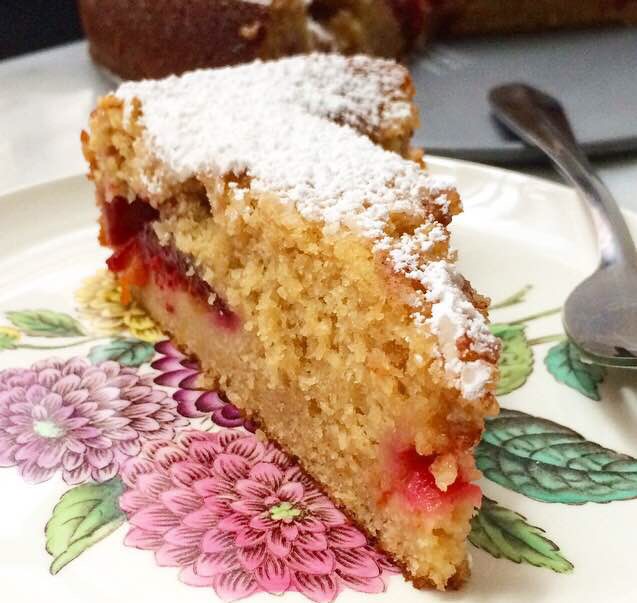
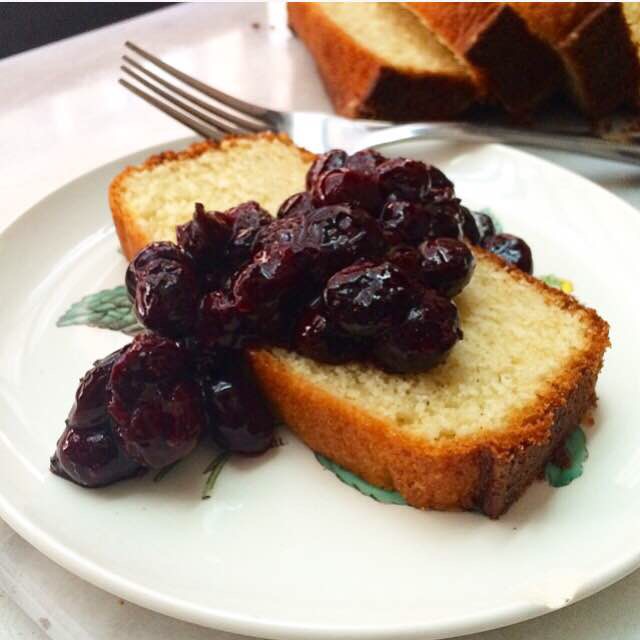
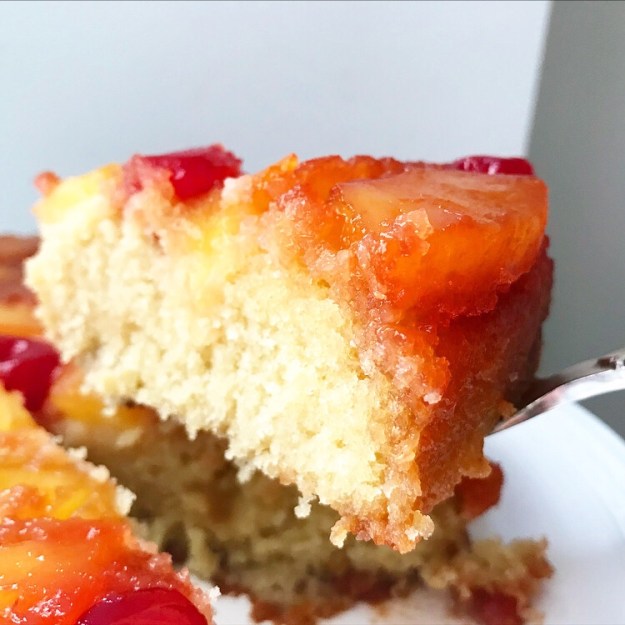 Or that it doesn’t need to cool much after baking and doesn’t need any sort of adornment to make it complete. A scoop of ice cream doesn’t hurt though.
 Maybe it’s that making one of these beauties lets me channel the TV ghost of June Cleaver. The undeniable retro-ness of this cake nearly has me reaching for my string of pearls.
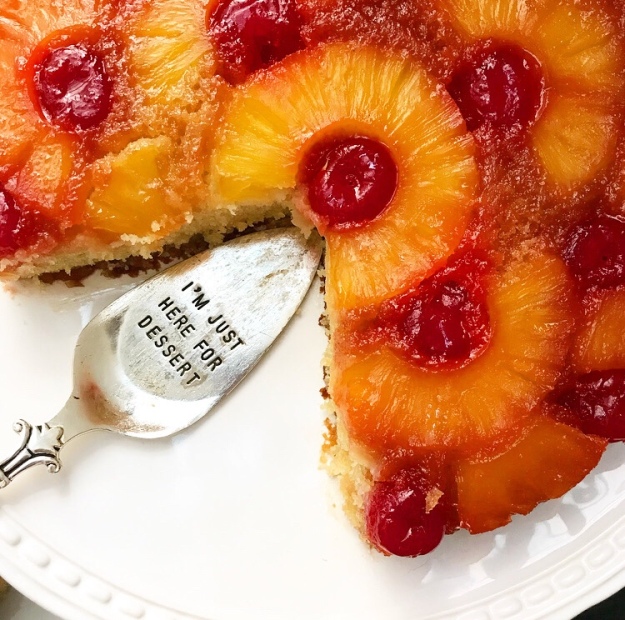 (That’s really something, considering that this blog could easily be sponsored by Lululemon, Birkenstock, and ten year old college t-shirts.)
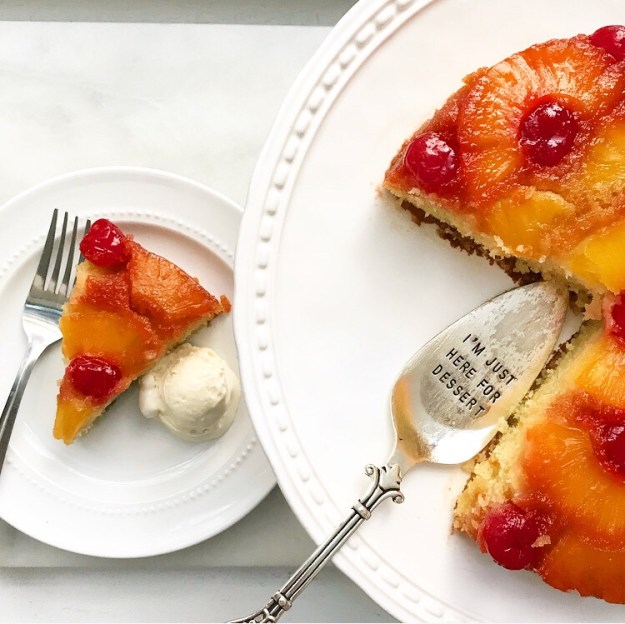 Yep, if I were a cake, this would be the one.
 Why all this Pineapple Upside-Down Cake love? Well, all the things listed above and because today is National Pineapple Upside-Down Cake Day. Yes, that’s a thing now. As far as I’m concerned, it’s as good a reason as any to stash a homemade cake in your fridge and snack on it all weekend.
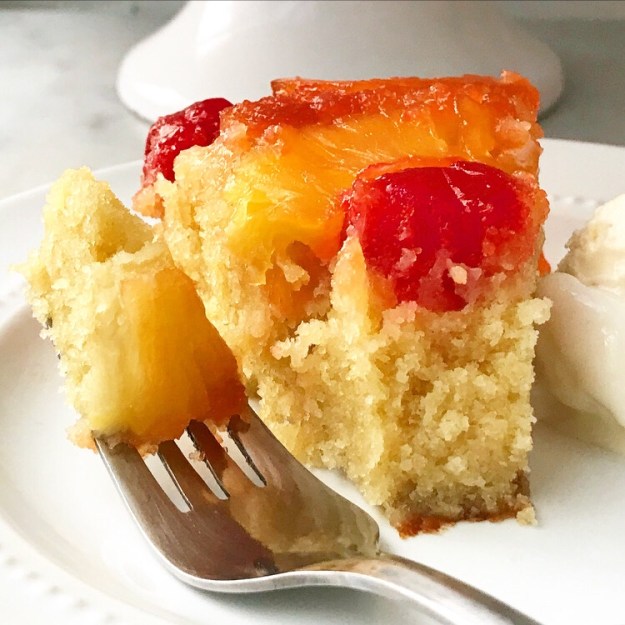
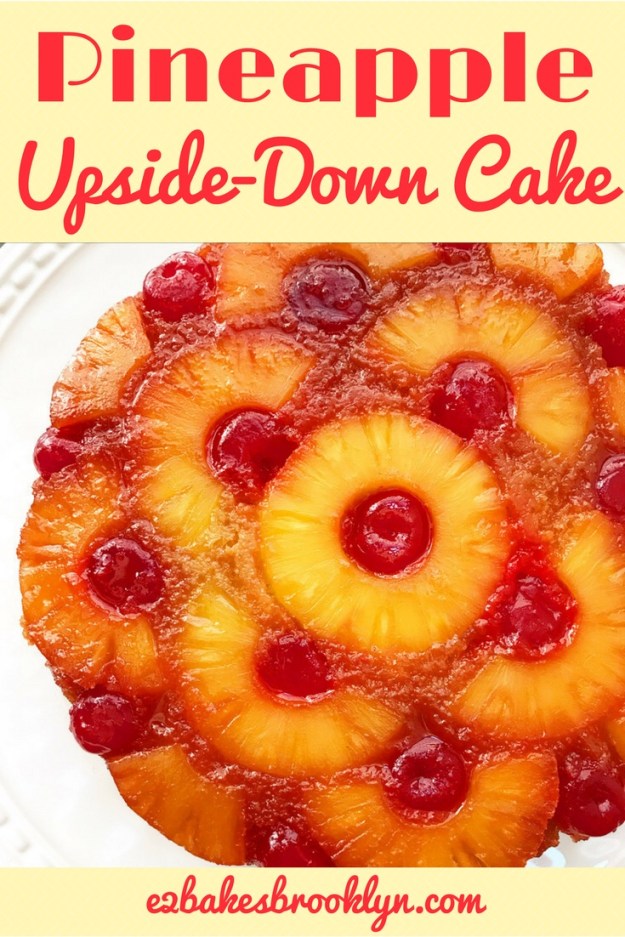
Pineapple Upside-Down Cake
makes one 9-inch round cake
Topping:
1 20-ounce can pineapple slices in juice
1 10-ounce jar maraschino cherries
1/4 cup unsalted butter
2/3 cup light brown sugar, packed
Cake:
1 1/2 cups all-purpose flour
2 tablespoons cornstarch
1/2 teaspoon baking powder
1/4 teaspoon baking soda
1/2 teaspoon Kosher or sea salt
1/2 cup (1 stick) unsalted butter, softened to room temperature
2/3 cup granulated sugar
1/3 cup light brown sugar, packed
2 large eggs, room temperature
2 teaspoons pure vanilla extract
1/8 teaspoon pure almond extract (optional)
1/2 cup pineapple juice (reserved from topping)
1/2 cup milk (not skim or fat free), room temperature
For serving:
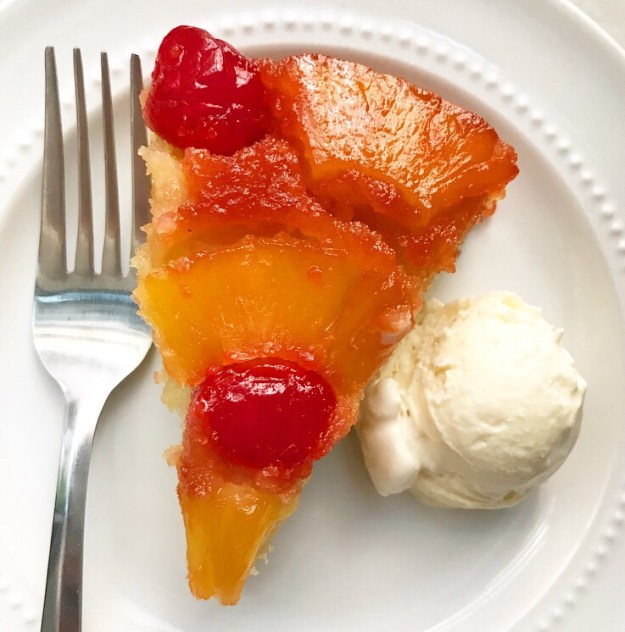
vanilla ice cream (optional)
Preheat oven to 350F. Grease a deep 9-inch round cake pan (or a springform). Set aside.
Make the topping. Open the can of pineapple rings and drain the juice into a small bowl. Drain maraschino cherries (or just fish them out of the jar).
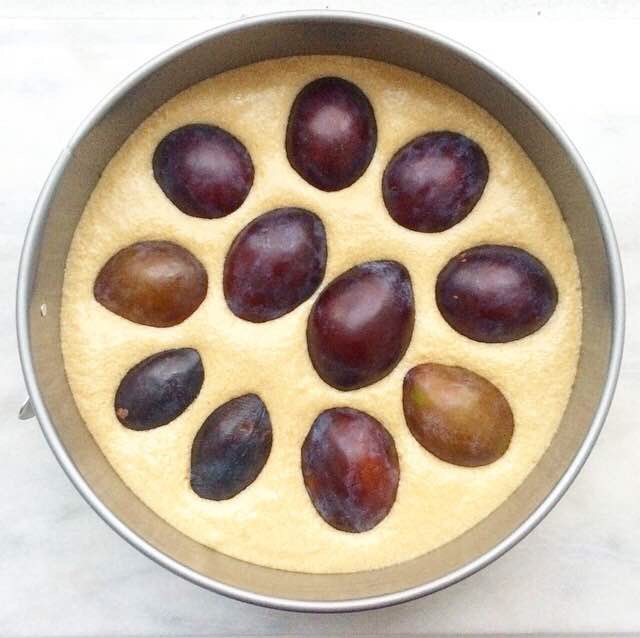
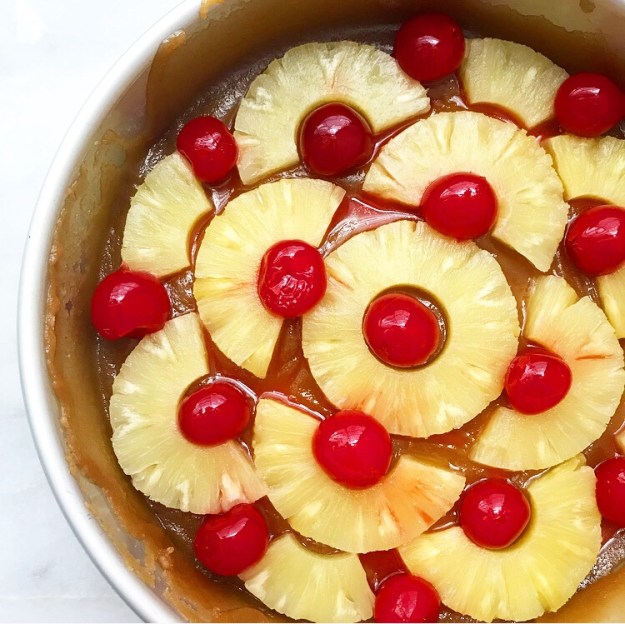
In a small saucepan, combine butter and light brown sugar. Place over medium-low heat and stir constantly until butter and sugar are melted, 3-5 minutes. Remove pan from heat. Transfer mixture into prepared pan, using a silicone spatula to spread it over the entire bottom of the pan. Top the brown sugar mixture with a single layer or pineapple and cherries. Set aside.
Make the cake batter. In a small-medium mixing bowl, whisk together flour, cornstarch, baking powder, baking soda, and salt. Set aside.
In a large mixing bowl, beat butter with an electric mixer until light and fluffy, about 2 minutes. Beat in granulated and light brown sugars. Add eggs one at a time, mixing completely after each addition. Combine pineapple juice, milk, vanilla and almond extracts (if using) in a measuring cup. With the mixer on low, alternate adding dry ingredients and the pineapple juice mixture in two installments. Mix just until combined.
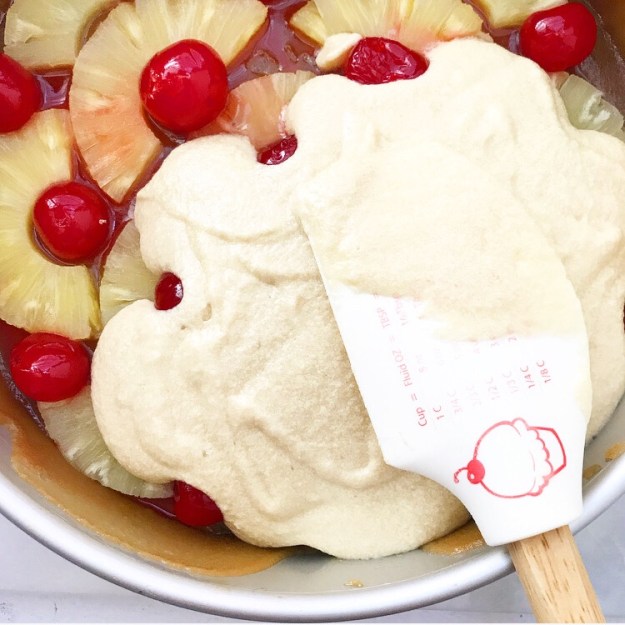
Pour batter over pineapple and cherry layer, and spread with a silicone spatula to even out the top. Tap pan on the counter two or three times to release any large air bubbles. Depending on the depth of your pan, you may want to place it on a rimmed baking sheet to catch any light overflow of caramel.
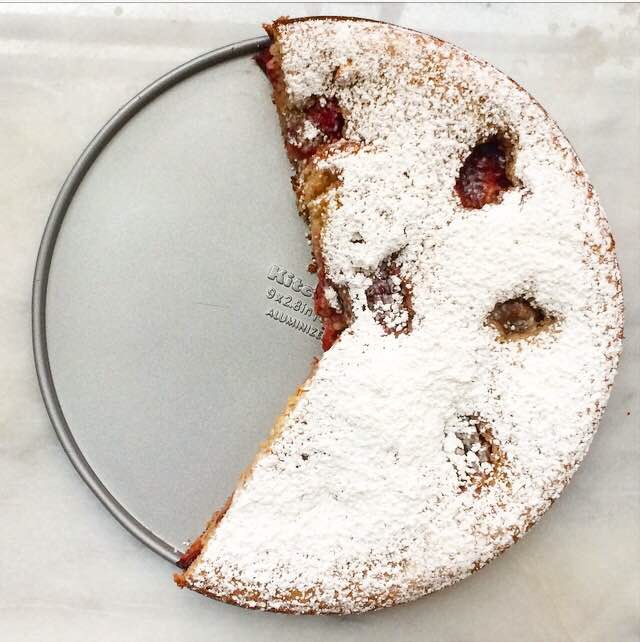
Bake cake 45-50 minutes, until a toothpick inserted in the middle comes out clean. Tent loosely with a layer of foil if anything begins to brown too quickly.
Let cake cool in the pan on a rack for 15 minutes. Run a small, thin knife around the edge of the pan a couple of times before inverting onto a cake stand or large serving plate. If any fruit sticks to the pan, just nudge it back onto the cake with your fingers.
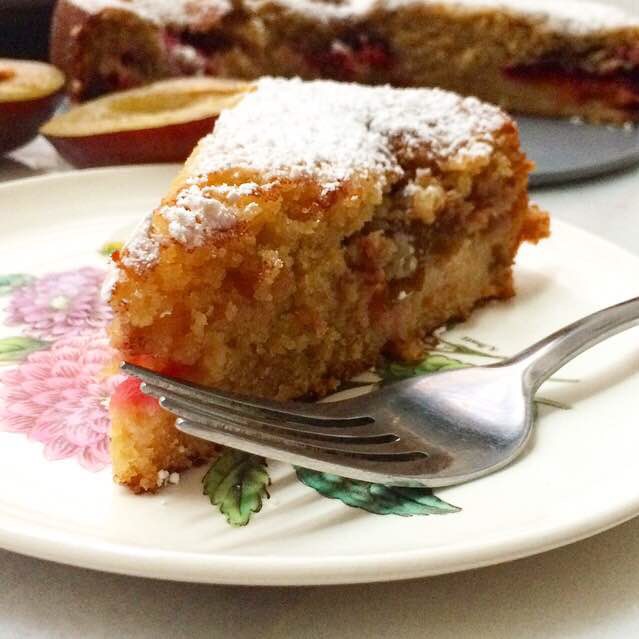
Serve cake warm, room temperature, or cold, with ice cream, if desired.
Cake is best the day it’s baked, but will keep in the refrigerator for up to three days.