Updated 12/3/2018: this post was edited to add better photos and a minute to the baking time. For whatever reason, I associate gingersnaps with watching TV with my dad when I was five. After dinner, he’d grab a few and make himself a cup of decaf, park Eliot and me next to him on the couch, and flip on the TV. I think we watched CSPAN and Star Trek, but I don’t remember (probably because I was bored…CSPAN is a snoozefest). What I do recall is that he would dip each gingersnap in his coffee and share them with us. I just loved eating those coffee-soaked cookies and hanging out with my dad.
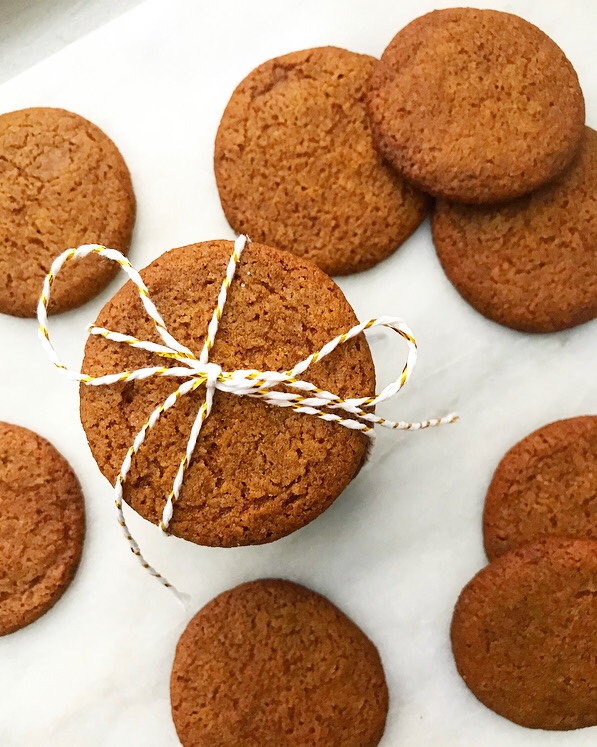 Now anytime I eat a gingersnap, I go back to those days for just a second. I’m not sure if those memories took place around the holidays, but who cares. This is the time of year for ginger, cinnamon, cookies, and nostalgia. I’m not sure if most people consider gingersnaps a holiday cookie, but I do.
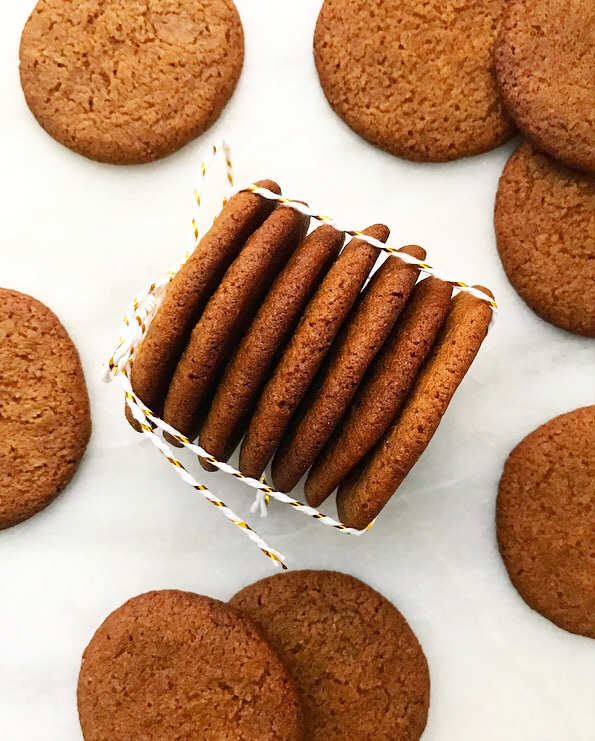
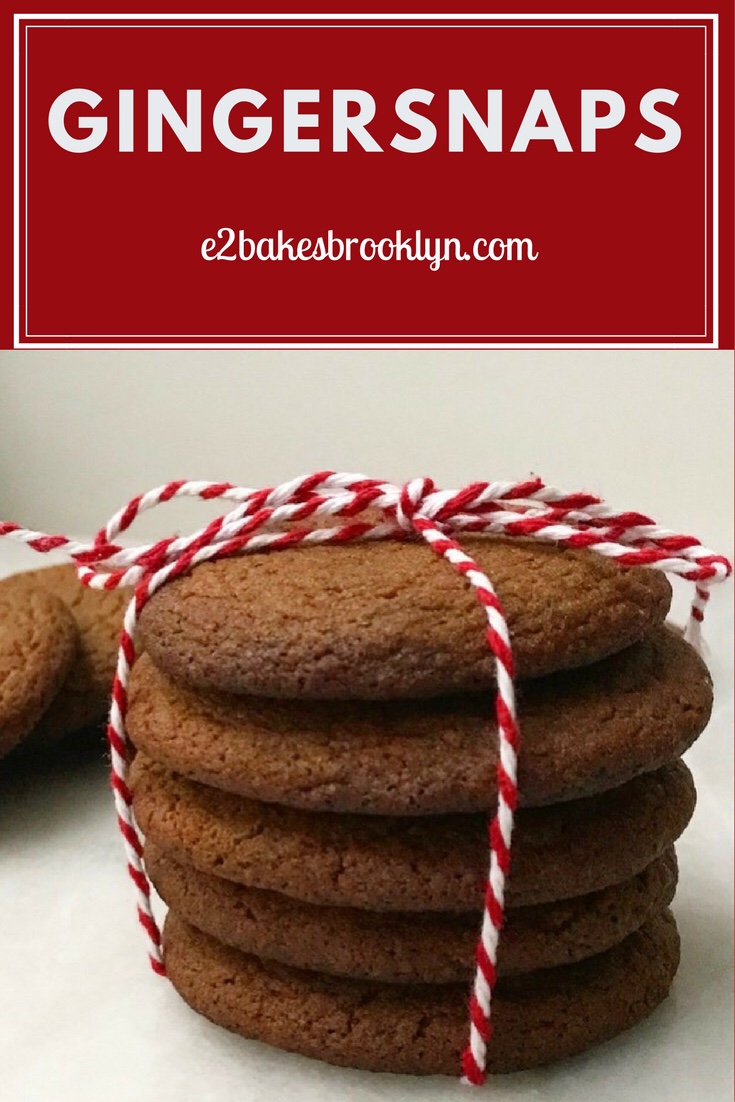
These gingersnaps, y’all. They’re amazing–way better than the storebought variety I grew up eating. Crispy, crunchy, and full of that classic ginger-molasses flavor, they’re guaranteed to be hit at all your holiday parties! The best part? They’re super easy. Once your butter has softened to room temperature, this recipe comes together in under an hour.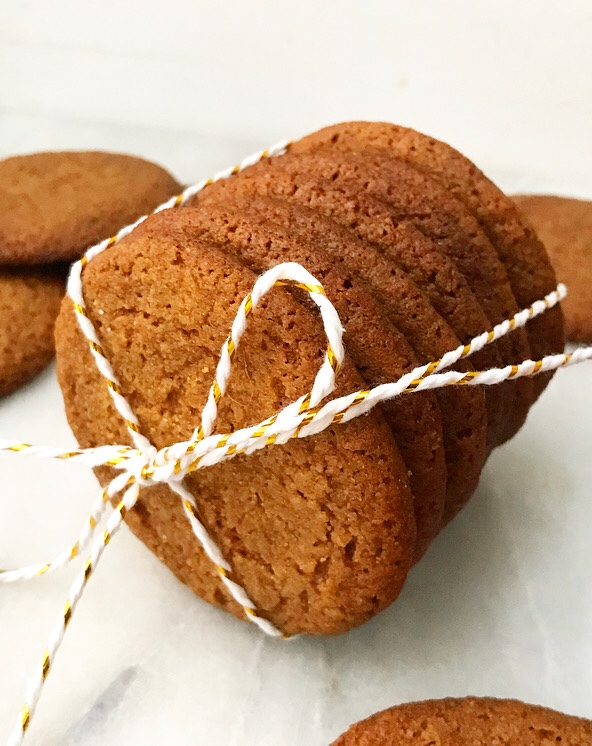 The dough is very straightforward. Flour, ginger, cinnamon, black pepper (don’t skip it!), baking soda, and salt are whisked together. Use an electric mixer to beat together your softened butter, a cup of sugar, an egg, and some molasses. Mix the dry ingredients into the wet, and then scoop the dough by the tablespoon. No need for a chill or anything. Roll the dough into balls and place them on parchment-lined baking sheets before sliding them into the oven for 12-14 minutes. The cookies will spread a bit, but still be nice and puffy when they’re ready. They may feel a bit soft immediately after baking, but will harden as they cool.
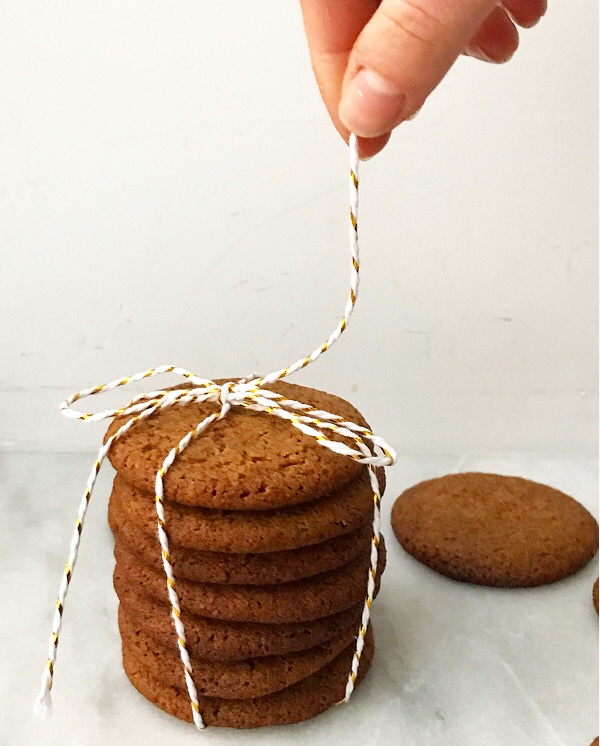 Once these gingersnaps are cool, good luck restraining yourselves. They’re delightfully crispy and the ginger-cinnamon flavor is just…everything. I can usually restrain myself around all my baked goods, but I’ve been snacking on these all day! Throw these gingersnaps on your to-bake list this holiday season.
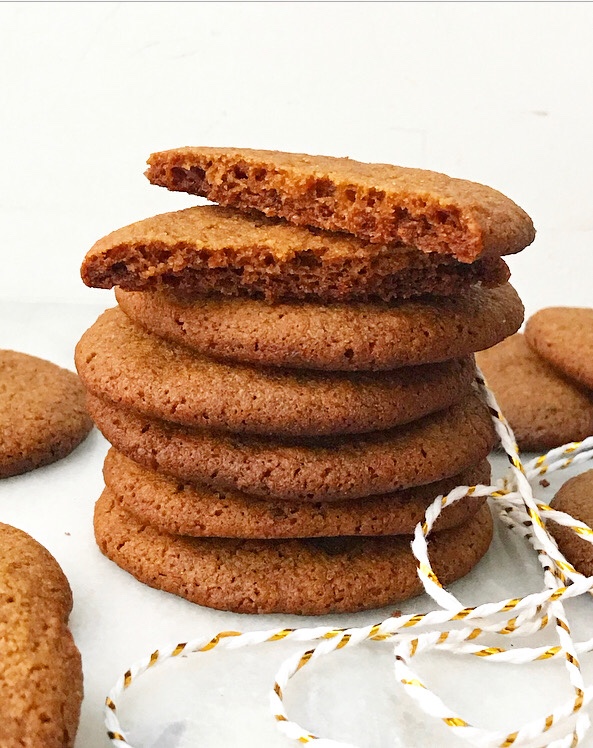
Looking for more holiday treats? Check out my Hot Chocolate Mix (perfect for gifting!), Chai Whipped Shortbread, and Lindor Truffle Peanut Butter Blossoms!
Gingersnaps
makes 3.5 dozen cookies
2 1/3 cups all-purpose flour
1 1/2 teaspoons ground ginger
1 teaspoon ground cinnamon
1/8 teaspoon ground black pepper
1 1/2 teaspoons baking soda
1/2 teaspoon Kosher or sea salt
1 cup (2 sticks) unsalted butter, softened
1 cup granulated sugar
1 large egg, room temperature
1/4 cup molasses (not blackstrap)
Preheat oven to 350F. Line two baking sheets with parchment. Set aside.
In a medium-large mixing bowl, whisk together flour, ginger, cinnamon, black pepper, baking soda, and salt. Set aside.
In a large mixing bowl, use an electric mixer to beat butter until light and fluffy. Mix in sugar, followed by egg and molasses. Add dry ingredients in two installments, mixing completely after each addition.
Scoop dough in 1 tablespoon increments and roll into balls. Place dough balls at least 2 inches apart on prepared pans. Bake 13-15 minutes, rotating the pans from the top to bottom racks at the 7 minute mark. Gingersnaps will still feel soft in the middles, but harden as they cool. Let cookies cool on the pan for 5 minutes before removing to a rack to cool completely.
Gingersnaps will keep in an airtight container at room temperature for up to a week.


 Hello! How was your Christmas? I had a great time with my family in Texas. We decorated cookies, snuggled our beloved puppies (Stella, Mama Chiquita, and Haskell), and played many rounds of Gin Rummy. My sisters and I all cooked like crazy, and my sister-in-law was the world’s best soux chef. Oh, and we all rocked some sweet matching Snoopy pajamas. Yes, we are adults. But it’s Christmas, and Snoopy rules. It was so much fun–I am lucky to have family that is an absolute joy, rather than a chore, to visit. The weather was spring-like until Saturday night, when tornadoes tore through North Texas, bringing torrential downpours, hail, and snow in their wake. If you are reading from Texas, I hope you and those you hold dear are safe from harm and able to enjoy these last few days of 2015.
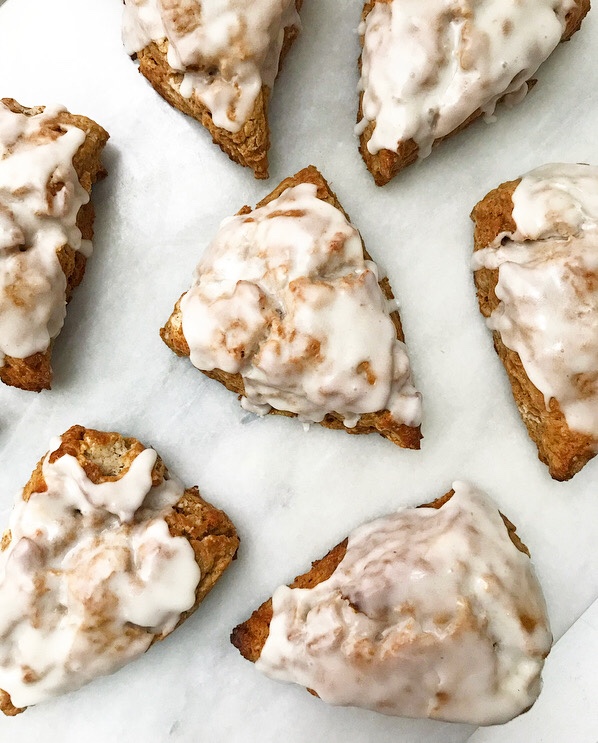 Now that I’ve bummed you all out, let’s get baking. I’ve made a lot of cookies in the last several weeks, and while I know cookies are synonymous with the holidays, I need a break. How about a coffee break? With Gingerbread Scones? Soft, spiced, not too sweet scones with a drizzle of vanilla glaze. They’re quick and simple–they can be on your table in less than an hour! They’re absolutely perfect for breakfasts this holiday week. Let’s get started.
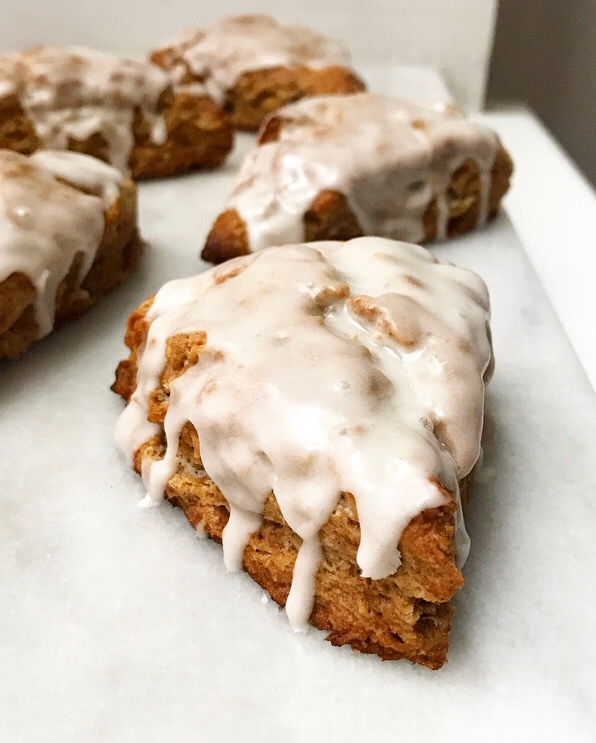
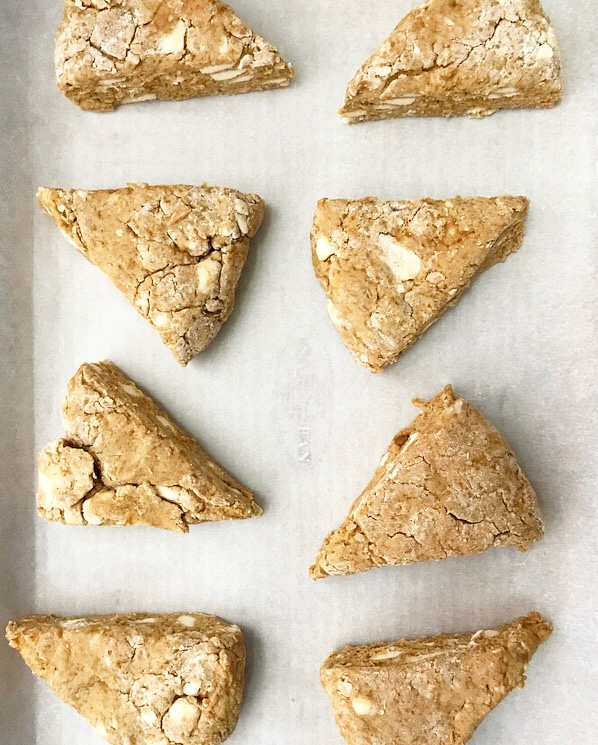
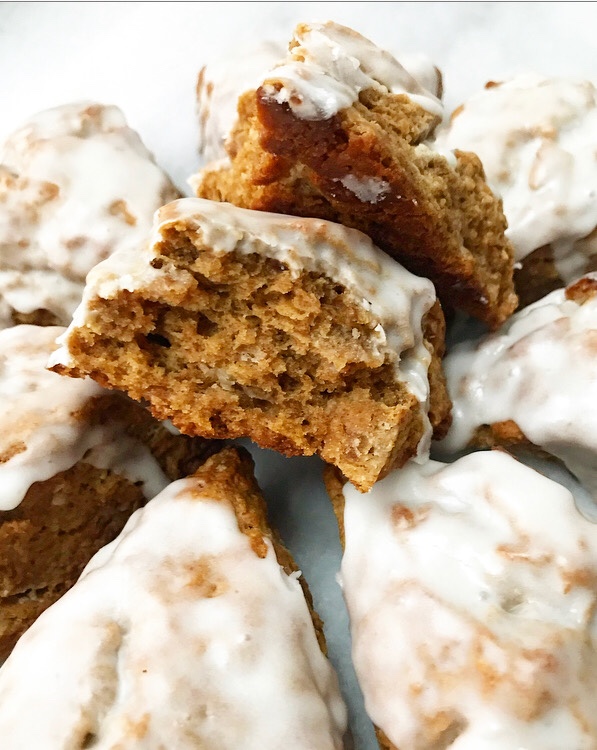
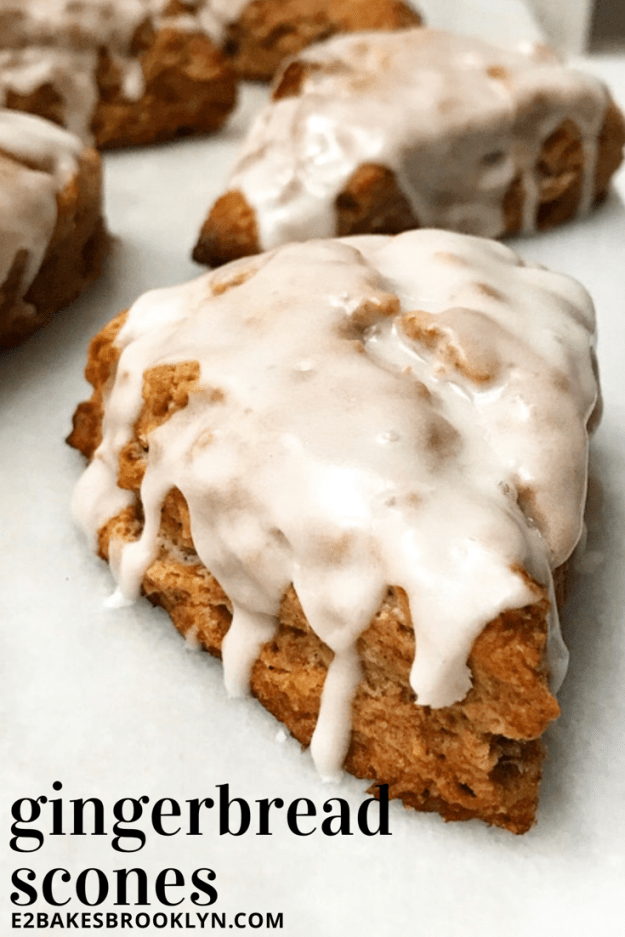
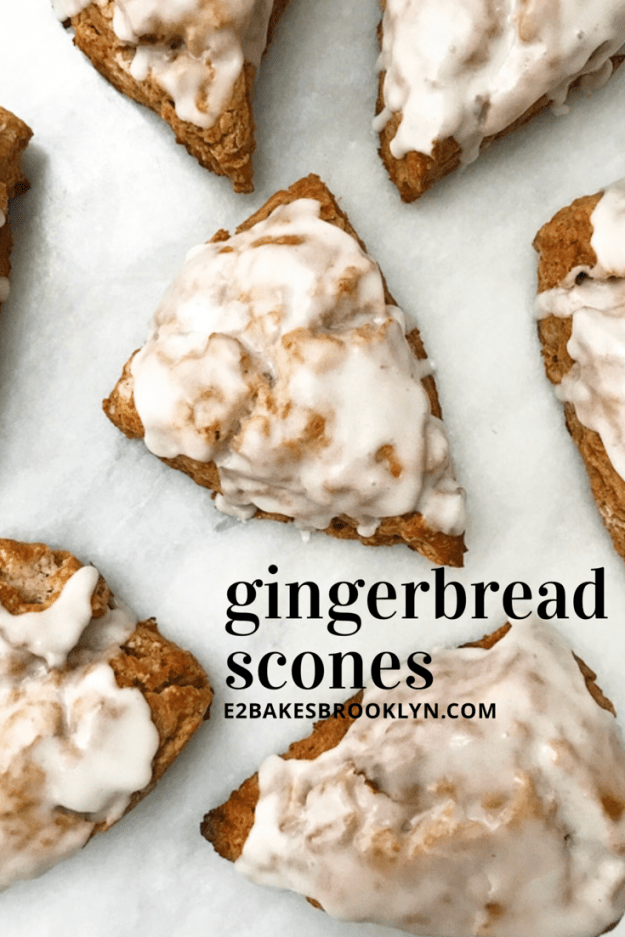
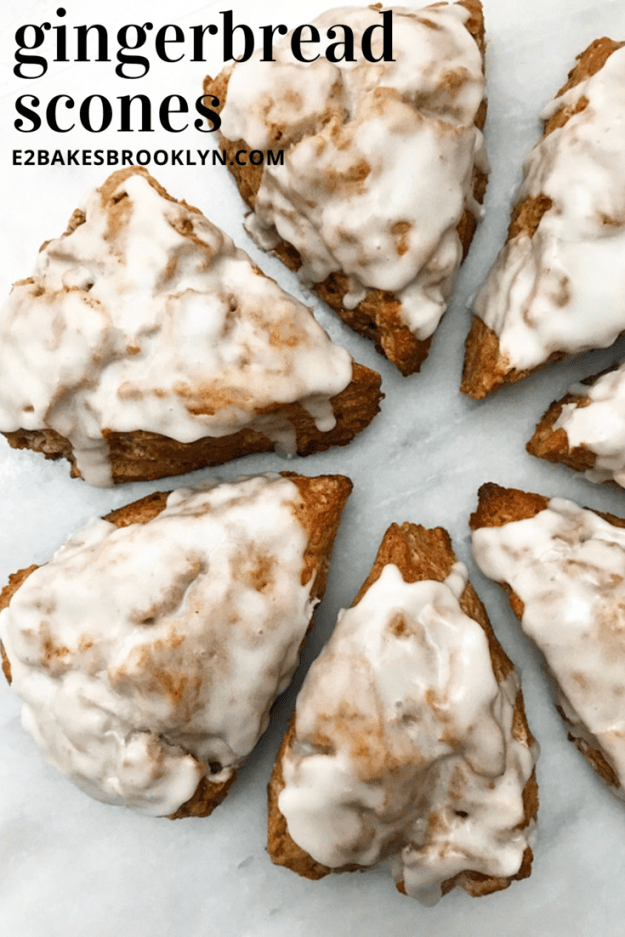
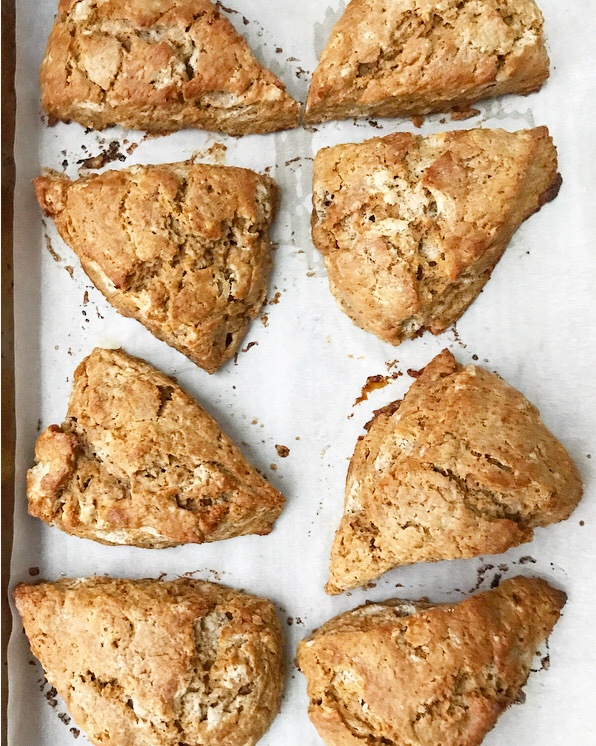 Scones really are a breeze. The only real rule is to keep the butter and liquid ingredients very cold. This is what keeps the scones flaky and delicious. These start with whisking two tablespoons of molasses into cold half-and-half and then putting that in the fridge. In a large mixing bowl, whisk together some flour, gingerbread spices, dark brown sugar, baking powder, and salt. Next, take some very cold butter and use a pastry blender to cut it into the flour mixture until it’s the size of peas. Take that half-and-half mixture you’ve been chilling and stir it in. Turn the dough out onto a very well-floured surface. Really, go crazy with the flour because the dough will be sticky. Flour your hands and gently shape the dough into a 1-inch thick disc. Flour the blade of a chef’s knife, and then cut the disc into eight wedges. Remove them to a pan, brush with more half-and-half, and bake at 425F until they spring back when poked with your finger, about fifteen minutes.
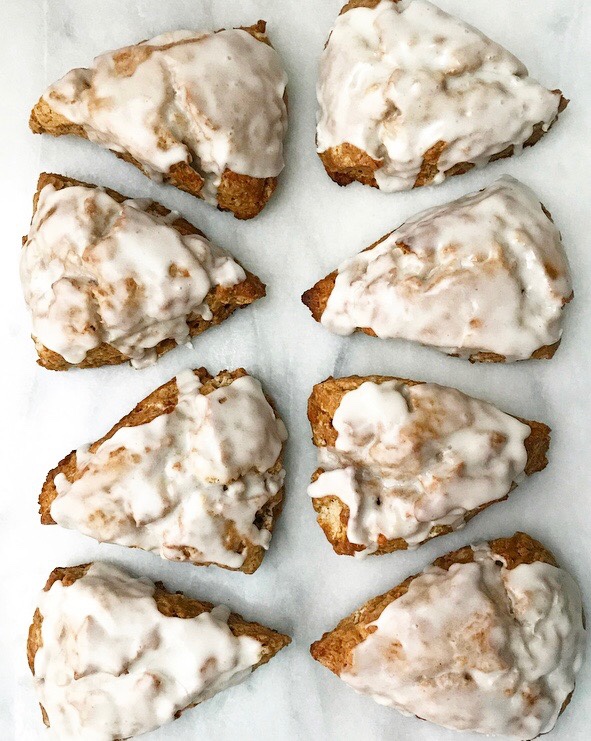 These scones would be great by themselves, but gingerbread has to have icing as far as I’m concerned. There just has to be something to offset the spiciness of the ginger. Also, these scones aren’t very sweet, so they benefit from a touch of glaze. The glaze is very easy to whip up. Whisk together some confectioner’s sugar and salt, and then stir in some half-and-half and vanilla extract until smooth. Drizzle it over the cooling scones. I like to use a squeeze bottle, but a fork will do the trick. The glaze will start to set in just a few minutes and will be completely set in a couple of hours.These scones are best the day they’re made, but may be kept covered at room temperature for up to 48 hours. Unbaked scones may also be frozen for up to three months! I’ve written instructions in the recipe.
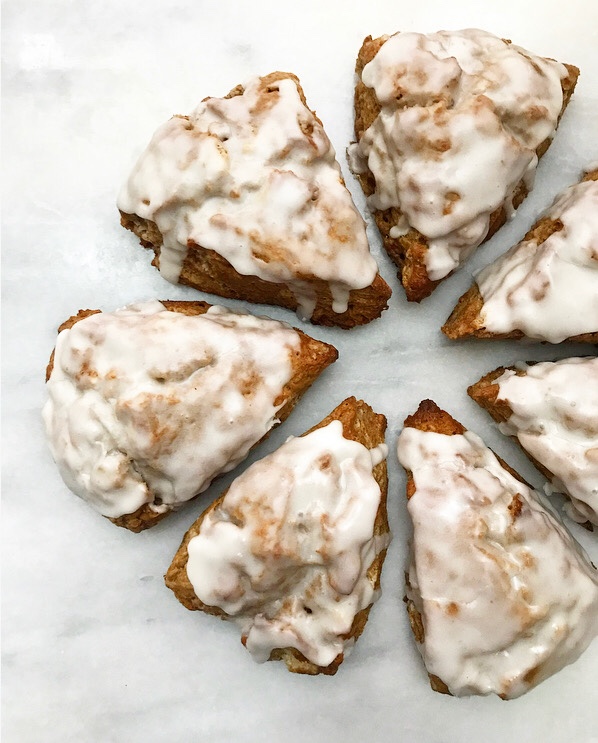 I hope you are enjoying this holiday week, and that you’ll make these Gingerbread Scones a part of your celebration! Now that it’s feeling more like winter in Texas and New York City, warm, spicy scones and a boatload of coffee will be your new favorite breakfast.