Oreo turned 110 last week, but that’s not the reason I made these Cookies & Cream Cookies.

No, I made them just because I like cookies & cream, and because I do my best to never be too far from a family size pack of Oreos. I’m not in the business of telling people how to live their lives, but I do endorse that as a lifestyle choice.
If you’re thinking “but why did you put Oreos in cookies when they are already cookies themselves?” Well, that is also a lifestyle choice that I endorse. Cookies in cookies is the kind of energy that I’m bringing in 2022.
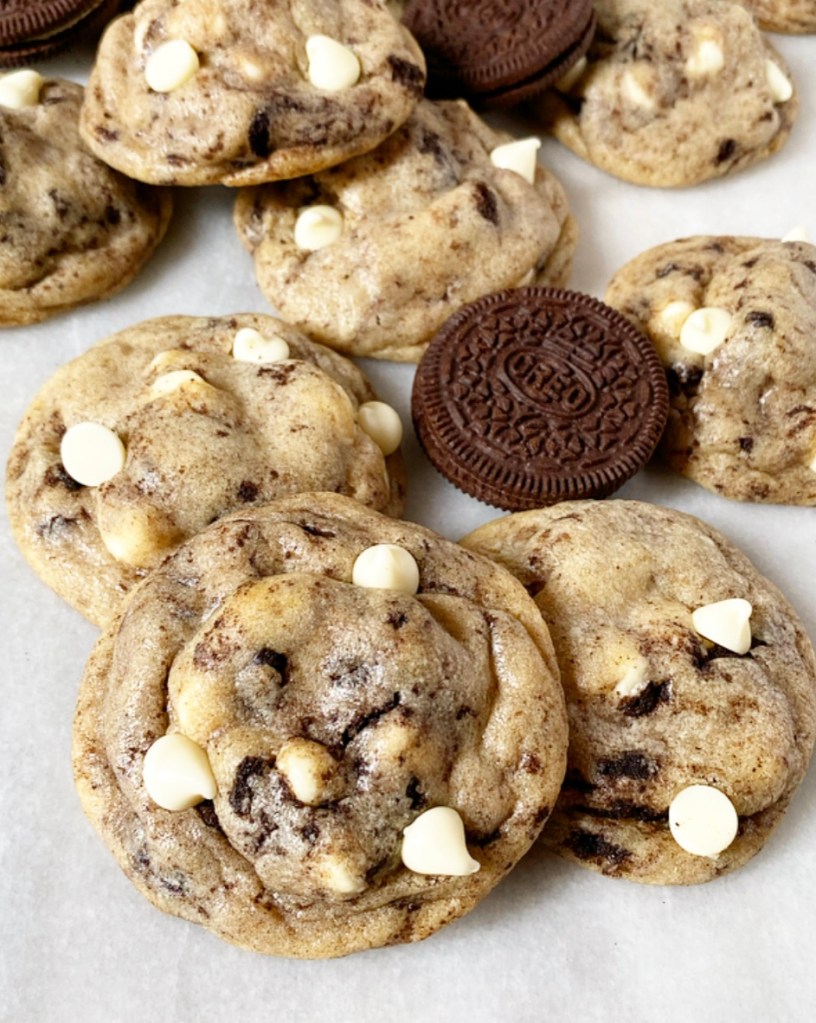
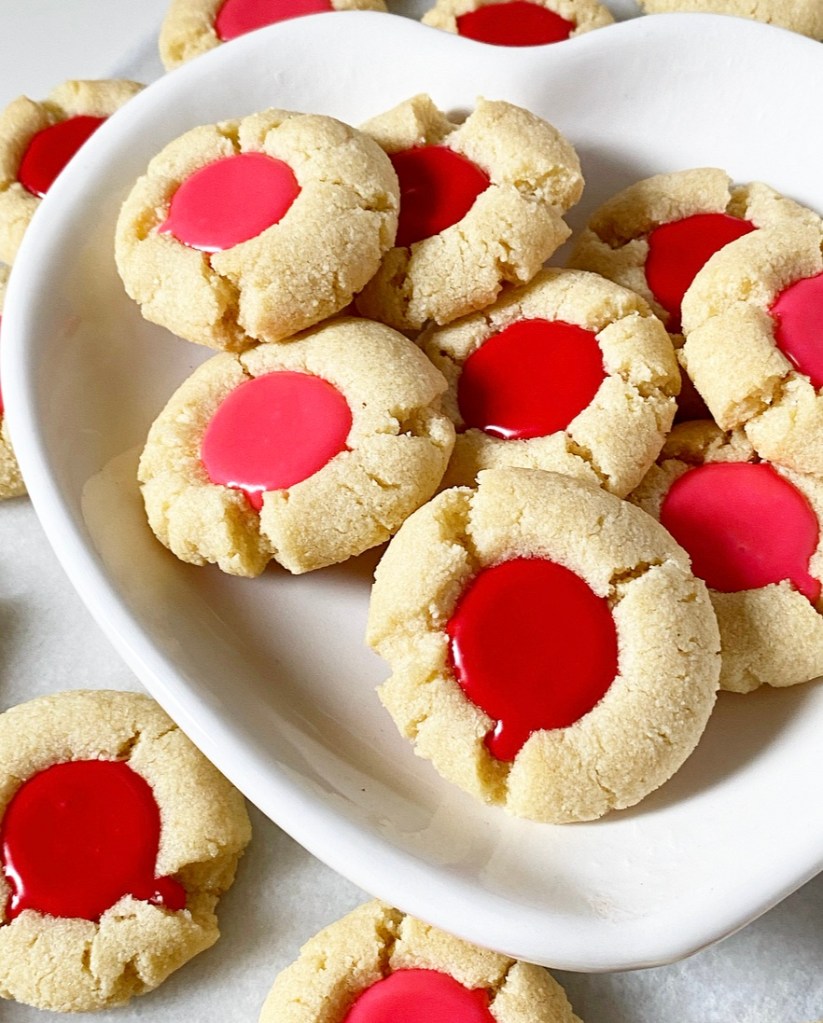
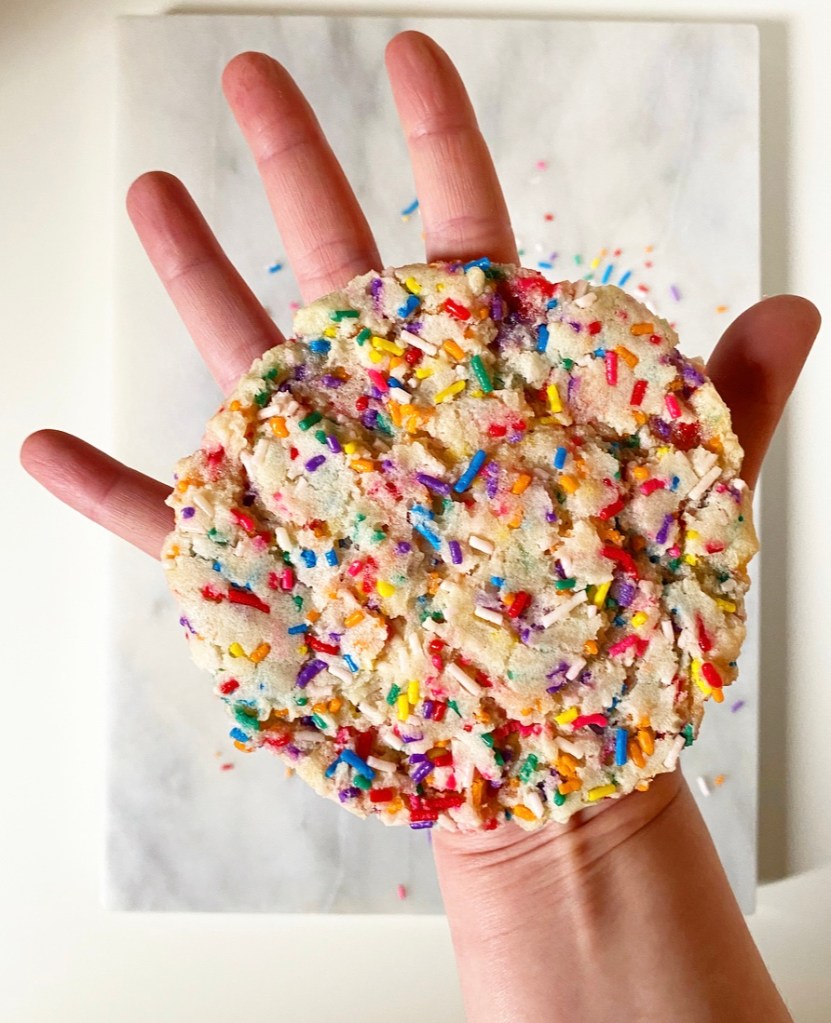
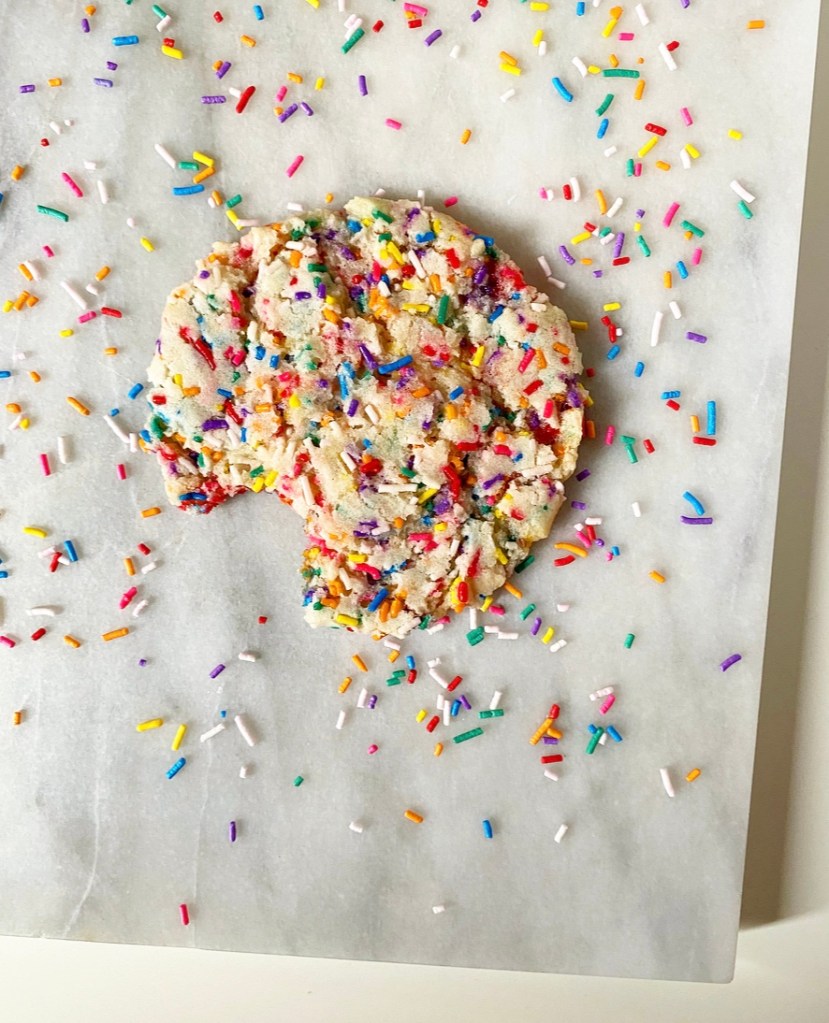
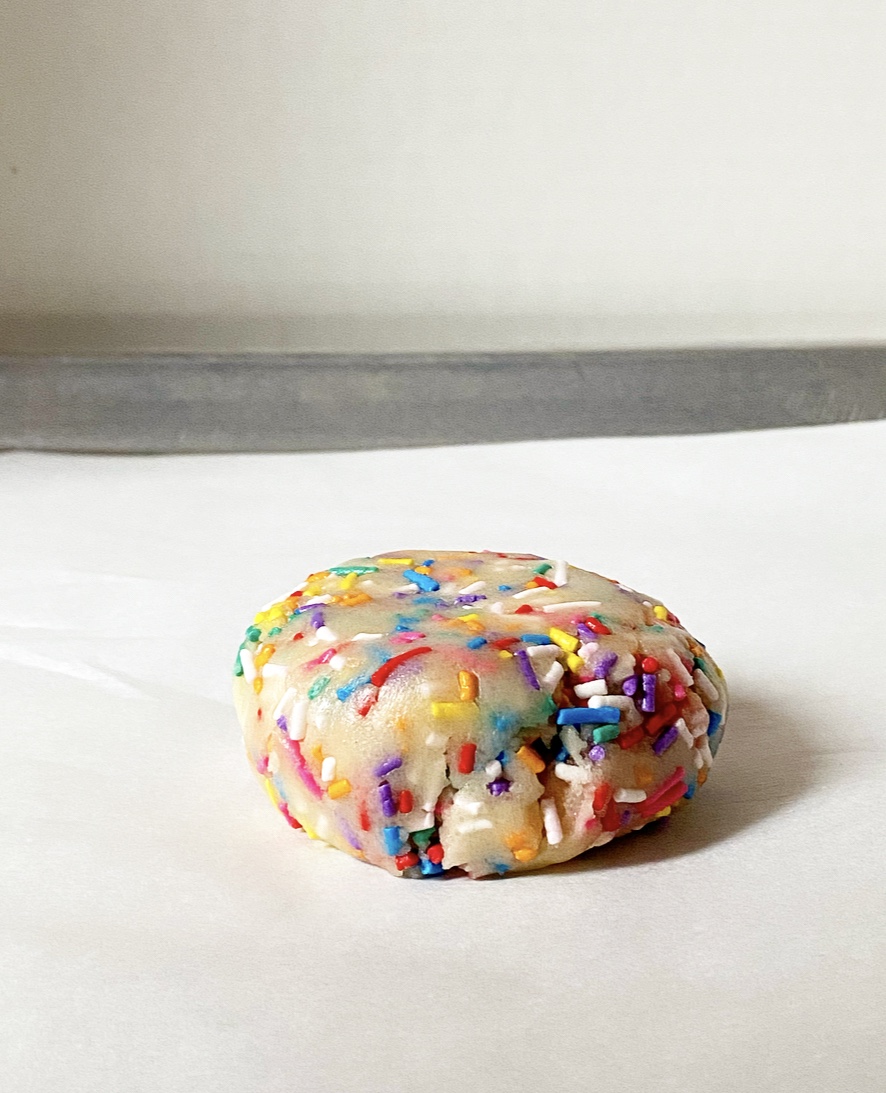
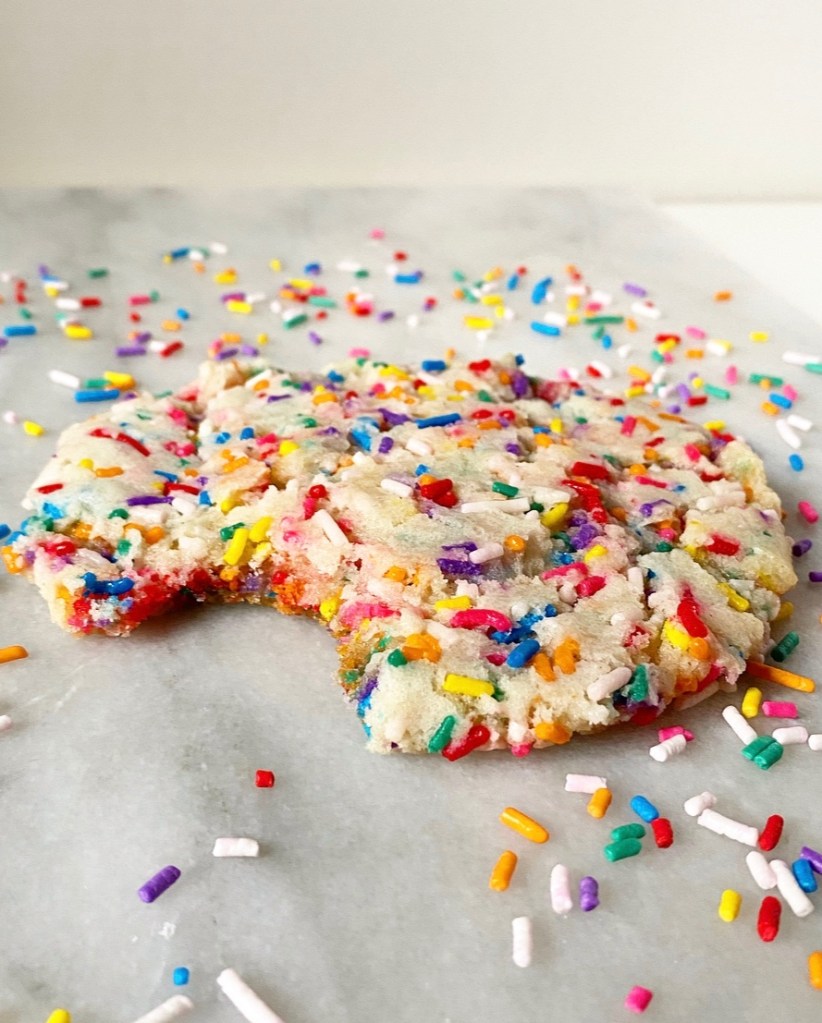
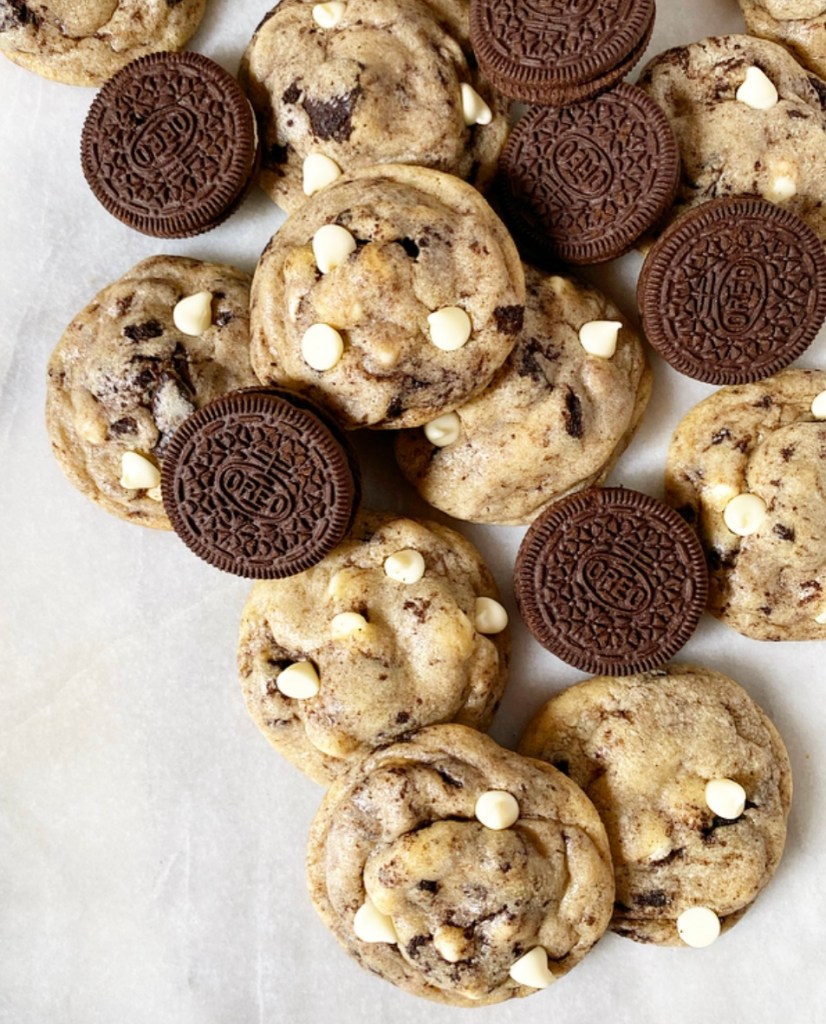
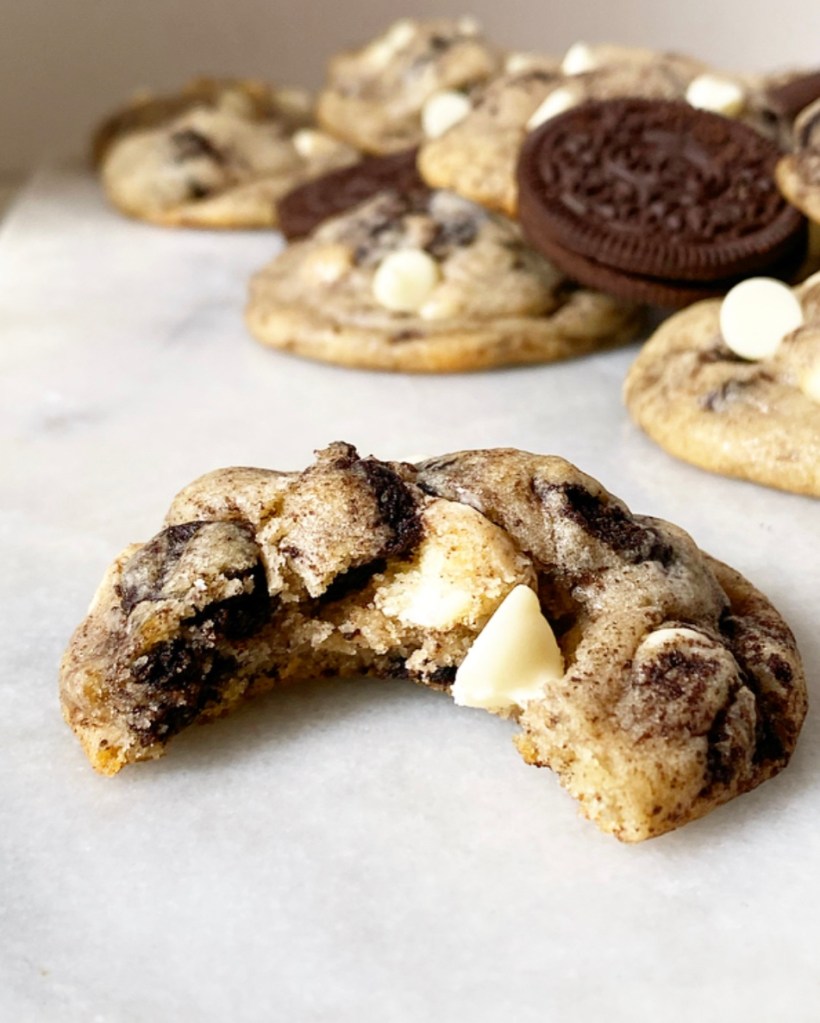
Cookies & Cream Cookies are so good, with irregular chunks of Oreo and white chocolate chips folded into my favorite soft sugar cookie dough. They bake up tall and thick, with tender centers and golden undersides. While the Oreos in these cookies won’t retain their crispness, their flavor and magnificent dark color are all over the place—they meld in here perfectly.

If you’d like a crisper cookies & cream treat, check out these fabulous blondies. Or better yet, make time for the cookies and the blondies. Now that is my kind of lifestyle choice.
Cookies & Cream Cookies
makes about 2.5 dozen cookies
3 cups all-purpose flour
1 tablespoon cornstarch
1/2 teaspoon baking powder
1/2 teaspoon baking soda
1/2 teaspoon Kosher or sea salt
1 cup (2 sticks) unsalted butter, softened to room temperature
3/4 cup granulated sugar
1/2 cup light brown sugar, packed
2 large eggs, room temperature
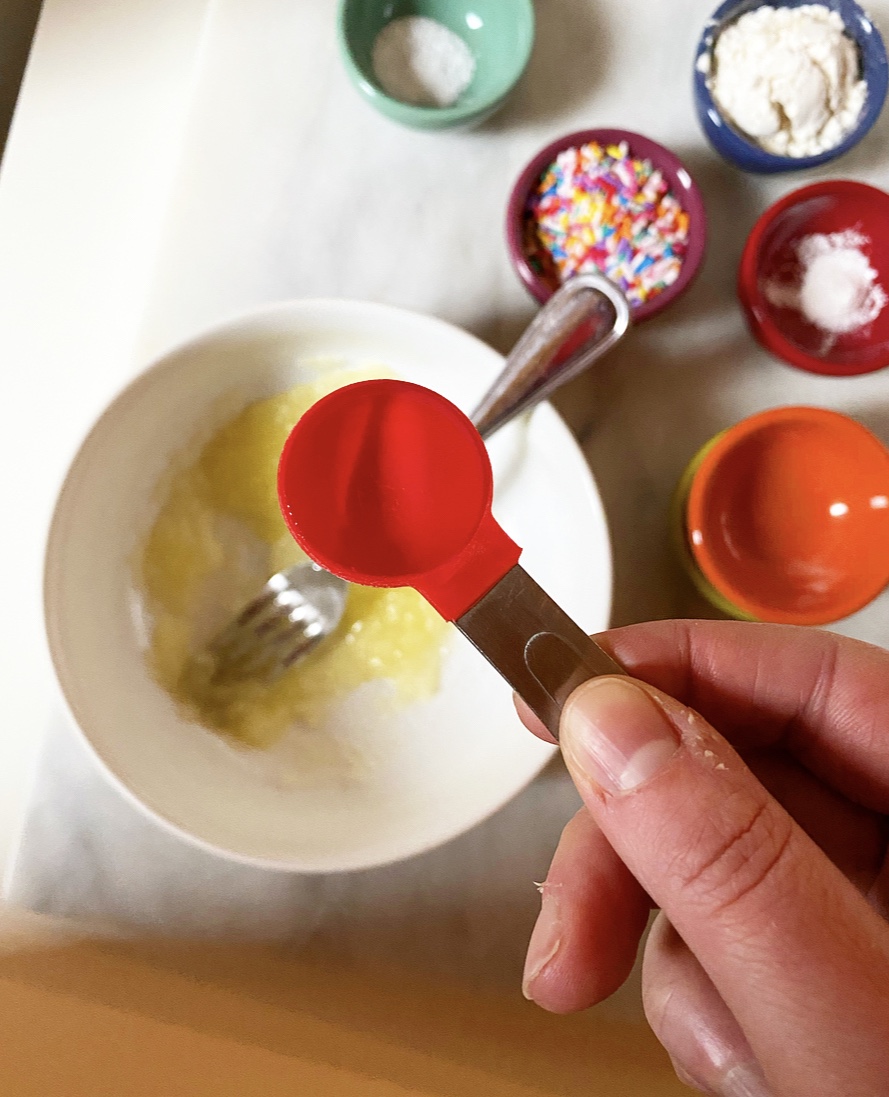
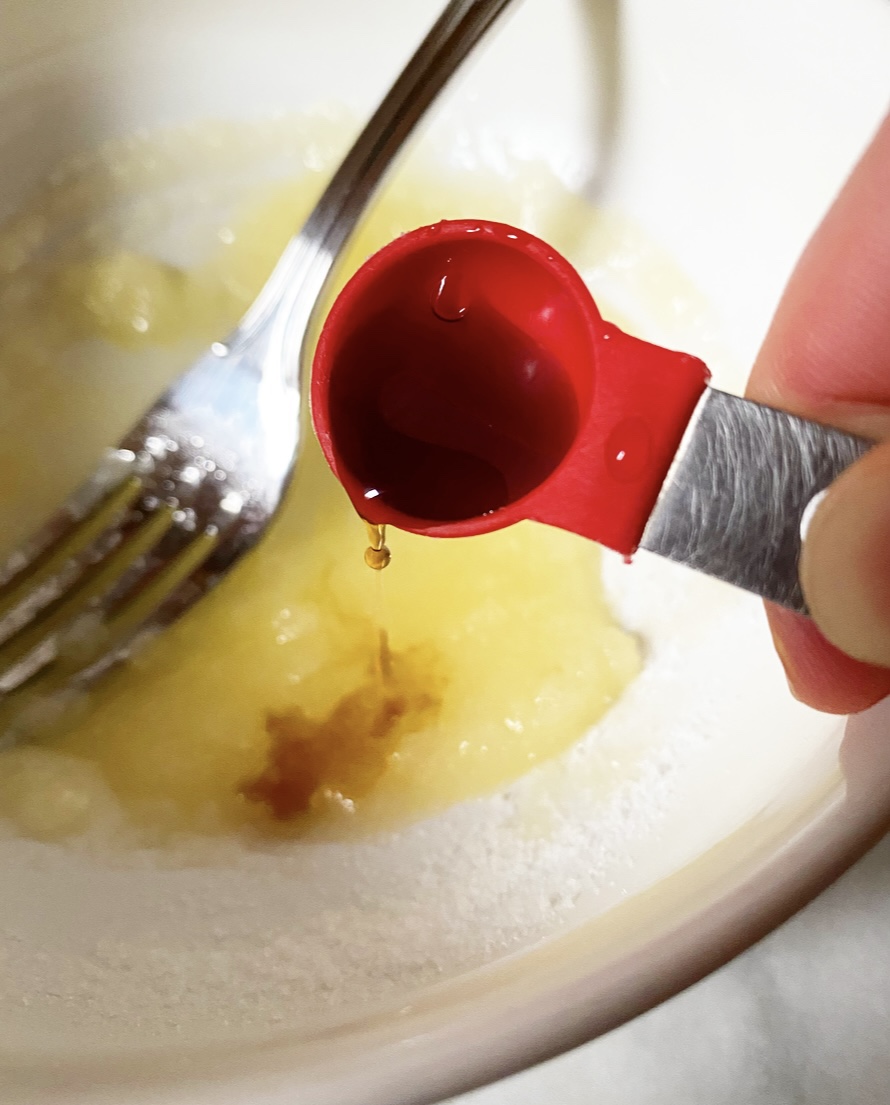
2 teaspoons pure vanilla extract
16 Oreos (regular or DoubleStuf), cut into quarters
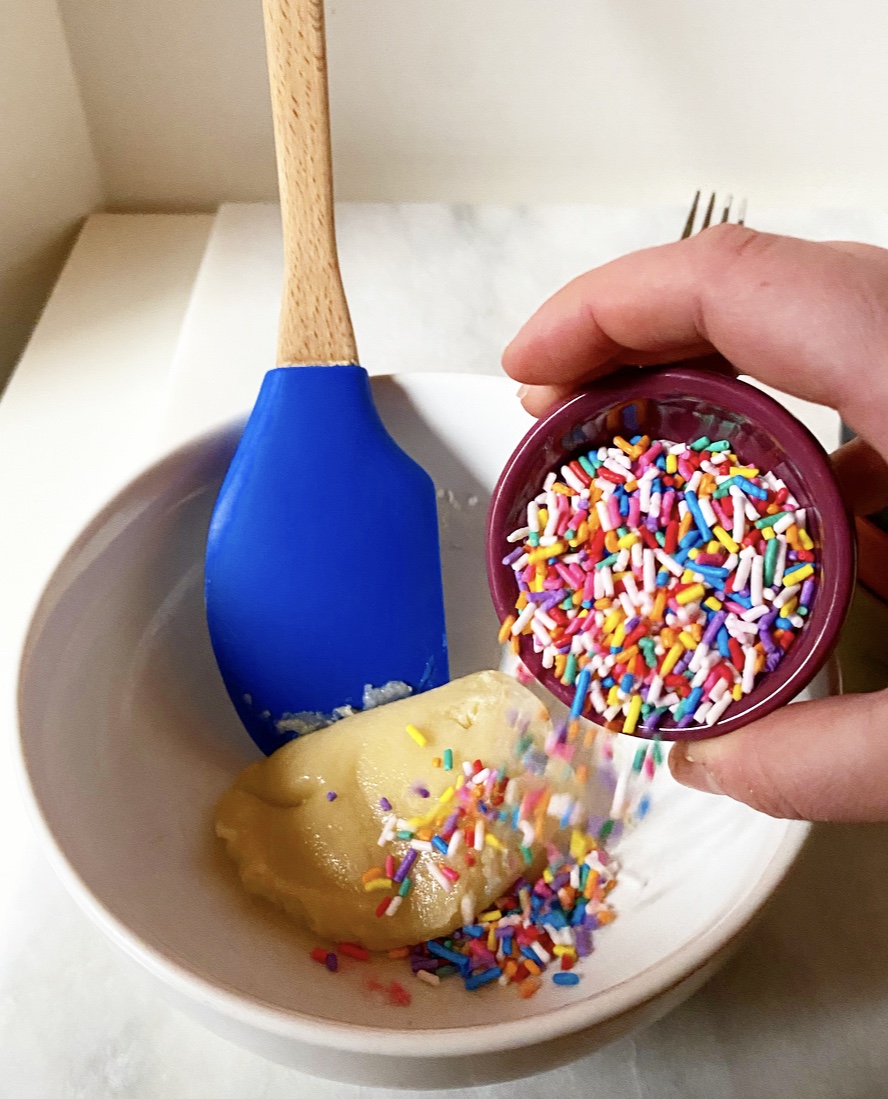
1/2 cup white chocolate chips + more for topping
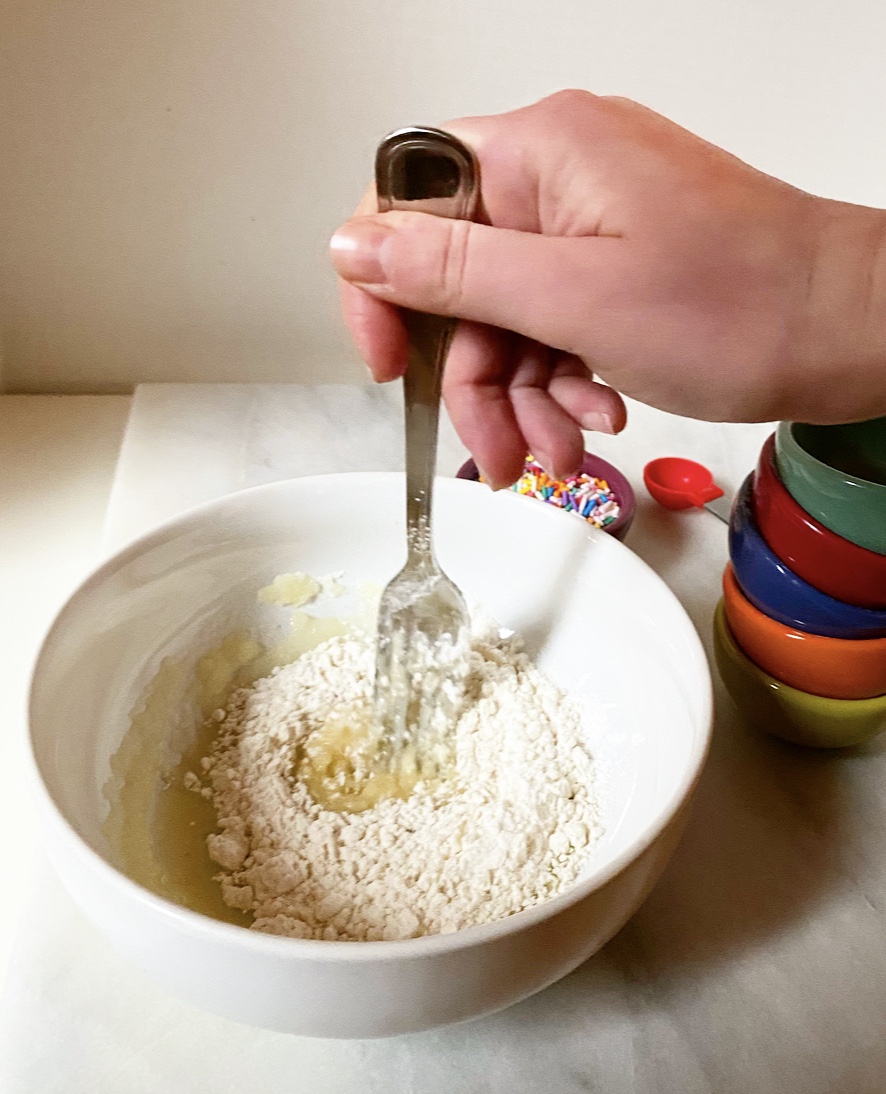
In a medium mixing bowl, whisk together flour, cornstarch, baking powder, baking soda, and salt. Set aside.
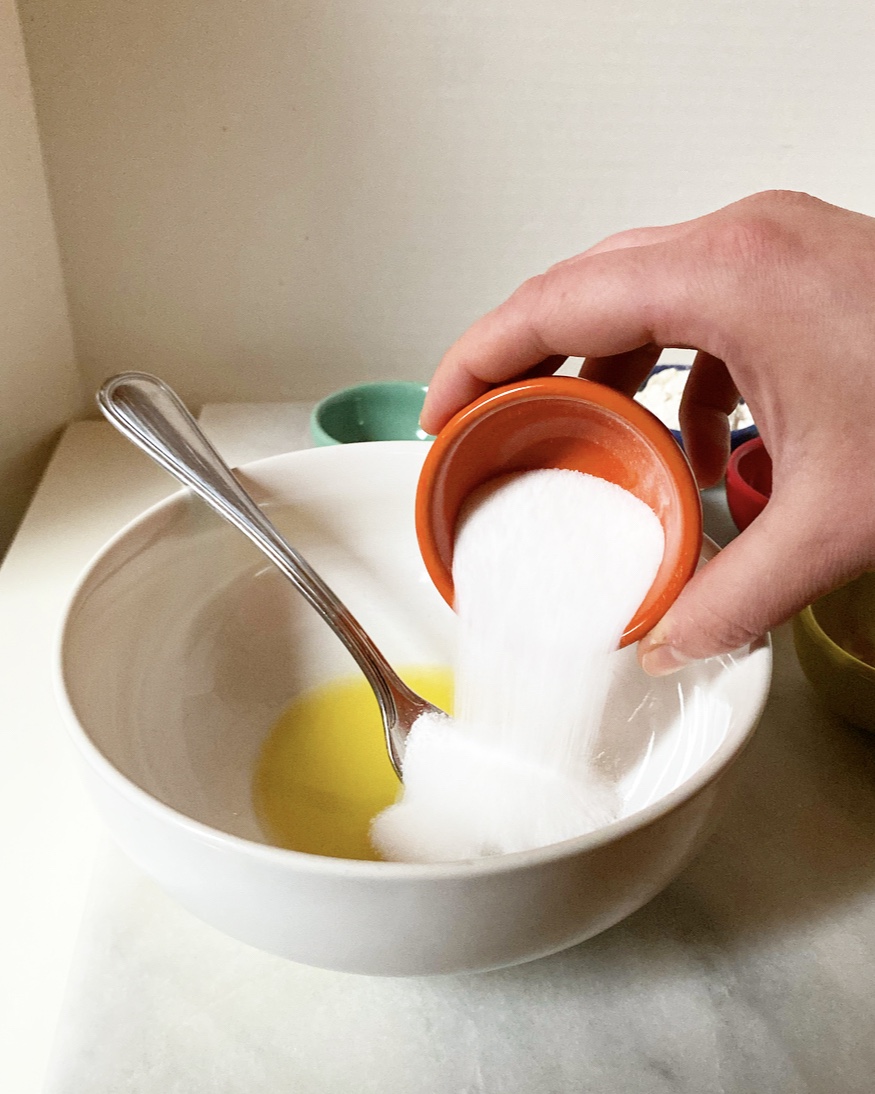
In a large mixing bowl, use an electric mixer to cream butter until fluffy and lighter in color. Beat in granulated and light brown sugars. Mix in eggs one at a time, followed by vanilla. Add dry ingredients in two installments, beating until combined. Use a silicone spatula or wooden spoon to fold in chopped Oreos, followed by 1/2 cup white chocolate chips. Cover dough with plastic wrap and chill for at least 2 hours, or up to 3 days.
If chilled longer than a few hours, let dough sit at room temperature for 15-30 minutes for easier scooping.
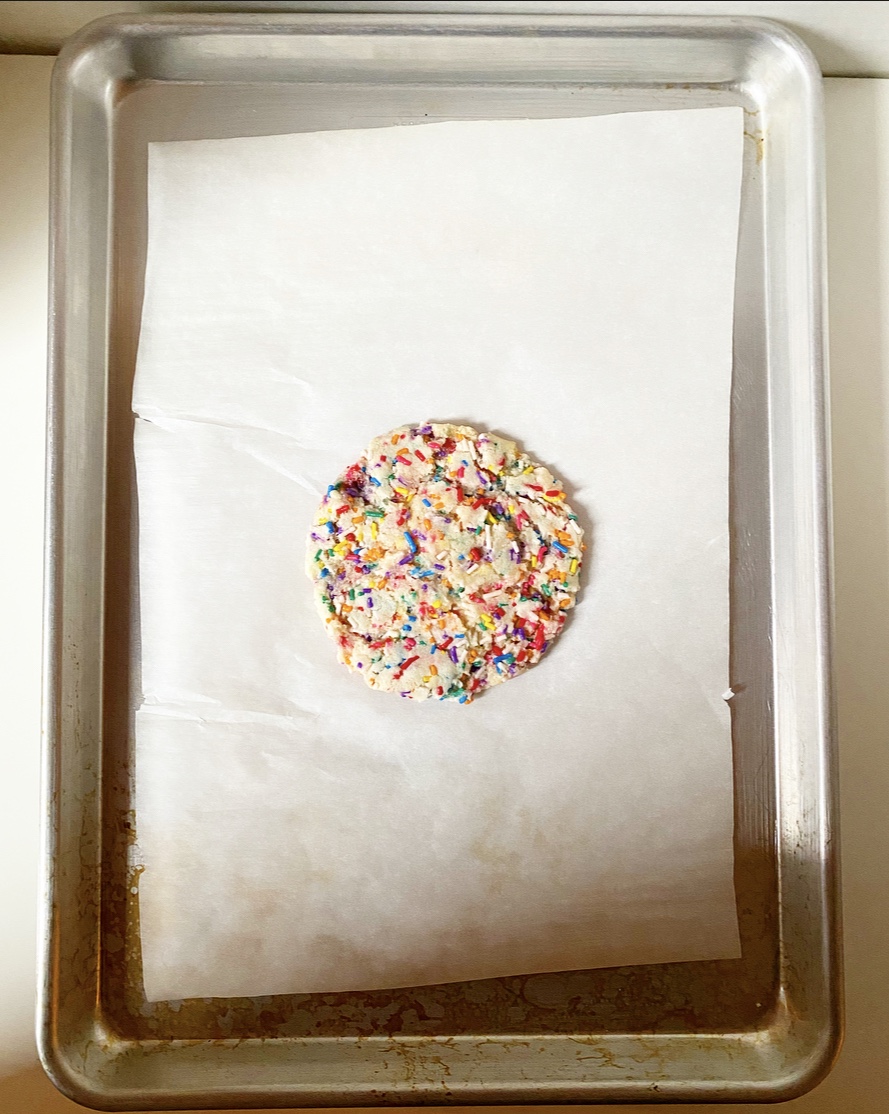
Preheat oven to 350F. Line two baking sheets with parchment. Set aside.
Scoop chilled dough in 2 tablespoon increments, and roll into balls. Place dough balls at least two inches apart on prepared baking sheets. Bake cookies 10-11 minutes, until puffy. Once out of the oven, dot the tops with additional white chocolate chips, if desired.
Let cookies cool on baking sheets for five minutes before removing to a rack to cool completely. Repeat process with any remaining dough, letting the baking sheets come back to room temperature between batches.
Cookies will keep extremely well in an airtight container at room temperature for up to a week.