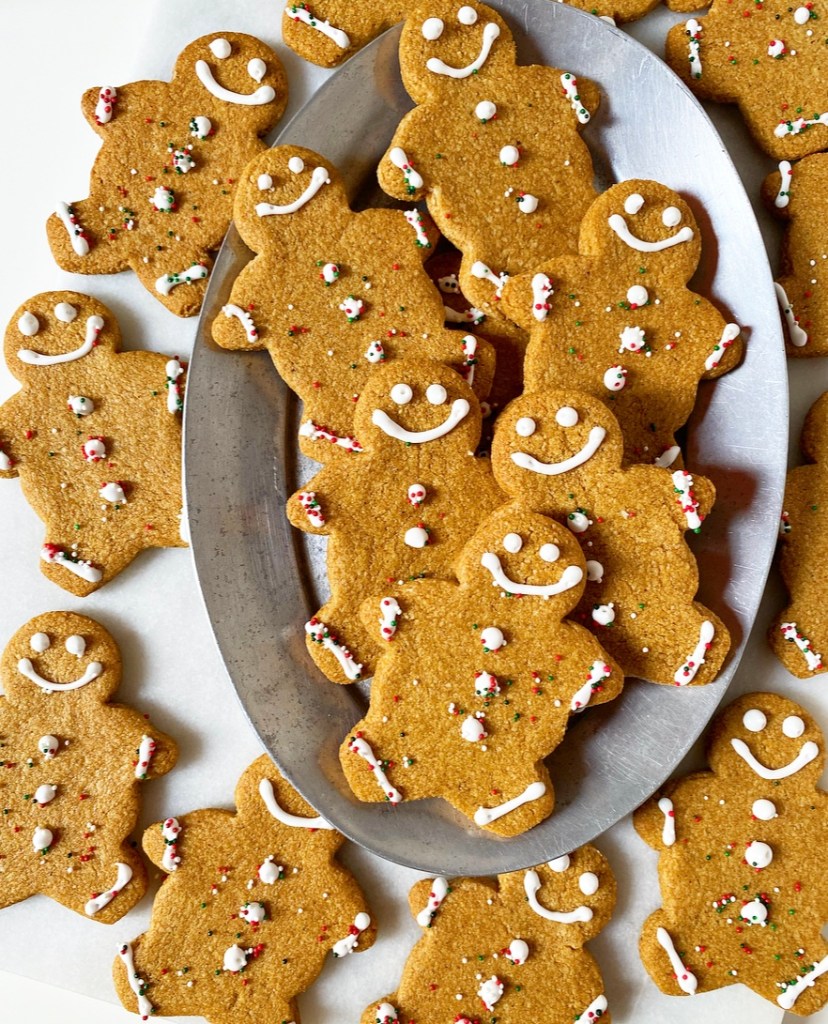
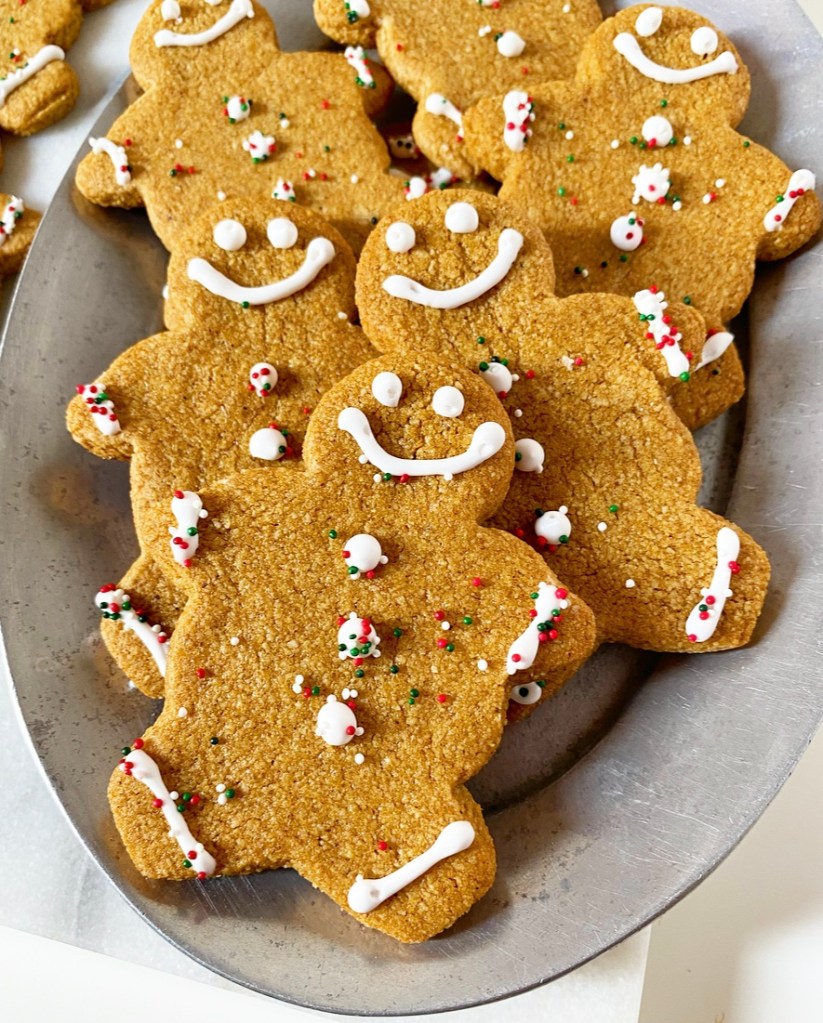
Someday I’ll get recipes up with time to spare (again), but that isn’t going to happen this year. I put these Frosted Maple Spice Cookies on my Instagram stories a few weeks ago, then took them to an event where they got raves. I made a second batch for photos, and then…well, two weeks went by and now Christmas is in four days. Oops.
The good news is that Frosted Maple Spice Cookies will still taste good even if you make them after December 25th. I have it on good authority that you can even make them in February with no adverse effects.
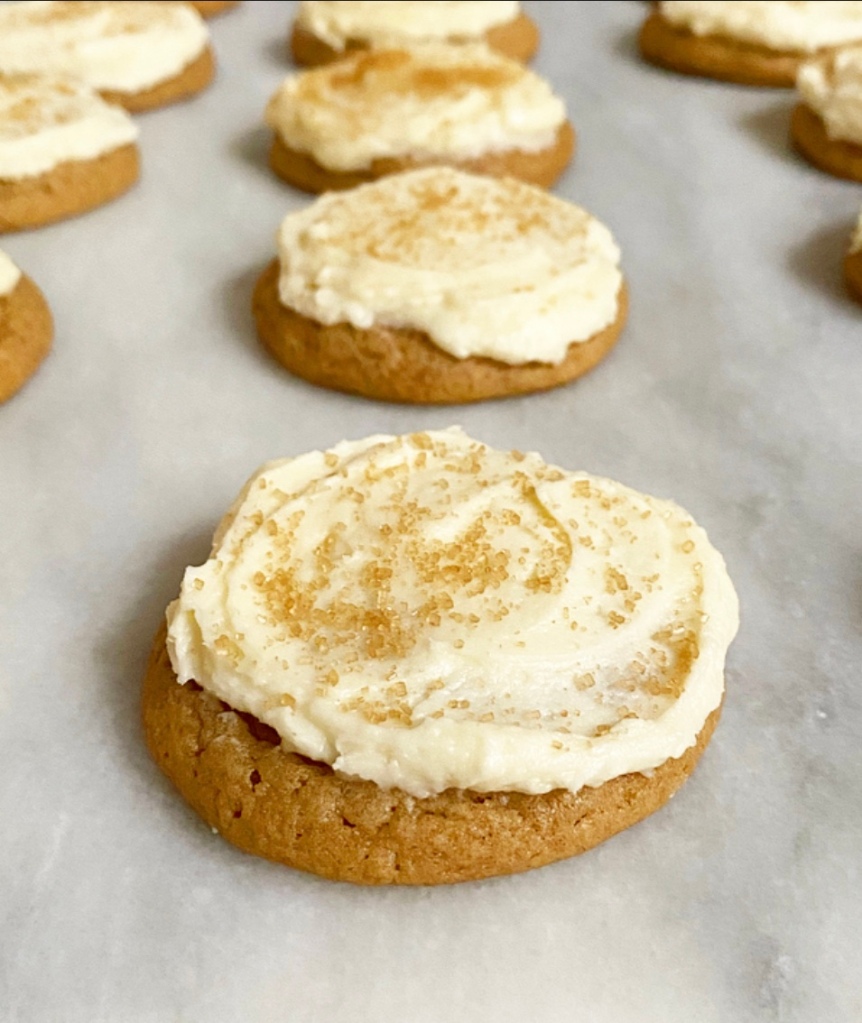
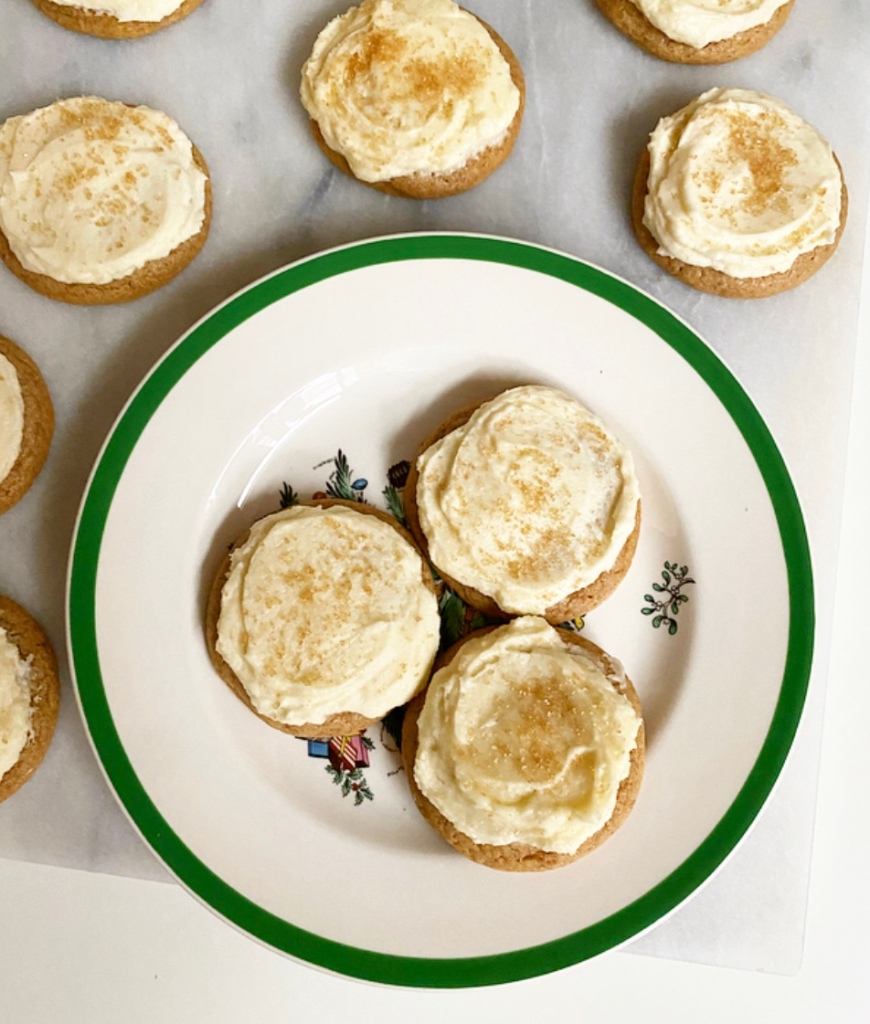
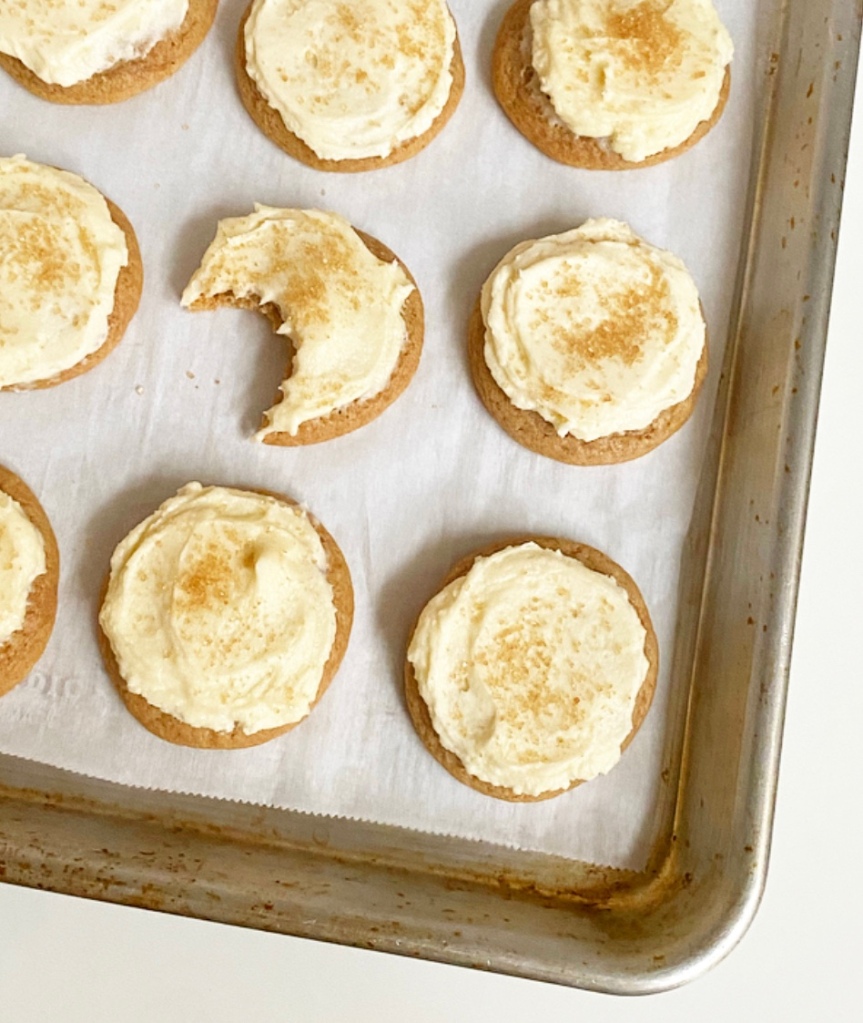
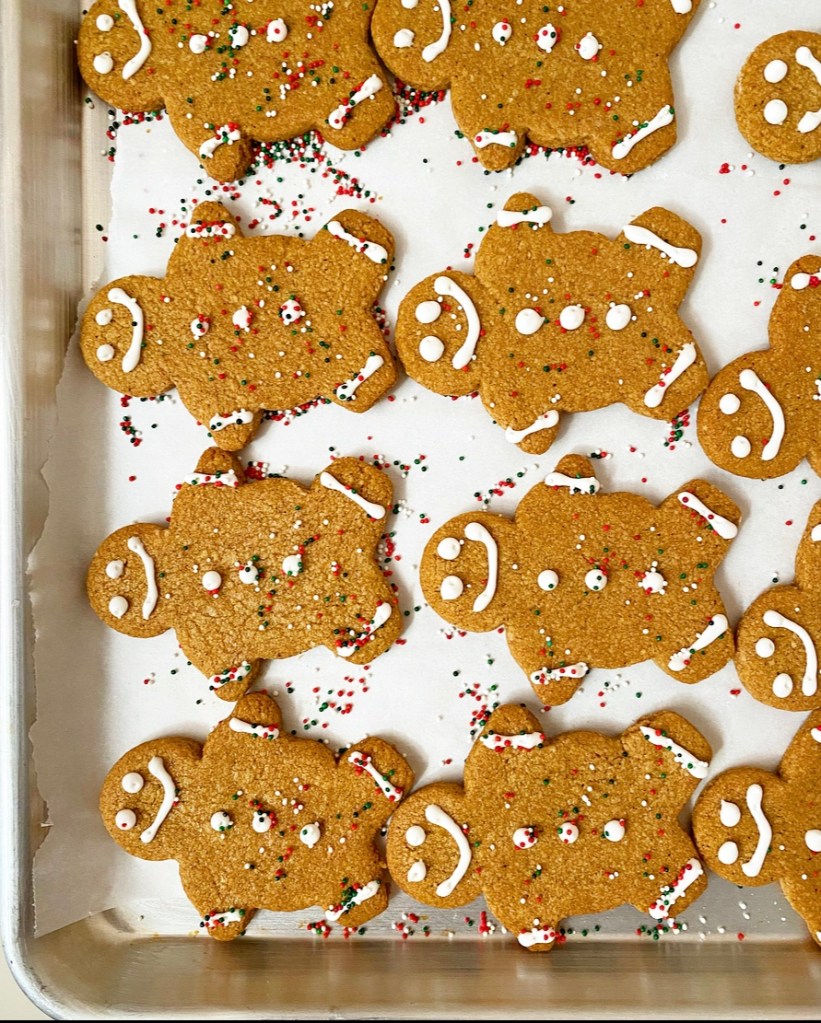
Frosted Maple Spice Cookies are a cross between my Maple Spice Stars and my Soft Sour Cream Sugar Cookies. Imagine the tenderest ginger cookie you can fathom, without the darkness of molasses, but with with the dreamiest buttercream in my repertoire. If you’re imagining one outstanding cookie, you’re correct.
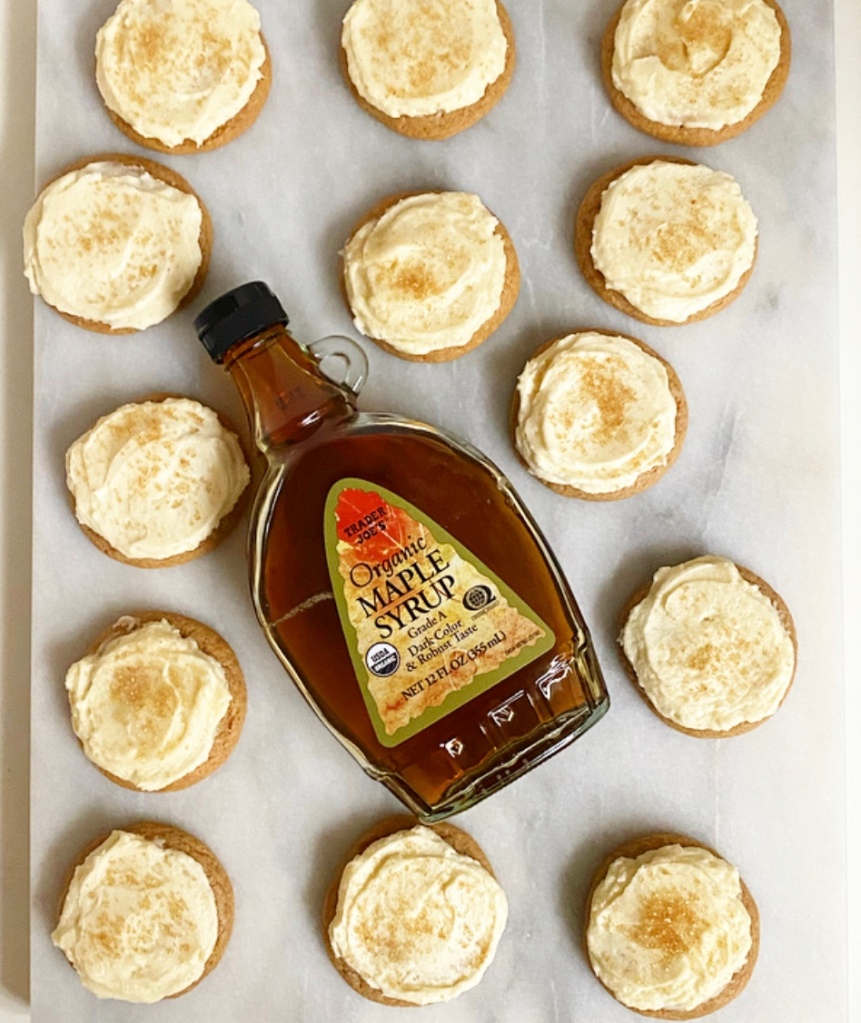
These cookies stay super soft for days, owing to ingredients like brown sugar, a hefty spoonful of sour cream, and the titular maple syrup, of course. Blankets of maple frosting help keep them tender, too, but mostly they’re just there for deliciousness reasons.
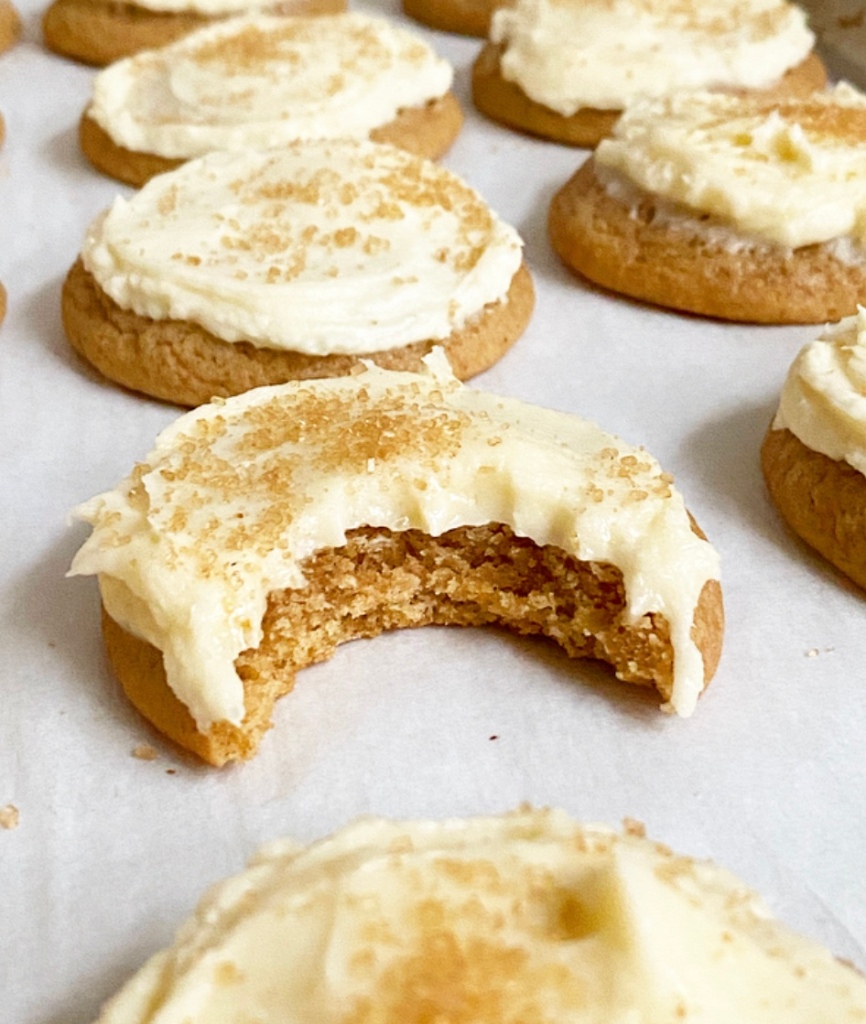
Look at that texture! Soft, chewy, creamy, with a little crunch from the coarse sugar topping—just glorious. Perfect for Christmas, but I dare you to find a time these wouldn’t be outstanding. Go ahead. I’ll wait.
Frosted Maple Spice Cookies
makes about 3 dozen medium cookies
Cookie Dough:
3 1/3 cups all-purpose flour
1/2 cup confectioner’s sugar
1 1/2 tablespoons ground ginger
1 tablespoon ground cinnamon
1 1/4 teaspoons baking powder
1/8 teaspoon baking soda
1 teaspoon Kosher or sea salt
1 cup (2 sticks) unsalted butter, softened to room temperature
1 cup dark brown sugar, packed
1 large egg, room temperature
4 tablespoons pure maple
4 tablespoons sour cream
2 teaspoons pure vanilla extract
For Decorating:
Maple Buttercream (recipe below)
coarse sugar, if desired
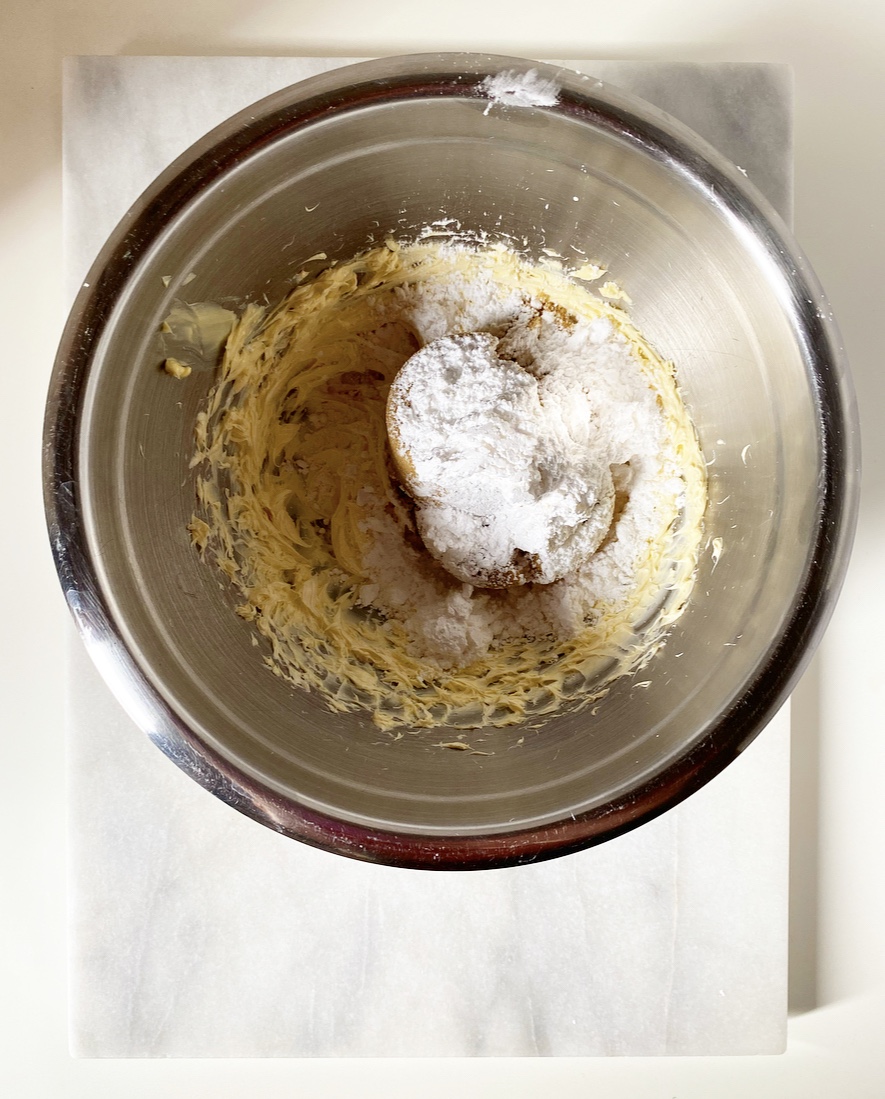
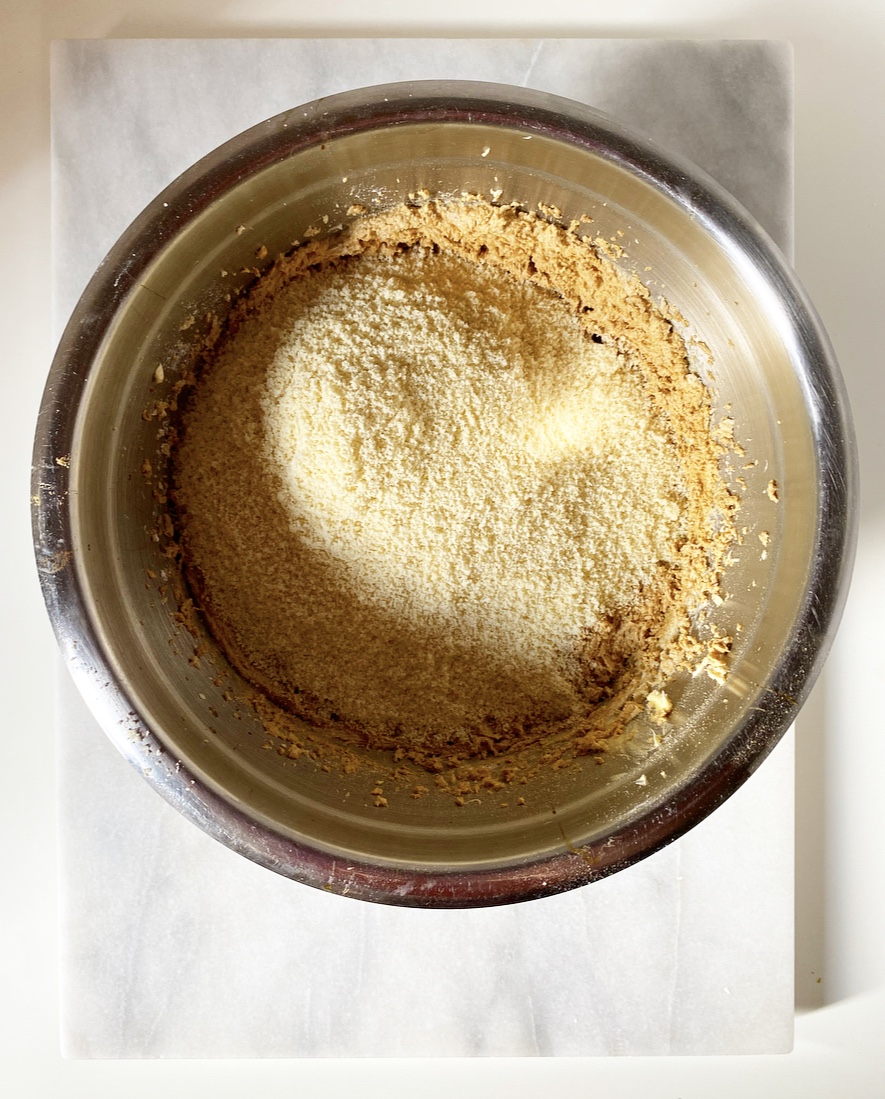
Make the cookie dough. In a small bowl, whisk together flour, confectioner’s sugars, ginger, cinnamon, baking powder, baking soda, and salt. Set aside.
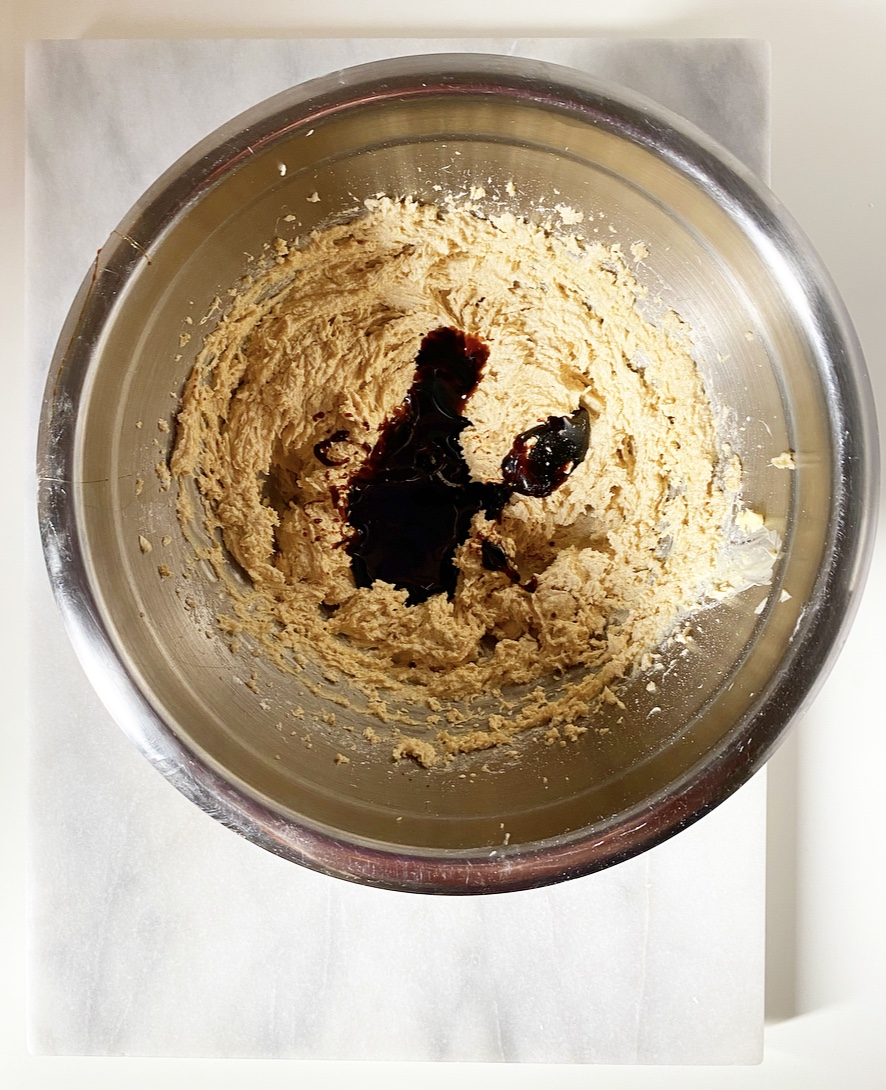
In a medium-large mixing bowl, use an electric mixer to beat butter until light and fluffy, about 2 minutes. Beat in brown sugar until creamy. Mix in egg, followed by maple syrup, sour cream, and vanilla. Add dry ingredients in 2 installments, beating until combined. Dough may be a bit sticky.
Divide dough into halves and wrap each in plastic wrap. Chill for at least 2 hours or up to 3 days.
Place oven racks in central positions. Preheat oven to 350F. Line 2 rimmed sheet pans with parchment paper. Set aside.
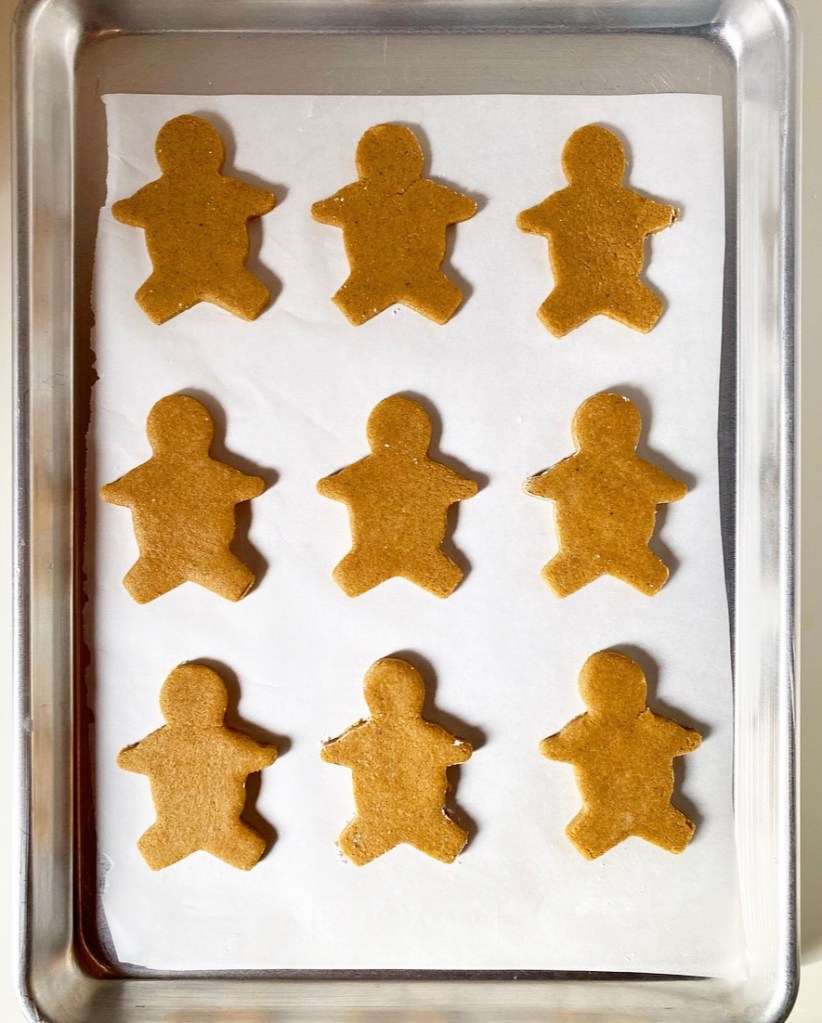
Remove cookie dough from the refrigerator. Scoop in 1 1/2 tablespoon increments. Roll into balls and place 2 inches apart on prepared pans. Bake 10-11 minutes, rotating top-to-bottom and back-to-front at the 5 minute mark. Cookies are done when no-longer raw-looking.
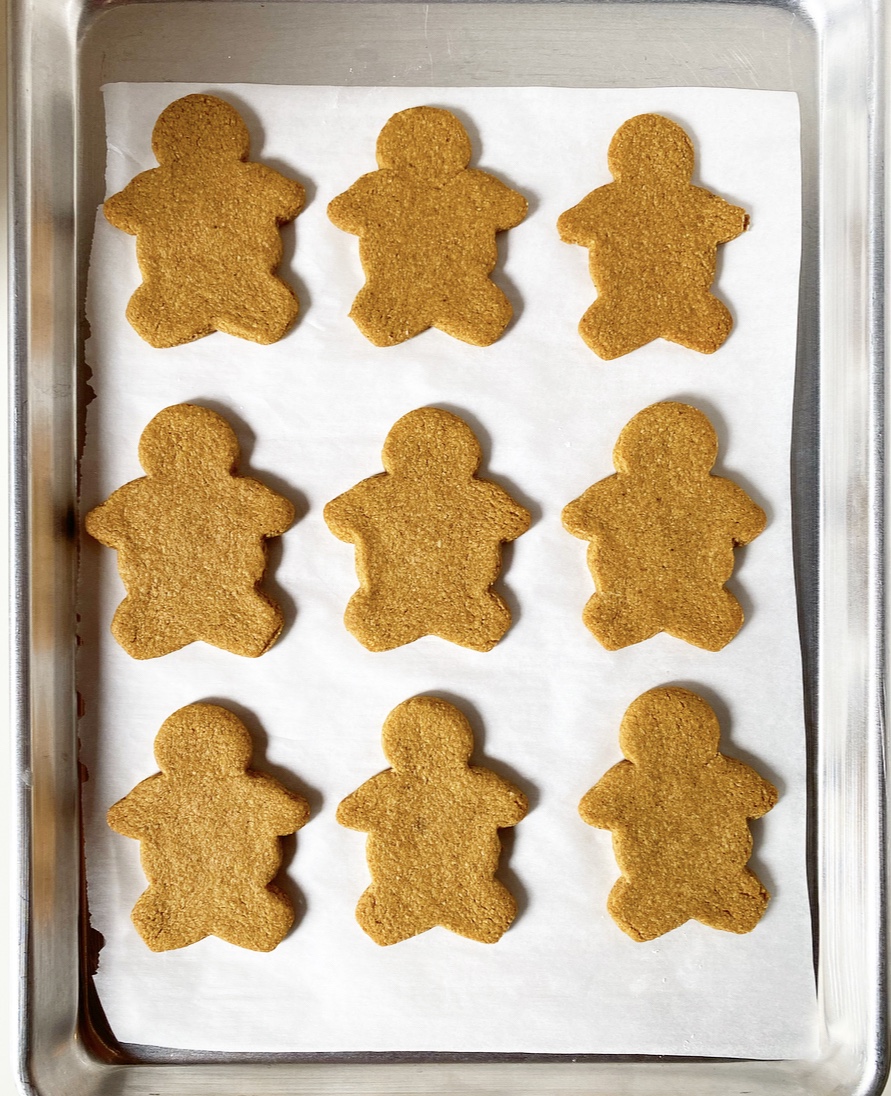
Let cookies cool on the pans for 8-10 minutes before removing to a rack to cool completely. Let sheet pans come to room temperature before proceeding with the next batch. Repeat scooping, rolling, and baking with remaining dough.
After cookies have cooled completely, use an offset icing spatula to frost each one with about 1 tablespoon of Maple Buttercream. Garnish with coarse sugar immediately after frosting. Buttercream will crust after an hour or so. You may serve the cookies immediately after frosting, but they are softest and most flavorful the next day.
After they’ve crusted, leftovers may be layered with wax or parchment paper and kept in an airtight container. They will keep at room temperature for 2-3 days or in the refrigerator for up to a week.
Maple Buttercream
makes enough for 3 dozen cookies (with a little leftover)
1 1/2 cups (3 sticks) unsalted butter, softened to room temperature
4 cups confectioners sugar
1/2 teaspoon Kosher or sea salt
1 teaspoon pure vanilla extract
1/2 cup pure maple syrup
3 tablespoons heavy cream
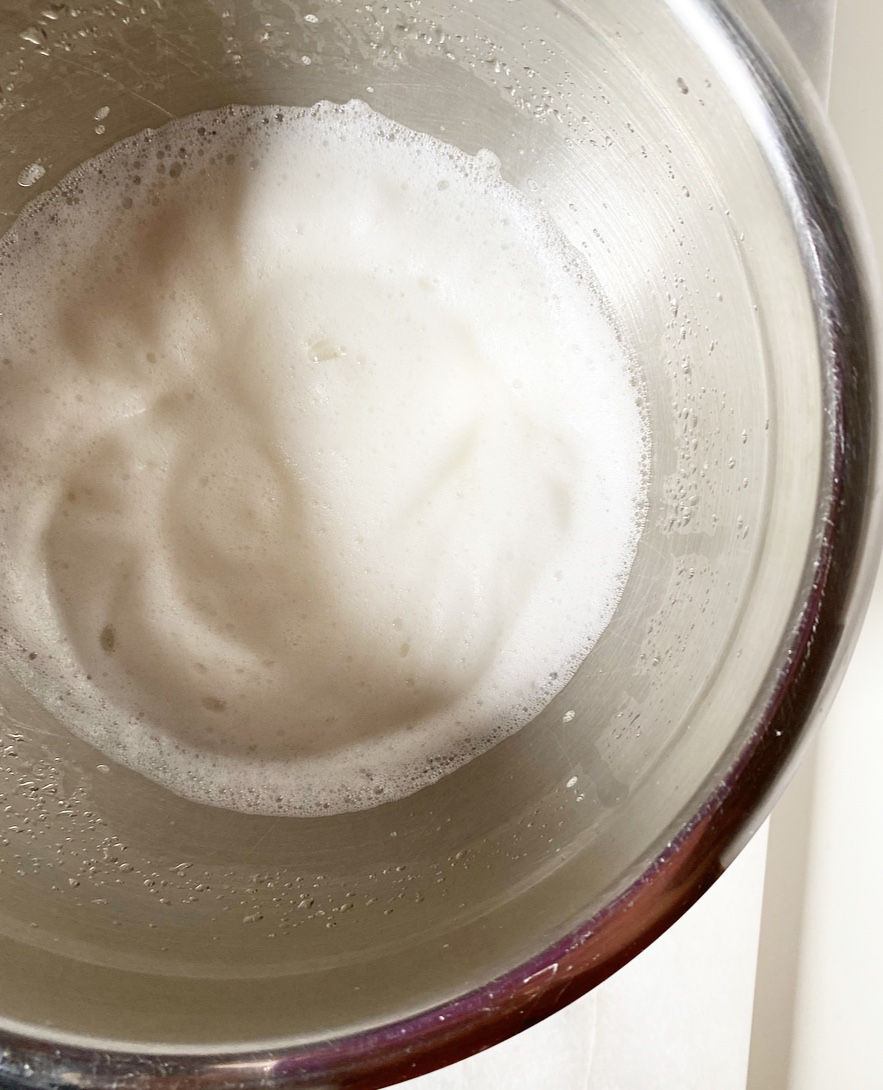
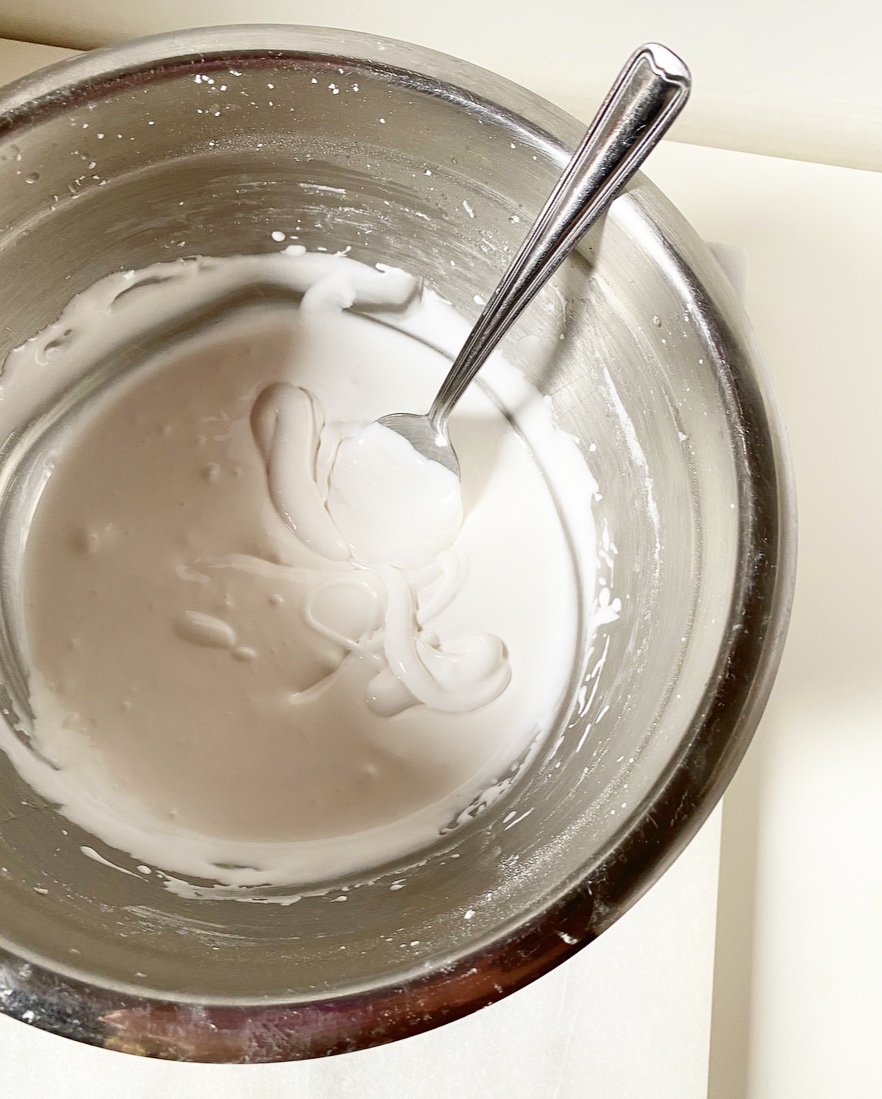
Make the frosting. In a large mixing bowl, use an electric mixer to beat butter until light and fluffy, about two minutes. Beat in confectioner's sugar in two installments, scraping down the bowl as necessary. Beat in salt, followed by vanilla. Beat in maple syrup, followed by heavy cream.


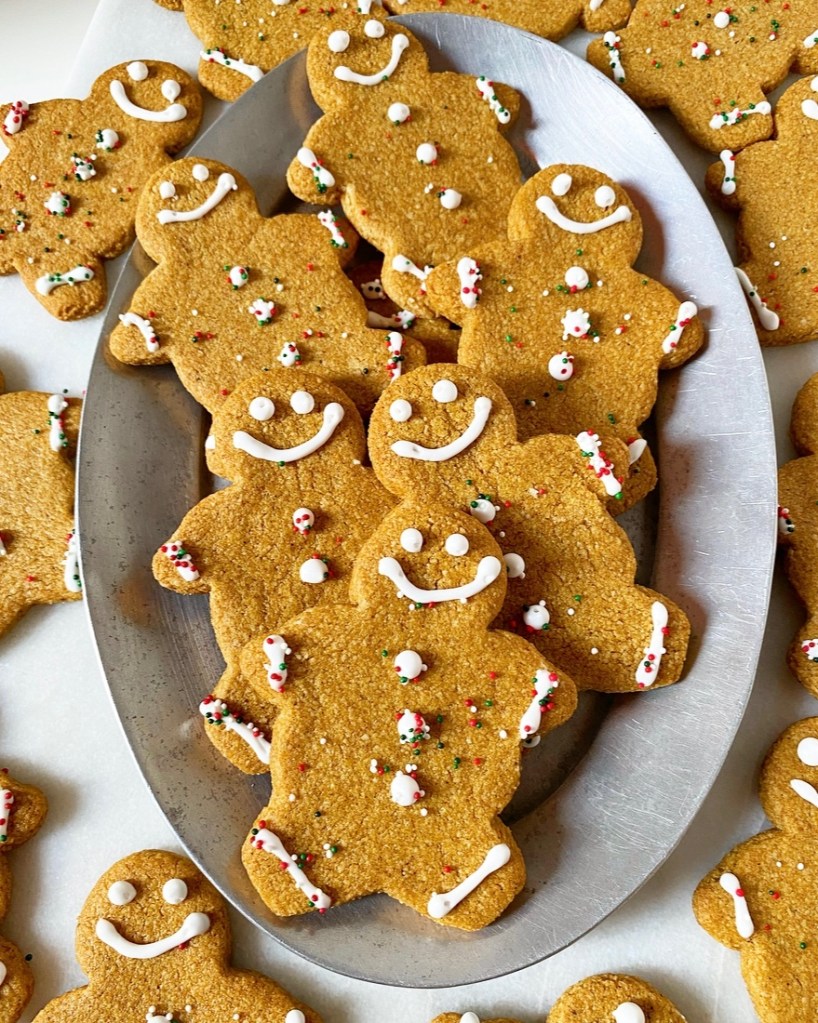


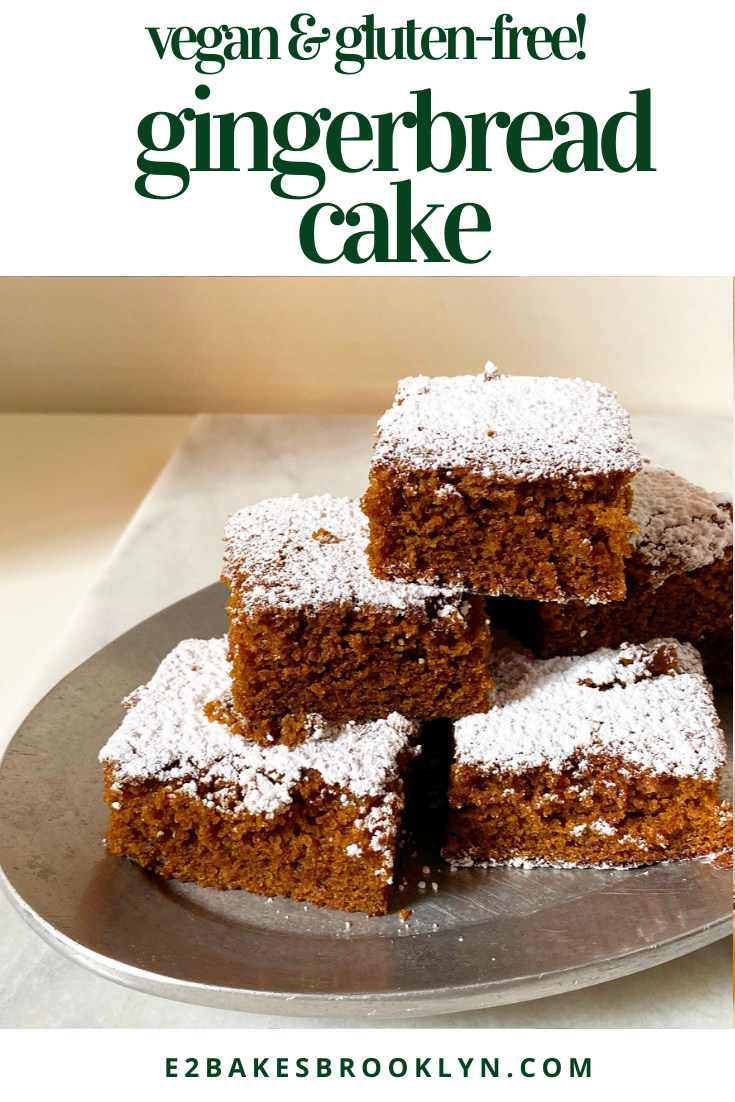
 My friend, VJ, loves gingerbread. Loves it. She speaks often about how before she had to stop eating gluten and went vegan, her grandma used to serve hers with canned peaches and whipped cream. While I am not much for canned peaches, the
  Over the years, VJ has asked me to make gingerbread cakes for various milestones and occasions, but I have mostly failed. I even failed this past Thanksgiving! Too greasy, too dry, vaguely tarry, completely flavorless—I’ve made all the gingerbread cake failures under the sun. Let’s not discuss the occasion on which she had to serve store-bought ice cream cakes (that she couldn’t even eat!) at her own party because my attempt at this cake was so vile.
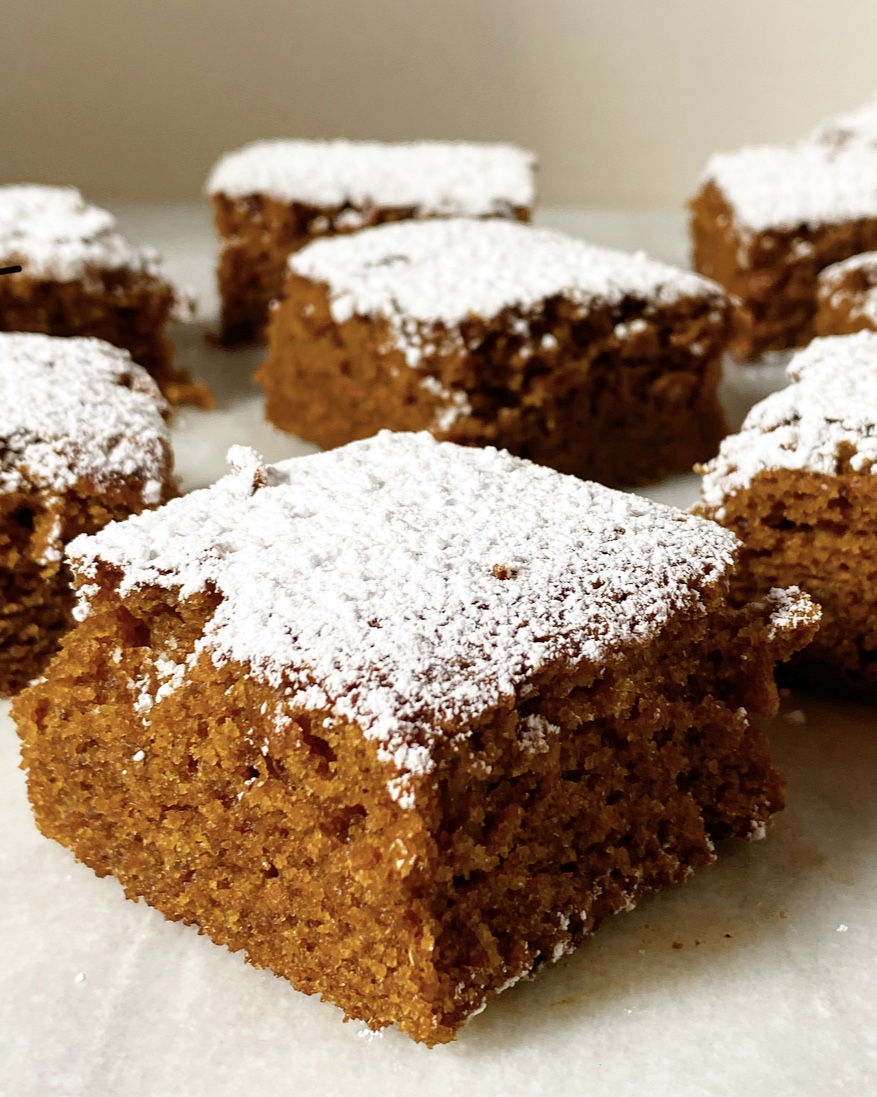 It’s not just because I like to have a gluten-free vegan item on my holiday line-up every year (which I do). It’s that VJ’s 40th birthday is next week—you know I can’t let my favorite gluten-free vegan’s milestone birthday pass without cake. No way. Not rain, nor sleet, nor masked and distanced delivery will stop me from getting this cake to her on December 23rd.
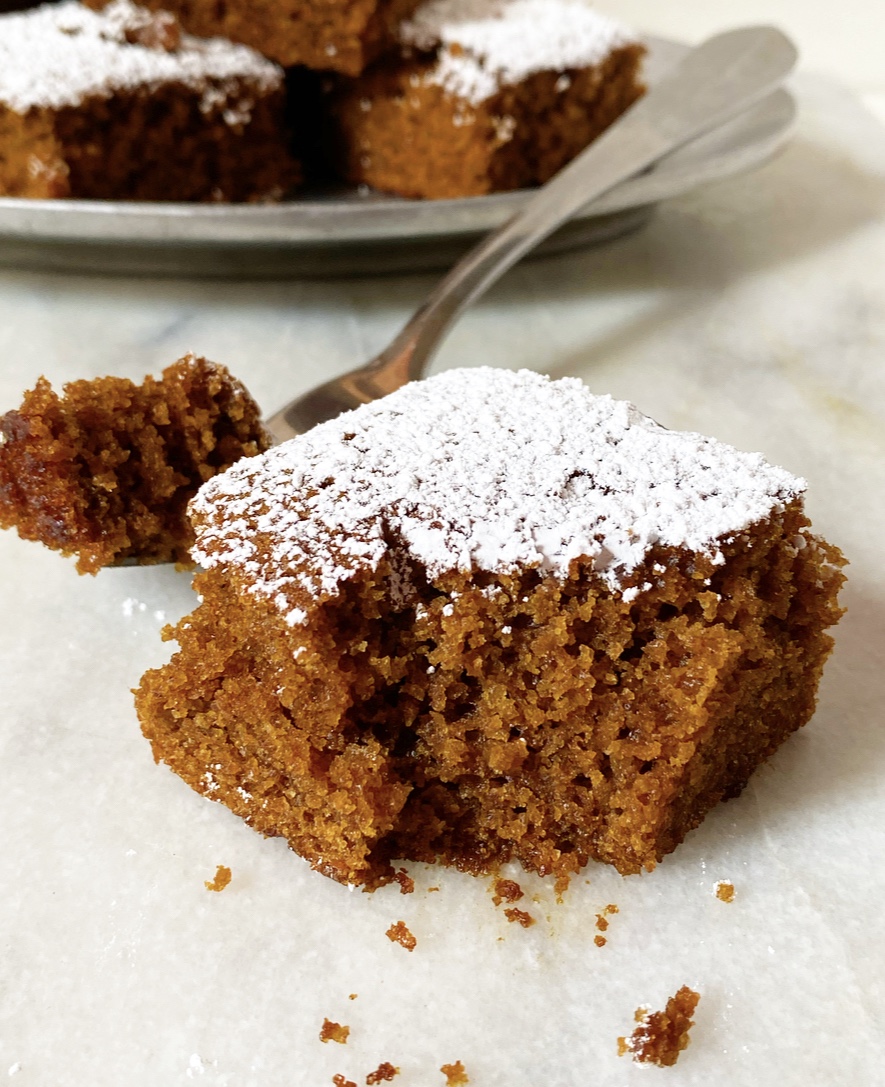
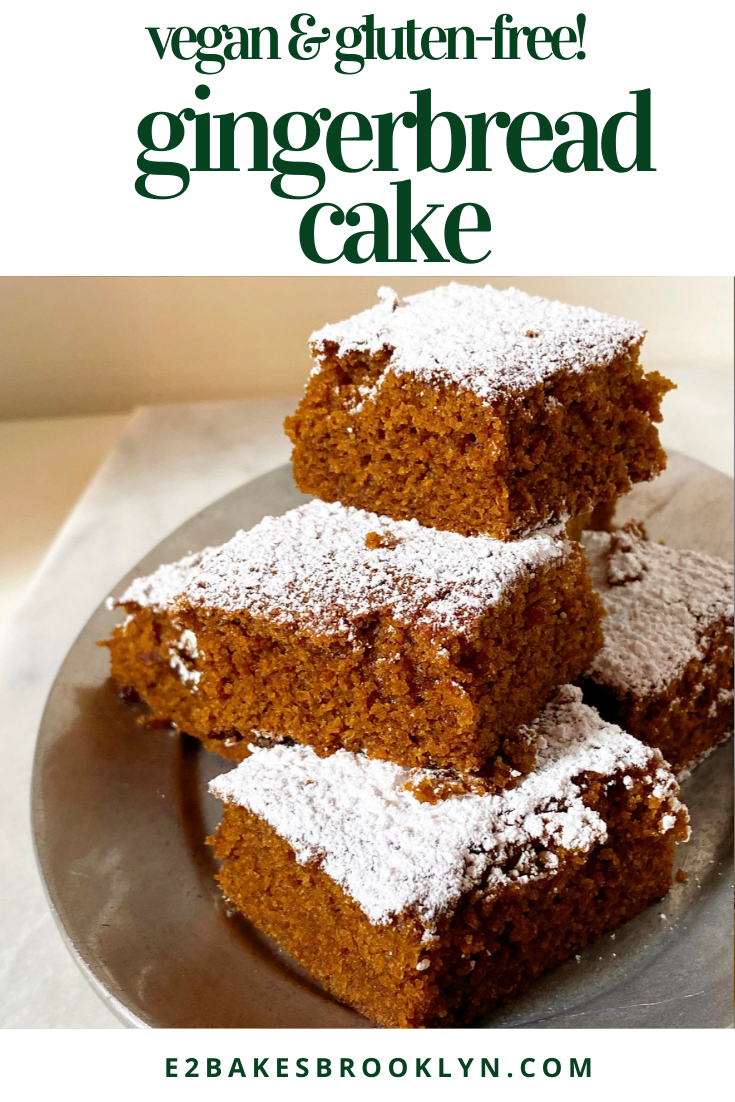
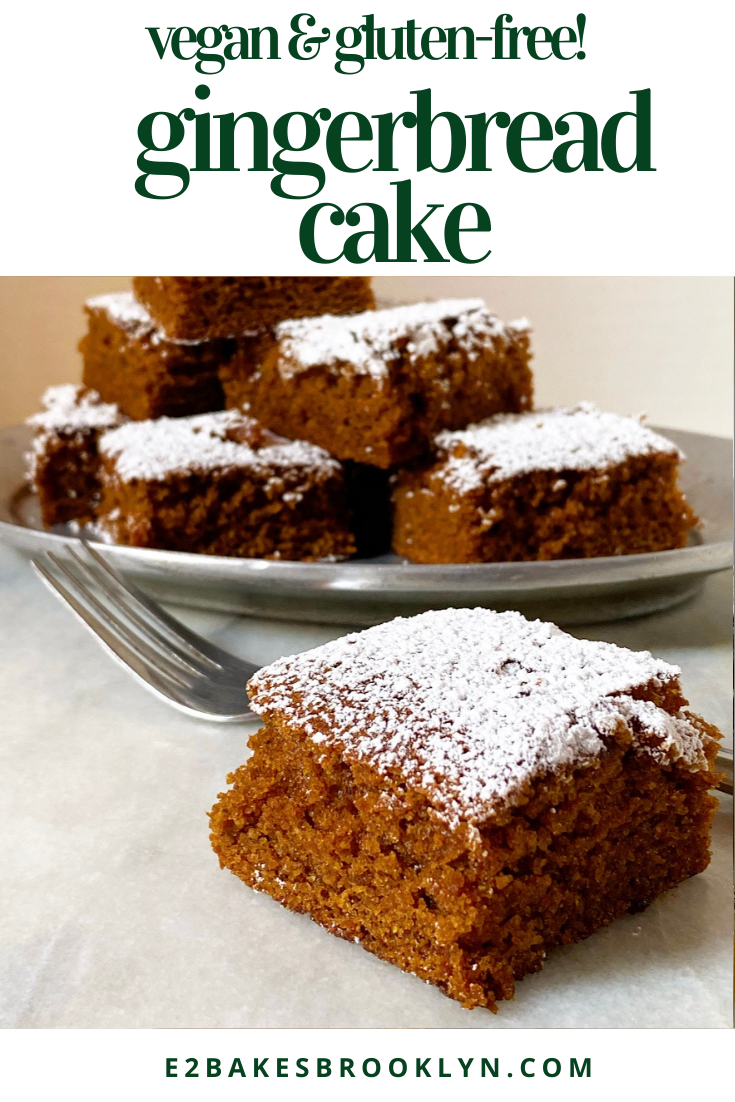
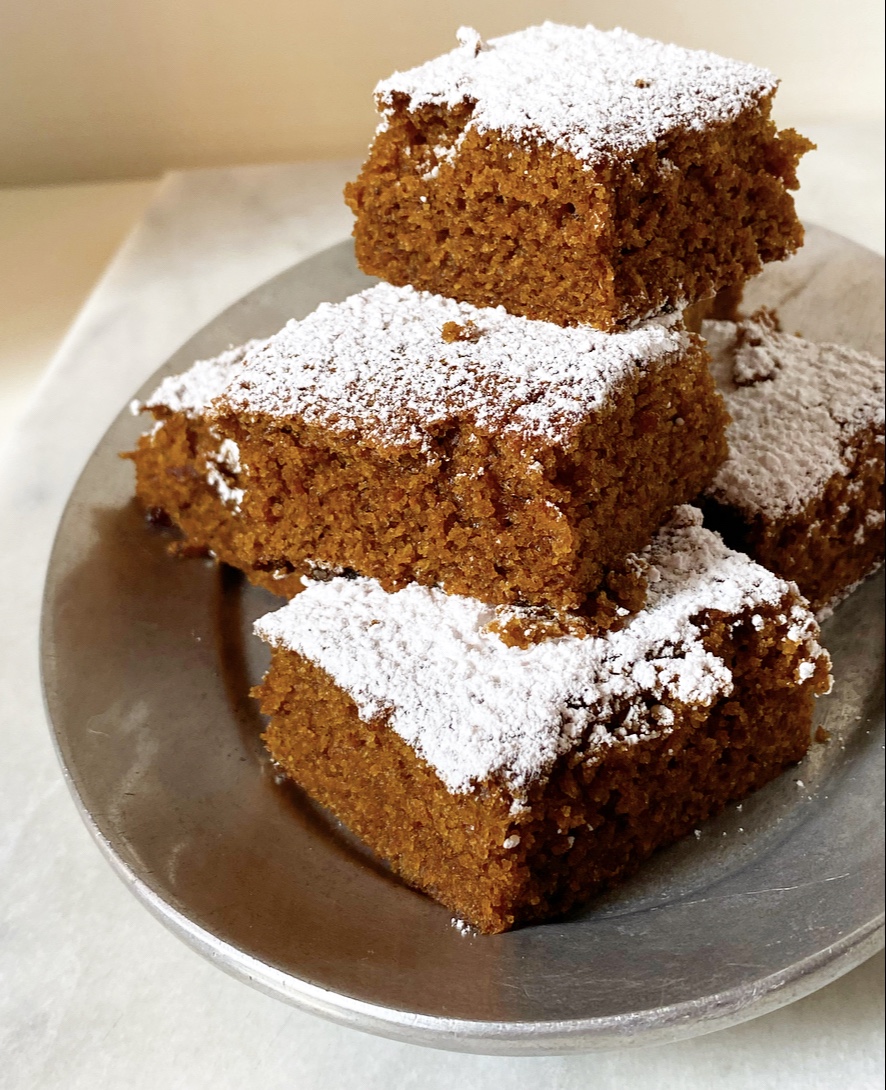 Holy crap, y’all, this is good. Super moist with nothing to distract from its deep dark flavor, it’s better than most traditional flour, egg and dairy-based gingerbreads I’ve had. It’s definitely not better than VJ’s grandma’s though, because nothing is ever better than grandma’s. Believe me, I’ve tried to out-do grandmas and it never goes well. But anyway…
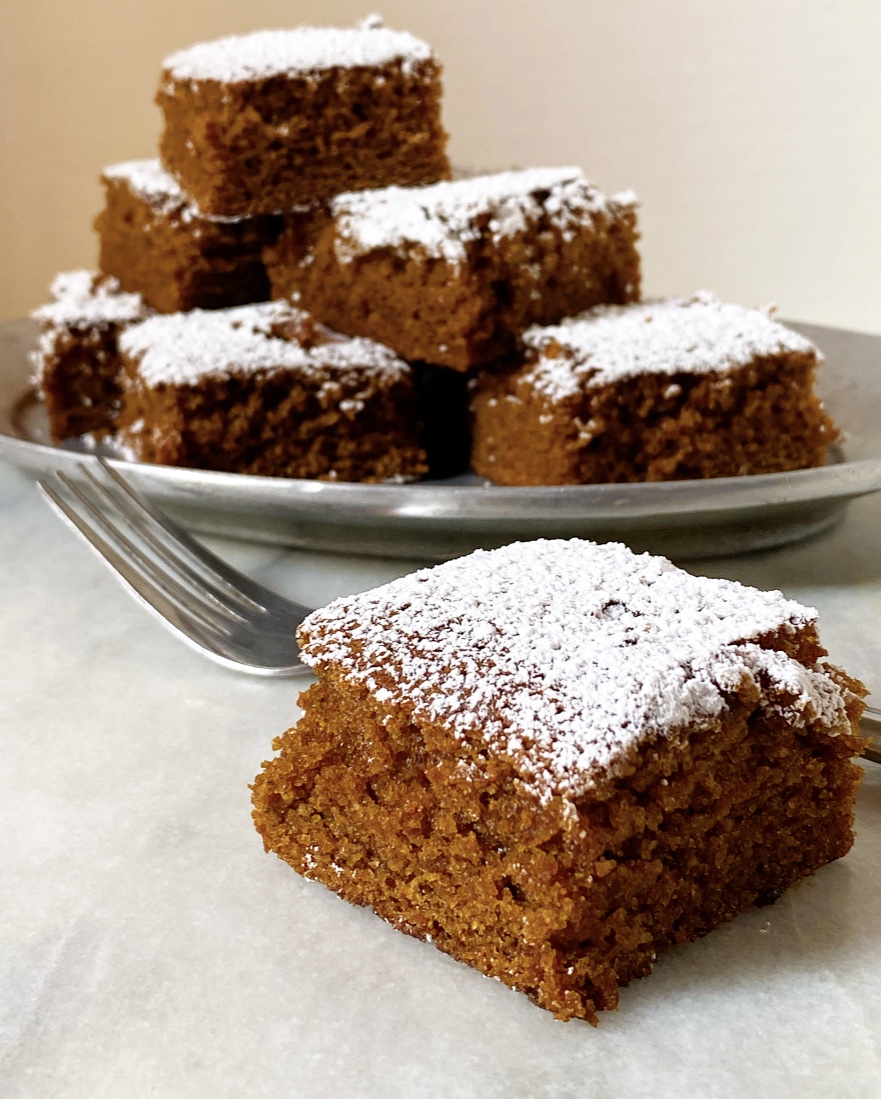
 This Gingerbread Cake tows the line somewhere between holiday dessert and wintry everyday cake. It doesn’t need a blanket of frosting (although I think a little vegan
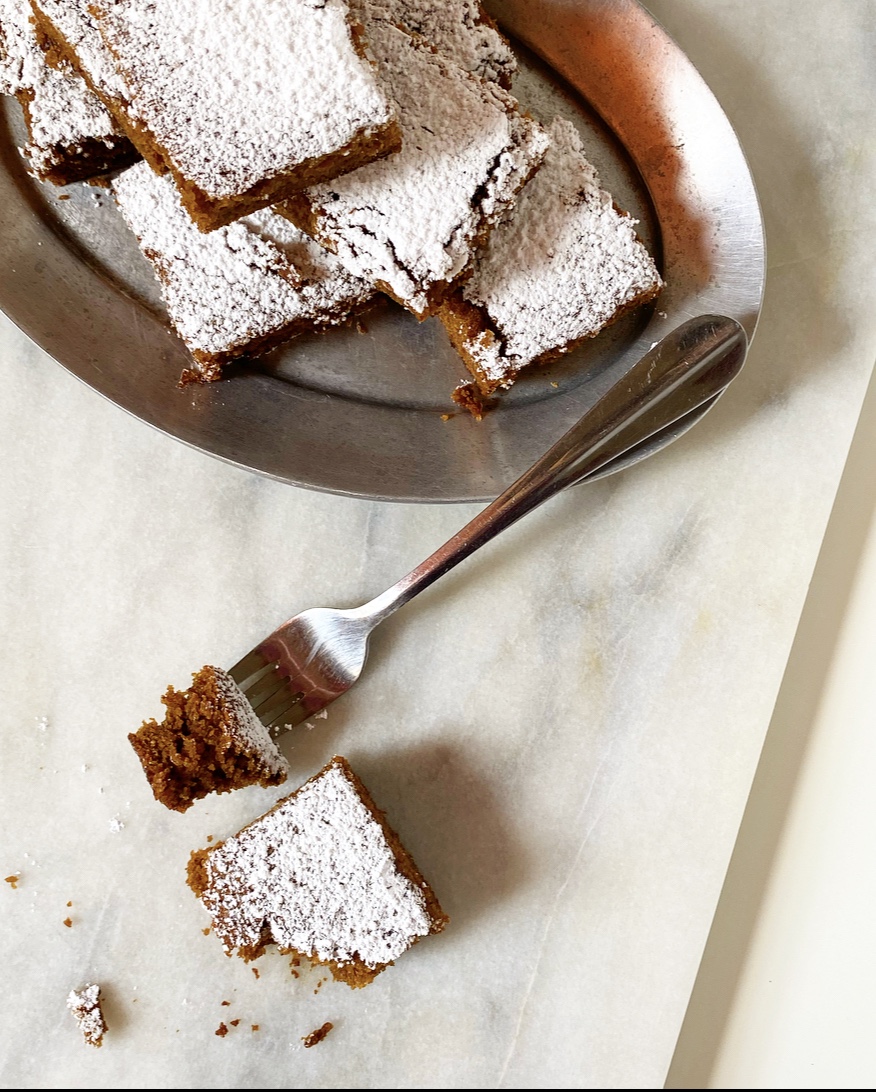
 It feels weird to be posting Fourth of July recipes because of literally everything, but I’m doing it anyway. I mean, none of them are red, white and blue…
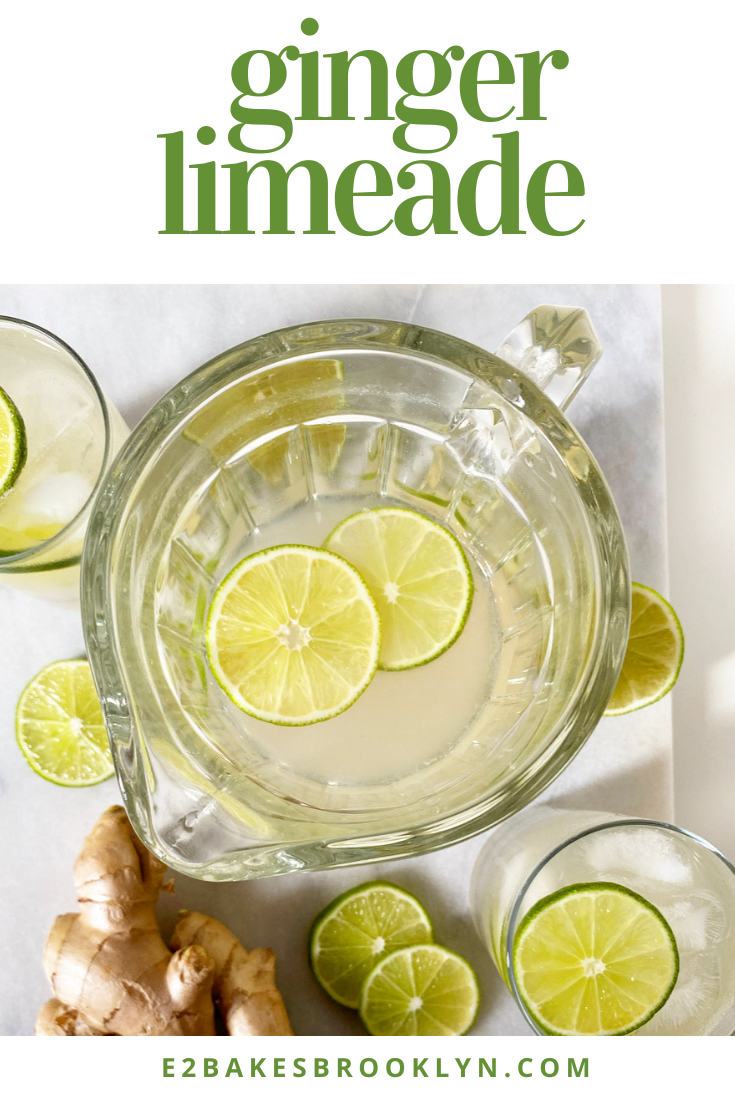
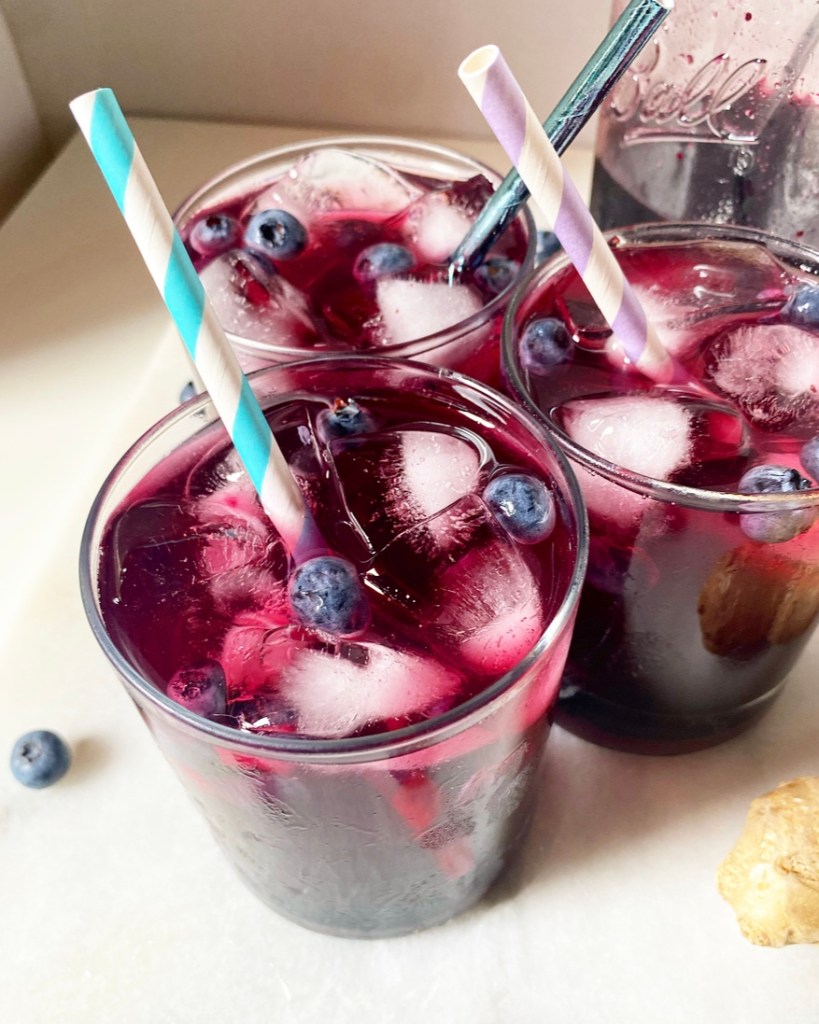
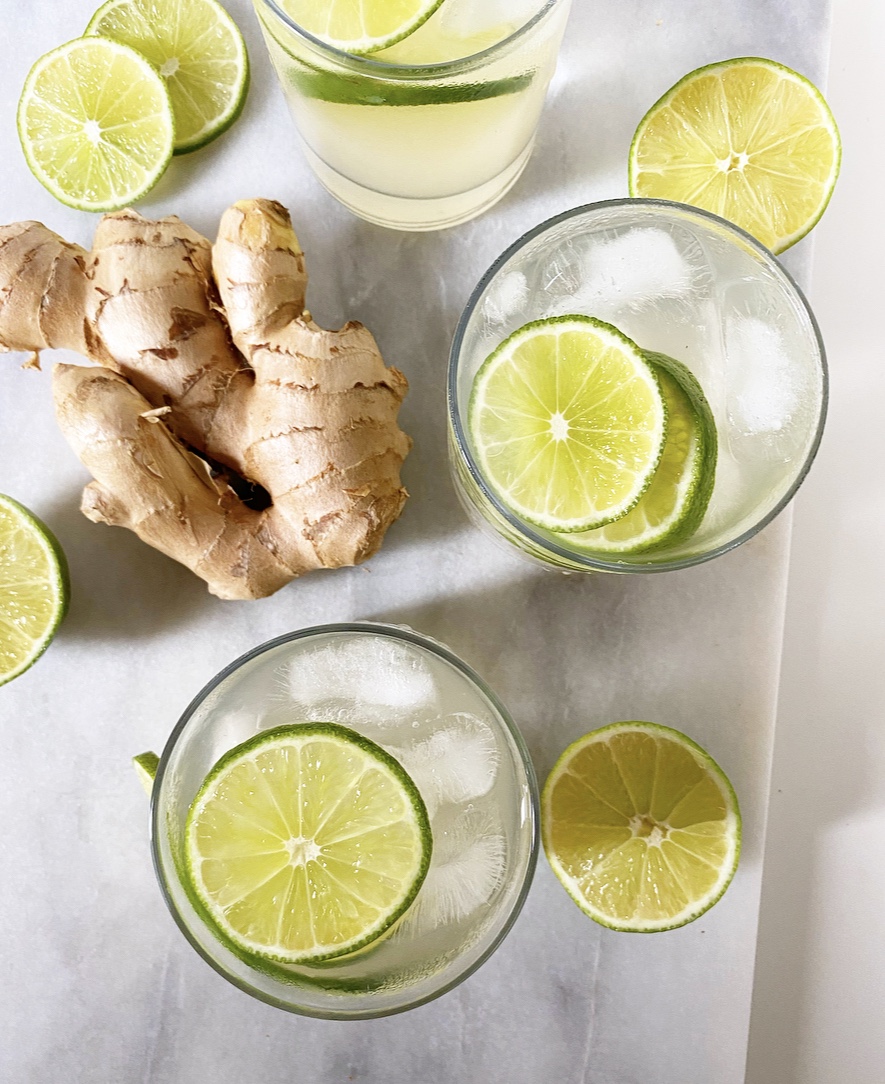
 Ginger Limeade is a perfect summery option for this weekend or any weekend. Crisp and light with a zippy ginger finish, Ginger Limeade would be a great addition to your (socially distanced) Fourth of July. It’s simple to make and a bit more sophisticated than your average non-alcoholic summertime beverage. I love a
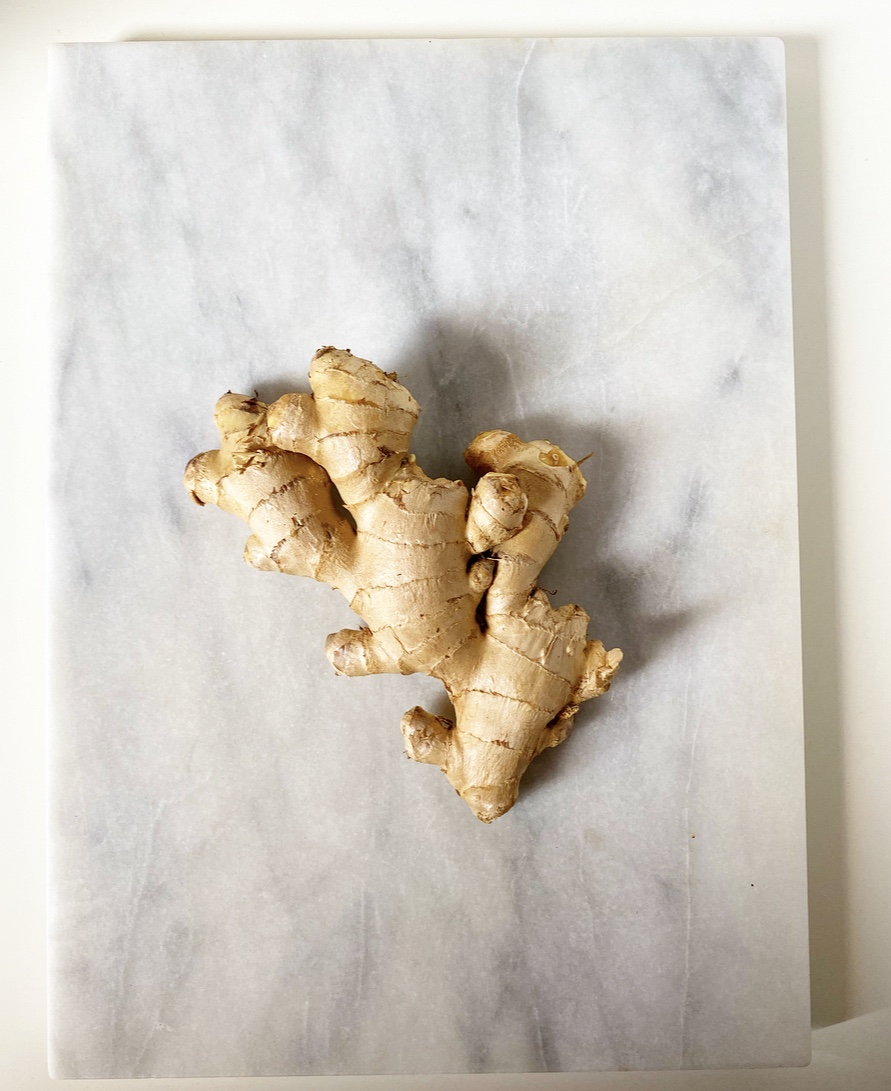
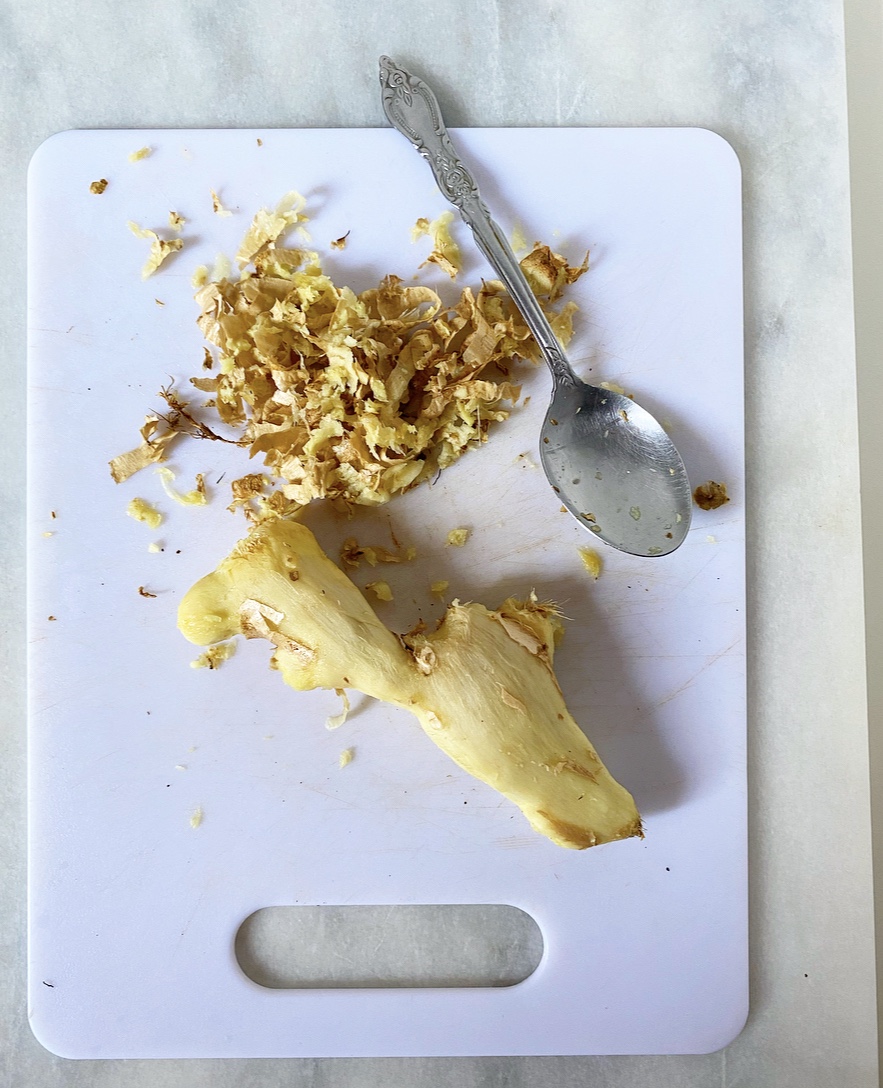
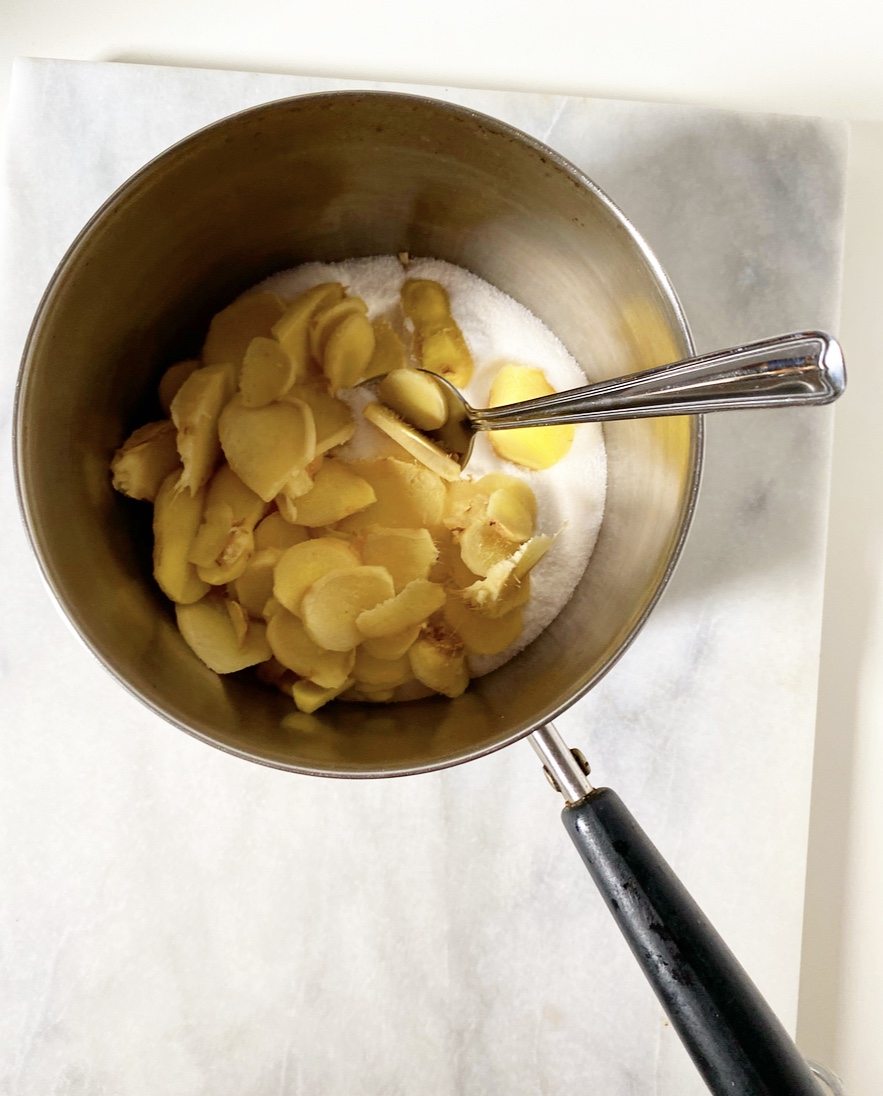
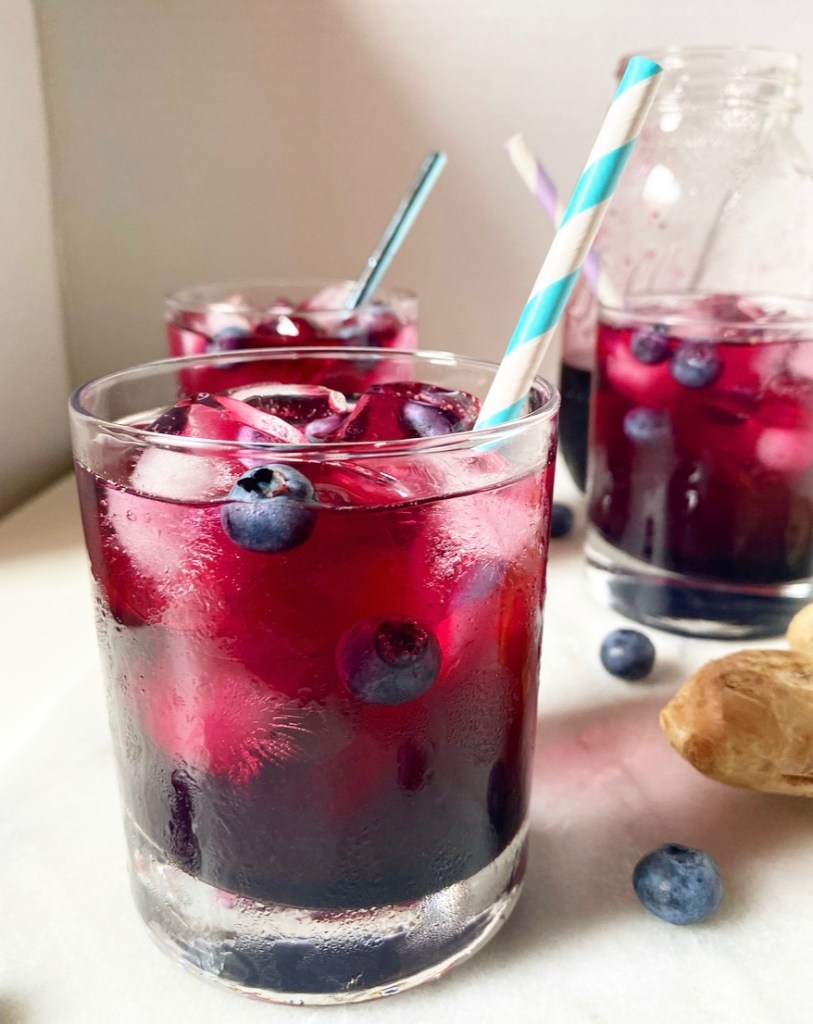
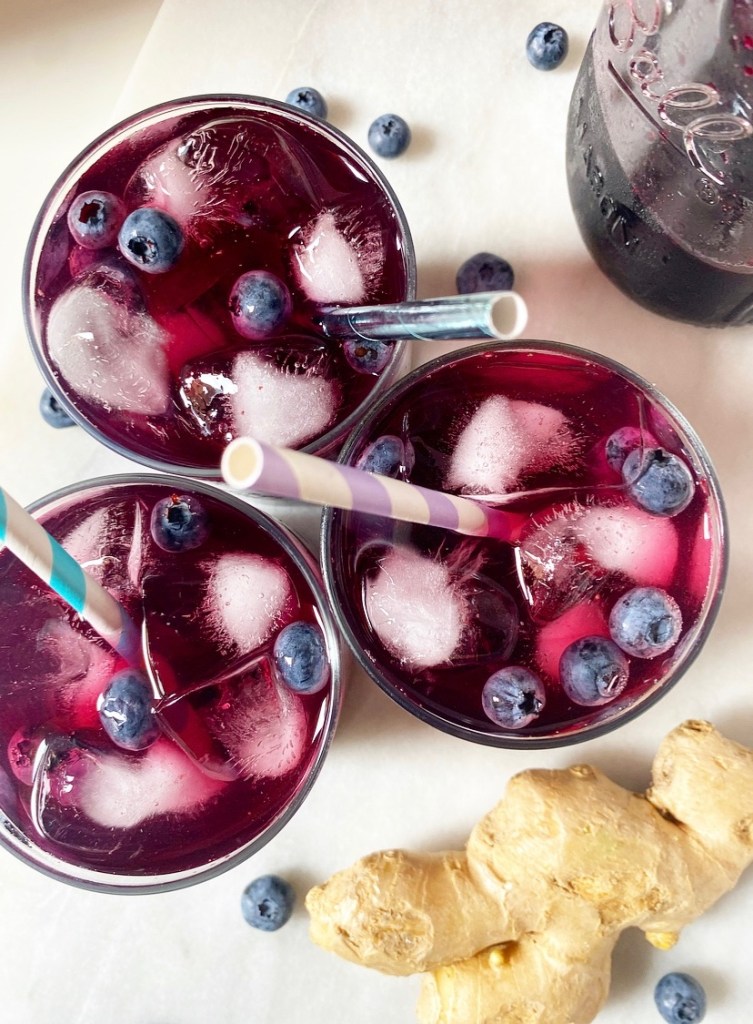
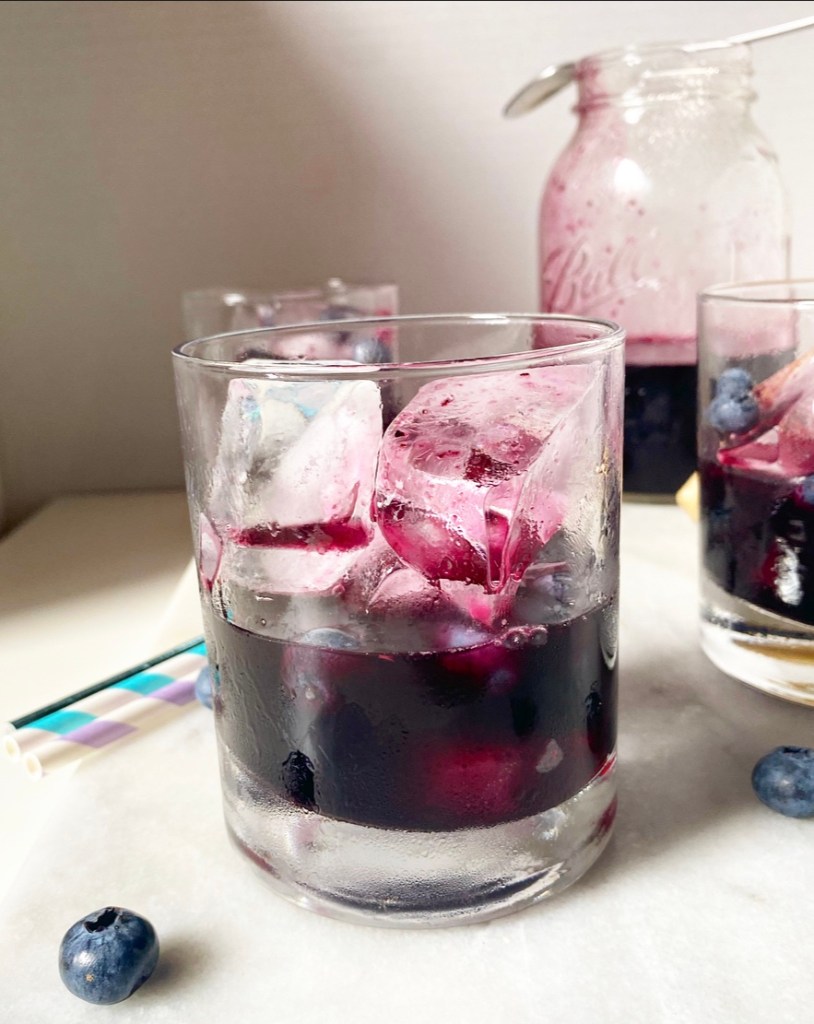
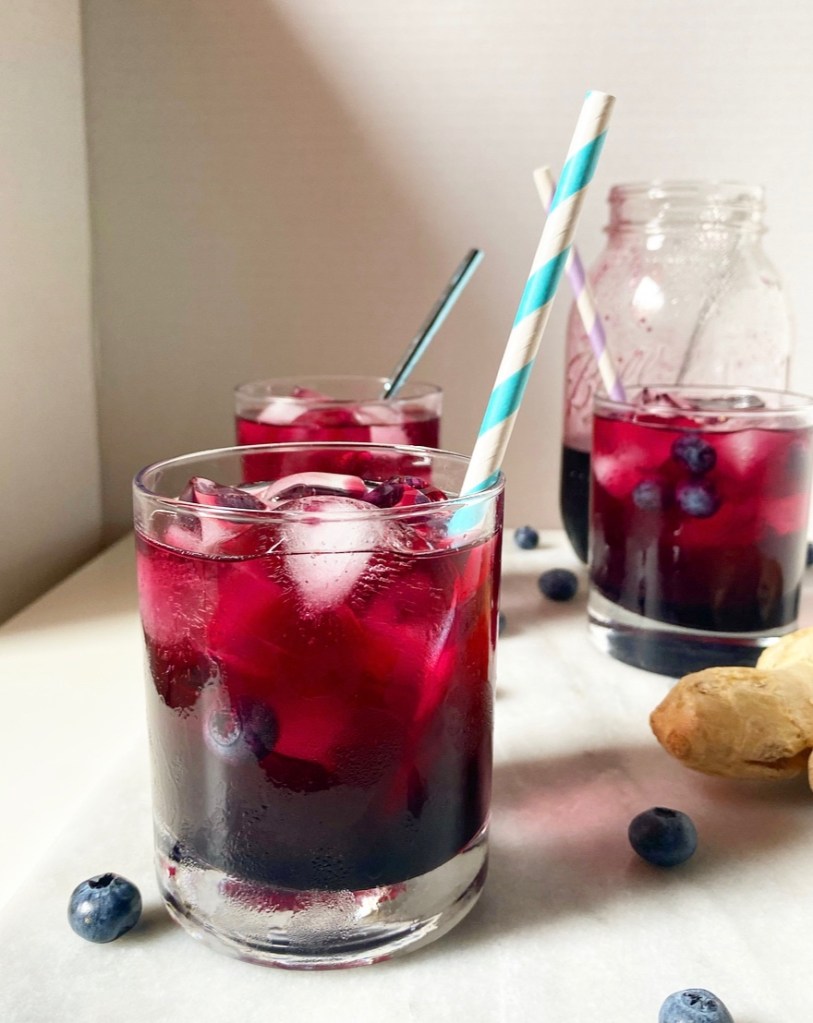
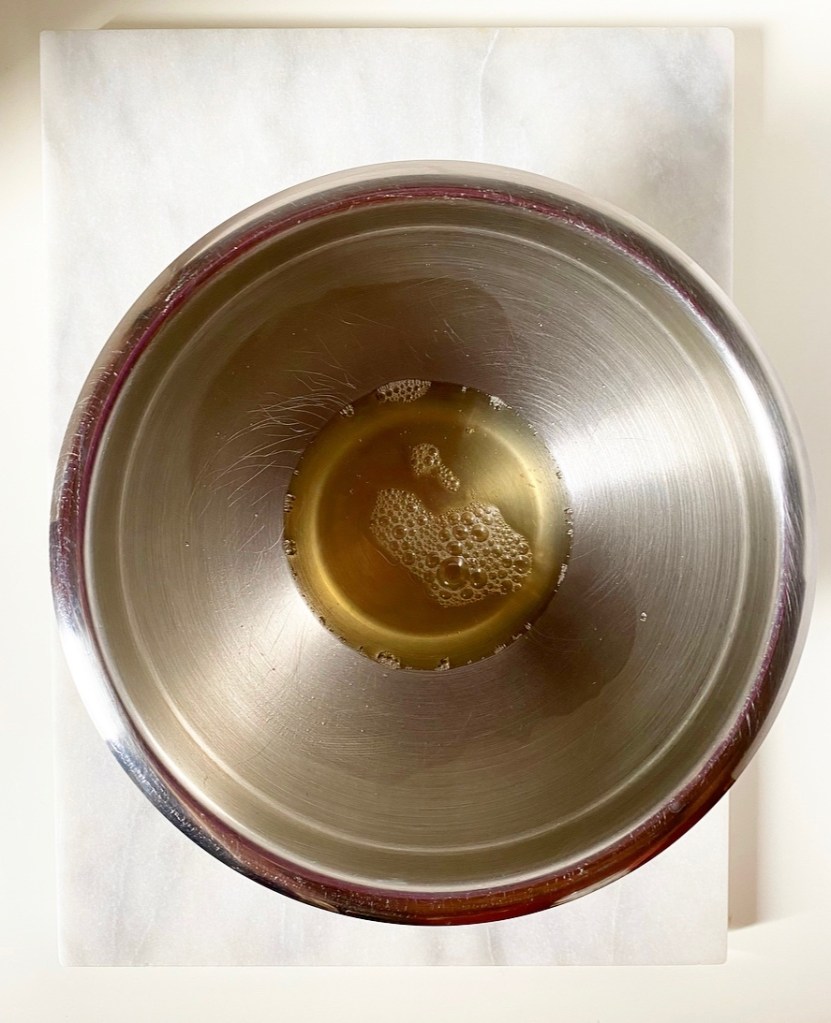
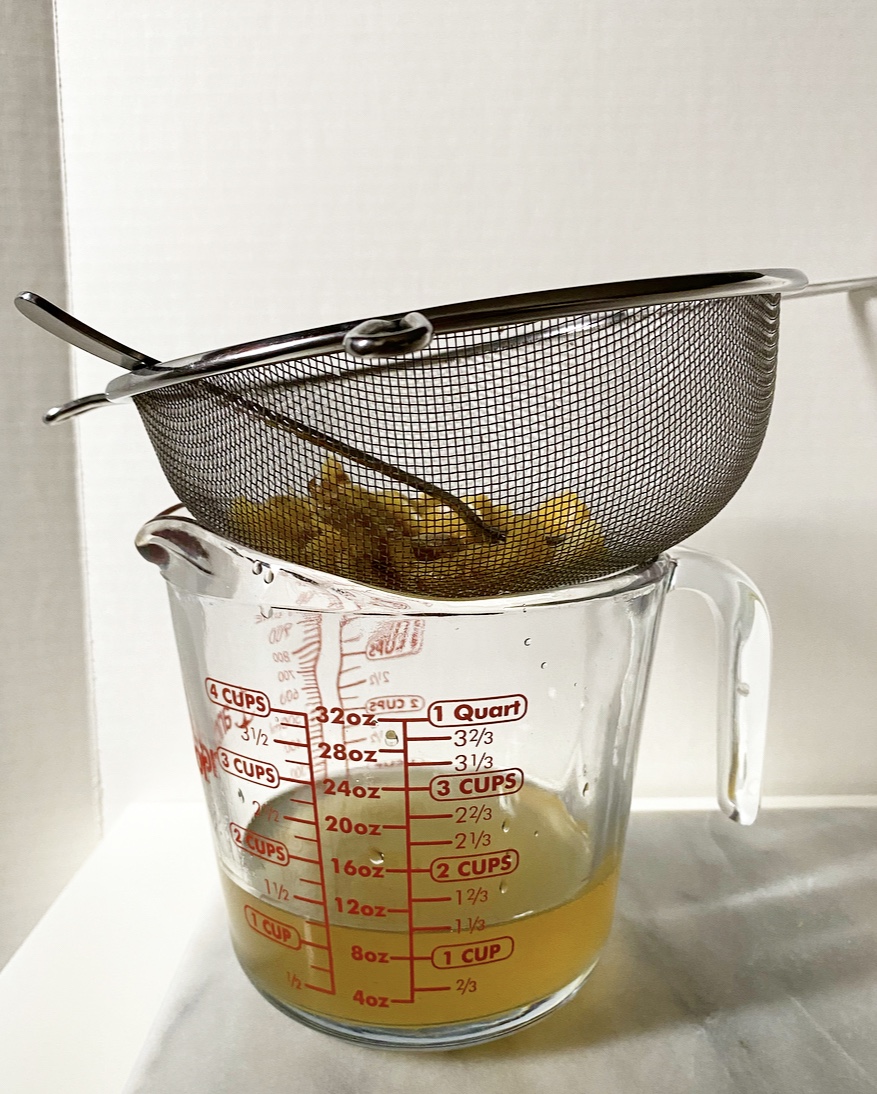 Ginger Limeade starts with a homemade ginger simple syrup. It’s as easy as combining sugar, water and sliced fresh ginger in a 1:1:1 ratio, simmering it and letting it steep until completely cool. You can use this syrup to make homemade ginger sodas, put it in milkshakes, or liven up some iced tea.
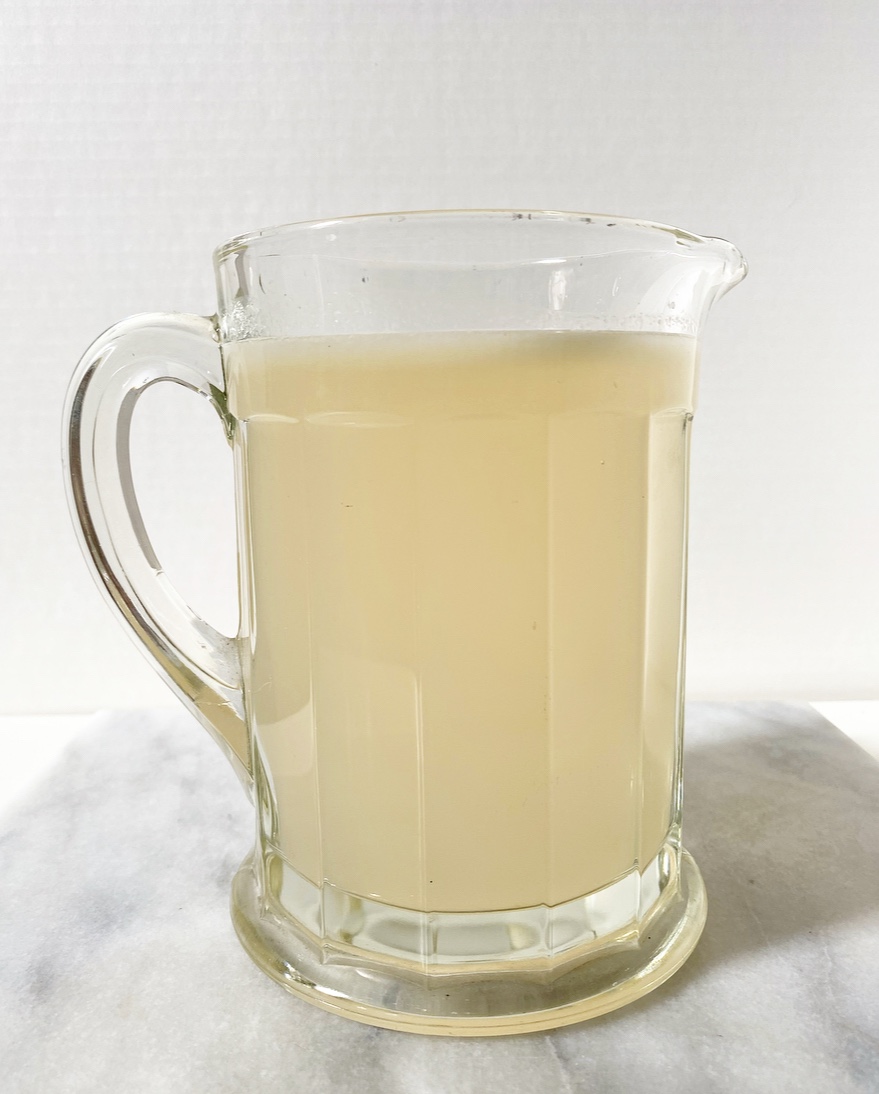
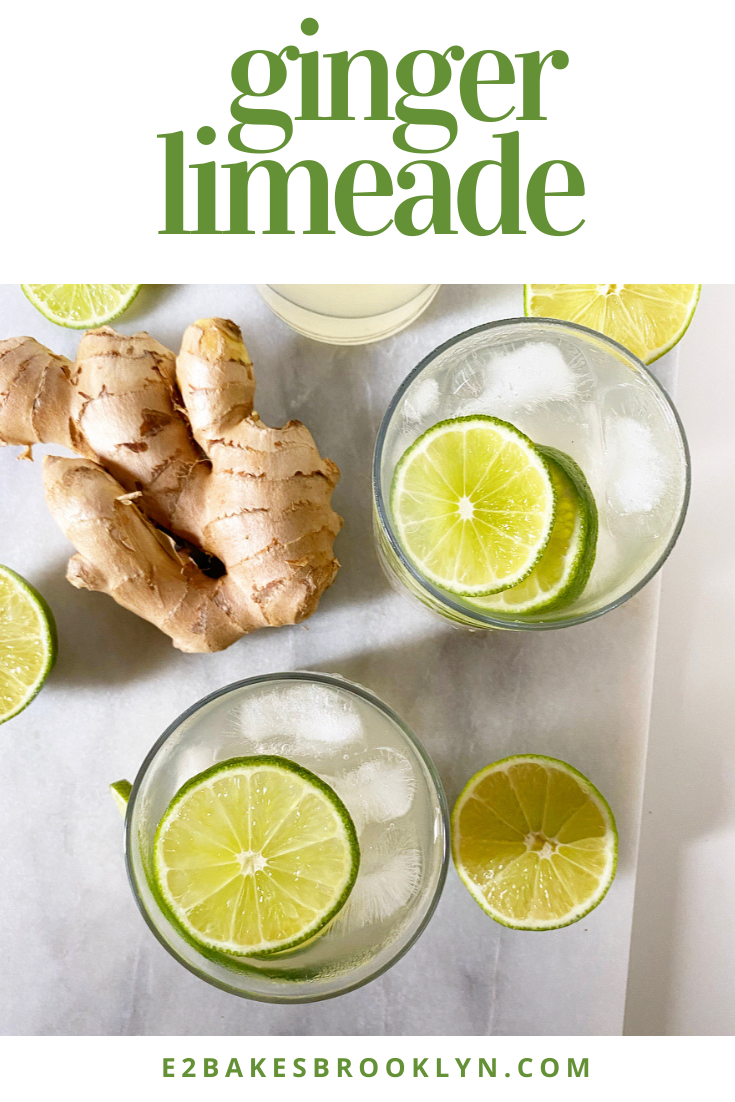
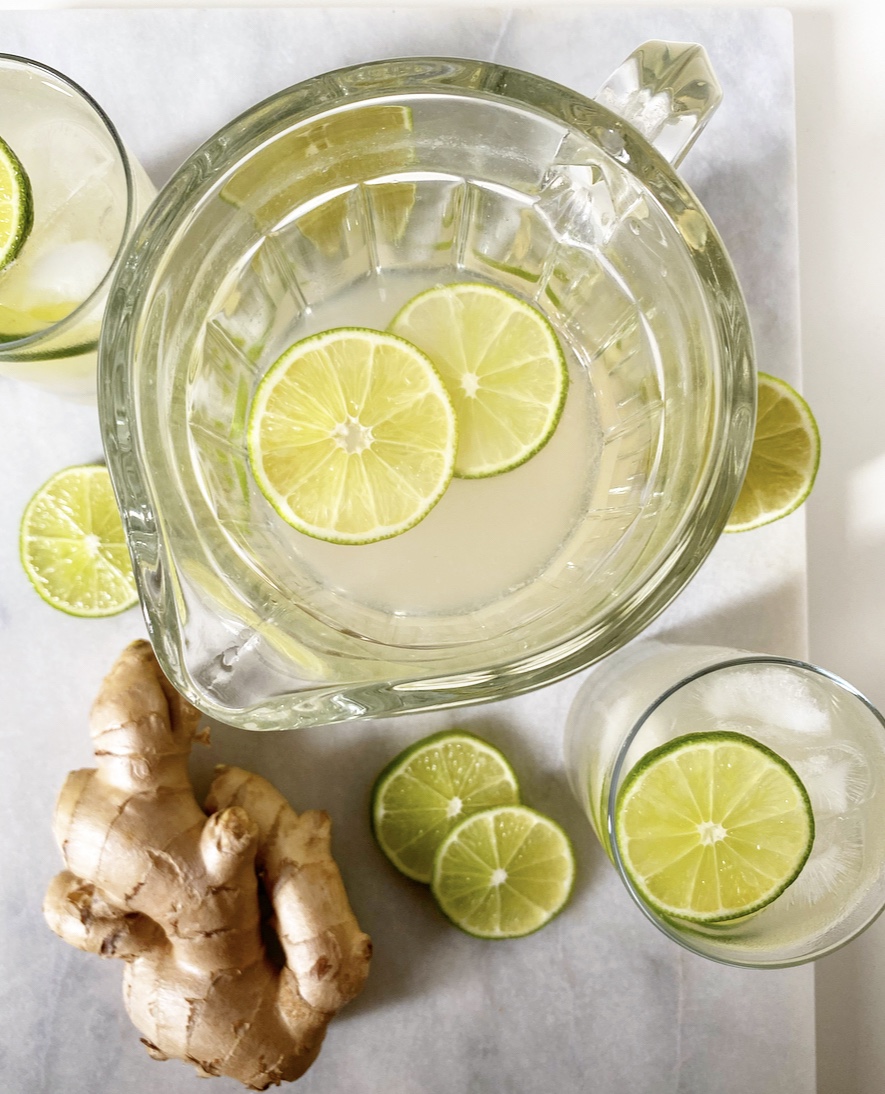 Today we’re combining the syrup with an equal part (1 1/3 cup) of fresh lime juice and a few cups of cold water, then pouring it over ice and floating lime slices on top. Yum!
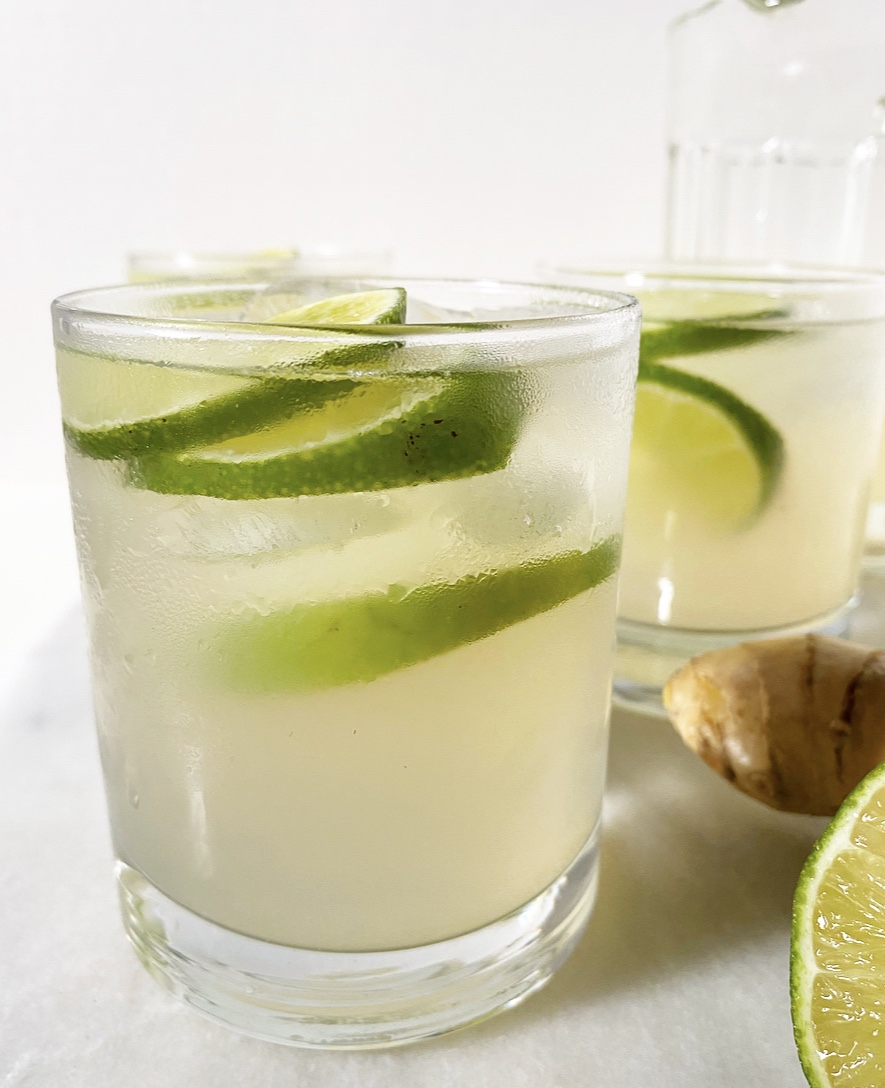 As with most beverages, Ginger Limeade is easily customizable. I think the 1:1 ginger syrup to lime juice ratio allows both to shine, but feel free to adjust them up or down to your preference. If you want to jazz it up, use sparkling water instead of still.
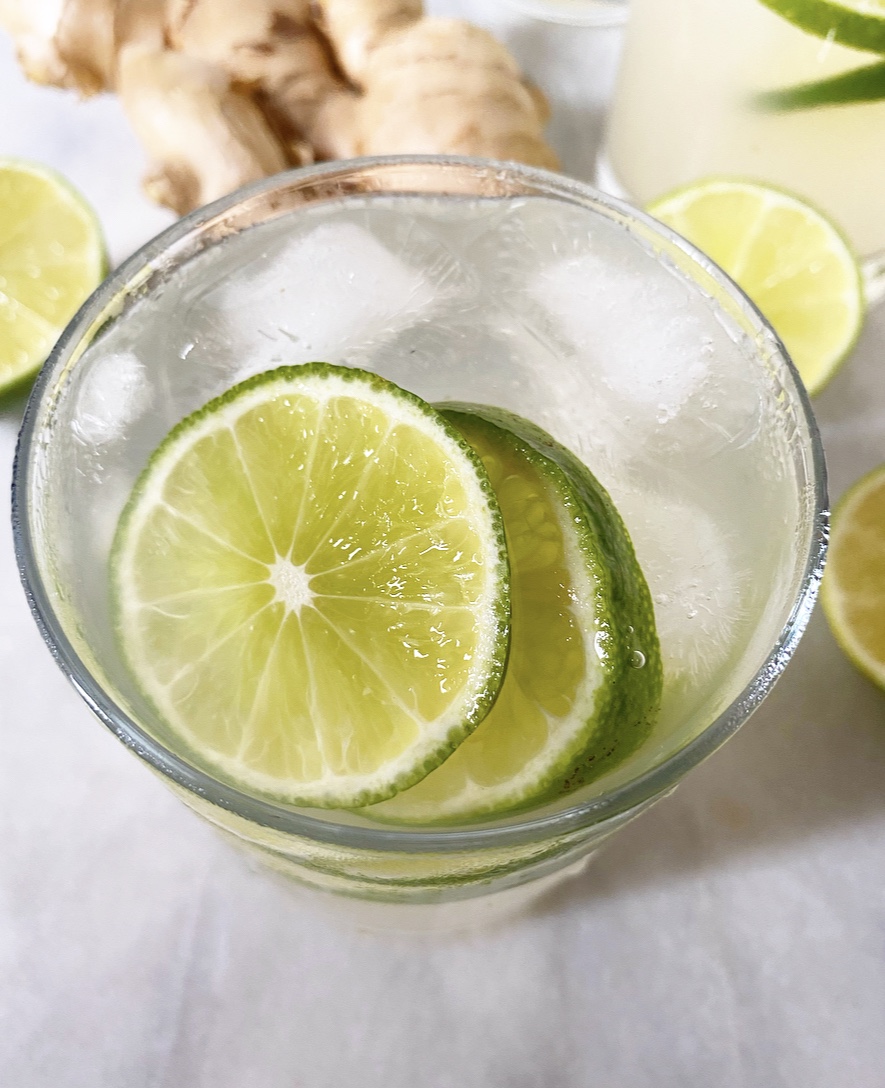 Ginger Limeade is the sort of thing you can sip during a cocktail hour, have by the pool, or pour into a large mason jar and take to the beach. Not to be Debbie Downer, but keep in mind that lime juice can burn your skin when exposed to sun. Yes, really.