Category Archives: Vegan

Coconut Oil Biscuits

 I know what you’re thinking. “Coconut oil in biscuits? This girl’s lost her mind!”

But hear me out. Until last week, I felt the same way. Up to that point, every great biscuit I had ever eaten was made with butter and buttermilk, or occasionally, heavy cream. But while surfing Pinterest one morning, I came across a recipe for Coconut Oil Biscuits. At first, I was horrified. Coconut oil? In biscuits? No way. And they were vegan? I love experimenting with vegan recipes, but biscuits were sacred. 

I kept scrolling. But the evil geniuses who designed the Pinterest algorithm had other ideas. The recipe kept showing up! I closed the app and went about my day.

But that Pin kept popping up in my mind. And the more I thought about it, the more I welcomed the idea. Biscuits made with coconut oil and coconut milk? I like coconut. I love biscuits. Was it so wrong to put them together? I gave in and decided to try it myself. I figured that if they were a real disaster, I could toss them and go back to my buttermilk biscuit-only mentality. 

 Very long story short, I shouldn’t have worried. Coconut Oil Biscuits rise high and are super soft and fluffy. And they don’t need any of the chilling, rolling, folding, or thwacking that my buttermilk biscuits require. None of those things are difficult or take much time, but there’s something really awesome about being able to make scratch biscuits in 25 minutes start-to-finish. Yes, if you turn the oven to 425F right now, you are only 25 minutes away from slathering jam onto a warm biscuit! 

 But before you go running to the kitchen, there are a couple of ingredients we need to talk about. First, the coconut oil. In buttermilk biscuits, the butter must be kept cold so that it only melts in the oven–this creates flakiness and layers. If it were at room temperature during the mixing, the resulting biscuits would be dense and dry because the butter “pockets” basically wouldn’t exist. But unlike butter, coconut oil is solid (and kind of hard) at room temperature, so it will cut into the flour easily without becoming gooey. And since the oil doesn’t have butter’s water content, it keeps these biscuits nice and moist. Hello fluffy, flaky magic. 

The other thing we need to talk about is the milk. In buttermilk biscuits, the liquid is buttermilk (duh). Here, you could use regular dairy buttermilk, but why not add an extra dose of flavor (and keep the biscuits vegan!) by using coconut milk?! I use refrigerated coconut milk because of it’s textural similarity to dairy buttermilk. Doctored up with a teaspoon of vinegar, it creates tenderness just like its dairy counterpart. 

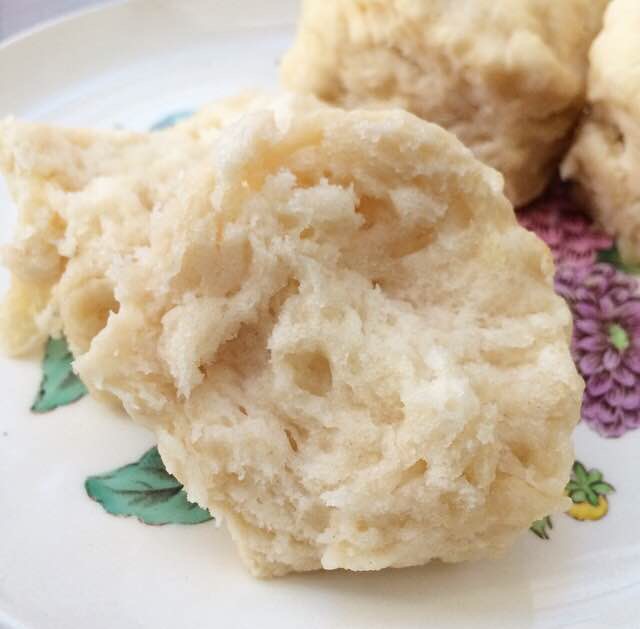
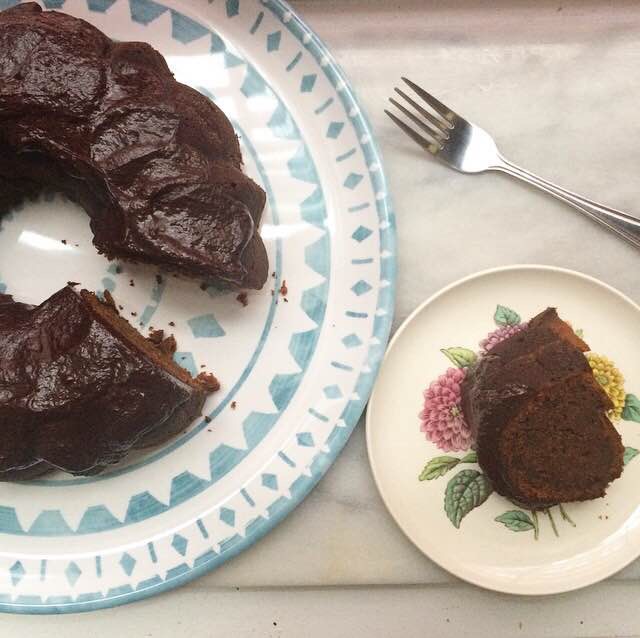
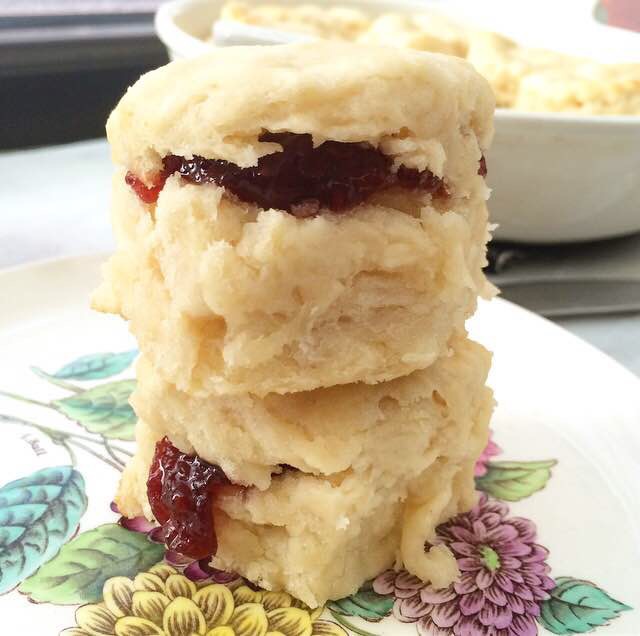
 Coconut Oil Biscuits bake up in just 10-12 minutes. They don’t really turn golden, but they definitely rise high. And they are so tender that you can lift the tops right off–perfect for topping with whatever your biscuit-loving heart desires!

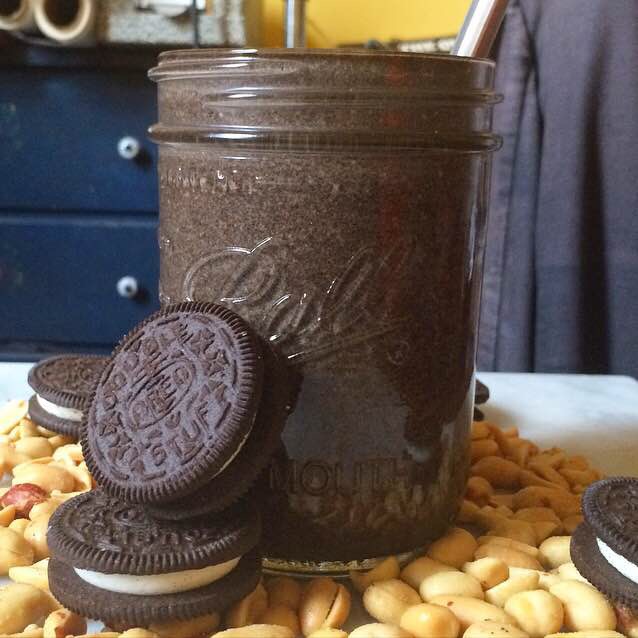
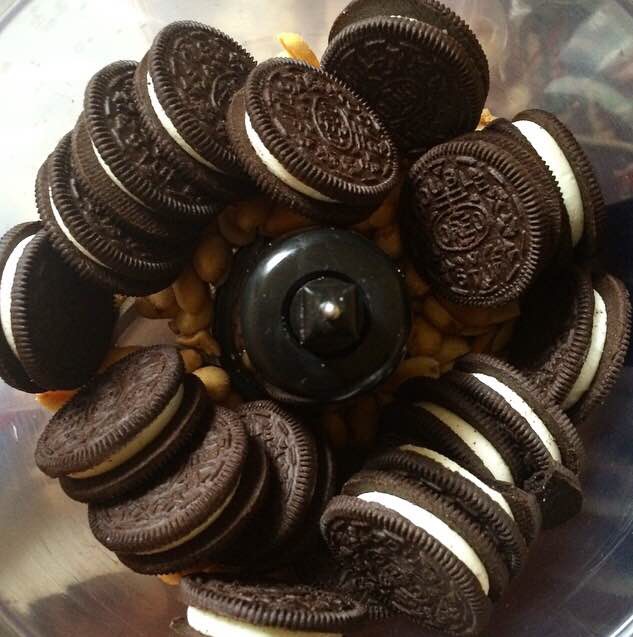
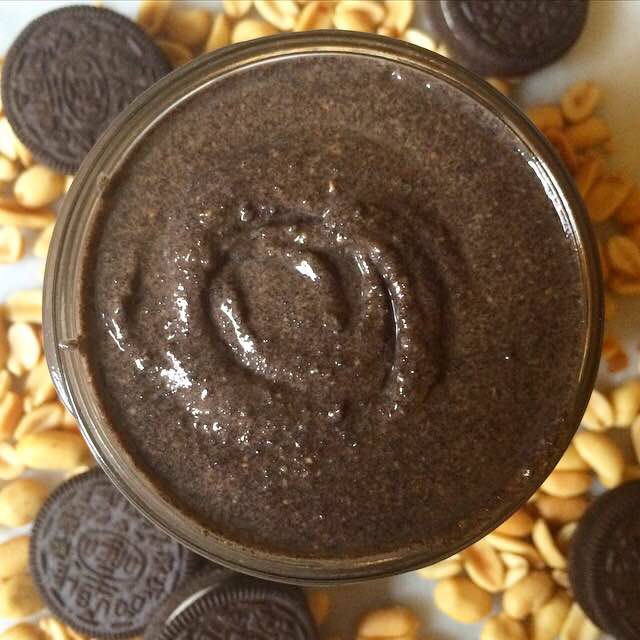
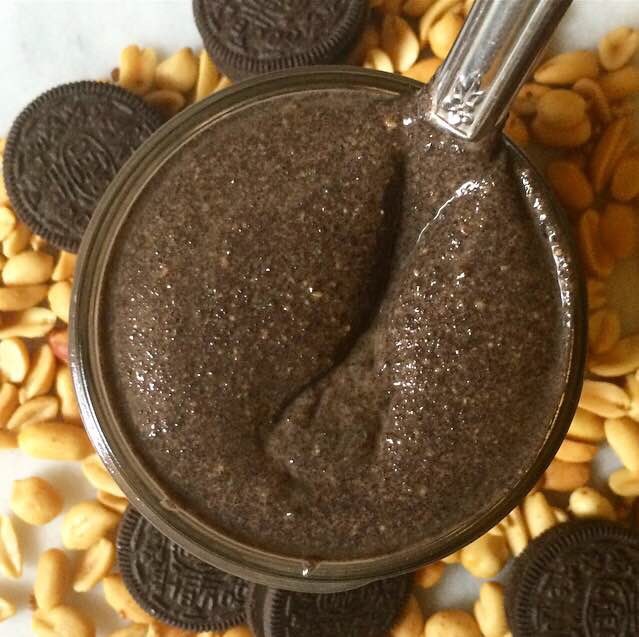
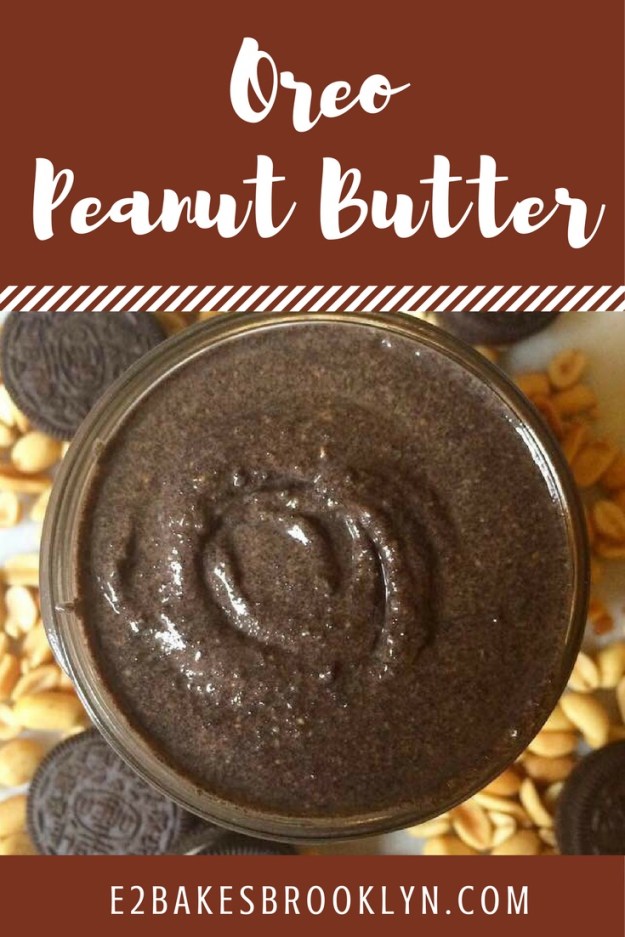
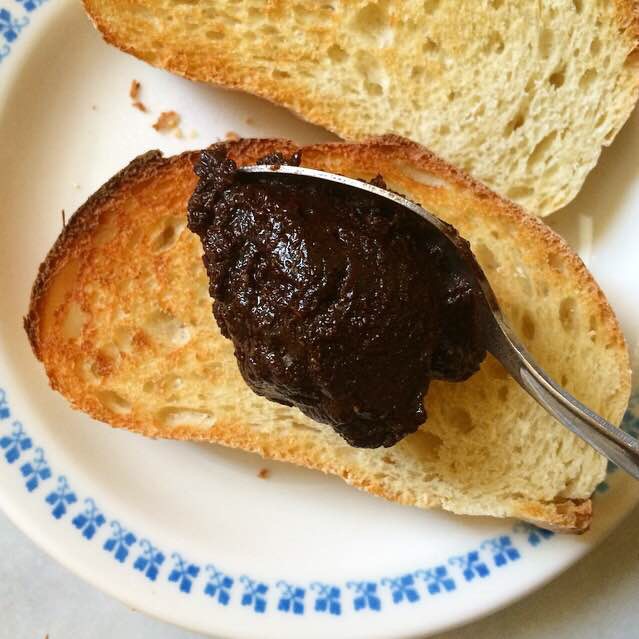
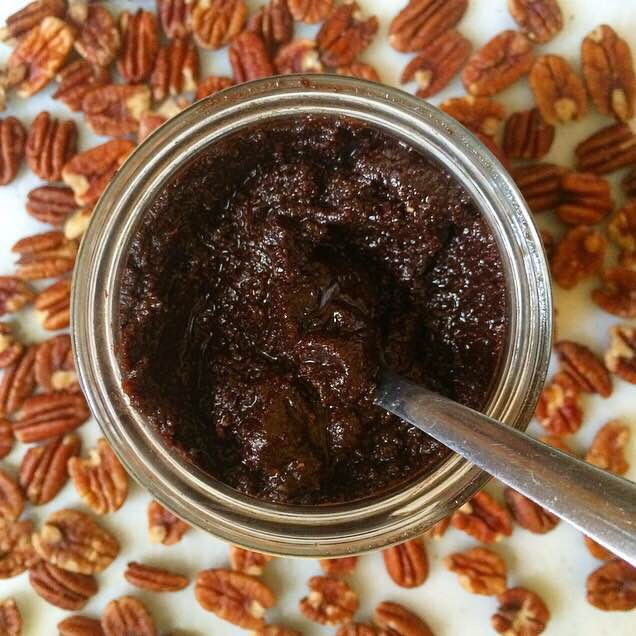
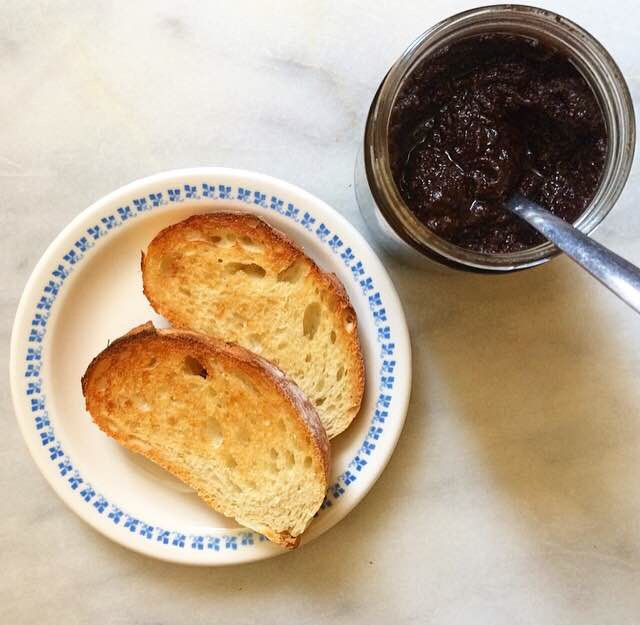
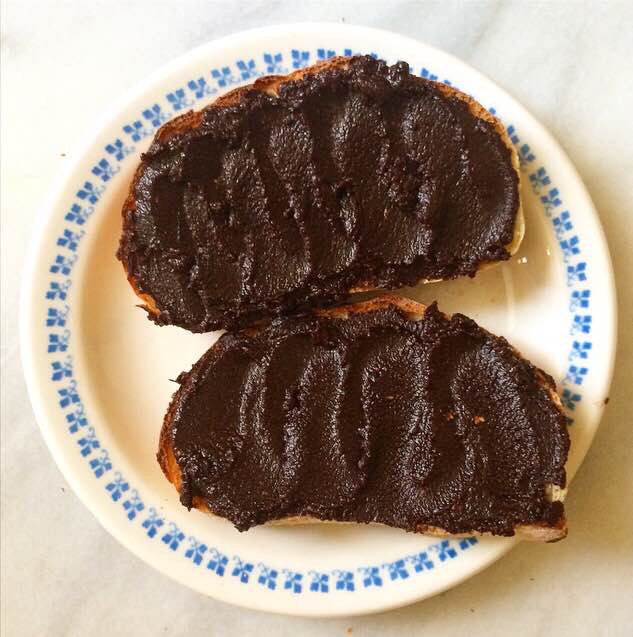
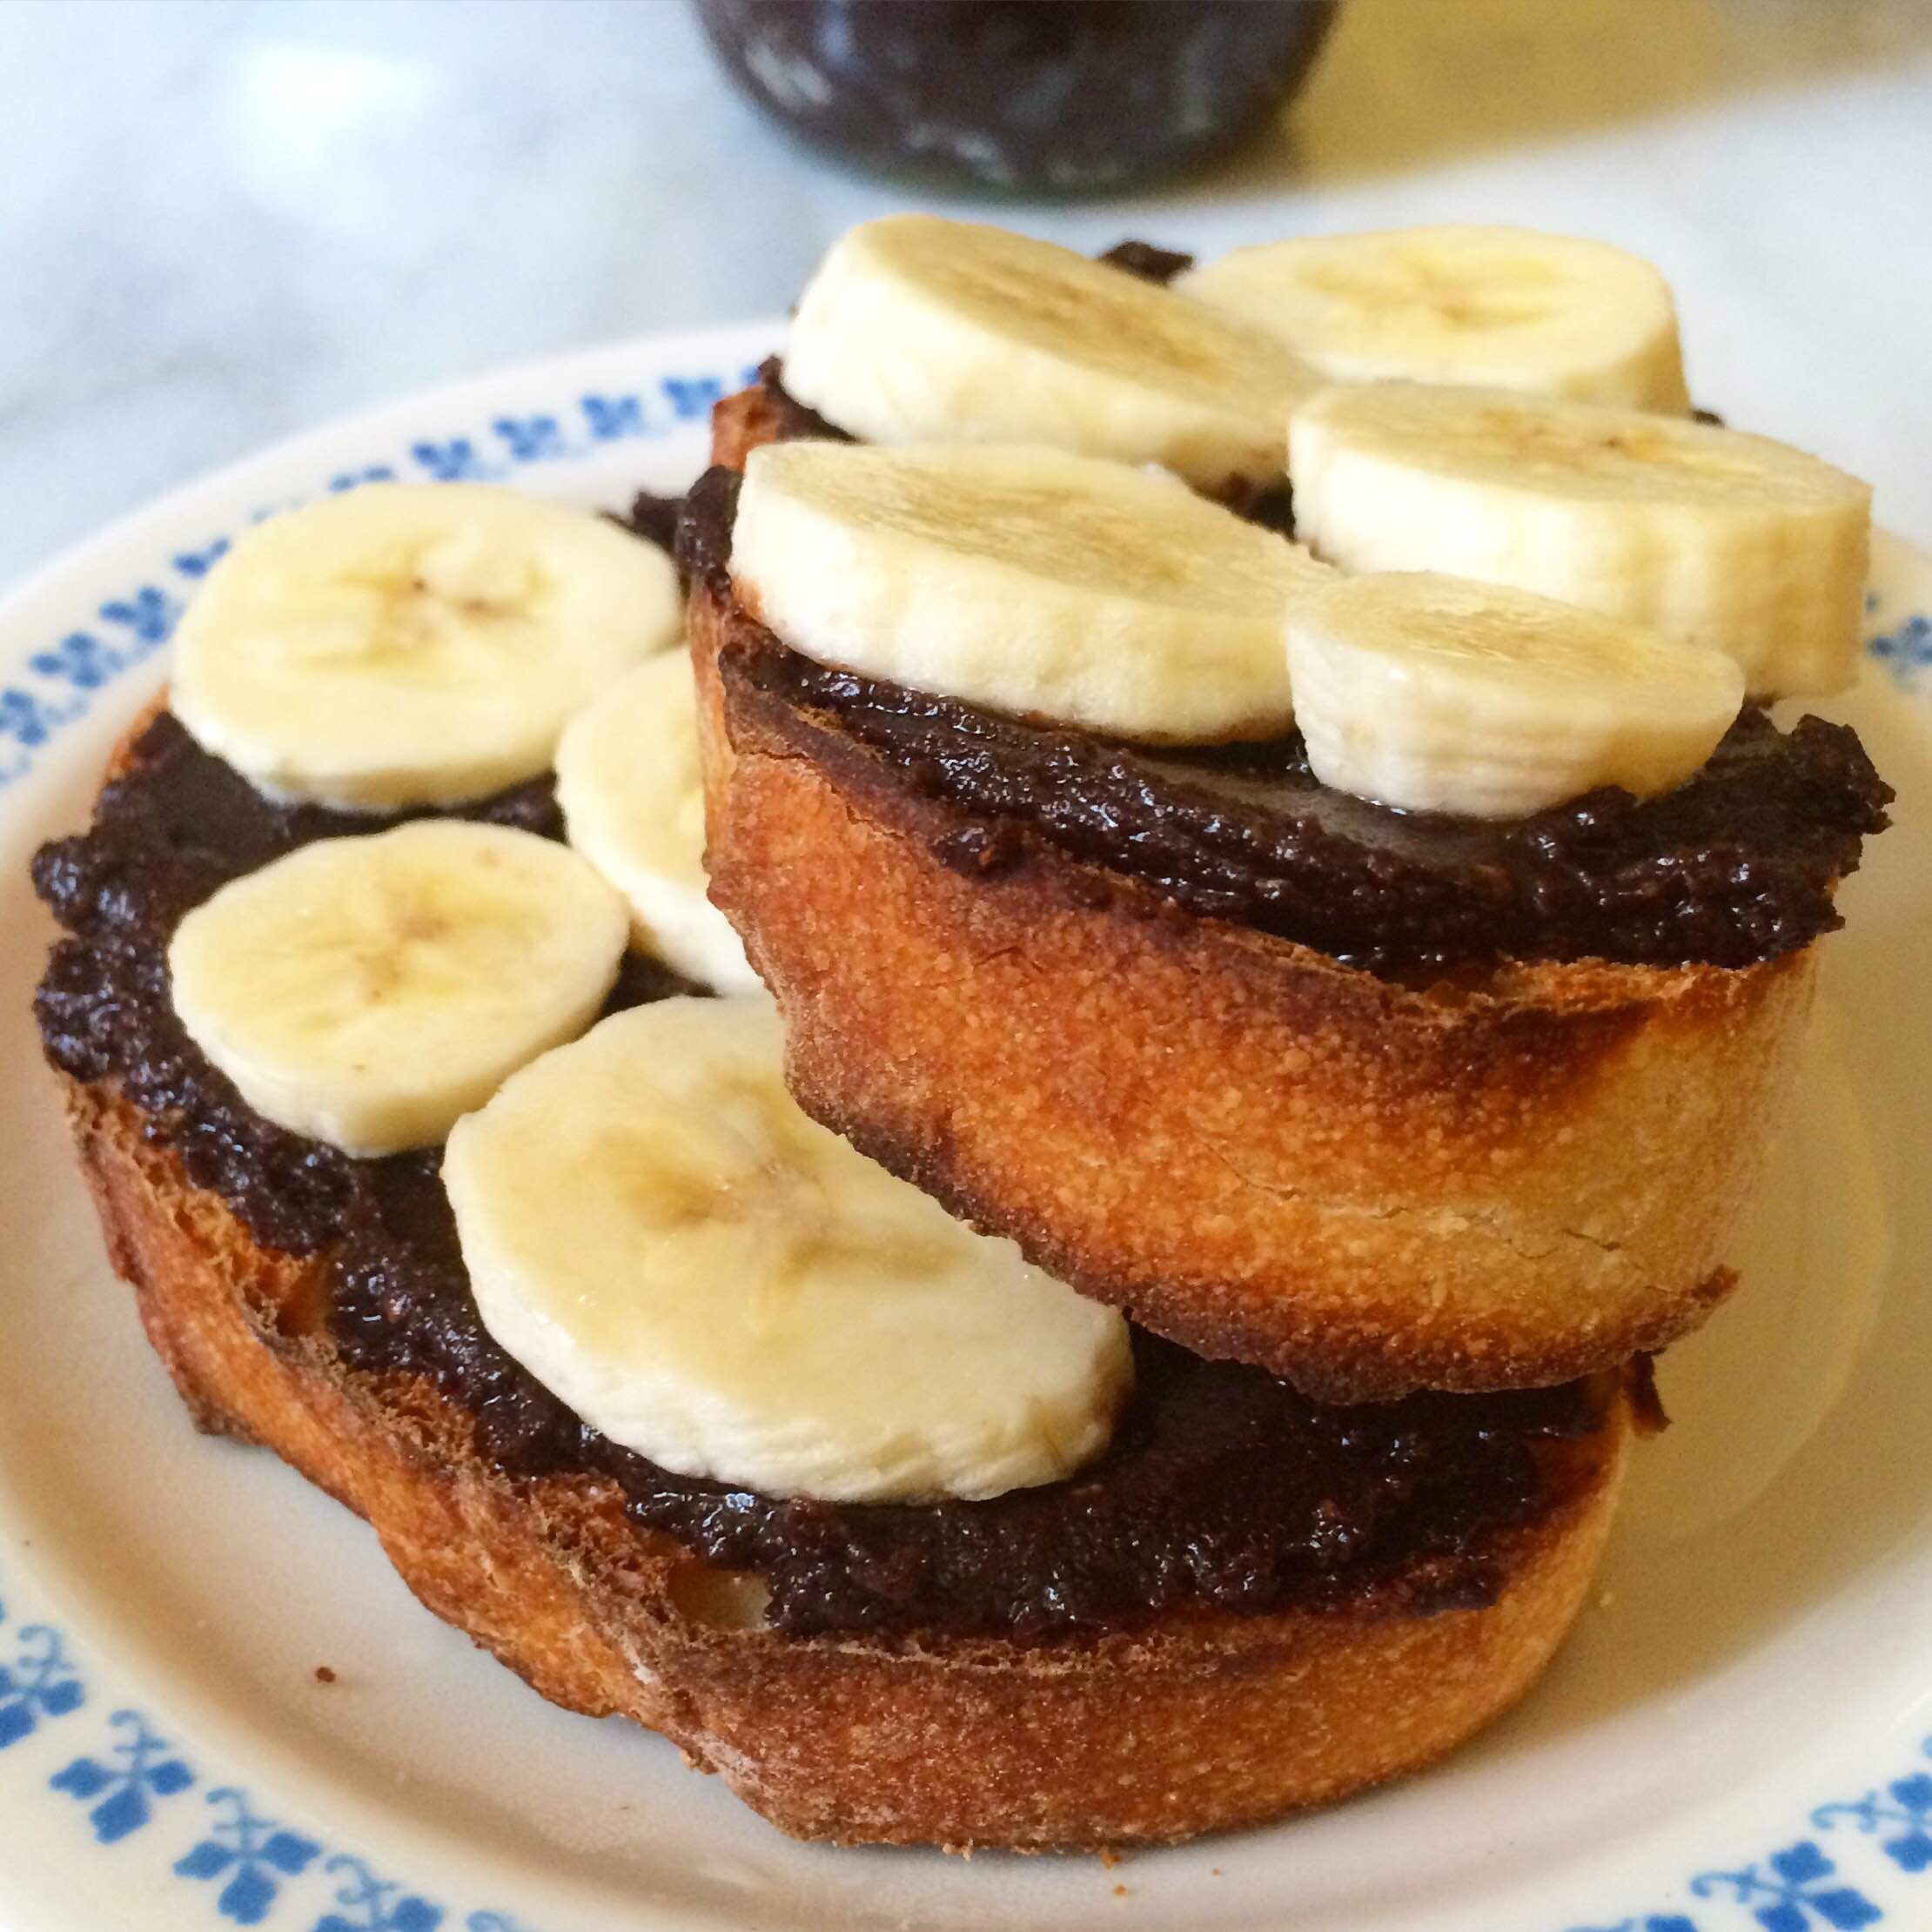
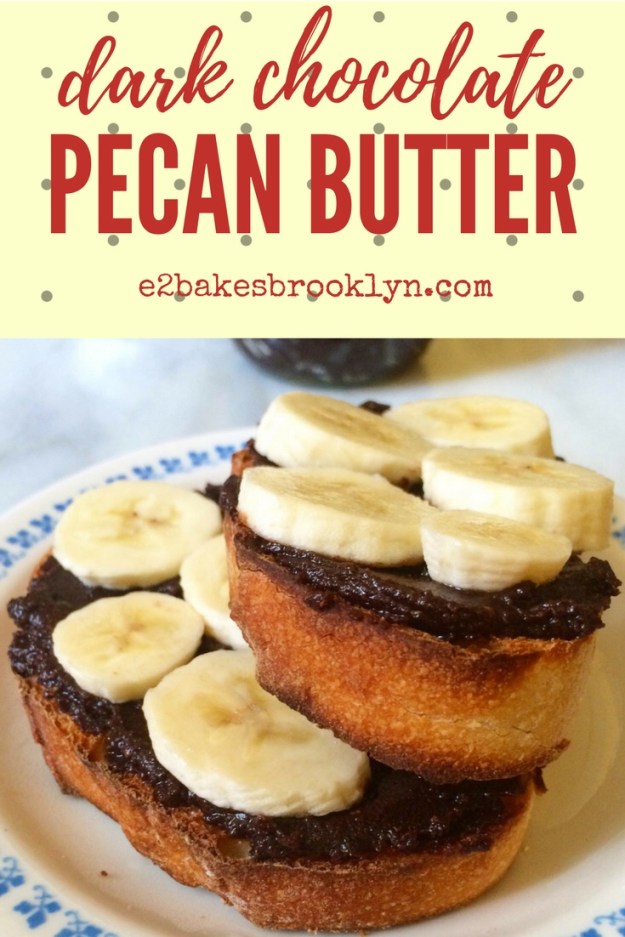
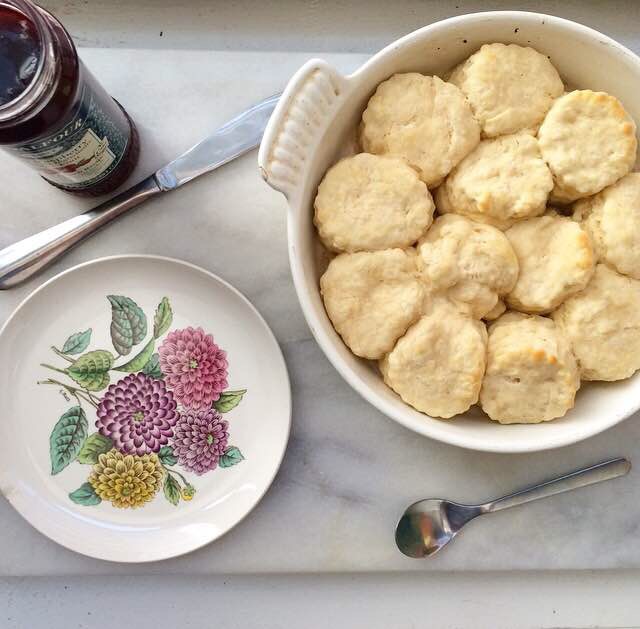
For those wondering if these are super coconutty or not, well…they definitely have a coconut flavor, but as there isn’t much sugar, they are decidedly on the savory side. I like them with a little jam (raspberry is my favorite!), but I think a sweeter nut butter, like this one, would do well here. I could also imagine them slathered with some salted butter or made into little breakfast sandwiches.

No matter how you serve them, these Coconut Oil Biscuits are sure to be a new favorite. 

 Coconut Oil Biscuits
adapted from Gimme Some Oven
makes about 12 biscuits

1 teaspoon white or apple cider vinegar
3/4 cup milk of choice*, plus extra for brushing
2 cups all-purpose flour
1 tablespoon granulated sugar
1 tablespoon baking powder
1 teaspoon Kosher or sea salt
1/4 cup coconut oil,* solid

Preheat oven to 425F. Grease a 9″ pie plate with coconut oil. Set aside.

Pour vinegar into a liquid measuring cup. Pour in milk until you have 3/4 cup total liquid, and stir to combine. Place measuring cup in the fridge to chill while you prepare the other ingredients.

In a large bowl, combine flour, sugar, baking powder, and salt. Whisk to combine. Using a pastry blender or two forks, cut coconut oil into the dry ingredients until the largest pieces are the size of small peas. Pour in milk mixture and use a silicone spatula or wooden spoon to fold everything together, scraping the sides and bottom of the bowl as you go.

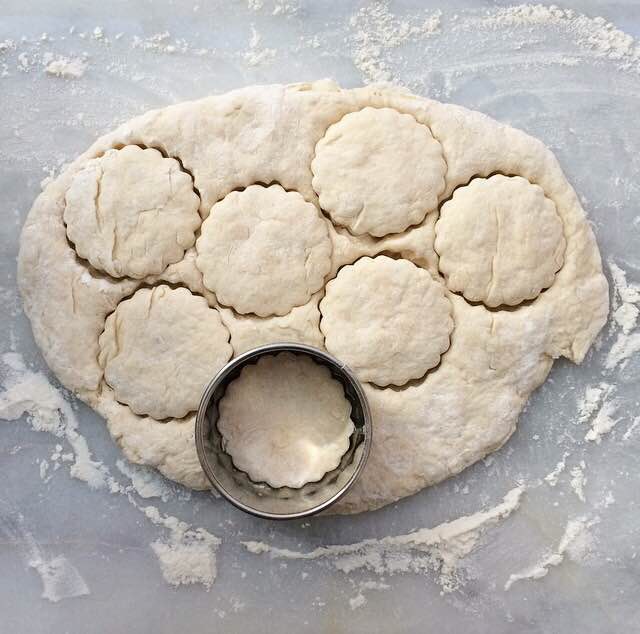
Turn dough out onto a floured surface. Use floured fingertips to knead a few times, until everything is fully combined. Pat dough to a 1/2-inch thickness. Use a 2-inch round biscuit cutter or sharp knife to cut biscuits. When cutting, press directly down–do not twist or saw. Pat dough out again as necessary.

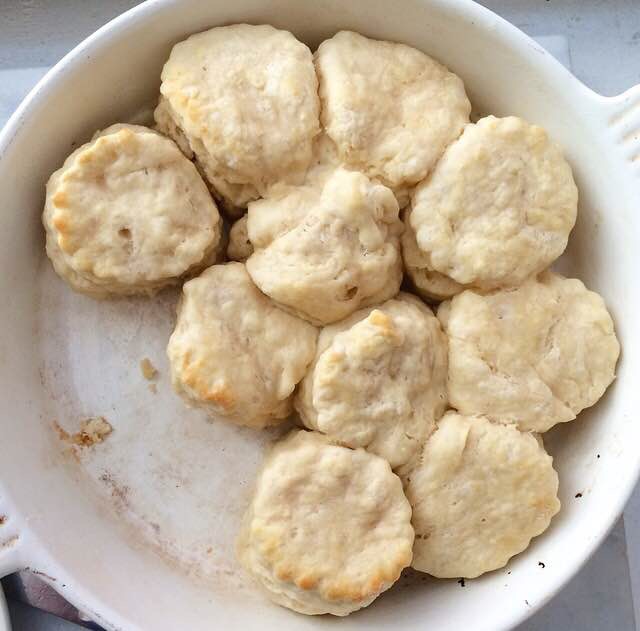
Place biscuits close together in prepared pan. Brush the tops with additional coconut milk. Bake for 10-12 minutes, until biscuits have risen and are no longer doughy. The tops may not turn golden.

Let cool for a few minutes, and serve warm with your jam of choice.

Notes:

1. I use SO Delicious Unsweetened Vanilla Coconut Milk Beverage. Any non-dairy milk will work, as will whole, 1%, and 2% cow’s milk. Do not use skim or fat-free cow’s milk.

2. I use Trader Joe’s Extra Virgin Coconut Oil.

Irish Chocolate Potato Cake {with Vegan Alternative}

 Hello! What have you been up to? I’ve been baking myself crazy, but it’s been a really fun few days!

This past weekend, I made six pies and some no-churn vanilla ice cream and had a little Pre-Pi Day Pie Party. I made a grapefruit variation of my Blood Orange Chess Pie and a truly amazing cherry cream cheese pie (coming soon!), among others, but the real hit was a no-bake vegan, grain-free, refined-sugar free, raw pie that I made for my allergic and super health-conscious friends. Everyone loved it! Check out that recipe–Rebecca knows what’s up.

On Sunday, I attended an Irish Tea Party hosted by my friend, Claire, who is an amazing cook. There were scones and sausages and tea sandwiches, and some really fantastic tea, of course! I brought a vegan version of this Irish Chocolate Potato Cake, just for fun 😊 I don’t make many vegan cakes, but this was a hit with everyone! I’ve included adjustments for veganizing this recipe in the notes below. 

Now, let’s talk about this cake. Yes, there really are potatoes in there–a whole cup! But don’t go running for the hills quite yet. The potatoes are cooked and then put through a ricer (or sieved), so you won’t find any large chunks of root vegetable mixed in with your chocolate! No, the potatoes keep everything supremely moist, and make this cake one-of-a-kind. If I hadn’t directly told you that there were potatoes in your dessert, I promise you wouldn’t even notice!

Irish Chocolate Potato Cake is made in a bundt pan. If you’ve ever made a bundt cake, you know the fear that comes with releasing it from the pan! Will it come out in one piece? How many chunks will be missing? When you’ve spent thirty minutes mixing up batter and an hour baking the thing, it can be disheartening to see what should come out as a gorgeously-shaped cake come out less than beautiful. But, never fear! I have just the trick to keep all your bundt cakes turning out perfectly every time. 

  For greasing the pan, I use a 1:1 combination of neutral-flavored oil (usually canola) and dry ingredients. With vanilla and other non-chocolate cakes, the dry ingredients are usually just all-purpose flour. But as this cake is full of chocolate, using all flour could leave a white film on the finished cake. It would still taste good, but it might look a little funny. Here, we add a tablespoon of natural unsweetened cocoa powder to the mix, which turns the whole mixture a lovely chocolate color. Use a pastry brush (or a very clean, dry hand) to spread the mixture into every last nook and cranny of the pan. Really coat the thing. It might take a few extra minutes, but it’s better than having a stuck cake! This ratio of oil and dry ingredients will work on most varieties of cake. Since I’ve started using it, I have spent much less money on parchment paper, and absolutely no time worrying about getting my cakes to release! 

The thick, beautiful chocolate batter is poured into the prepared bundt pan and baked at 350F for 45-50 minutes, until a toothpick inserted several places comes out clean. Let the cake cool in the pan for fifteen minutes or so before running a small, thin knife around the outer edge of the baked cake. This makes inverting it onto a cooling rack super simple. Place a cooling rack upside-down on top of the bundt pan. Hold on tight and flip everything quickly…and voila! A beautiful cake 😊 

    
Let it cool to room temperature, and spread or drizzle with chocolate ganache. Let that set for a few minutes before slicing and serving.

This Irish Chocolate Potato Cake is perfect for celebrating St. Patrick’s Day, or for any occasion that may demand bundt cake. I highly recommend enjoying a slice with a cup of tea. Actually, I think I’ll do that right now and call it breakfast 😊 

 Irish Chocolate Potato Cake {with Vegan Alternative}
adapted from cookingwithmaryandfriends.com
makes one 12.5 cup capacity bundt cake

For Greasing:
1/4 cup neutral-flavored oil
3 tablespoons all-purpose flour
1 tablespoons natural unsweetened cocoa powder

Cake:
2 cups all-purpose flour
2 tablespoons cornstarch
2 teaspoons baking powder
1 1/2 teaspoons ground cinnamon
1 1/2 teaspoons ground nutmeg
1 teaspoons Kosher or sea salt
1 cup unsalted butter, softened to room temperature*
4 ounces unsweetened chocolate, melted
1 cup granulated sugar
1 cup light brown sugar, packed
4 large eggs, room temperature*
1 teaspoon pure vanilla extract
1 cup cooked, riced russet potatoes, warm room temperature*
1/2 cup buttermilk, room temperature*

Ganache*:
1/2 cup heavy cream
4 ounces dark chocolate (60% or so), chopped

Preheat oven to 350F. Grease the bundt pan. In a small bowl, use a fork to whisk together oil, flour, and cocoa powder. Use a pastry brush to grease the inside of the bundt pan, making sure to paint all the nooks. Set aside.

In a large mixing bowl, whisk together flour, cornstarch, baking powder, cinnamon, nutmeg, and salt. Set aside.

In a separate large mixing bowl, use an electric mixer to cream the butter until it is light and fluffy. Beat in melted chocolate, followed by granulated and light brown sugars. Add eggs one at a time, beating after each addition. Beat in vanilla, followed by riced potatoes and buttermilk. Add dry ingredients in three installments, beating until completely combined. Transfer batter to prepared pan, and smooth the top. Tap full pan on the counter five times to release any large air bubbles. Bake cake for 45-50 minutes, until a toothpick inserted in a few places comes out clean.

Let cake cool in pan for 15 minutes. Use a small, thin knife to loosen the outer edges of the cake. Carefully invert cake onto a cooling rack, and allow cake to cool to room temperature.

Once the cake reaches room temperature, warm heavy cream in a small saucepan over medium high heat until bubbles start to form at the edges of the pan. Do not let it come to a full boil. Pour hot cream over chopped dark chocolate, and let it sit for a few minutes while chocolate softens. Stir together with a fork until completely combined. Drizzle or spread ganache over the top of the cooled cake. It will set in about an hour at room temperature.

Cake may be served immediately. Leftovers may be kept covered at room temperature for up to two days, or refrigerated for up to four.

Notes:

1. Vegan alternative: 1 cup vegan buttery spread, like Earth Balance, softened to cool room temperature.
2. Vegan alternative: use flax “eggs.” Mix 1/4 cup ground flax seed with 3/4 cup warm tap water. Let sit 5 minutes before adding to the recipe.
3. If you, like me, do not have a ricer, use a wooden spoon or silicone spatula to push cooked potatoes through a mesh sieve. This is the one I use.
4. Vegan alternative: add 1 teaspoon white or apple cider vinegar to a liquid measuring cup. Fill to the 1/2 cup mark with your non-dairy milk of choice.
5. Vegan alternative: in a double-boiler or the microwave, melt 4 ounces of chopped certified-vegan dark chocolate with 1 teaspoon coconut oil. Stir until smooth, and drizzle or spread on the cooled cake.  

Oreo Peanut Butter

Is there possibly a better combination than Oreos and peanut butter? I had never heard of eating them together until I saw the Lindsay Lohan version of The Parent Trap. When one of her characters used Oreos to scoop peanut butter out of the jar, it blew. my. mind.

It makes sense. I mean, chocolate and peanut butter are BFFs. Exhibit A: Reese’s Peanut Butter Cups. But pairing not-too-sweet Oreo wafers, creamy filling, and the magic that is peanut butter? Does it get better than that?!

Well, yes. Yes it does. How about Oreos *in* peanut butter?!

!!!

 My Oreo Peanut Butter could not be easier to whip up. All you need are three ingredients: roasted salted peanuts, Double Stuf Oreos, and a tablespoon of coconut oil. Put all three in a food processor or high-powered blender, and blitz until smooth. That’s it! The combination of freshly-ground peanut butter and pulverized Oreos is to die for, and the coconut oil keeps everything smooth and spreadable.
The only drawback is that it’s not the most gorgeous color, but when there is peanut butter-Oreo magic going on, who cares?

Oreo Peanut Butter is fantastic on toast, spread on bananas, in milkshakes, or just on a spoon. My favorite thing to do with it is make Fluffernutter sandwiches. Who wouldn’t love Oreos, peanut butter, and Marshmallow Fluff?!

Bottom line: make this Oreo Peanut Butter. It doesn’t get any better.

Oreo Peanut Butter
makes about two cups

1 1/2 cups roasted salted peanuts
24 Double Stuf Oreos
1 tablespoon coconut oil, solid

Combine all ingredients in a food processor or high-powered blender. Process until smooth, scraping down the bowl as necessary. Store in an airtight container at room temperature for up to two weeks, or indefinitely in the refrigerator.

Oreo Peanut Butter

My Favorite Guacamole

 Does anything say game day more than chips and dip? Maybe like…wings, but for the purposes of this blog, let’s go with “no.” You simply can’t have game day without chips and dip! I mean, when it comes down to it, everybody’s mostly there for the food, am I right?!

I mentioned yesterday that football isn’t my thing, but that won’t discourage me from accepting an invitation for a Super Bowl party. Ohhhh no. I’ve got a strategy.

I’ll come over and make nice during the pre-game show, and then while everyone else is yelling at the TV about first downs and safeties, I’ll be in the back demolishing the guacamole I brought for “everyone.” And by “everyone,” I mean “you may all have two bites and the rest is for me, okay?” 

You see, I make ridiculous guacamole. There’s nothing fancy about it–it’s just some vegetables mashed together–but everywhere I take it, it becomes a hit. My friend, David, insists that I make the best guacamole in the world. I don’t know about the world, but how about the best in the four block span between our apartments?

Maybe just my block?

Just my building? Yeah, that sounds reasonable. Let’s go with that.

So, what makes this recipe such a crowd pleaser? It’s all made to taste. Since vegetables are seasonal, and this entire recipe relies on fresh vegetables, the stellar recipe I made in April can taste very blah come October. So taste, taste, taste. 

Start with ripe avocados. They should have a little give when you press the skin lightly with your fingers. If they are super squishy, back away–the insides are probably black and watery. Gross. So grab three ripe avocados. Pit them and scoop the flesh into a large bowl. Then dice half a small onion and add that too. You may use red or white here, but red tends to have a stronger flavor. If raw onion isn’t your favorite thing, go for the white variety. Me though? I like raw onion on everything.

Next, dice up a couple of fresh jalapeños. If you are sensitive to heat, remove the seeds and ribs with a spoon. Then, dice it up. Regardless of how spicy you like your guacamole, it’s a good idea to taste a tiny piece of the jalapeño before adding it to the bowl. If it’s crazy-burn-your-tongue-off hot, maybe only add one full pepper. If it’s mild, go ahead and add two. The batch pictured has two whole large jalapeños, one with seeds and ribs, one without. Oh, and a quick reminder to always wash your hands thoroughly after handling hot peppers. And for the love of everything, don’t touch your face! I made that mistake in 2011, and it took an hour to stop burning 😁

Don’t be like me. 

 Anyway, mince up some garlic and add it to the bowl. I like two whole cloves, but if you’re sensitive to raw garlic, only add one. Squeeze in the juice of a lime and sprinkle in 1/2 teaspoon salt. Then, grab a potato masher or a fork and mash the living daylights out of everything until it’s to your desired consistency. Fold in some chopped cilantro and taste and adjust. Need more heat? Add more jalapeño! Need more lime? Squeeze another one! Not salty enough? I usually end up adding an additional 1/4 teaspoon, keeping in mind that the chips are salty too. Then put it in a cute bowl and serve it with tortilla chips. 

I know many people like their guacamole with diced tomatoes. I do too, but the February tomatoes I saw at the market yesterday were just too sad to use. If you find some that look good, by all means, use them! I recommend using two or three medium tomatoes that have been seeded. Just dice them the same size as the onion and jalapeños.

So, this weekend, make this guacamole and bring it to your Super Bowl party. It may not be the best in the whole world, but it’ll be the best at your get-together 😊 

Need more game day food? Check out my Artichoke Dip, Restaurant-Style Salsa, and Double Chocolate Fritos Cookies!

Classic Guacamole
makes about four cups

3 large ripe avocados, peeled and pitted
1/2 small red or white onion, diced small
1-2 jalapeños, diced small (ribs and seeds removed, optional)
1-2 cloves garlic, minced
juice of 1 lime
1/2 teaspoon Kosher or sea salt, plus more to taste.
1/4-1/3 cup cilantro leaves, chopped
tortilla chips, for serving

In a large bowl, combine avocados, diced onion and jalapeño, minced garlic, lime juice, and salt. Use a potato masher or fork to thoroughly mash all ingredients together. Use a silicone spatula or wooden spoon to fold in cilantro. Transfer guacamole to a serving bowl, and serve immediately with tortilla chips. 

Dark Chocolate Pecan Butter

Well, we survived the blizzard. With the exception of a two hour excursion to the fancy grocery store for provisions (read: lots of cheese and some kimchi), Henry and I stayed home all day Saturday while New York City was brought to a standstill by Jonas. We watched PBS (because we’re big nerds) and made a pot of sausage and white bean soup before the real cabin fever set in. But that was solved by taking a slippery walk down to Smith Street and making some snow angels. Really, there was nothing to complain about: we had a warm apartment, plenty of food, Netflix, and good company. But now, the snow is a problem. It’s everywhere, gray and slushy. I literally had to hike to the coffee shop across the street yesterday morning. Gross. But, then I came home, turned on BBC World Service (again, big nerd), ate some toast with bananas and this Dark Chocolate Pecan Butter, and briefly, blissfully forgot about the mayhem outside…until I left for Target and fell in a gray snowbank. So much for peace.

This Dark Chocolate Pecan Butter is so good. Chocolaty and lightly sweetened, with the deep caramel flavor that only toasted pecans can provide. It’s made with everyday ingredients like pecan halves (duh), cocoa powder, maple syrup, and coconut oil. Nothing weird. No palm oil, no copious amounts of refined sugar. No refined sugar at all, actually! There’s no dairy here either, so this nut butter is vegan!

Making homemade nut butters couldn’t be simpler. You will need a food processor or high-powered blender, but that is the only special equipment. If you don’t have one, I recommend this Hamilton Beach food processor. I’ve had mine for five years and it hasn’t failed me yet.

But back to the Dark Chocolate Pecan Butter. It starts with toasting pecan halves. Just spread them on a dry cookie sheet and bake at 400F for 5-7 minutes. You’ll know they’re ready the second you start to smell them. If you don’t trust your nose, start checking them every thirty seconds or so from the five minute mark until you deem them done. Whatever you do, don’t leave the room. The pecans can burn in a split second, and burnt pecan butter is decidedly not delicious.

  Once the pecans are toasty, put them in your food processor with a touch of salt and some cocoa powder. I prefer to use Dutch process cocoa here because I think its flavor is richer than natural. Dutch process cocoa is a little less widely available than natural, but it’s really not hard to find at all. In NYC, it’s available at Whole Foods, Sahadi’s, Union Market, and many specialty stores. N.Y. Cake Supply sells Valrhona cocoa at wholesale prices, but if Valrhona is a little too pricey for your liking, Droste is another brand I love. If you just want to stick with classic Hershey’s, do it. It will be delicious! Don’t let something as silly as some fancy cocoa stop you from making this Dark Chocolate Pecan Butter.

…anyway…

Process the pecans, cocoa powder, and salt until a nut butter forms. Then, add a bit of coconut oil, a few tablespoons of maple syrup, and a splash of vanilla, before blitzing for an additional 3-5 minutes. You might be thinking that the coconut oil seems unnecessary with all the oils in the pecans. And you’d be right, except that the cocoa powder dries everything out. The two teaspoons of coconut oil keep everything loose and spreadable. As far as sweetening goes, it’s up to you. I don’t like this butter to be very sweet. I use three tablespoons of maple syrup, but just add it to your preferred sweetness. Keep in mind that the maple will cause the butter to seize when you add it, but after a minute or two, everything will loosen back up. When the Dark Chocolate Pecan Butter is to your preferred consistency, transfer it to an airtight container for storage. The oils will separate a bit as it sits, so just give it a quick stir before use.

Now, how to serve this… Well, there’s always eating it by the spoonful. Or on oatmeal. Or stirred into yogurt. All of those would be great! But my favorite is on toasted country bread with bananas. Try it. Trust me.

Want more chocolate and pecans? Check out my Salted Caramel Chocolate-Covered Pecan Cookies!

Dark Chocolate Pecan Butter
makes about two cups

3 cups pecan halve
3 tablespoons cocoa powder*
1/4 teaspoon salt
3-4 tablespoons pure maple syrup*
2 teaspoons coconut oil
1/2 teaspoon pure vanilla extract

Preheat oven to 400F. Spread pecan halves on a baking sheet (not greased). Roast for 5-7 minutes, until fragrant. Let cool five minutes before transferring to a food processor or high-powered blender.

Add cocoa powder and salt to pecans and process until a nut butter forms, about 5 minutes. Scrape down the sides of the bowl as necessary. Add in maple syrup, coconut oil, and vanilla. Process for an additional 3-5 minutes. Butter will seize initially before becoming smooth again. Once it’s smooth, transfer the butter to an airtight container.

Store Dark Chocolate Pecan Butter at room temperature for up to a week, or indefinitely in the refrigerator. Butter will harden in the refrigerator, so bring it to room temperature before spreading. Stir before using.

Notes:
1. I prefer Dutch process cocoa here, but any cocoa powder will do.
2. Honey or agave may be substituted.

Dark Chocolate Pecan Butter