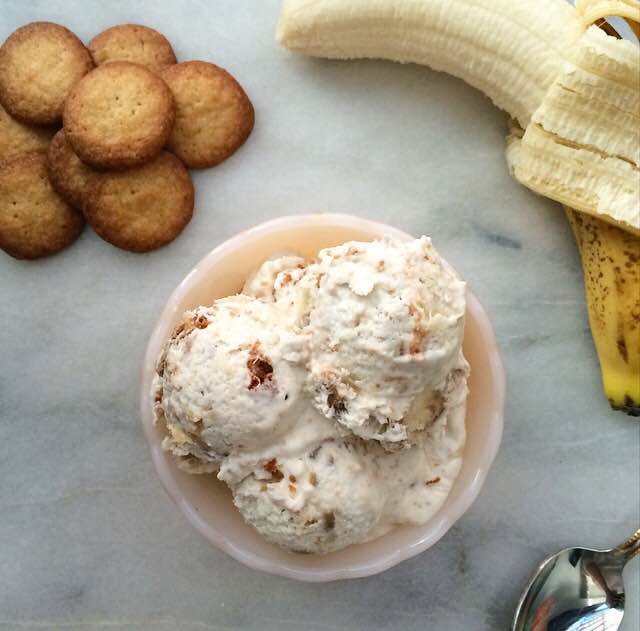
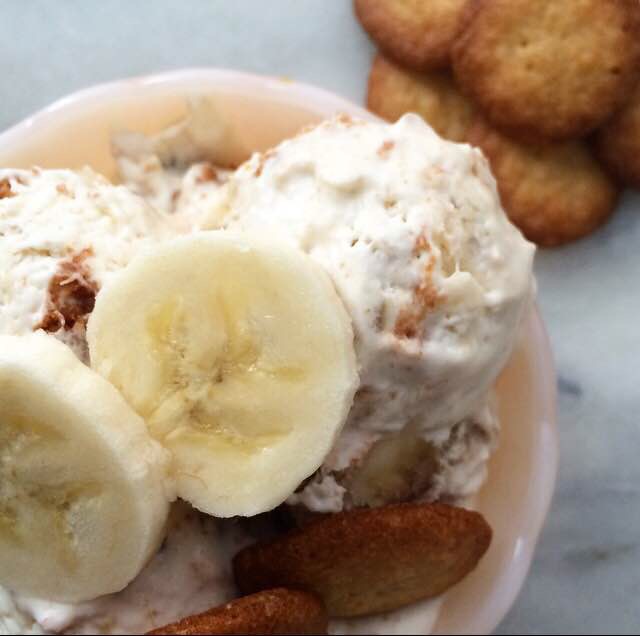
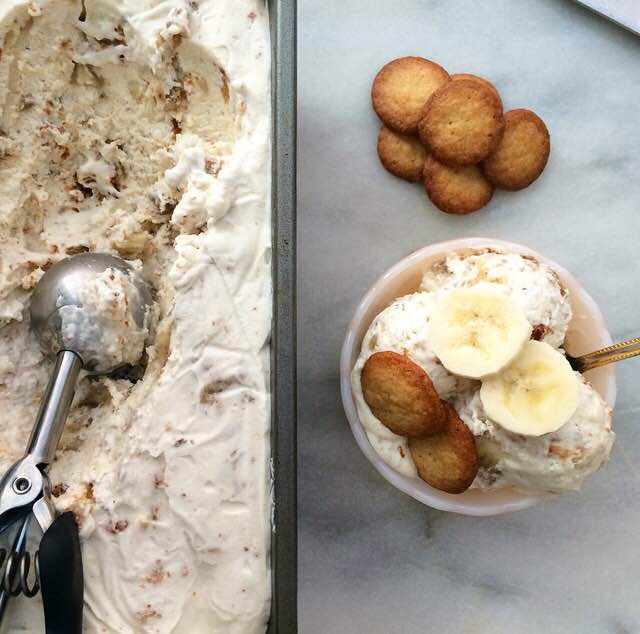
 Have you ever had Hummingbird Cake? If you aren’t from the south, there’s a good chance you haven’t. It’s a southern specialty, first published in Southern Living magazine in 1978 (and still their most requested recipe). It’s like carrot cake, but decidedly tropical–a spice cake full of banana, pineapple, coconut, and pecans, topped with cream cheese frosting. Oh, is it ever good. And with all that tropical fruit, it’s perfect for summer.
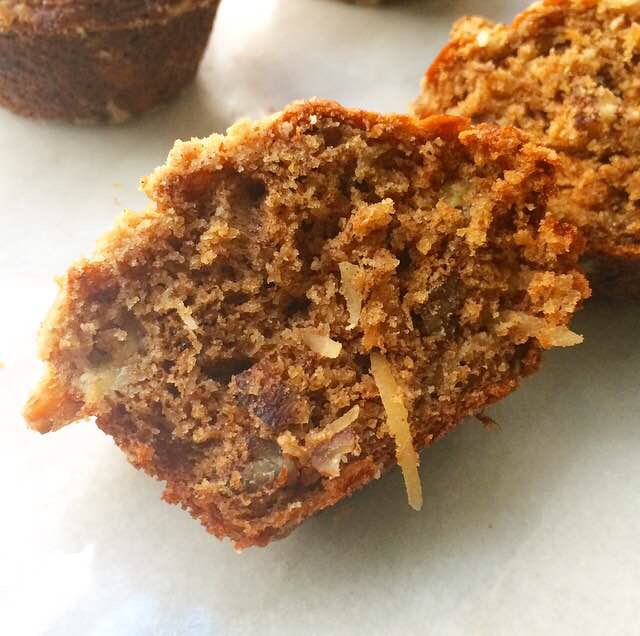
Warning: once you try Hummingbird Cake, you’ll want it all the time. Even for breakfast.
And really, why not?! I mean, there’s fruit in there. And nuts–hello, protein! But there’s also a lot of sugar, and frosting simply is not breakfast food…unless you’re having cinnamon rolls ☺️ And so, to satisfy my early-morning need for tropical spice cake, I took all the flavors of the southern classic and put them in a batch of muffins. And I swapped the frosting for a pecan streusel, just to make them appropriate for scarfing down at 7am.
The base for these Hummingbird Muffins is a riff on my favorite banana bread. I got the idea to soup-up the batter from my Insta-friend and fellow blogger, Megan. She took her favorite vegan banana muffins and made them into Hummingbird Cupcakes! Her idea is absolute genius, and when I was developing this recipe, I just had to steal it 😊

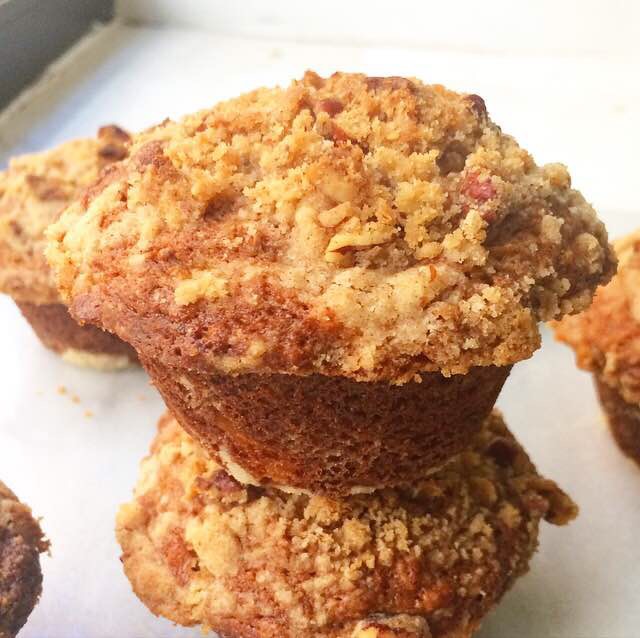
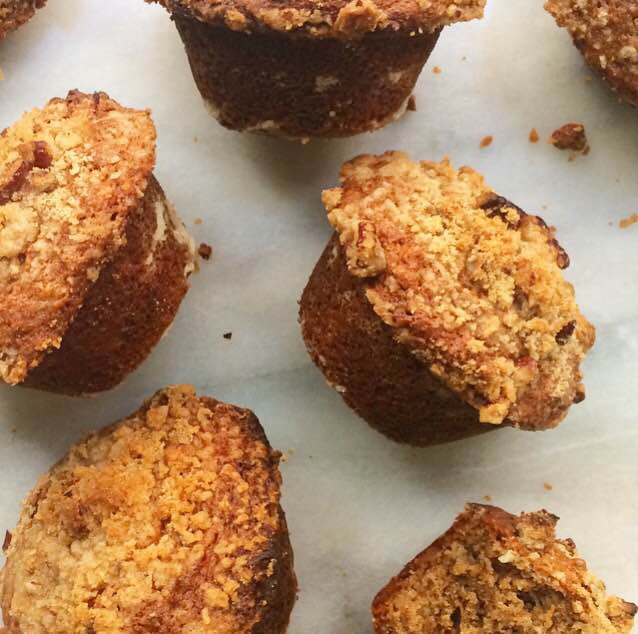
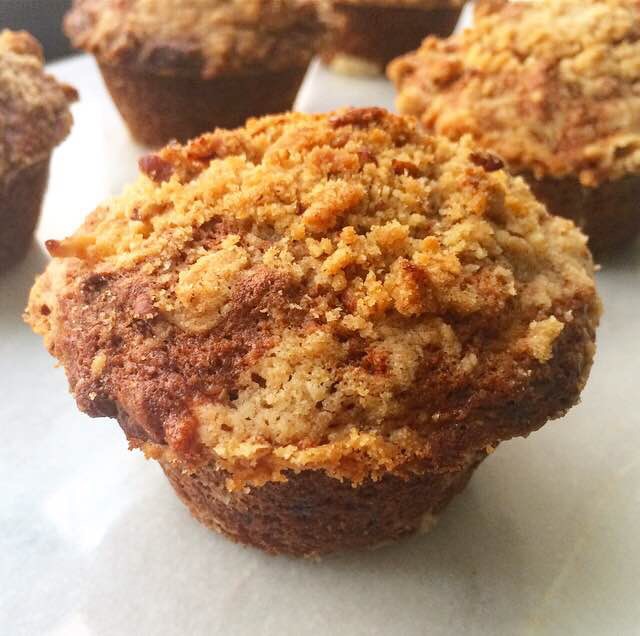 The muffin base is soft and moist, a little nutty from the addition of white whole wheat flour, and full of cinnamon and banana flavors. It’s a simple no-mixer recipe that I absolutely swear by. Here, the batter is filled with crushed pineapple, sweetened shredded coconut, and chopped pecans before being spooned into muffin cups, topped with an easy pecan streusel, and baked until domed and golden brown.
Hummingbird Muffins are the best way to have cake for breakfast. Full of whole grain, cinnamon, fruit, and nuts, they’re healthy enough to grab for a quick breakfast, and delicious enough to keep you coming back for seconds.
 Hummingbird Muffins
makes 14-16 standard muffins
1 cup all-purpose flour
1 cup white whole wheat flour*
1 1/2 teaspoons baking powder
1 teaspoon baking soda
2 teaspoons ground cinnamon
1 teaspoon Kosher or sea salt
1/2 cup coconut oil,* melted
1/2 cup light brown sugar, packed
1/2 cup granulated sugar
2 large eggs, room temperature
1/4 cup milk of choice*
2 teaspoons real vanilla extract
3 large ripe bananas, mashed
1/2 cup canned crushed pineapple in juice (not drained)
2/3 cup sweetened shredded coconut
2/3 cup pecans, chopped (optional)
Streusel:
1/2 cup all-purpose flour
1/4 cup light brown sugar, packed
1/4 cup pecans, chopped (optional)
1/2 teaspoon ground cinnamon
pinch of Kosher or sea salt
4 tablespoons unsalted butter, very cold
Preheat oven to 425F. Grease a standard muffin pan or line with muffin liners.
In a medium-large mixing bowl, whisk together all-purpose flour, white whole wheat flour, baking powder, baking soda, cinnamon, and salt. Set aside.
In a large mixing bowl, whisk together melted coconut oil, light brown sugar, and granulated sugar. Add eggs one at a time, combining completely after each addition. Whisk in vanilla, followed by mashed bananas, crushed pineapple, and milk.
Add dry ingredients to wet, and use a silicone spatula or wooden spoon to stir them together–no more than 20 strokes. Add coconut and pecans, and stir five additional strokes. Fill each muffin cup all the way to the top.
Make the streusel. In a small mixing bowl, use a fork to stir together flour, light brown sugar, pecans, cinnamon, and salt. Use a pastry blender (or two forks) to cut cold butter into dry ingredients until the largest pieces are the size of small peas. Place about 1 tablespoon of streusel on top of each filled muffin cup.
Tap full pan on the counter five times to release any large air bubbles. Place full pan in the oven. Bake for five minutes. Without opening the oven door, turn the oven temperature down to 375F and bake an additional 17-18 minutes. Tent with foil if anything starts to brown too quickly. Muffins are ready when a toothpick inserted in the center comes out clean.
Let muffins cool in pan for at least five minutes before removing to a rack to cool completely. Pan should return to room temperature before you bake any remaining batter.
Serve muffins immediately, or keep in an airtight container at room temperature for up to three days.
Notes:
1. White whole wheat flour may be replaced with an equal volume of whole wheat flour or all-purpose flour.
2. Melted coconut oil may be replaced with an equal volume of neutral-flavored oil, such as canola or vegetable.
3. I use whole milk, but 1% or 2% milk will also work. I do not recommend skim or fat free cow’s milk. You may also use a non-dairy milk.
 I go to the same coffee place everyday. It’s an institution on Atlantic Avenue–Moon’s Palace. It’s not flashy, and you won’t find any fancy pour-over there, but the owner, known to me as Mr. Moon, makes a solid cup of coffee. I don’t even have to ask for my order anymore–he and his sons know that if its a weekday, I want a large black coffee, and if it’s a weekend, a second large coffee with foamed half-and-half, for Henry. I’ve been going there so frequently for the last three years that we even have a deal during the summer: they keep all their sad-looking overripe bananas for me (instead of tossing them in the garbage), and I buy them at half-price for banana bread. It’s the best deal in town, as far as I’m concerned: twenty-five cent bananas, and I don’t even have to wait for them to ripen!
 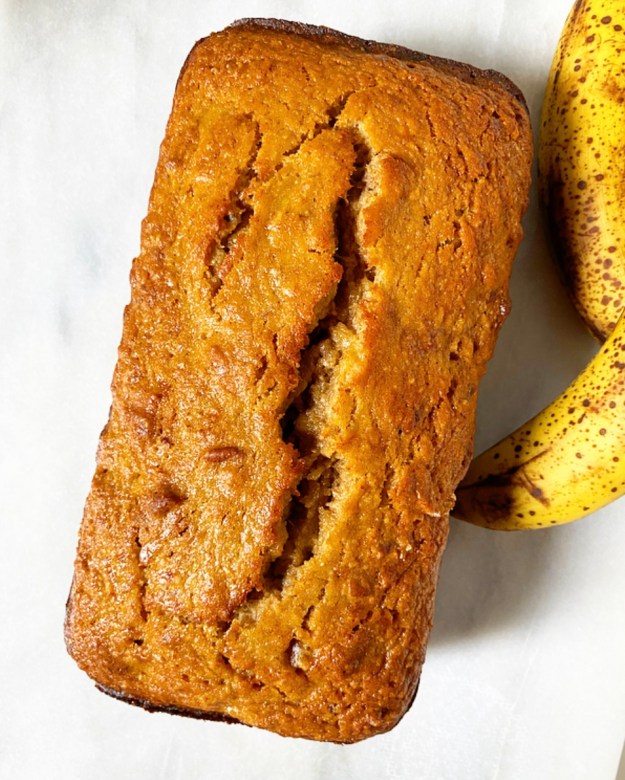 But now it’s winter, and ready-made overripe bananas are harder to come by. I went in last week and grabbed a few bananas that were still bright yellow, hoping to make banana bread in about a week. I put them in a paper bag and left them to ripen, but they refused. Sure, they started to turn a little brown in places, but not nearly enough for really good banana bread. Being the impatient, banana bread-deprived woman I was, I resorted to one of those hacks that probably plague your Facebook feed. I placed the bananas on a lined baking sheet, put them in a 250F oven for twenty minutes, and was rewarded with overripe results!
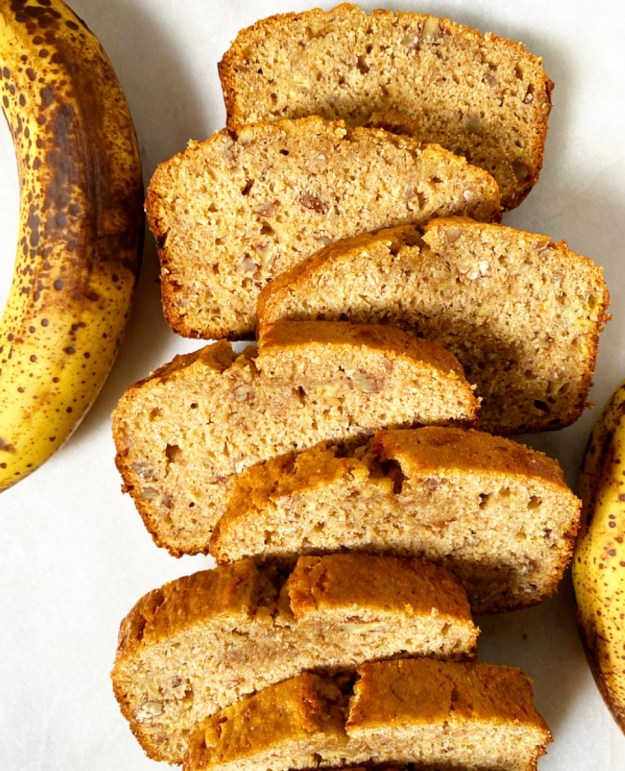
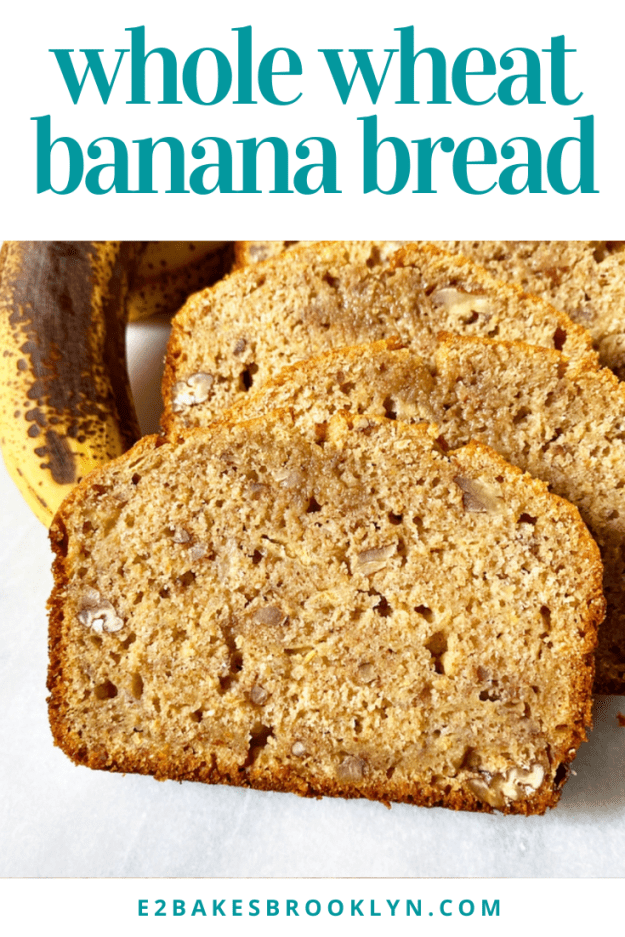
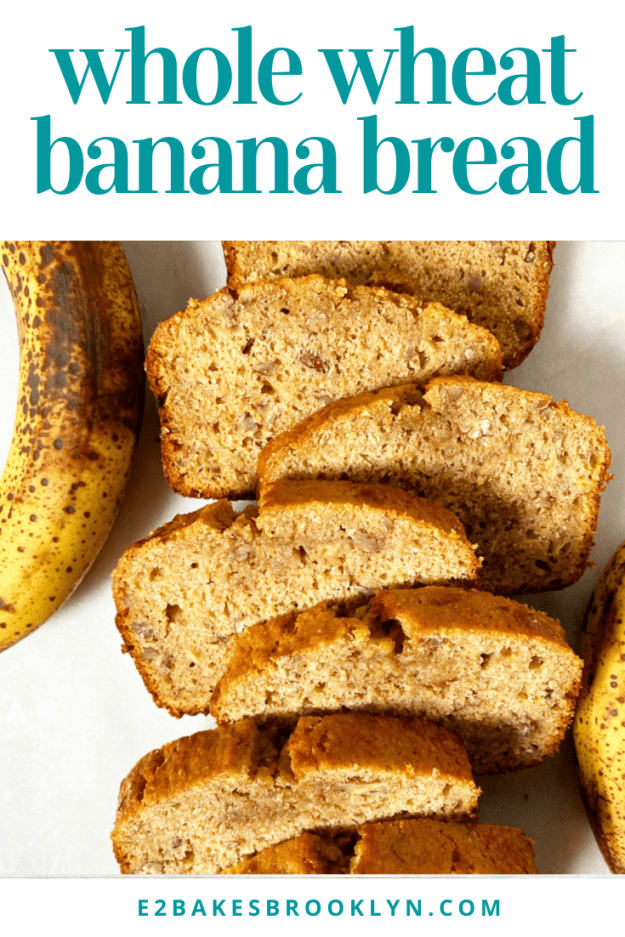
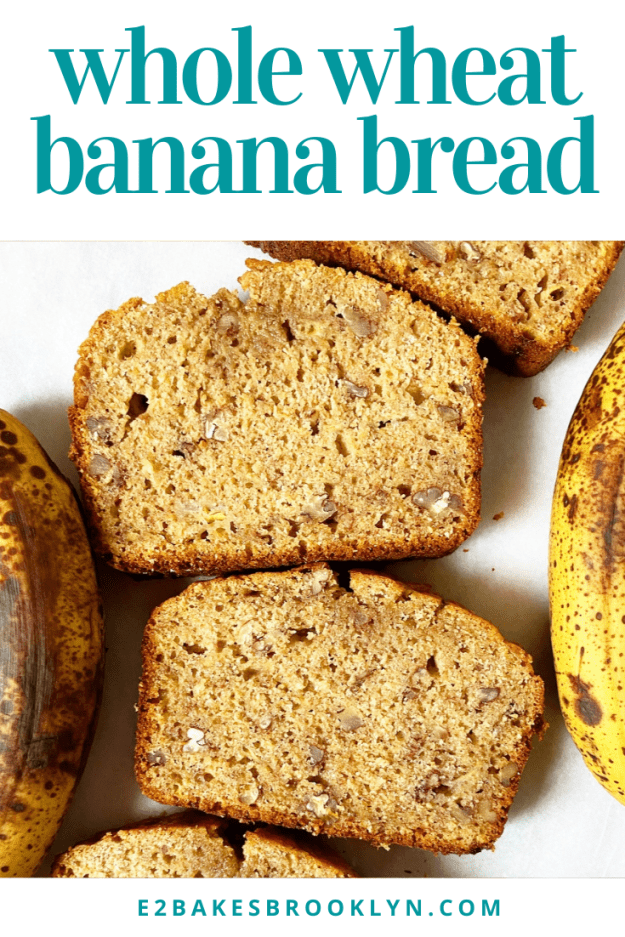
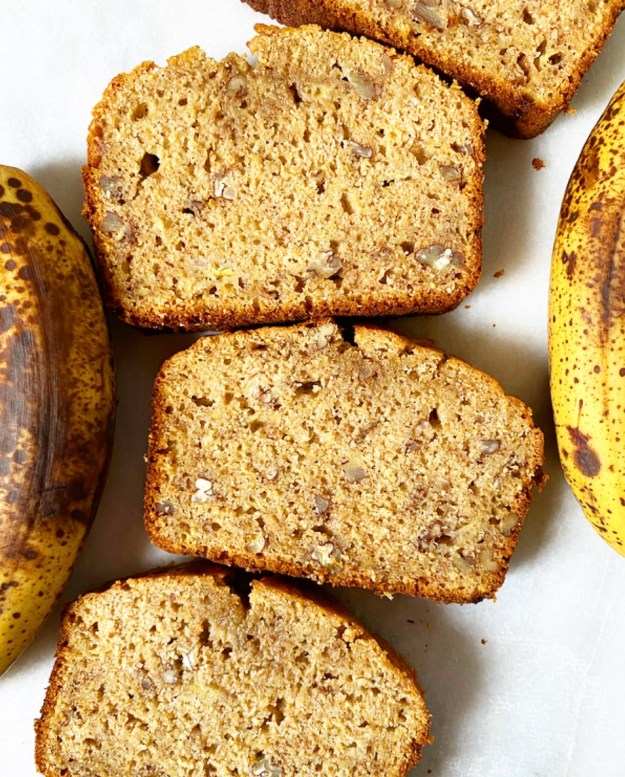
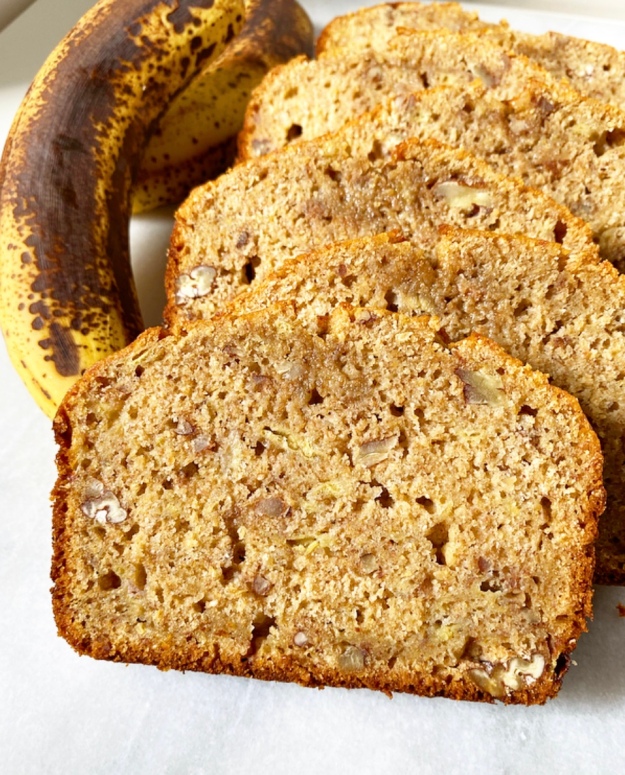 So, now that I’ve played Mother Nature with these bananas, let’s make some banana bread. Whole Wheat Banana Bread, to be exact. Sweet, cinnamon-scented quickbread chock full of bananas and walnuts, with all the nutty goodness of whole wheat. Now, baking with whole wheat flour can be tricky. Since it hasn’t been stripped of the bran and germ like all-purpose flour, whole wheat flour has a grainier texture and higher protein content. Higher protein = more gluten. More gluten = greater potential for tough, dense results. We have to follow a few guidelines to keep this banana bread from being a brick.
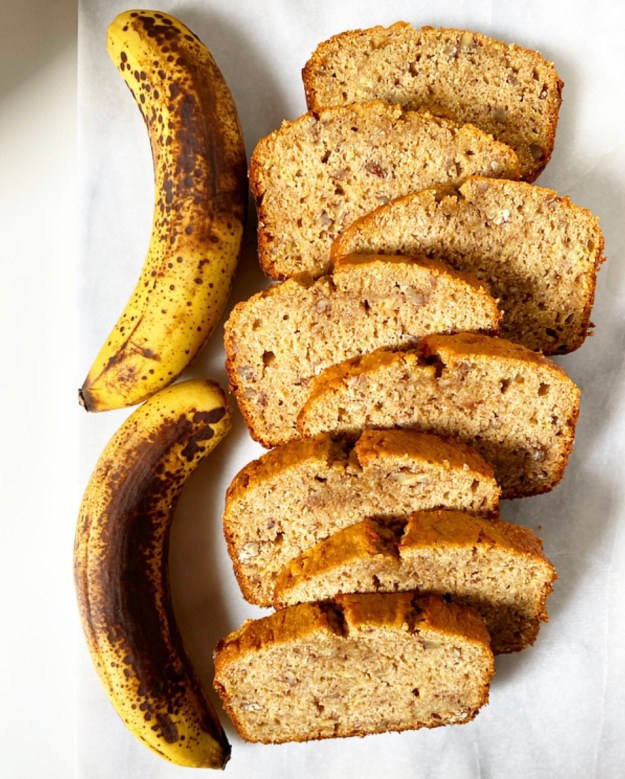 1. Measure the flour properly. American baking is notoriously unreliable when it comes to measurements. This isn’t a problem in countries where they bake by weight–100 grams is always 100 grams. In the U.S., though, measuring is a problem. Since we traditionally measure ingredients by volume, there’s no way to know if two people are using exactly the same amount of an ingredient. Some people measure flour by just scooping it with the measuring cup. This doesn’t allow any air into the flour, and can therefore contribute to over-measuring. In cakes and breads, this can lead to things becoming too dense and dry. In cookies, this can lead to toughness and/or cakey results.
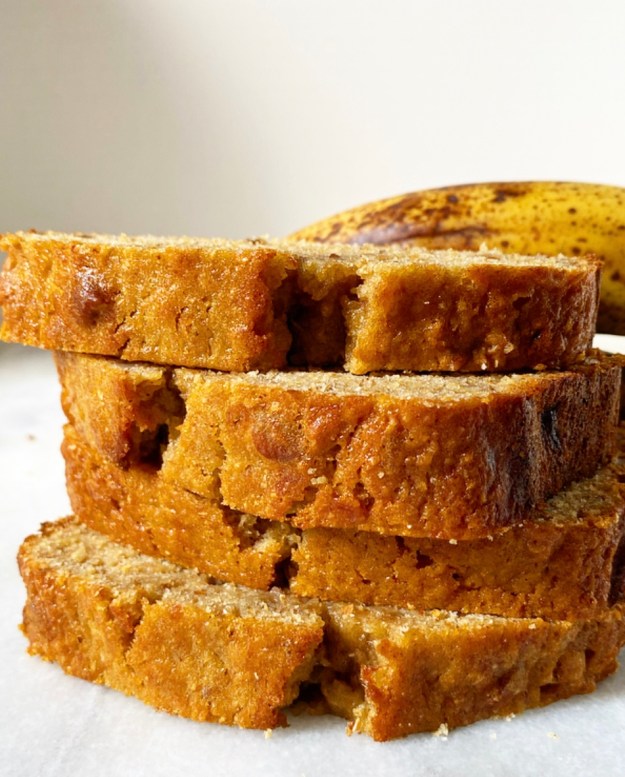 3. Add enough moisture. (Warning: I’m about to say “moist” a lot.) In this banana bread, we need a ton of moisture to counteract the density potential from the whole wheat flour. Here, we use oil so our banana bread stays soft and springy. If we used butter, which is around 15% water, our bread would dry out as the water evaporated over time. Also, there’s so much flavor going on between the bananas, cinnamon, and walnuts that we won’t even notice the lack of butter. So, break out the neutral-flavored oil: canola, vegetable, whatever you have. You may also use melted coconut oil. Next comes brown sugar. We use only brown sugar in this recipe because it’s more moist than granulated sugar, thanks to the molasses. After that, two large eggs. The eggs provide moisture, chew, and additional structure. They help the final product to stay soft and moist-crumbed, which is exactly what we want in banana bread. Lastly comes the milk, which is just extra moisture insurance. You may use any milk you like (including buttermilk, almond, oat, soy, etc.), although I do not recommend skim or fat-free cow’s milk.