I’ve been generally bad at posting regularly for the last year or so, but I have recently made it a bit of a habit to post my early morning baking adventures over on my Instagram stories. Whether those recipes make it onto this website is not the point—the point is to share what’s happening in my kitchen. Last week, I posted a picture of a Star Bread on there and got so many compliments, which is really kind and validating. There was one bit of feedback from an old friend that really stuck out to me though:
“I cannot imagine being able to go in my kitchen and make something like this.”
It was followed up by compliments, but that statement has stayed with me. I mean, if I’m not over here convincing you that you can indeed go in your kitchen and make Star Bread, then what exactly am I doing?
Ten years ago, I was convinced by food blogs that I could make vanilla wafers at home. Which I did. And then I made it my whole personality. And while vanilla wafers and yeast doughs are not the same level of difficulty, I want you to know that you almost certainly can go in your kitchen and make Star Bread. You can.
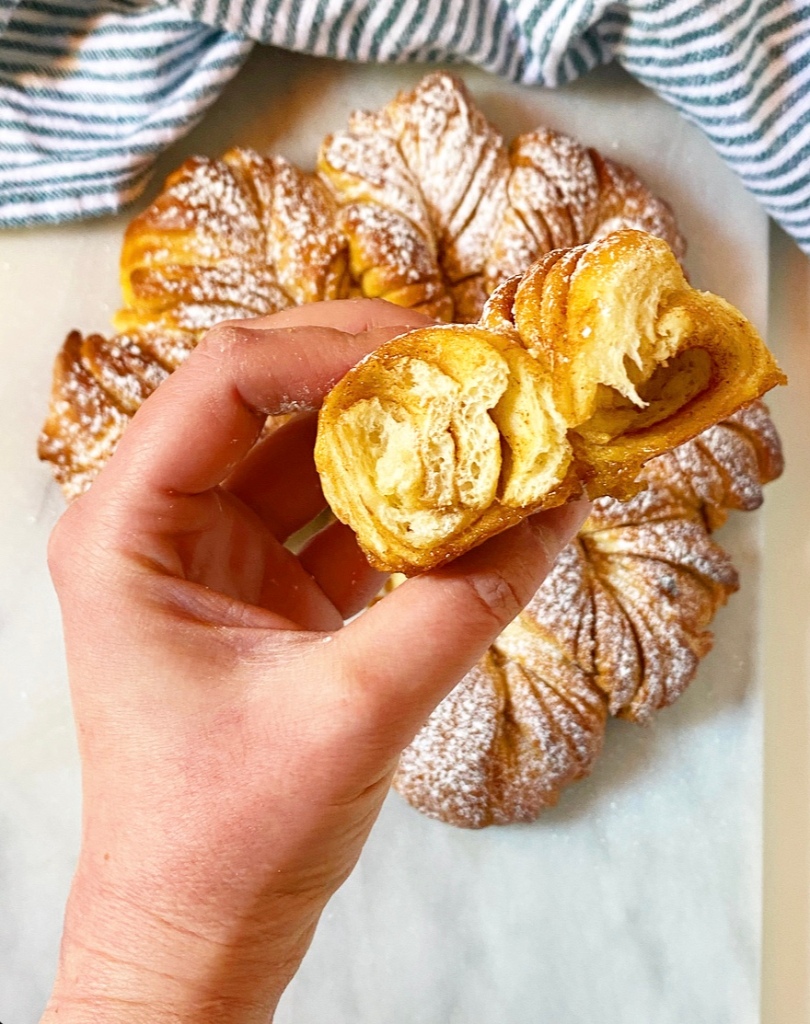
If you can make cinnamon rolls, you can make Star Bread. If you can make pull-aparts, you can make Star Bread. Same goes for monkey bread and cinnamon swirl bread. They are all fundamentally the same—cinnamon-sugar and a simple enriched yeast dough wrapped together, sliced, and baked. If you’ve got time and a basic kitchen set-up with a fridge and an oven, you, my friend, can make a Star Bread.

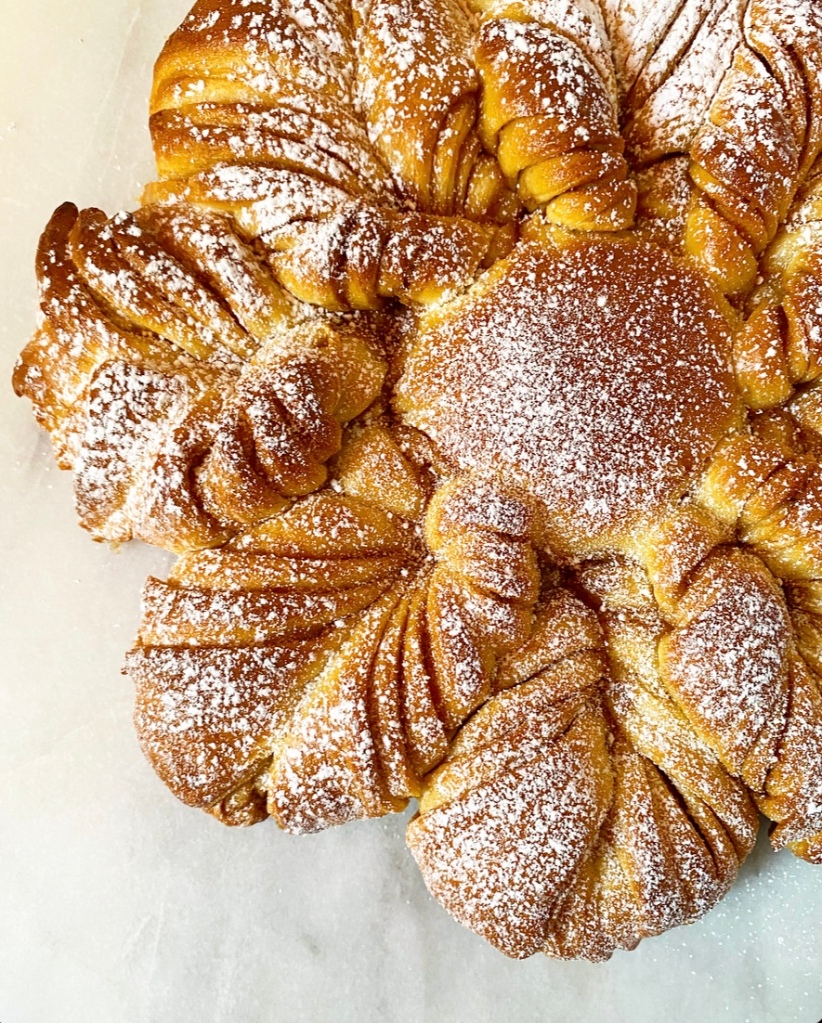
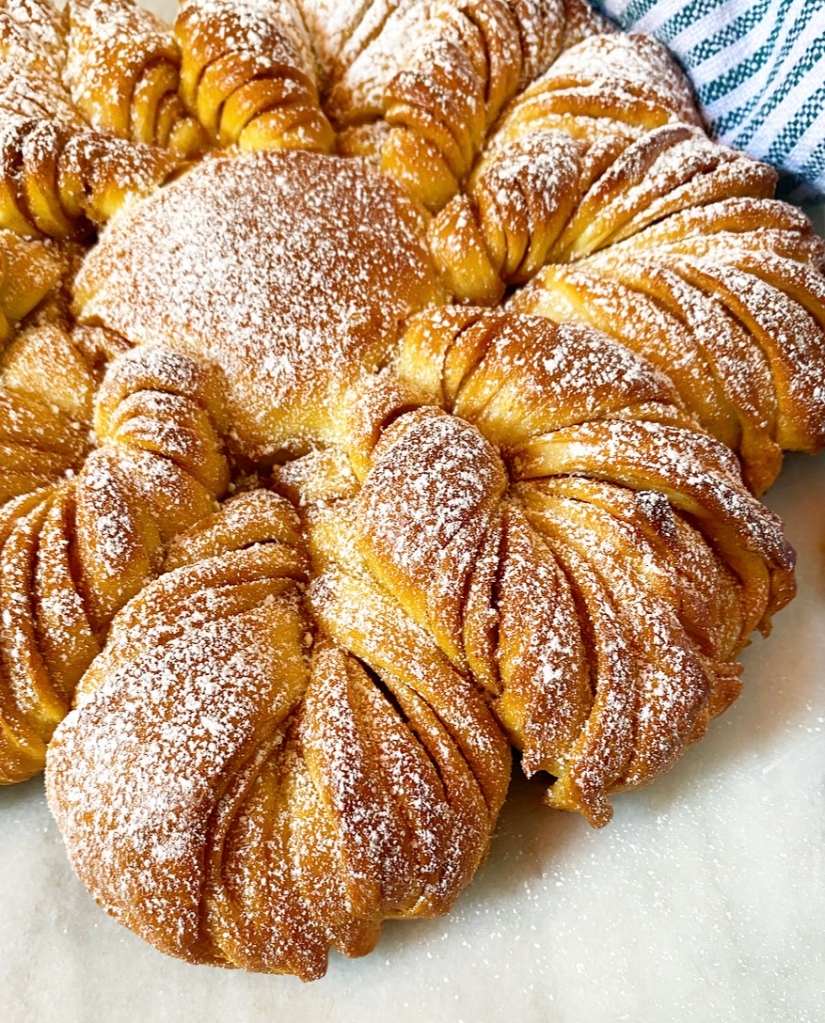
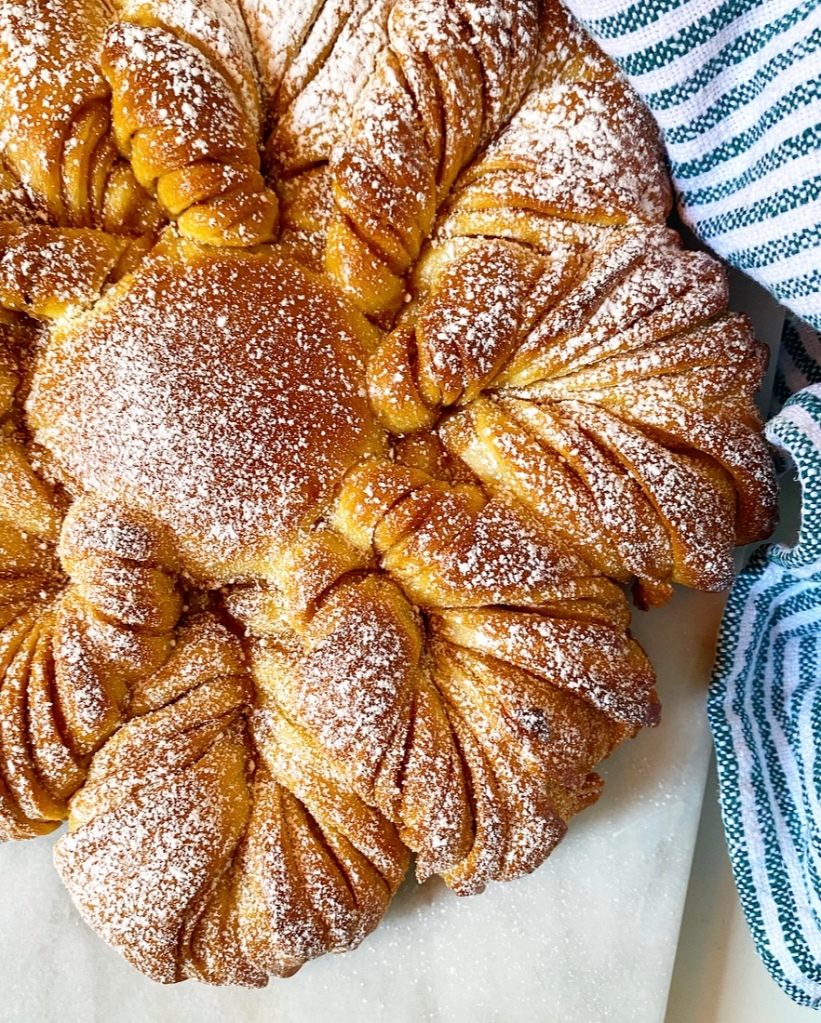
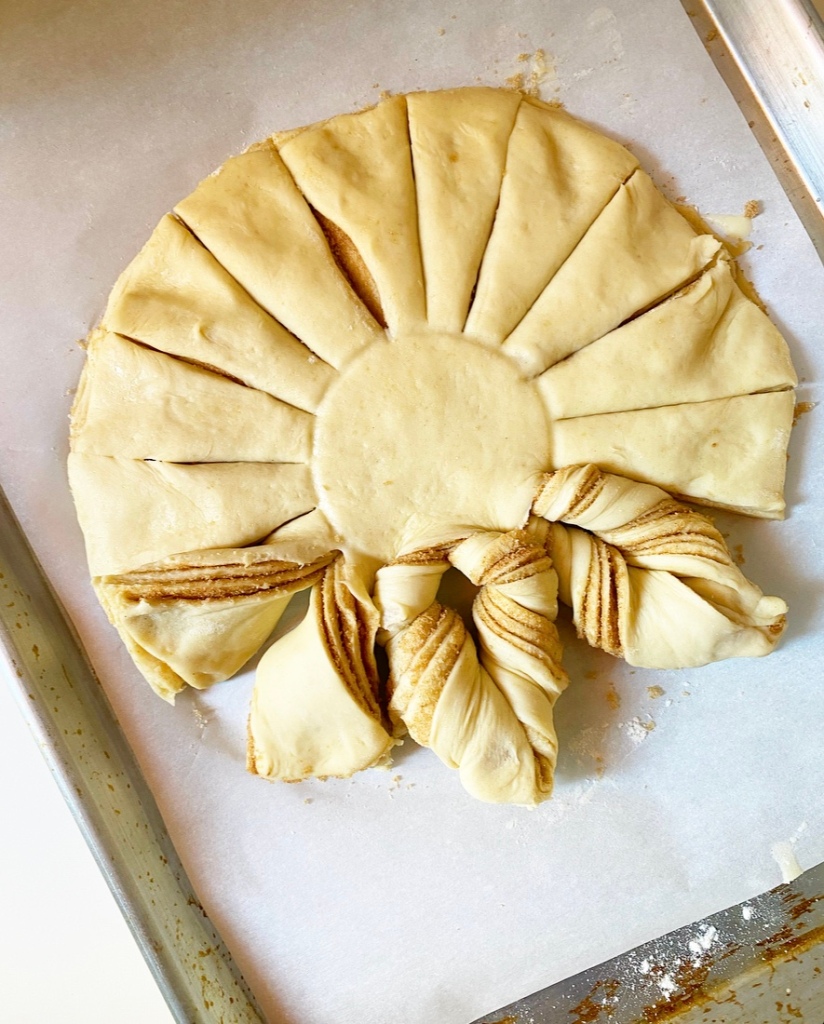
In this case, it’s just a matter of dividing and stacking the dough with the cinnamon-brown sugar, then slicing it so that it resembles a sun. The signature shape comes in when pairs of the sun’s rays are twisted away from one another, creating a festive eight-point loaf.
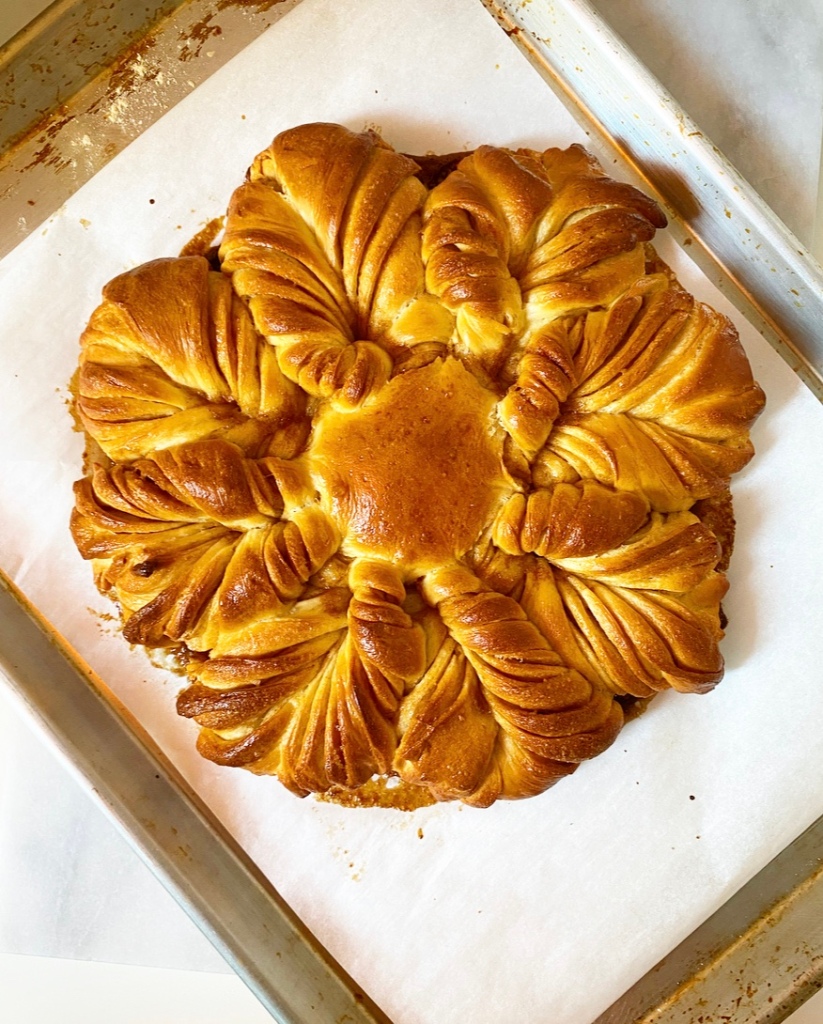
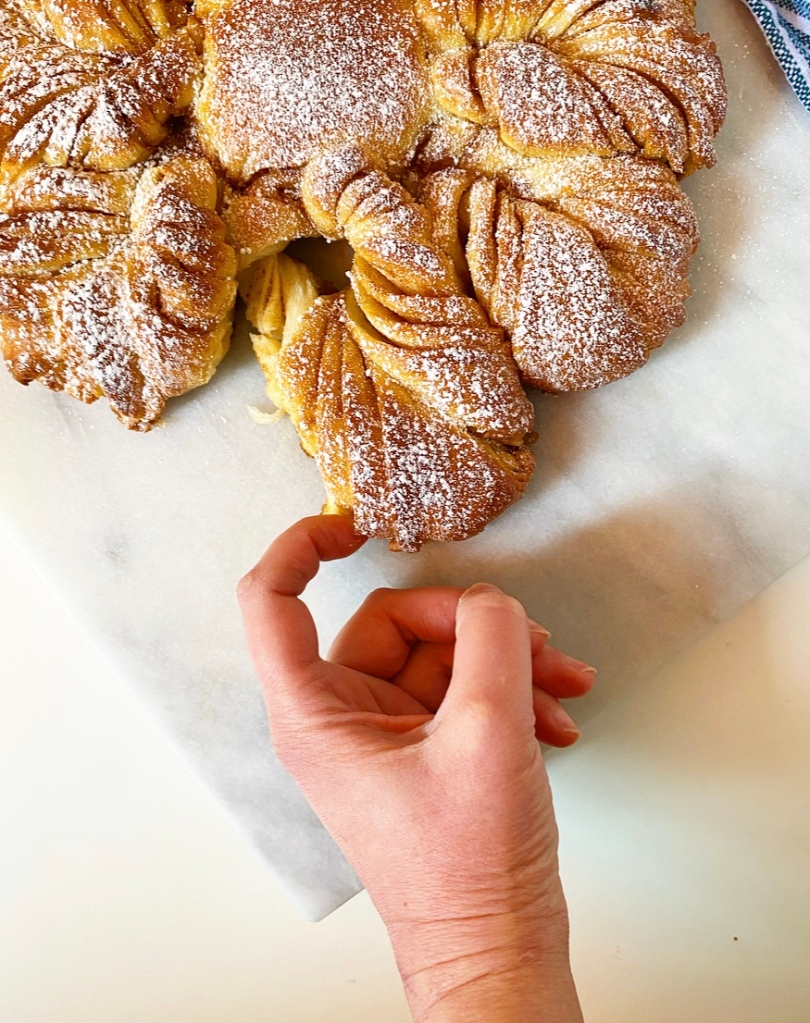
Let it rest and rise a second time, then paint it with egg wash to encourage a burnished final product, and bake until beautiful. Star Bread can certainly be served by its lonesome, but I like a light dusting of confectioner’s sugar for garnish. It gives a snowy day vibe that works super well this time of year.
I know cinnamon rolls are a popular Christmas breakfast, but perhaps this year you can use your skills to make a Star Bread instead. They’re the same in so many ways, and while they’re both showstoppers, Star Bread clearly has a bit more of a…well, a star quality. And you do too, my friend. You can make a Star Bread. I believe in you.
Star Bread
makes 1 loaf (about 8-10 servings)
Dough:
2 3/4-3 cups all-purpose flour
3 tablespoons granulated sugar
1 packet (2 1/4 teaspoons) instant yeast
1 teaspoon fine sea salt
3 tablespoons unsalted butter
1 cup whole milk
1 large egg, room temperature
Filling:
6 tablespoons light or dark brown sugar, packed
1 teaspoon ground cinnamon
pinch of Kosher or sea salt
2 tablespoons unsalted butter, melted
Egg Wash:
1 large egg
1 teaspoon water
For Finishing:
confectioner’s sugar
Make the dough. In a medium-large mixing bowl, whisk together all-purpose flour, sugar, instant yeast, and salt. Set aside.
In a small saucepan over medium-low heat, melt butter and milk together until just warm to the touch, about 95-110 degrees.
Crack the egg into a small mixing bowl. Whisking constantly, add the butter/milk mixture in a thin stream until completely combined. Add mixture to the dry ingredients and fold together.
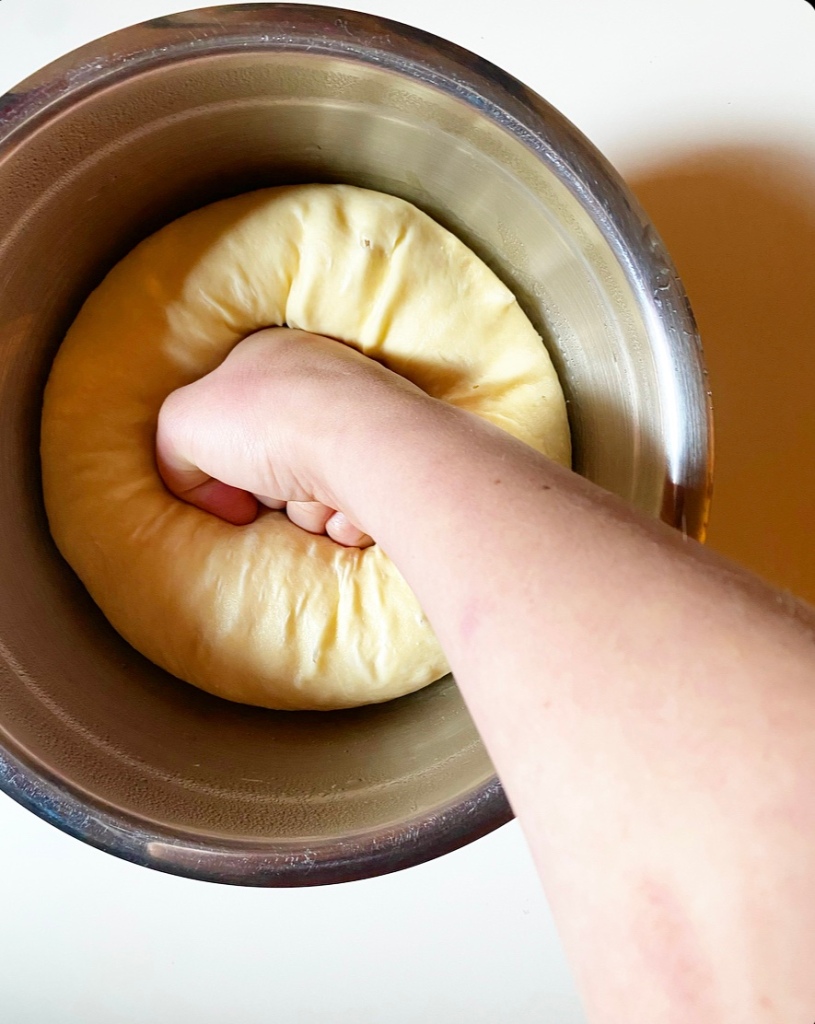
Turn dough onto a floured surface and knead 5-6 minutes, until smooth. Gather dough into a ball and place it in an oiled bowl, making sure to get a little oil on all sides. Stretch some plastic wrap over the top and allow dough to rise in a warm, draft-free environment for 40 minutes or until doubled in bulk. Alternatively, place wrapped bowl in the refrigerator for 12-24 hours (a cold proof).
Make the filling. In a small bowl, use a fork to whisk together brown sugar, cinnamon, and salt. Set aside.
Line a rimmed half-sheet pan with parchment paper.
Flour a surface, your hands, a rolling pin, and a large, sharp knife or bench scraper. Punch down your dough. Turn it onto the surface, then use the knife or bench scraper to divide it into four even pieces.
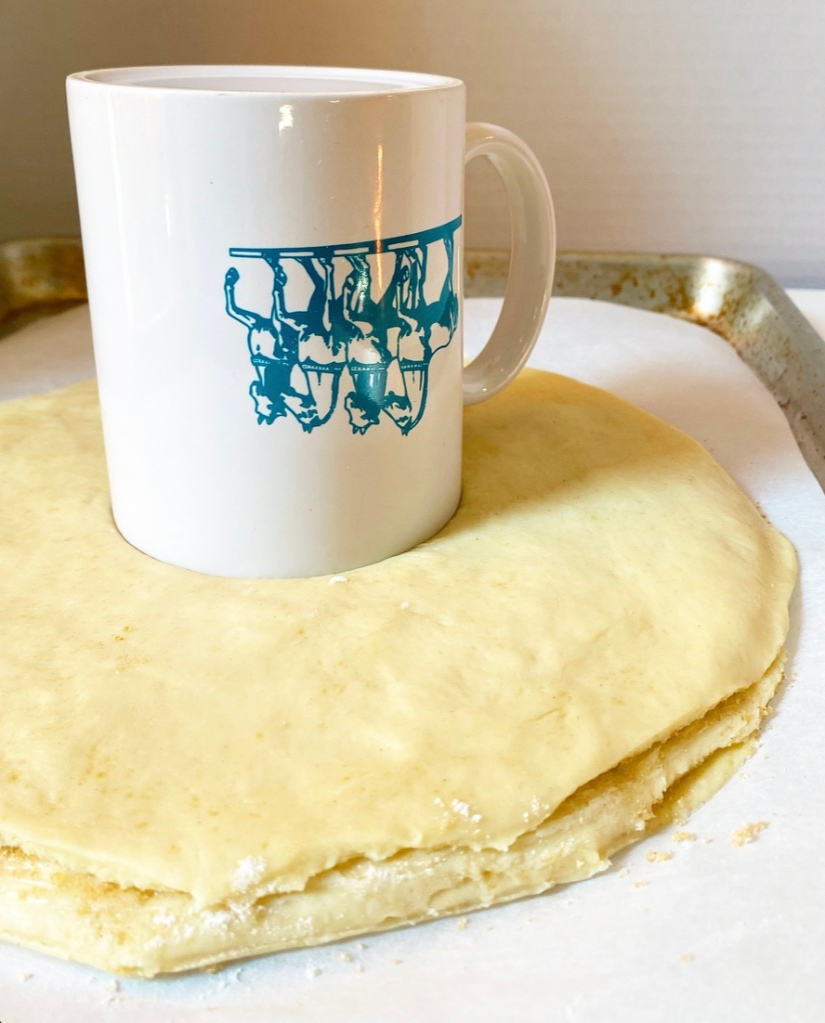
Working with one piece at a time, roll it to a circle 9-inches in diameter (or larger and cut off excess). Gently transfer the first circle to the center of the prepared baking sheet.
Paint it with melted butter and sprinkle with 1/3 of the filling mixture. Roll out two more circles,
then paint with butter and sprinkle with the remaining 2/3 of the filling mixture. Top with the fourth and final circle. Gently press down on top to adhere everything. Slice off and discard any scraggly bits.
Shape the bread. Use a coffee mug or other 3-inch stencil to mark a 3-inch circle on the top of your stack. Then, use the large sharp knife or bench scraper to slice the portion outside of the 3-inch circle into 16 strips. This should look like a sun with rays.
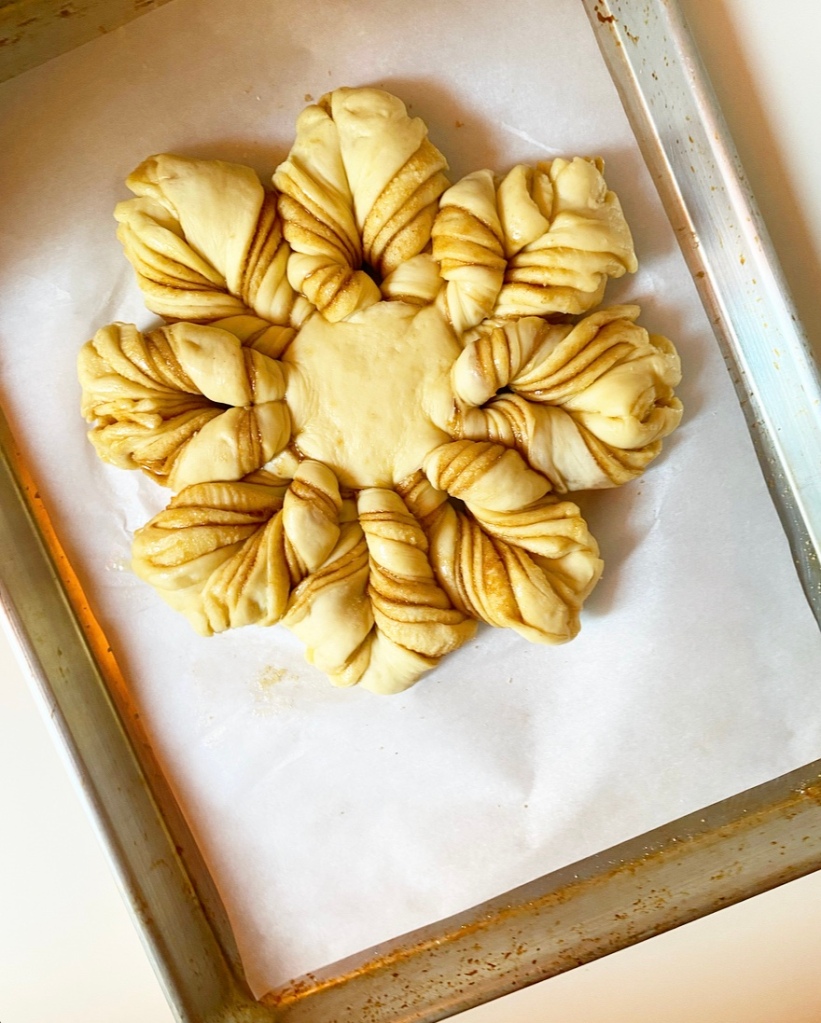
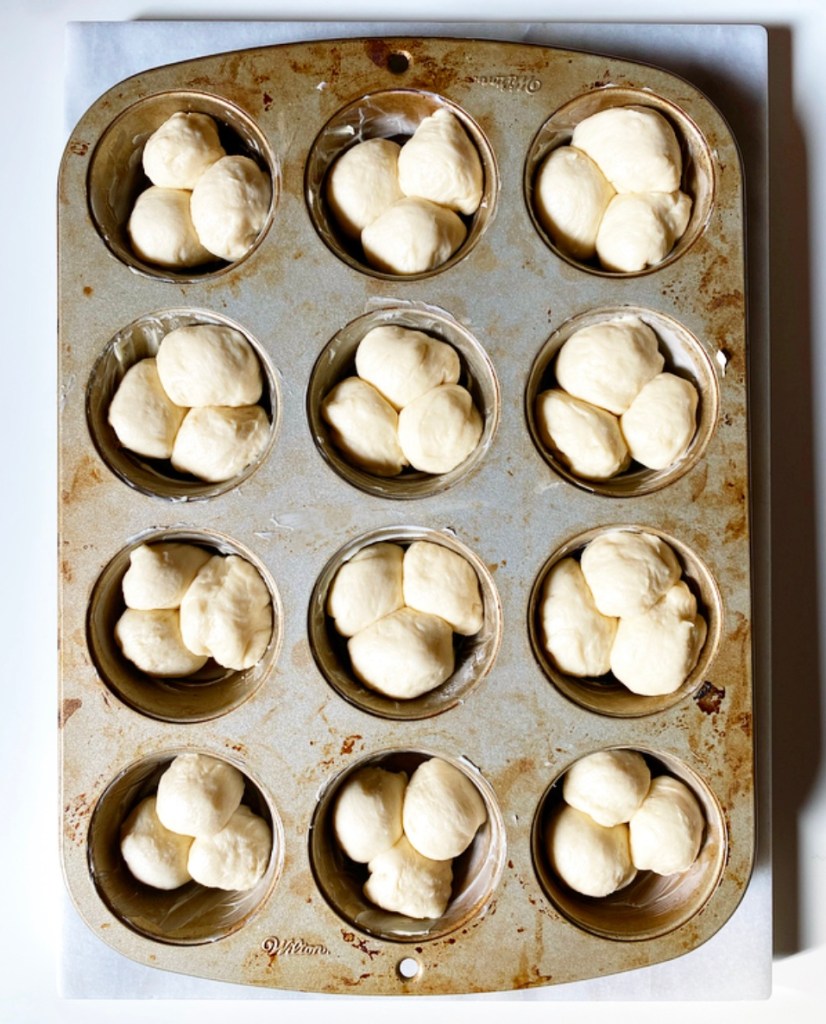
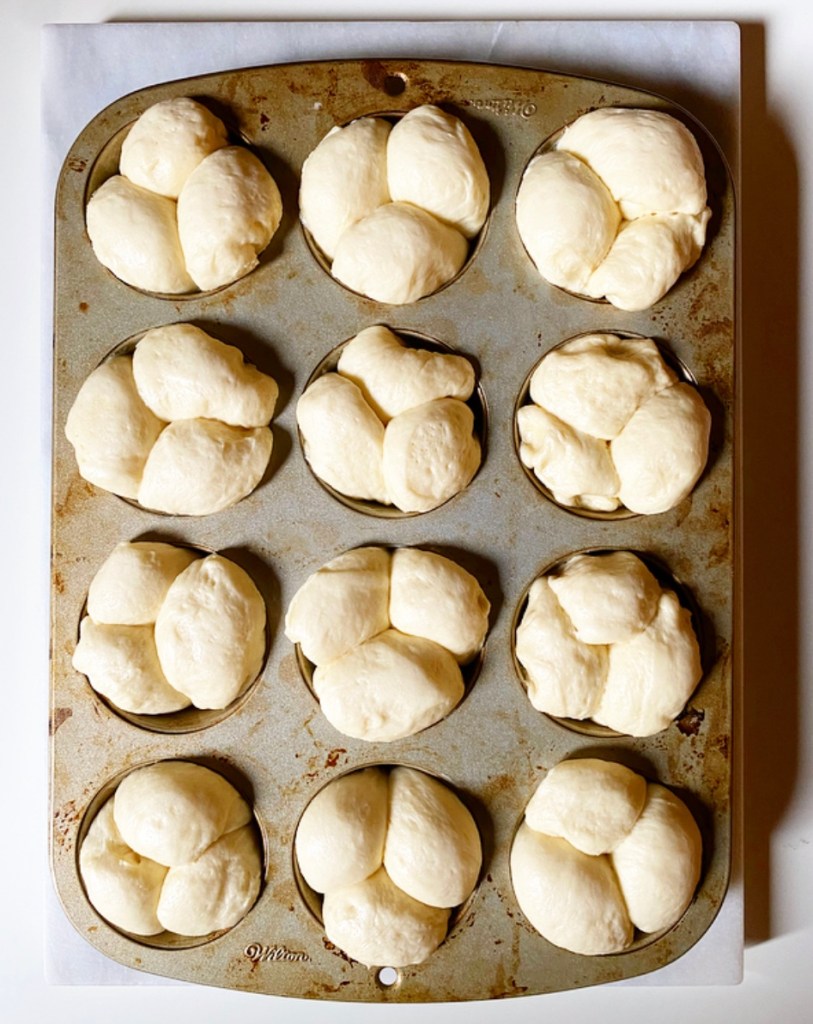
Working with two neighboring rays at a time, twist them away from each other 3-4 times before pinching them together at the ends. Repeat until you have 8 little points on your Star bread. Gently tuck in scraggly ends and nudge the points into a shape you find pleasing. Cover with bread with plastic wrap and a tea towel, then let rise 40-50 minutes, or until risen. You’ll know it’s ready when you poke it with your finger and it doesn’t immediately bounce back.
During rising, preheat the oven to 350F. Make the egg wash by whisking the egg and water together in a small bowl or mug.
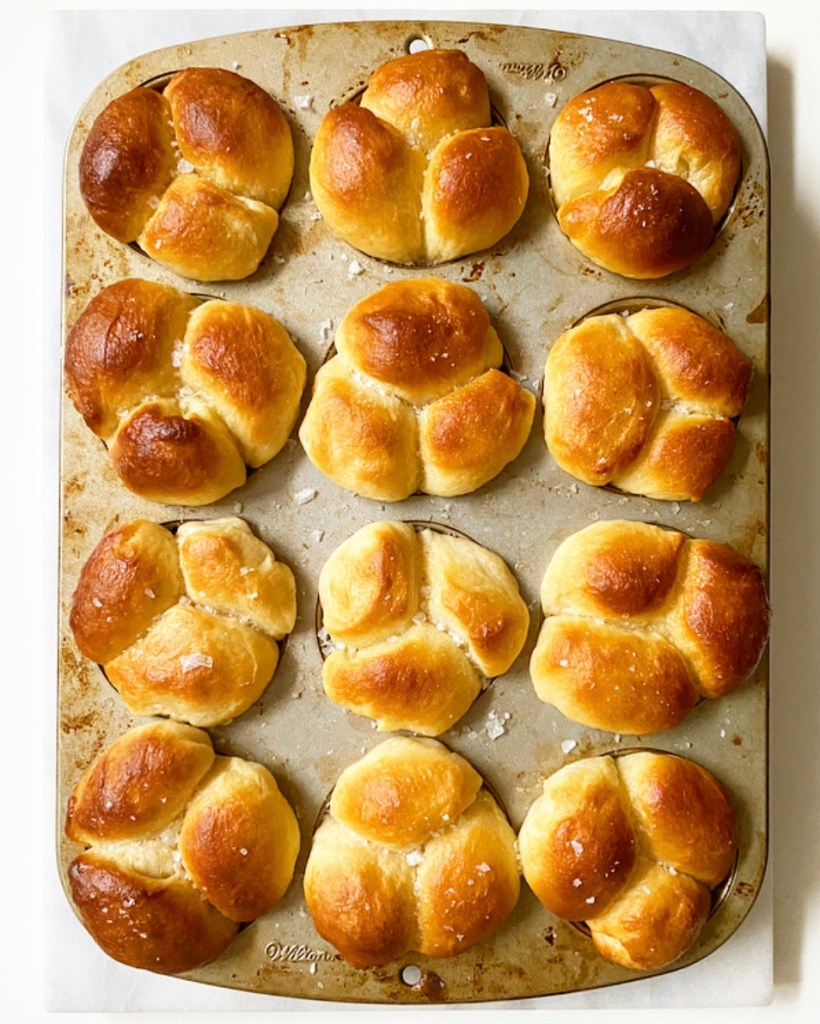
When the bread has risen, remove the plastic wrap and tea towel. Discard plastic wrap. Paint the entire surface of the star bread with egg wash. Bake for 25-30 minutes until golden and burnished.
Let bread cool 10 minutes. Gently transfer to a serving plate. Dust with confectioner’s sugar, if desired. Serve warm.
Star Bread is best the day it’s made, but may be kept covered for up to 48 hours.

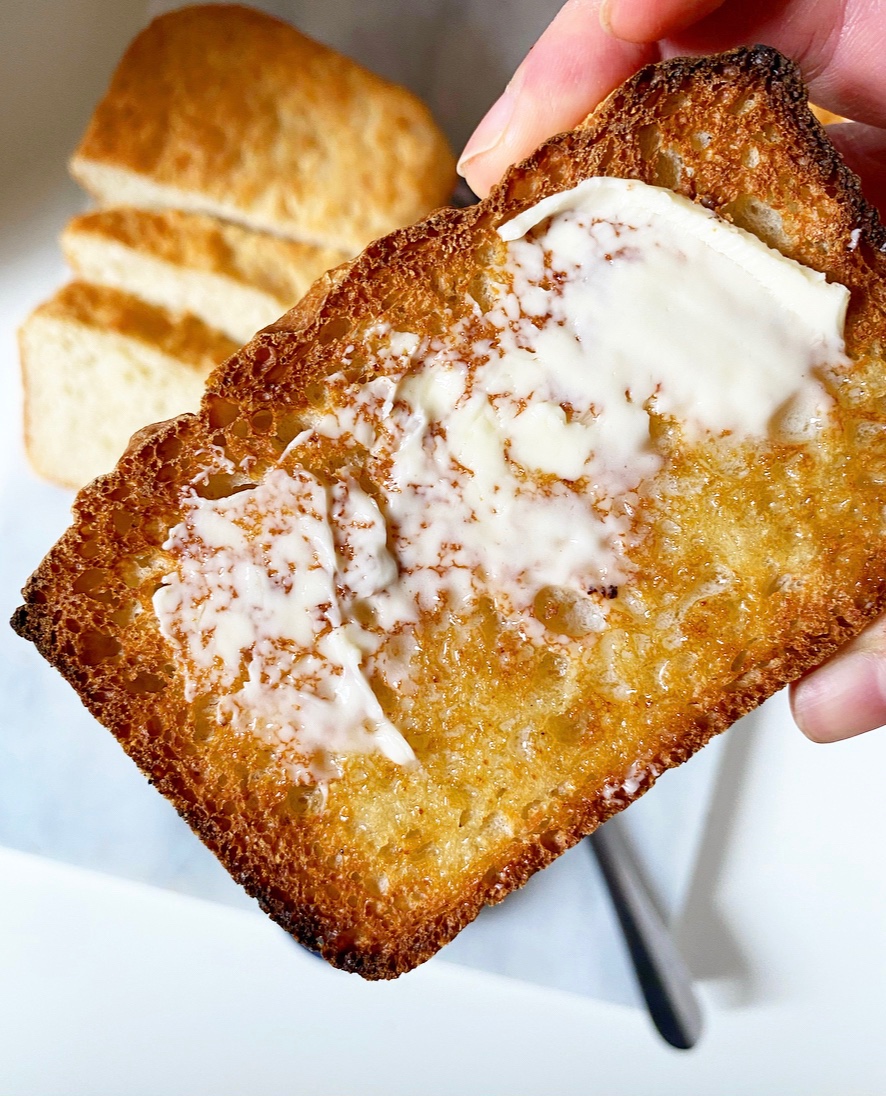
 Today I’m taking this blog into new territory: bread! You won’t find me feeding any sourdough starters or anything, but I have taken a chance on a few bread recipes over the last year because…well, I had some time on my hands. English Muffin Bread is my favorite by a long shot. It’s got all the craggy structure of English muffins, toasts like a dream, and is so delicious it’s kind of ridiculous.
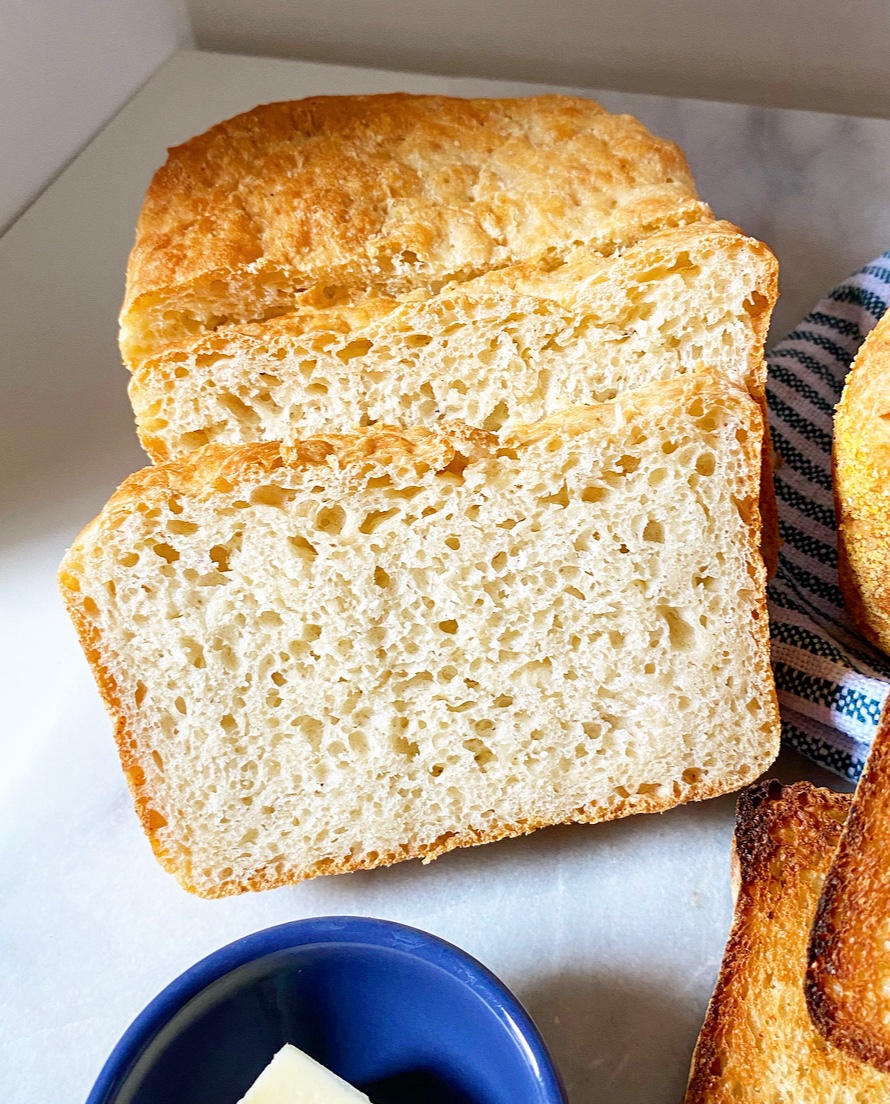 I first heard about English Muffin Bread when
 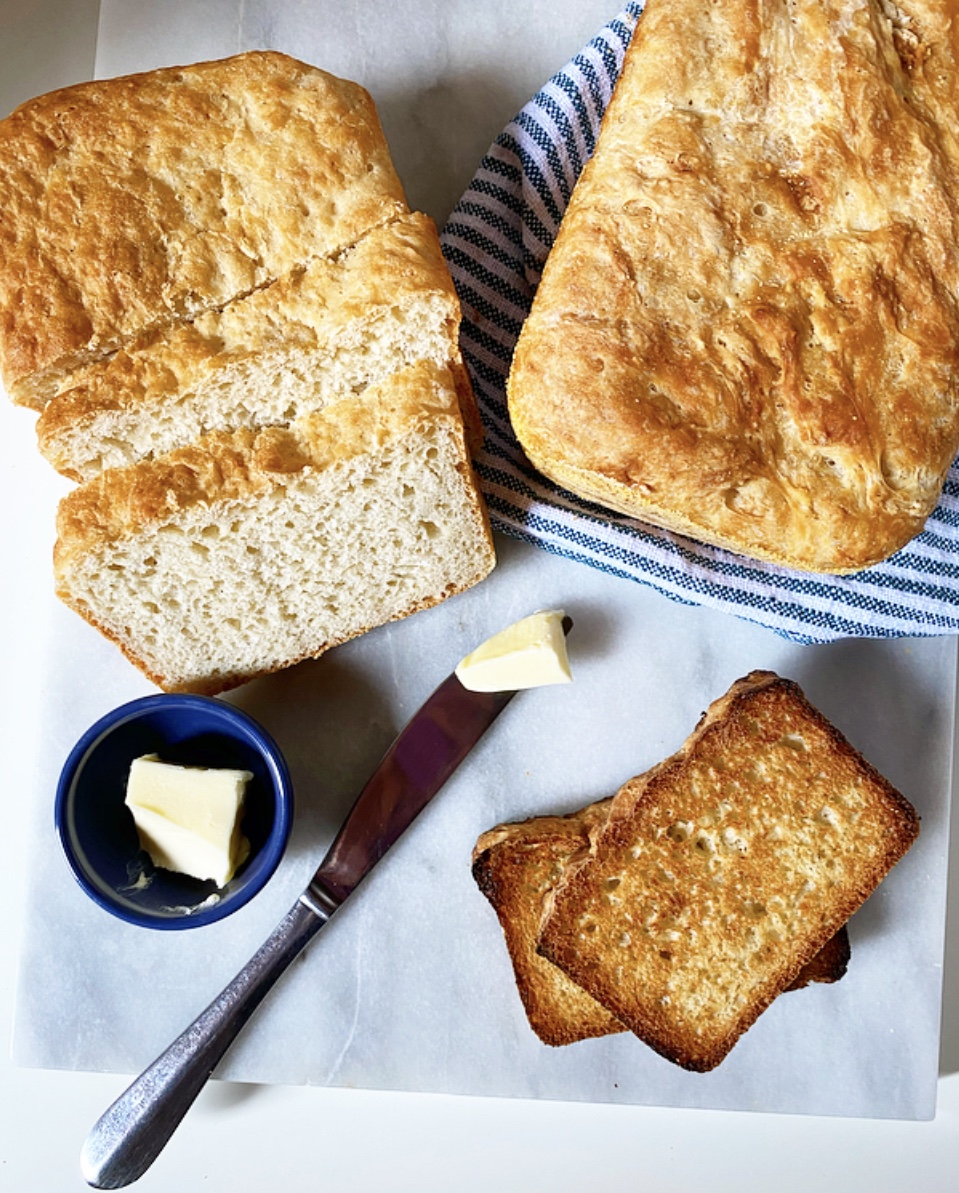 My English Muffin Bread is a one bowl, no-knead, single rise situation. By giving this dough just a few minutes of your time and then a bit of patience, you’ll be rewarded with all the craggy texture you love in English muffins, but in a sliceable, toastable loaf. Two of them, actually.
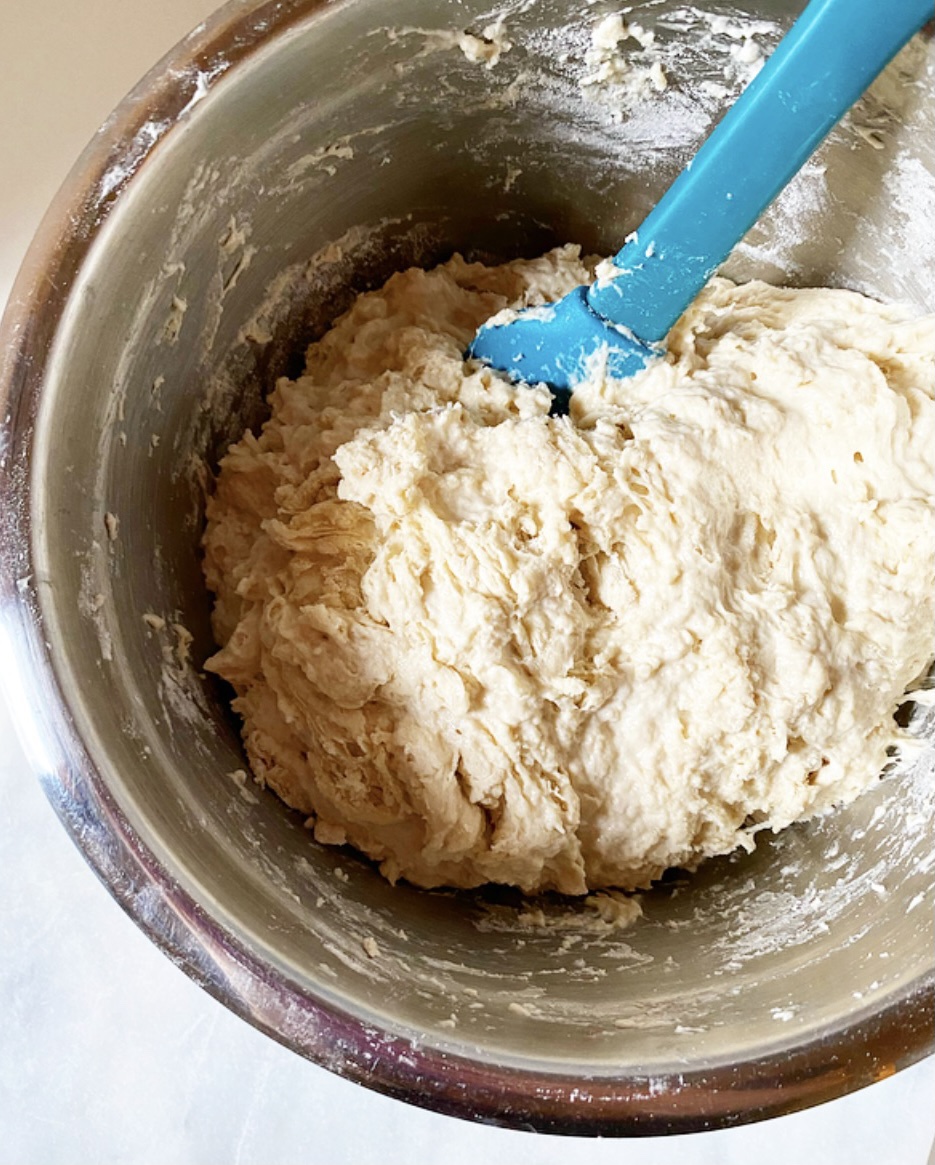 English Muffin Bread couldn’t be easier to make. Simply whisk together flour, a touch of sugar, kosher salt, instant yeast and a little baking soda, then stir in water and melted butter until a shaggy dough forms. Divide your dough in two, then put it in two cornmeal-dusted loaf pans. No, you didn’t miss a kneading step—thanks to the high volume of liquid and the desired texture, there’s no need to knead! <—see what I did there?!
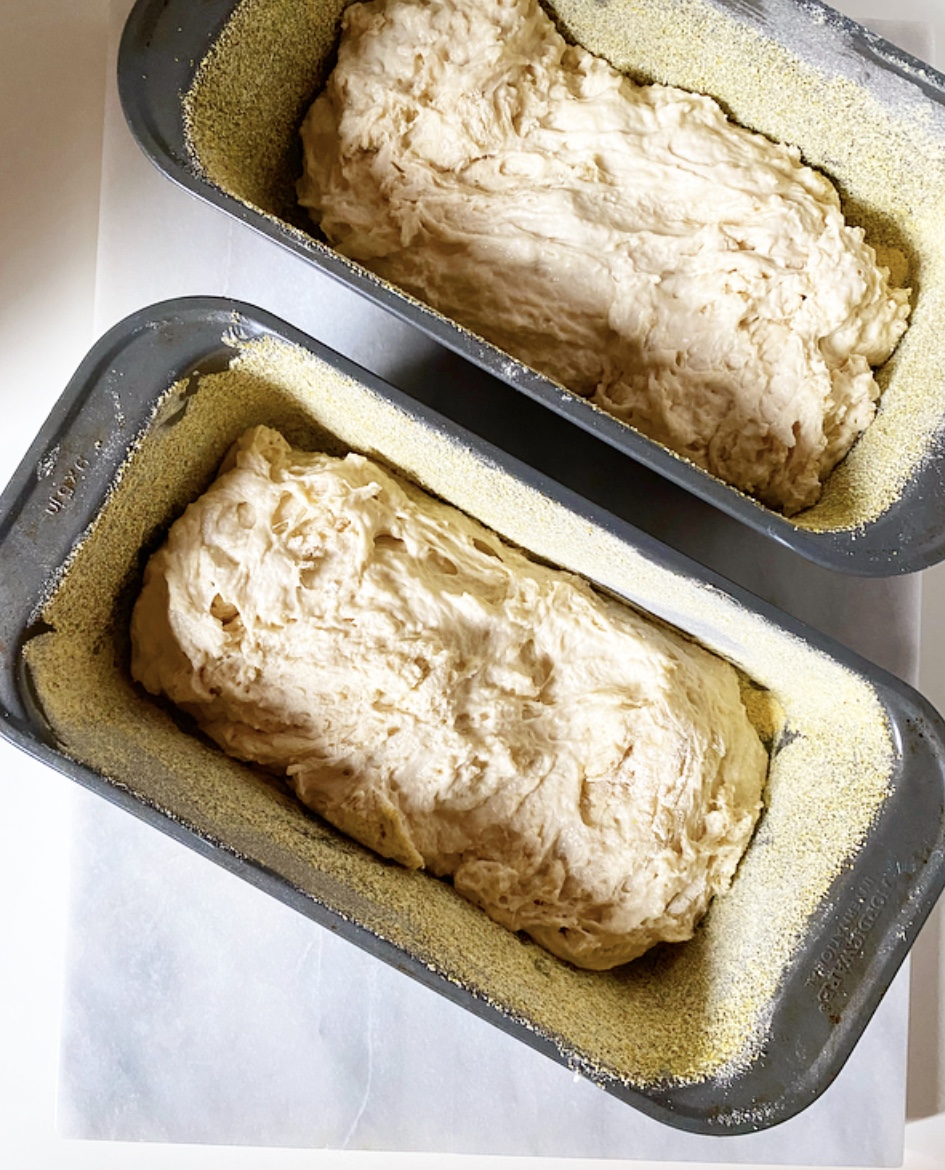 Let your dough rise for about an hour, just until it peaks over the tops of your pans. The combination of yeast and baking soda along with the single rise mean that the oven-ready dough will be very airy and a little delicate. It should be a bit wet looking and a little jiggly—be gentle with the pans so you don’t knock out any of the holey, craggy structure.
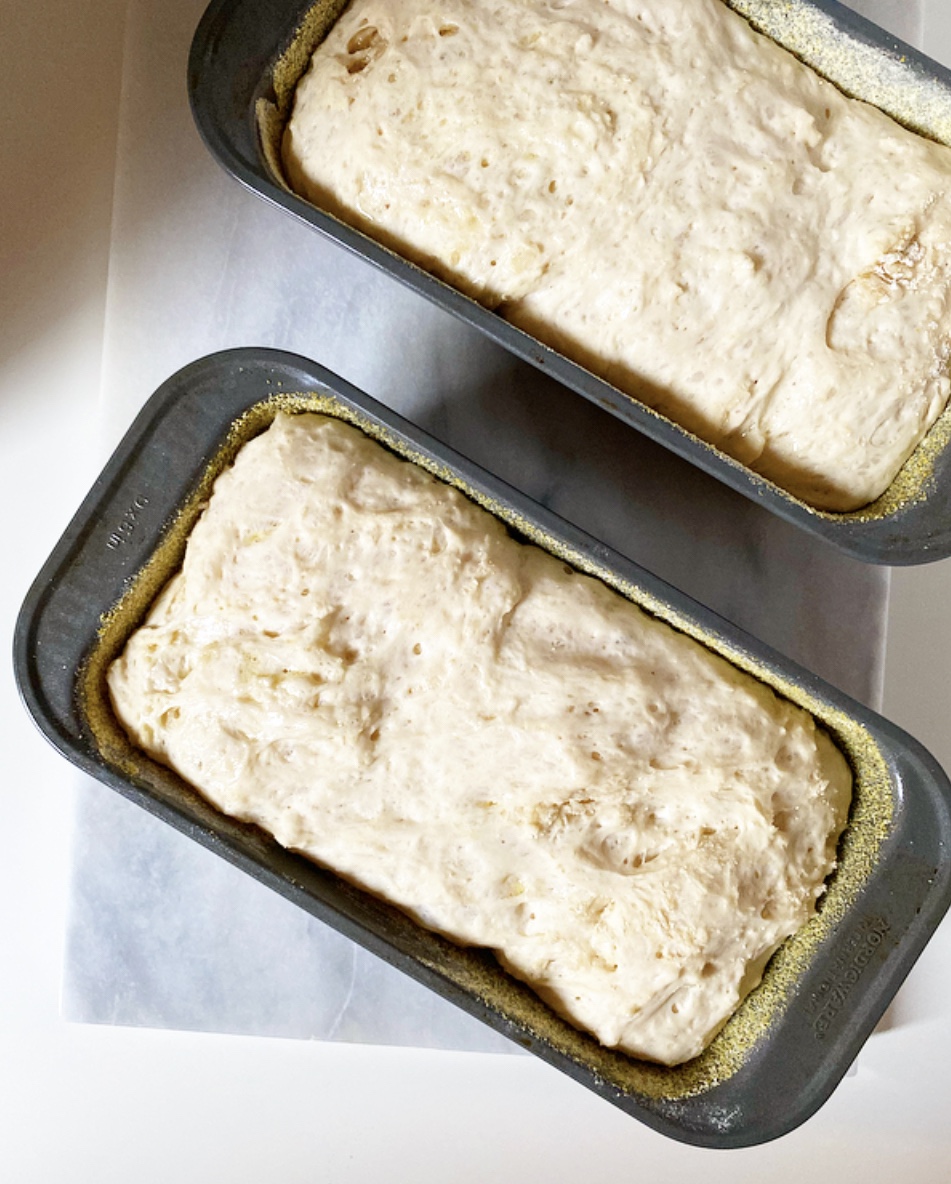 Bake your loaves for 25-30 minutes as 400F, until golden all over and hollow-sounding when tapped. If you’re worried about under-baking, a food thermometer should register 190F when the bread is done.
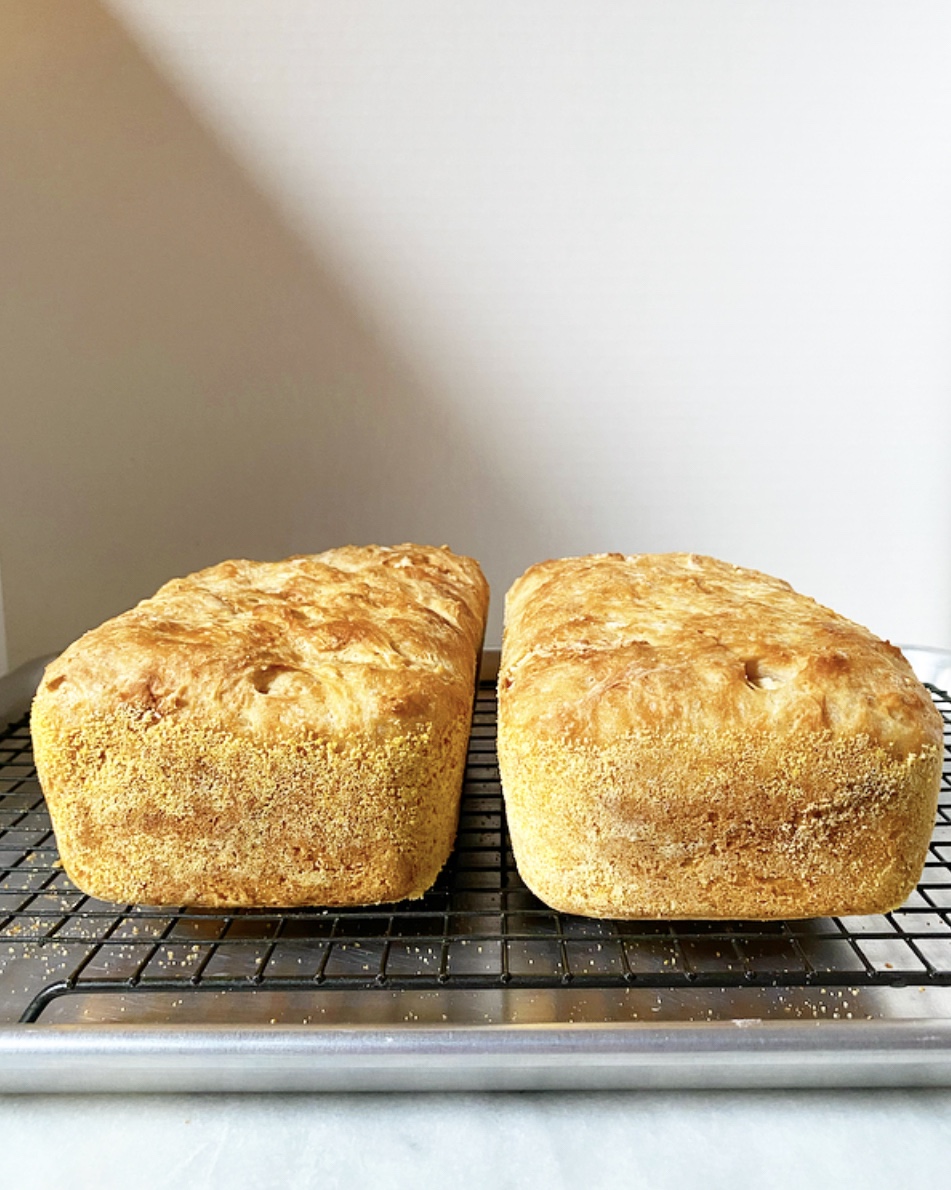
 Turn your loaves out onto a rack as soon as they come out of the oven, then let them cool completely. This is supremely important. Do not let the intoxicating smell of fresh-baked bread tempt you to rip into this while it’s cooling or you will find a gross, gummy mess. The hole structure needs to cool completely for maximum English muffin goodness. I find that cooling takes 2-3 hours, but that’s a small price to pay for the quality of toast you are about to consume.
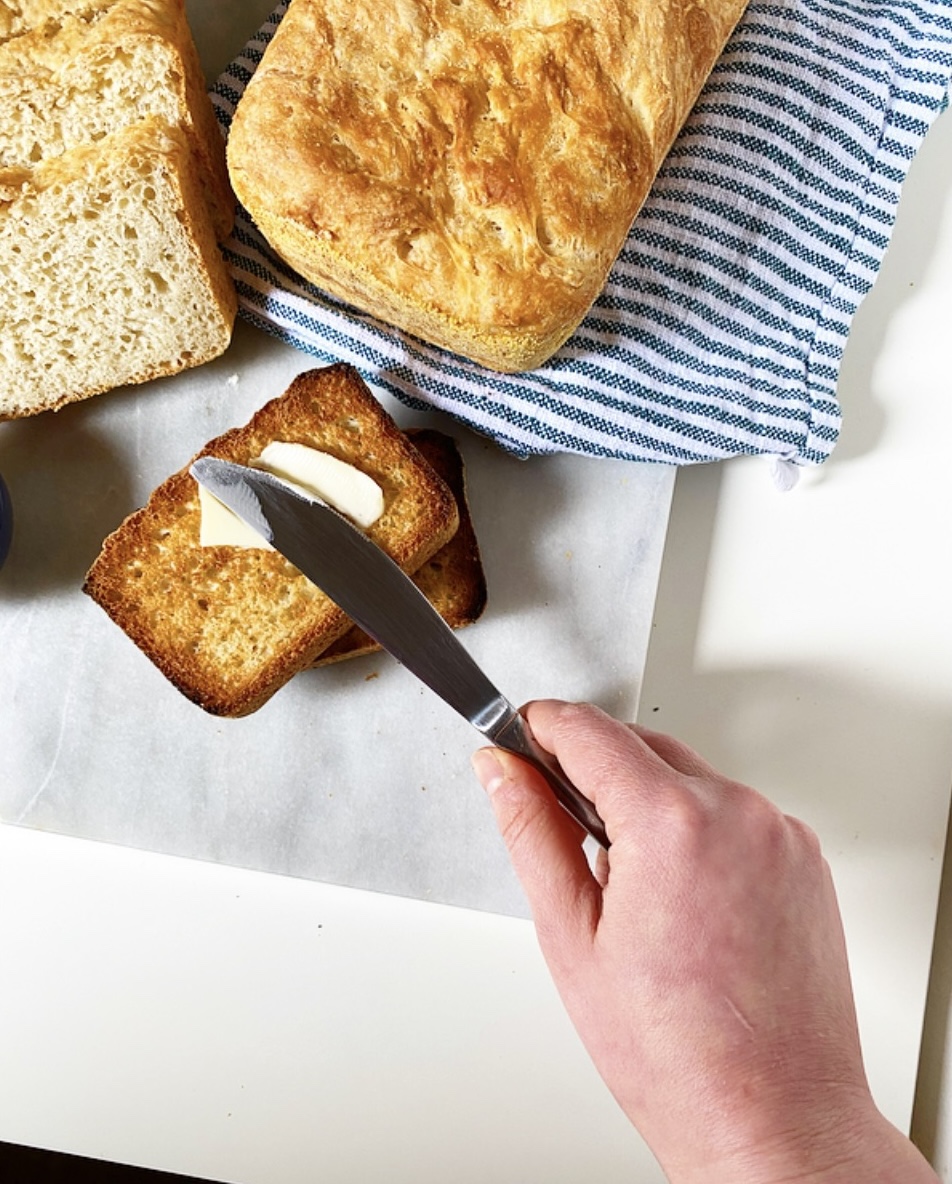
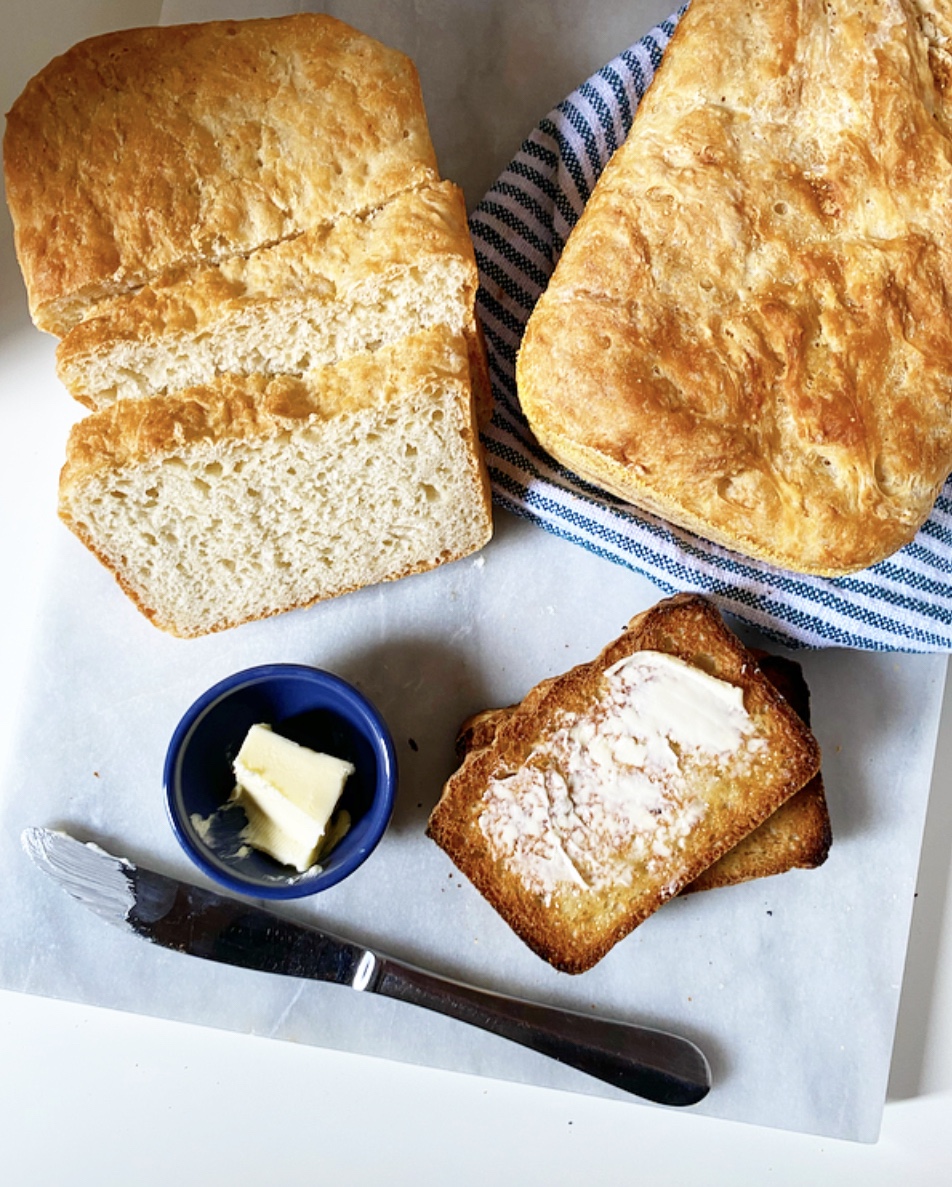
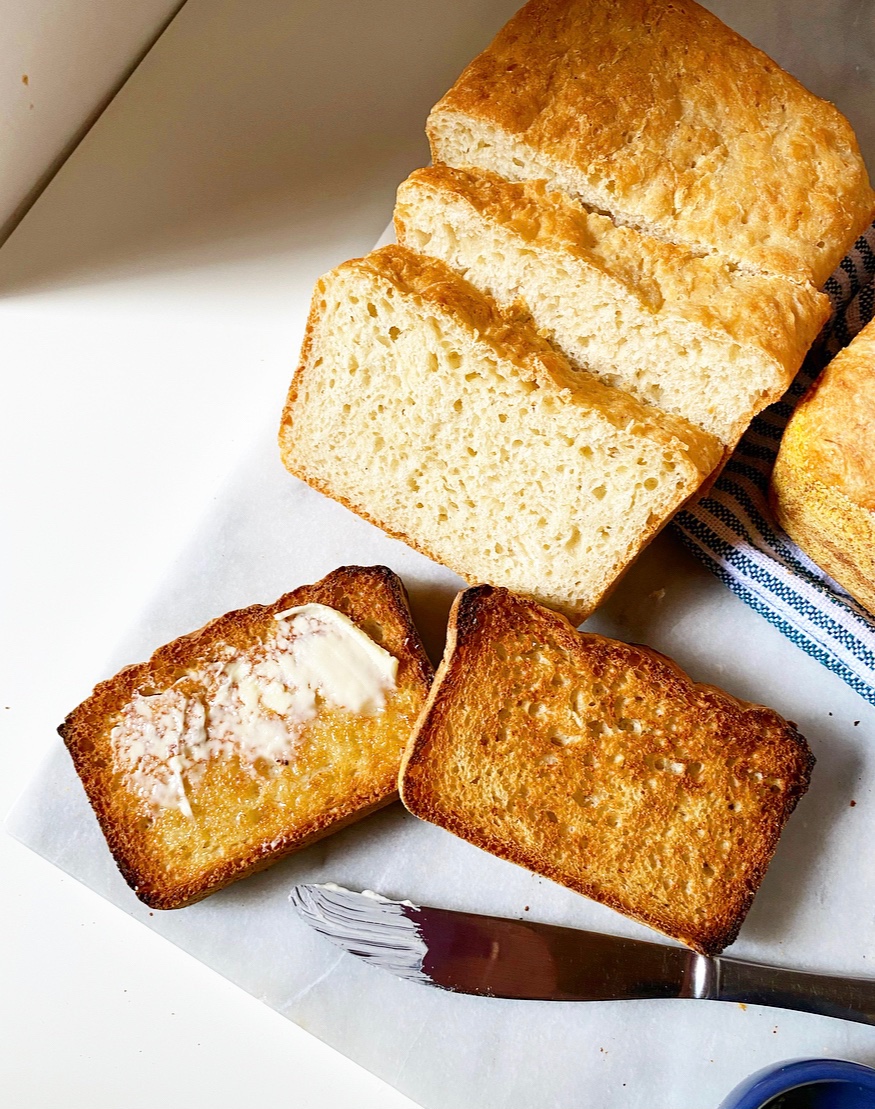 While you can absolutely enjoy a slice of English Muffin Bread without doing anything to it, an extra crispy, golden brown, toasty finish really makes each slice sing. The holes and crags are emphasized, the cornmeal on the edge gets extra crunchy, the minuscule amount of butter in the dough gives it just enough richness. Like a perfectly toasted English muffin, it’s perfect with a smear of soft butter. Or honey. Or jam. Or Nutella. Or peanut butter. Or avocado. Or fried into French toast. Or made into a grilled cheese.