Happy New Year! I hope your 2016 has been wonderful so far 😊 As I spent the last of 2015 working like crazy (nannying, catering two parties for my friend David, making regular cookie deliveries to a jeweler downtown, figuring out this food blogging thing, etc), traveling to Texas and back, and making dinner for 300 of my closest acquaintances, I hope 2016 brings a lot of naps. And real food. Don’t get me wrong, I love cookies and pie and cake, but since I’ve eaten those things at regular intervals for the last eight weeks, I am finding myself craving vegetables. So this month, I’m going to make a little effort to post some healthier recipes. There will still be plenty of cookies (because cookies), but I plan to post a few whole grain items and savory dishes, just for balance!

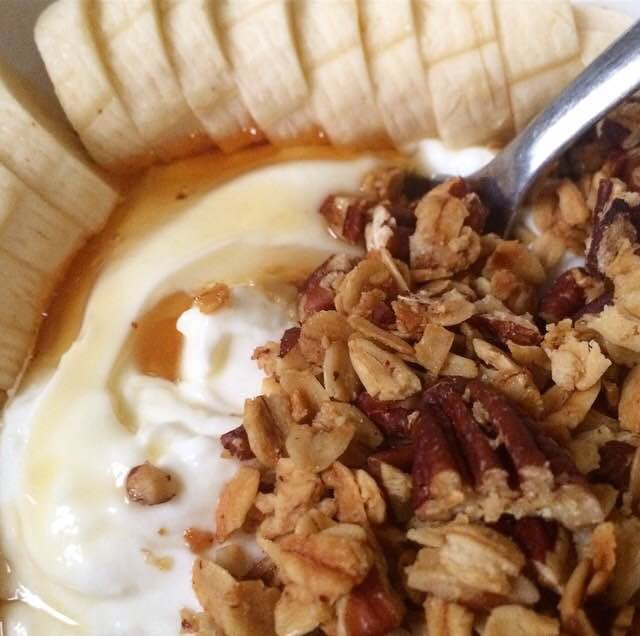
 I’m starting this healthier January with a favorite: Maple Pecan Granola. Super crispy, crunchy granola coated in a salty-sweet mixture of maple syrup and olive oil. This recipe comes from the brilliant Molly Wizenberg. She writes a long-running blog, has published two books, and co-owns (almost) three restaurants in Seattle with her husband, Brandon. Oh, and she and her friend, author Matthew Amster-Burton, have a hilarious weekly podcast called Spilled Milk that I absolutely love. If you see me walking down the street with headphones on, that is almost certainly what I’m listening to. Sometimes they make recipes to taste together, and other times they taste junk foods from various countries, and while ostensibly that doesn’t seem like it would be laugh-out-loud funny, it totally is. All that is to say, I first heard about this particular recipe on their Granola episode. It was already very simple, but I’ve pared it down even further.

 This granola goes well with just about any combination of fruit and yogurt, and I think a tablespoon or two could really amp up some oatmeal. Maple Pecan Granola does not have huge clusters since there aren’t a ton of sweeteners or add-ins, but the texture is so crisp that you won’t miss them. The magic here is in the simplicity. Mix together five ingredients, spread on a pan, bake in a low oven (stirring occasionally to prevent burning), and let cool. That’s it. This granola keeps well in an airtight container at room temperature for up to three weeks. If you have a large family or want to give some away as gifts, this recipe doubles easily.
 With only five ingredients, you might think this recipe could be a little…boring…but it is so much more than the sum of its parts. If you need more excitement with your breakfast, you’re in luck! This recipe is infinitely adaptable. Don’t like pecans? Replace them with any nut or seed that you love. Wish there were dried fruit or chocolate? Stir in some chopped dates or semisweet chocolate chips while the granola is cooling. Maple Pecan Granola can take almost anything you throw at it😊
Take this recipe and make it your own this year.
 Maple Pecan Granola
adapted from Granola No. 5 by Molly Wizenberg
makes about five cups
1/2 cup pure maple syrup
1/3 cup olive oil*
1 teaspoon Kosher or sea salt
3 cups old fashioned oats
2 cups chopped pecans*
Preheat oven to 300F. Line a sheet pan with parchment. Set aside.
In a large mixing bowl, whisk together maple syrup, olive oil, and salt. Use a silicone spatula or wooden spoon to fold in oats and pecans. Spread mixture to cover the sheet pan. Bake for 40-45 minutes, stirring every fifteen minutes to prevent burning. Let granola cool completely on the pans. Serve with yogurt and fruit, or milk of choice.
Store granola in an airtight container at room temperature for up to three weeks.
Notes:
1. Melted coconut oil may be substituted.
2. You may use any nut or seed that you prefer.
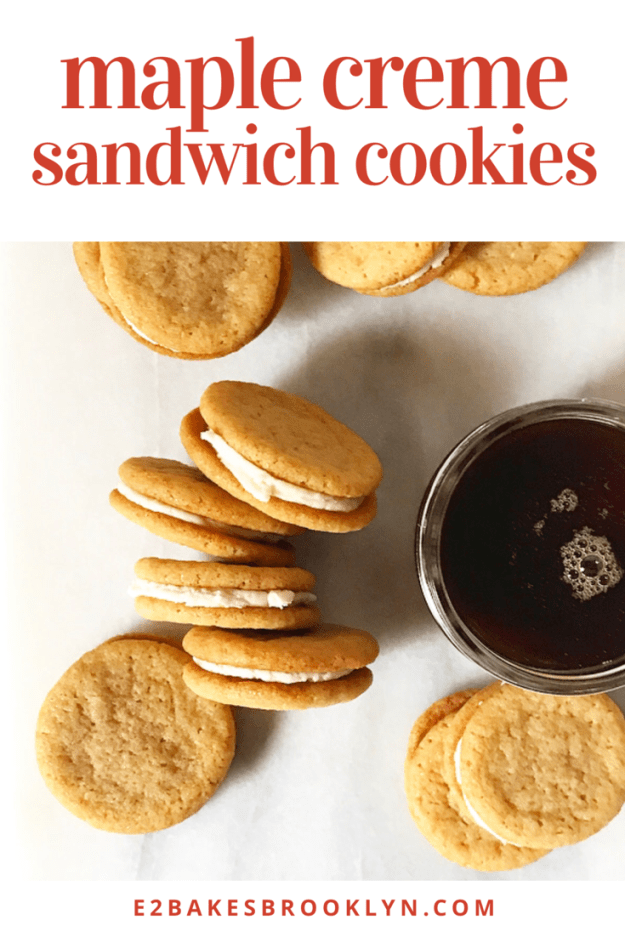
 When I think of fall flavors, pumpkin and apple are almost always the first to come to mind. Warm and nicely spiced, these two flavors are perfect when the days start getting shorter and the wind gets blustery. There’s nothing quite like a pumpkin spice latte or an Apple Pie Cinnamon Roll to warm you up. But as these things become available earlier and earlier in the year, it is possible to tire of them before autumn is over. So, I am writing today to remind you of another fall flavor: maple. While you might not yet be bored of pumpkin and apple, you might need a little change of pace, courtesy of these Maple Creme Sandwich Cookies. Chewy, crunchy maple cookies are sandwiched together with a thick maple filling–perfect for your cookie jar.
 These cookies are chewy with crunchy edges and a pronounced maple flavor. The dough begins with creaming room temperature butter, dark brown sugar, and a little granulated sugar until it’s all light and fluffy. Then we add in two egg yolks for chew, but no egg whites. Egg whites, in combination with a liquid ingredient like maple syrup, would make these cookies cakey, and why would we make cakey cookies when we can make chewy ones?! Egg whites also give structure to baked goods, so their omission will make these cookies a little thinner and flatter, perfect for sandwiching with creamy filling. Next up is a 1/4 cup of pure maple syrup. This extra sweetener, in addition to the brown and granulated sugars, will allow for crunchy edges. Then we add a little vanilla and an optional touch of good-quality maple extract just to make sure there’s no doubt that these cookies are maple-flavored. Then comes the flour, a bit of cornstarch for tenderness, a dash of nutmeg, baking soda, and salt. The dough will be sticky and very thick. Cover it with plastic wrap and chill it for at least 90 minutes, until it’s firmed up and easy to form into balls. These cookies are small–only about one teaspoon each–since each sandwich cookie involves two of them plus the filling. They bake for 7-9 minutes at 350F, until they are no longer doughy and the edges are turning golden brown.
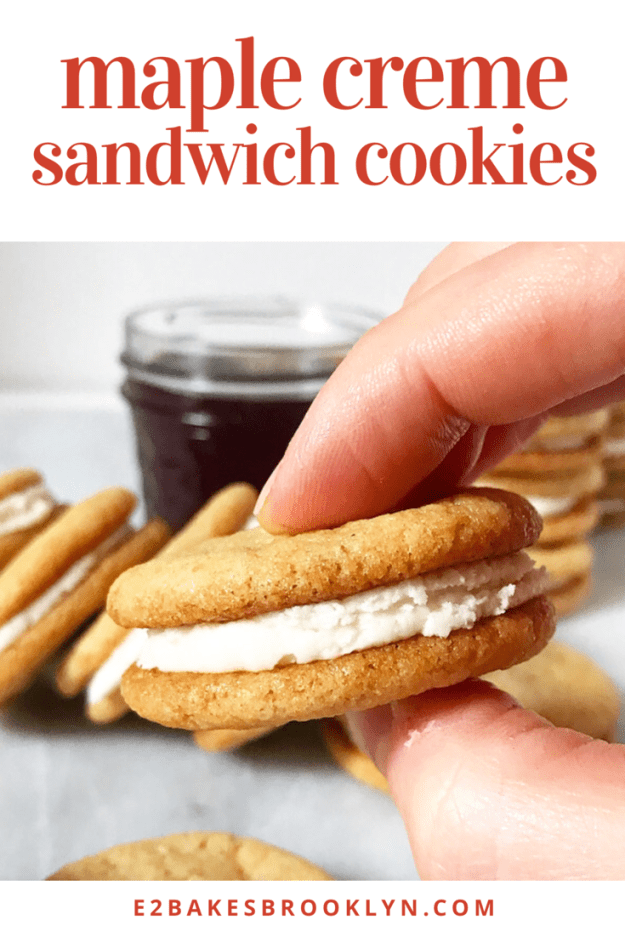
 While the cookies are cooling, make the filling. Beat butter until it is light and fluffy, and then mix in confectioner’s sugar and a little salt for balance. Then add in maple syrup, vanilla, and optional maple extract. That’s it! Super simple. The result will be a very thick paste, much denser than a buttercream frosting. If it’s too fluffy, the filling will squish out the sides of the cookie when you take a bite. While that would still be delicious, it would also be a mess. Cookie-eating should not be followed by having to change your shirt. When you bite into these cookies, the filling will stay intact. I recommend using a sandwich bag with the corner snipped off to pipe little circular dollops of filling onto the cookie. If you are not comfortable with a piping bag, an offset spatula will do the job.
 These cookies will keep very well covered at room temperature for up to five days. The flavor and texture will actually get even better on the second day! Make a batch of these for your cookie jar so that you can grab one or two to have with your coffee or tea. They’ll be a welcome treat after a cold, windy fall day.