 We are officially two days from the 88th Annual Academy Awards! Everybody else in the country may look forward to Super Bowl Sunday, but this is *my* big Sunday.
My best pal, Tad, and I spend months preparing for Oscar Night. We start making predictions in October, but by the night of the actual awards show, we’ve changed our answers about fourteen times! We have a pretty solid track record of predicting the winners 😊 Tad and I met sophomore year of college at a failed screening of Shrek 2. The projector broke mid-movie, and while the techs tried to fix it, we got to talking. We quickly discovered that we love the Oscars equally, meaning that it’s all we ever talked about even though nobody else on campus cared that the ingenue is always poised to win Best Supporting Actress. Over the ensuing months, we met multiple times a week with books of statistics, former winners, and a deep, abiding passion for “Hollywood’s Biggest Night.” Let’s just say that if there’s ever a job opening for Oscar Historian, I know two people who would love the job.
Tad lives in San Francisco now, but still gets up to watch the nominations announcement with me, even though it airs at 5:30am in California. He’s that kind of friend. And as if we couldn’t be more perfect for each other, he also shares my borderline-obsessive love of Martin Scorsese–he didn’t even bat an eyelash when I decorated my half of our senior year duplex in a Scorsese theme. And don’t even get us started on Leonardo DiCaprio–fingers crossed that this is his year!
 Among our Oscar traditions is a meal. Back when we were sharing one kitchen with an entire dorm, I’d go down to the basement before the pre-show to put together pesto-mozzarella grilled cheeses on good country bread, and a spinach salad with mandarin oranges, thinly-sliced red onion, and balsamic vinaigrette. The pièce de résistance was always a red velvet cake with cream cheese frosting. I wasn’t any sort of baker yet, so both were courtesy of Betty Crocker, but it didn’t matter. The memory of that cake has stuck with both of us, and even now, Oscar Night doesn’t feel like Oscar Night without it…and our constant stream of text messages.
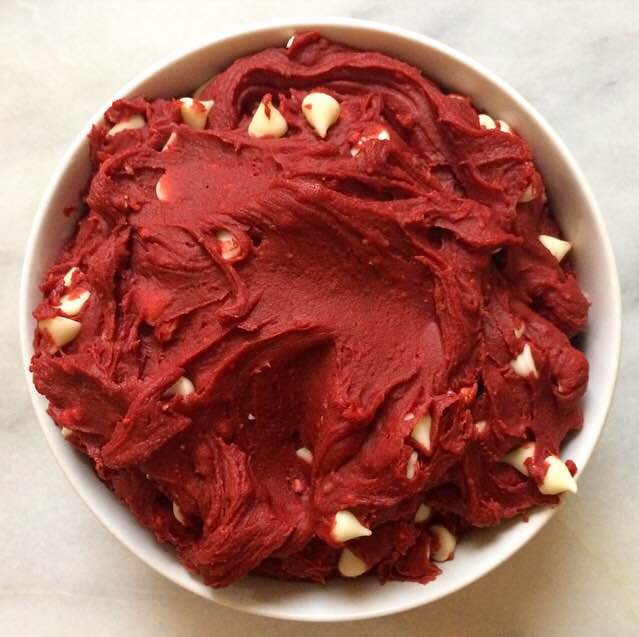
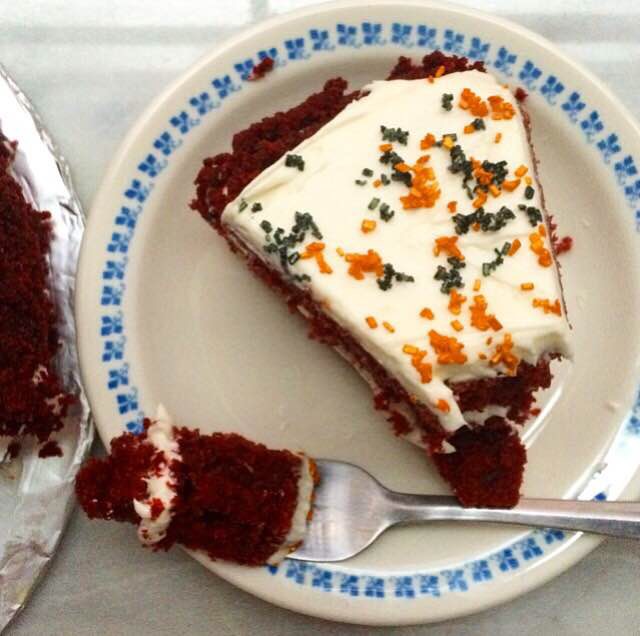
 These days, I make my Red Velvet Cake from scratch, and it is waaaaay better than Betty Crocker could ever hope to be. It’s the perfect combination of chocolate and vanilla flavors, and kept super tender thanks to the additions of cornstarch, oil, and buttermilk. And of course, it’s red, just like the red carpet!
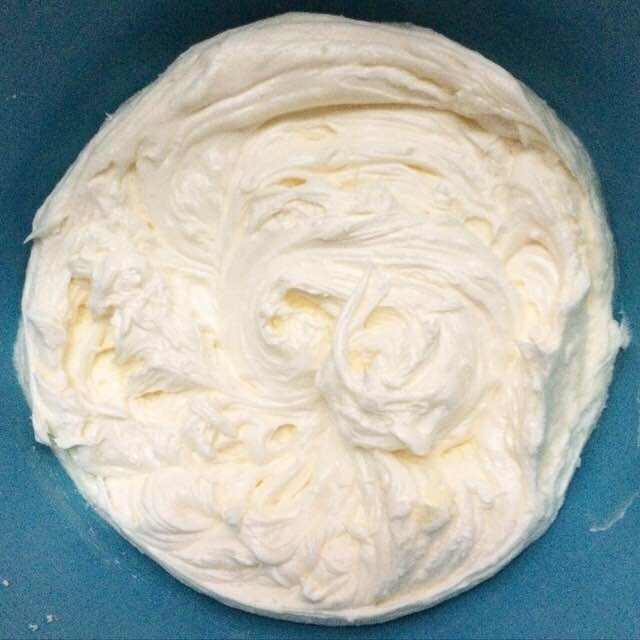
 The frosting is the dreamiest, creamiest cream cheese frosting I’ve ever had. Many cream cheese frosting recipes use twice as much cream cheese as butter, and not enough confectioner’s sugar. In my experience, this results in frosting that tastes divine, but is somewhat soupy, and therefore difficult with which to work. Cream cheese simply does not whip as well as butter. But this recipe uses equal weights of both ingredients, so we get all the tang of cream cheese and the stability of butter. A full pound of confectioner’s sugar is beaten in, along with a pinch of salt and two teaspoons of vanilla extract. Once all the ingredients are combined, the frosting is beaten on high for two additional minutes, so it gets extra light and fluffy. It’s what makes this cake the stuff of dreams!
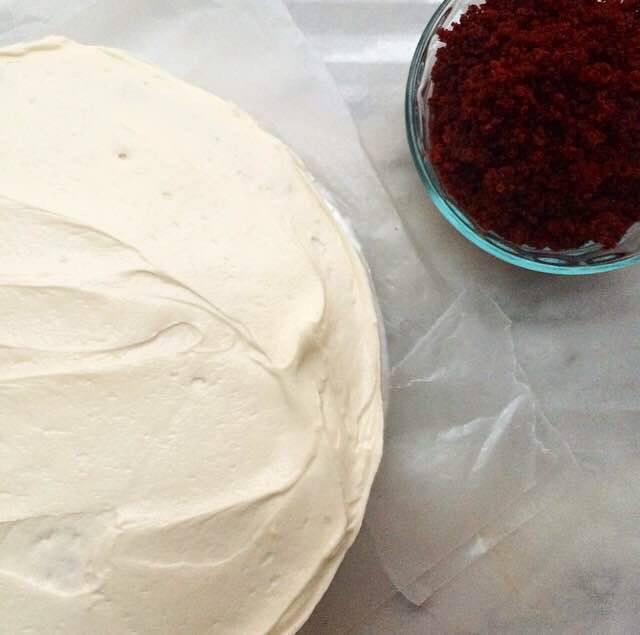
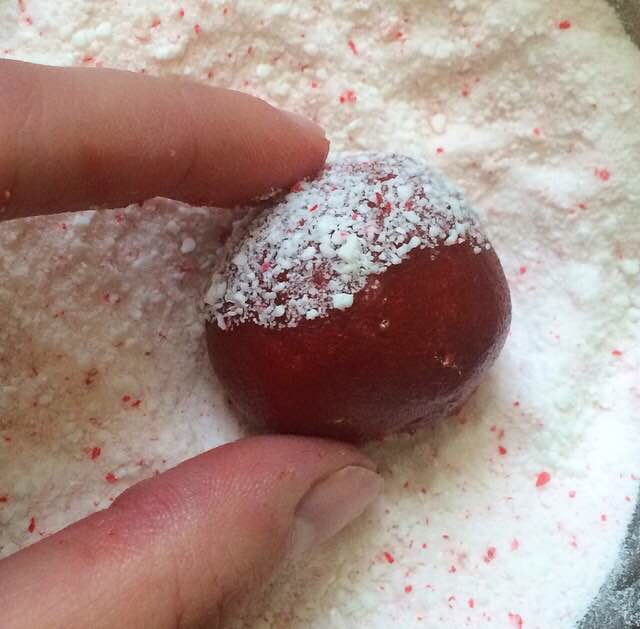
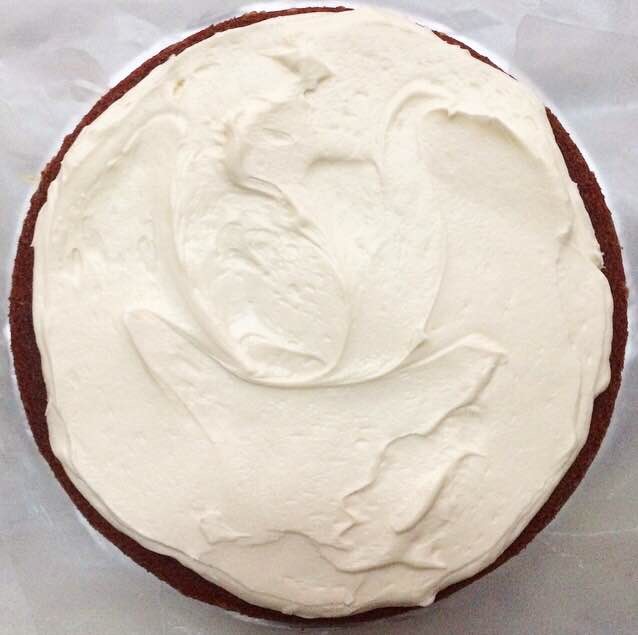
 Once the frosting is made, use a serrated knife to even out the cakes so they stack evenly. Crumble the cake scraps into a small bowl–you can use these to decorate the frosted cake!

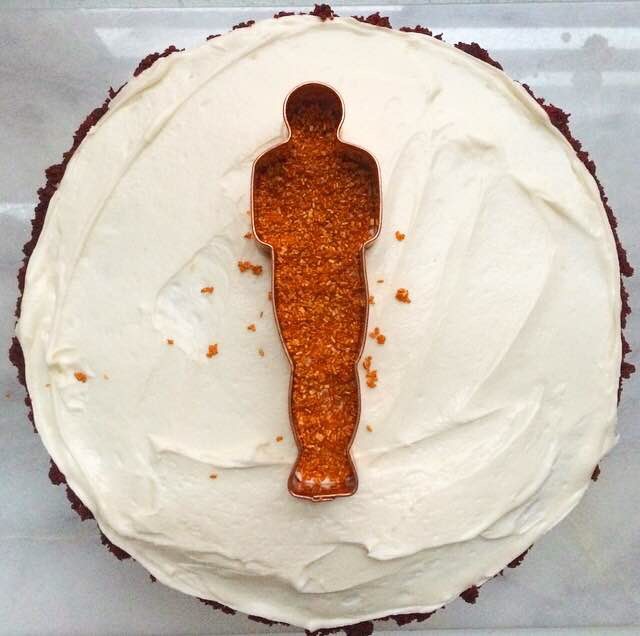
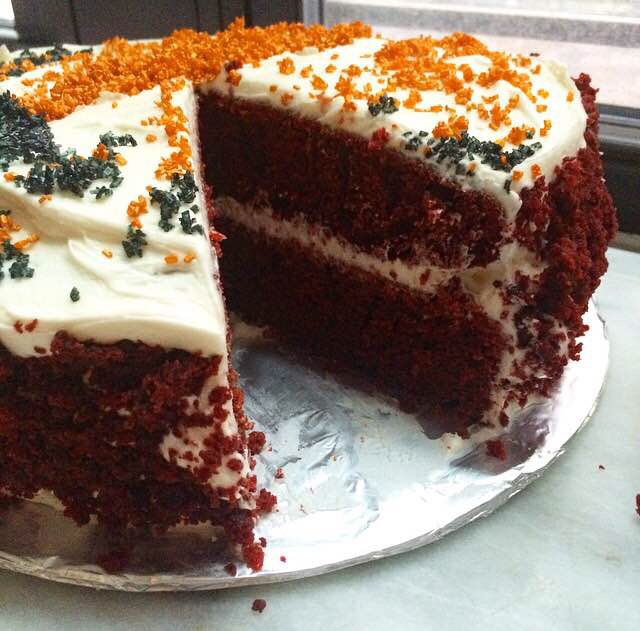
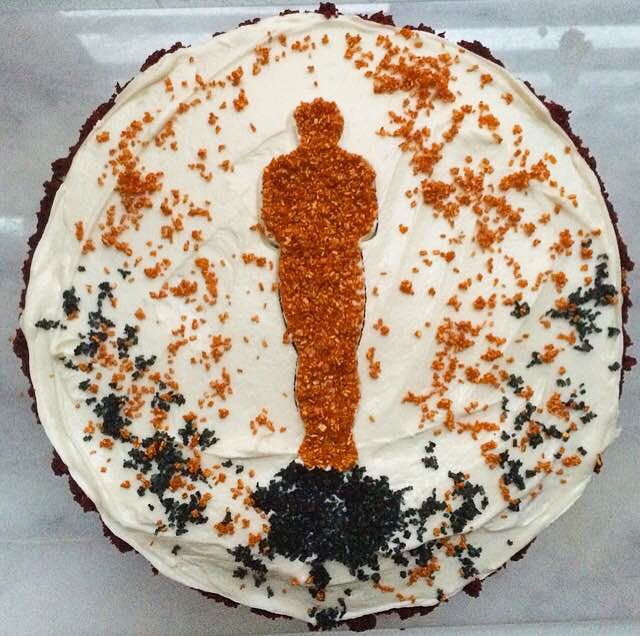 As you can see, I added an Oscar to mine, too! To do this, I used a fork to stir gold and black gel food coloring into sparkling sugar (found near the sprinkles at most well-stocked grocery stores). I added some gold luster dust to the gold-dyed sugar, just for some extra sheen. I used a mummy cookie cutter (like this one) for Oscar’s body, and went freehand for the rest of it. I think it turned out pretty cute!
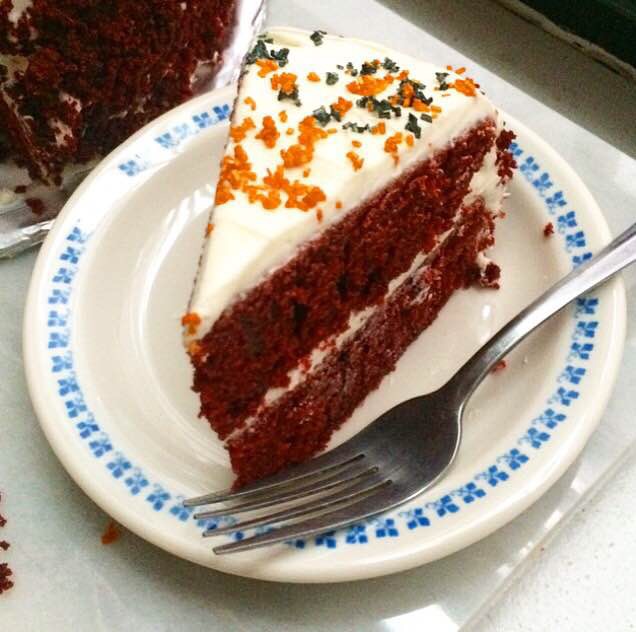
This Red Velvet Cake is perfect for Oscar Night, but it’s great for birthday parties (or just dessert), too! With a tender red crumb, wonderful chocolate and vanilla flavor, and fluffy cream cheese frosting, it’ll be a winner all around 😊
 Red Velvet Cake
makes one two-layer 9″ round cake or 28 cupcakes
For Greasing:
2 tablespoons all-purpose flour
2 tablespoons canola or vegetable oil
Cake:
2 1/2 cups all-purpose flour
1/2 cup natural unsweetened cocoa powder (not Dutch process)
1/3 cup cornstarch
2 cups granulated sugar
1 teaspoon baking soda
1 teaspoon Kosher or sea salt
1 cup canola or vegetable oil
3 large eggs + 1 large egg yolk, room temperature
2 teaspoons pure vanilla extract
1 teaspoon white vinegar*
2 cups buttermilk*
1/2-3 tablespoons liquid red food coloring*
Cream Cheese Frosting:
8 ounces full-fat brick-style cream cheese, softened to room temperature
1 cup (2 sticks) unsalted butter, softened to room temperature
1 pound confectioner’s sugar
pinch of Kosher or sea salt
2 teaspoons pure vanilla extract
For Decorating (optional):
reserved cake scraps, from trimming the layers
4 tablespoons sparkling sugar*, divided
gold gel food coloring
gold luster dust
black gel food coloring
Preheat oven to 350F.
In a small bowl, whisk together greasing mixture ingredients. Using a pastry brush, paint the mixture onto the entire insides of two 9-inch round cake pans. Set aside.
Make the cake. In a medium mixing bowl, sift together flour, cocoa powder, cornstarch, salt, baking soda, and salt. Whisk to combine. Set aside.
In a large mixing bowl, whisk together oil, eggs and yolk, vanilla, white vinegar, buttermilk, and red food coloring. Add dry ingredients in three installments, combining completely after each addition.
Divide batter evenly into prepared pans. Tap full pans lightly on the counter five times. Bake for 23-28 minutes, or until a toothpick inserted in the centers comes out clean. Let cool in the pans for ten minutes. Run a small thin knife around the edges of the pans before inverting the layers onto racks to cool completely. Once layers are cool, use a serrated knife to even the tops. Reserve the cake scraps.
Make the frosting. In a large mixing bowl, use an electric mixer to beat cream cheese and butter together until light and fluffy. Add confectioner’s sugar and salt in two installments, until completely combined. Beat in vanilla. Once combined, beat on high for two additional minutes, until light and fluffy.
Fill and frost cooled cakes. Crumble reserved cake scraps and use them to decorate the cake as desired.
If you want to decorate with sparkling sugar, place two tablespoons of the sugar into two small bowls. Add a small dab of gold gel food coloring to one bowl, and a small dab of black to the other. Use forks to stir the gel into the sugar until it’s completely dyed. Stir a touch of gold luster dust (less than 1/8 teaspoon) to the gold sugar. Decorate as desired.
Frosted cake will keep covered at room temperature for three days, or in the refrigerator for up to a week.
Notes:
1. For cupcakes, divide prepared batter into 24 standard muffin cups, filling them 2/3 of the way full. Bake at 350F for 16-18 minutes, or until a toothpick inserted in the center of a cupcake comes out clean.
2. Apple cider vinegar may be substituted.
3. If you don’t have buttermilk on hand, place 2 teaspoons of vinegar or lemon juice in the bottom of a liquid measuring cup. Pour milk up to the 2 cup mark. Stir. Let sit for five minutes before using. Do not use skim or fat free milk.
4. Add as much or as little red food coloring as needed to achieve your desired shade, keeping in mind that the color will darken as the cakes bake.
5. I use Wilton White Sparkling Sugar.