I owe you an apology. The white cake recipe I’ve been using, it’s…well, it’s a pain in the ass. There’s no subtler way to put it. I’m sorry.
 Sure, that cake is delicious—it’s cake!—but it’s not delicious enough to require four bowls, ample sifting, a whisk, a spatula, a mixer and whipped egg whites. Few things are.
 After being asked to make a few Funfetti cakes earlier this year (and subsequently washing every mixing bowl I own and deep-cleaning sifted flour out of every crevice of my kitchen a few times), I realized the error of my overly-complicated ways and went back to the drawing board.
It should go without saying that it’s silly to rely on a recipe you dread making when you have the ability to make one that is simpler and yields better results. Simpler and better is exactly what you’ll find with this new, improved White Cake recipe. This rich, tender, fine-crumbed cake is a one-bowl endeavor, and while it does require a mixer, you don’t have to sift anything or whip egg whites. I’m calling it a huge win.
 This cake comes together differently than the others you’ll find on this site. Instead of the usual creaming method (creaming butter and sugar before adding eggs, dry ingredients and milk), this recipe is made using the reverse creaming method, which might be my new favorite way to make cakes. Let me walk you through the process.
 Start by combining flour, cornstarch, baking powder, salt and sugar in a large mixing bowl—the only mixing bowl you’ll need for this recipe. Give those a good stir with a whisk or a low mixer before adding all your softened butter.
You read that correctly. Add all your softened butter directly to the dry ingredients. Next up, use your mixer to combine the two. This will take a few minutes and produce a rubbly, sandy-looking mixture. The purpose of doing this is to coat the flour with fat before adding the liquid ingredients. The butter creates a barrier that impedes gluten-development, producing a softer, more tender cake.

 And speaking of gluten-development, the last two steps are adding liquid ingredients (egg whites, extracts, and buttermilk), which are what will activate the gluten in the flour. Mix just until combined before dividing the batter into two pans and baking.
 Once the cake layers are cool, you may fill and frost them however you like. I kept it simple this time around with a white buttercream (just my vanilla buttercream with less vanilla) and went for the naked cake look.
 Ooooh. Ahhhhh.
 You’ll love this White Cake for its buttery vanilla-almond flavor, fine crumb, and did I mention it only requires one bowl?????!!!!!🙌😍💪🍰🎉
  It’s great on its own, but is also a wonderful blank slate for all sorts of applications. Feeling like Funfetti? Add some sprinkles to the batter before baking. Embarking on your own wedding cake adventure? Layer it with Lazy Lemon Curd and finish it with a coat of Swiss Meringue Buttercream. Looking for the perfect fireworks-watching treat for your Fourth of July party? Give this recipe the Red, White & Blueberry treatment.
 Or maybe get brave and wild and do all three, because this White Cake is just that simple and just that good.
White Cake
makes one 9-inch round layer cake
2 2/3 cup all-purpose flour
1/4 cup cornstarch
2 cups granulated sugar
1 tablespoon baking powder
1/2 teaspoon Kosher or sea salt
1 cup (2 sticks) unsalted butter, softened, cut into small pieces
4 large egg whites, room temperature
2 teaspoons pure vanilla extract
1/8 teaspoon pure almond extract (optional)
2 cups buttermilk, room temperature
White Frosting:
1 cup (2 sticks) unsalted butter, softened to room temperature
1 pound confectioner’s sugar
pinch of Kosher or sea salt
1 teaspoon pure vanilla extract
1/8 teaspoon pure almond extract (optional)
3-5 tablespoons heavy cream
sprinkles and/or decorative sugar, if desired
Place an oven rack in the center position. Preheat oven to 350F.
Grease two 9-inch round cake pans. Line with parchment and grease again. Set aside.
Combine flour, cornstarch, sugar, baking powder, and salt in a large mixing bowl. Whisk ingredients together (I like to do this by running my mixer on its lowest speed for about a minute).
Add butter to dry ingredients. Run the mixer on low speed to mix in the butter until there are no large pieces and the texture is sort of rubbly. This will take a few minutes.
Add egg whites, vanilla, and optional almond extract to the bowl. Mix until combined. Running the mixer on medium, add the buttermilk in two installments and mix until combined. Scrape down the bowl to ensure even mixing.
Divide batter among prepared pans. Tap each full pan on the counter five times to release any large air bubbles. Bake layers on the center rack for 28-32 minutes, or until a toothpick inserted in the centers comes out clean. Let let layers cool in their pans for 15 minutes. Run a thin knife around the edges of the layer before turning out onto a rack to cool completely.
Make the frosting. In a large mixing bowl, beat butter until light and fluffy, about two minutes. Beat in confectioner’s sugar in two installments, scraping down the bowl as necessary. Beat in salt, vanilla, and optional almond extract. Add in heavy cream until desired consistency is reached. Frost and layer cooled cakes as desired. Top with sprinkles and/or decorative sugar immediately after frosting, if desired.
Layer cake will keep covered at room temperature for up to three days, or in the refrigerator for up to a week.

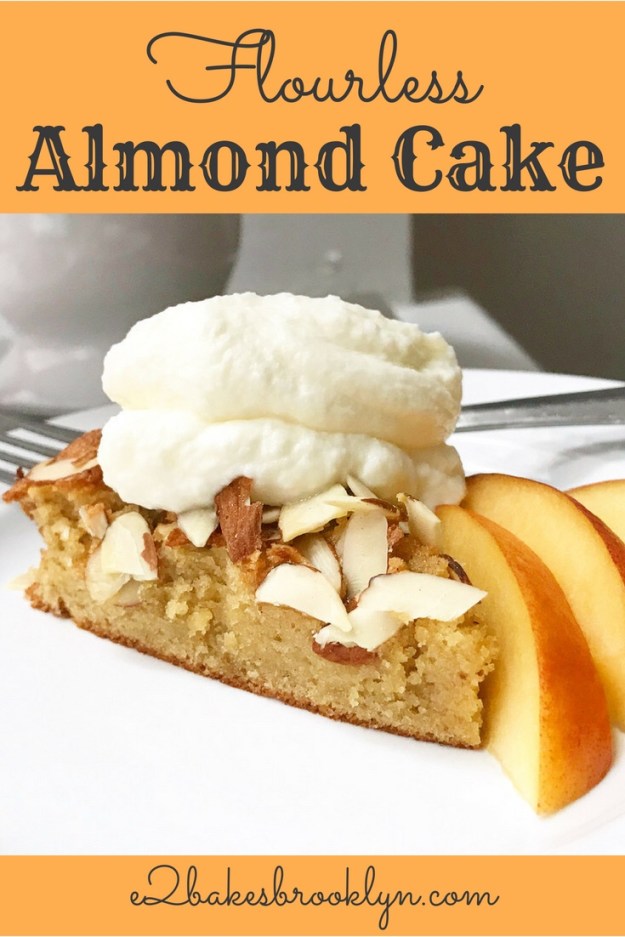
 This is my third gluten-free
 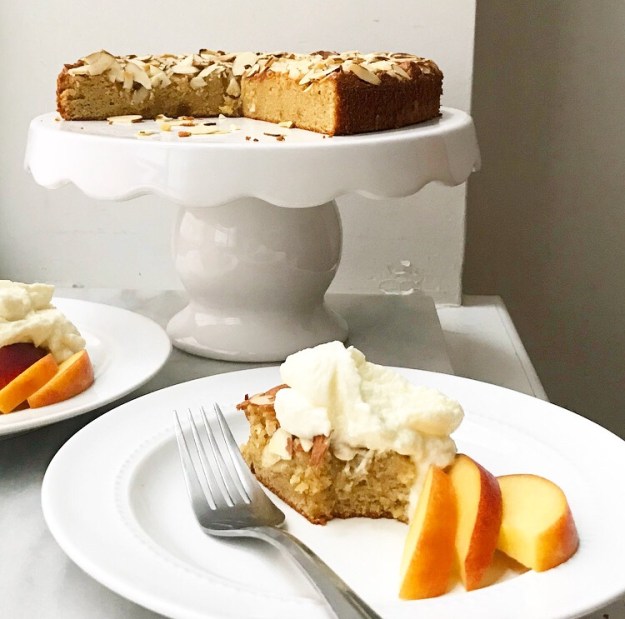 You might think that since I kept it for last, it’s subpar in some way. Quite the opposite—Flourless Almond Cake is really something special. It’s one of those recipes you’ll want to have in your repertoire not only because it’s grain-free and relatively quick and simple, but because it can adapt to any occasion. It’s as perfect for a dinner party as it is for a cookout or taking to a friend who needs a pick-me-up. The holidays are still a while away, but I can imagine this cake being a welcome addition to any dessert spread.
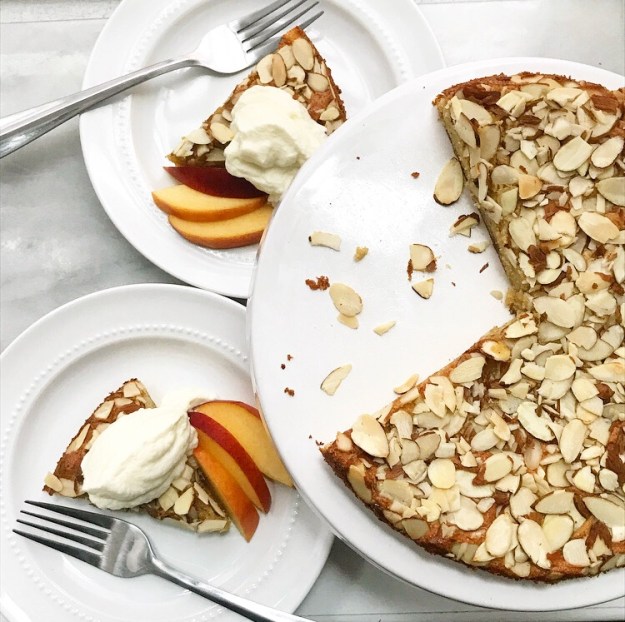 But it’s barely August and I’m getting ahead of myself. Let me show you how this cake comes together.
 It starts by measuring out some blanched almond flour. I measure using the spoon & level method, as I do with all my
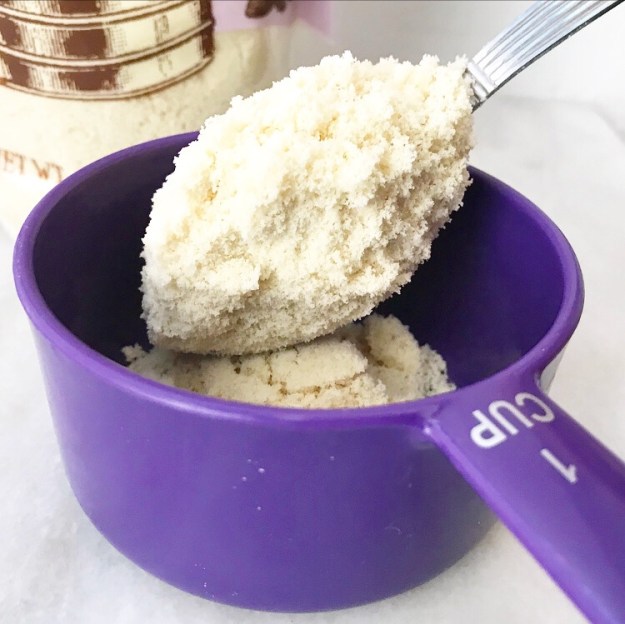
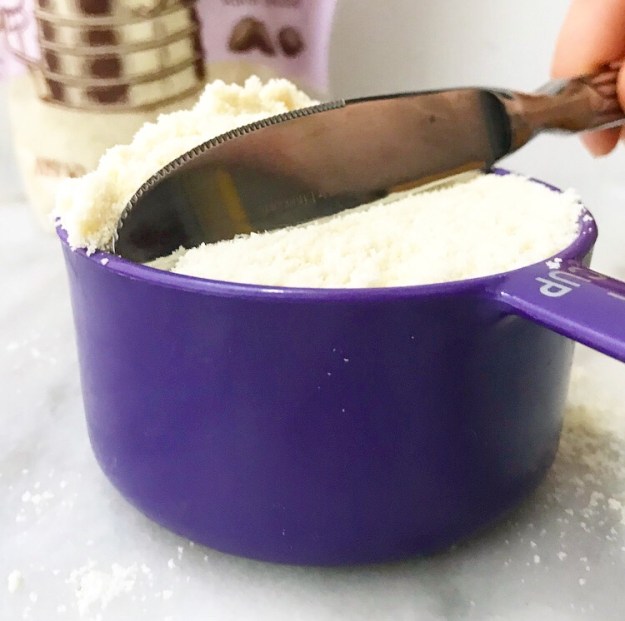 This may sound tedious if you’ve never done it before, but it only takes a few seconds longer than other common volume-based measuring techniques. While it’s appealing to scoop ingredients with a measuring cup directly, it may cause your final product to be too dense.
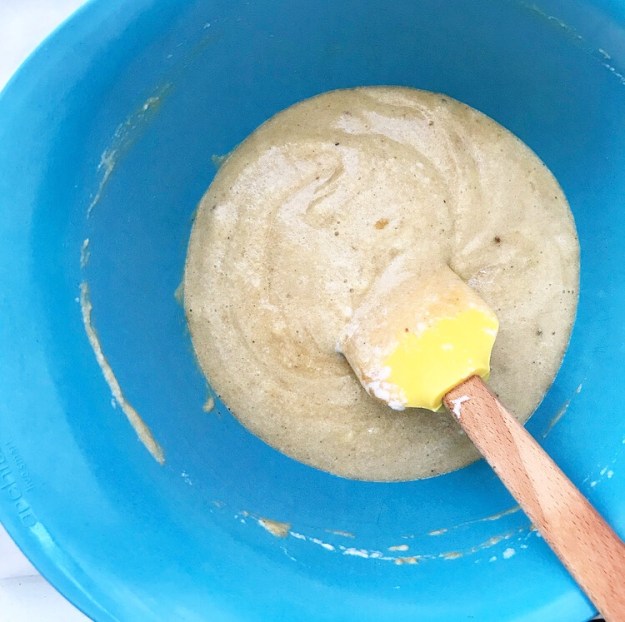
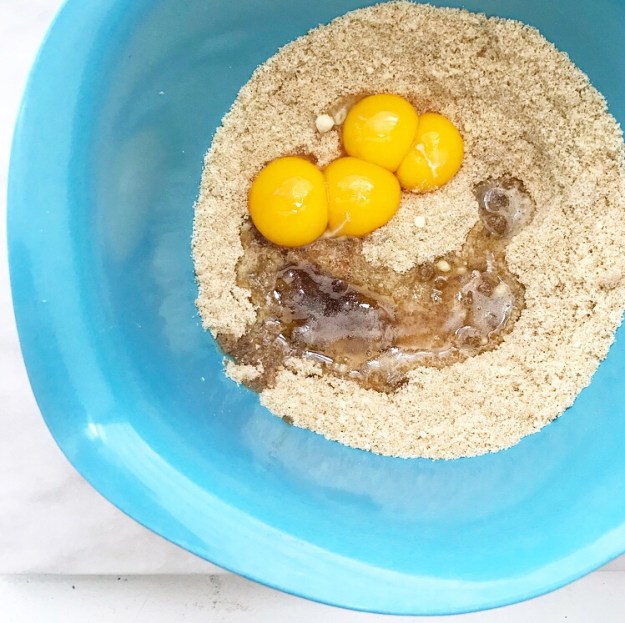 Put your almond flour in a large mixing bowl and mix in some light brown sugar, salt, and touches of cinnamon and nutmeg. Next come four egg yolks, vanilla and almond extracts, and a little butter. You may certainly just use plain melted butter here, but I like to use brown butter for the extra toasty flavor it imparts.
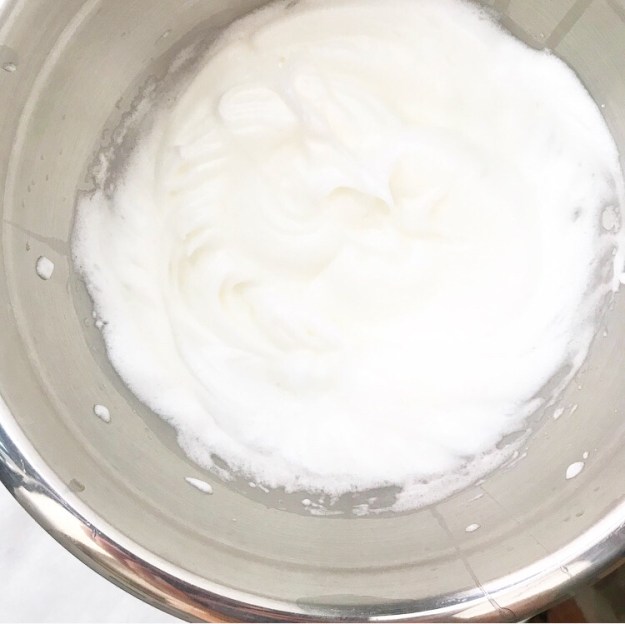 Next up, wash and dry your mixer attachment and whip four egg whites to stiff peaks. Don’t skip the wash/dry step or your egg whites won’t whip, and you’ll be cursing my name while you separate four more eggs. I tried bypassing this step and using the egg whites as-is, and the result was a dense, flat cake. No, thanks.
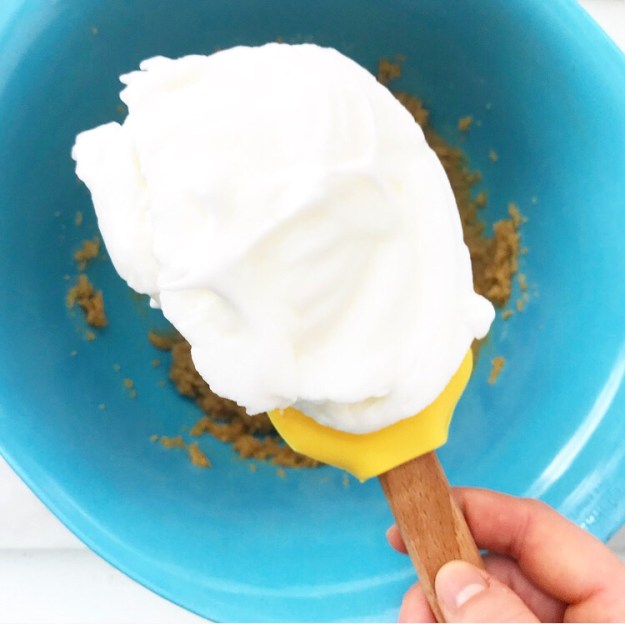
 Stir 1/3 of the whipped egg whites into the almond mixture before gently folding in the rest.
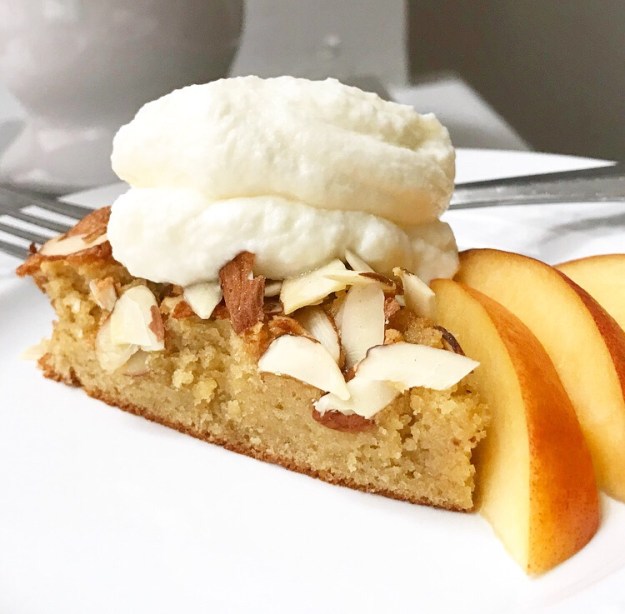
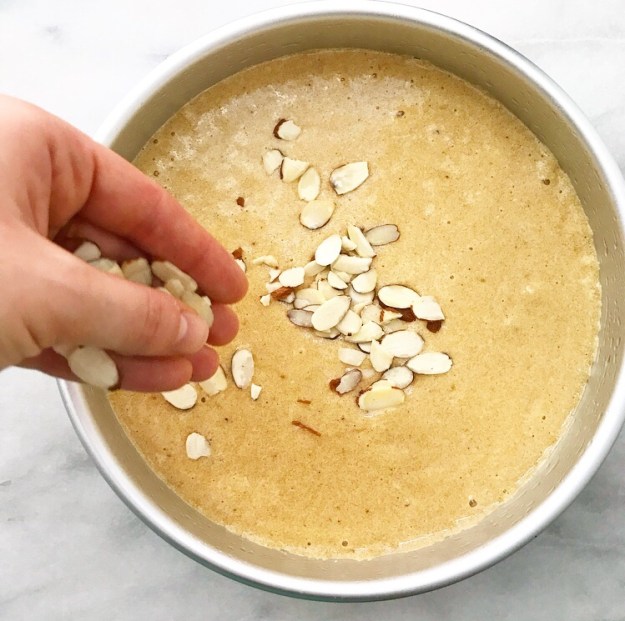 Pour the batter into a prepared pan, scatter sliced almonds over the top, and bake until the center is firm.
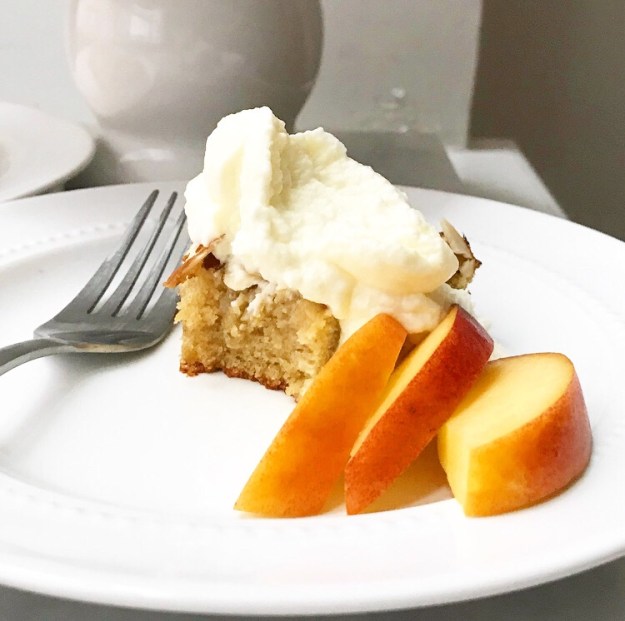
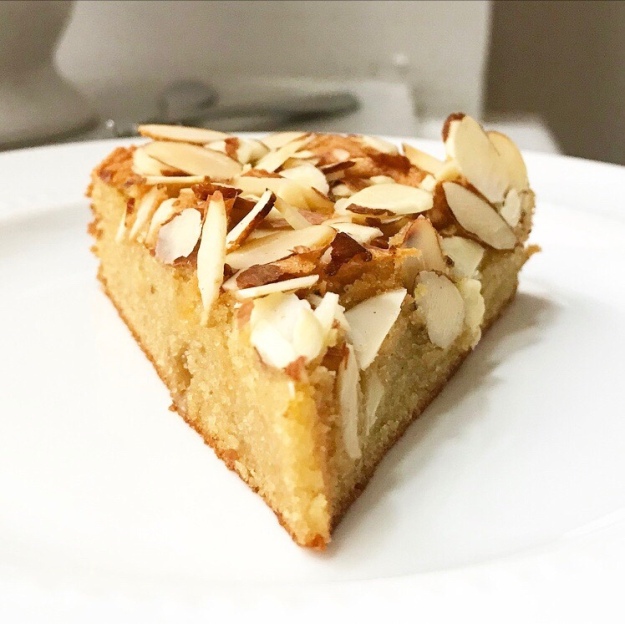 Turn the cake out onto a serving platter and let it cool completely. Slice it up and serve it any way you see fit.
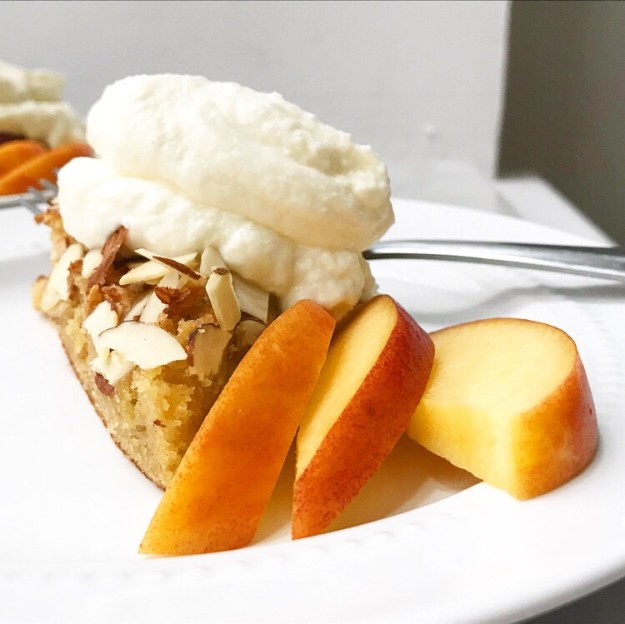 Like
Like 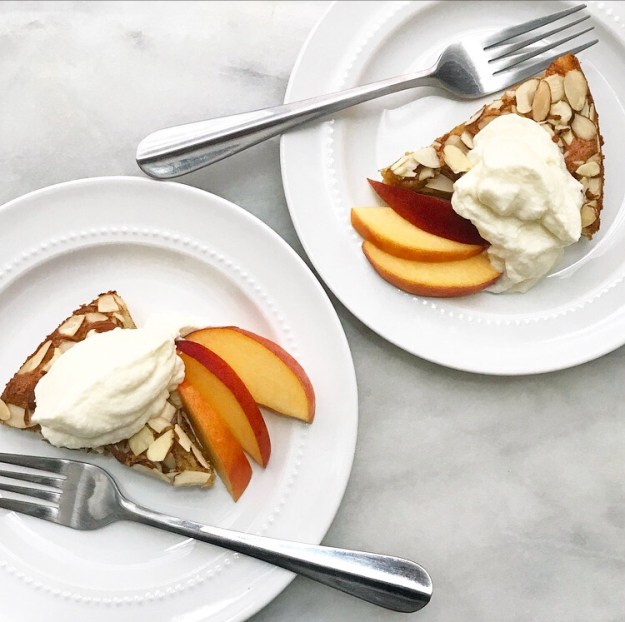 No matter which suggestion you go with, this simple little cake is sure to be a winner.