Category Archives: Chocolate

Oreo-Stuffed Andes Peppermint Crunch Cookies

 Welcome back to Twelve Days of Cookies! So far, there have been Red Velvet Peppermintdoodles, Eggnog Sandwich Cookies, Whipped Shortbread Snowballs, and Apple Cider Snaps. Today is Day 5 of this cookie marathon, and the holiday spirit is REAL. Also, the holiday rush. Oh my goodness. I have so much work to do before we ring in 2016 that it’s occasionally hard to breathe 😁 But almost all of it is really fun: baking cookies, making scones for friends, doing desserts for two fancy Christmas parties, celebrating Henry’s birthday, Christmas shopping, planning a New Year’s Eve party, and hanging with all my favorite tiny people. I have nothing to complain about, except for the busyness factor. So, here are some cookies that scream holiday cheer from the inside out, are easy to make ahead, huge, and totally delicious–just what I need this time of year. Maybe it’s what you need, too.

These cookies start with a soft sugar cookie dough. It has all the usual suspects, plus a couple of extras to make these extra-super delicious. Whisk together flour, cornstarch, baking powder, cream of tartar, baking soda, and salt. I’ve mentioned before that cornstarch keeps cookies a little softer and chewier, just like it gives cakes a tender crumb when used in cake flour. You could leave it out, but the tiny little bit of it adds so much to the texture. Don’t skip it! On to the leaveners: there are three of them. Yes, three. Baking powder, baking soda, and cream of tartar. Baking powder is a combination of baking soda and acid, so it reacts by itself. However, it’s not as powerful as baking soda, so we need to add a little of that too. And cream of tartar is an acid, so it will react with the baking soda (a base) to give us even puffier cookies. Plus, it helps with a smooth, tender texture by keeping the sugars from being able to re-crystallize after they cool. Science, you guys. It’s what makes our cookies awesome.
  

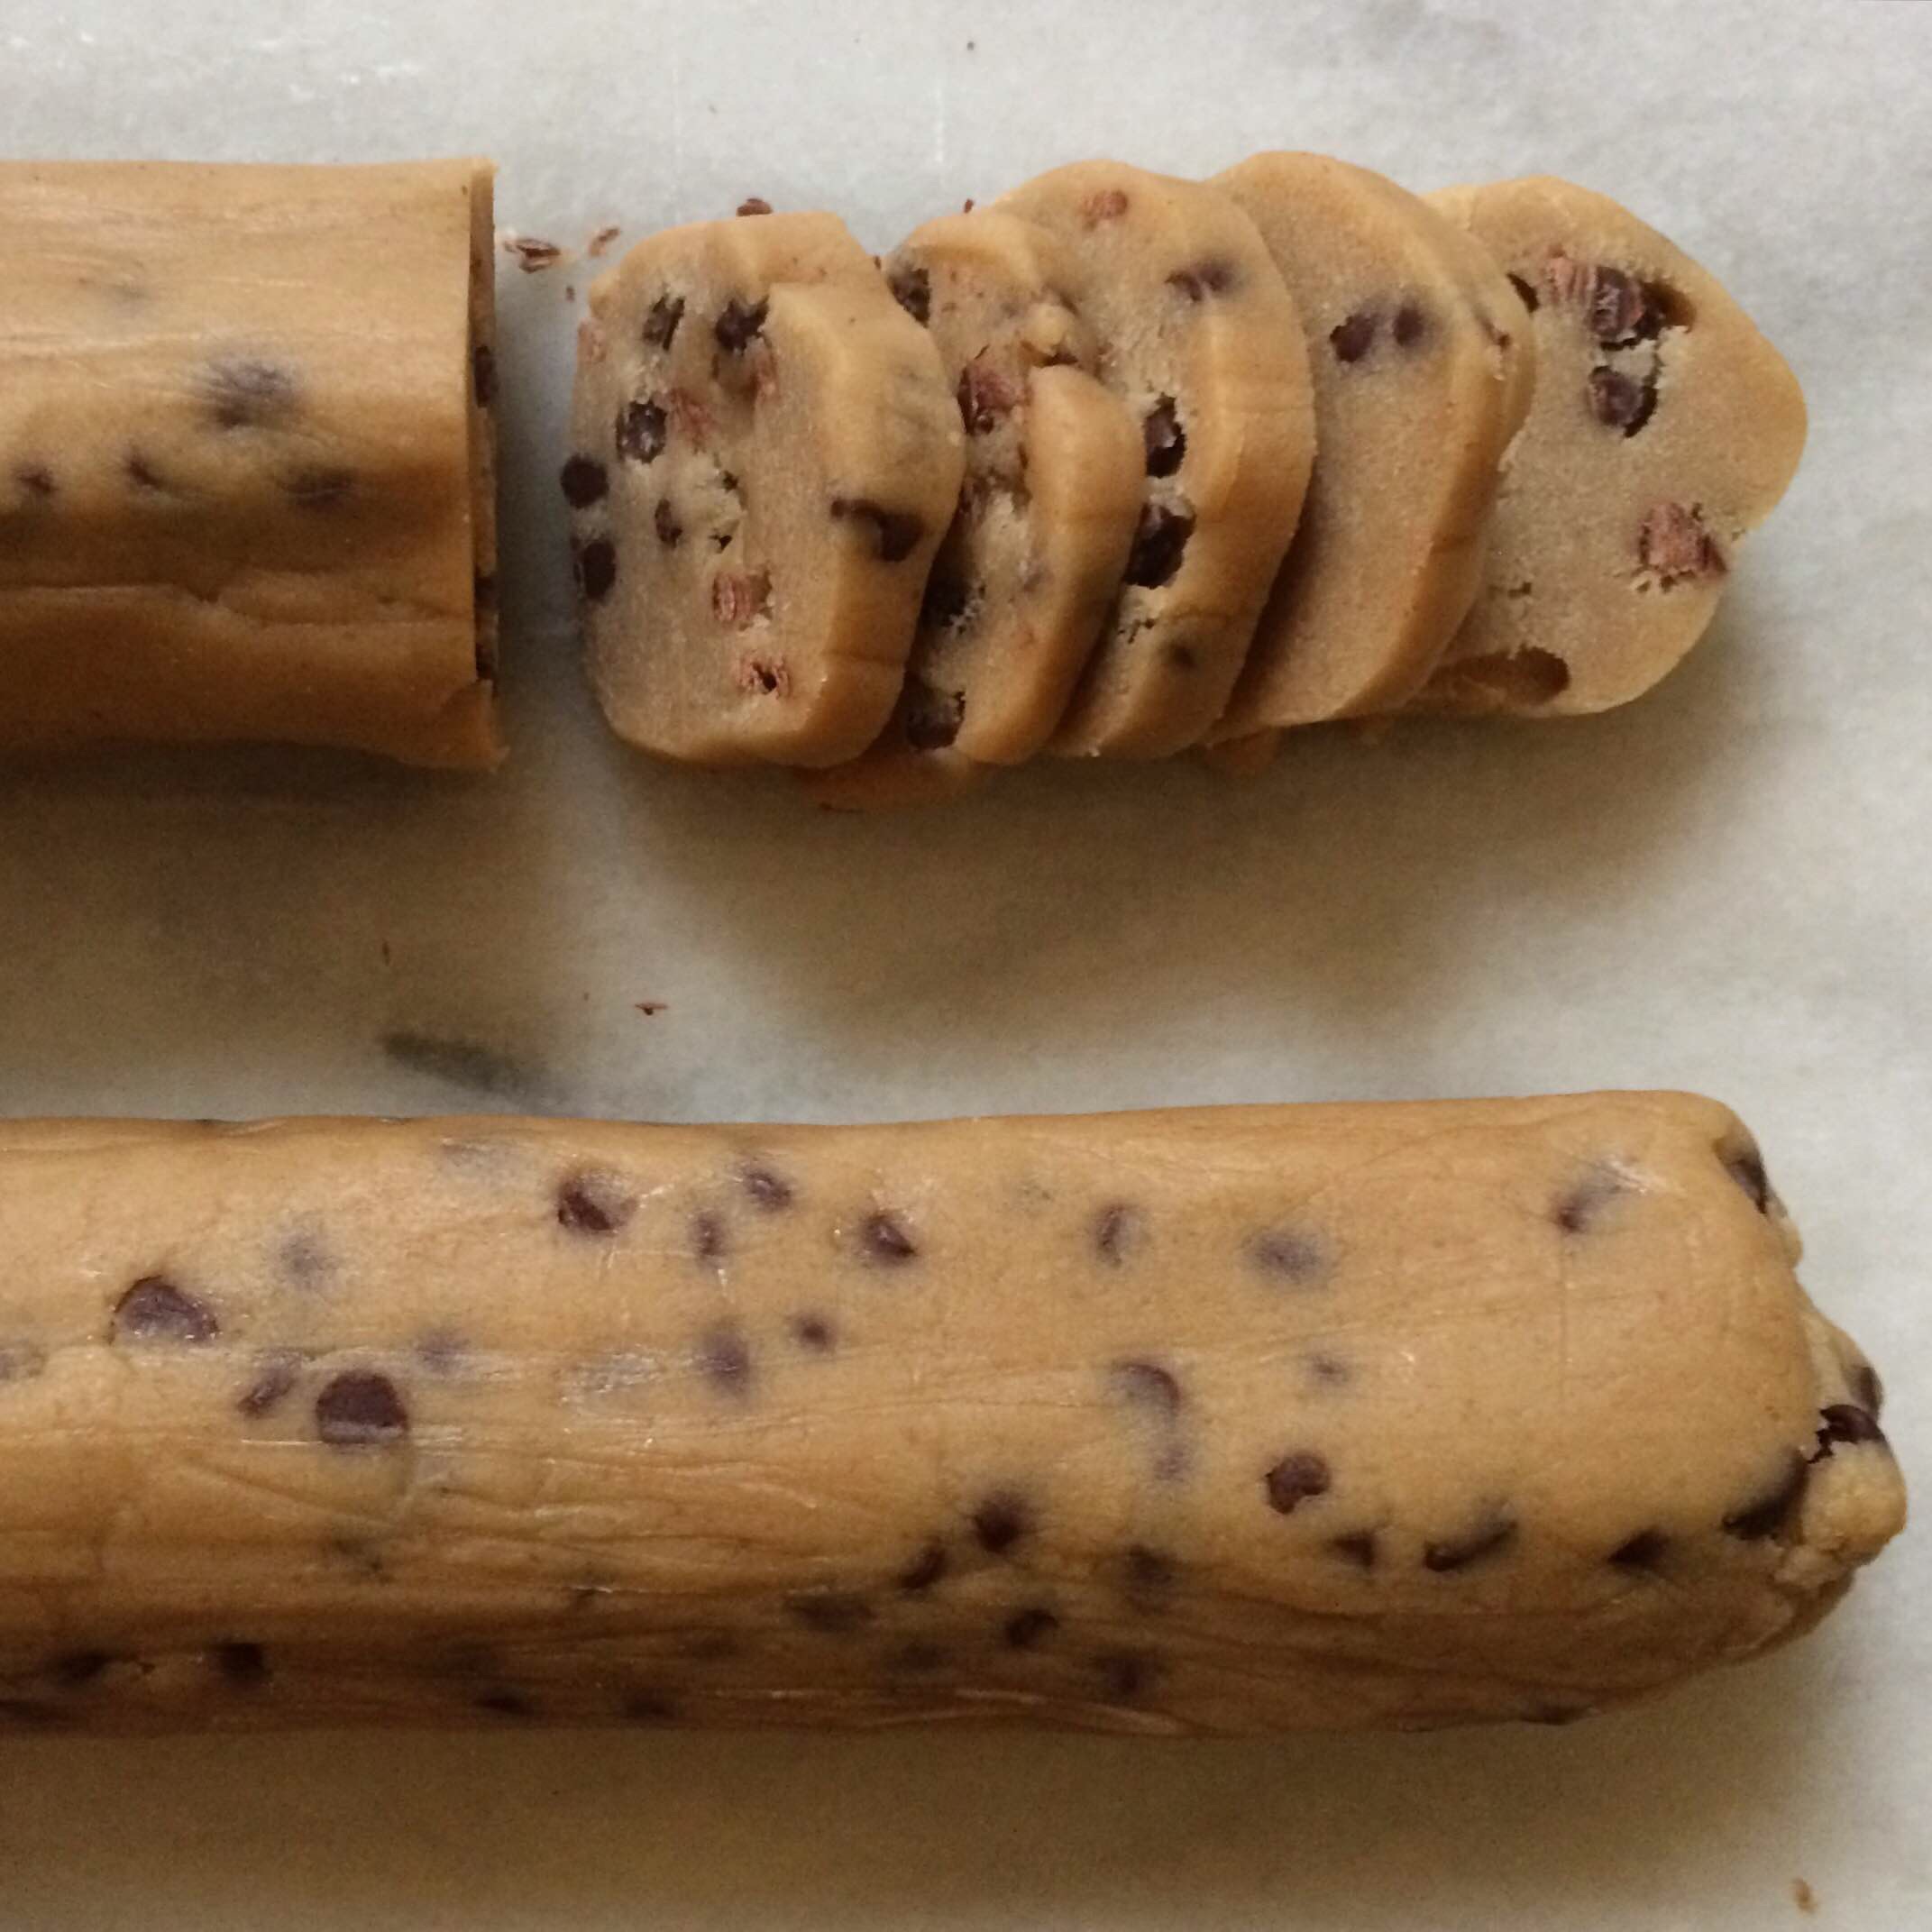
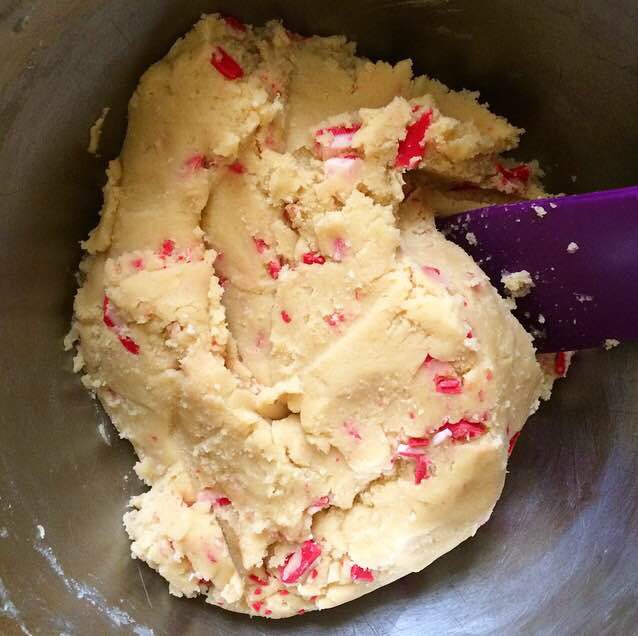
 Now, on to the wet ingredients. Cream some butter, and then add in both granulated and light brown sugar. The light brown sugar gives the dough a little more moisture and chew, plus complexity from the molasses. Then comes one large egg and one large egg yolk, followed by vanilla. Add dry ingredients to wet, fold in some chopped Andes Peppermint Crunch candies, and chill that dough for at least two hours, or up to three days. Take the chilling time and get some of your holiday-ing done. Address your cards, order all your gifts on Amazon Prime, trim the tree. Take that nap that you desperately need. And then come back and break out the Oreos.
 
  
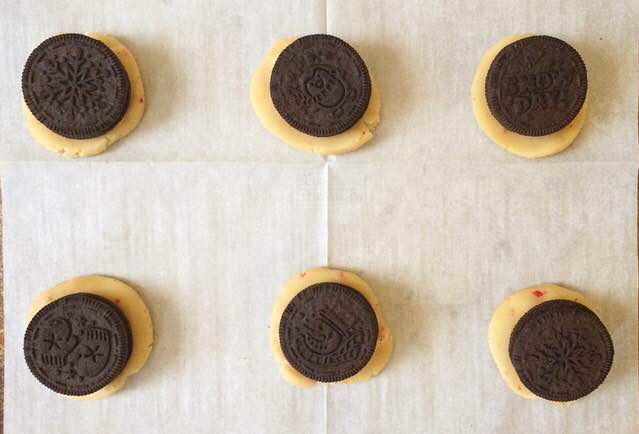
 The only thing better than a cookie is a cookie stuffed with another cookie. Here, we use Double Stuf Oreos. Take your chilled dough out of the fridge. Scoop the dough by the tablespoon, and then flatten each scoop into a disc. Top half of the discs with Double Stuf Oreos, and top the Oreos with a second disc of dough. Then, use your fingers to pinch the edges of the discs toward each other and then smooth the seams a bit. Set the cookies at least three inches apart on prepared baking sheets. Bake them for 11-12 minutes, until lightly golden brown and no longer wet-looking. I like to top the finished cookies with some additional Andes Peppermint Crunch pieces, but this is purely for aesthetics and totally optional. Let these cookies cool for a few minutes before enjoying.

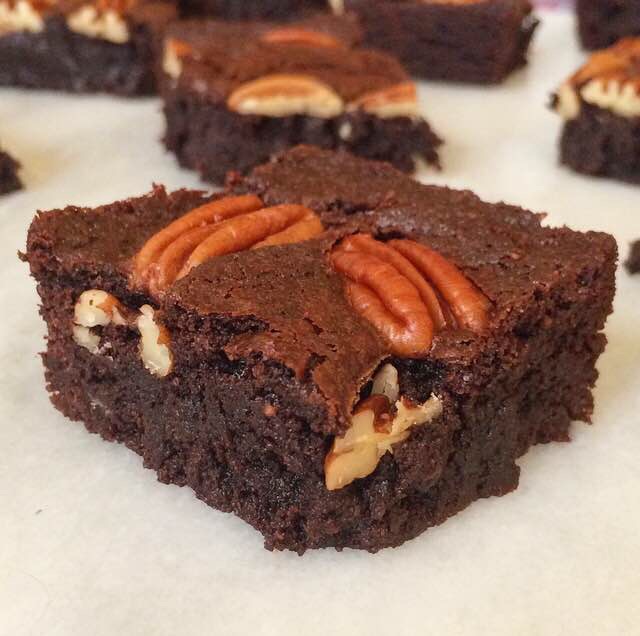
Oreo-Stuffed Andes Peppermint Crunch Cookies are huge, soft cookies that can’t help but bring a little holiday cheer to your cookie trays this year. With a Double Stuf Oreo center and a chewy cookie shell dotted with creamy peppermint candies, what’s not to love?! These cookies would ship like a dream, and I know the recipients will adore them. Vanilla, peppermint, and Oreos? Tastes like Christmas to me!
 Make sure to check back over the next couple of weeks for seven more holiday cookie recipes!

Oreo-Stuffed Andes Peppermint Crunch Cookies
makes 21 cookies

3 cups all purpose flour
1 tablespoon cornstarch
1 teaspoon baking powder
1 teaspoon cream of tartar*
1/2 teaspoon baking soda
1 teaspoon Kosher or sea salt
1 cup unsalted butter, softened to room temperature
1 cup granulated sugar
1/2 cup light brown sugar, packed
1 large egg + 1 large egg yolk, room temperature
2 teaspoons real vanilla extract
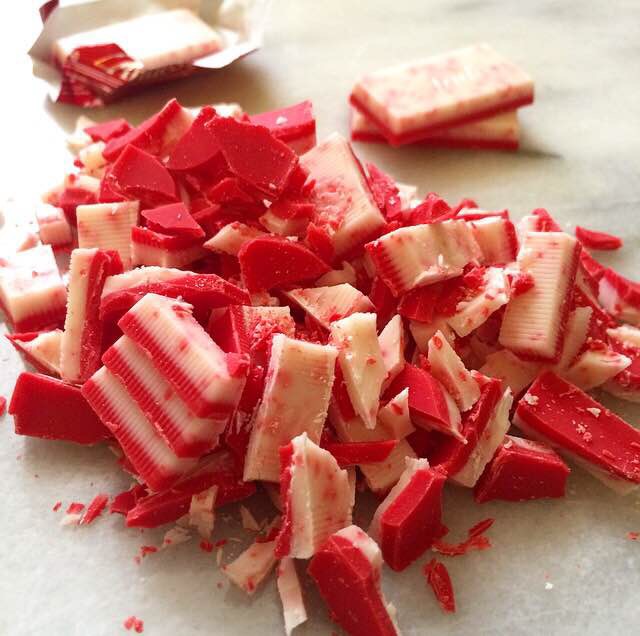
28 Andes Peppermint Crunch candies (one 4.67oz package),* chopped
21 Double Stuf Oreos*

In a large mixing bowl, whisk together flour, cornstarch, baking powder, cream of tartar, baking soda, and salt. Set aside.

In a separate large mixing bowl, beat butter until it if fluffy and lighter in color. Beat in sugars, followed by egg and yolk, and then vanilla. Add flour in two installments, combining completely. Fold in Andes Peppermint Crunch candies. Cover dough and chill at least two hours, or up to three days.

Preheat the oven to 350F. Line two sheet pans with parchment.

Scoop dough into tablespoons. Flatten the dough balls into discs. Place Oreos on half of the dough discs, and top with remaining discs. Fold edges in toward each other, enveloping the Oreos. Smooth the seam with your fingers. Repeat with all dough. Bake cookies 9-11 minutes, until they are lightly golden. Let them cool on the pans 5-7 minutes before removing to a rack to cool completely.

These cookies keep well covered at room temperature for up to three days.

Notes:


1. Cream of tartar is mandatory. There is no substitute.
2. Andes also makes Peppermint Crunch baking bits. If you’d like to use those in place of the chopped candies, I suggest 1 cup.
3. I used the Winter variety because I like the red centers. Use whichever variety you like best.

Oreo-Stuffed Andes Peppermint Crunch Cookies

Black Bottom Pear & Almond Pie

Black Bottom Pear & Almond PieOn our anniversary last year, Henry and I went to al di la, an absolute treasure of a restaurant in Park Slope, Brooklyn…with my parents. They were visiting and wanted to take us out to celebrate, and who were we to turn down a (very) nice free meal? At the end of a dinner that I’m still thinking about almost a year later, we decided to split a dessert. This is a big deal. You see, Henry’s not much for sweets. I make dozens of cookies every week (not to mention all the cakes and pies and cinnamon rolls), and he politely turns down almost all of them. He digs gingersnaps and chocolate cake without frosting, but that’s pretty much it. So when he wanted to split a dessert at this restaurant, I leapt at the opportunity. Seeing as he is pickier about sweets than I am (I just had a cookie and called it breakfast), I let him choose. And he went for the one thing on the menu that didn’t look wonderful to me: an almond cake with pears and bittersweet chocolate. You see, for me, fruit and chocolate don’t really go together. I mean, if you give me a piece of chocolate cake with raspberry filling, I’m not going to turn it down. (As a rule, I don’t turn cake down.) But it’s not my favorite. So when this cake showed up at the table, I expected to take two bites, say how good it was, and be finished with it. That’s where I was wrong. This cake was dense and rustic, with a good almond flavor, soft pieces of pear, and a magical layer of melted chocolate. I’m pretty sure I ate all of my half and most of Henry’s too. And here we are, two weeks away from our anniversary, and I’m still thinking about it…so I took that cake and made it pie.Black Bottom Pear & Almond PieThis pie, you guys. This pie. It’s got soft pears in an almond filling, all suspended over a puddle of chocolate ganache. And all of that is in a cream cheese pie crust because that’s how I roll. It’s elegant and seasonal. There’s fruit, there’s chocolate–it covers all the bases. I won’t lie to you, it takes time and there are many steps, but none of them are difficult. This pie is sooo worth the effort. Don’t let the length of the recipe scare you away. You can do this. Let’s get started.Black Bottom Pear & Almond PieWe start by poaching pears. If we put raw pears in the pie, the result could be…crunchy. And while crunchy pies can be amazing (pecan pie is my jam), fruit pies should have a softer filling. So, let’s poach. We need four firm pears, like Bosc, about seven ounces each. Leaving them whole, peel them and set them aside. Bring some water and sugar to a boil, stirring until the sugar dissolves. Squeeze in the juice of an orange (about 1/4 cup) and throw in the two halves of your squeezed orange. When the mixture comes to a boil, reduce the heat and drop in the pears. Simmer for 20 minutes, then let them cool to room temperature in the poaching liquid. You can do this up to 24 hours ahead, and then put the pears and liquid in the refrigerator until you are ready to assemble the pie. If you want to cut the poaching step altogether, you may use canned whole pears in juice.Black Bottom Pear & Almond PieThen, take one good pie crust (I like this Cream Cheese Pie Dough), roll it to a 12-inch diameter, fit it in a pie plate, and crimp the edges. Then, throw it in the fridge while you preheat the oven to 425F. This crust has to be partially blind-baked, or baked without filling, because the wet filling in this pie could give us a soggy crust otherwise. When the oven is preheated, take the pie crust out of the refrigerator and prick the bottom of the crust several times with a fork. This is called docking; it keeps the crust from puffing up by allowing trapped steam to escape. Then, line the crust with foil and fill it with pie weights or dried beans. Bake the crust for 17 minutes. Remove it from the oven and take out the foil and weights/beans. Bake the crust for an additional three minutes. Let the crust cool to room temperature while you prepare the ganache.Black Bottom Pear & Almond Pie
This part is easy. Chop four ounces of bittersweet chocolate and put them in a bowl. Heat 1/4 cup of heavy cream in a small saucepan over low heat. When it just barely comes to a boil, remove it from the heat and pour it over the chopped chocolate. Once the chocolate looks melty, stir it all together with a fork until you have a smooth, beautiful sauce. Let that cool a little bit while you make the frangipane.Black Bottom Pear & Almond Pie
Black Bottom Pear & Almond PieBlack Bottom Pear & Almond PieFrangipane (almond filling) sounds difficult, but it really couldn’t be simpler. Put blanched almonds and a little flour in a food processor, and blitz until it becomes a fine meal. Then, pulse in sugar and salt, followed by six tablespoons of butter. Once that all comes together, put in one egg and 1/2 teaspoon of pure almond extract. It’s ready when it vaguely resembles hummus. Do not over-process, or you’ll have almond butter. Delicious, but not what we need here.Black Bottom Pear & Almond Pie
Black Bottom Pear & Almond PieBlack Bottom Pear & Almond PieNow, to assemble. Spread your ganache in the room temperature pie crust. Let it chill in the fridge for five minutes, just to set. Then, spread half your frangipane over the ganache, and then top that with half your pears. Spread the pears with the second half of your frangipane, and then decorate the top with the second half of your pears. Brush the exposed pears with heavy cream and sprinkle them with sugar. Cover the exposed crust with a pie protector or foil; I use a 9″ hoop that I made out of foil, and it works like a charm. Place the pie in a 350F oven for 45-55 minutes, until cooked through and lightly browned. Let it cool for at least two hours before slicing and serving with lightly sweetened whipped cream and a dusting of confectioner’s sugar. If you want to make it ahead, the pie will keep covered at room temperature for two days or in the refrigerator for three.Black Bottom Pear & Almond PieNow, look how fancy you are with your fancy pie. You can throw the word “frangipane” around at your Thanksgiving dinner and be all sophisticated and stuff. And then you can eat two slices in a very unladylike fashion and tell everyone that there are no leftovers as you shove the last piece in the back of the fridge. You’ve earned that last piece. You are the pie queen/king. You nailed it.

Want more pie? Check out this light and fluffy Pumpkin Pie, and come back next week for one more pie recipe before Thanksgiving.Black Bottom Pear & Almond Pie

Black Bottom Pear & Almond Pie
heavily adapted from Pear and Almond Tart by Deb Perelman
makes one 9″ pie

Pears
4 cups water
1 cup granulated sugar
1 whole orange, washed
4 whole pears*, about 7 oz each, peeled

Crust
1/2 recipe Cream Cheese Pie Dough

Ganache
4 oz good quality bittersweet chocolate*
1/4 cup heavy cream

Frangipane (Almond Filling)
4 ounces whole blanched almonds*
1 tablespoon all purpose flour
pinch of Kosher or sea salt
6 tablespoons granulated sugar
6 tablespoons unsalted butter, cold-ish room temperature, cut into cubes
1 large egg
1/2 teaspoon pure almond extract

heavy cream, for brushing
1-2 tablespoons granulated sugar, for sprinkling

Start by poaching the pears. In a large pot, bring 4 cups of water to a boil. Slice the orange in half. Squeeze the juice into the water, then drop both halves of the orange into the pot. When the liquid comes to a boil, turn the heat to medium high. Drop in the pears and simmer, stirring occasionally, for 20 minutes. They should be tender, but not falling apart. Let the pears cool to room temperature in the poaching liquid.*

On a floured surface, roll out the pie crust to a 12-inch diameter. Fit into a 9-inch pie plate*, and trim the edges to 1/2-inch of overhang. Crimp the edges. Place crust in the refrigerator for at least 30 minutes.

Blind bake the crust. Preheat the oven to 425F. Remove chilled crust from the refrigerator. Prick the bottom of the crust several times with a fork. Line the inside of the crust with foil, and fill with pie weights or 1 lb of dried beans. Bake for 17 minutes. Remove the crust from the oven, and gently lift out the foil and weights/beans. Bake the crust for an additional three minutes. Let crust cool to room temperature.

Make the ganache. Chop 4 ounces of bittersweet chocolate and place in a small bowl. Place heavy cream in a small saucepan over medium heat. When it just barely starts to boil, remove it from the heat and pour the cream over the chocolate. Once the chocolate looks soft, stir it together with a fork until you have a smooth chocolate sauce. Let cool a bit while you prepare the frangipane.

In a food processor (or very good blender), grind blanched almonds and flour until the mixture is a fine meal. Pulse in salt and granulated sugar. Pulse in butter. Pour in egg and almond extract, and process until frangipane is a homogenous paste.

Prepare the pears. Discard the poaching liquid. Slice the pears in half and core them. Then cut each half into 1/4-inch slices width-wise.

Assemble the pie. Spread an even layer of chocolate ganache onto the bottom of the pie crust. Refrigerate five minutes to set. Spread half the frangipane over the ganache. Layer half the pears on top. Then, spread the pears with the rest of the frangipane. Decorate the top of the pie with the remainder of the pears. Brush the exposed pears with heavy cream and sprinkle with granulated sugar.

Preheat the oven to 350F. Cover the exposed crust with foil or a pie protector. Bake the pie for 45-55 minutes, or until the pears are light golden brown. Let the pie cool for at least two hours before slicing and serving with a sprinkling of confectioners sugar and sweetened whipped cream.

This pie keeps covered at room temperature for two days, or in the refrigerator* for three days.

Notes:

  1. I use Bosc pears. Anjou and Bartlett are also good choices. Make sure your pears are firm.
  2. I use Trader Joe’s Pound Plus Dark Chocolate.
  3. If you can’t find whole blanched almonds, an equal weight of slivered almonds (without skins) or almond flour will do.
  4. The pears may be prepared up to 24 hours in advance. Just let them cool to room temperature, discard the orange halves, and then refrigerate the pears in the poaching liquid until you are ready to use them.
  5. Use a standard pie plate, not deep dish.
  6. Let refrigerated pie sit at room temperature for 60-90 minutes before slicing.

Black Bottom Pear & Almond Pie

Chocolate Chip Shortbread Cookies

image

While I don’t often work in the mornings, I make a point to get up by 8am on weekdays. I have a sort of pattern that I follow nearly religiously, which goes as follows. Every weekday morning, I make a trip to my local bodega to get a coffee. I’m one of those that would love to make coffee, but has to be caffeinated to do so, lest I break the French press. I’ve gone to the same place for so long that the owner, Mr. Moon, no longer has to ask for my order; the only question is “Hot or cold?” Then I head home, turn the radio to BBC World Service News Hour (nerd alert!), and eat a bowl of granola with Icelandic yogurt, fruit, and a drizzle of maple syrup. I make granola in three-quart batches every few weeks, and go through it 1/2 cup at a time. But on the rare day that we don’t have a jar-full on top of the fridge, I make a trip to Bien Cuit for a coffee and a pastry.

Bien Cuit is a fantastic bakery on Smith Street in Boerum Hill. They make beautiful breads and pastries that change with the seasons; I am partial to the Tebirke (a flaky pastry filled with almond paste and rolled in poppyseeds) and Apple Cardamom Danish, but I’ve enjoyed nearly everything in the pastry case. And if that’s not enough to convince you to find a reason to go there right this minute, the baristas make one hell of a cappuccino. By the cashier, you’ll find a few cookie jars. They all look wonderful–and with flavors like Almond Sable and Malted Muesli, how couldn’t they be?–but the jar that always catches my eye is Diamond Chocolate Chip Shortbread. While I notice them every time I go to pay for my breakfast, I’ve never gotten one. Instead, I just dream about them while I go about my day. There are worse things to daydream about than crunchy, buttery cookies chock-full of miniature chocolate chips.

When Henry and I were invited to dinner at our friend David’s last week, I was asked to bring something simple to go with after-dinner tea. The first thing to come to mind was that jar of chocolate chip shortbread. I got to work making my own version. The result was just what he asked for: simple little cookies with the flavor of a chocolate chip cookie and a crunchy texture perfect for dunking in tea or coffee.

image

These really are the simplest cookies. They start with creaming room temperature butter, dark brown sugar, and granulated sugar. We use 3 parts brown sugar to 1 part granulated to ensure the rich caramel flavor of a great chocolate chip cookie. Then, we add in a little vanilla to round out the flavor of the cookie itself. The next step is adding flour and salt in two installments, followed by folding in miniature chocolate chips. The dough will seem very crumbly, but should hold together when you pinch some together. Then we divide the dough in half and roll each half into a log, wrap it in plastic, and let chill for 45 minutes to solidify the butter and meld the flavors. When that time is up, unwrap the dough, and slice into 1/4″-thick rounds. Bake for 15-17 minutes, or until the tops are no longer doughy and the edges are starting to brown. Then make yourself a pot of coffee or tea, and dunk away!

Chocolate Chip Shortbread Cookies keep well covered at room temperature for at least a week. They are a perfect casual dessert or afternoon treat for these colder months, and I think a little bag of them would be a great holiday gift with a pound of coffee and a cute ribbon! They would also make fantastic little ice cream sandwiches. Actually, that’s a great idea. I think I’ll go have one right now…

image

Chocolate Chip Shortbread Cookies
makes about six dozen

1 3/4 cups all purpose flour
1/2 teaspoon Kosher or sea salt
3/4 cup unsalted butter, softened to room temperature
6 tablespoons dark brown sugar, packed*
2 tablespoons granulated sugar
3/4 teaspoon pure vanilla extract
1/2 cup + 2 tablespoons mini chocolate chips*

In a medium mixing bowl, whisk together flour and salt. Set aside.

With a hand mixer in a large mixing bowl, beat butter until it is light and fluffy (about two minutes). Add dark brown and granulated sugars followed by vanilla, and beat until they are completely incorporated. With the mixer running on low, incorporate flour mixture in two installments, making sure to scrape down the sides of the bowl. Mix in mini chocolate chips.

Divide dough in half. Take one half and lay it on a piece of plastic wrap. Using the plastic wrap and clean hands, form the dough into a 9″ long x 1.5″ thick log. Wrap tightly in the plastic wrap. Repeat with the other half of the dough. Refrigerate wrapped dough for at least 45 minutes, or up to three days.

Preheat the oven to 325F. Line two cookie sheets with parchment paper, and set aside.

Unwrap one log of dough. Using a large, sharp chef’s knife, slice the dough in 1/4″ installments and lay them on the prepared pans one inch apart. Bake for 15-17 minutes, or until the tops no longer look doughy and the edges are starting to brown. Let cool on the pans for for 10 minutes before removing to a rack to cool completely. Repeat slicing and baking with remaining dough.

These keep well in an airtight container at room temperature for at least a week.

Notes:

  1. Light brown sugar may be substituted.
  2. Regular-sized chocolate chips are not recommended.

The Second Best Brownies in the World {First Post}

Cocoa Brownies

My dad makes the best brownies in the world.

That may sound like a grand statement, but in my humble opinion, it’s the truth. He was the only person who ever baked in my house growing up, and his specialty was brownies. Whenever he got a craving for chocolate, he’d whip up a batch and we’d all spend the following days evening out edges and making brownie sundaes with Blue Bell Ice Cream and chocolate syrup. They were soft and fudgy (but never too gooey), and the crackly top of each batch always had something spelled out in pecan halves. Often it was “E1,” “E2,” or “E3,” his nicknames for my sisters and myself. On our beloved housekeeper’s birthday, you would see a pecan mosaic spelling out “Eula.” It was always an occasion. When I was applying to colleges in 2002, my first three acceptances came from schools in Oklahoma. I came home from school to find a huge pan-full with “OK” spelled out in pecans. I didn’t end up going to any of those schools, but I still remember those brownies.

Before I get to the recipe, you should know something. My dad’s brownies came from a box. Betty Crocker, Duncan Hines, generic–whatever was in the pantry. I would love to say that the best brownies in the world come from an old family recipe, but that would be a lie. Sometimes the best doesn’t mean the finest ingredients or the most complicated. My dad’s brownies are the best because he made them with us in mind. They’re the best because he took the time to tile out our names in pecans because he loved us and was proud of us. They’re the best because my dad is the best. It’s only appropriate that I would write my first blog post with him in mind.

On the chance my dad doesn’t frequent your kitchen, here are what I consider the second best brownies in the world. They are fudgy and rich, gooey but not over the top. They’re made with brown sugar in addition to granulated to give a little extra chew and complexity from the molasses. What really makes them the best is their simplicity: there’s no melting of chocolate over a double boiler, no need for a mixer, and only marginally more work than stirring together boxed brownie mix. Just ten minutes to mix them up, thirty in the oven, and a few more to cool before you can dive face-first into a brownie sundae. Once they’ve cooled completely, they slice like a dream and are perfect for tucking into lunches.

Make these for someone you love and are proud of, even if it’s just yourself. And don’t forget to write something in pecans. It’s what my dad would do.

Cocoa Brownies in Pan

Cocoa Brownies

adapted from Alice Medrich’s Cocoa Brownies
makes one 8×8″ pan*

10 tablespoons unsalted butter
3/4 cup granulated sugar
1/2 cup light brown sugar, packed
3/4 cup + 2 tablespoons cocoa powder*
2 large eggs, cold
1 teaspoon pure vanilla extract
1/2 cup all purpose flour
1/2 teaspoon Kosher or sea salt
pecan halves for decorating, optional

Preheat oven to 325F. Butter the inside of an 8×8″ square pan. Line the bottom with parchment and butter again. Set aside.
Melt butter in a saucepan or the microwave. Stir butter, sugars, and cocoa together in a large mixing bowl. Let mixture cool for a couple of minutes. Add the eggs one-by-one, mixing until they are completely incorporated. Stir in vanilla extract. Fold in flour and salt just until combined.

Pour batter into prepared pan. Tap the full pan on the counter a couple of times to release any air bubbles. Bake for 25-30 minutes, or until a toothpick inserted in the middle comes out with only a few moist crumbs.

Let the brownies cool completely in the pan on a rack. Slide a knife around the edges of the pan before inverting to release. Slice into 16 or 25 squares. Enjoy.

Notes:

  1. A 9×9″ pan may be substituted, but the baking time may be slightly shorter.
  2. I often use a mixture of natural and Dutch-processed cocoa powders, but using all of one or the other is fine. Use whatever you have on hand.