 My dad is the kind of person who just *needs* something sweet at the end of each day, probably because he was raised by someone who always had a chocolate cake on her kitchen counter. Aside from brownies though, he’s not much of a baker and neither is my mother, so homemade desserts weren’t a huge part of my family life growing up. Still, we were a small-dessert-every-night sort of family. We always had something sweet in our weekly grocery haul–Oreos, pecan sandies, popsicles–but I think, if asked, we’d all agree that the best dessert was always vanilla ice cream and chocolate syrup.
 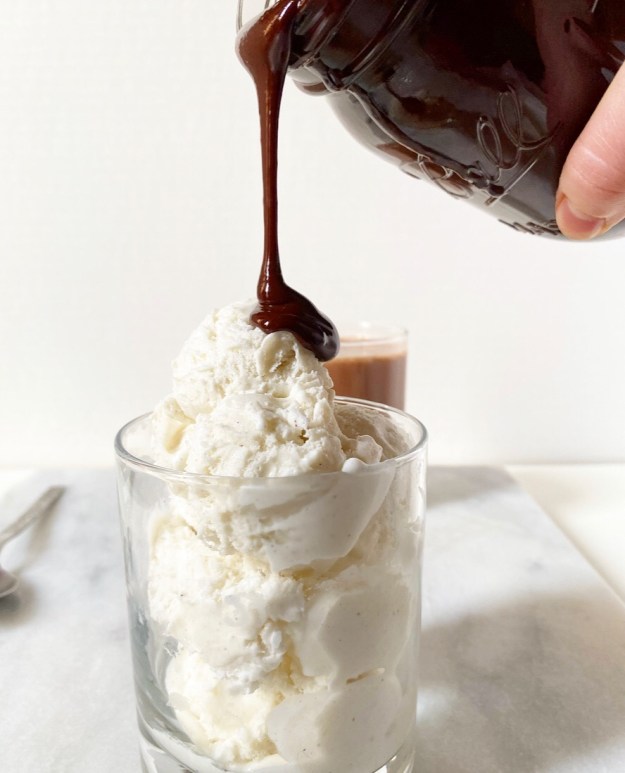 Fast forward fifteen-ish years to me living the professional home baker life in New York in the middle of a pandemic. I can pretty much make whatever dessert I want, and maybe it’s because the weather is warming up or I’m feeling nostalgic or a little homesick, but all I really want right now is vanilla ice cream and chocolate syrup.
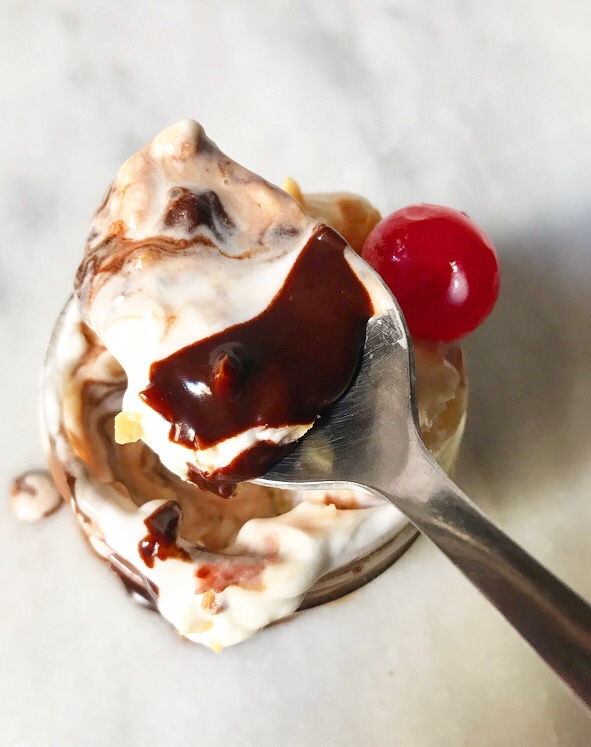
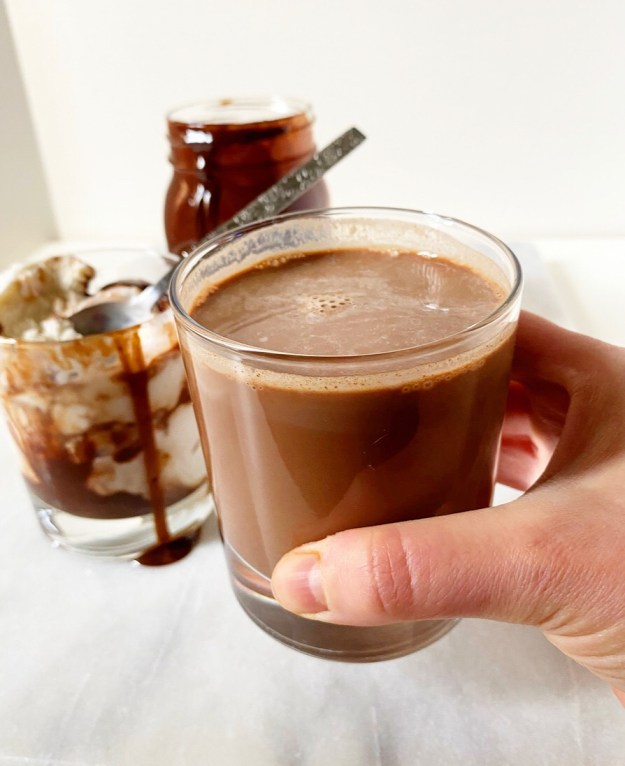
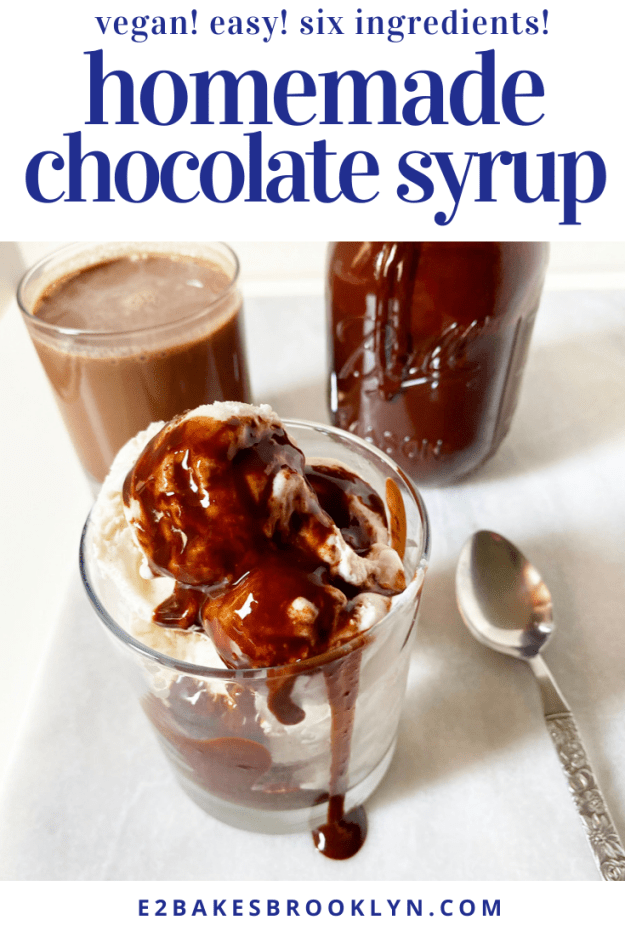
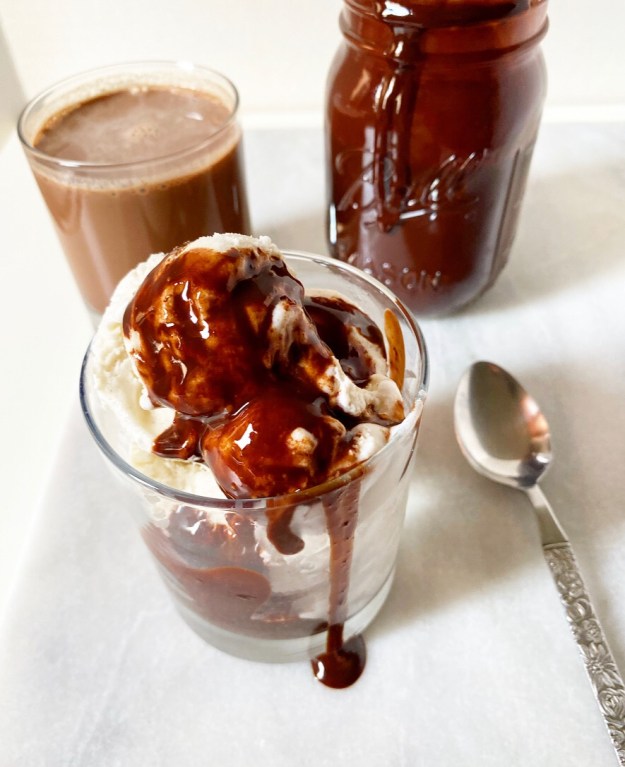 Now, I do not have much desire to begin making my own vanilla ice cream, but Homemade Chocolate Syrup? That, I need. Like many of us, I grew up with Hershey’s Syrup in the fridge, but now that I’ve started making my own chocolate syrup, I’m ruined for storebought forever. Deeply chocolaty, a little tangy, just thick enough, pourable even when it’s fridge-cold—this is the stuff my ice cream dreams are made of.
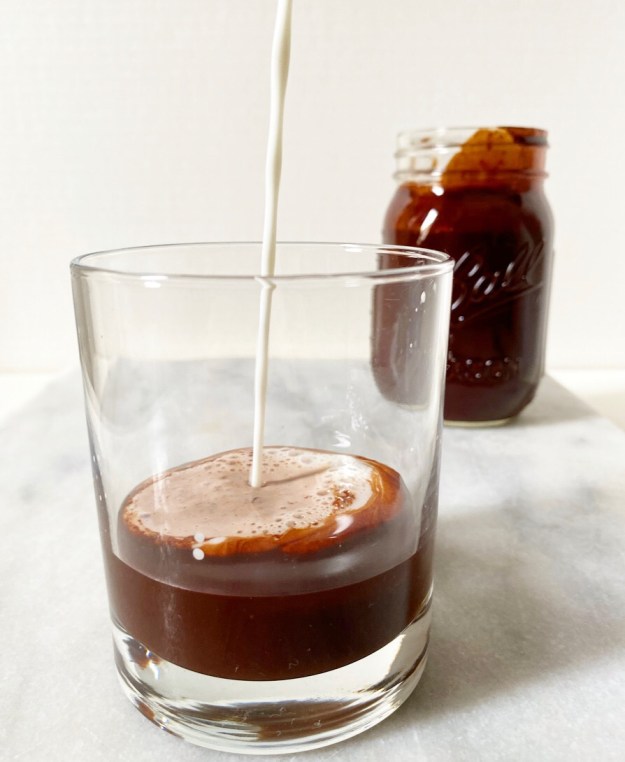
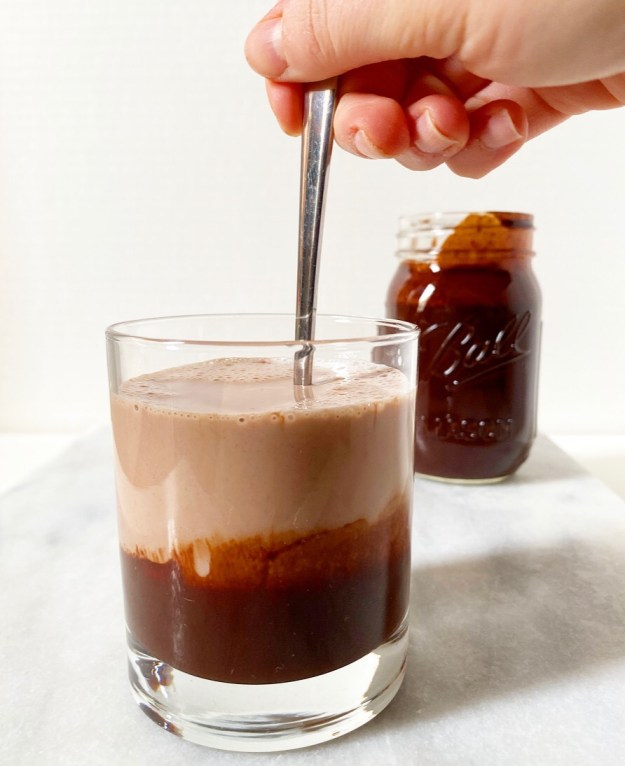
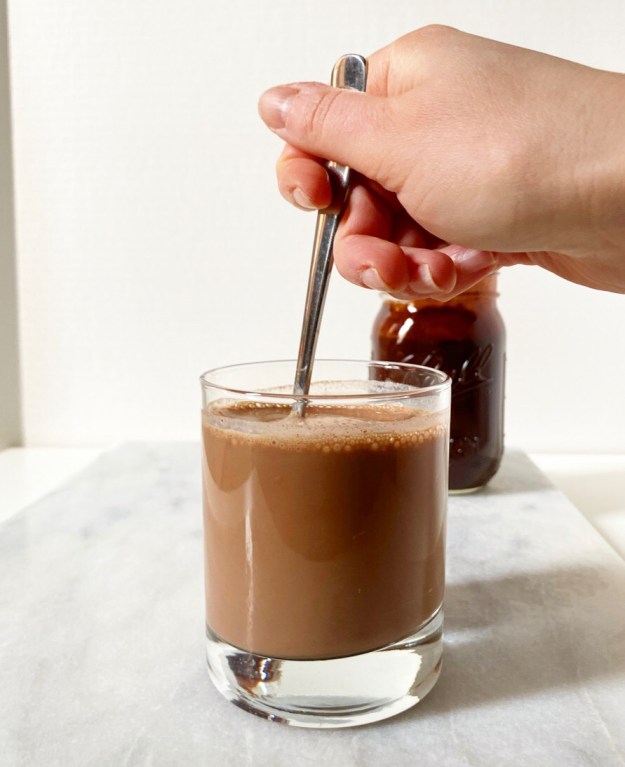
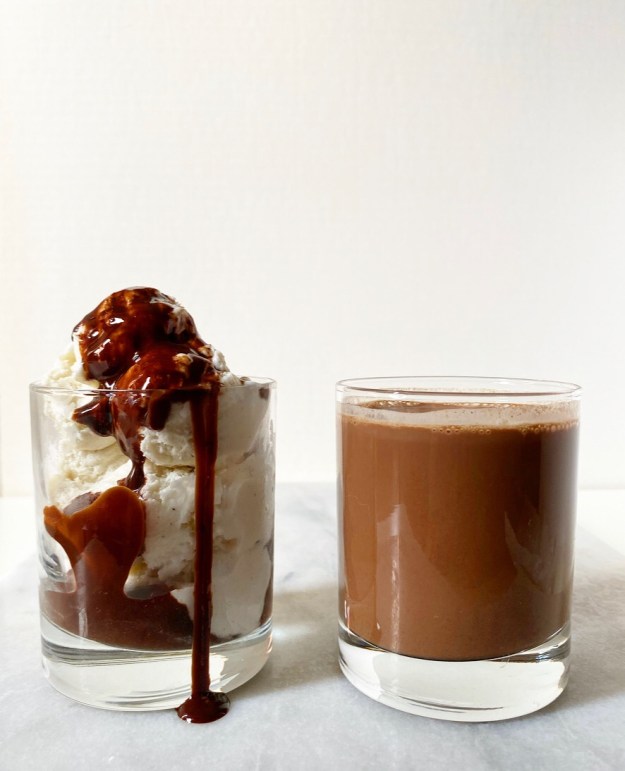
 Also, my chocolate milk dreams. I generally cannot abide liquid dairy, but put some chocolate syrup in a glass of whole milk and I. am. interested.
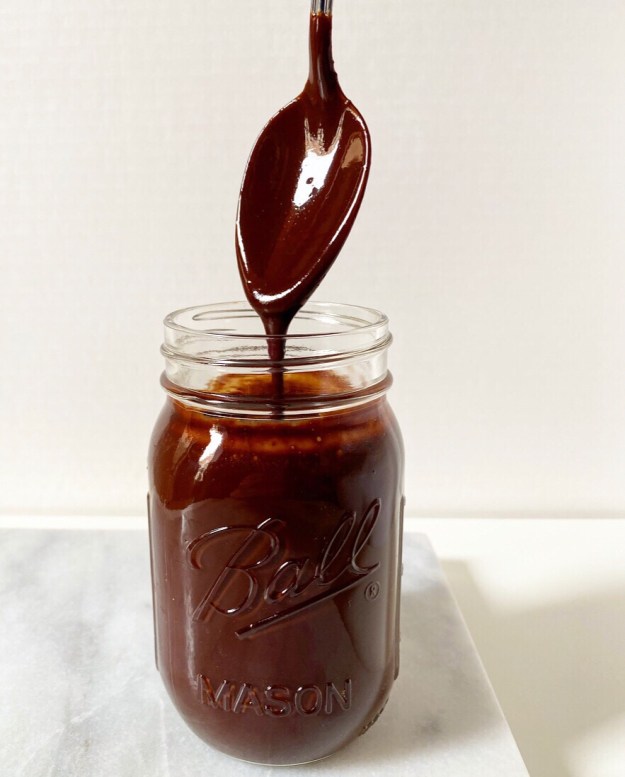 Homemade Chocolate Syrup beats the pants off of every storebought version I’ve ever had. Don’t get me wrong, I wouldn’t turn up my nose if someone offered me a scoop of ice cream with a drizzle of Hershey’s Syrup on top—I’m not a monster!—but it simply can’t compete with this stuff. Where the syrups you’ll find on shelves are cloyingly sweet, lacking in chocolate flavor and full of ingredients none of us can pronounce, this one is super chocolaty from cocoa powder and bittersweet chocolate, has a little depth from brown sugar, and requires six ingredients that you very well may have in your pantry right now. Oh, and it’s vegan.
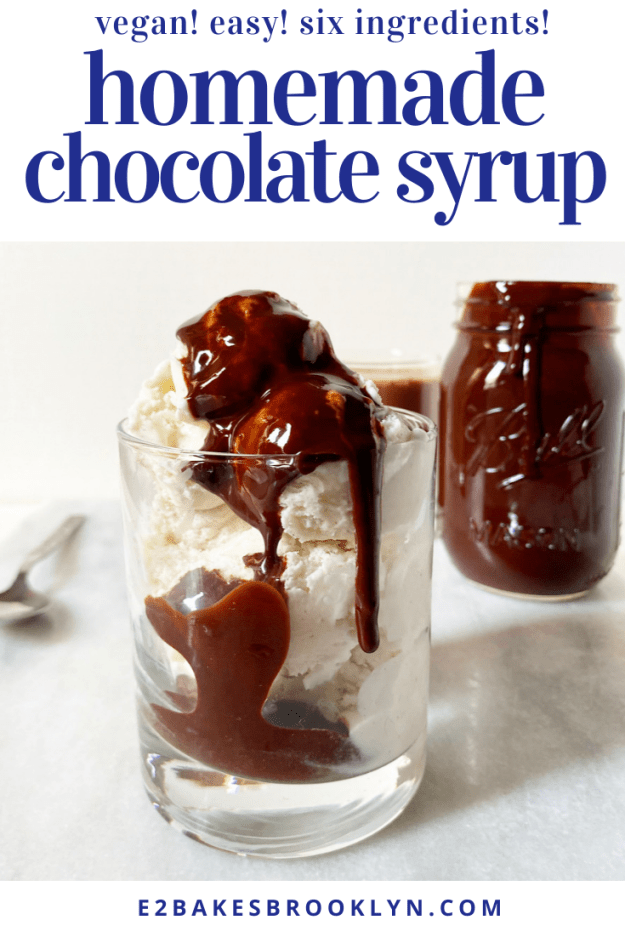
If you’re wondering if it’s worth the effort to make Homemade Chocolate Syrup, the answer is a resounding “yes.” This is essentially a souped-up simple syrup with a little chopped chocolate and vanilla extract stirred in at the end. We’re talking twelve minutes start-to-finish for a pint (that’s two cups!) of chocolate syrup. I haven’t done the math, but I’m fairly certain this is less expensive than storebought, too.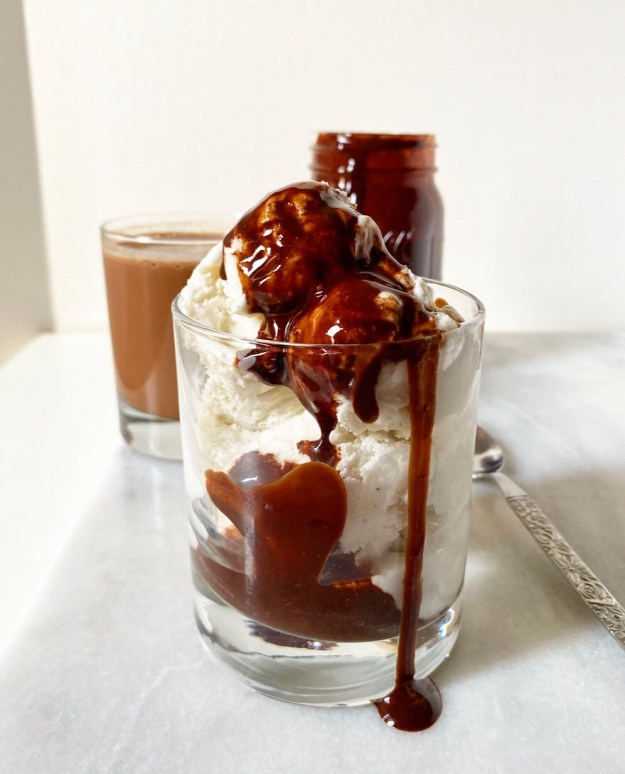 With that, I rest my case…and also tiptoe into my kitchen at 2am for some ice cream and Homemade Chocolate Syrup.
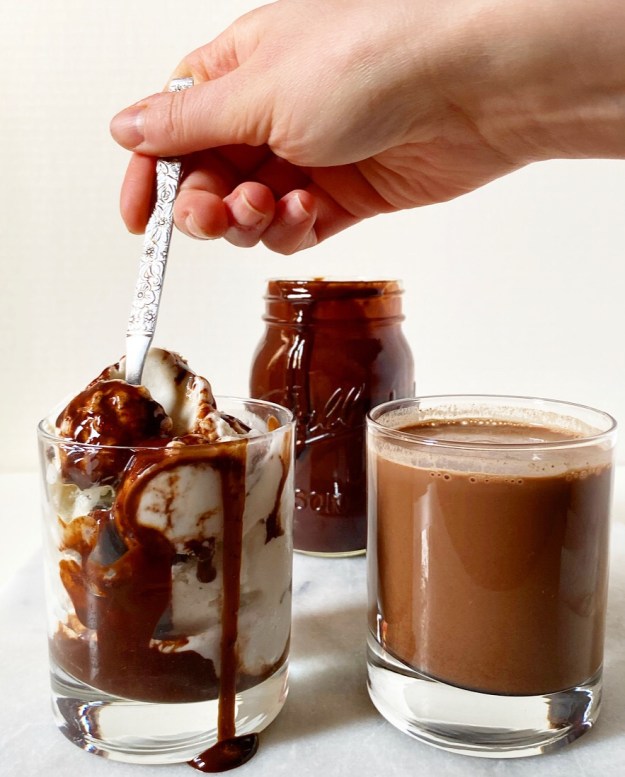
Homemade Chocolate Syrup
makes about 2 cups
1 cup light brown sugar, packed
2/3 cup natural unsweetened cocoa powder
pinch of salt
1 1/4 cups water
1 ounce bittersweet chocolate, chopped
1 teaspoon pure vanilla extract
In a small pot or saucepan, whisk together brown sugar, cocoa and salt to remove any large lumps. Add water and whisk to combine.
Place over medium heat. Stir occasionally until it comes to a simmer, then constantly for 5 minutes while it simmers. Mixture will expand dramatically. Remove from heat.
Whisk in chopped chocolate, followed by vanilla. Let cool a bit in the pot before transferring to a jar (or other container) for storage.
Chocolate syrup will keep covered in the refrigerator. Stir before using.
 Can you believe it’s Labor Day Weekend? I am stunned at how quickly this summer has gone by! It was a really great one for me: my entire immediate family visited over the course of three months and I got to go to my beloved
 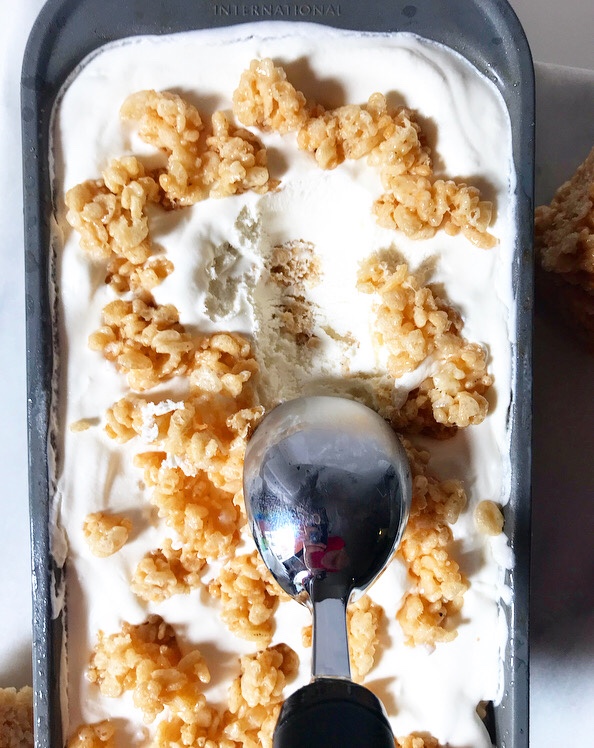 One of my favorite memories from the last few months is my parents’ last-minute trip to NYC. Long story short: in late June, I was telling my mom about how much I loved The Ferryman and how I wished she could see it before it closed in couple of weeks…and six hours later, she and my dad had booked flights and a hotel, we’d been offered a front row seat to the East River fireworks display, and we had tickets to both The Ferryman (the day before it closed!) and Come From Away! My family are not terribly spontaneous people, so this was pretty wild.
 The whole visit was a ball, and even though we were all exhausted by the last night, we decided to go for one last good meal. And so it was that I loaded my parents into a car and we took the short ride down to Red Hook for some harbor views (my favorite),
 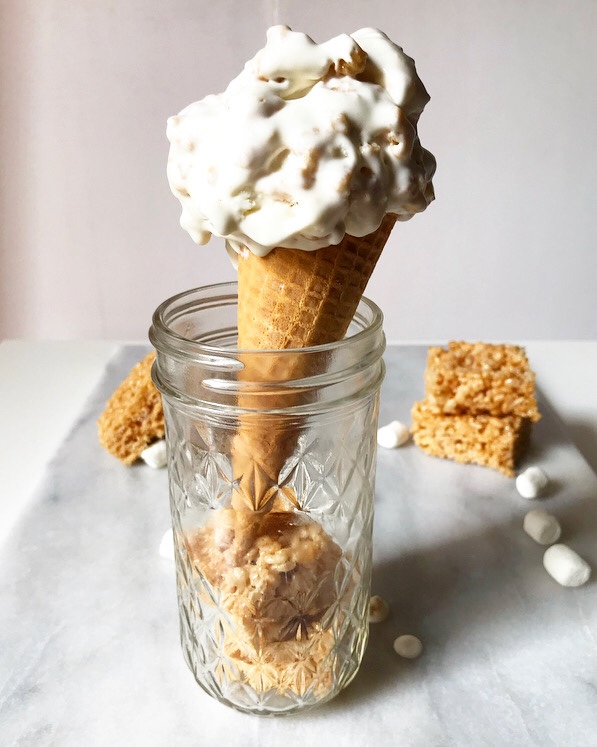 This recipe is based off the scoop of Rice Krispies Treats-centric Snap Mallow Pop! that I had that night at the Red Hook location of
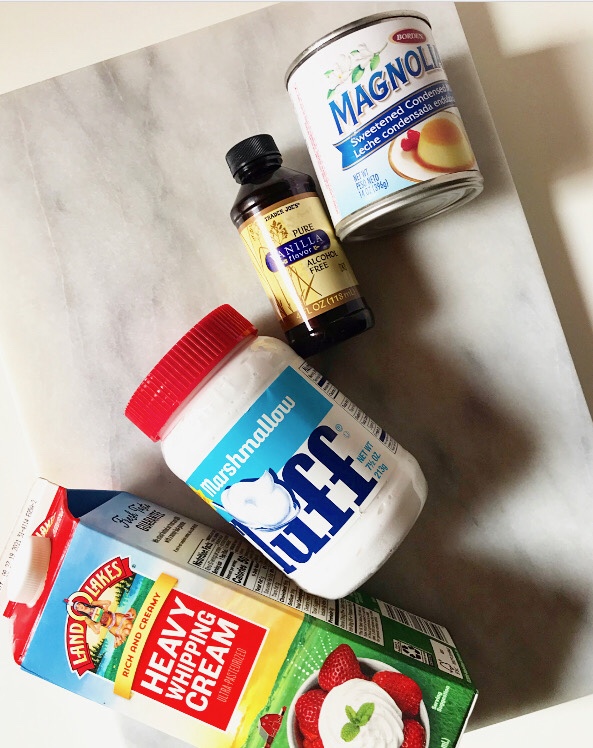
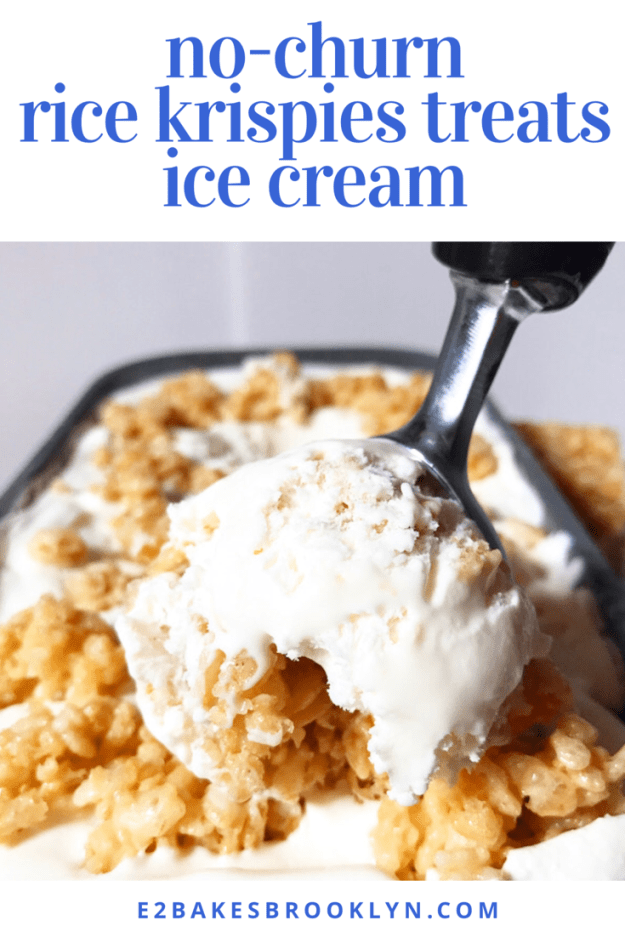
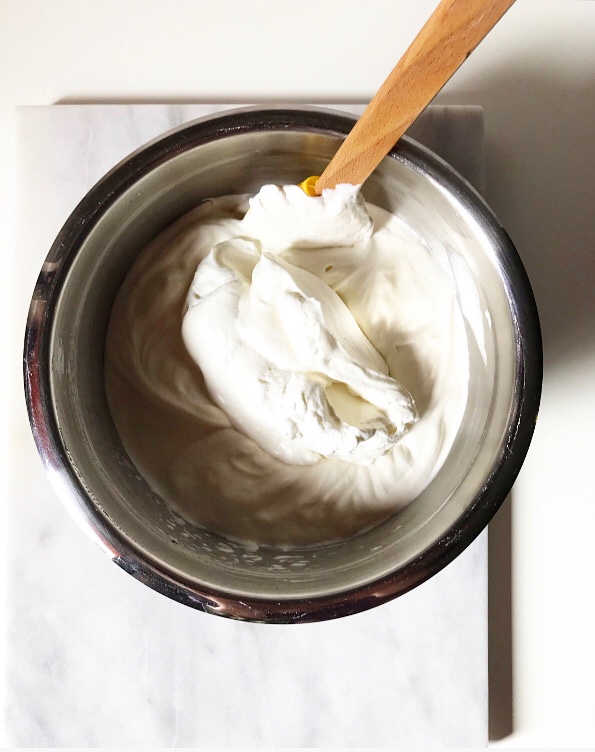 Making a no-churn ice cream base is simple. At its most basic, it’s just folding whipped cream (for creaminess, heft and scoopability) into sweetened condensed milk (for sweetness and to prevent ice crystals from forming). I always throw in a little vanilla, and this time I added a cup of marshmallow fluff for big marshmallow flavor!
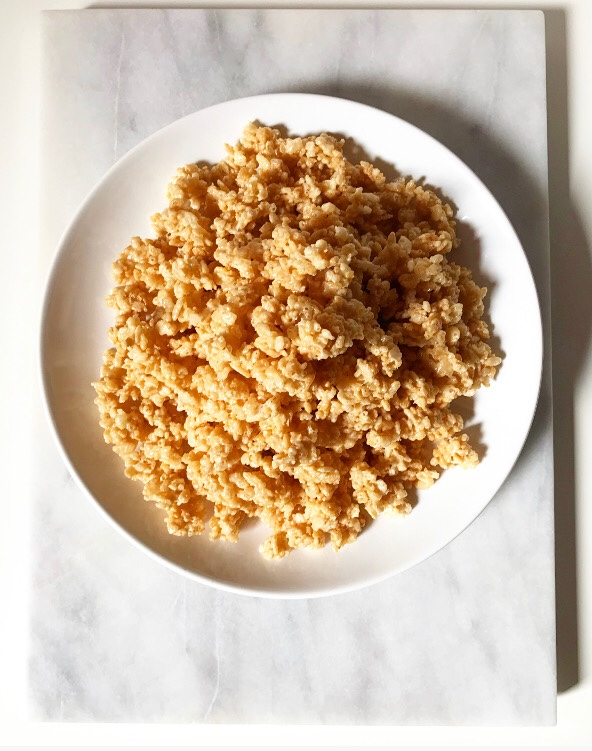 As far as the Rice Krispies Treats go, you can make whichever version of that recipe you like (if you go with the original recipe on the back of the box, I’d cut it in half). I tend to go rogue and keep mine to a 1:1:1 formula: 1 tablespoon butter, 1 cup mini marshmallows, 1 cup Rice Krispies cereal. Except in this case I double it, so 2:2:2…?
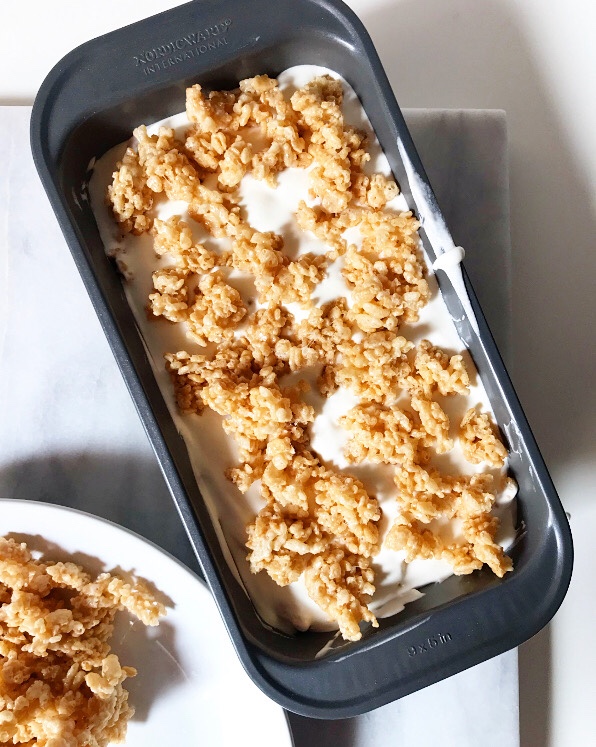
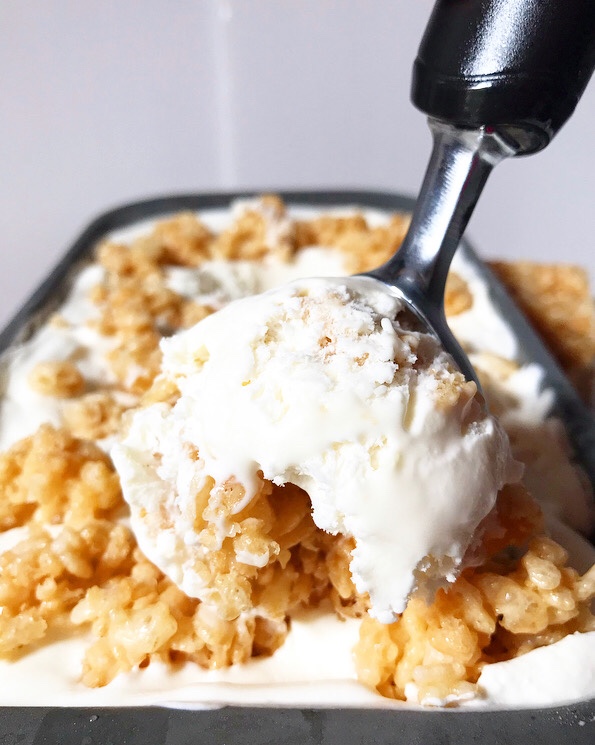
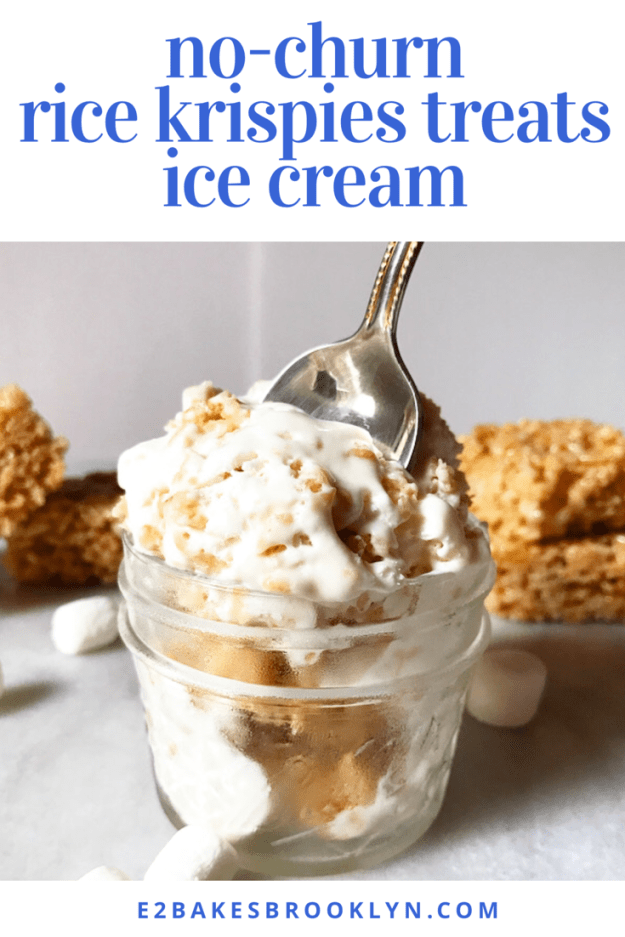
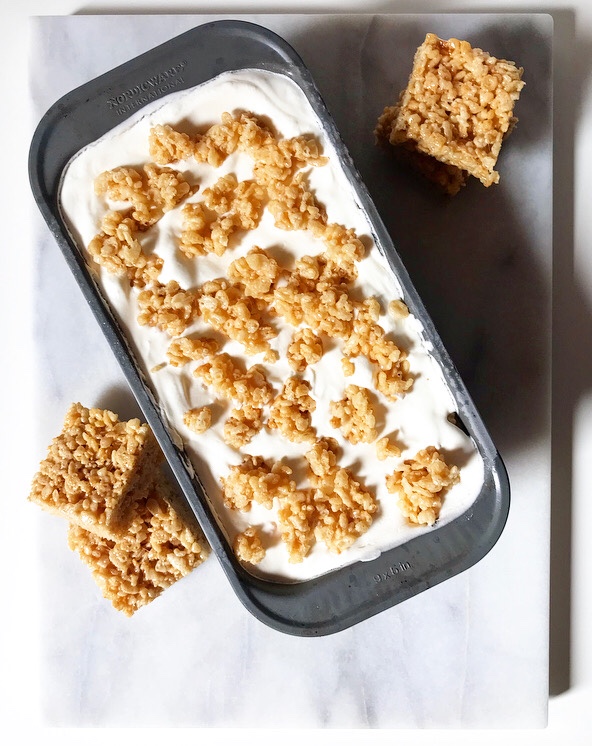 Once they’re made and cooled, pinch/pull the treats into small pieces. Those will get layered with the marshmallow ice cream base and then frozen.
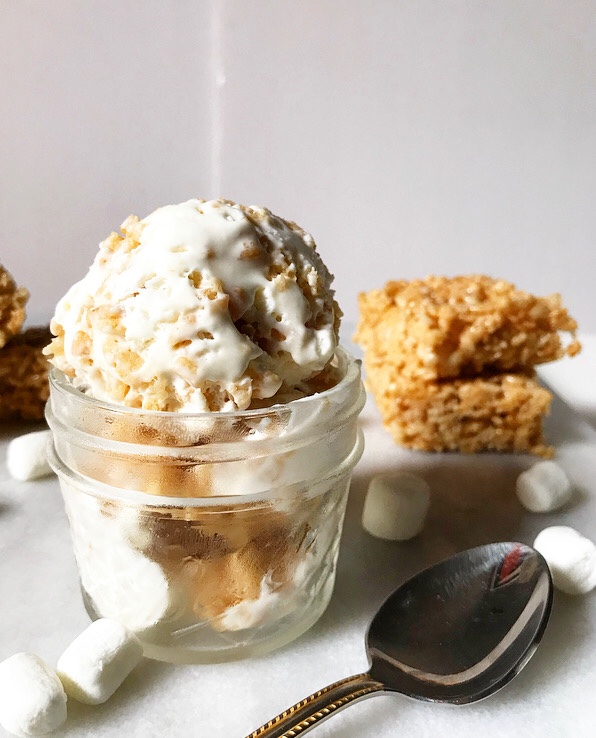 And scooped. And eaten in a cup.
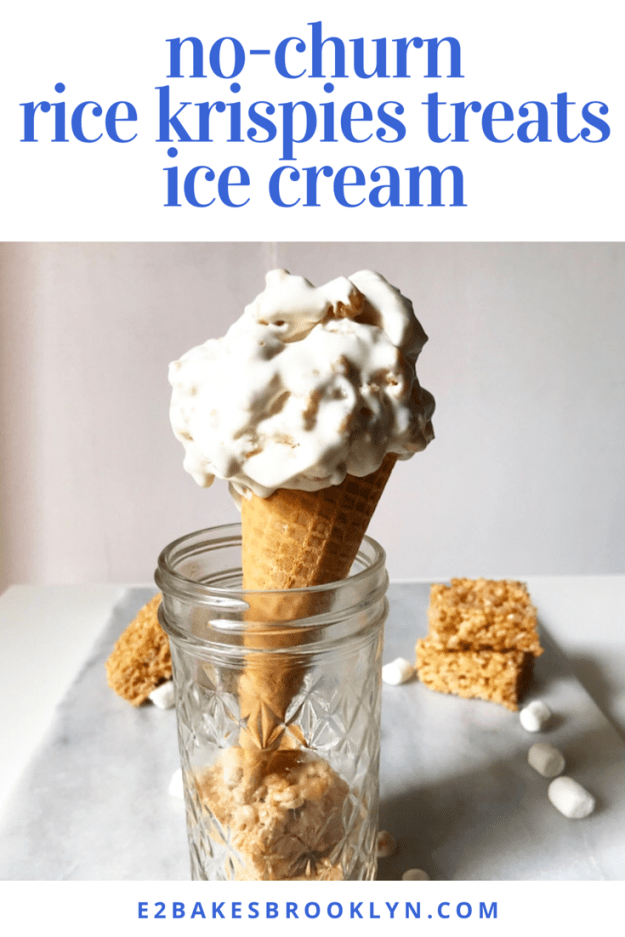
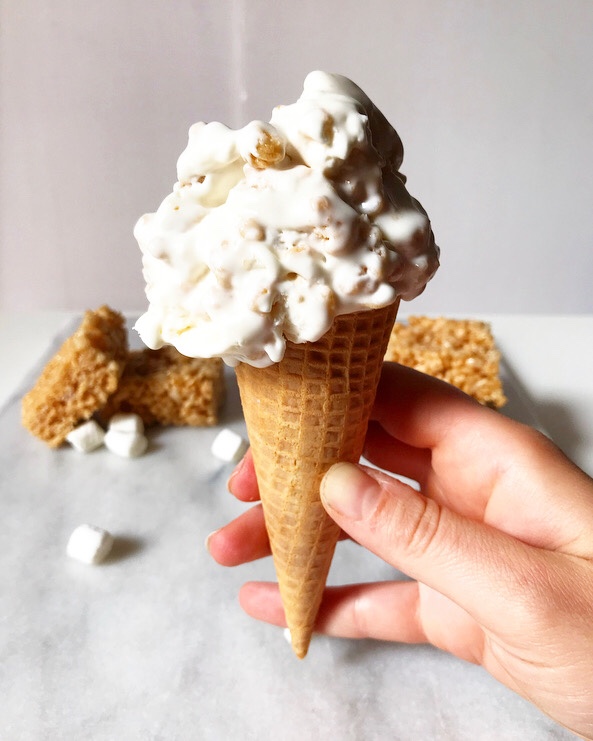 Or a cone. Or maybe both. It’s the last weekend of summer. Get wild. Eat ice cream twice.
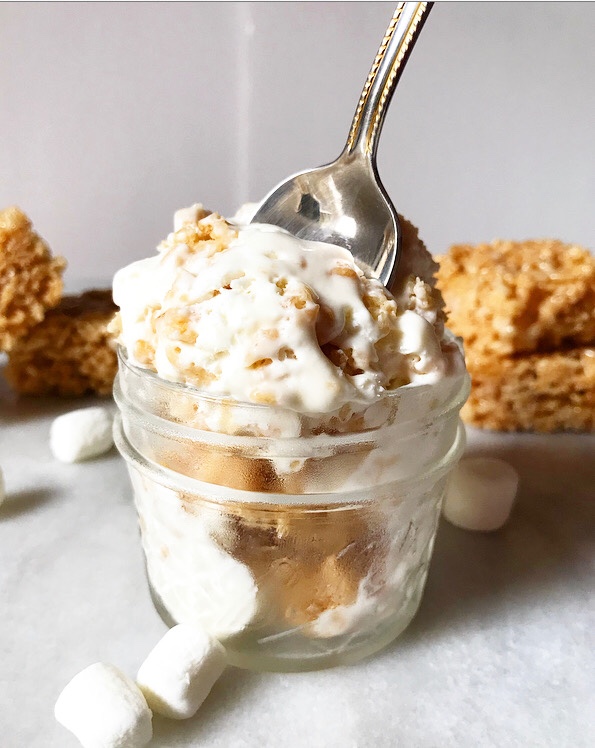
 This post really couldn’t come at a better time: New York weather has officially crossed over into the “totally disgusting” zone. Blazing hot, humid AF—you get the picture. There will be no baking in my Brooklyn kitchen until Monday, at the very least.
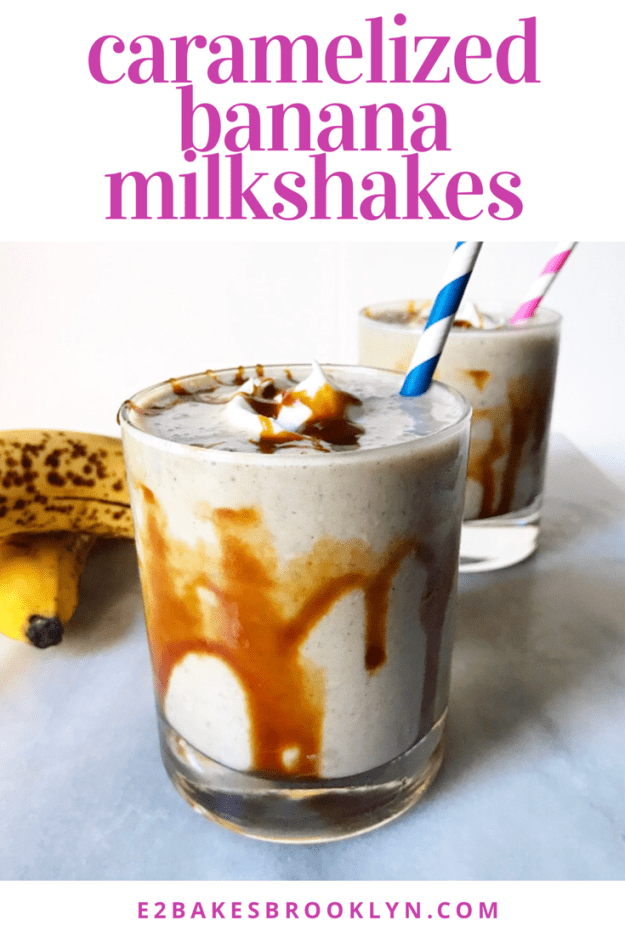
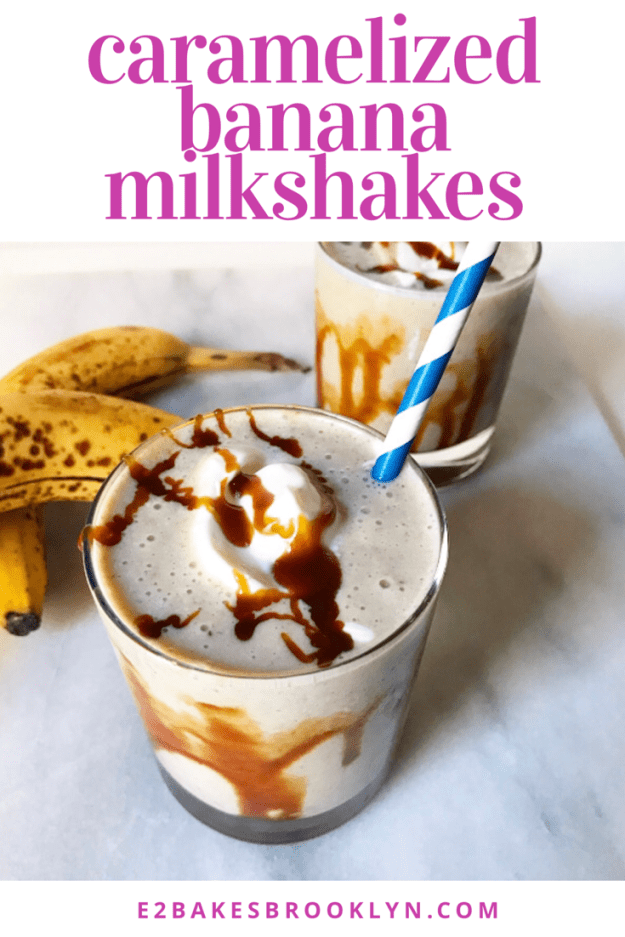
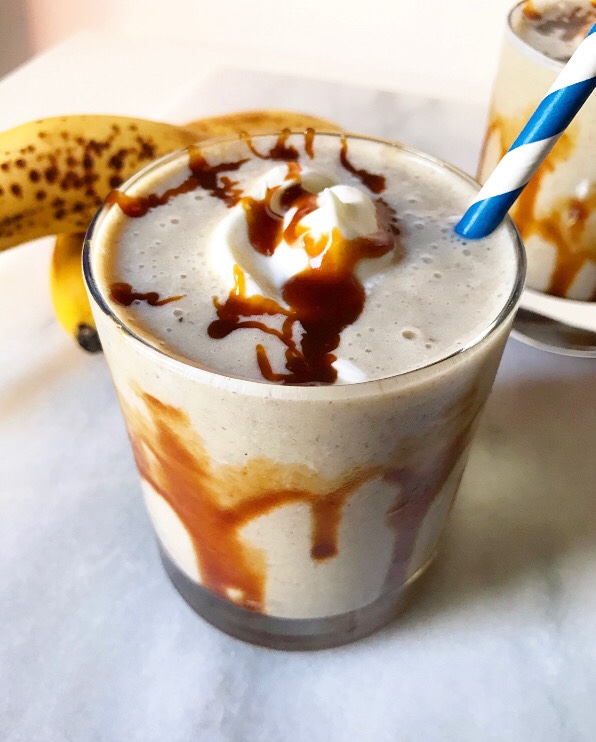 So, let’s skip the oven this weekend and make milkshakes instead. Caramelized Banana Milkshakes, to be specific.
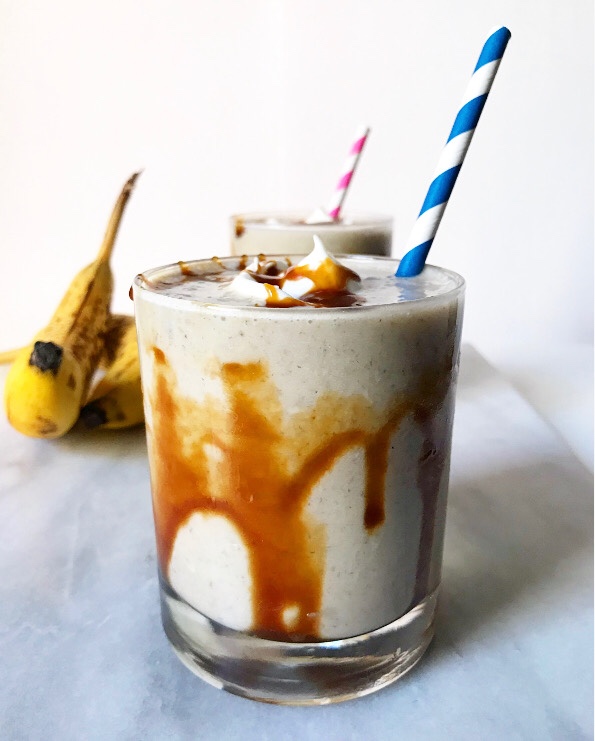
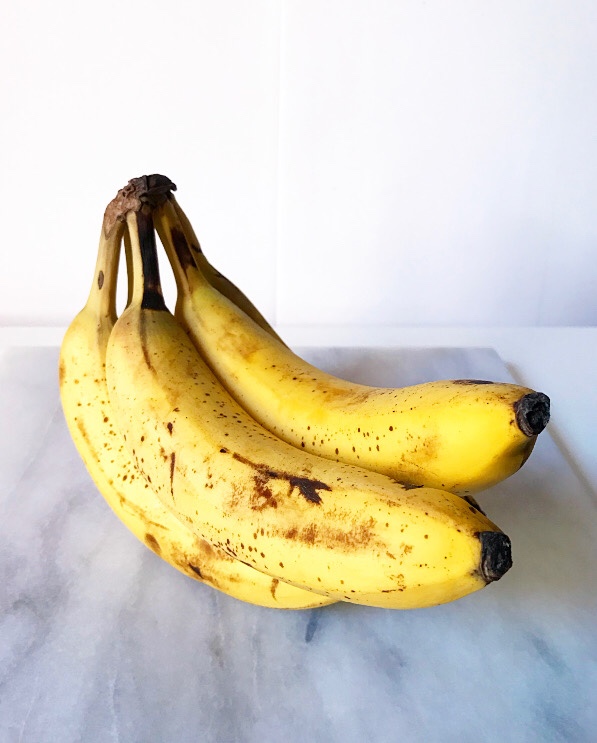
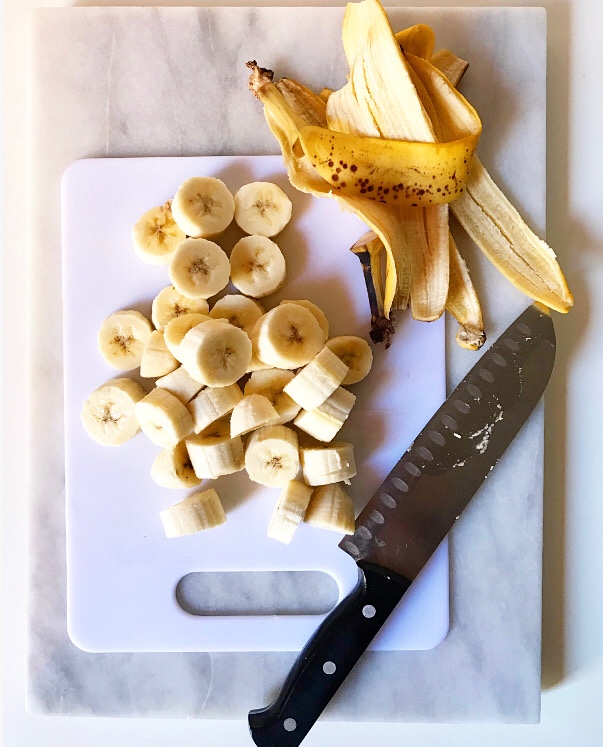
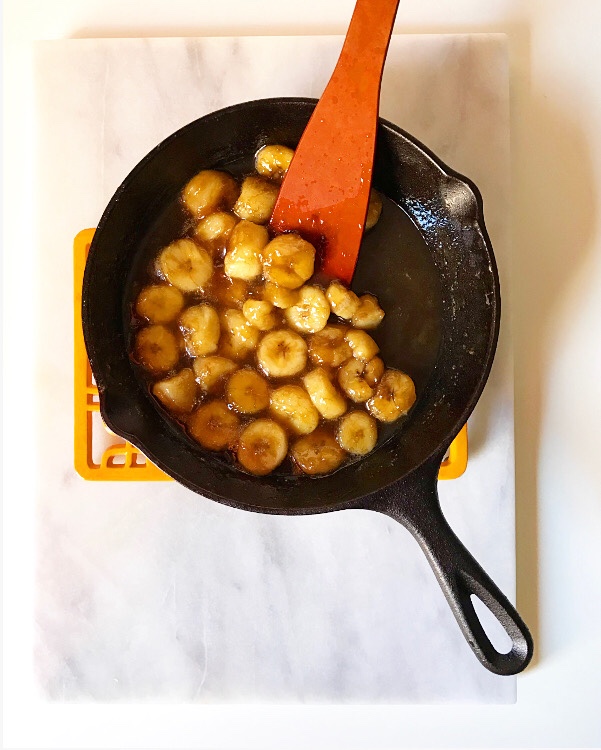 Sure, they require five minutes of stove time to caramelize the bananas, but that small amount of cooking will be totally worth it when you’re blitzing up frosty, brown sugar & banana milkshakes.
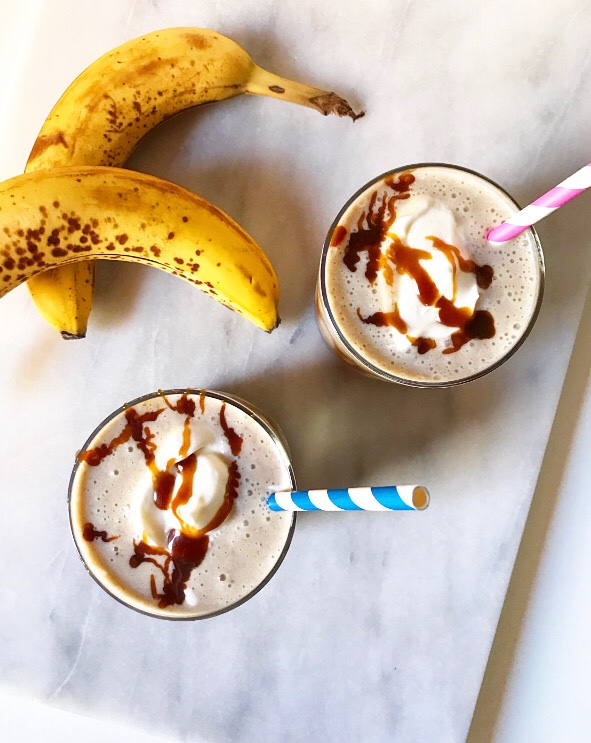 We’re talking pure banana flavor here, unencumbered by cinnamon or anything else. You may, of course, add a pinch of whatever you like, but don’t go too crazy. Simplicity is the name of the game.
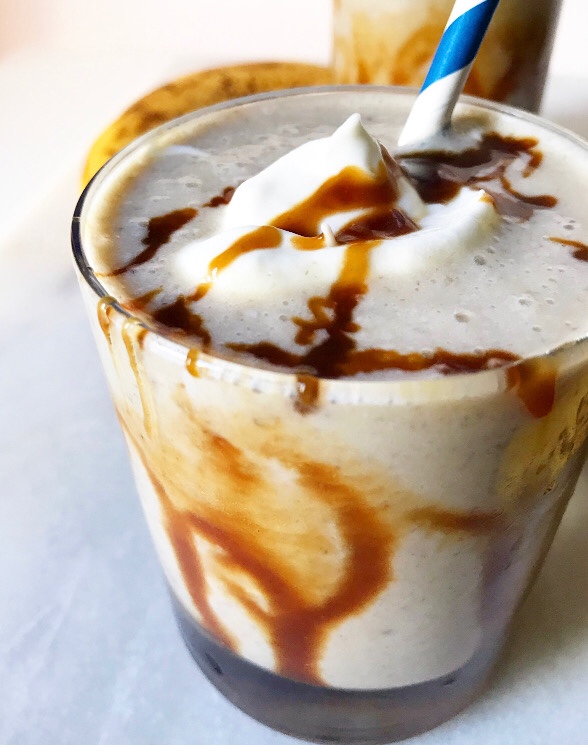 This recipe is a breeze: three steps, four ingredients (six, if you count the recommended
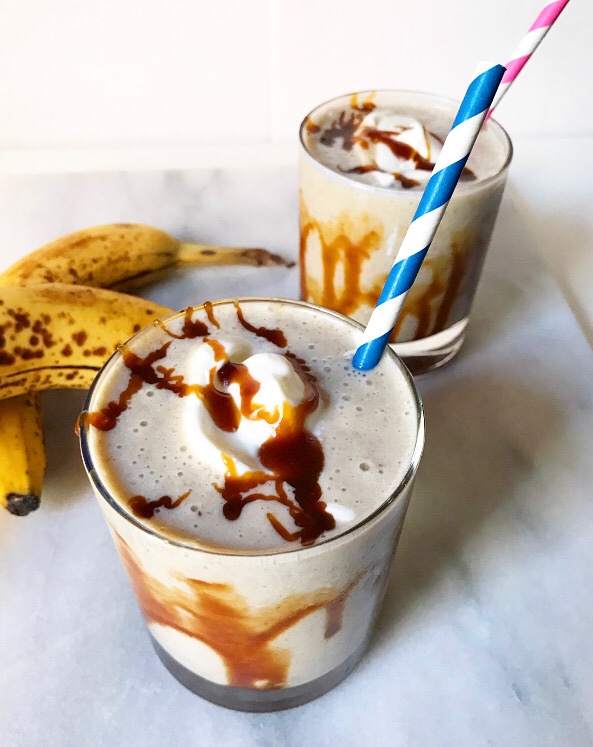
 It seems like every time I think a recipe is going to be a snap, it’s a total nightmare. Butterscotch Sauce is a classic example of this—I went into testing thinking this would be a one-and-done situation, but instead I made sauces that:
 Turns out it’s not. I “fixed” my first five test batches by slapping a metaphorical culinary bandaid on each one (less butter, less complication, less time, less movement, more liquid), and this all led me back to a method I knew worked: the way I make the caramel for my caramel corn, which is literally the easiest molten sugar recipe of all time. Just put it all in a pot and leave it alone.
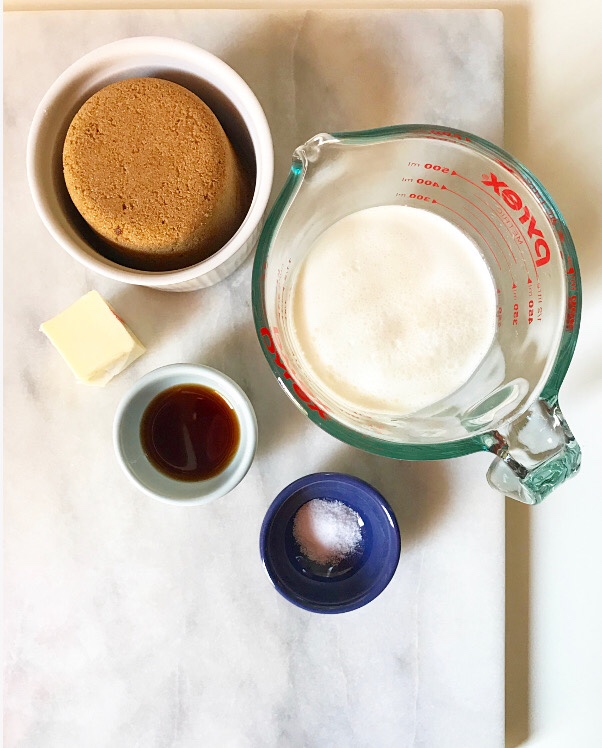
 Here’s the gist of my Butterscotch Sauce recipe:
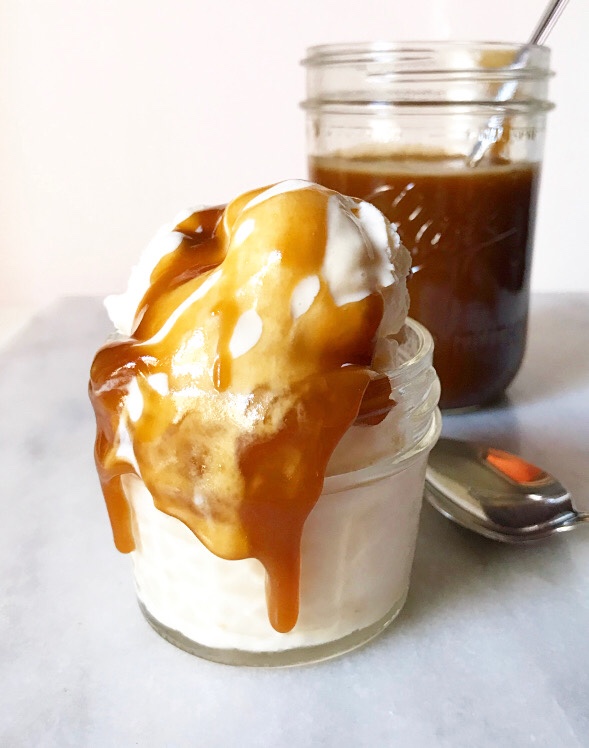
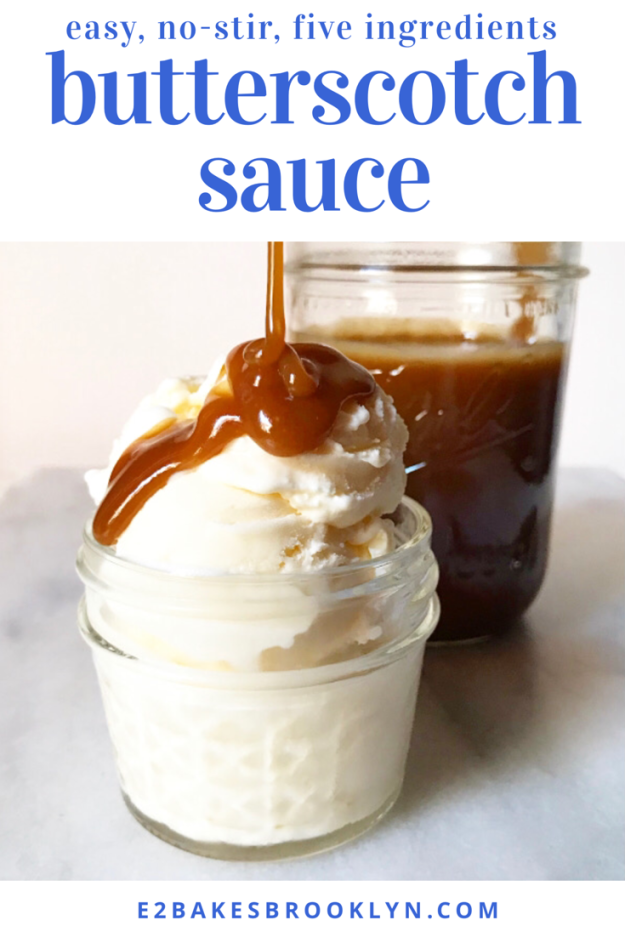
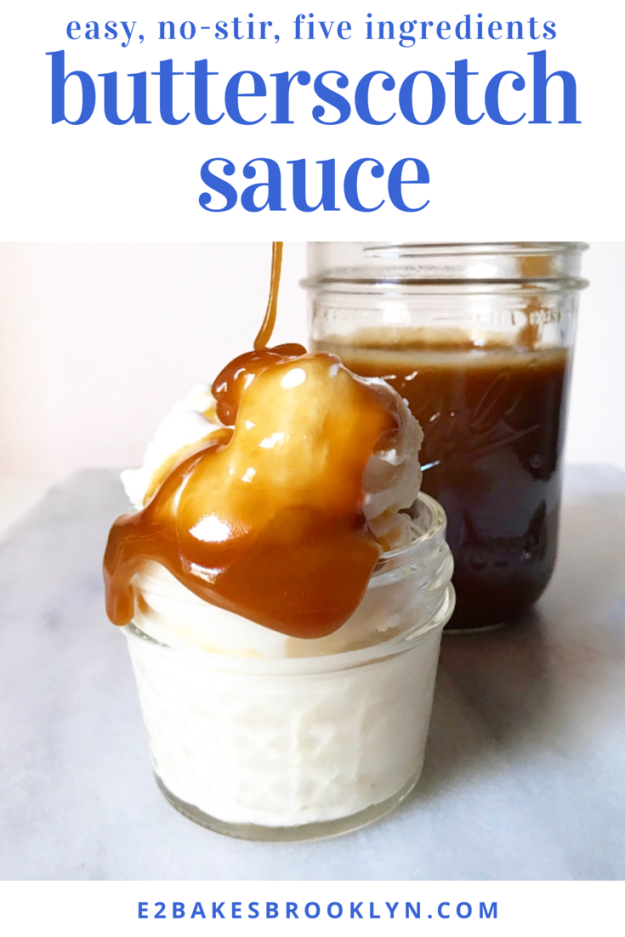
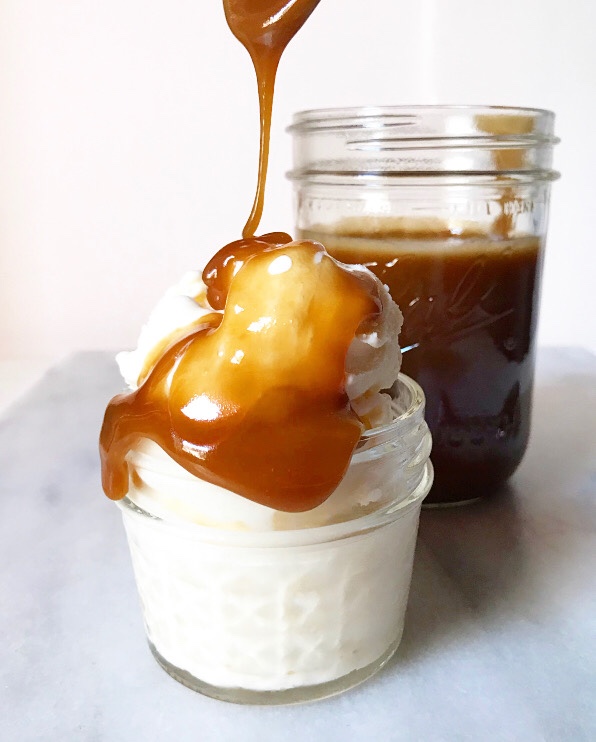 This sauce is thick and golden and best served piping hot, so that it will set softly on whatever delicious thing over which it’s been poured. It’s rich, buttery and has good hits of salt and vanilla to complement its brown sugar flavor. And it’s easy to make.
 You might even say it’s a snap.
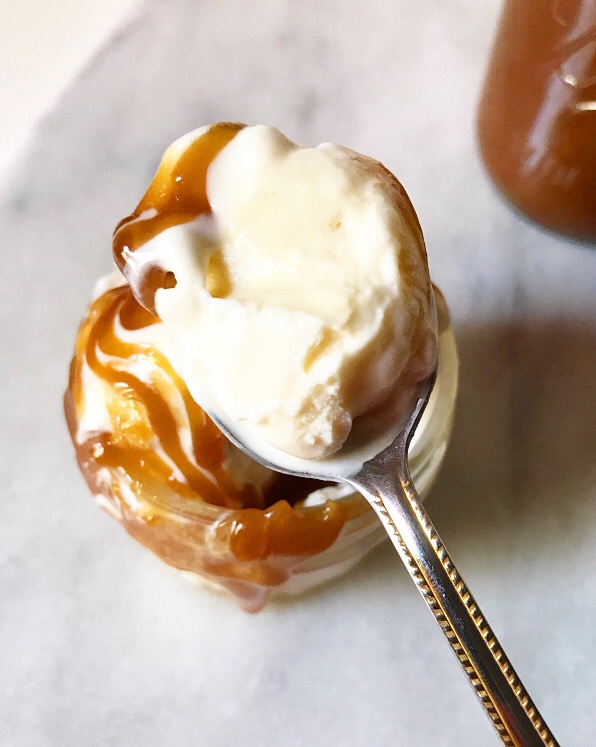
 As far as I’m concerned, hot fudge is a perfect food. It’s the thing that takes sundaes, banana splits,
 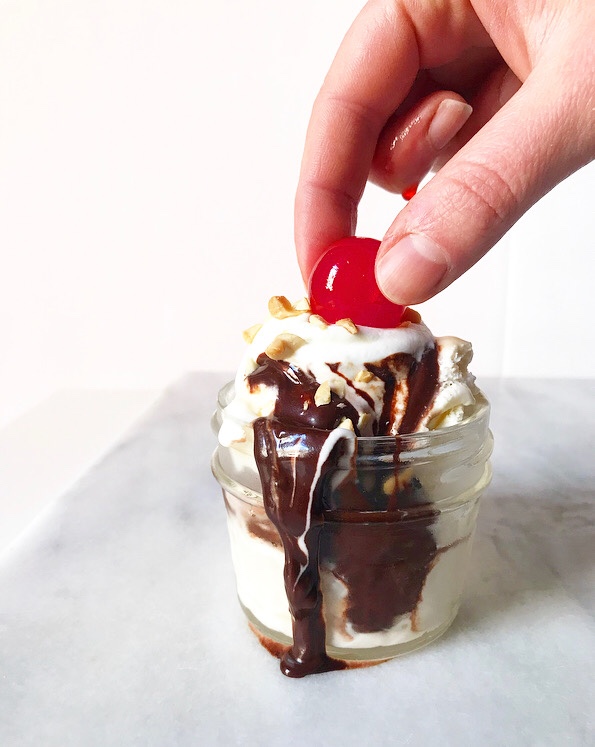 It might surprise you to learn that hot fudge is incredibly easy to make. I grew up thinking of it as a shop-only item, along with
  Hot fudge is a ten minute, one-pot operation, and requires just seven ingredients that you probably have on hand. I mean, how can you argue with smooth, sticky, shiny, sweet hot fudge where you know the amount and quality of every ingredient? It’ll take you less time, cash and energy to whip up a batch than it will to get to the store and back. I mean, that’s half the reason I do all this baking and cooking: because I can do it all from the comfort of my own kitchen in my most-mismatched pajamas.
 Also, because homemade almost always beats store-bought in terms of flavor, quality, and price. That goes double for this hot fudge, which gets its richness from both chopped dark chocolate and cocoa, has less sugar than anything you can purchase, and costs me a whopping $4 for 1 1/3 cups. And it’s delicious. And it doesn’t require putting on real pants or going outside. Yesssss.
 Most hot fudge recipes I’ve seen are sweetened with sugar in addition to light corn syrup and chocolate, but I couldn’t determine a flavor-related or structural reason that it needed to be there, so I nixed it and nothing terrible happened. In fact, the resulting sauce is as rich and fudgy as any I’ve ever had (and I’ve had a lot), and I don’t find it to be lacking sweetness at all. If you’d like a sweeter hot fudge, or maybe know something I don’t,* feel free to add a couple of tablespoons of sugar when you whisk together the light corn syrup and cocoa.
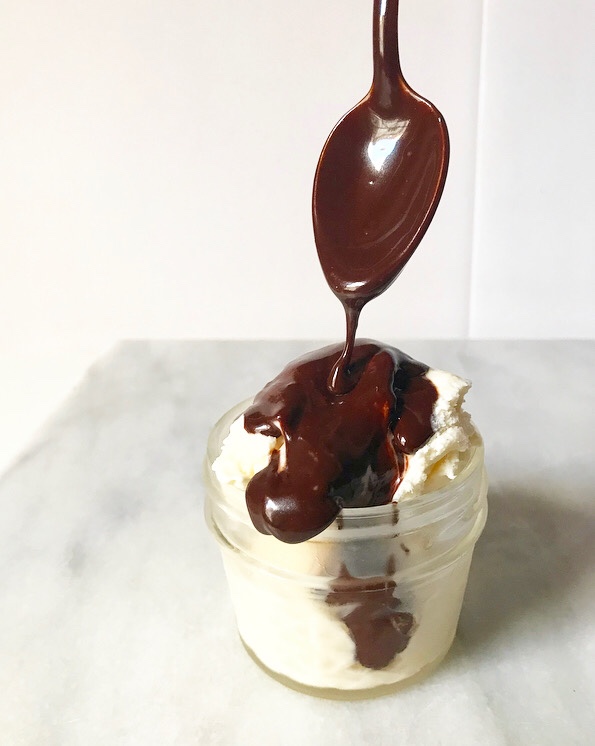
 This hot fudge pours and puddles and takes nicely to the sundae treatment. And just in case you think it can’t get much better than that, you should know that it stays good for weeks in the refrigerator and reheats like a dream, so you can have hot fudge sundaes any day of the week all summer long.
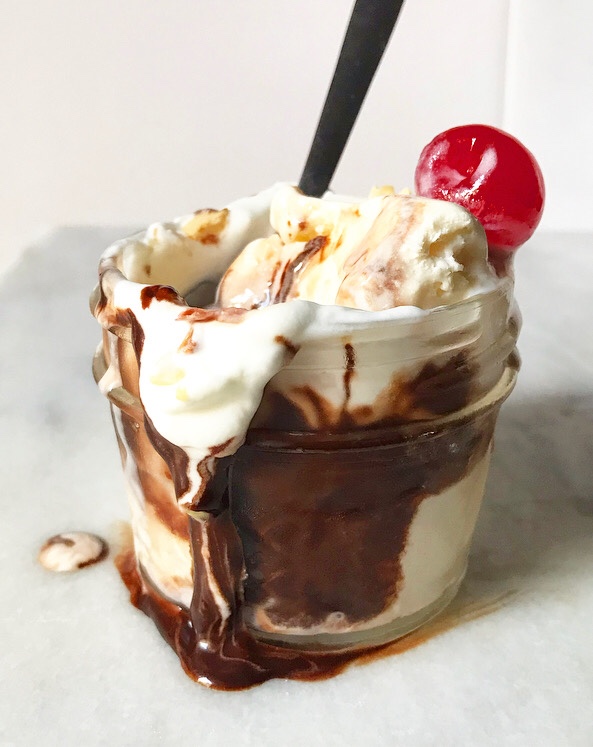 I recommend you start with today.