 My dad is the kind of person who just *needs* something sweet at the end of each day, probably because he was raised by someone who always had a chocolate cake on her kitchen counter. Aside from brownies though, he’s not much of a baker and neither is my mother, so homemade desserts weren’t a huge part of my family life growing up. Still, we were a small-dessert-every-night sort of family. We always had something sweet in our weekly grocery haul–Oreos, pecan sandies, popsicles–but I think, if asked, we’d all agree that the best dessert was always vanilla ice cream and chocolate syrup.
 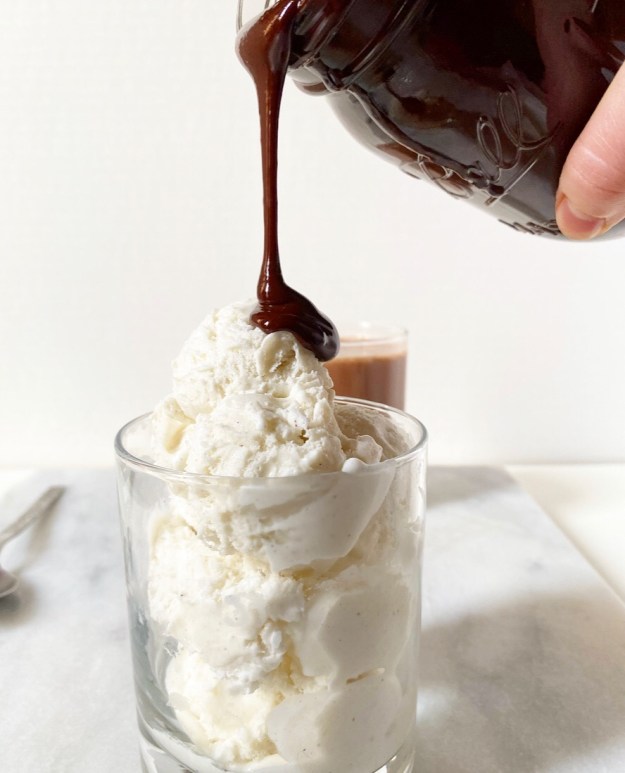 Fast forward fifteen-ish years to me living the professional home baker life in New York in the middle of a pandemic. I can pretty much make whatever dessert I want, and maybe it’s because the weather is warming up or I’m feeling nostalgic or a little homesick, but all I really want right now is vanilla ice cream and chocolate syrup.
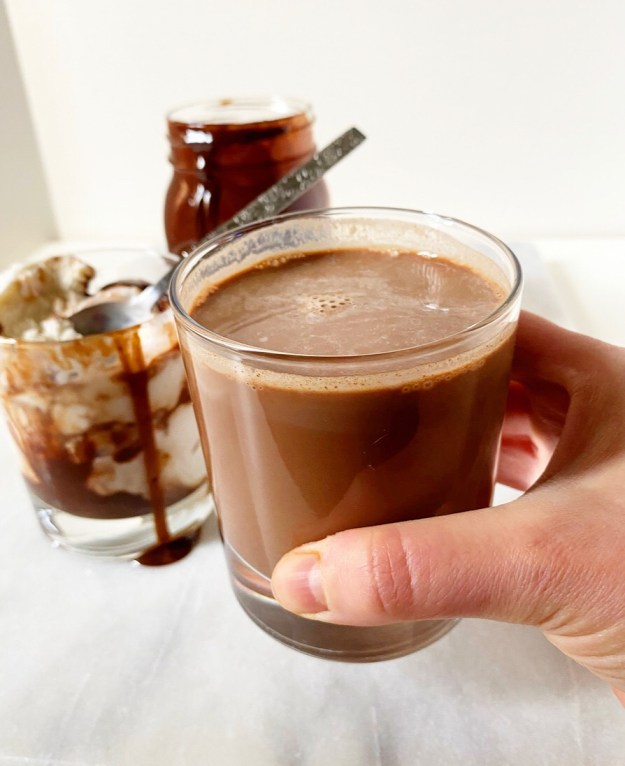
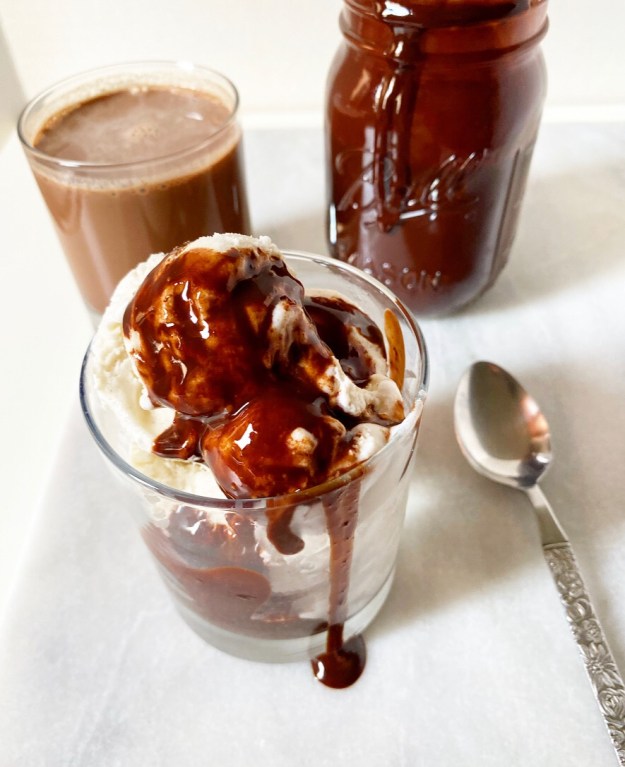 Now, I do not have much desire to begin making my own vanilla ice cream, but Homemade Chocolate Syrup? That, I need. Like many of us, I grew up with Hershey’s Syrup in the fridge, but now that I’ve started making my own chocolate syrup, I’m ruined for storebought forever. Deeply chocolaty, a little tangy, just thick enough, pourable even when it’s fridge-cold—this is the stuff my ice cream dreams are made of.
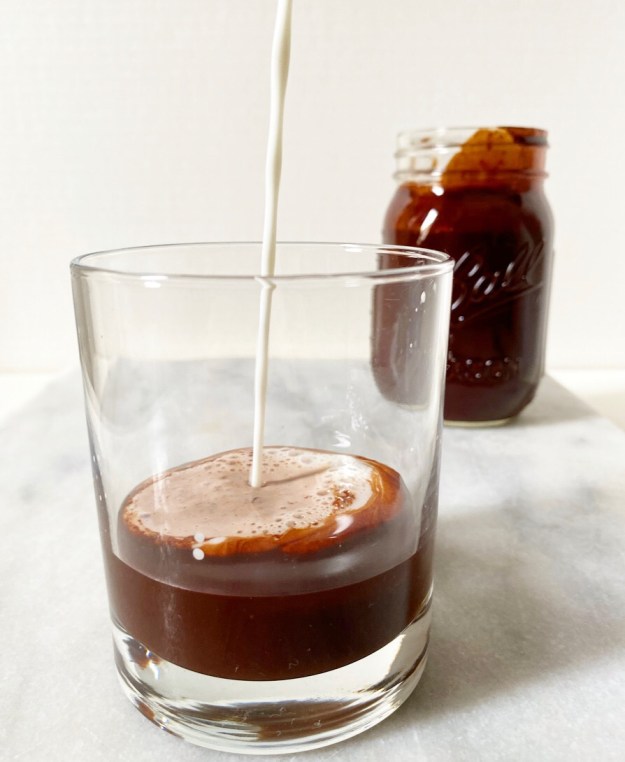
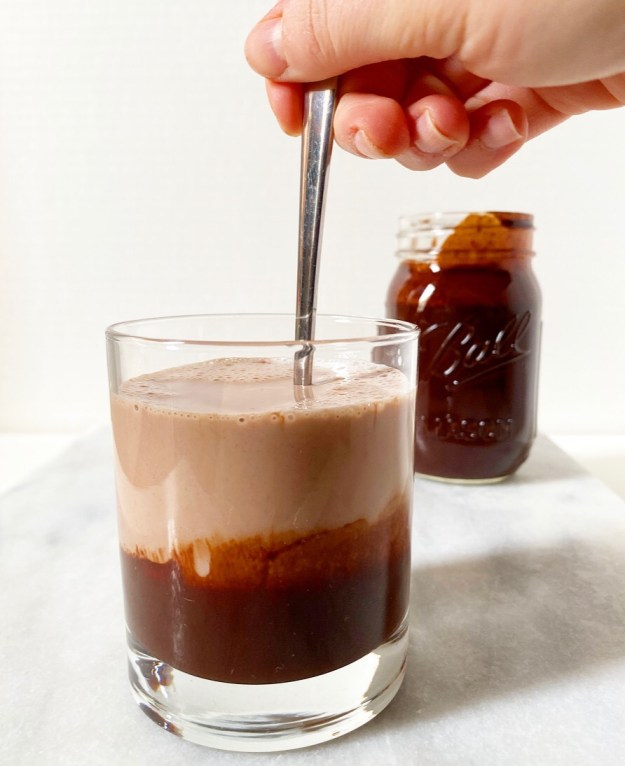
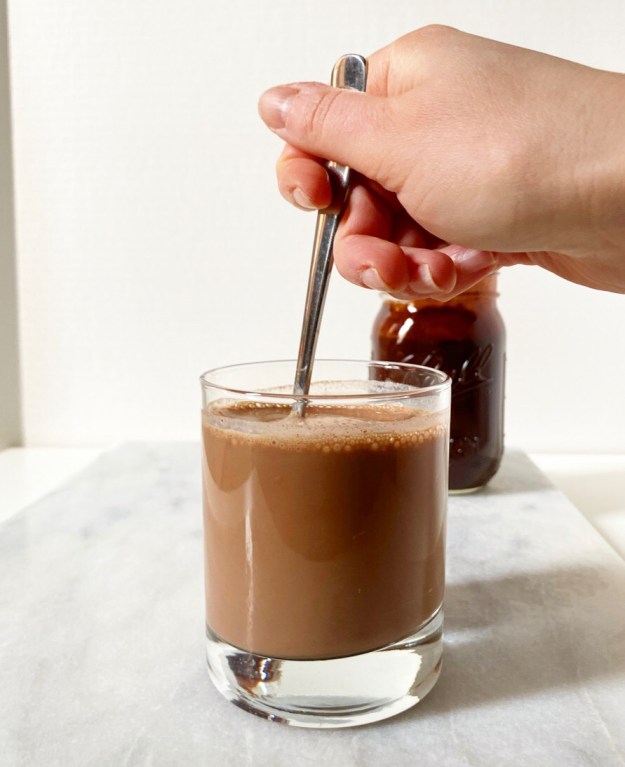
 Also, my chocolate milk dreams. I generally cannot abide liquid dairy, but put some chocolate syrup in a glass of whole milk and I. am. interested.
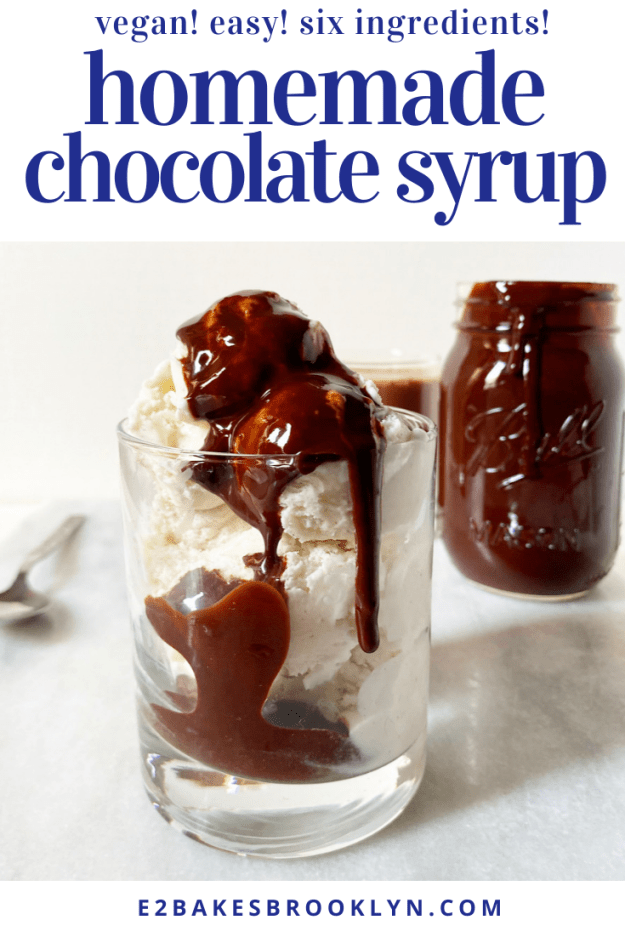
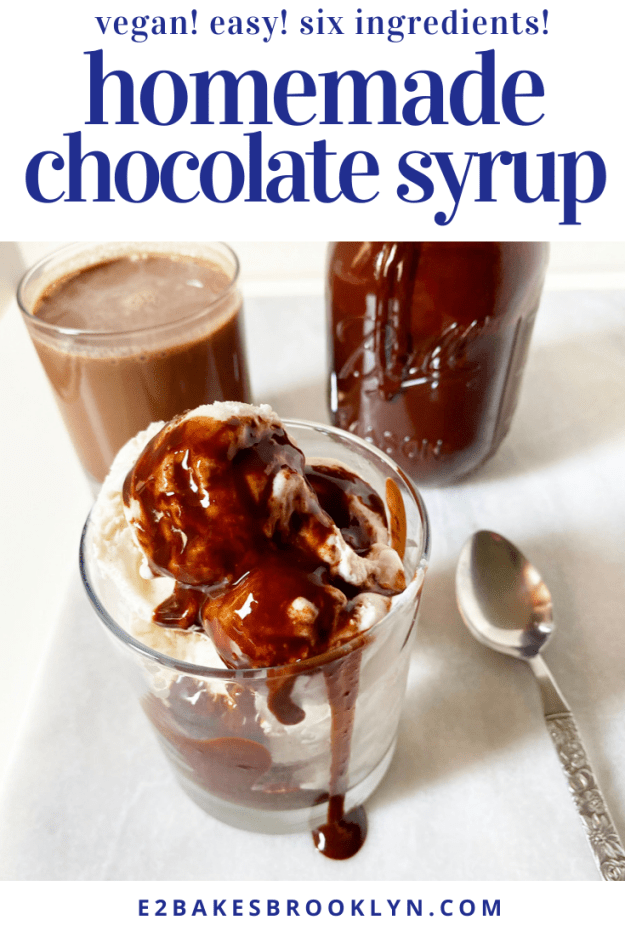
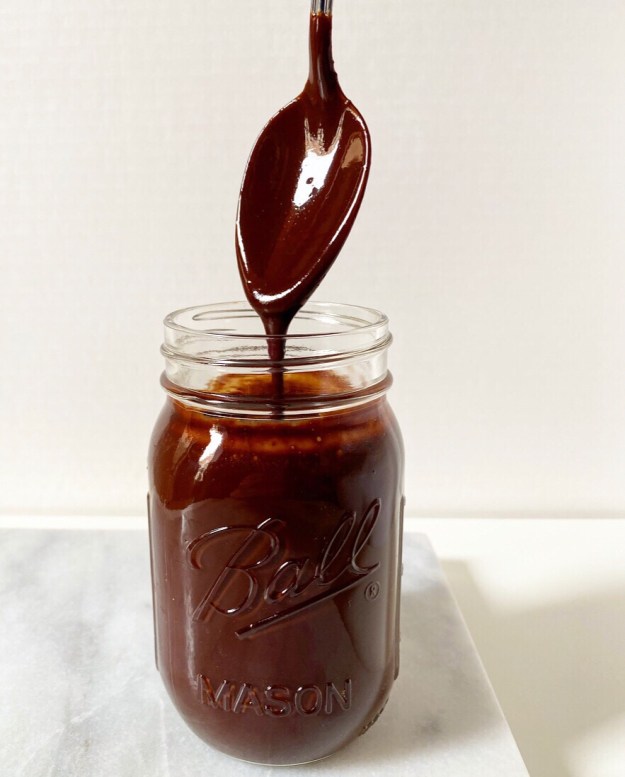 Homemade Chocolate Syrup beats the pants off of every storebought version I’ve ever had. Don’t get me wrong, I wouldn’t turn up my nose if someone offered me a scoop of ice cream with a drizzle of Hershey’s Syrup on top—I’m not a monster!—but it simply can’t compete with this stuff. Where the syrups you’ll find on shelves are cloyingly sweet, lacking in chocolate flavor and full of ingredients none of us can pronounce, this one is super chocolaty from cocoa powder and bittersweet chocolate, has a little depth from brown sugar, and requires six ingredients that you very well may have in your pantry right now. Oh, and it’s vegan.
If you’re wondering if it’s worth the effort to make Homemade Chocolate Syrup, the answer is a resounding “yes.” This is essentially a souped-up simple syrup with a little chopped chocolate and vanilla extract stirred in at the end. We’re talking twelve minutes start-to-finish for a pint (that’s two cups!) of chocolate syrup. I haven’t done the math, but I’m fairly certain this is less expensive than storebought, too.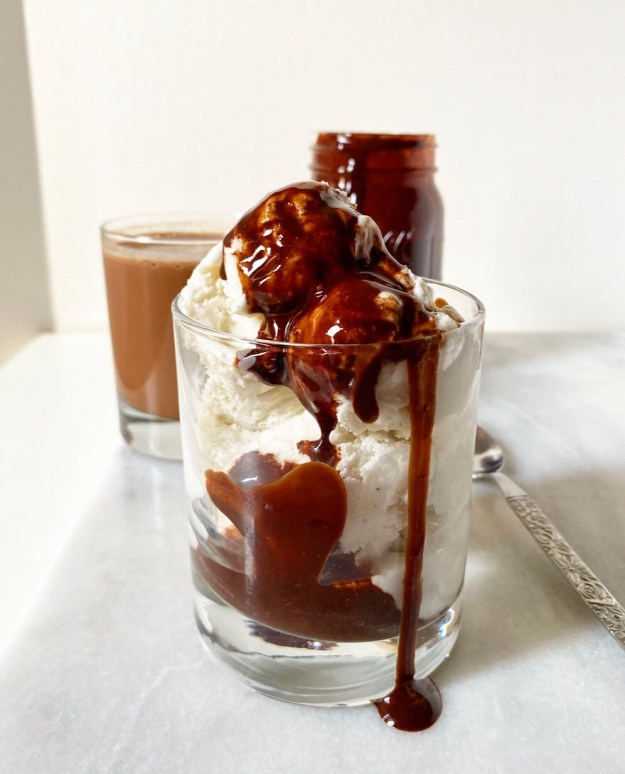 With that, I rest my case…and also tiptoe into my kitchen at 2am for some ice cream and Homemade Chocolate Syrup.
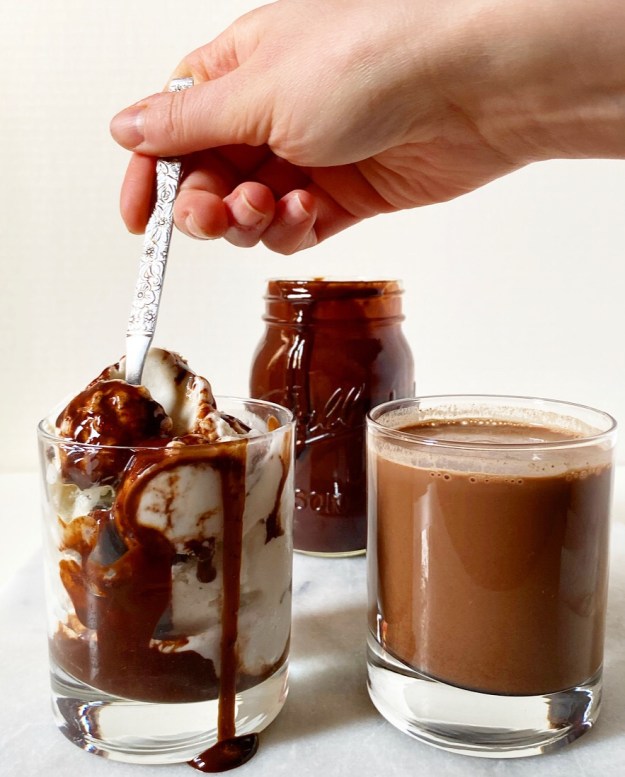
Homemade Chocolate Syrup
makes about 2 cups
1 cup light brown sugar, packed
2/3 cup natural unsweetened cocoa powder
pinch of salt
1 1/4 cups water
1 ounce bittersweet chocolate, chopped
1 teaspoon pure vanilla extract
In a small pot or saucepan, whisk together brown sugar, cocoa and salt to remove any large lumps. Add water and whisk to combine.
Place over medium heat. Stir occasionally until it comes to a simmer, then constantly for 5 minutes while it simmers. Mixture will expand dramatically. Remove from heat.
Whisk in chopped chocolate, followed by vanilla. Let cool a bit in the pot before transferring to a jar (or other container) for storage.
Chocolate syrup will keep covered in the refrigerator. Stir before using.
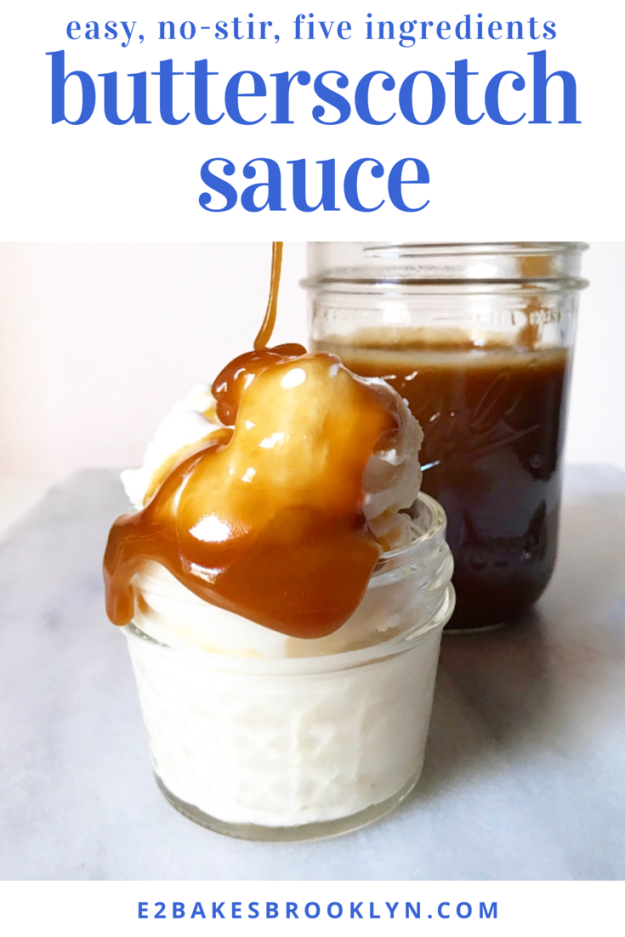
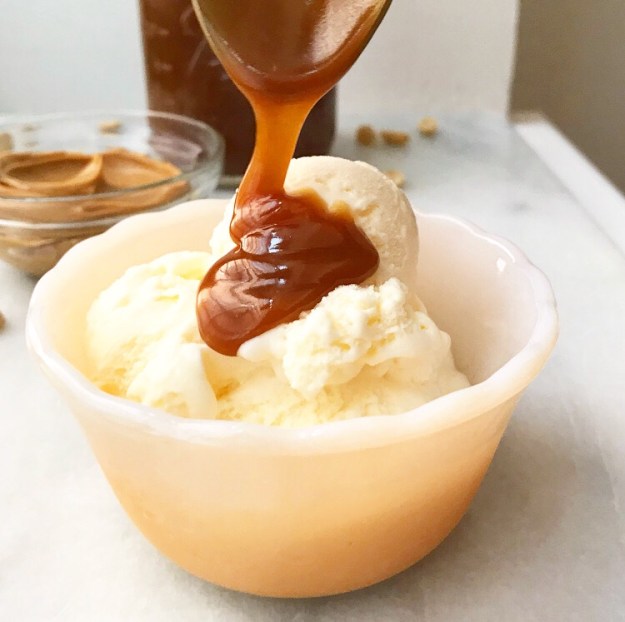
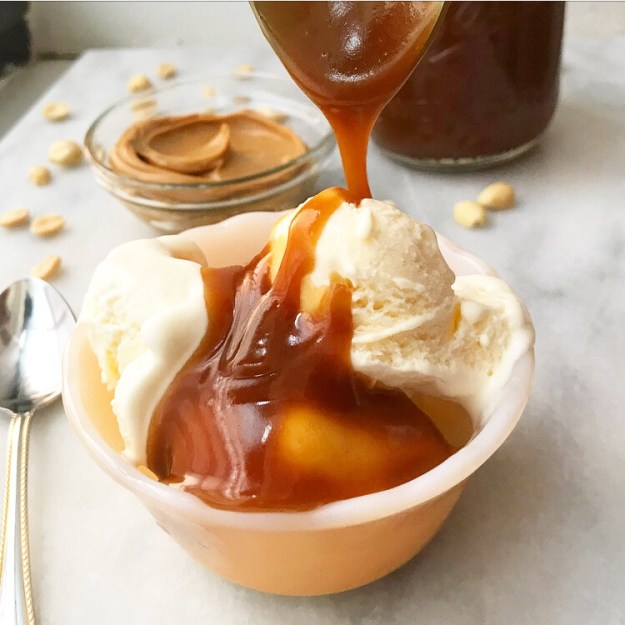
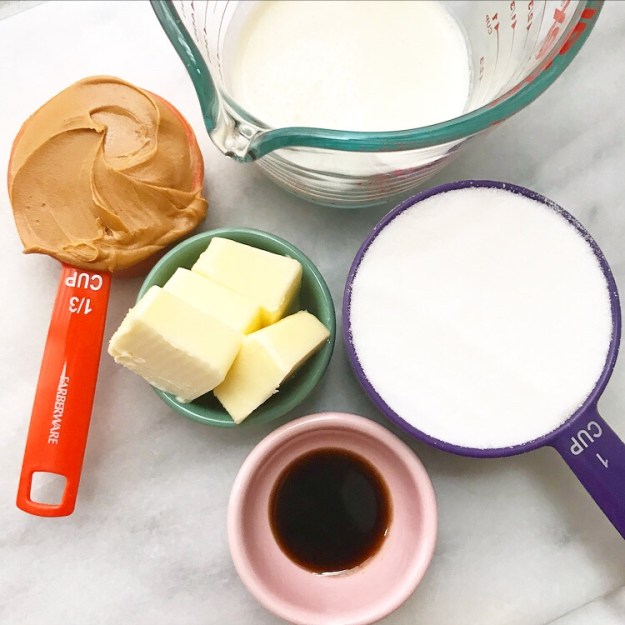
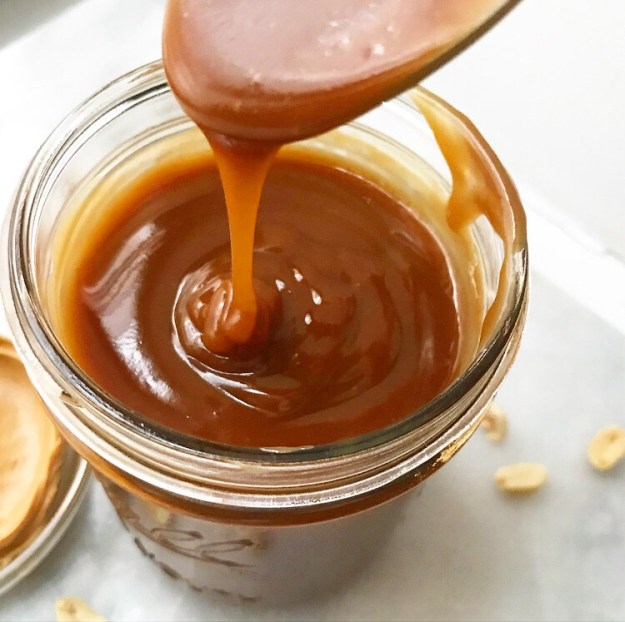
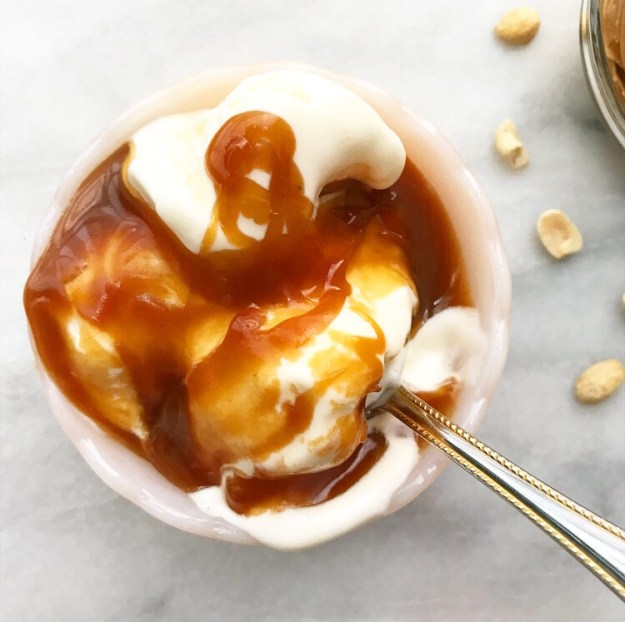
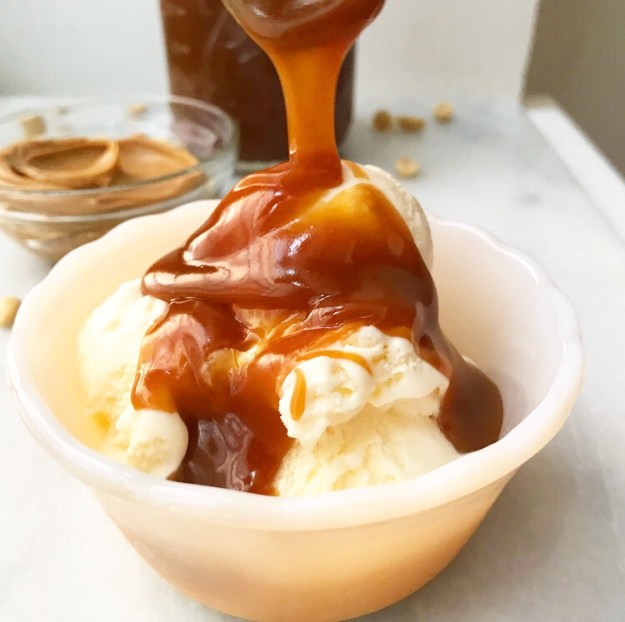
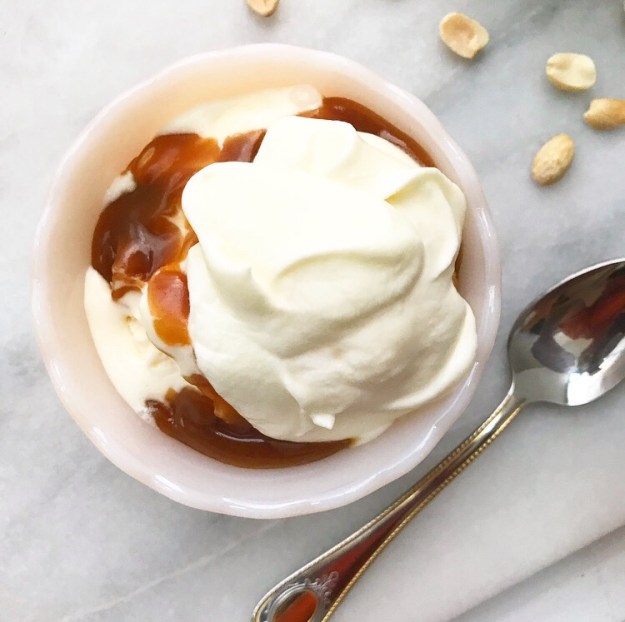
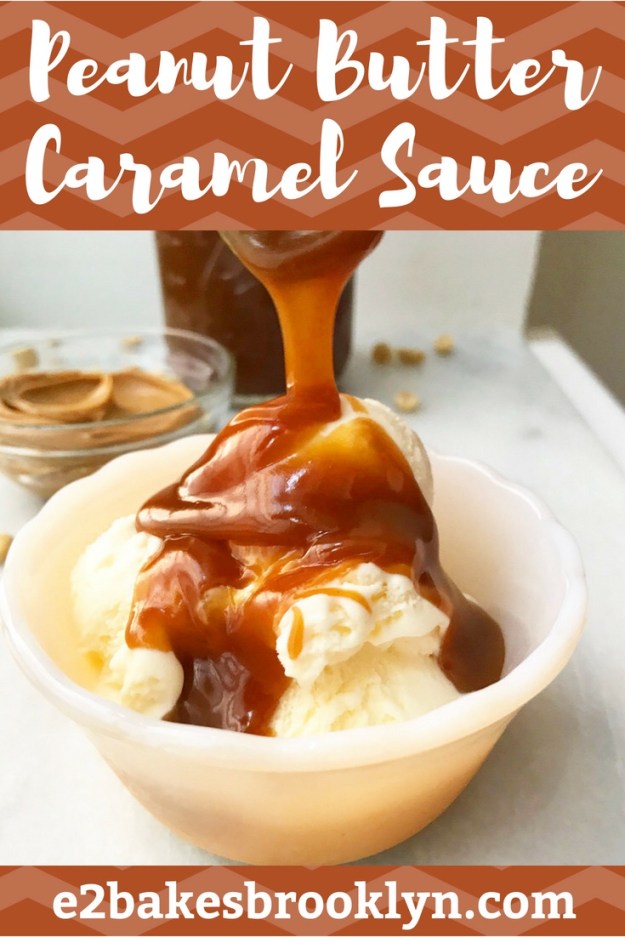
 It seems like every time I think a recipe is going to be a snap, it’s a total nightmare. Butterscotch Sauce is a classic example of this—I went into testing thinking this would be a one-and-done situation, but instead I made sauces that:
 Turns out it’s not. I “fixed” my first five test batches by slapping a metaphorical culinary bandaid on each one (less butter, less complication, less time, less movement, more liquid), and this all led me back to a method I knew worked: the way I make the caramel for my caramel corn, which is literally the easiest molten sugar recipe of all time. Just put it all in a pot and leave it alone.
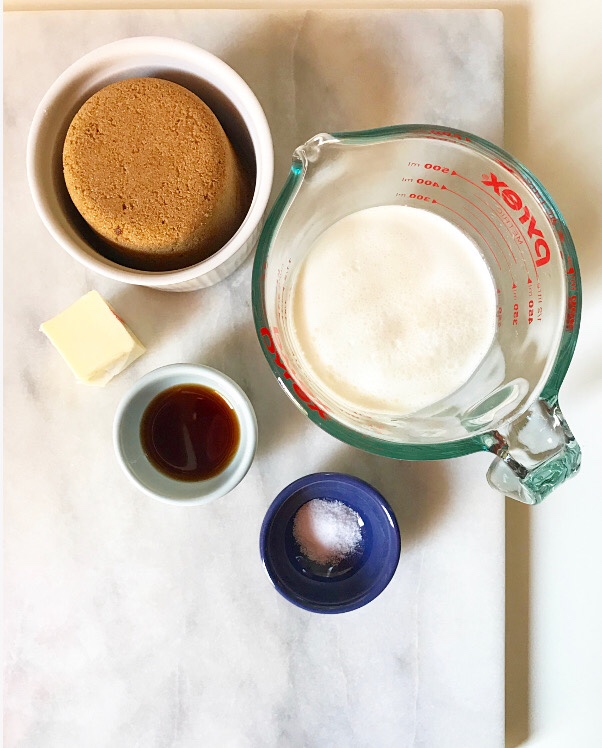
 Here’s the gist of my Butterscotch Sauce recipe:
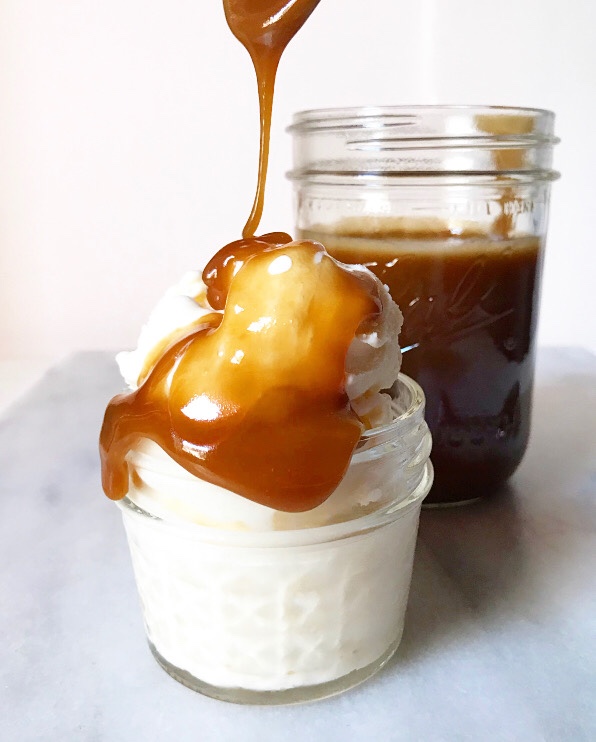 This sauce is thick and golden and best served piping hot, so that it will set softly on whatever delicious thing over which it’s been poured. It’s rich, buttery and has good hits of salt and vanilla to complement its brown sugar flavor. And it’s easy to make.
 You might even say it’s a snap.
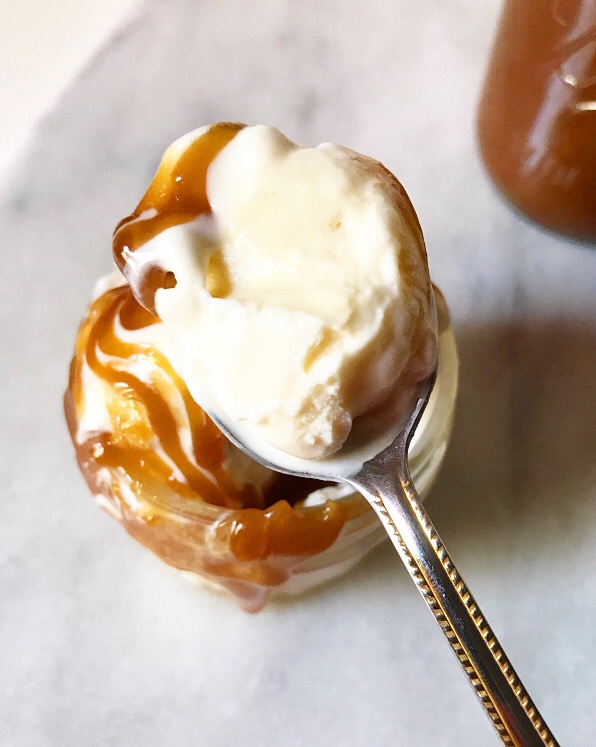
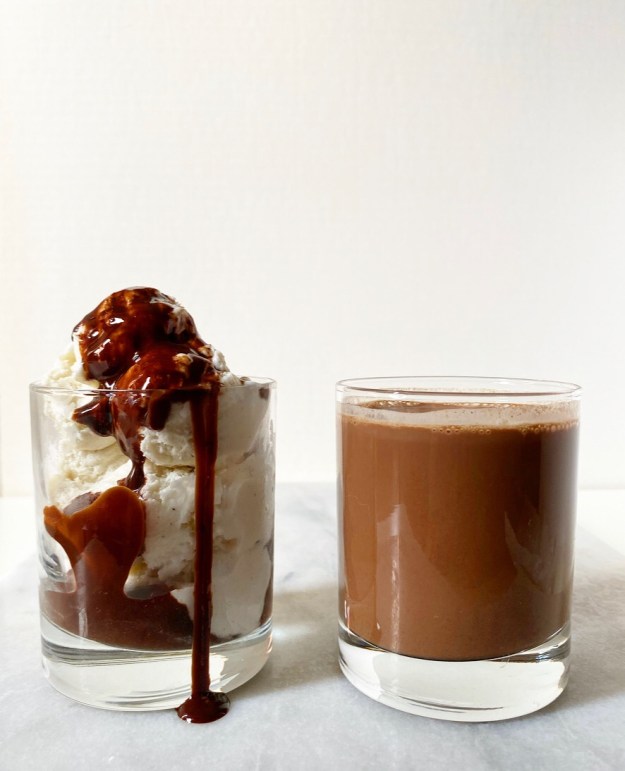
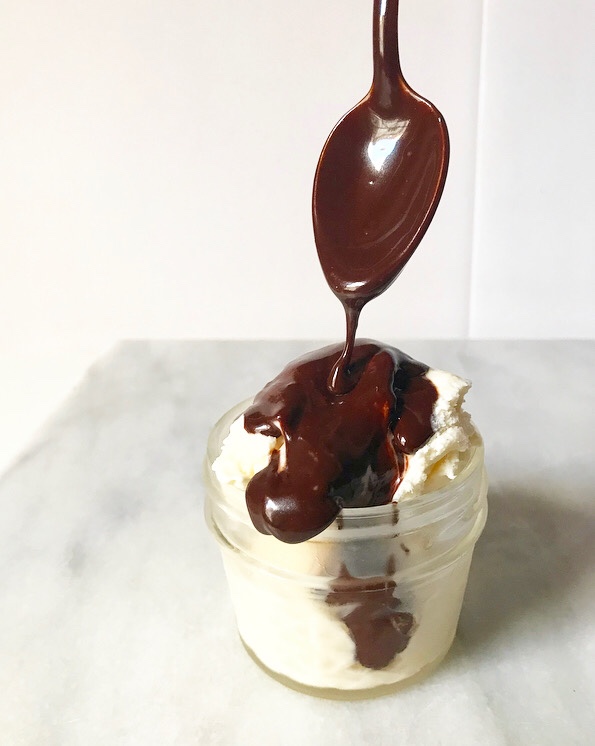 As far as I’m concerned, hot fudge is a perfect food. It’s the thing that takes sundaes, banana splits,
  It might surprise you to learn that hot fudge is incredibly easy to make. I grew up thinking of it as a shop-only item, along with
  Hot fudge is a ten minute, one-pot operation, and requires just seven ingredients that you probably have on hand. I mean, how can you argue with smooth, sticky, shiny, sweet hot fudge where you know the amount and quality of every ingredient? It’ll take you less time, cash and energy to whip up a batch than it will to get to the store and back. I mean, that’s half the reason I do all this baking and cooking: because I can do it all from the comfort of my own kitchen in my most-mismatched pajamas.
 Also, because homemade almost always beats store-bought in terms of flavor, quality, and price. That goes double for this hot fudge, which gets its richness from both chopped dark chocolate and cocoa, has less sugar than anything you can purchase, and costs me a whopping $4 for 1 1/3 cups. And it’s delicious. And it doesn’t require putting on real pants or going outside. Yesssss.
 Most hot fudge recipes I’ve seen are sweetened with sugar in addition to light corn syrup and chocolate, but I couldn’t determine a flavor-related or structural reason that it needed to be there, so I nixed it and nothing terrible happened. In fact, the resulting sauce is as rich and fudgy as any I’ve ever had (and I’ve had a lot), and I don’t find it to be lacking sweetness at all. If you’d like a sweeter hot fudge, or maybe know something I don’t,* feel free to add a couple of tablespoons of sugar when you whisk together the light corn syrup and cocoa.
 This hot fudge pours and puddles and takes nicely to the sundae treatment. And just in case you think it can’t get much better than that, you should know that it stays good for weeks in the refrigerator and reheats like a dream, so you can have hot fudge sundaes any day of the week all summer long.
 I recommend you start with today.
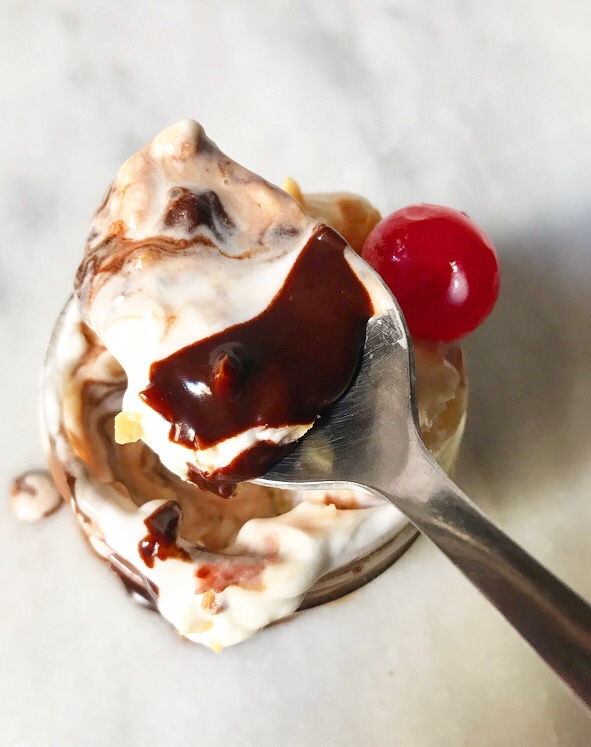


 Here’s some fair warning that I might have a lot of ice cream-related recipes coming your way over the next month or two. I’ve been dreaming them up since the third snowstorm we had this past March, and I’m psyched that it’s finally time to share them! Believe me when I tell you that the
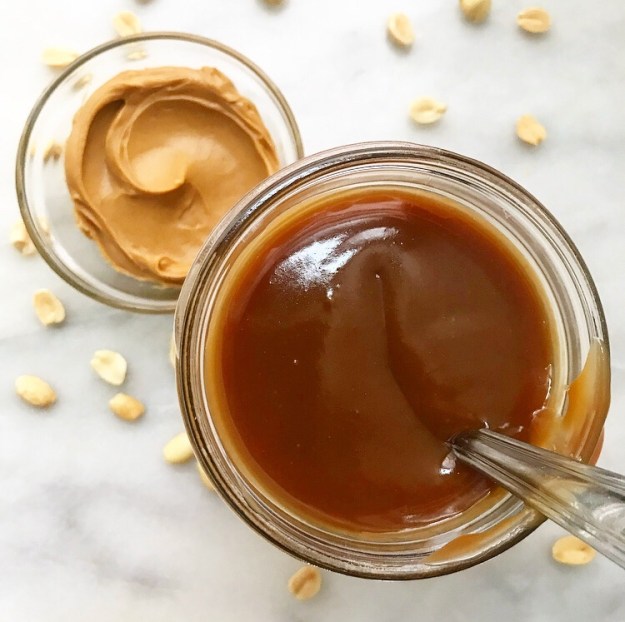

 Mother’s Day is this weekend and while I won’t be spending the holiday with my mom, I still have “mom food” on the brain. In the case of my mom, that means
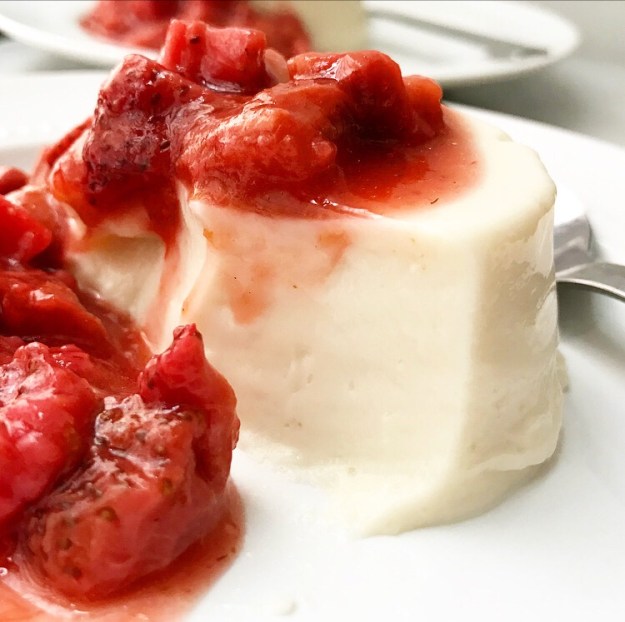
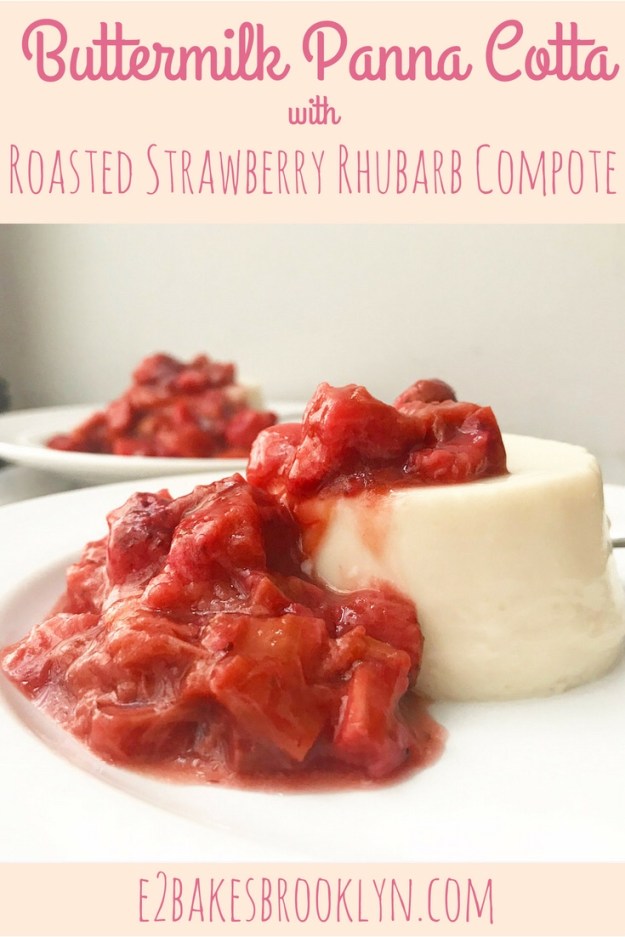
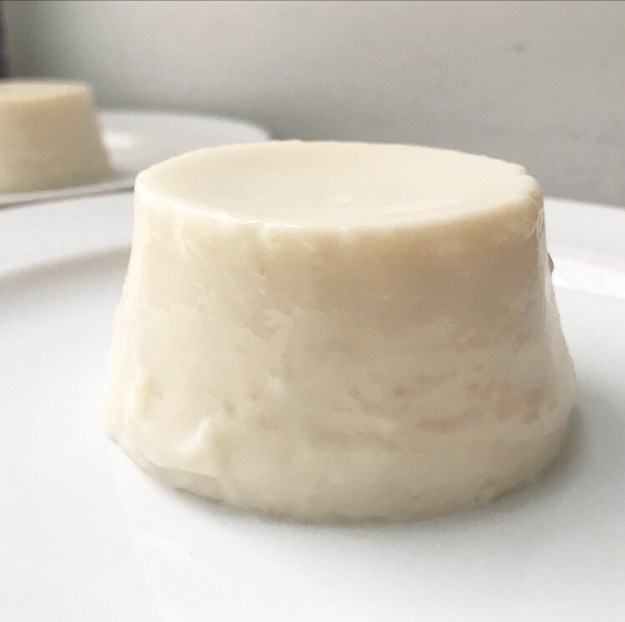
 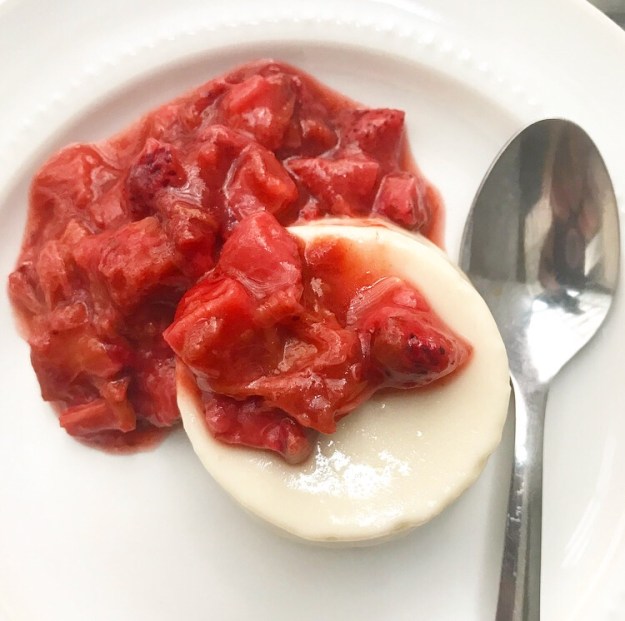 Panna cotta (Italian for “cooked cream”) is a soft-set cream-based pudding commonly served with fresh berries or a berry sauce. Most are made with a combination of heavy cream and whole milk, but the version I’m serving up today has a pleasant tang, thanks to the addition of buttermilk. It has the creaminess you expect in a custard, but where custards are set with eggs, panna cotta relies on gelatin.
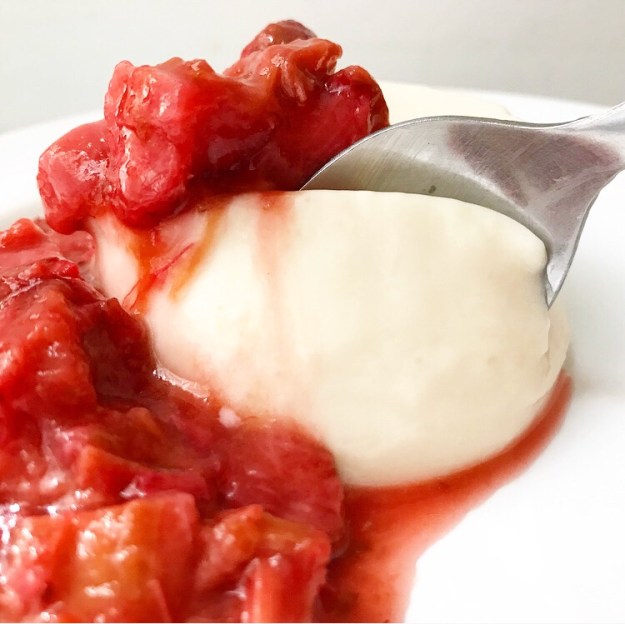 I’ve considered panna cotta a “restaurant only” food for years, thinking it was too fancy or time consuming to make at home, or that it required a skill set I didn’t have…
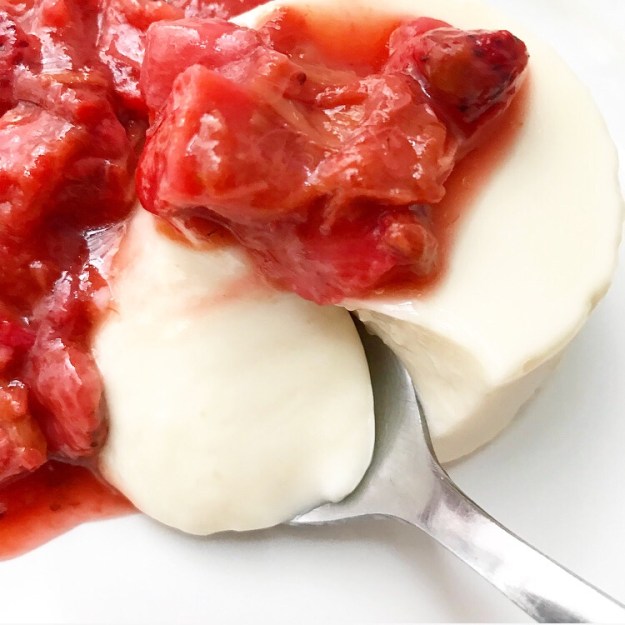 …and it’s turned out to be exactly as difficult and time-consuming as making Jell-o. But softer and creamier and with a silky smooth texture.
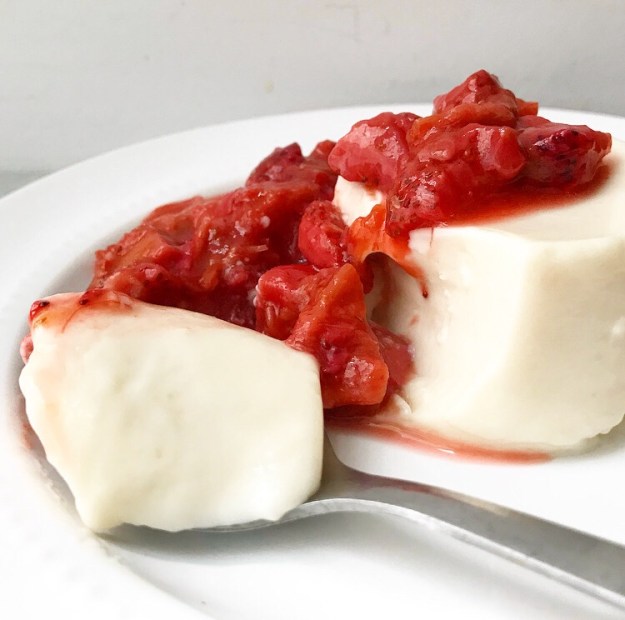 What I’m trying to say is that panna cotta is the ultimate high brow/low brow dessert.
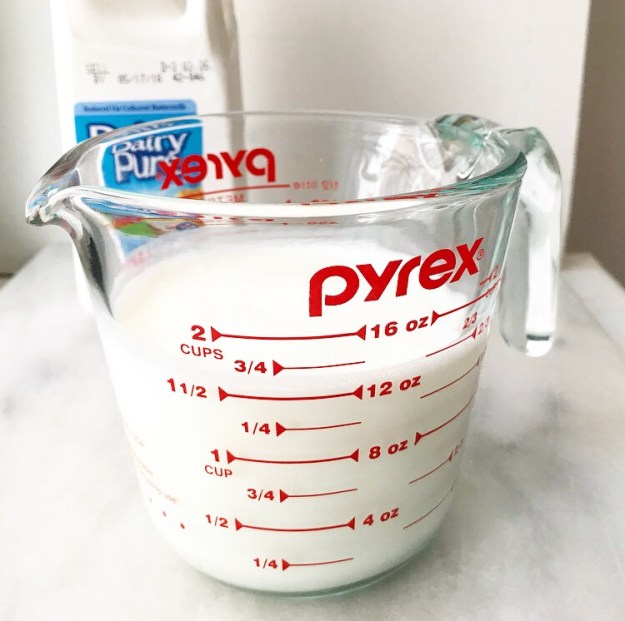
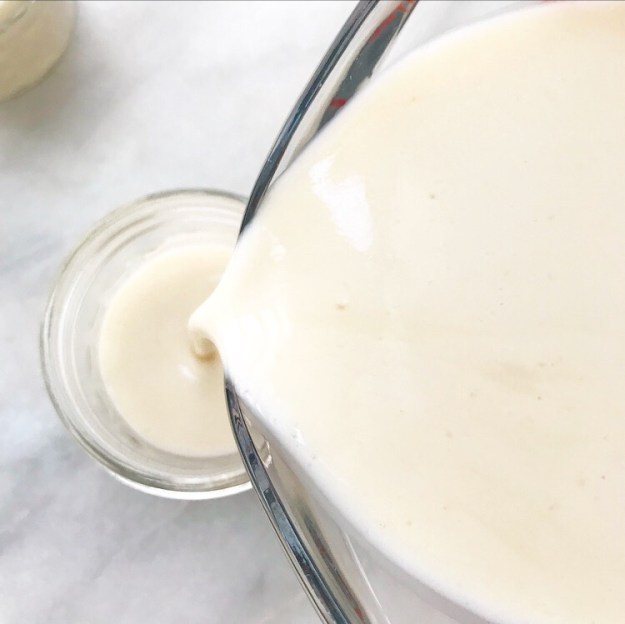
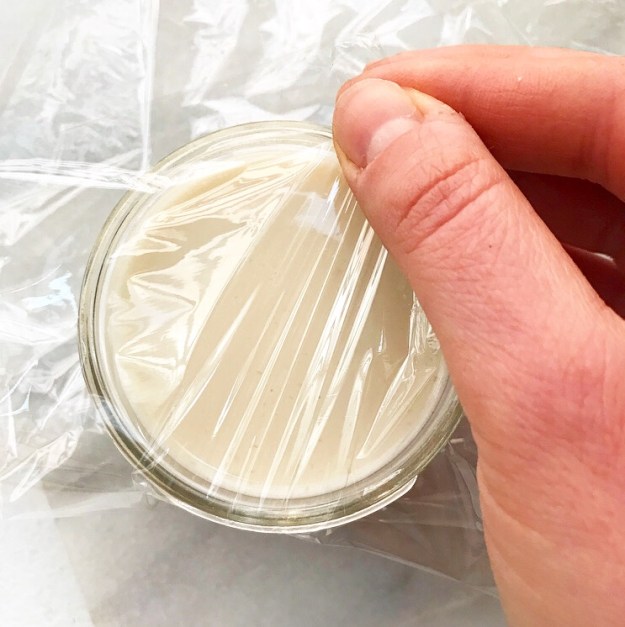 My Buttermilk Panna Cotta has five ingredients and takes all of five minutes of effort (seven, if you count the time for measuring). The time consuming part is waiting for it to set up—this can take anywhere from two to four hours, depending on whether you’re serving it in the mold or inverting it onto a plate. Gelatin gets stronger over time, so if you want to serve free-standing panna cottas, make sure to plan ahead. Otherwise, you can just serve them straight from their molds.
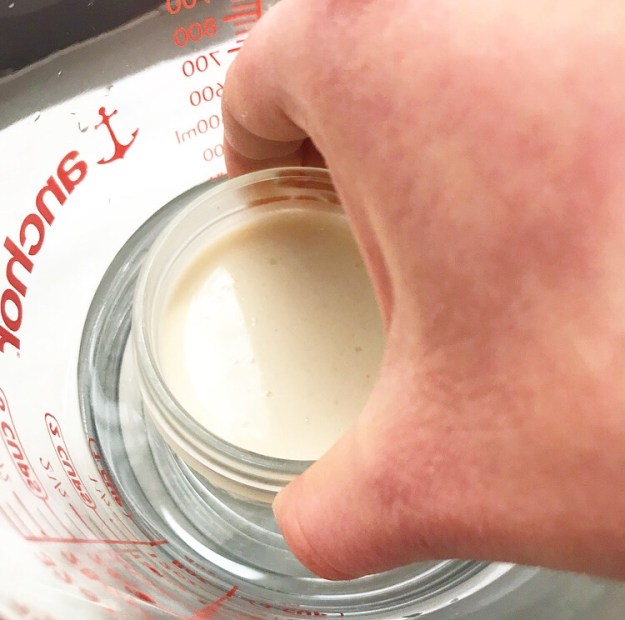
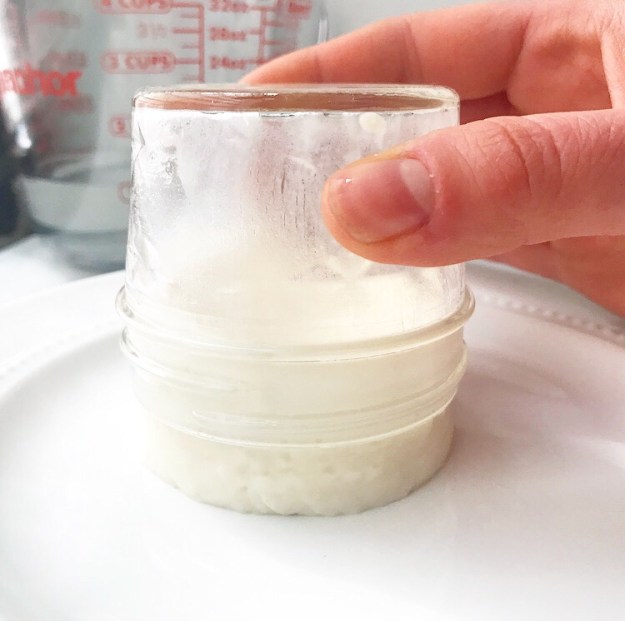
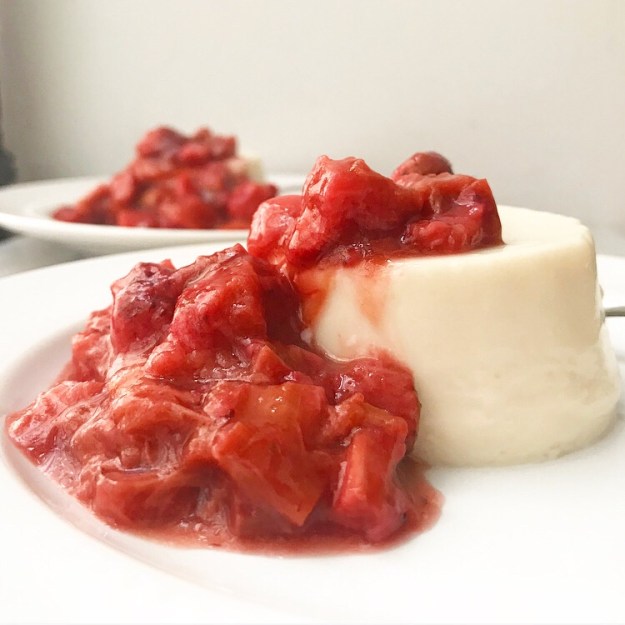
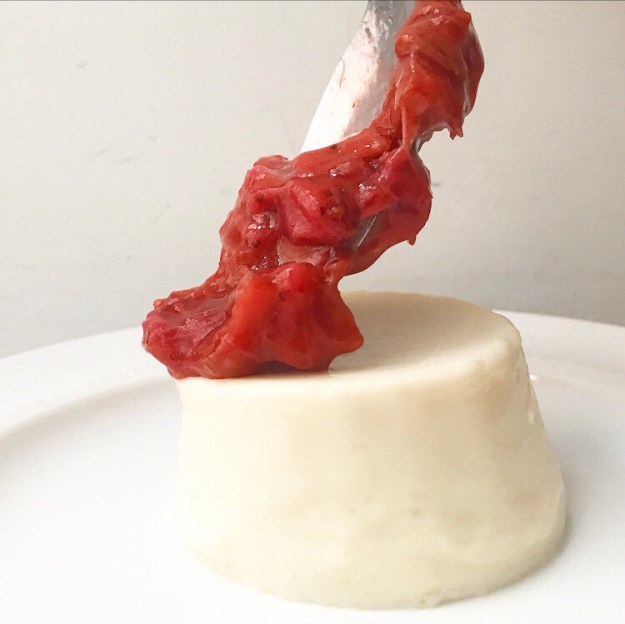 And speaking of molds, you can find all different kinds online, but I spent $10 on a dozen 4-ounce mason jars last week and, even if I break every last one tomorrow, I already feel like I have gotten my money’s worth. They’re a perfect combination of form and function, and I love the way they showcase these layers of Buttermilk Panna Cotta and Roasted Strawberry Rhubarb Compote.
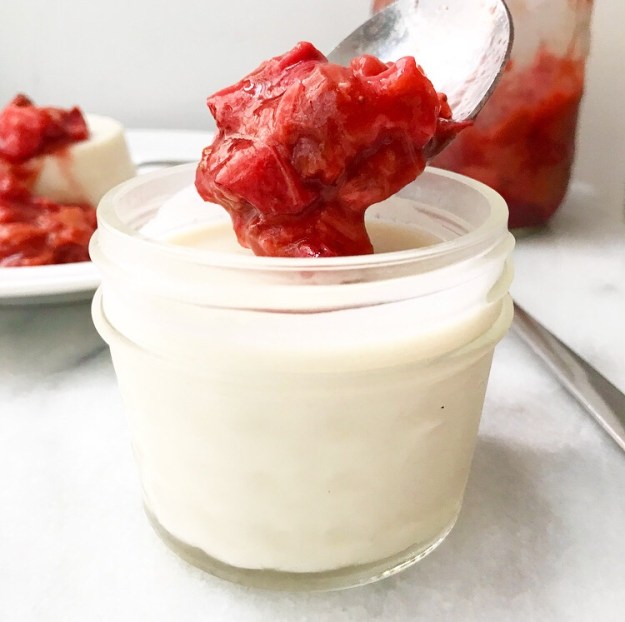
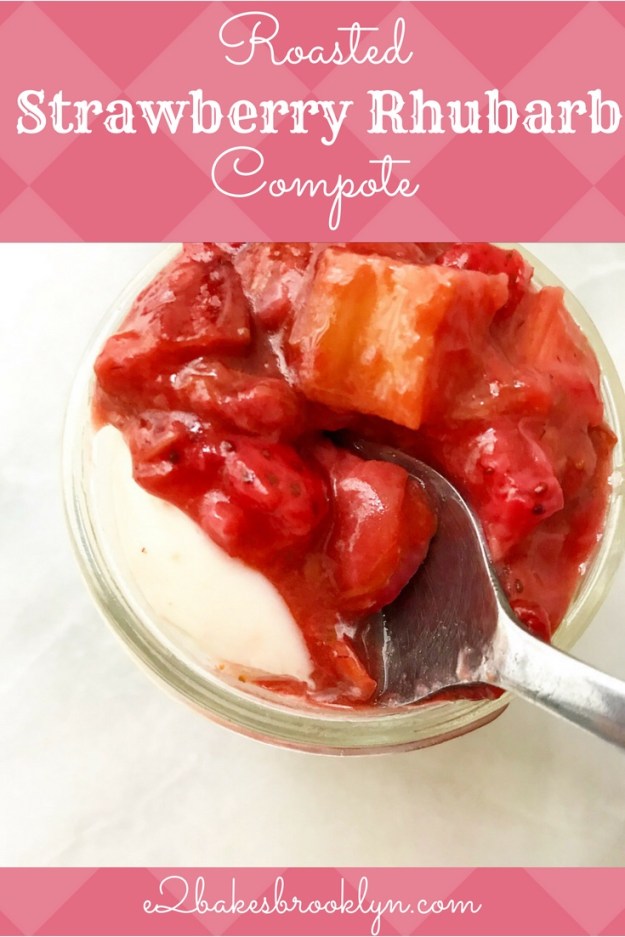
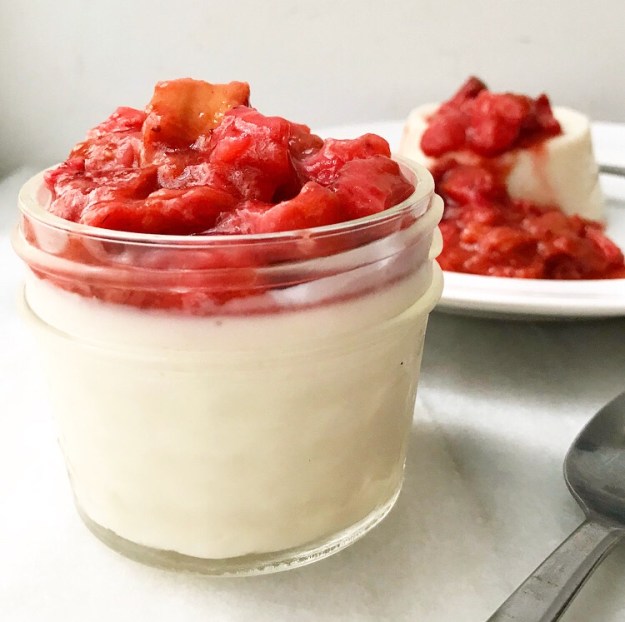 After all that talk about panna cotta, I bet this compote seems like an afterthought, but I assure you it. is. not. In fact, this sauce is what really makes this dessert sing!
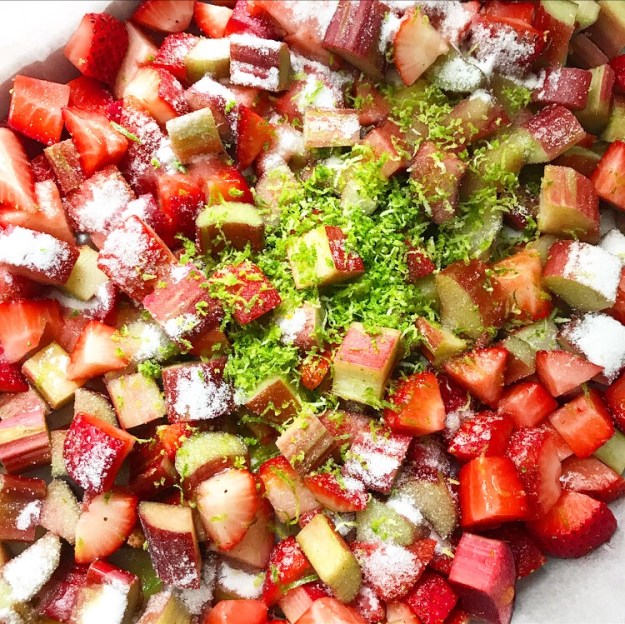
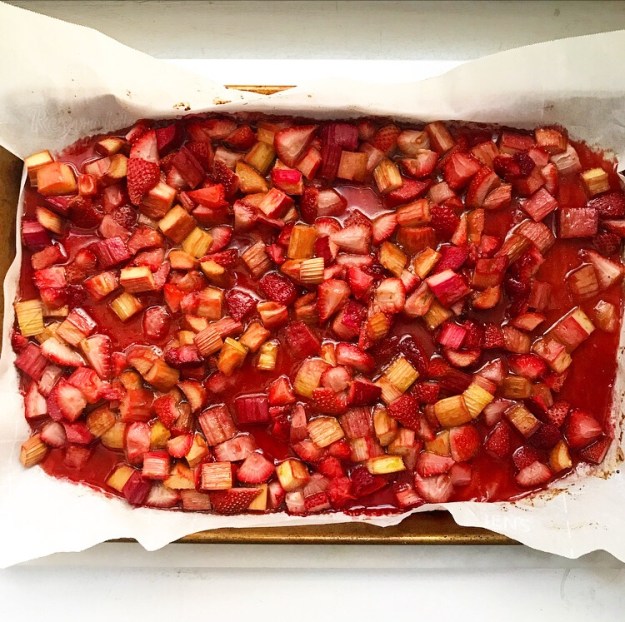

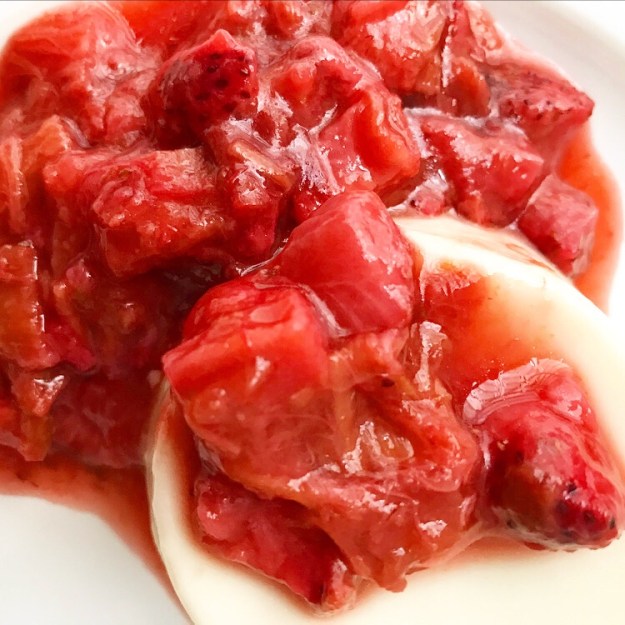 The sweet-tart combination of strawberries and rhubarb is a classic for a reason. Here, it’s amped up with just a touch of sugar and some lime zest before being tossed with olive oil and roasted until saucy. This takes minimal time and effort and makes much more than you’ll need for six panna cottas. I suggest spooning the leftovers over ice cream or plain yogurt, or just eating them directly from the jar…not that I’d know anything about that.
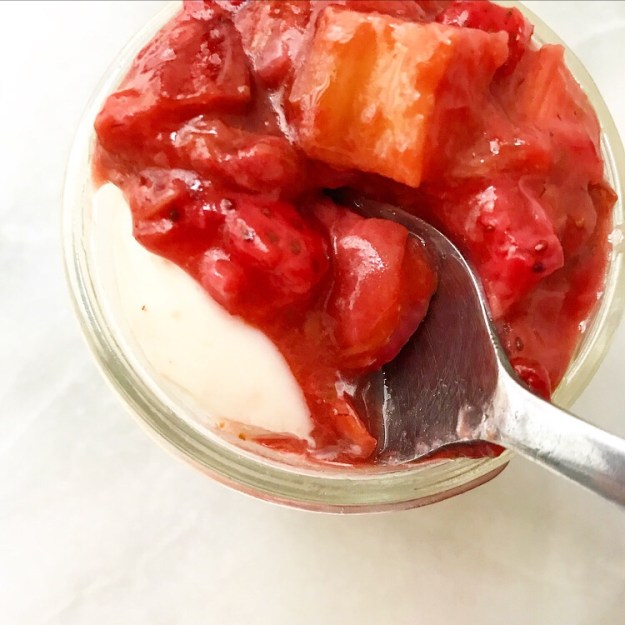 Happy Mother’s Day to everyone celebrating, especially my mom. Thanks for loving me so hard.