 New York City has reached a level of heat and humidity that can only be solved with one big cleansing thunderstorm. The trouble is, we don’t really get thunderstorms in New York City—maybe three times a year, and they’re never as spectacular as the storms in Texas.
I recall many times over the course of my childhood where my whole family would gather on our covered porch to watch the rain. Sounds dull, but when you live in a place that’s almost always teetering on the edge of drought, heavy thunder-and-lightning temperature-dropping rain is a thing to see. I had forgotten all about watching thunderstorms until I visited my older sister last summer. We had spent all morning boating on Lake Austin, where it was sunny and very hot (because Texas). By time we all got home and cleaned up though, the skies were ominous and the air was so thick, walking outside was more akin to swimming than anything else (because Texas).
 When thunder started cracking, my sister broke out the blender, made some watermelon aguas frescas, and shuffled us all (three geriatric dogs included) out onto the covered porch to watch the storm. I don’t remember what we talked about out there, but I know I’ll remember watching that storm with (almost) all my favorite people and those cool lime-scented watermelon aguas frescas for a long time.
And also how my sister and I put on head lamps and took jigsaw puzzling to a new level as the storms continued and the electricity went out three hours later.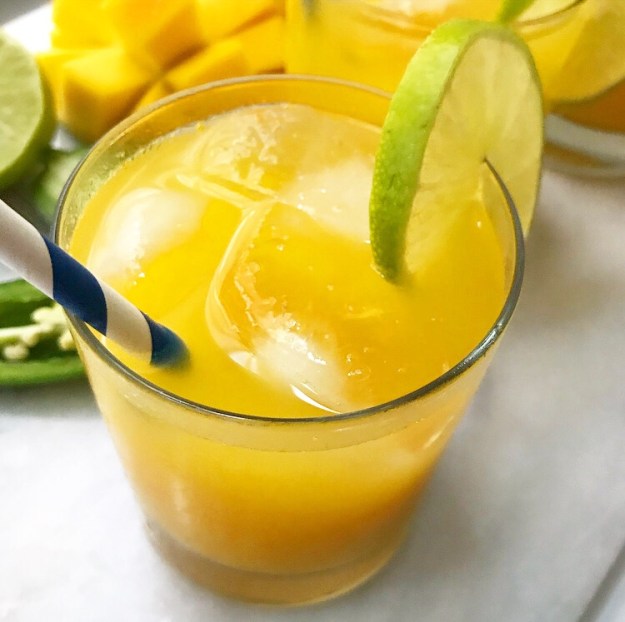 But back to aguas frescas. I should probably explain what they are. That’s a good place to start, right? Aguas frescas are a blended beverage made of water, ripe fresh fruit, and sugar, that are popular in Mexico and parts of the U.S. They’re super refreshing and make for a great non-alcoholic option on hot summer days.
I love my sister’s watermelon version, but I got the idea for these Spicy Mango Aguas Frescas last weekend and just had to figure them out. It only took one try—when you’re blending mango, lime, and jalapeño, you’re all but guaranteed to have great results. Spicy Mango Aguas Frescas begin with a jalapeño simple syrup. This is the most difficult part of the entire process. Heat equal parts sugar and water with two split jalapeños until the sugar has dissolved.
 Let it steep until the syrup has a good amount of heat…
 …and strain it out.
 So, yeah, not difficult at all. This recipe makes more than you’ll need for aguas frescas, but you can keep jalapeño simple syrup in the fridge for weeks on end. It goes well in cocktails and mocktails too—you won’t have any trouble finding excuses to use this combination of sweetness and heat, I promise.
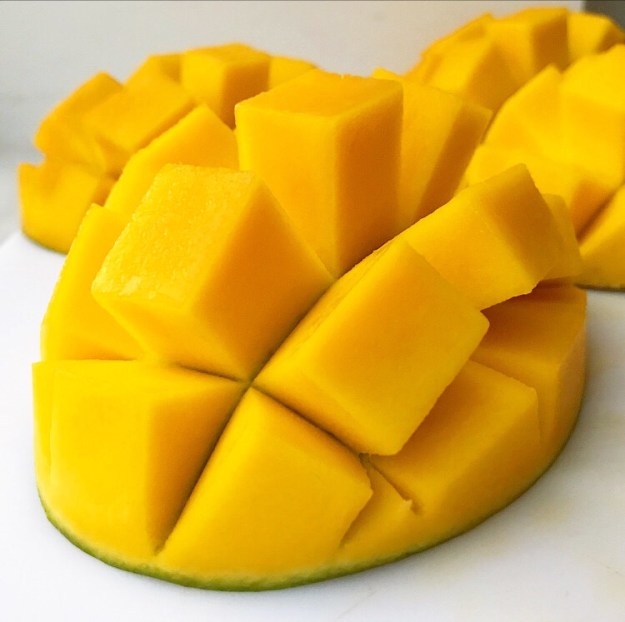
 Pour 1/2 cup of your jalapeño simple syrup into a blender, along with some fresh lime juice, water, and 3 cups of fresh mango chunks.
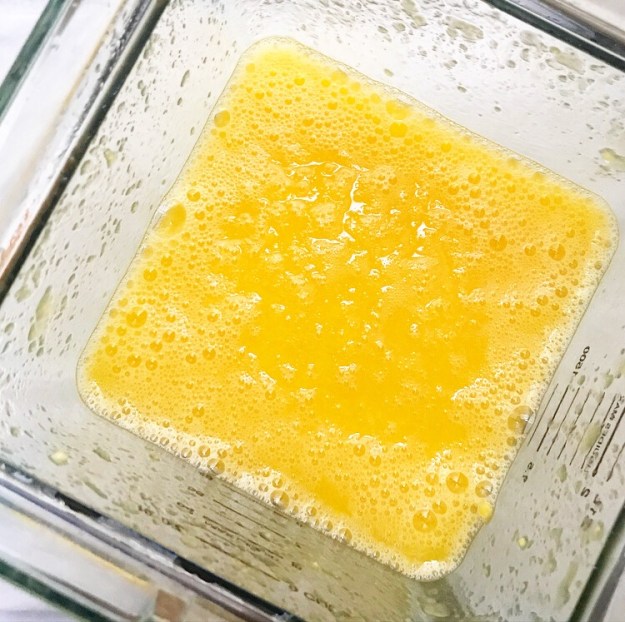 Blitz it all until smooth…
 …and strain out the pulp.
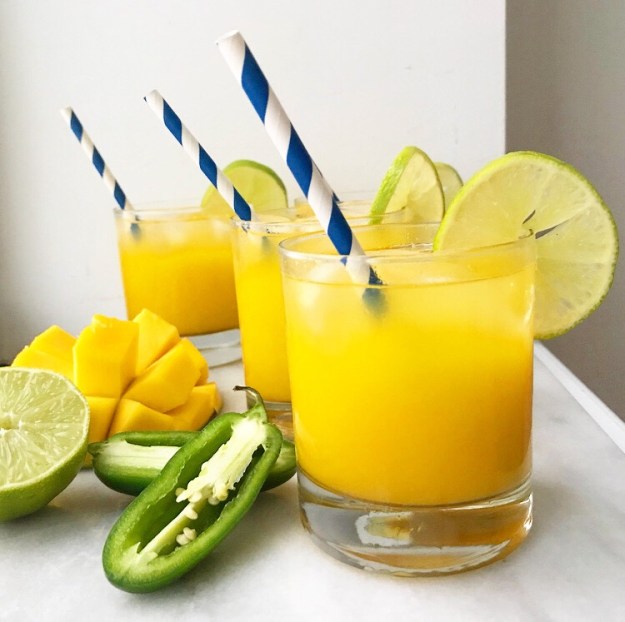
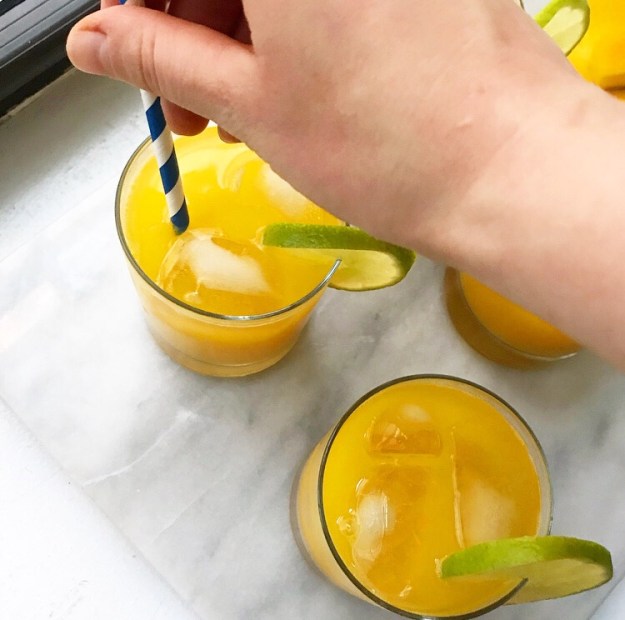 Pour it over ice and garnish with lime slices. And maybe some of those paper straws you bought at Target four years ago and keep forgetting about.
 If you love mango and sweet heat, this is the drink for you. Spicy Mango Aguas Frescas have a rich, sweet mango flavor and a bit of a kick from the jalapeño simple syrup, while the lime and water balance it all out. This is what summer tastes like. For me, anyway.
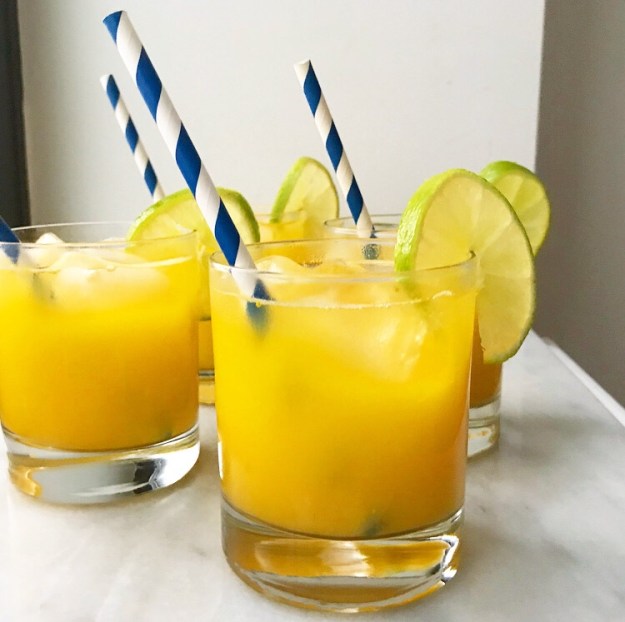 We have storms in the forecast later this week. I’d love to invite you all over to watch them and drink some Spicy Mango Aguas Frescas on a covered porch, but this is New York and nobody watches storms. Also, I don’t have a covered porch.
It’s the thought that counts though, right?
Spicy Mango Aguas Fresca
makes about 6 servings
3 cups fresh mango chunks (about 2 large mangos)
1/2 cup jalapeño simple syrup (recipe below)
1/4 cup fresh lime juice
2-3 cups water
ice, for serving
lime slices, for serving (optional)
Combine mango chunks, simple syrup, lime juice, and 2 cups of water in a high-powered blender. Put on the lid and blend on medium speed until smooth. Taste for sweetness and heat, and add another cup of water, if desired (I did).
Place a mesh strainer over a large mixing bowl. Pour mixture through the strainer, pressing the pulp to get as much liquid as possible. Discard pulp.
To serve, place a few ice cubes in each of 6 small glasses. Divide aguas frescas among glasses. Garnish with lime slices.
Leftover agua fresca may be kept in an airtight container in the refrigerator for up to 2 days. Mixture will separate over time; stir before serving.
Jalapeño Simple Syrup
makes about 1 1/2 cups
1 cup granulated sugar
1 cup water
2-3 fresh jalapeños, stemmed and halved
Combine all ingredients in a small saucepan over medium-high heat. Bring to a simmer, stirring frequently, until sugar has dissolved (about 5 minutes). Remove from heat. Let cool for 45-60 minutes, or until the concentration of flavor/heat is to your liking. Strain out jalapeño halves and any seeds. Store simple syrup in an airtight container in the refrigerator.

 This is my third gluten-free
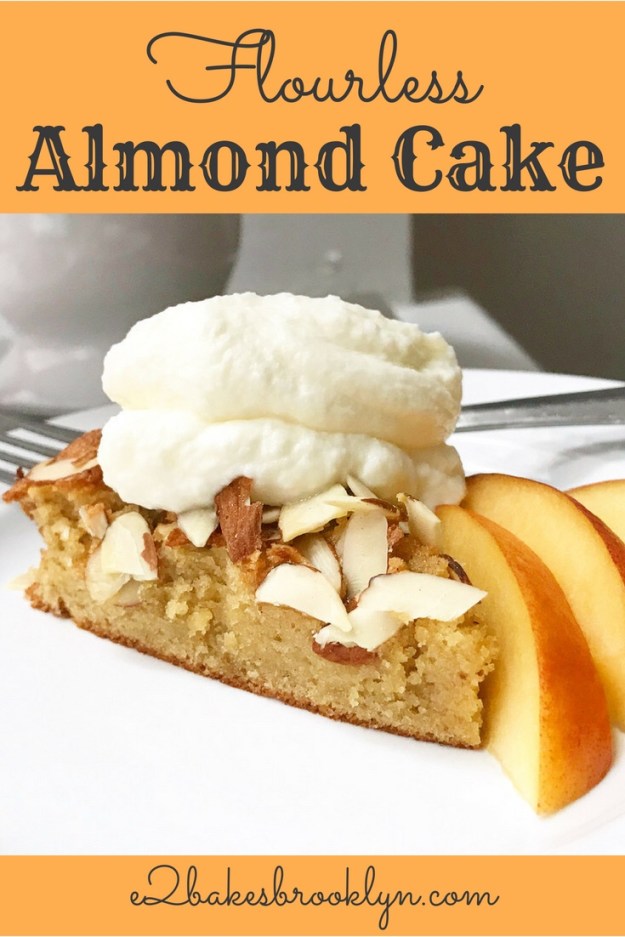
 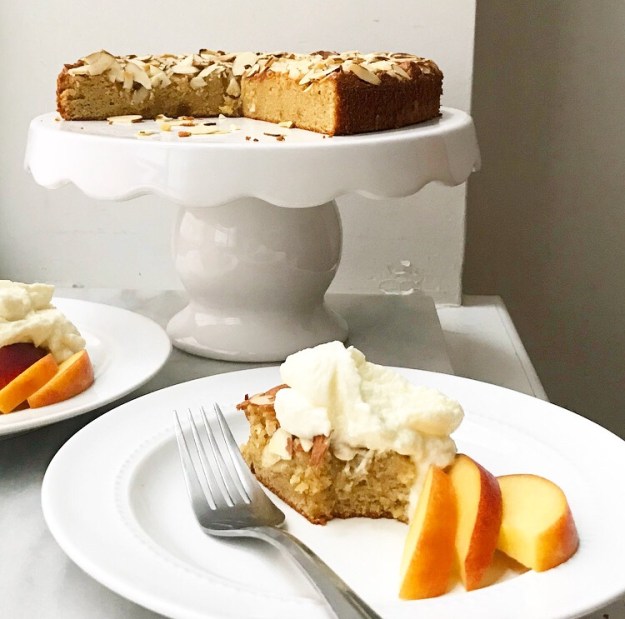 You might think that since I kept it for last, it’s subpar in some way. Quite the opposite—Flourless Almond Cake is really something special. It’s one of those recipes you’ll want to have in your repertoire not only because it’s grain-free and relatively quick and simple, but because it can adapt to any occasion. It’s as perfect for a dinner party as it is for a cookout or taking to a friend who needs a pick-me-up. The holidays are still a while away, but I can imagine this cake being a welcome addition to any dessert spread.
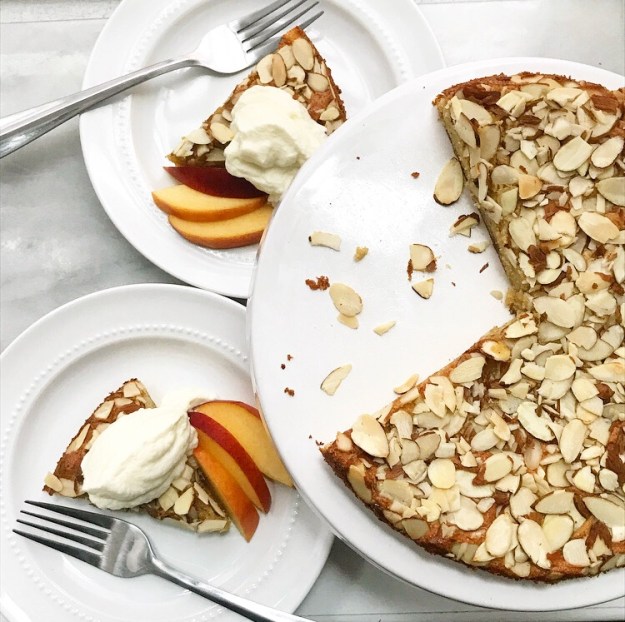 But it’s barely August and I’m getting ahead of myself. Let me show you how this cake comes together.
 It starts by measuring out some blanched almond flour. I measure using the spoon & level method, as I do with all my
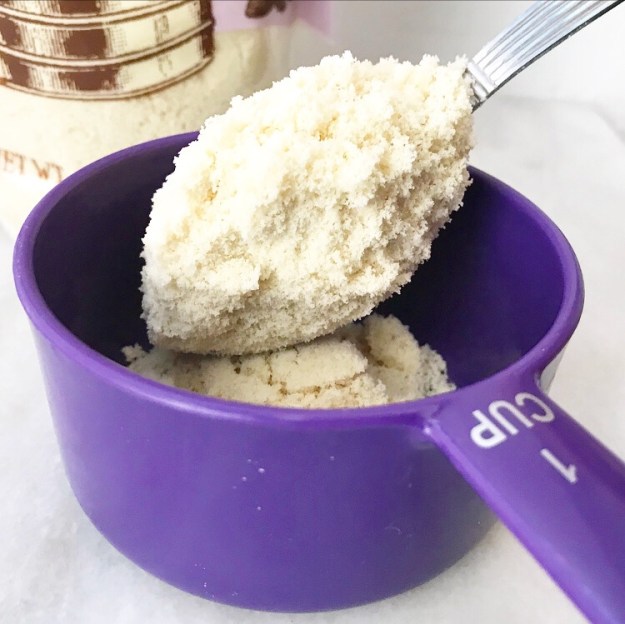
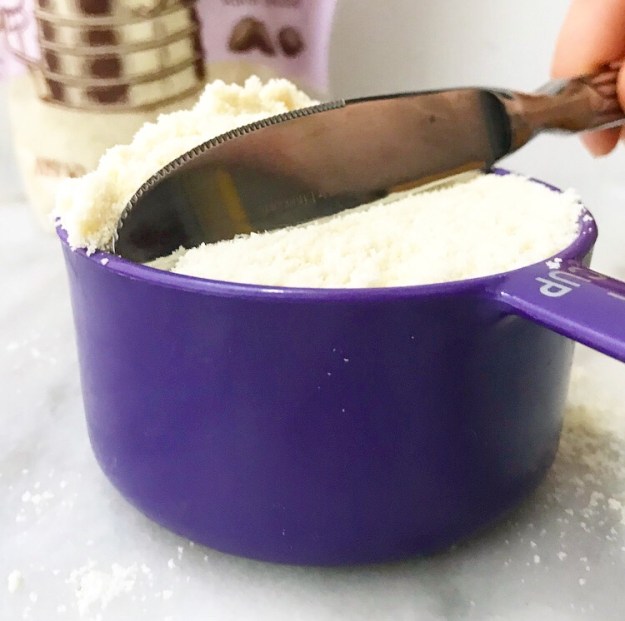 This may sound tedious if you’ve never done it before, but it only takes a few seconds longer than other common volume-based measuring techniques. While it’s appealing to scoop ingredients with a measuring cup directly, it may cause your final product to be too dense.
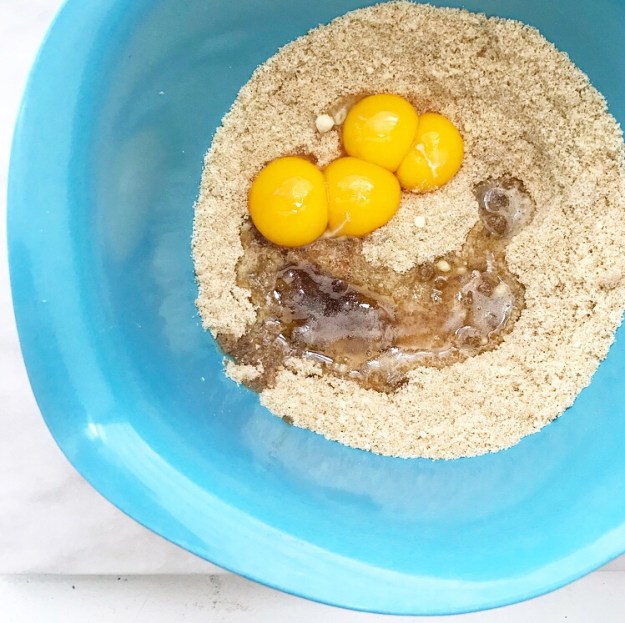 Put your almond flour in a large mixing bowl and mix in some light brown sugar, salt, and touches of cinnamon and nutmeg. Next come four egg yolks, vanilla and almond extracts, and a little butter. You may certainly just use plain melted butter here, but I like to use brown butter for the extra toasty flavor it imparts.
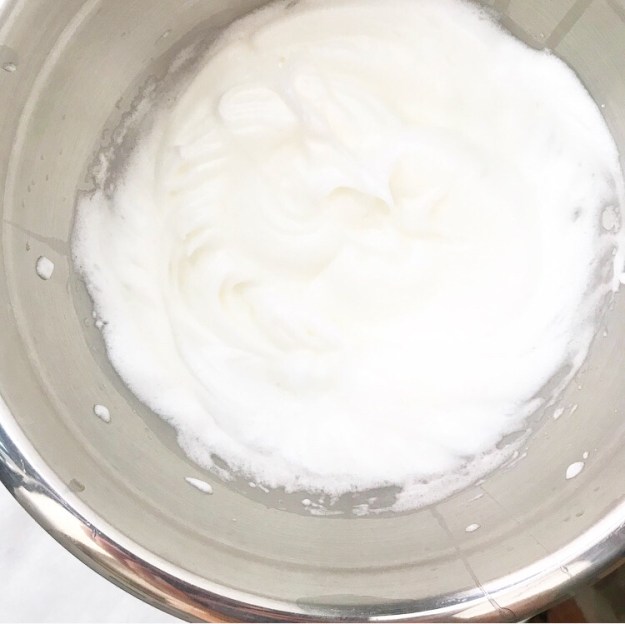 Next up, wash and dry your mixer attachment and whip four egg whites to stiff peaks. Don’t skip the wash/dry step or your egg whites won’t whip, and you’ll be cursing my name while you separate four more eggs. I tried bypassing this step and using the egg whites as-is, and the result was a dense, flat cake. No, thanks.
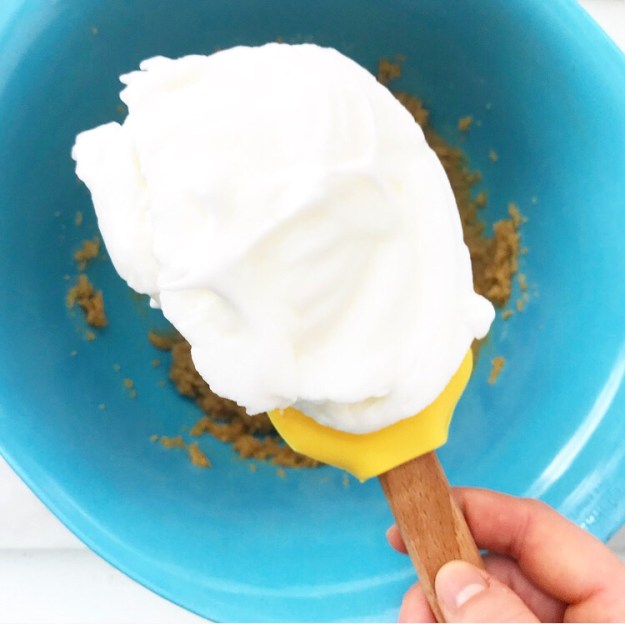
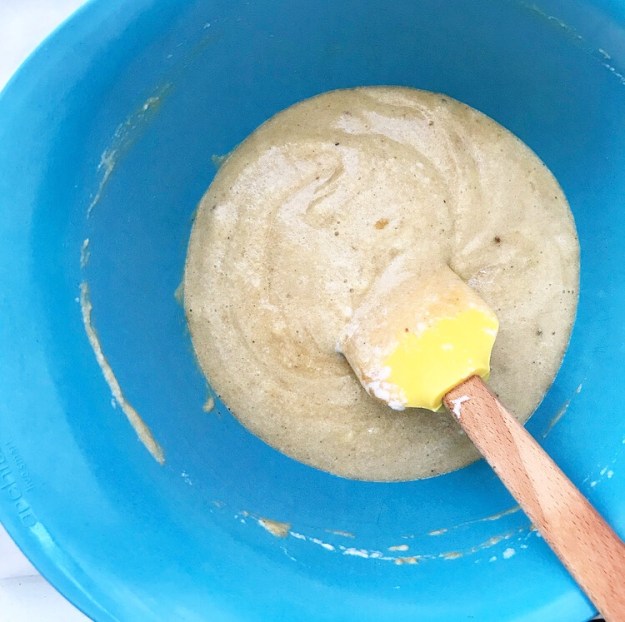 Stir 1/3 of the whipped egg whites into the almond mixture before gently folding in the rest.
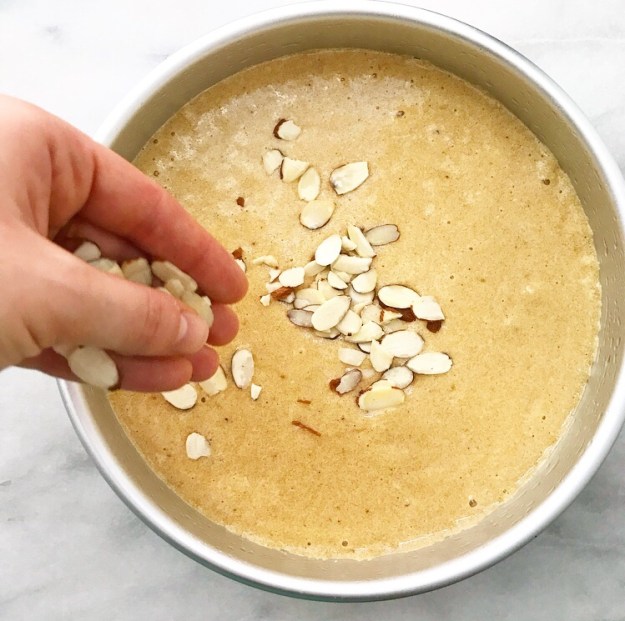 Pour the batter into a prepared pan, scatter sliced almonds over the top, and bake until the center is firm.
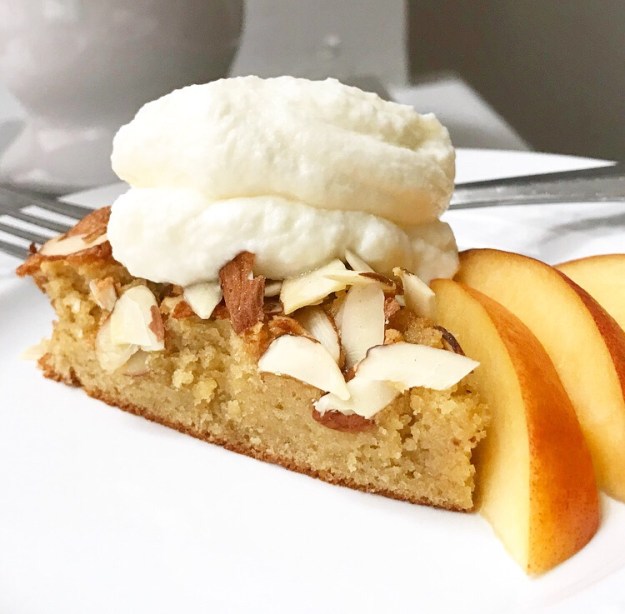
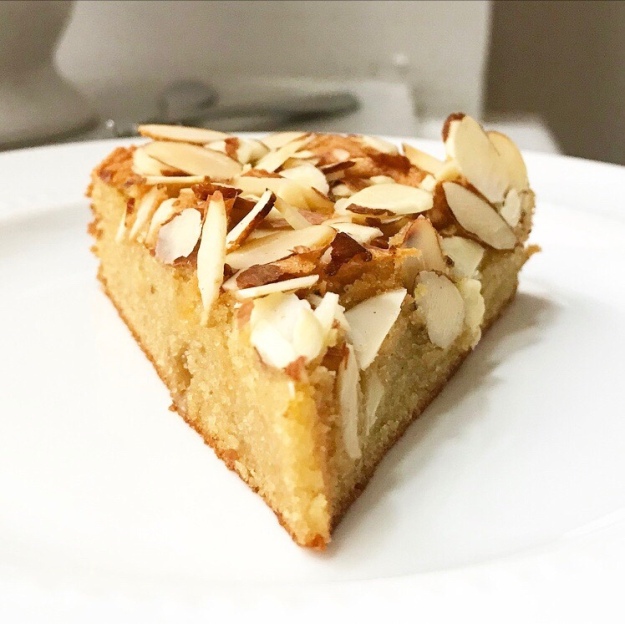 Turn the cake out onto a serving platter and let it cool completely. Slice it up and serve it any way you see fit.
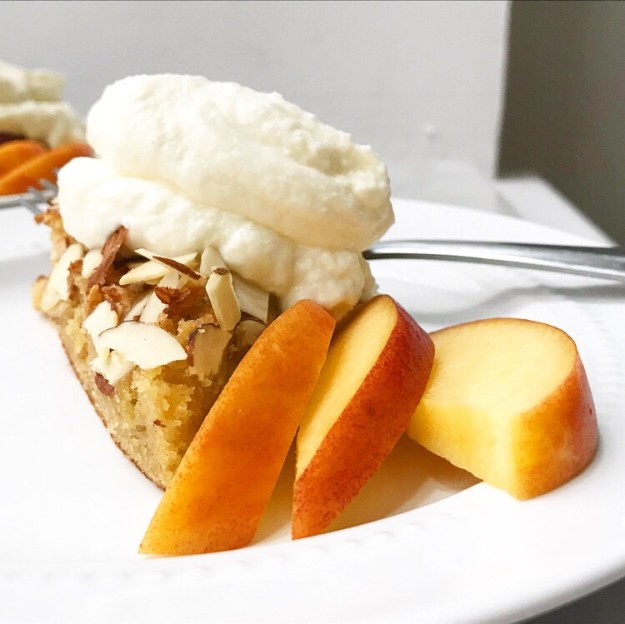 Like
Like 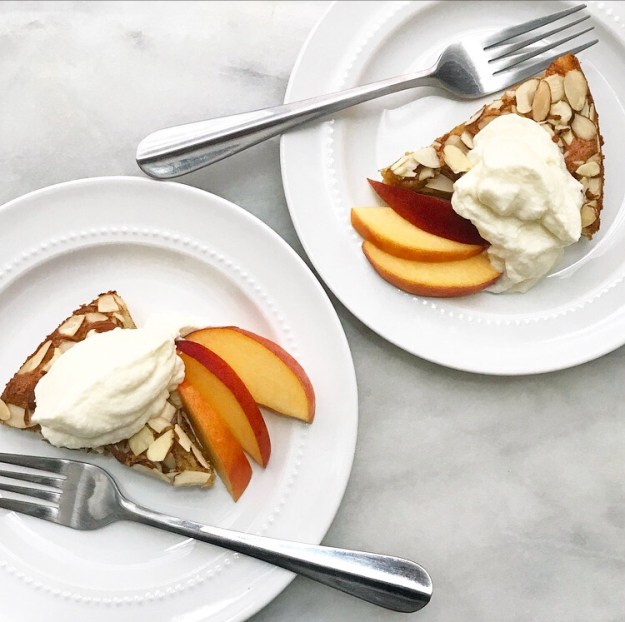 No matter which suggestion you go with, this simple little cake is sure to be a winner.
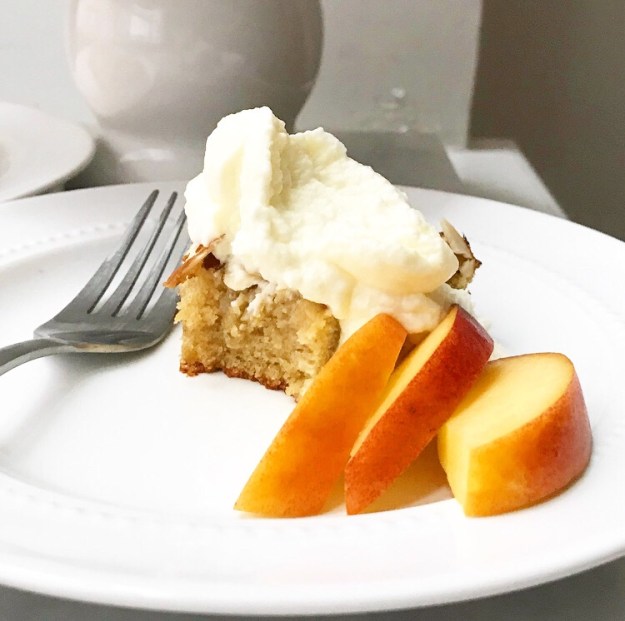
 If you’ve been around here a while, you know that I spend 51 weeks of the year dreaming about my annual trip to
 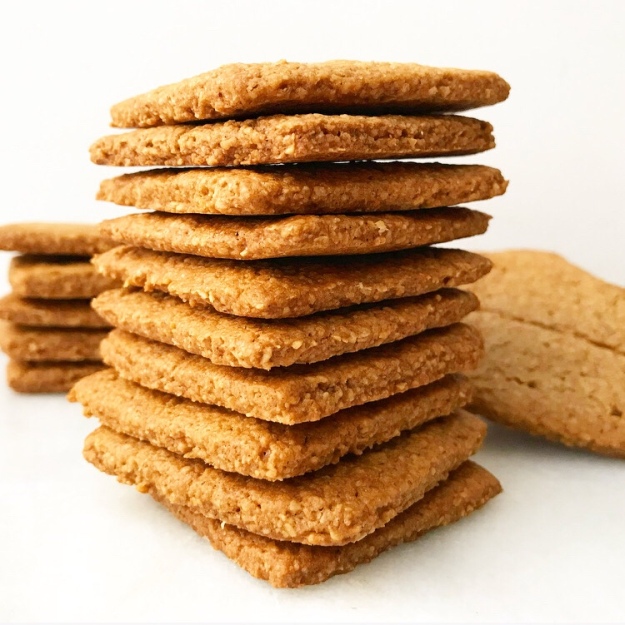 This is my fourth year going up to Swans Island, and my third organizing the trip. There’s something wonderful about the anticipation of it all. From the moment we start looking at vacation dates and rental houses, and then confirming guests, there’s a wonderful familiarity to the whole process.
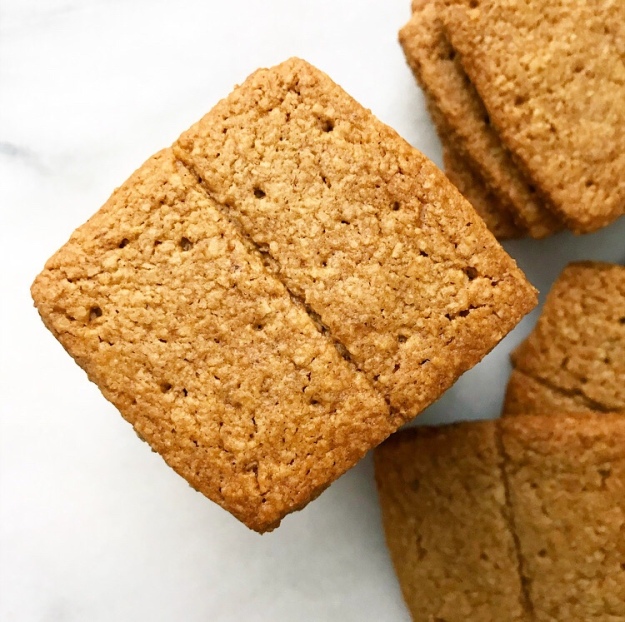 We book the house. We choose a spot to stop overnight on our way up (usually Portland) and VJ books the AirBNB. We rent a car. We create a menu and make a grocery list. Throughout it all, we dream about this incredible place and probably annoy the crap out of the first-timers going with us 😉
 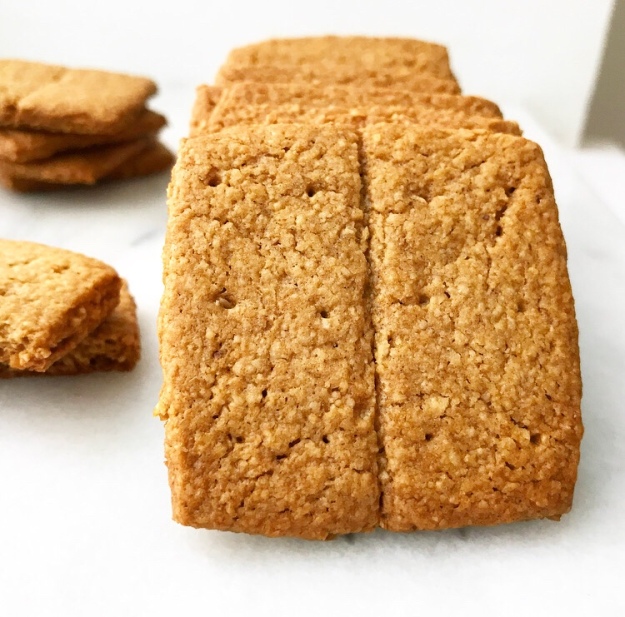 One of my favorite parts of the process is coming up with recipes we can all enjoy. VJ, my Swans Island ride-or-die, is a
 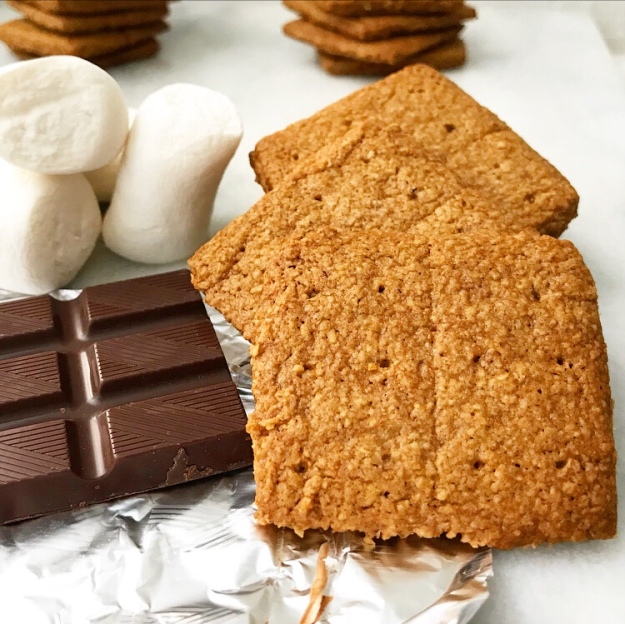 When it comes to my on-island baking adventures, VJ is always willing to help take
  The idea for these sweet little crackers came to me as I was falling asleep one night last week and the inspiration was so strong that I had to get up and type it all down before I forgot! Four test batches later, I’m serving up a delicious and deliciously easy recipe perfect for our vacation 🙂
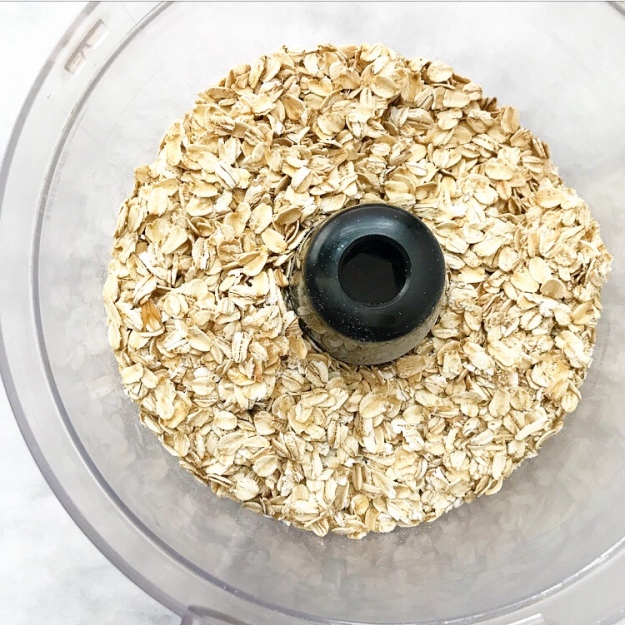

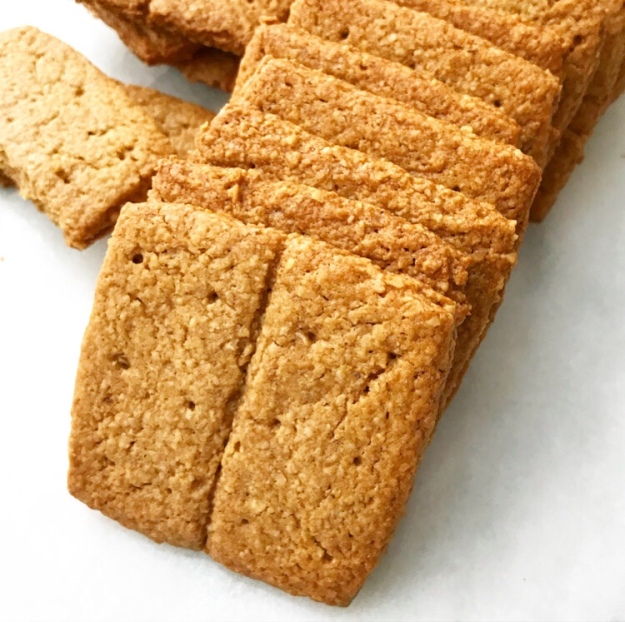
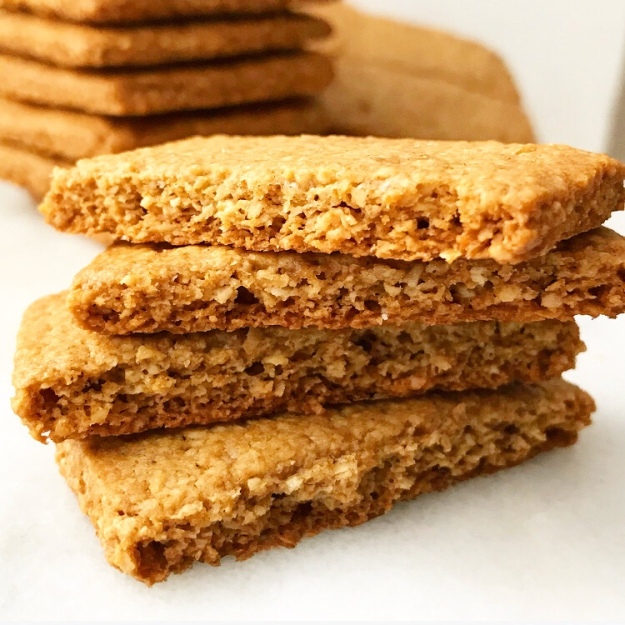
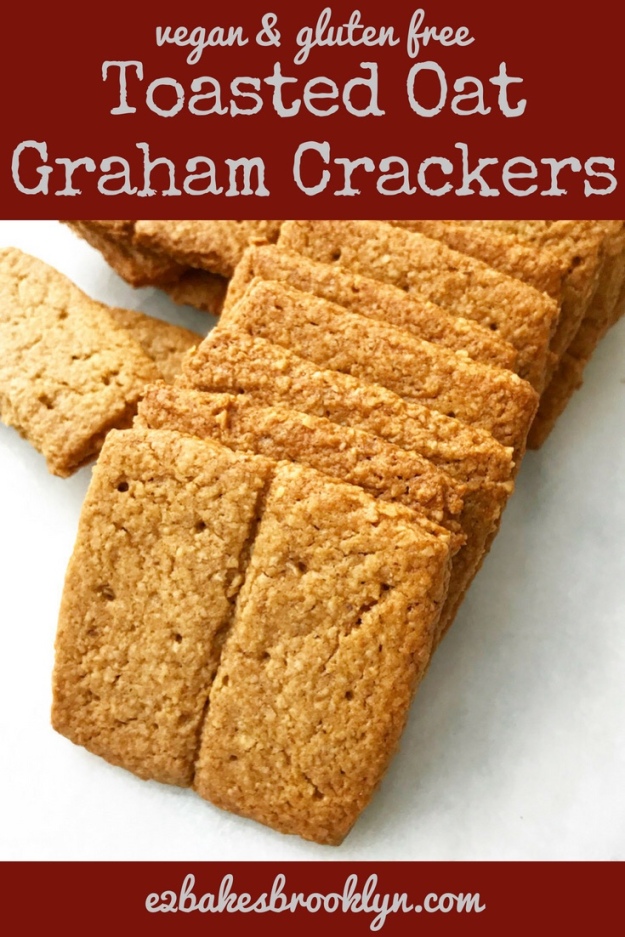
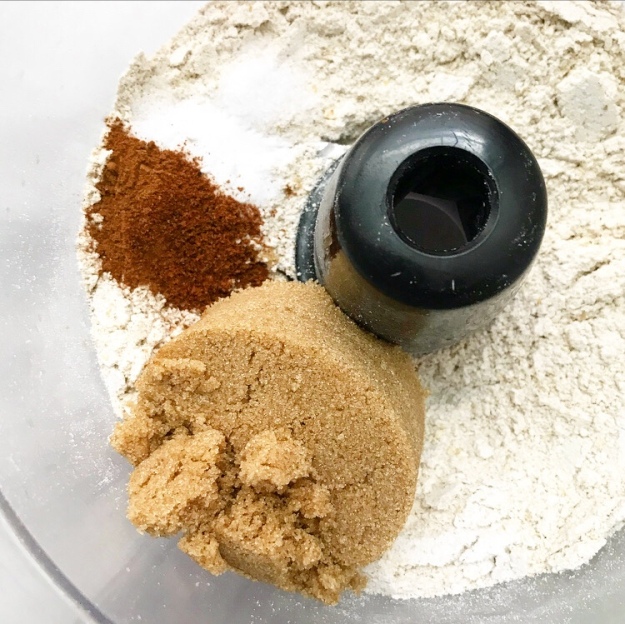 Toasted Oat Graham Crackers are crunchy and nubbly, and have just the right amount of sweetness. They’re everything you could want in a graham cracker, except where the traditional treats start with a specialty coarse wheat flour, these are made with ingredients you likely already have in your pantry, like old-fashioned oats, light brown sugar, cinnamon, coconut oil, and pure maple syrup.
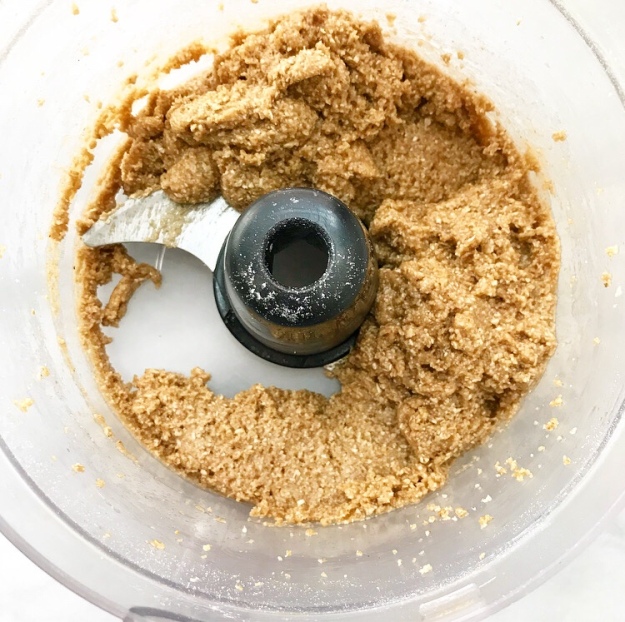 Also, the dough is made entirely in the bowl of a food processor! Easy peasy.
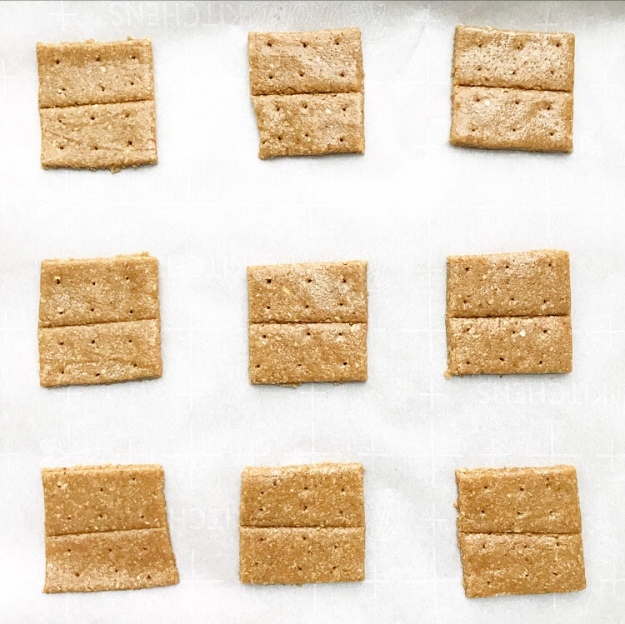
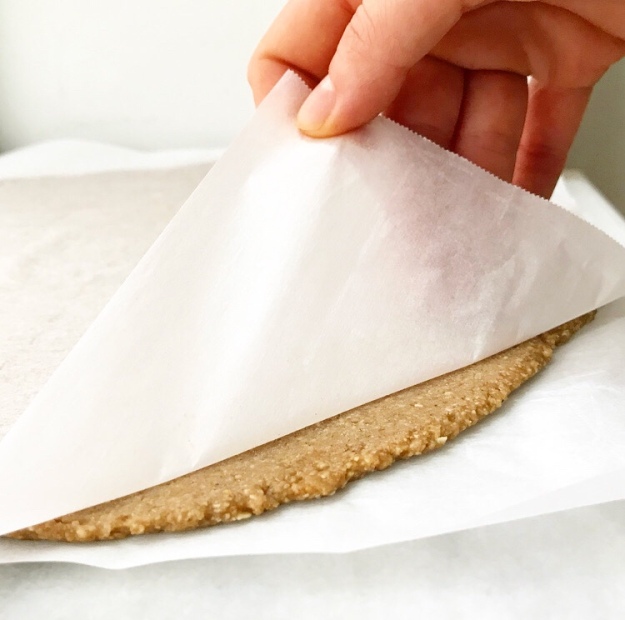 Once the dough is made, roll it out between two sheets of parchment and give it a quick freeze before slicing it into crackers. A chef’s knife works well for this, but I am fond of this expandable pizza wheel.
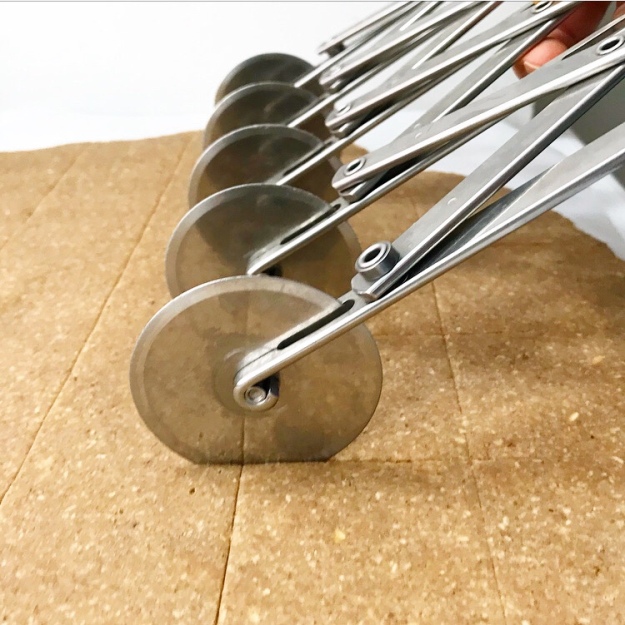 Score each cracker down the center…
 …and pierce it a few times with a toothpick. I use a wire cake tester.
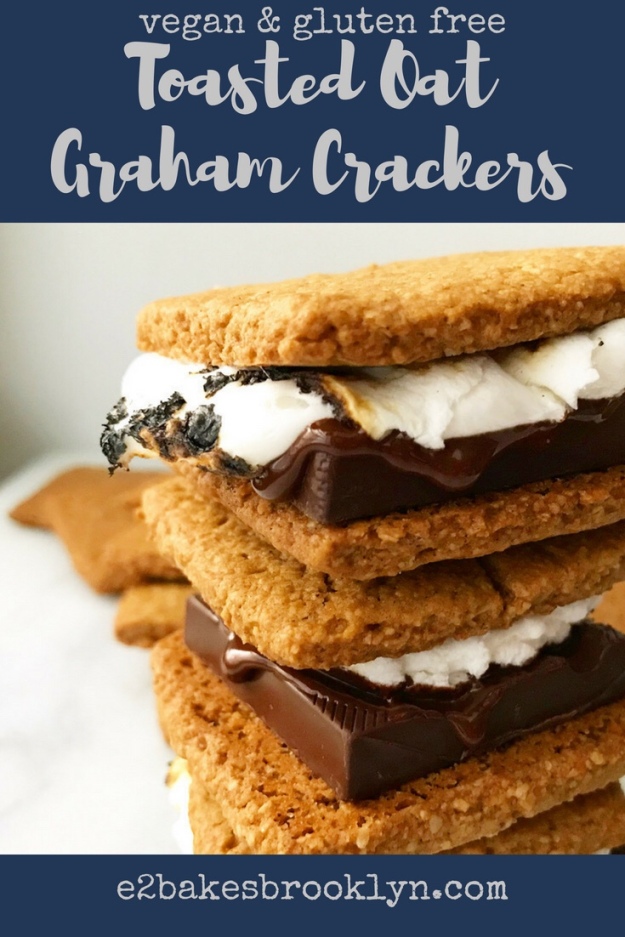
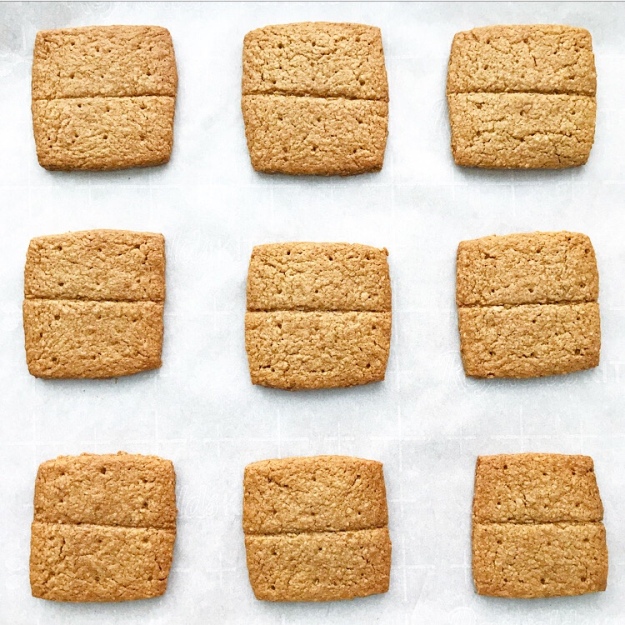 Bake the graham crackers for twenty minutes. Let them cool for a few minutes and then, all bets are off! These crispy, crunchy, cinnamon-spiced Toasted Oat Graham Crackers are great by themselves, or topped with peanut butter. Or cream cheese frosting.
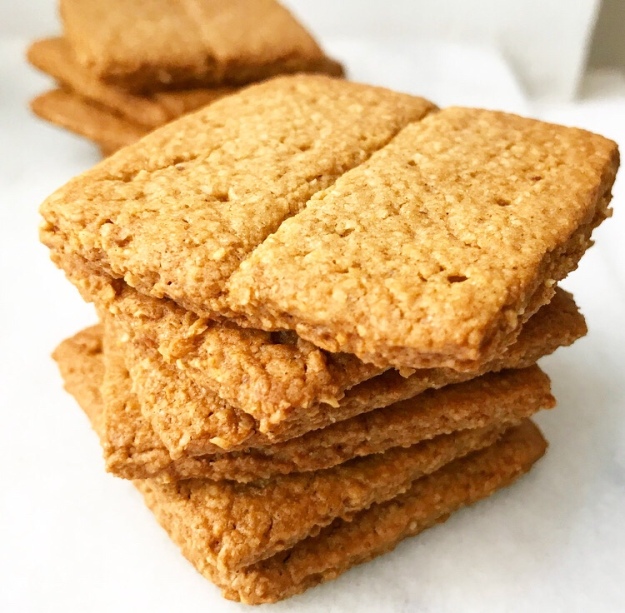
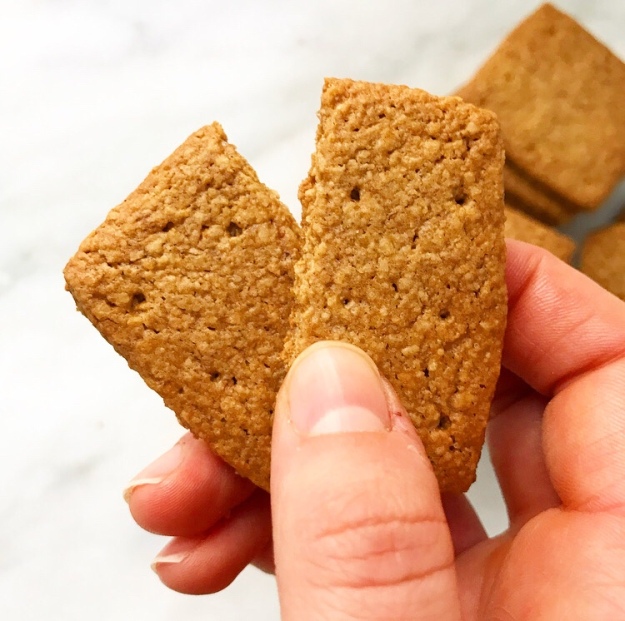
 These crackers can be kept whole or broken neatly in half along that score line. I haven’t tried it yet, but I’m pretty sure these would make an amazing gluten-free vegan graham cracker pie crust!
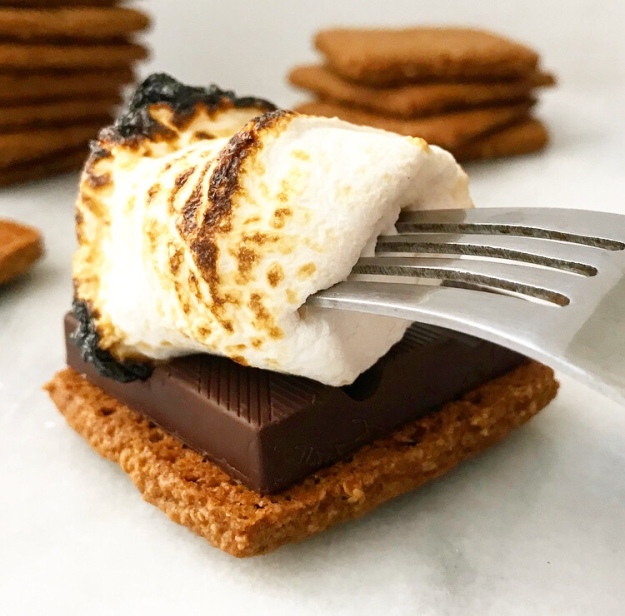
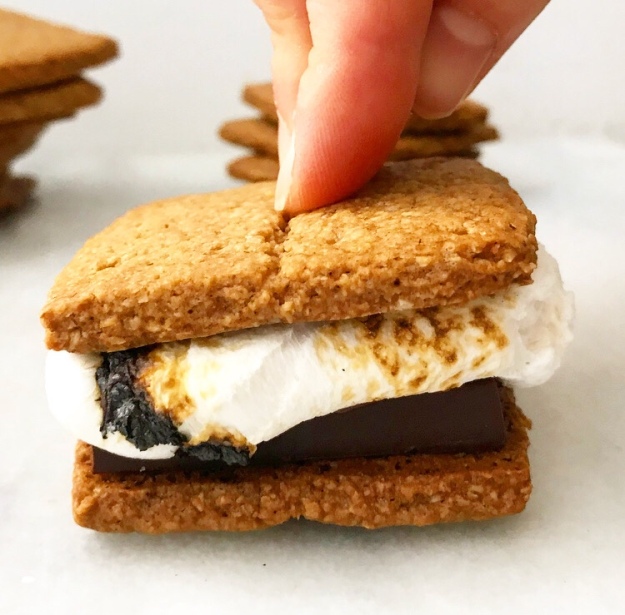
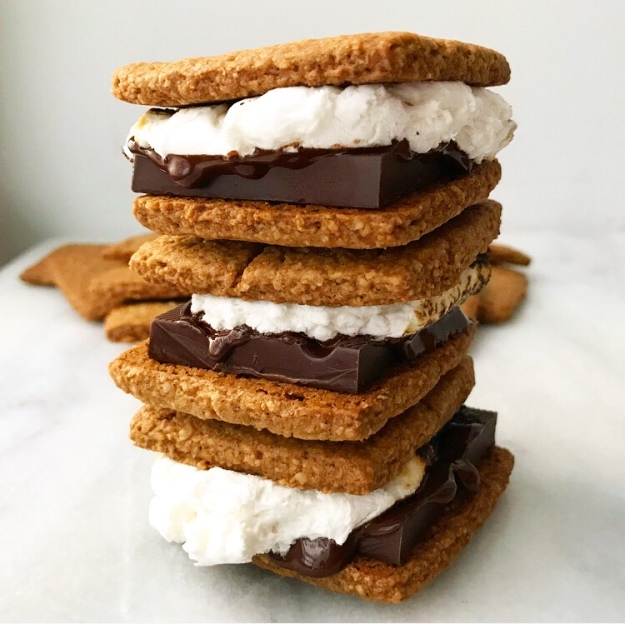 One thing I know for sure is that they’re pretty damn good stacked with dark chocolate and toasted vegan marshmallow. Best vegan s’mores ever.
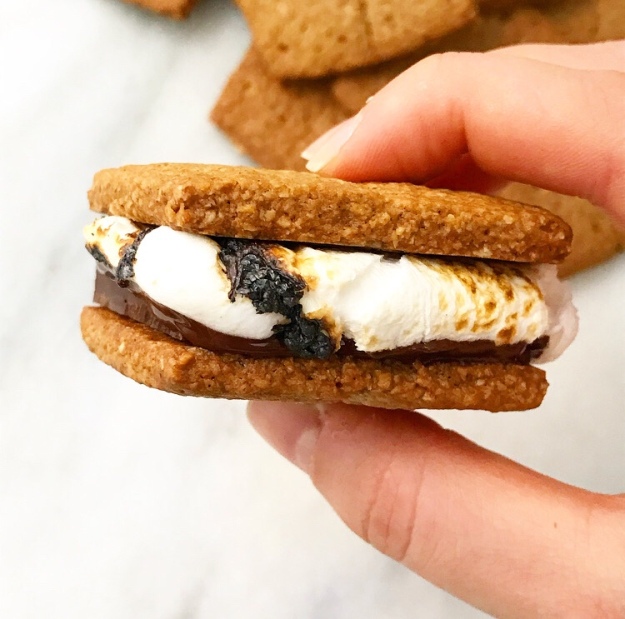 I can’t wait for vacation.
 Did you know that you can make a spectacular chocolate cheesecake without ever opening a brick of cream cheese?
 It’s true—this Chocolate Cheesecake is cool, creamy, chocolaty, and completely vegan!
 It’s made primarily of softened cashews and coconut cream…
 …and melted chocolate, of course 🙂

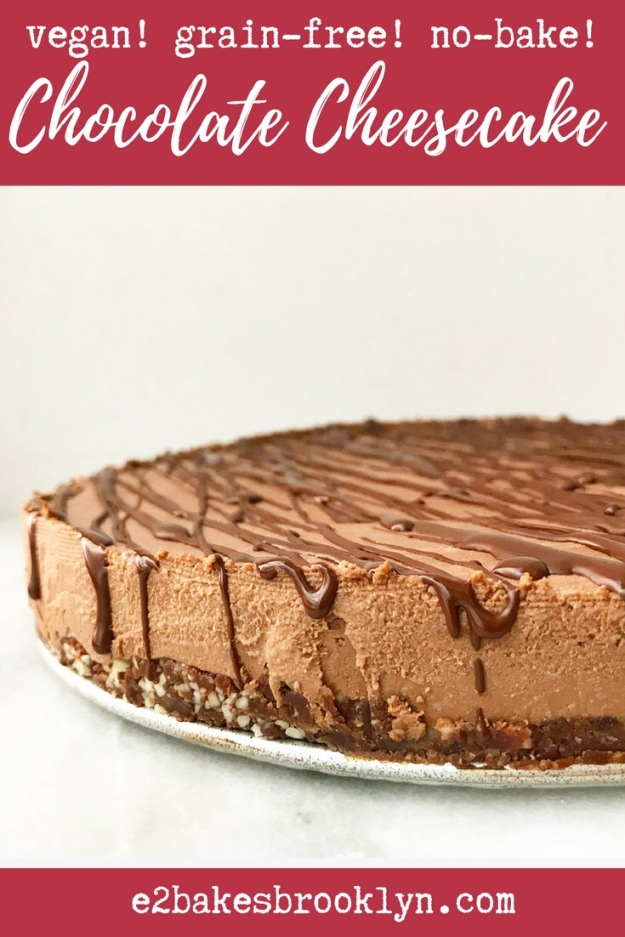
 Both the crust and the filling come together in the bowl of a food processor before being layered into springform pan and chilled until solid. No need to crank the oven for this no-bake cake!
 Once the cake is chilled all the way through, remove it from the springform and give it a drizzle of
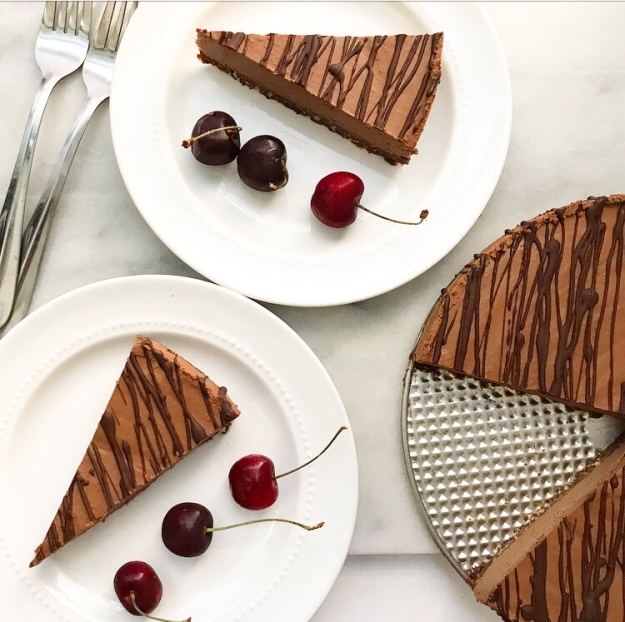
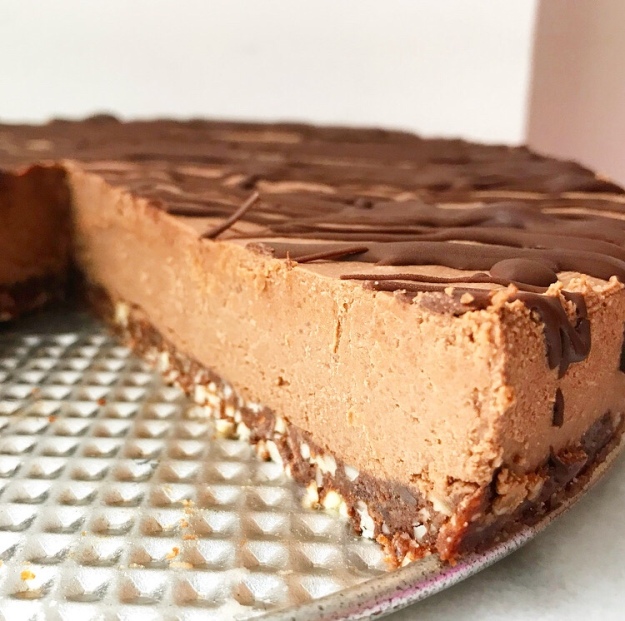 Chocolate Cheesecake slices like a dream. It definitely stands on its own, but I couldn’t resist plating each piece with a few fresh sweet cherries!
 You’ll love this smooth, creamy, chocolaty cheesecake! It’s easy to make, no-bake, vegan and grain-free—perfect for sharing with your favorite

 I can’t believe it’s taken me so long to post this Tomato Pesto Tart. I’ve been thinking about it for years!
 I always intend to bake something savory during the summer, but I inevitably become consumed with berries and cherries and peaches, and before I know it, I’m cracking open a can of pumpkin. I’m in my third year as a blogger and I’m pretty sure that this is my very first savory, summery baked main course!
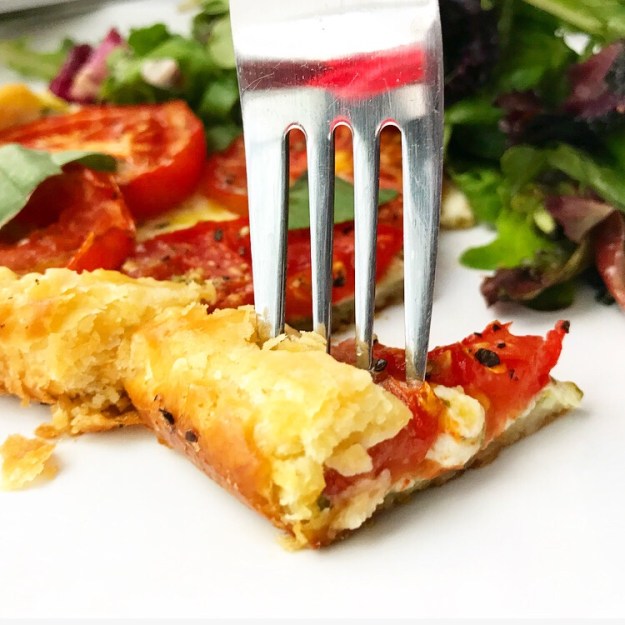
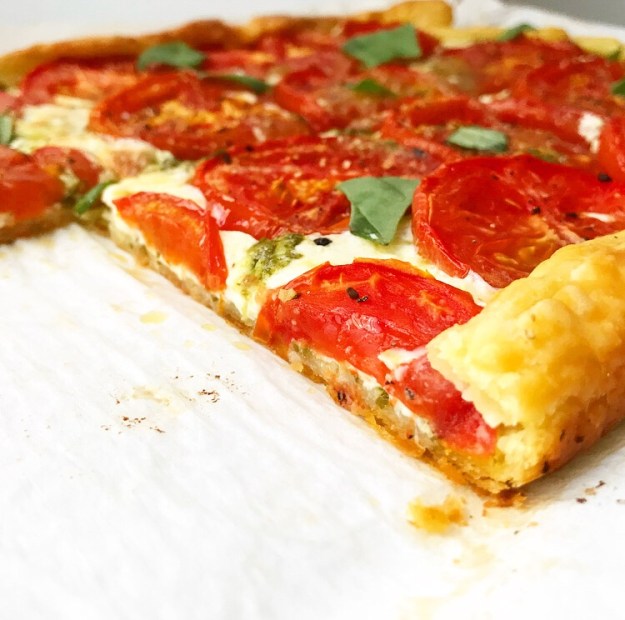 This Tomato Pesto Tart is basically everything you love about caprese salad, wrapped up in crazy-flaky
  There’s a layer of
 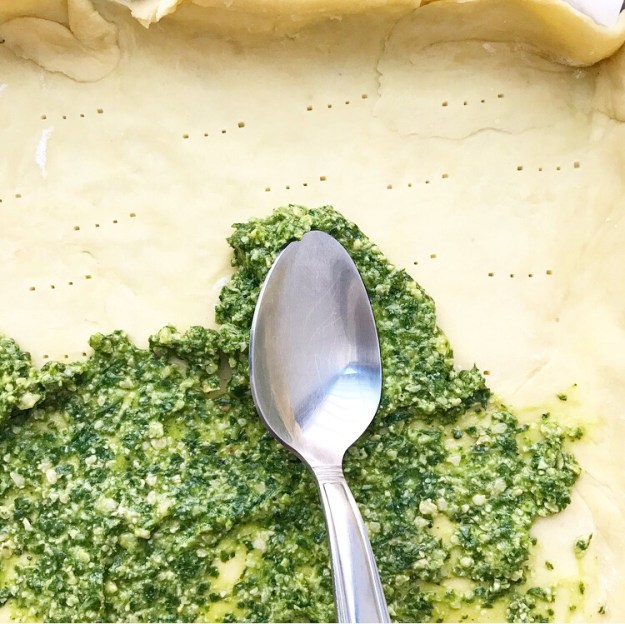 a layer of torn fresh mozzarella cheese…
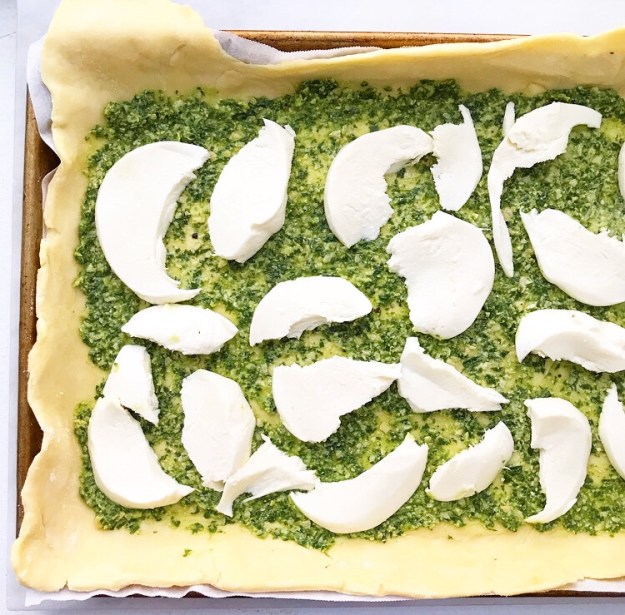 and a layer of sliced fresh tomatoes.
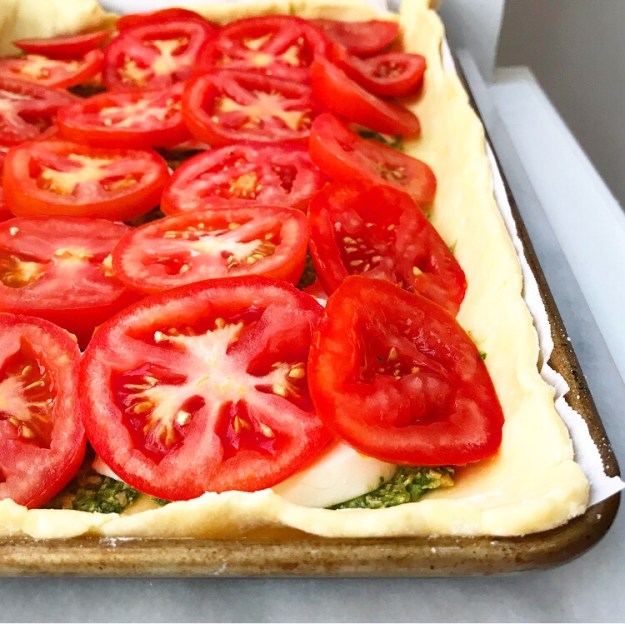 I used some vine-ripened tomatoes that looked good at the green market, but feel free to use heirloom tomatoes, cherry tomatoes, or any other variety you like! Just make sure to drain them on paper towels so they don’t make the tart too wet.
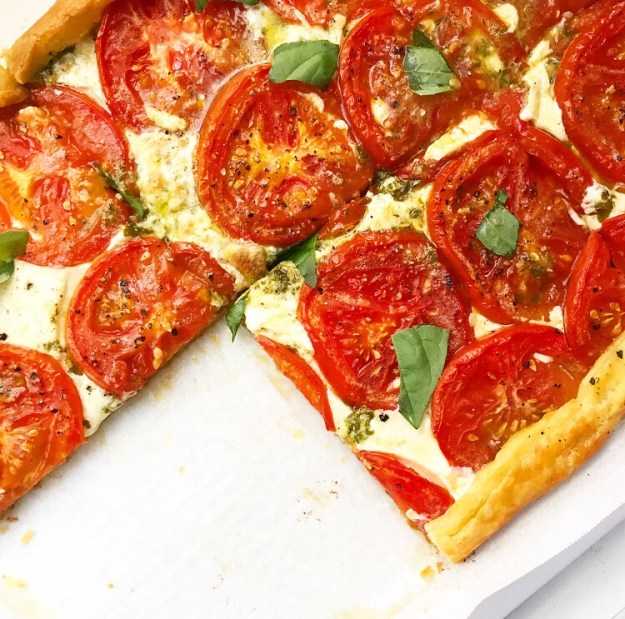
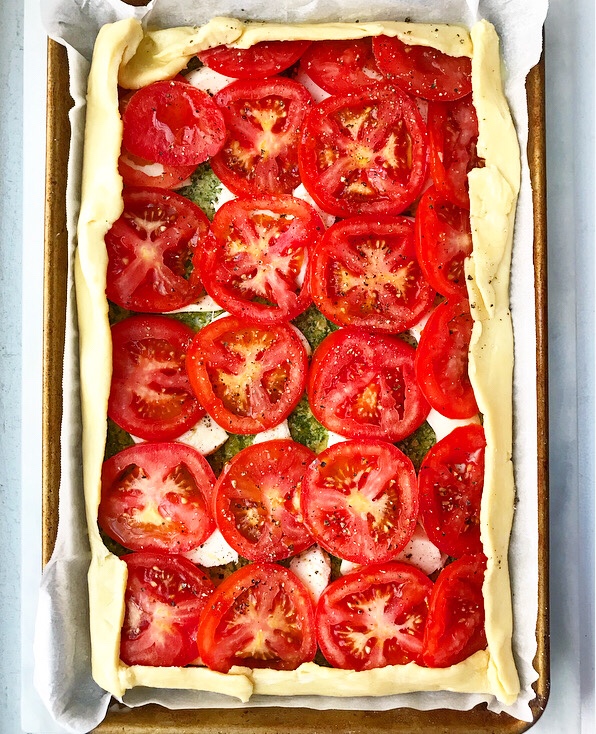 Drizzle the tart filling with olive oil and give it a good sprinkle of salt and pepper before baking for about half an hour. You’ll know it’s ready when the filling is a little bubbly and the crust is golden.
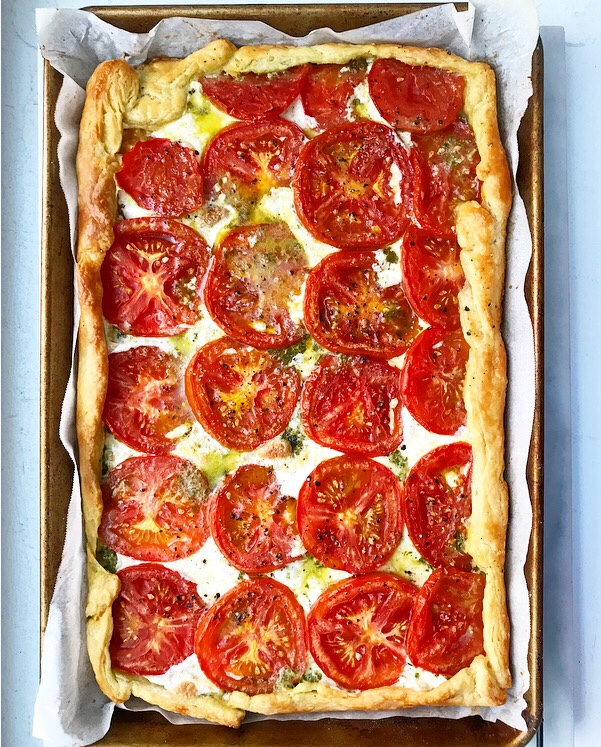 Let the tart cool for a few minutes before slicing it up. Add a side salad and you’ve got a great weeknight meal! This would also be a good dinner party option.
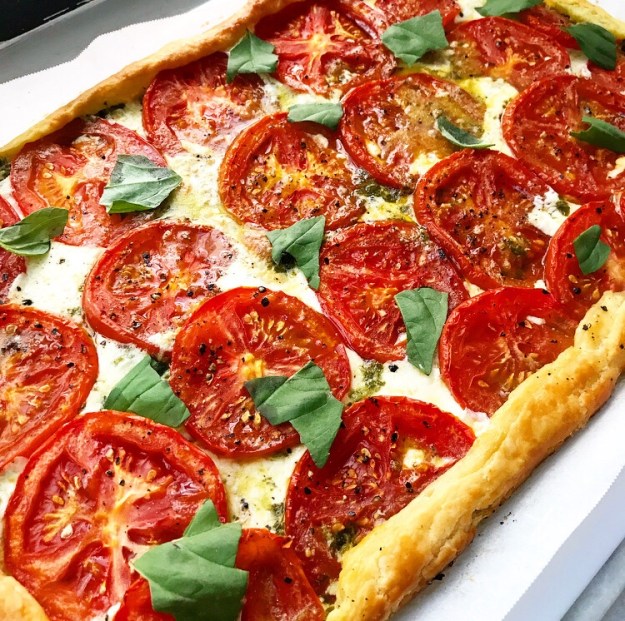
 Oooh, or a garden party! I don’t have a garden, nor do I throw very many parties, but I could see this being absolutely perfect for a garden party.
 I also don’t know anyone who throws garden parties (because New York), but if you have a garden and want to throw a party in it (or if you are buddies with the garden party queen,