 It’s fall, y’all! And not a minute too soon. I have been obsessed with these Pumpkin Pie S’mores for weeks and am so excited that I finally get to share them on here today!
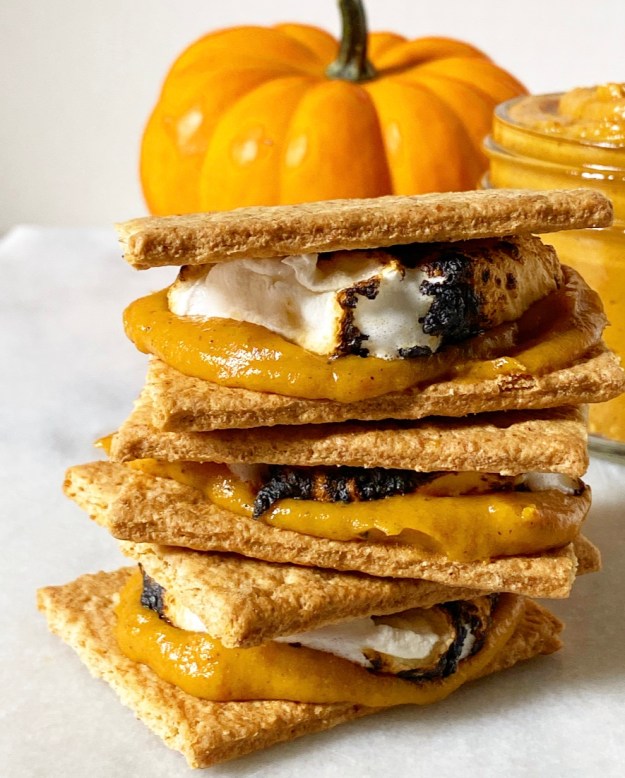
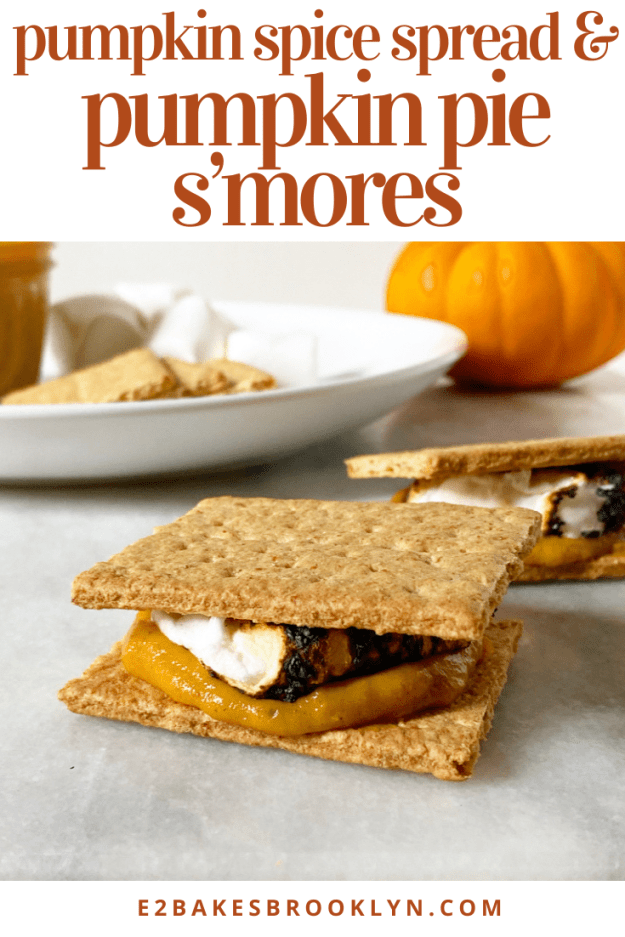
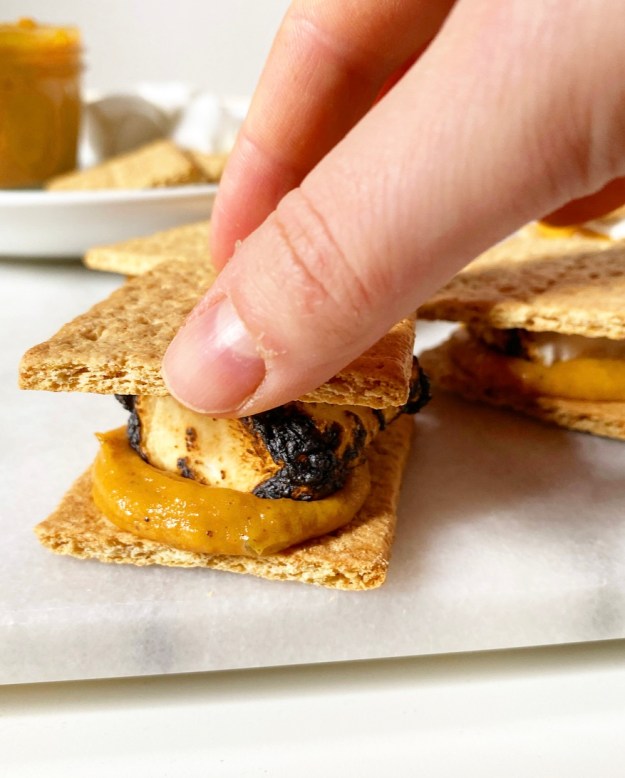 You read that right: Pumpkin Pie S’mores! As in graham cracker, toasted marshmallow and a little puddle of pumpkin pie all stacked together in one perfect bite. These are absolutely magical, if I do say so myself. And, I do, since I’ve been eating one around midnight pretty much everyday since Labor Day.
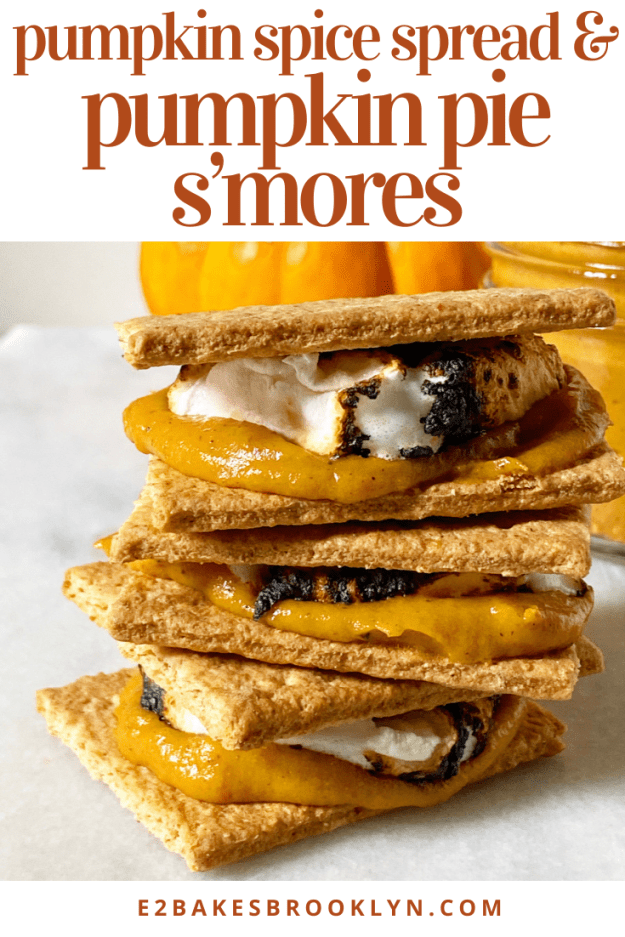
 The key to this whole operation is a homemade Pumpkin Spice Spread. It’s basically a soft-set pumpkin pie filling that can be used anywhere you could use a little pumpkin spice flourish. Toast, biscuits, scones, cookies, swirled through no-churn ice cream, spread on a waffle, used as a fruit dip, or—you know it—stacked into seasonal s’mores! If you’re into pumpkin, this is a total game changer.
 For those of you wondering if you can bypass the homemade spread by using pumpkin butter or mixing together some canned pumpkin, spices and brown sugar for your s’mores, the answer is “sure…but it won’t be the same.” While those options both work in a pinch, neither is as rich and decadent as Pumpkin Spice Spread. It’s made with sweetened condensed milk and has some body from egg yolks, so it’s every bit as luxurious as its pastry-wrapped counterpart and far more versatile. You’ll be seeing a lot of this stuff on here this season!
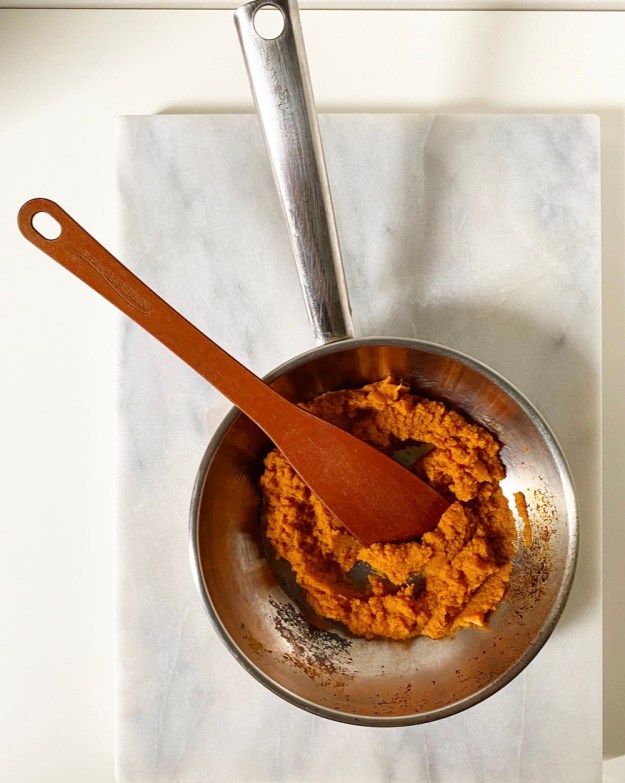
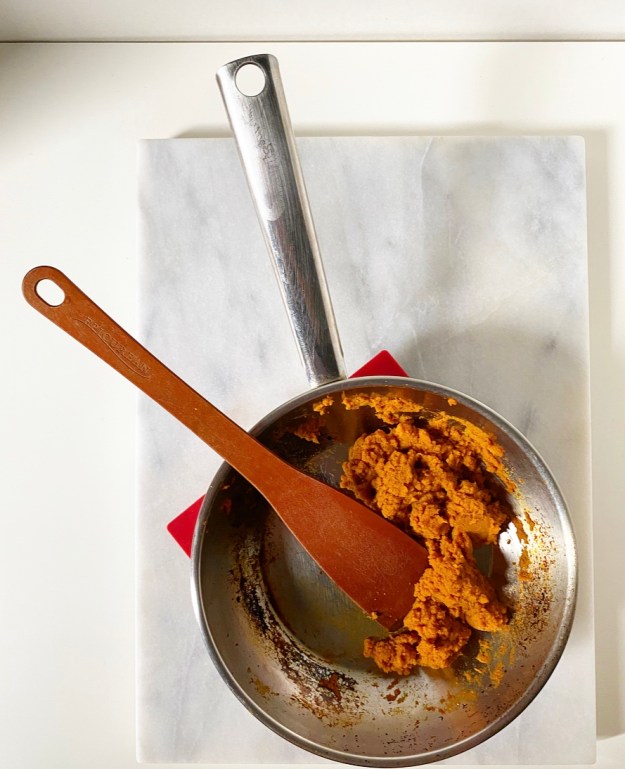
 The whole Pumpkin Spice Spread process takes 25 minutes, fifteen of which are hands-off. The most “involved” step is caramelizing the pumpkin, and that’s no trouble at all. It’s literally pushing a cup of pumpkin purée around a dry sauté pan for ten minutes until some of its liquid evaporates and it darkens ever so slightly. This is to ensure that your Pumpkin Spice Spread is nice and thick and never one-note. If you’re pinched for time, you could probably get away without this step, but it really makes a difference in the end product.
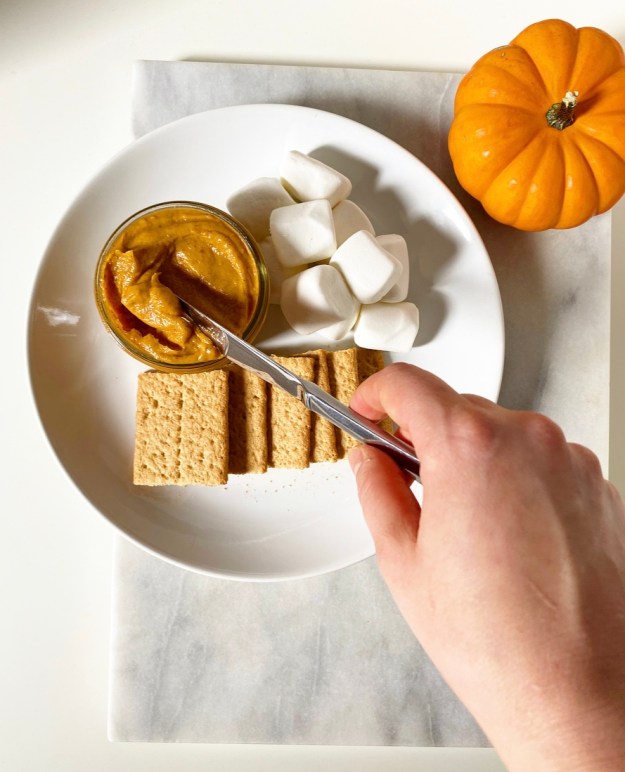
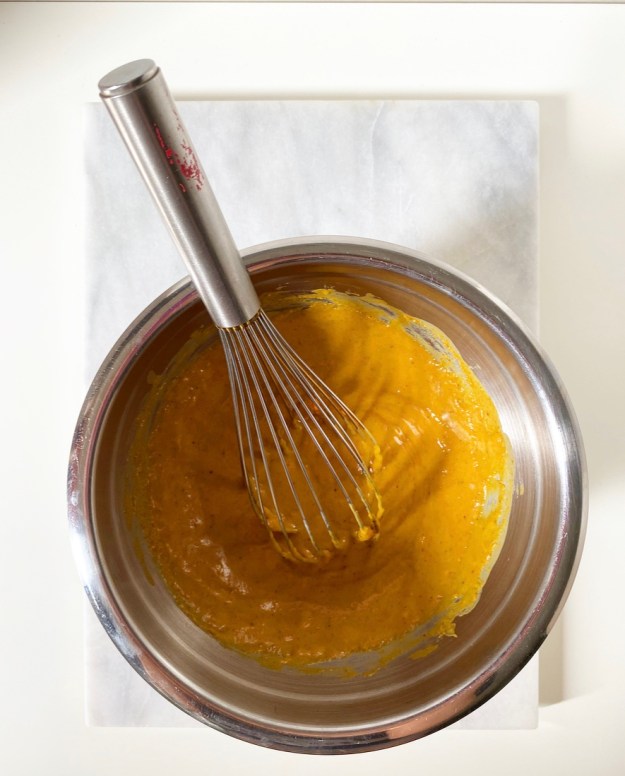
The second and final step is to whisk the pumpkin together with the sweetened condensed milk, egg yolks, a spoonful of pumpkin pie spice and some salt. Set the whole bowl over simmering water for fifteen minutes, stirring when you remember, and…that’s it. I mean, you should definitely let it cool, but…that’s it. Well, except for the part where you dig it out of the fridge every night and sandwich some with graham crackers and a toasted marshmallow. Oh yeah, that’s it.
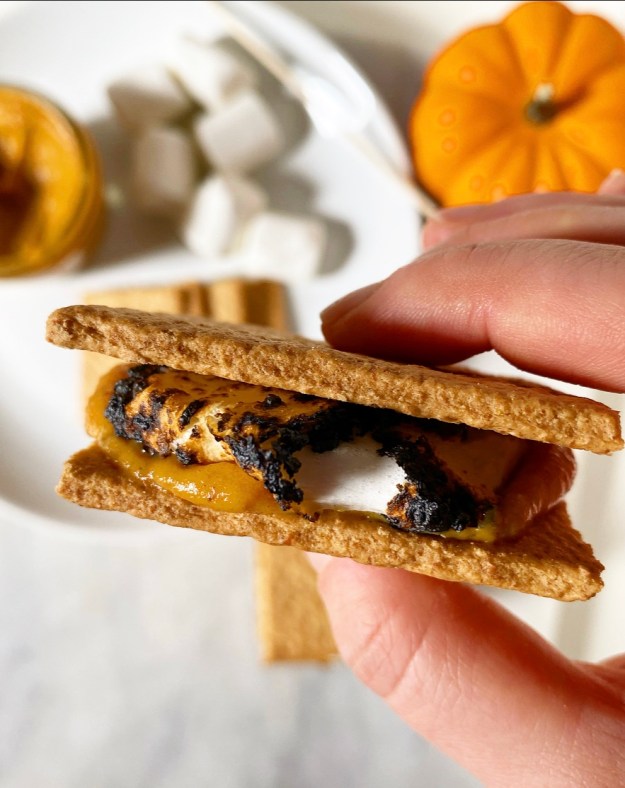
Pumpkin Spice Spread
makes about 2 cups
1 cup pure pumpkin purée (I use Libby’s)
1 14-ounce can sweetened condensed milk
2 large egg yolks
1 teaspoon pumpkin pie spice
pinch of Kosher or sea salt
Place pumpkin in a small sauté pan over medium-low heat. Cook, stirring frequently, for about 10 minutes, until slightly drier and a tiny bit darker in color. Remove from heat.
Fill a small pot with 1-2 inches of water. Set a heatproof bowl over the top, ensuring that the water does not touch the bottom of the bowl. Remove bowl and bring water to a simmer.
In the heatproof bowl, whisk together sweetened condensed milk, egg yolks, pumpkin pie spice and salt. Whisk in pumpkin purée. Place bowl over simmering water, creating a double boiler. Let cook, stirring frequently, until slightly thickened, about 15 minutes (it will thicken further as it cools). Remove from heat and let cool for 20 minute before transferring to a heatproof container. Press a piece of plastic wrap to the surface. Let cool completely at room temperature before storing in the refrigerator.
Pumpkin Pie S’mores
makes 4 s’mores
4 whole sheets honey graham crackers
2 tablespoons Pumpkin Spice Spread
4 large marshmallows
Carefully break each graham cracker sheet in half to produce 2 squares (8 squares total). Place bottom-side-up on a surface.
Top 4 of the graham squares with 1/2 tablespoon (1 1/2 teaspoons) each of the Pumpkin Spice Spread.
Toast the marshmallows. Place each marshmallow on a skewer. Turn a gas stove flame (or other heat source) to medium-low. Carefully toast marshmallow over the top before transferring it onto Pumpkin Spice Spread. Repeat with other marshmallows. Turn off stove. If you’d like to toast your marshmallows with another at-home method, see here.
Top marshmallows with the remaining graham squares, top-side-up. Serve immediately.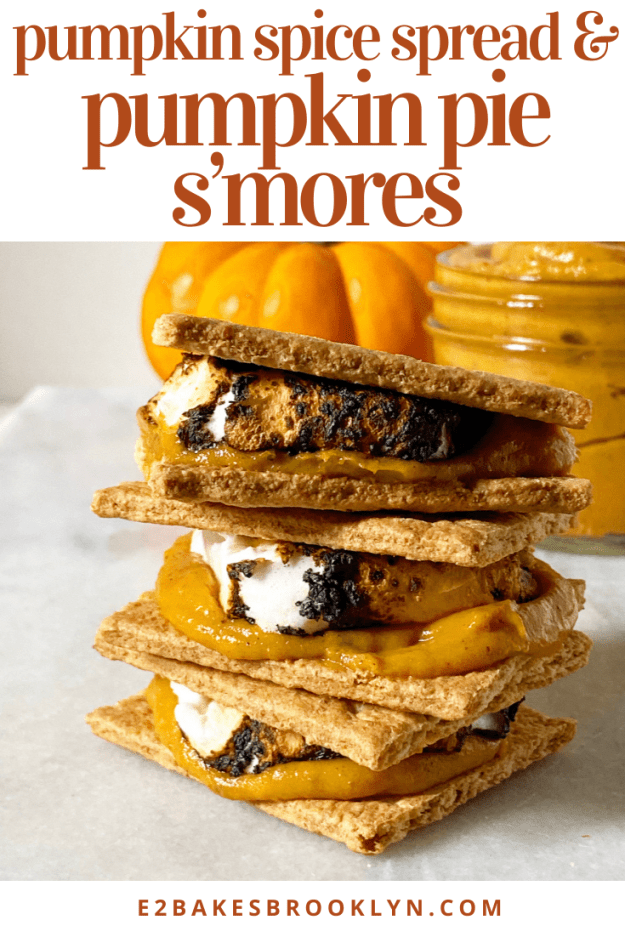
 This summer is going to be a little different, but one thing remains the same: its unofficial kick-off, Memorial Day, is coming up next week. While it’s highly unlikely that I’ll find myself around a campfire or even on a rooftop anytime soon, I will not let this year go by without a s’mores-centric treat.
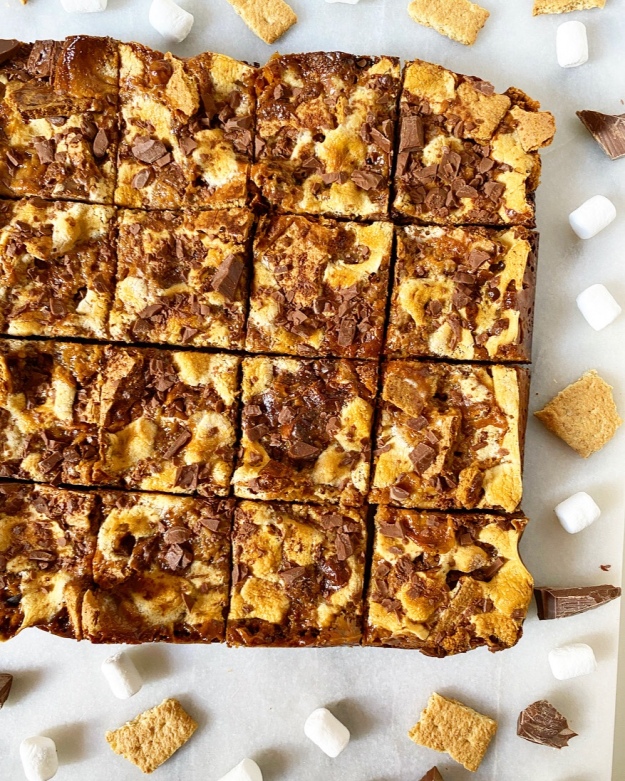 Is there anything that says “summer” quite like a s’more? I mean, what’s not to love about crisp graham cracker, milk chocolate (or
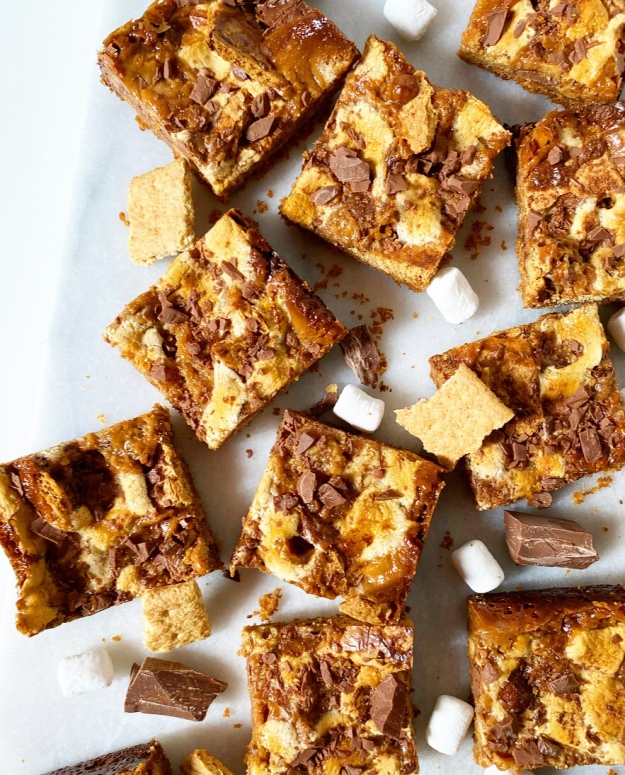
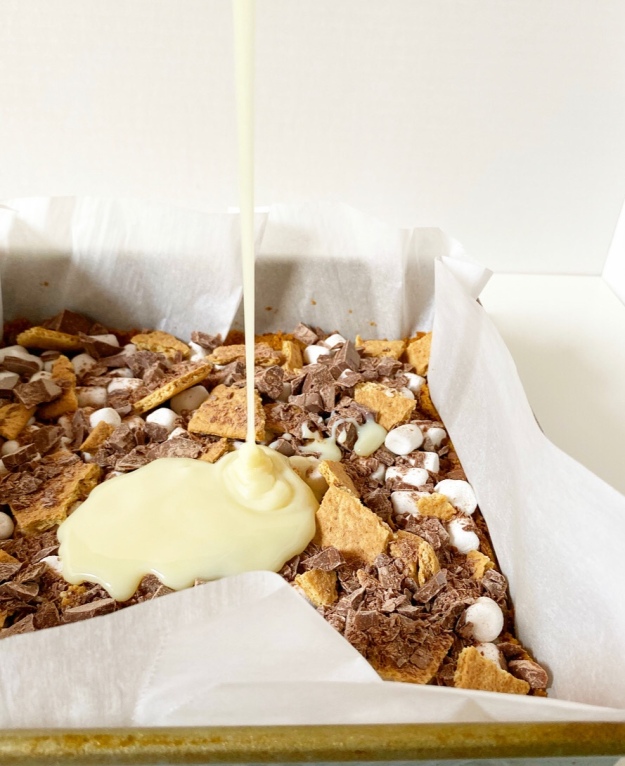
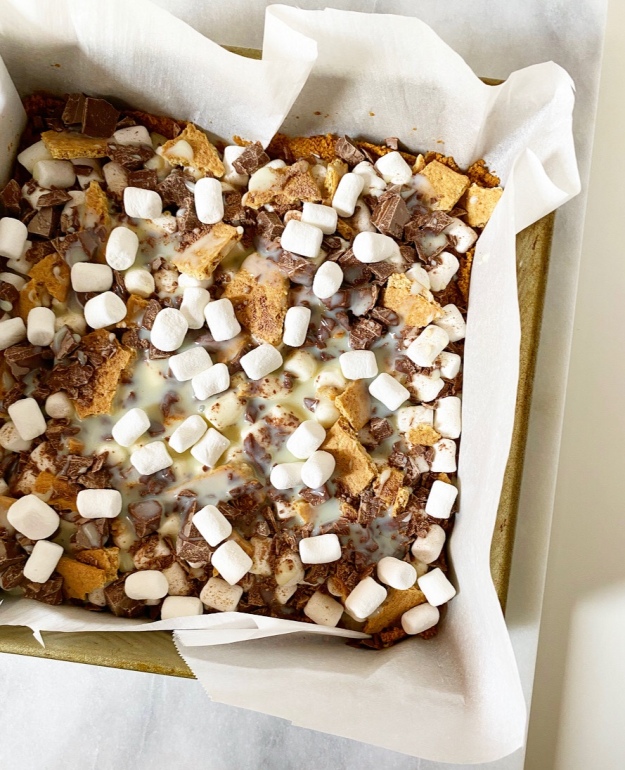
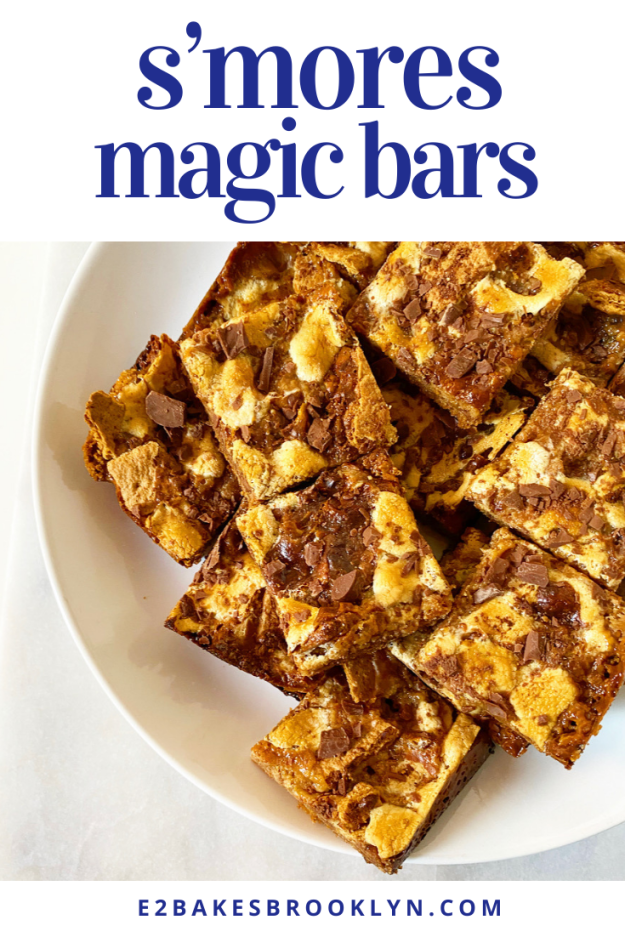
 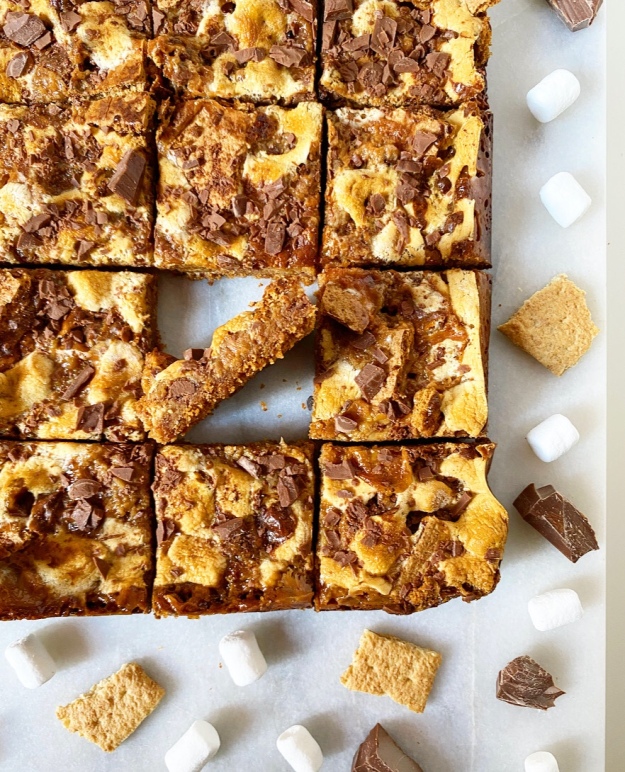 These S’mores Magic Bars aren’t your traditional summertime fare, but they have plenty of graham crackers (in the form of crust and crispy shards), chopped milk chocolate and toasted marshmallows. It straight-up doesn’t count as a s’mores dessert if the marshmallows aren’t toasted, am I right?!
 As with
 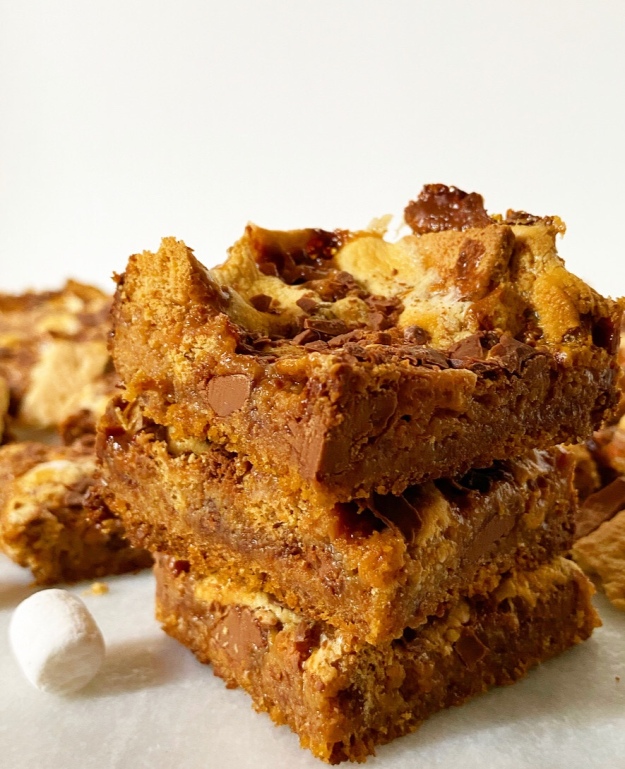 The sweetened condensed milk also gives these bars a slightly gooey finish, which is a good thing because while the marshmallows do get nice and golden brown, they also have to cool completely before you slice the bars. Like I said, we’re not going for tradition, we’re going for the most efficient way to get toasted marshmallow, graham cracker and milk chocolate into our faces in a less than ideal summer situation!
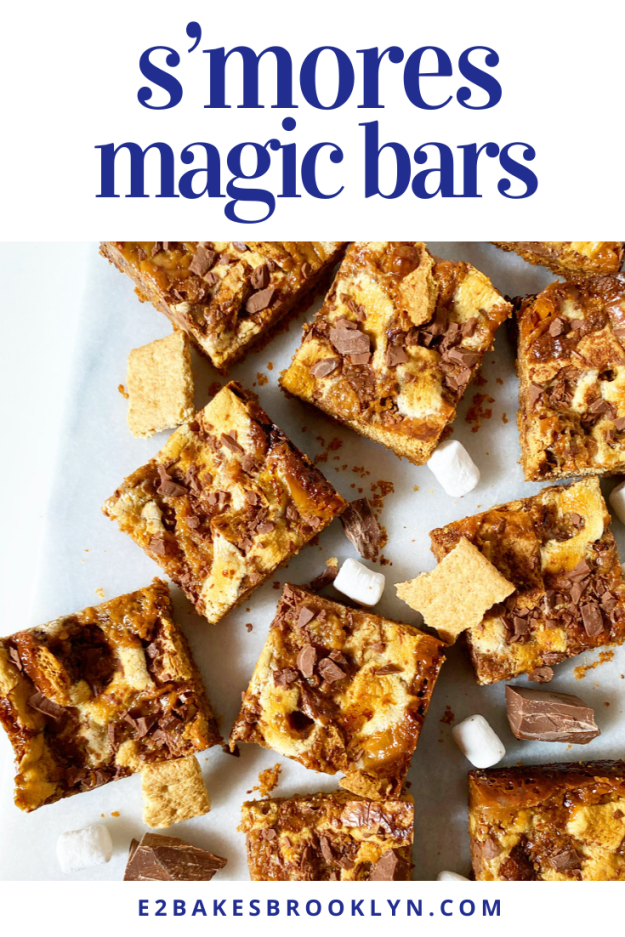
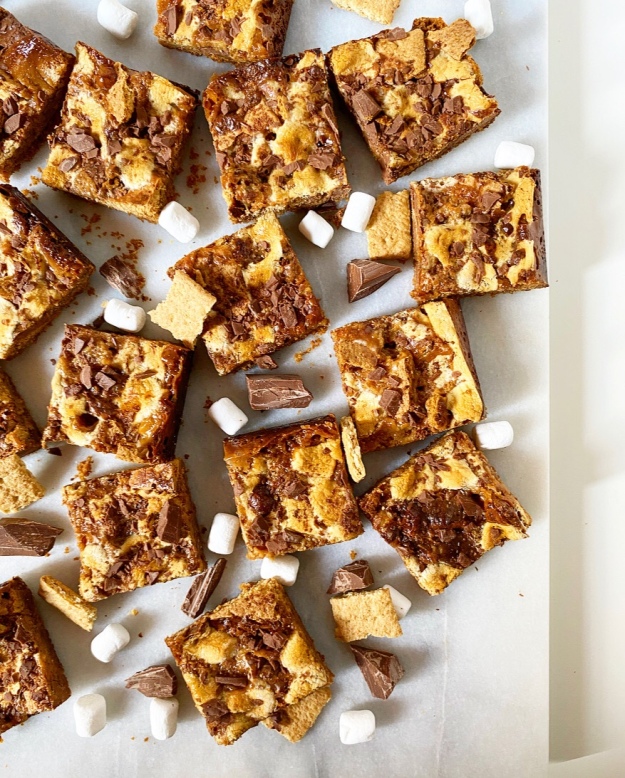 Also, unlike traditional s’mores, these sweet squares will stay good for days after baking. Days! That’s a very good thing, because I have a feeling I’m going to need a few batches between now and Labor Day.
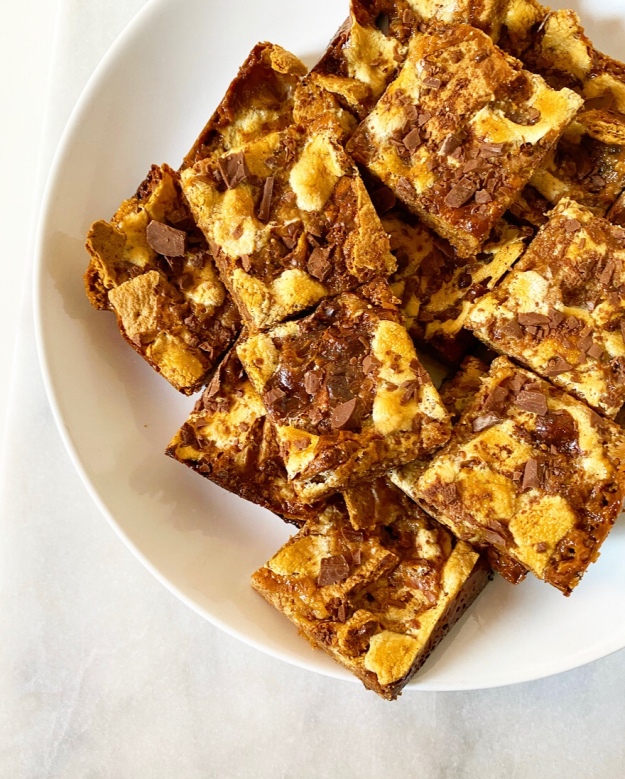
 Is there any food that celebrates summer quite like a s’more? I don’t think so. I mean, it’s pretty difficult to argue with the near-perfect combination of graham cracker, melty toasted marshmallow, and chocolate on a searing hot day…
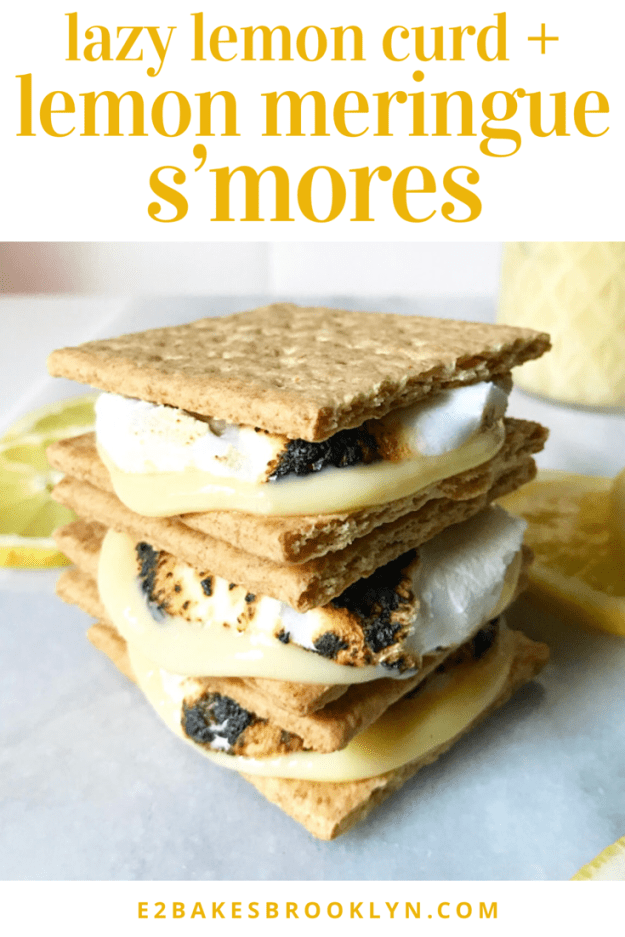
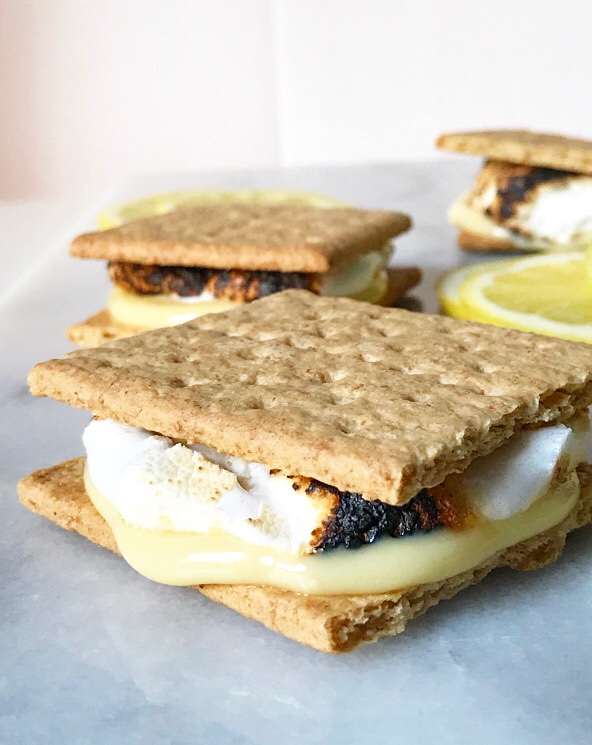 …but I’m going to anyway because of course I am. I like to occasionally dabble in the contrarian arts, and nothing on this blog screams “I do what I want!” louder than today’s Lemon Meringue S’mores!
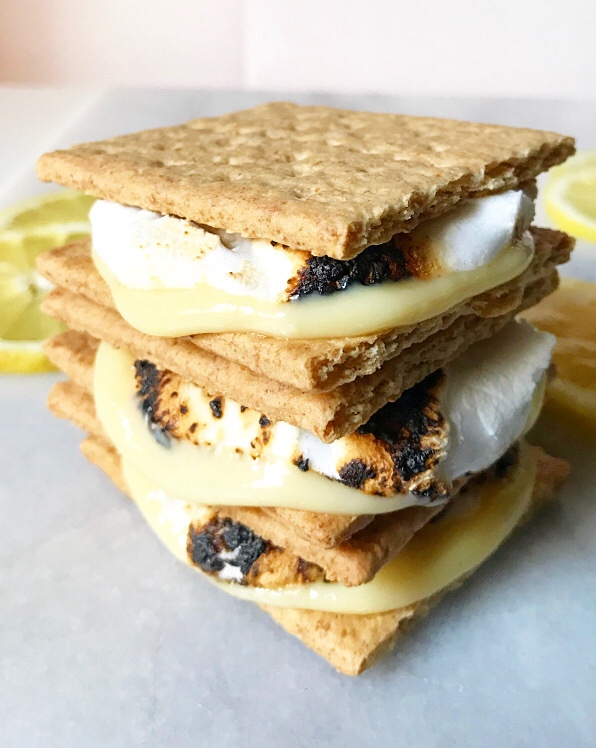
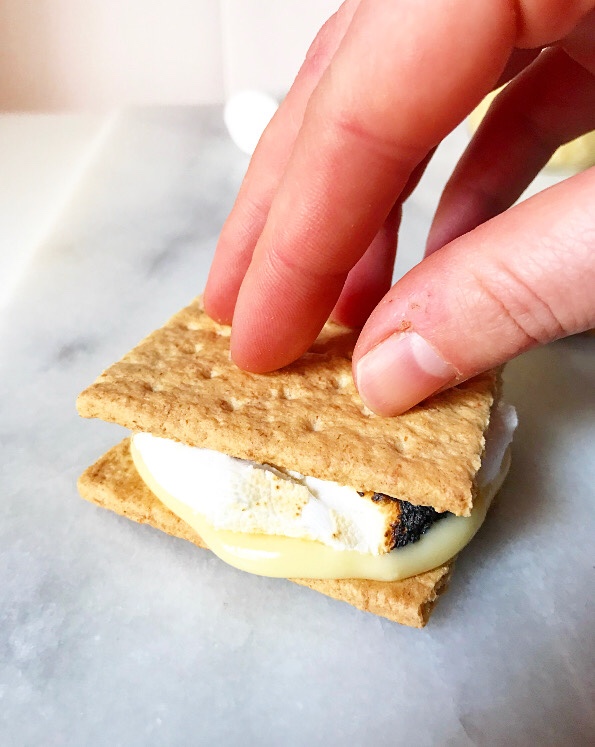
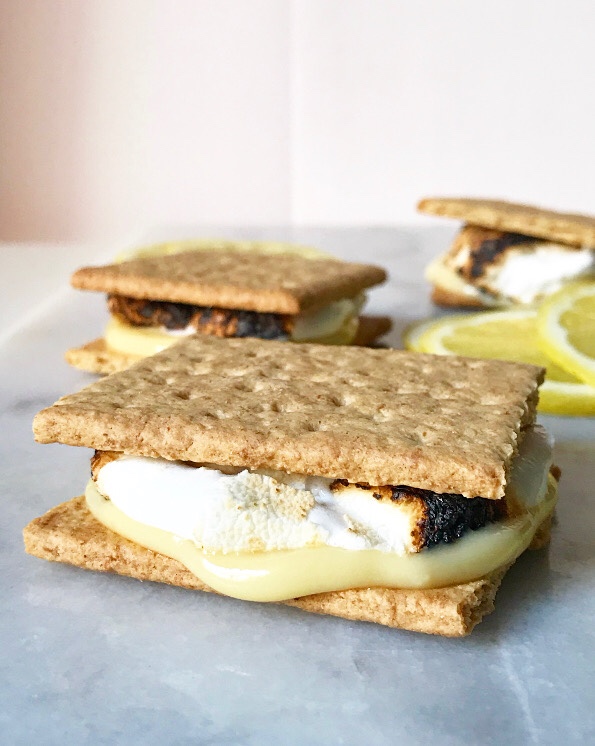 Yes, Lemon Meringue S’mores. As in,
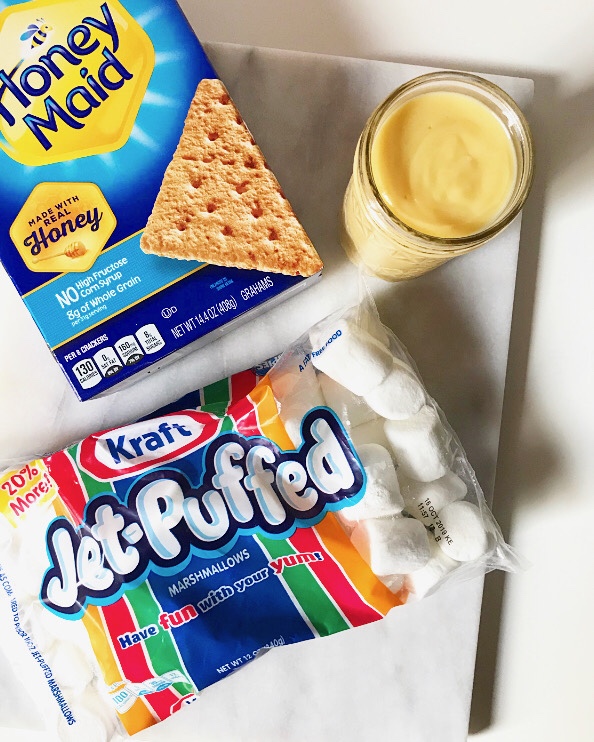
 You see, the lemon curd I use for Lemon Meringue S’mores isn’t just any lemon curd, y’all. It’s Lazy Lemon Curd. I mean, you’ll be hard-presses to find a
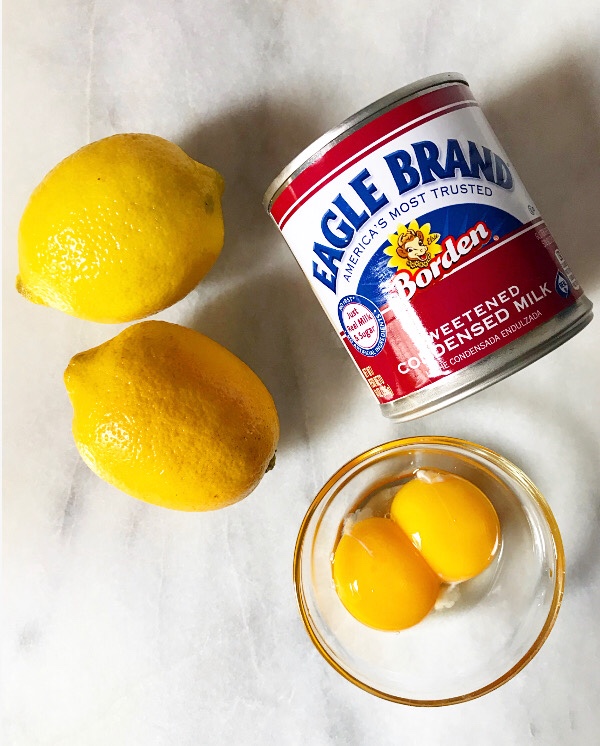
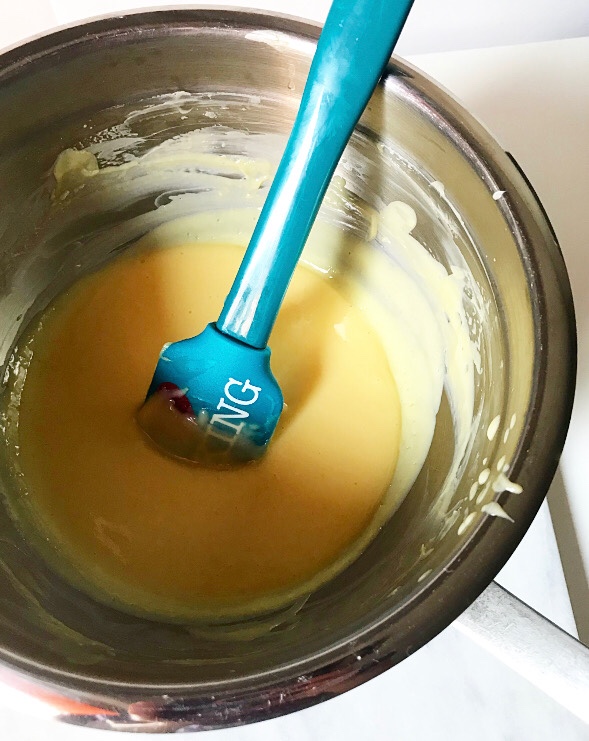
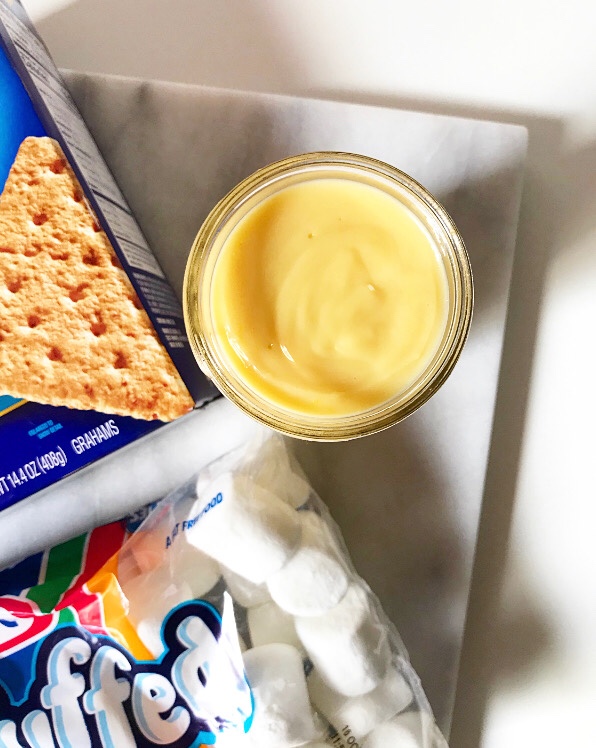
 This is an easy three-ingredient, two-step recipe. Whisk together some fresh lemon juice, two egg yolks and a can of sweetened condensed milk. Heat that mixture over a double boiler, stirring if/when you think about it, until it thickens slightly, which takes fifteen minutes. That’s literally it.
 If this recipe looks familiar, that’s because it is. Lazy Lemon Curd is just a sunny lemon spin on the filling for my
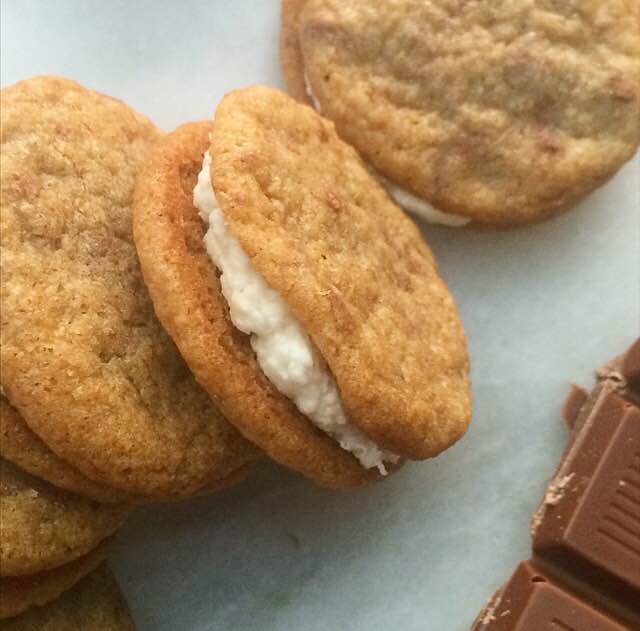
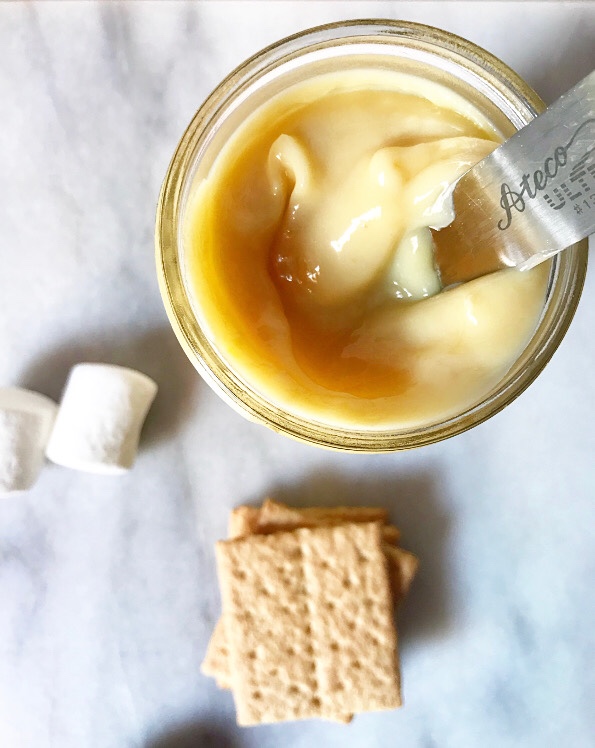
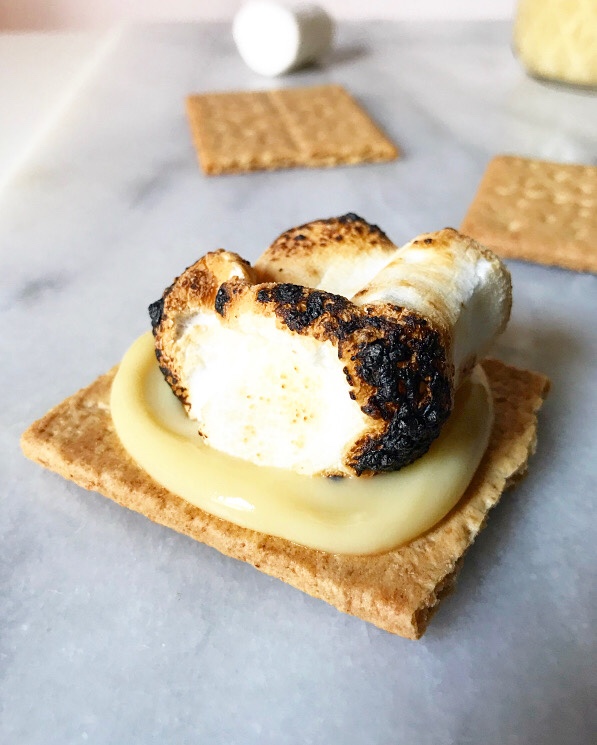
  Once your Lazy Lemon Curd has cooled a bit, make yourself some s’mores! Slather a little of the curd on a graham cracker, top it with a toasted marshmallow and sandwich it all with another graham cracker. And then repeat that process because you’re going to want two of these toasty, gooey, lemony treats. And because this stuff keeps well in the fridge, you can make Lemon Meringue S’mores all summer long. That’s something worth celebrating.
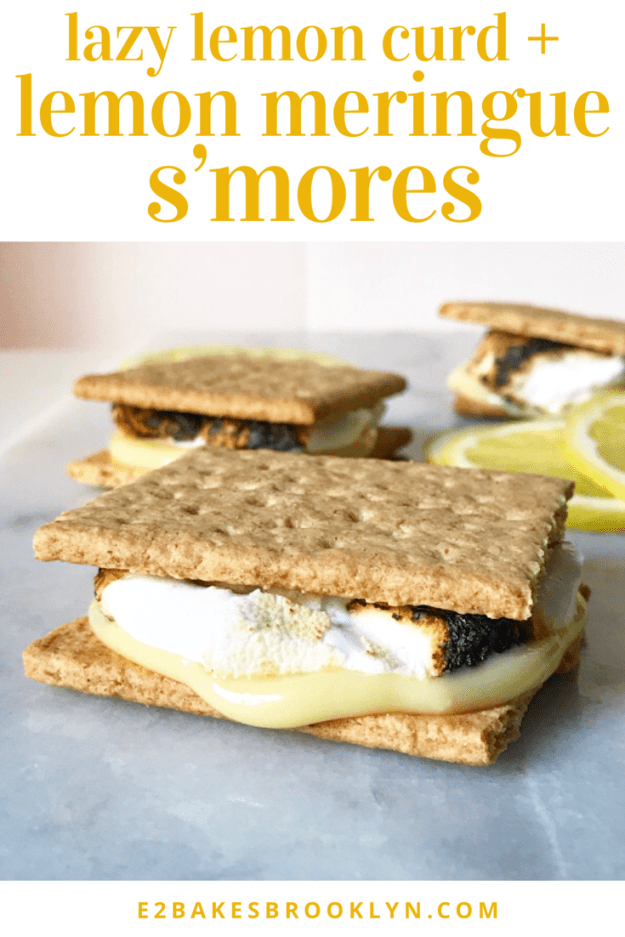
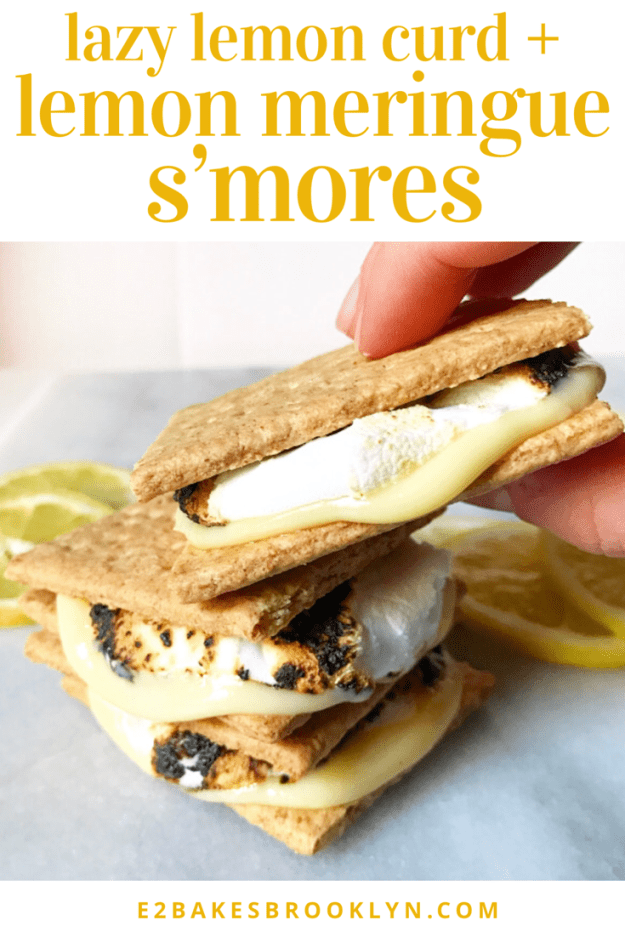
 If you’ve been around here a while, you know that I spend 51 weeks of the year dreaming about my annual trip to
 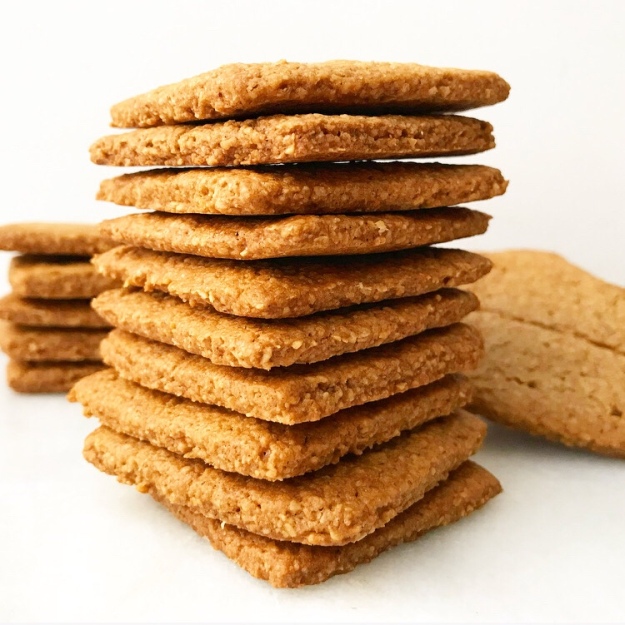 This is my fourth year going up to Swans Island, and my third organizing the trip. There’s something wonderful about the anticipation of it all. From the moment we start looking at vacation dates and rental houses, and then confirming guests, there’s a wonderful familiarity to the whole process.
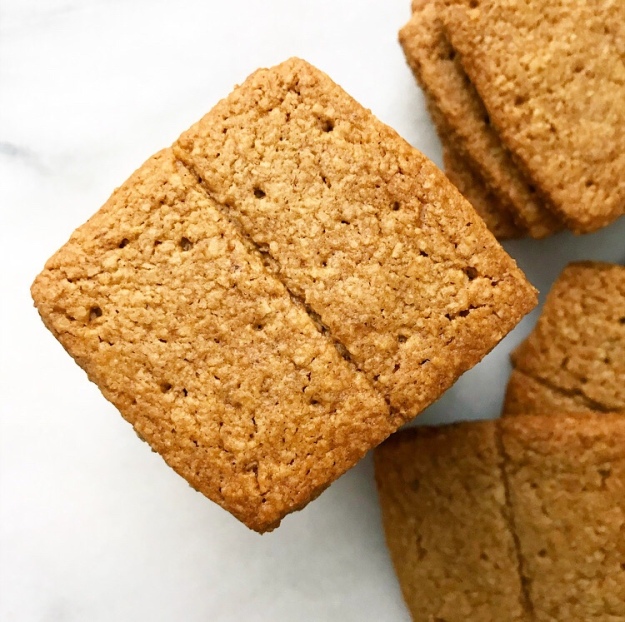 We book the house. We choose a spot to stop overnight on our way up (usually Portland) and VJ books the AirBNB. We rent a car. We create a menu and make a grocery list. Throughout it all, we dream about this incredible place and probably annoy the crap out of the first-timers going with us 😉
 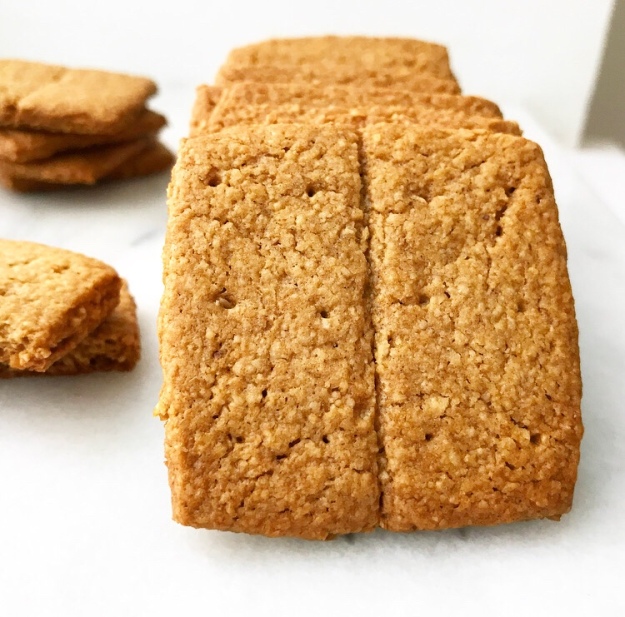 One of my favorite parts of the process is coming up with recipes we can all enjoy. VJ, my Swans Island ride-or-die, is a
 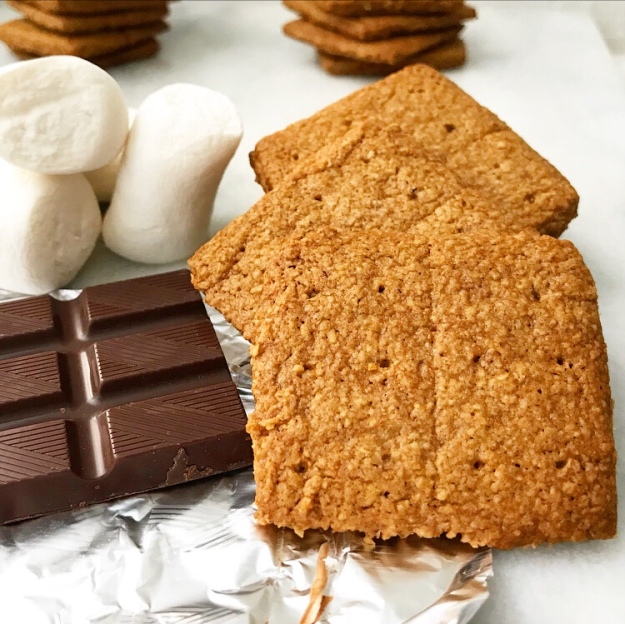 When it comes to my on-island baking adventures, VJ is always willing to help take
  The idea for these sweet little crackers came to me as I was falling asleep one night last week and the inspiration was so strong that I had to get up and type it all down before I forgot! Four test batches later, I’m serving up a delicious and deliciously easy recipe perfect for our vacation 🙂
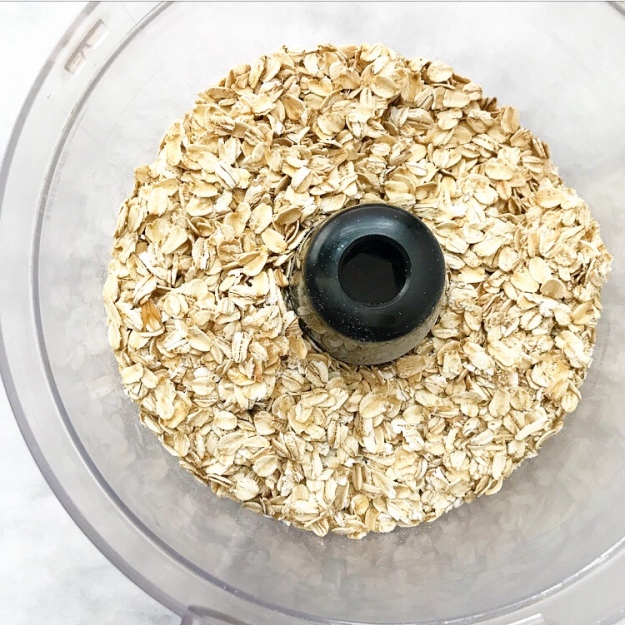

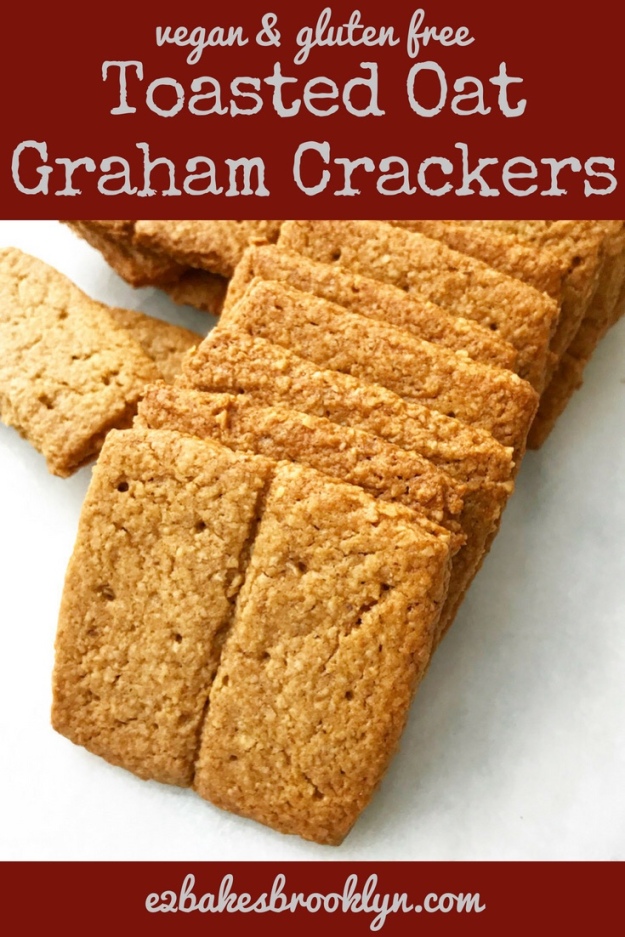
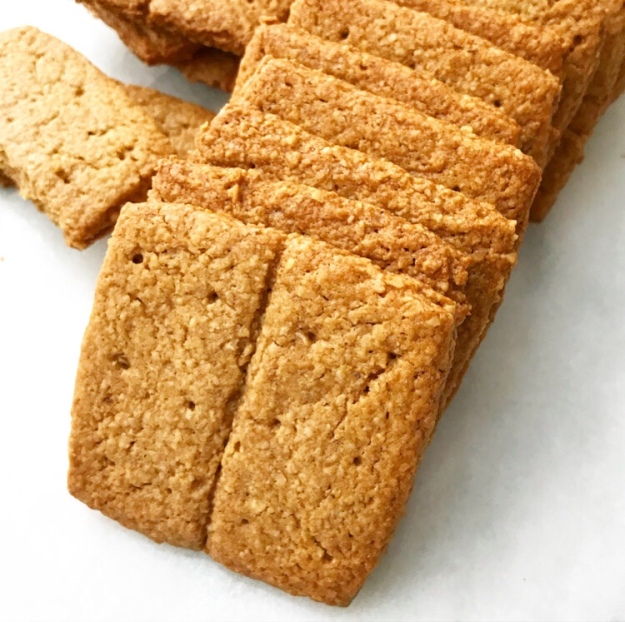
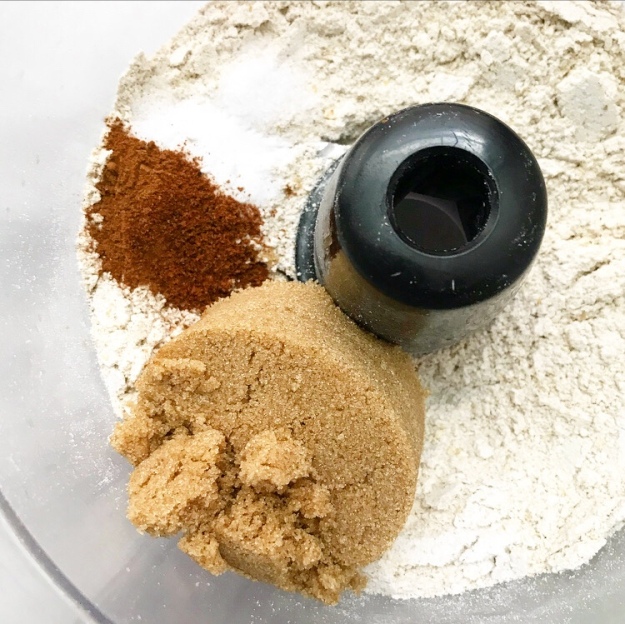 Toasted Oat Graham Crackers are crunchy and nubbly, and have just the right amount of sweetness. They’re everything you could want in a graham cracker, except where the traditional treats start with a specialty coarse wheat flour, these are made with ingredients you likely already have in your pantry, like old-fashioned oats, light brown sugar, cinnamon, coconut oil, and pure maple syrup.
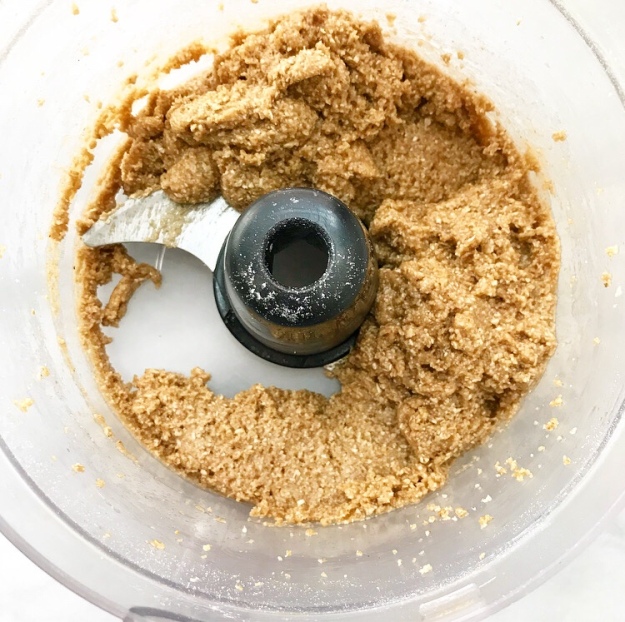 Also, the dough is made entirely in the bowl of a food processor! Easy peasy.
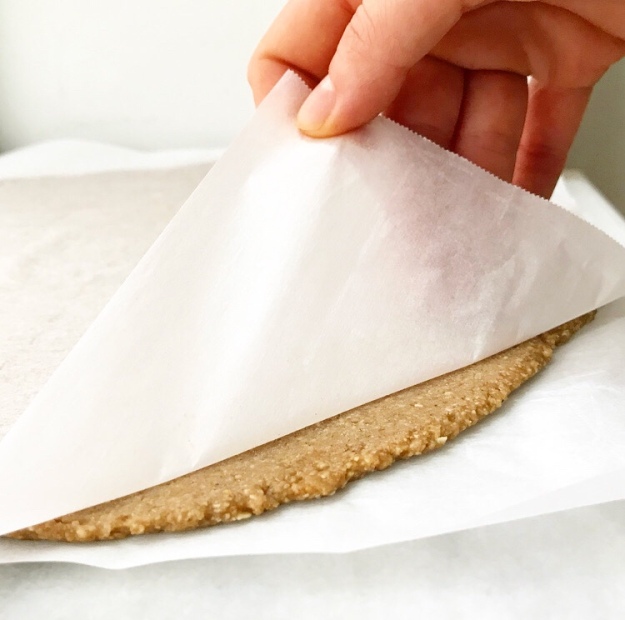 Once the dough is made, roll it out between two sheets of parchment and give it a quick freeze before slicing it into crackers. A chef’s knife works well for this, but I am fond of this expandable pizza wheel.
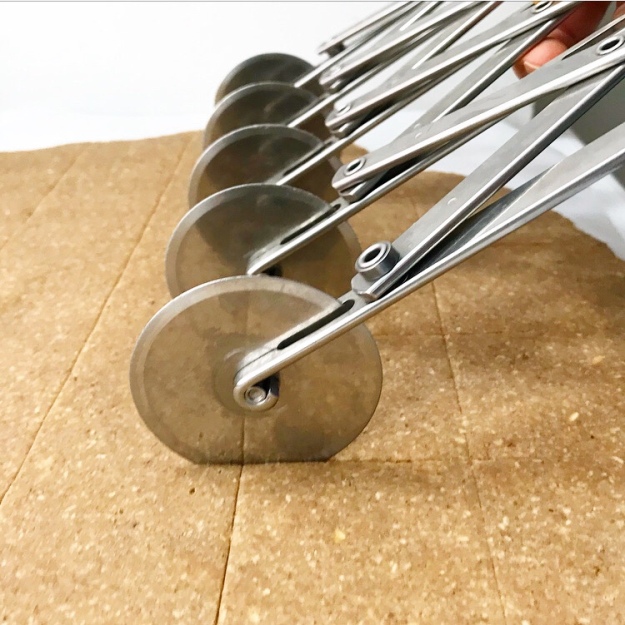 Score each cracker down the center…
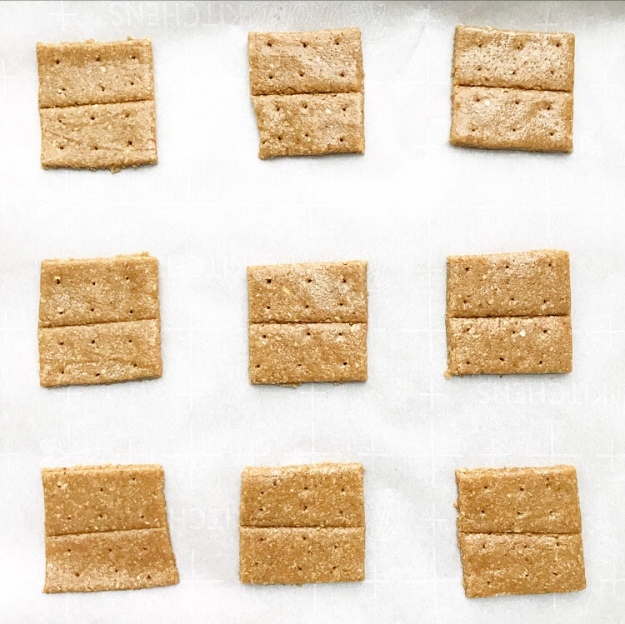 …and pierce it a few times with a toothpick. I use a wire cake tester.
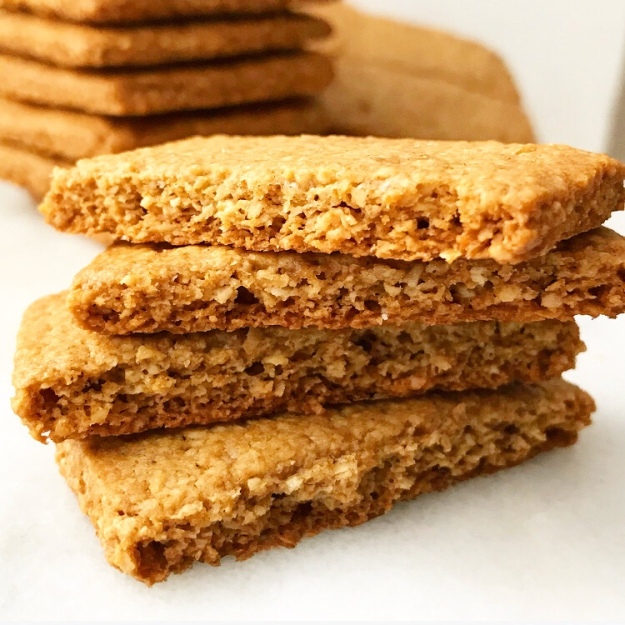
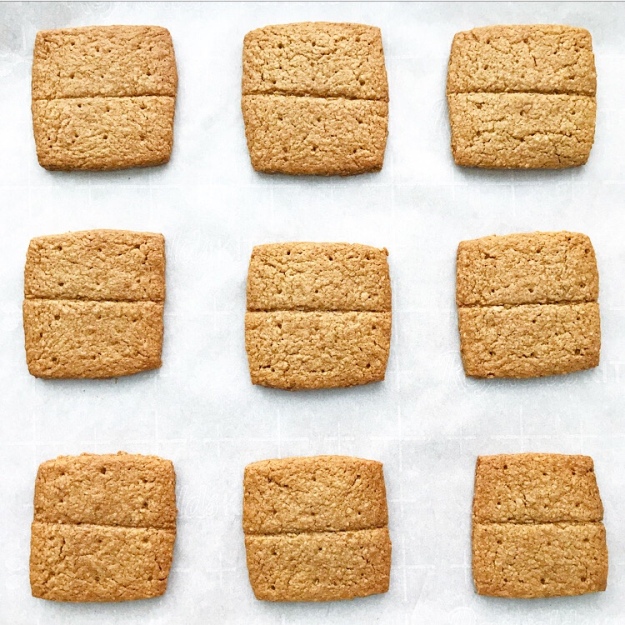 Bake the graham crackers for twenty minutes. Let them cool for a few minutes and then, all bets are off! These crispy, crunchy, cinnamon-spiced Toasted Oat Graham Crackers are great by themselves, or topped with peanut butter. Or cream cheese frosting.
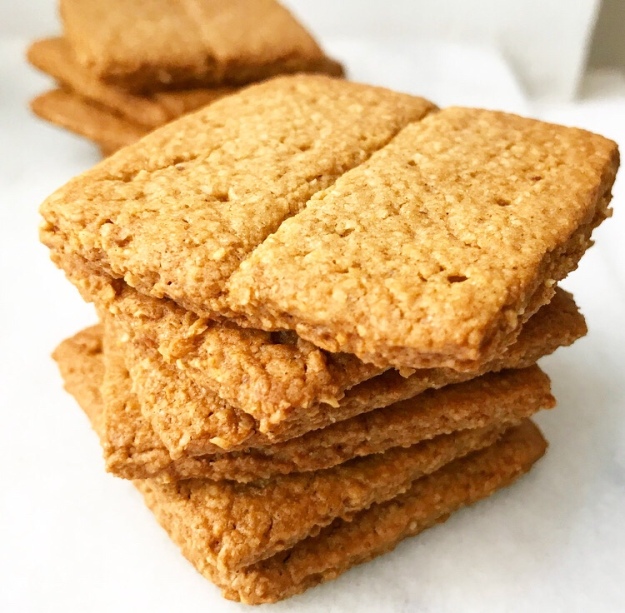
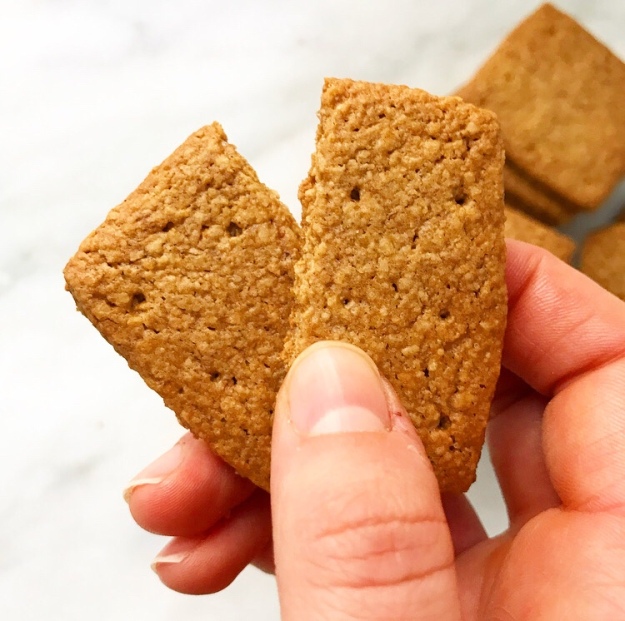
 These crackers can be kept whole or broken neatly in half along that score line. I haven’t tried it yet, but I’m pretty sure these would make an amazing gluten-free vegan graham cracker pie crust!
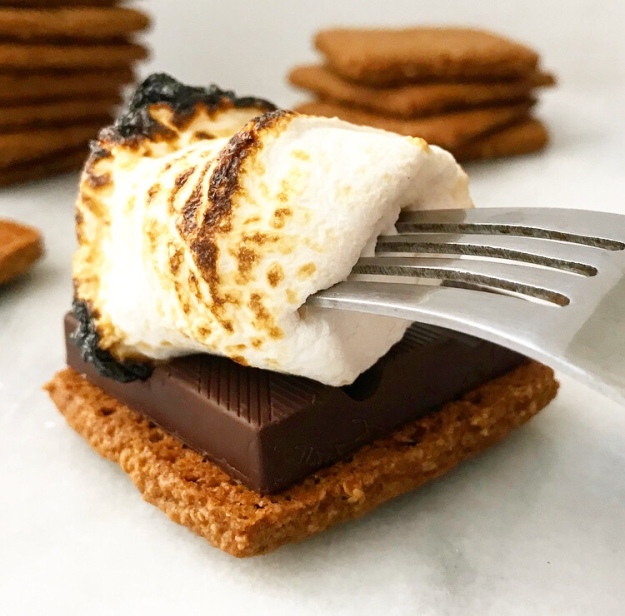
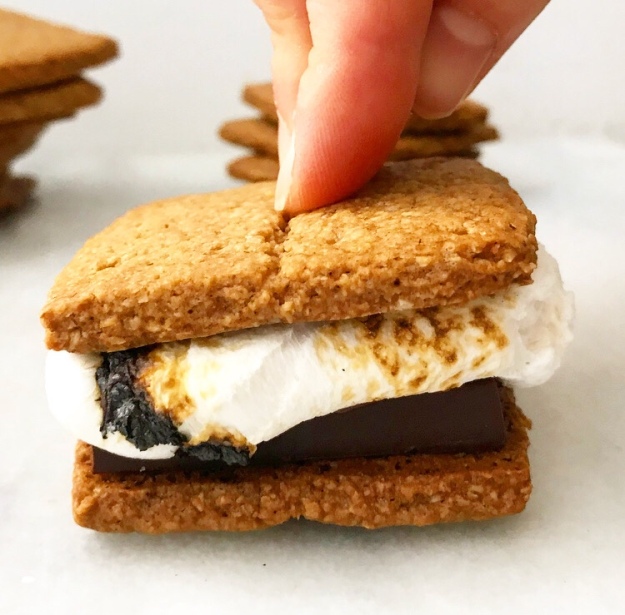
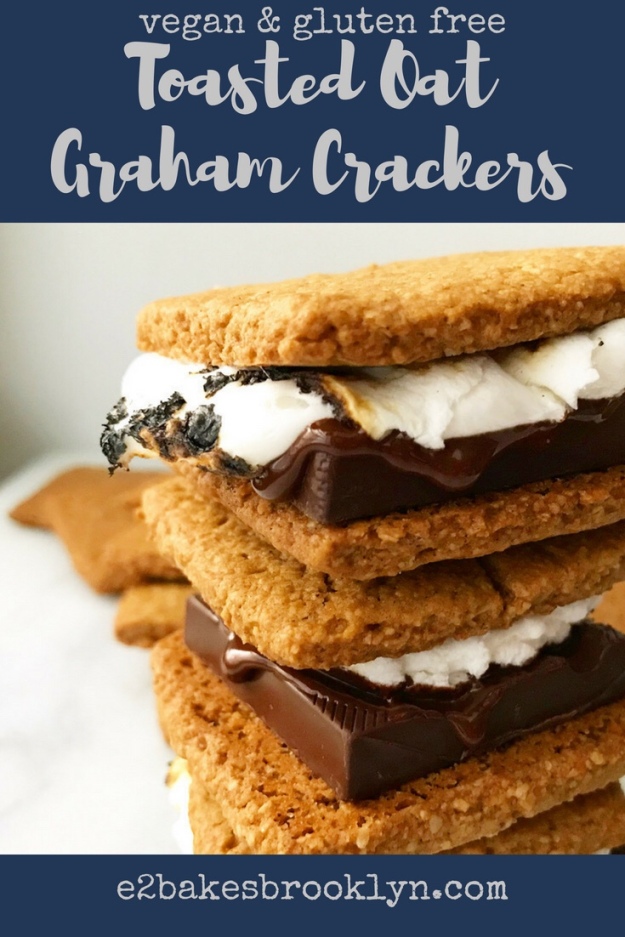
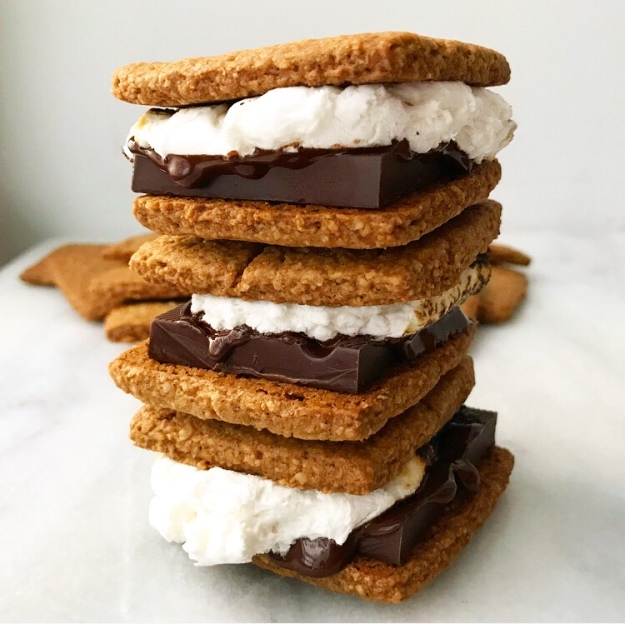 One thing I know for sure is that they’re pretty damn good stacked with dark chocolate and toasted vegan marshmallow. Best vegan s’mores ever.
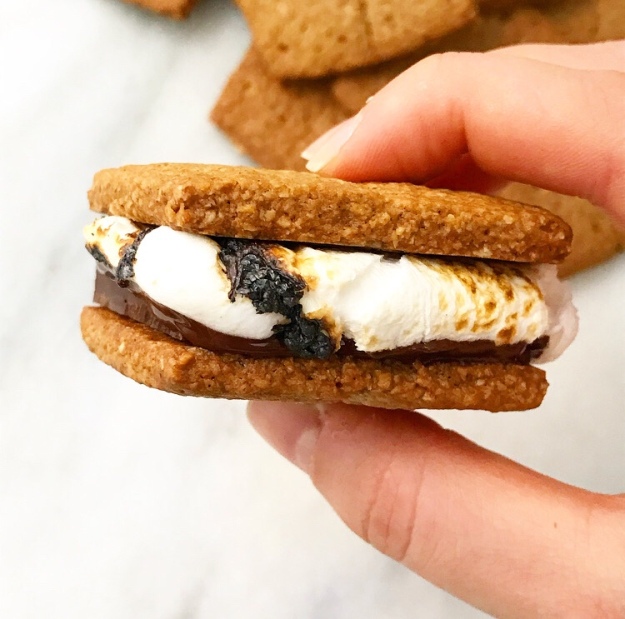 I can’t wait for vacation.