 I had no intention of making a third (or fourth?) Easter dessert, but then I discovered macaroon crust on Pinterest and, well, here we are talking about a Chocolate Macaroon Tart.
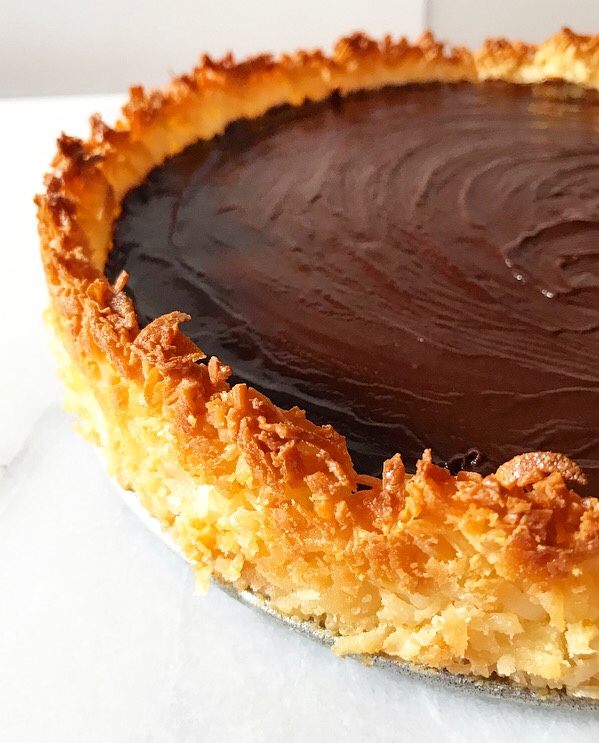 So, what’s so special about a macaroon crust? For one, it’s basically a big chewy, crisp-edged coconut macaroon cookie that you can bake and fill with whatever no-bake filling you like.
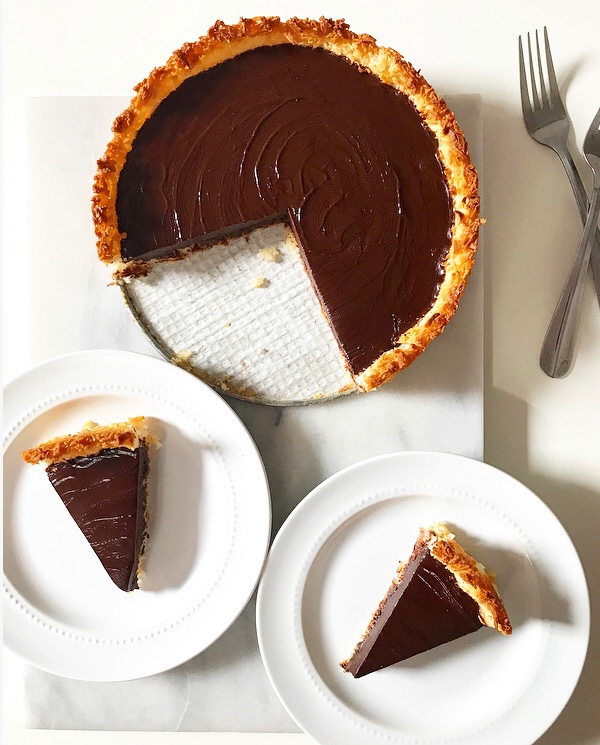 There is no “for two.” It’s that simple.
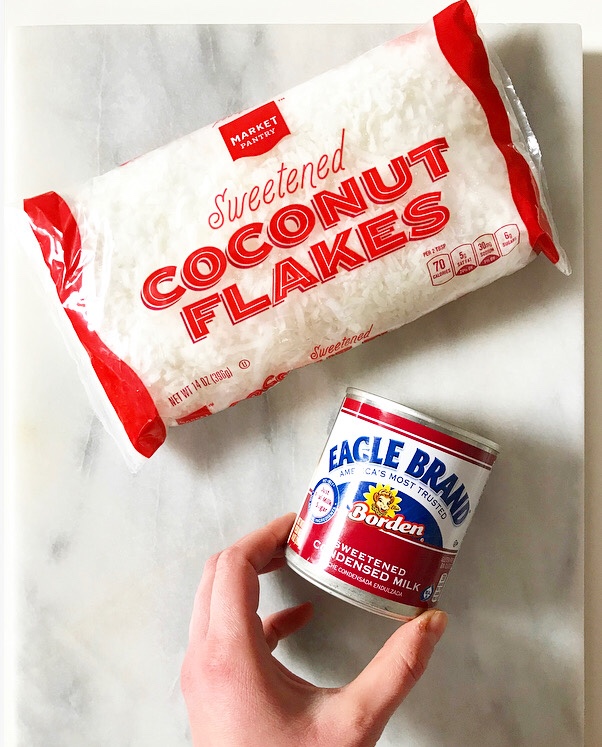 Now, there are many ways to make a macaroon crust. Some have flour, some contain egg whites. I looked at a few options before realizing that it would probably work with just two ingredients: sweetened flaked coconut and sweetened condensed milk.
Oh, and salt. Can’t forget the salt.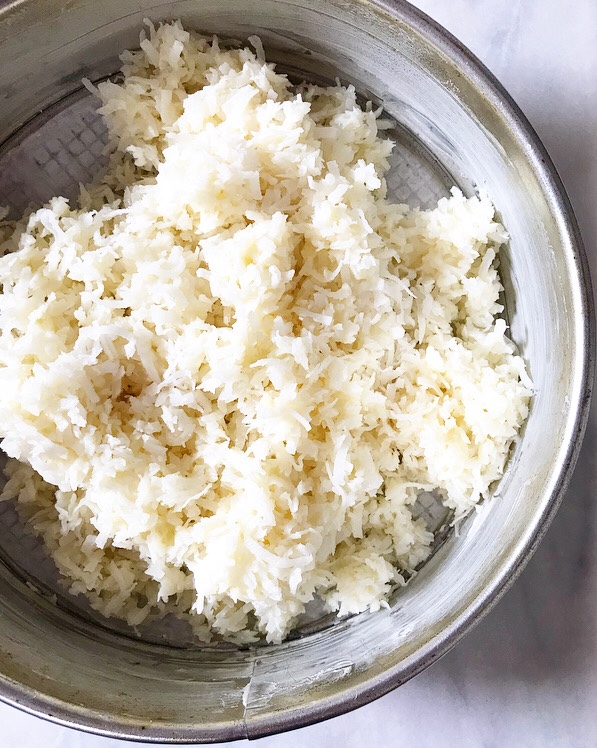
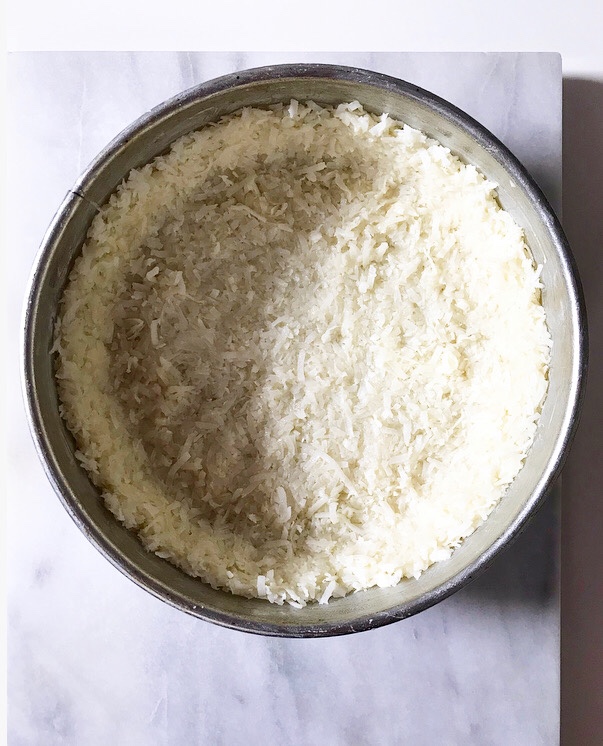 I folded the ingredients together and pressed the mixture into a heavily-greased springform or tart pan.*
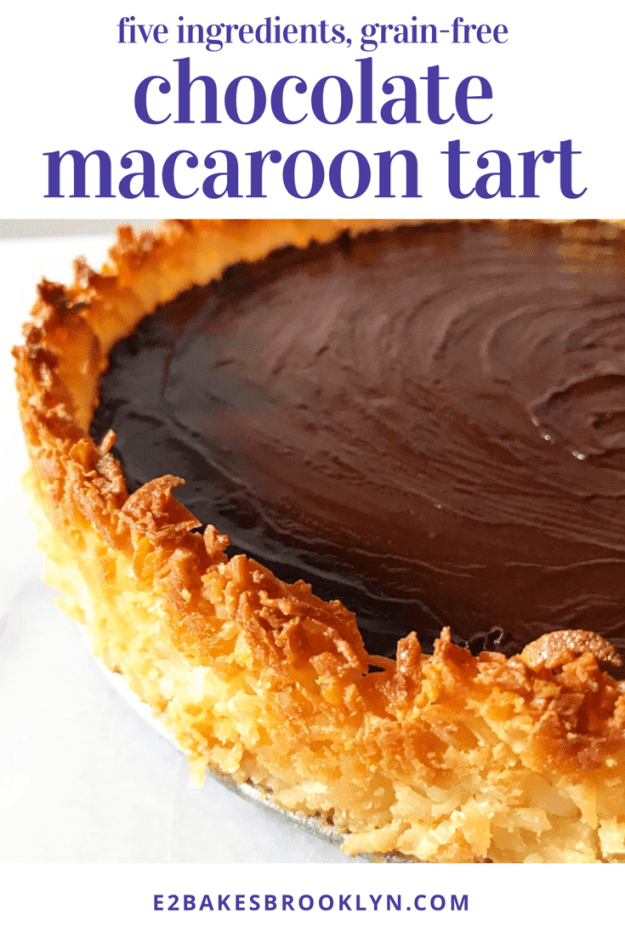
*I think the only piece of baking equipment that I don’t have is a tart pan, which is probably why there have not been many tarts on here. Feel free to use whatever you have.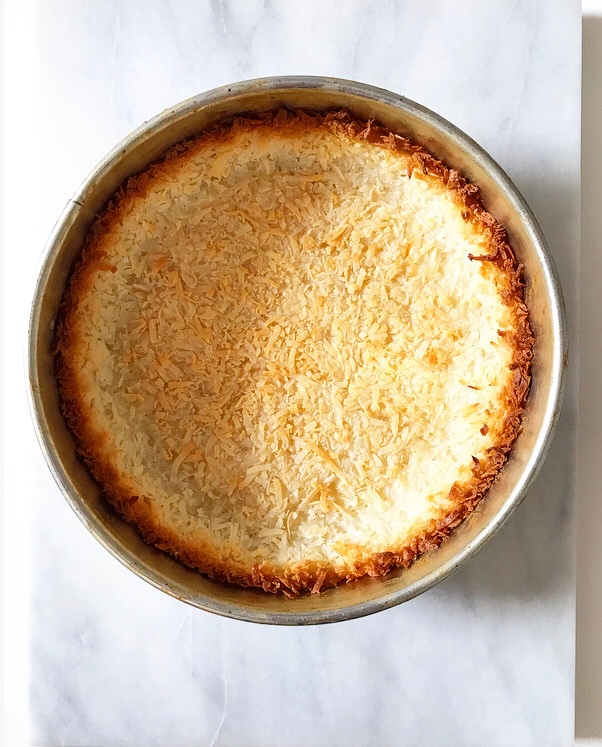 Half an hour later, it was toasty at the edges and light-golden in the center.
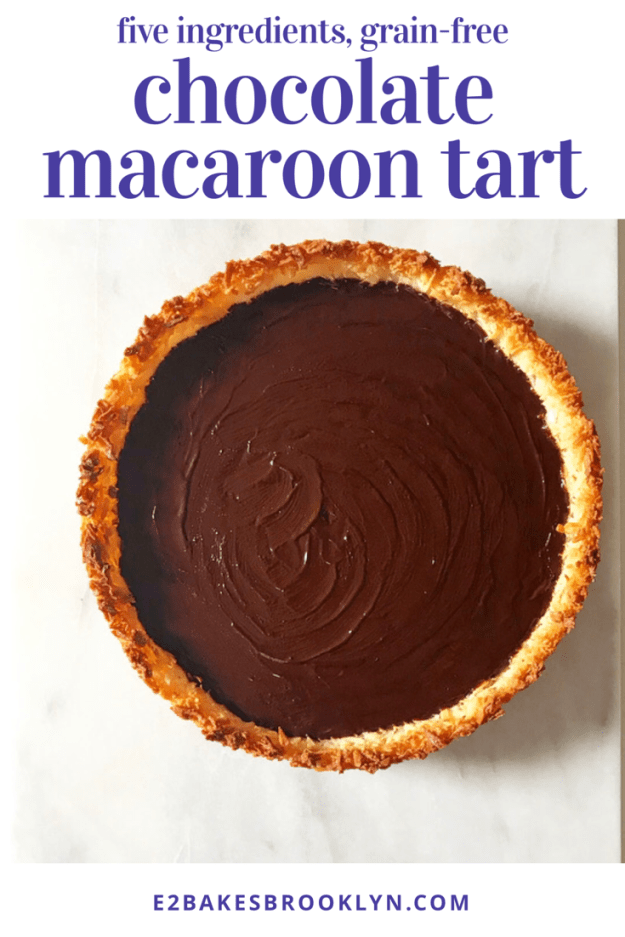
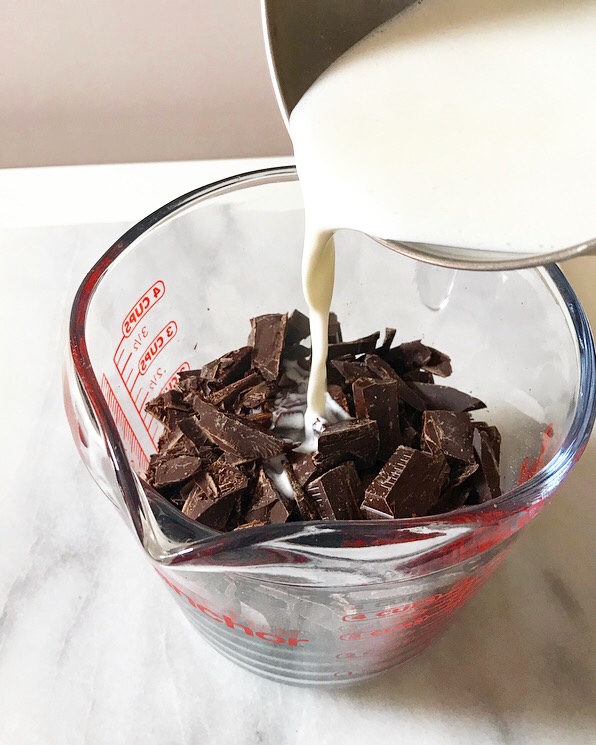

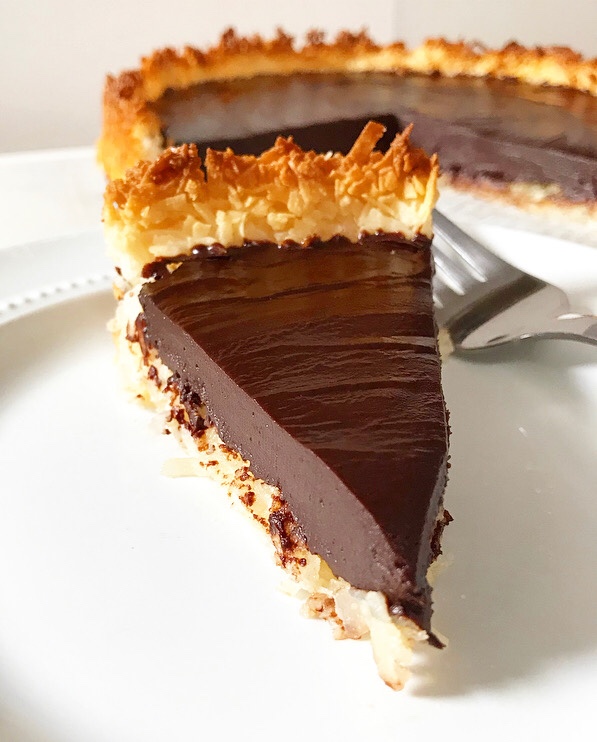
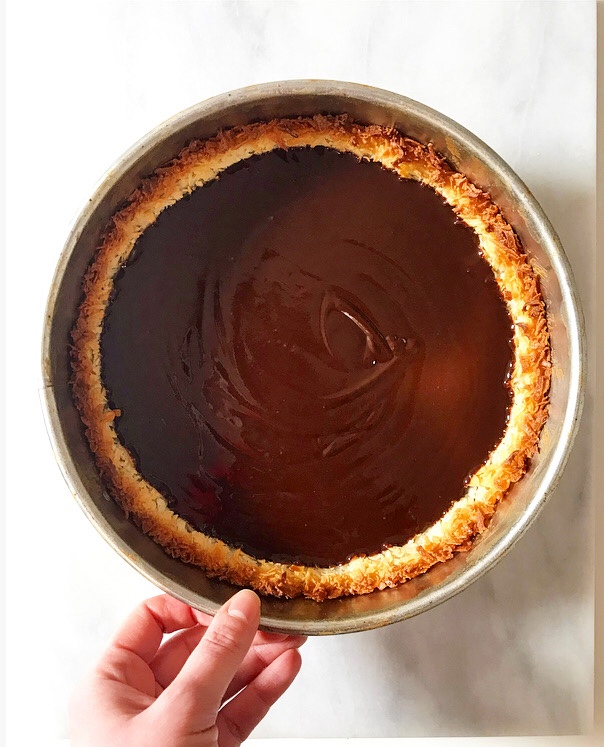 I filled it with chocolate ganache and let it set up in the fridge before slicing.
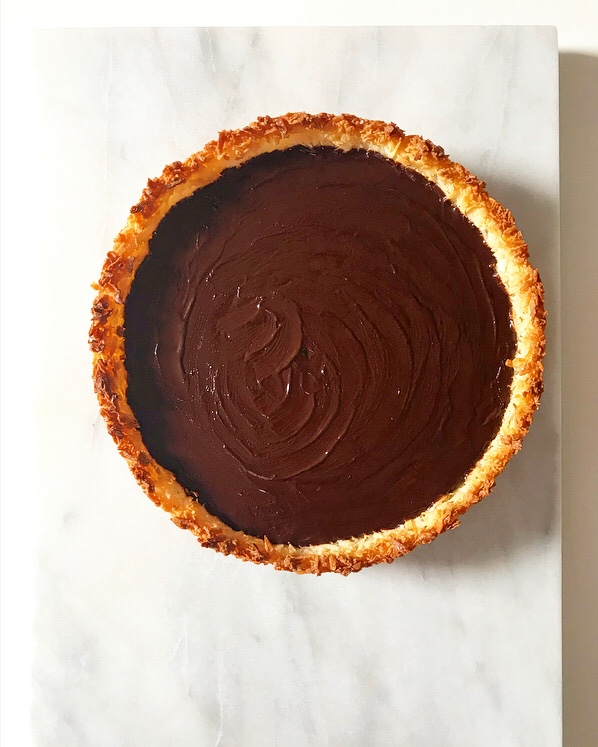 (I also gave it a few swipes with the back of a hot spoon for some rustic glossiness and because I am a control freak.)
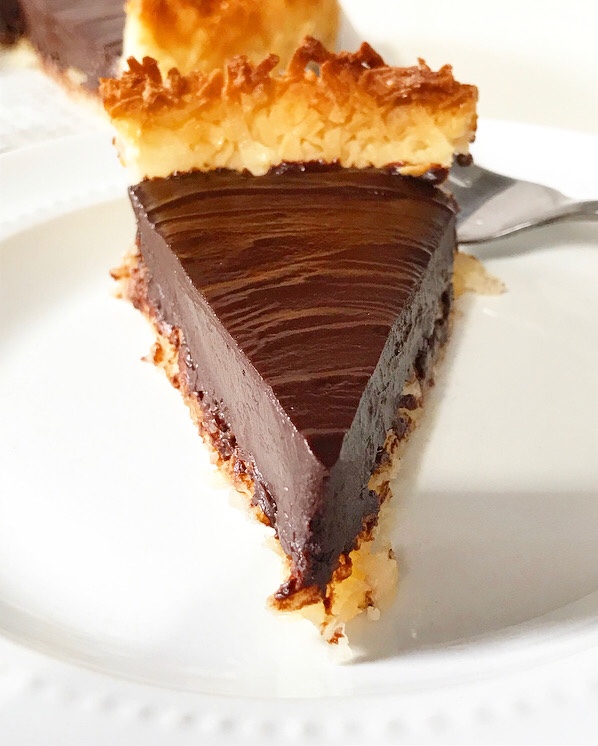 Who knew five Ingredients and no grains could make something this irresistible?! Silky chocolate ganache filling + toasty coconut crust 🙌🏻🙌🏻🙌🏻
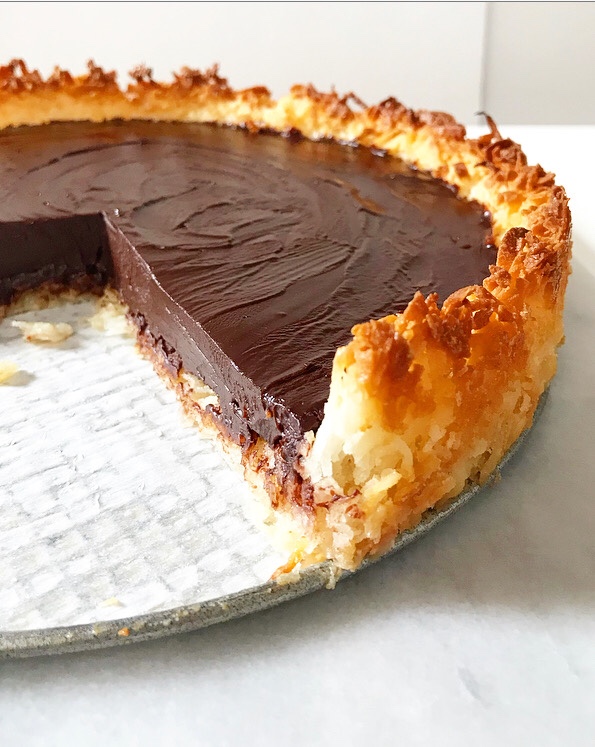 It’s like eating a chocolate-coconut candy bar…but classier because it’s a tart. We all know how much classiness matters when you’re sneaking cold wedges of Chocolate Macaroon Tart out of the fridge after your bedtime. Not that I’ve ever done that. Twice. On the same night.
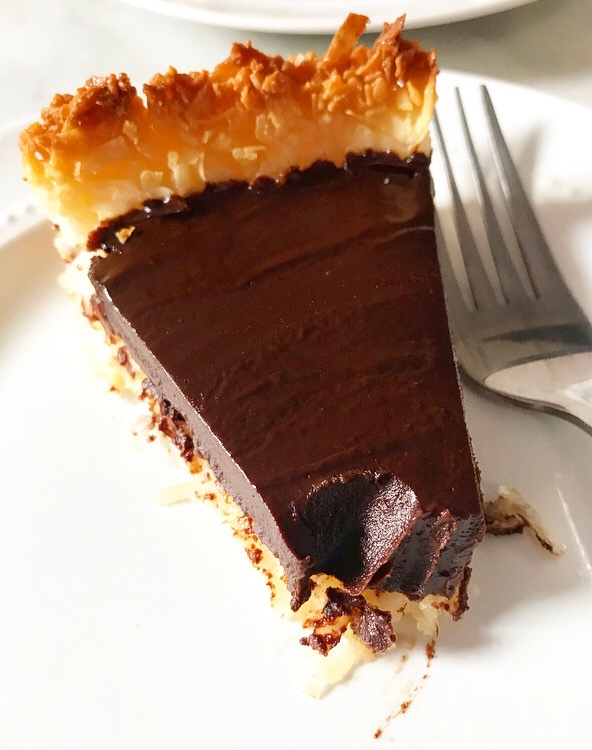 Happy Easter to those celebrating! Chag sameach to those observing Passover! And if you’re not celebrating/observing anything, have a great weekend anyway.
Chocolate Macaroon Tart {Five Ingredients, Grain-Free}
makes one 9- or 10-inch tart, about 12 servings
Macaroon Crust:
1 14-ounce package sweetened flaked coconut
2/3 cup sweetened condensed milk
1/4 teaspoon Kosher or sea salt
Ganache Filling:
12 ounces dark chocolate, chopped
1 cup heavy cream
Preheat oven to 350F. Heavily grease a 9- or 10- inch tart pan or springform pan. Line the bottom with parchment and grease again.
Make the crust. Combine sweetened flaked coconut, sweetened condensed milk, and salt in a large mixing bowl. Use a silicone spatula or wooden spoon to fold together until combined. It will be thick.
Transfer mixture to prepared pan. Lightly grease your hands before pressing mixture onto the bottom and up the sides. Bake 25-30 minutes, or until edges are browned and center is turning pale golden. Remove to a rack and cool completely.
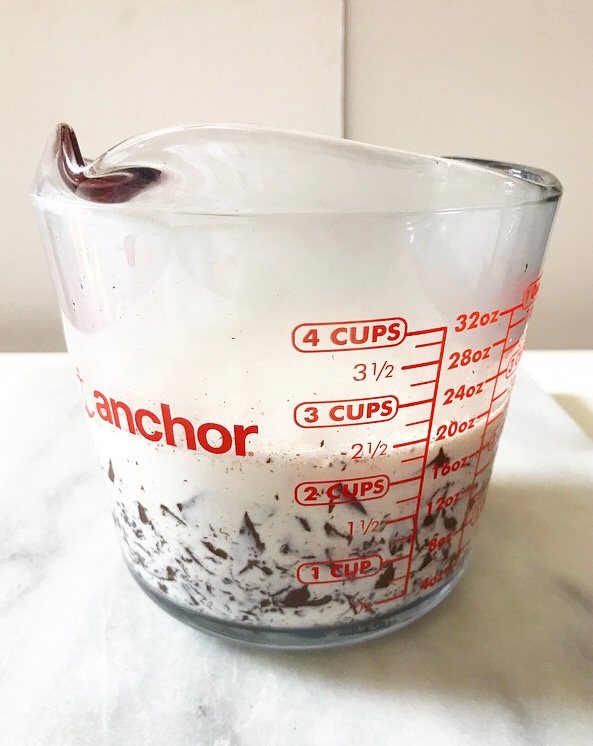
Make ganache filling. Place chopped chocolate in a large measuring cup or heatproof mixing bowl. Heat heavy cream in a small saucepan over medium heat until it is steaming and bubbles are forming at the edge.
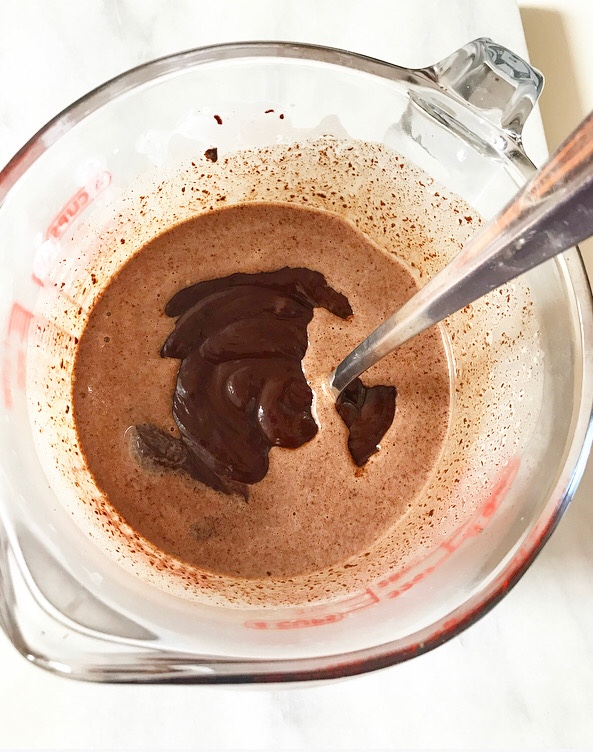
Pour warm cream over chopped chocolate. Do not stir. Cover bowl with a lid or aluminum foil for 5 minutes. Remove lid/foil. Use a fork to stir until chocolate and cream are combined and smooth. Pour into crust. Tap a few times to release air bubbles. Let tart sit at room temperature until filling is set (a couple of hours), or chill uncovered in the refrigerator. Remove tart from the fridge at least 15-20 minutes before running a thin, flexible knife around the edge and releasing from the pan.
Slice into thin wedges and serve. Leftovers will keep covered in the refrigerator.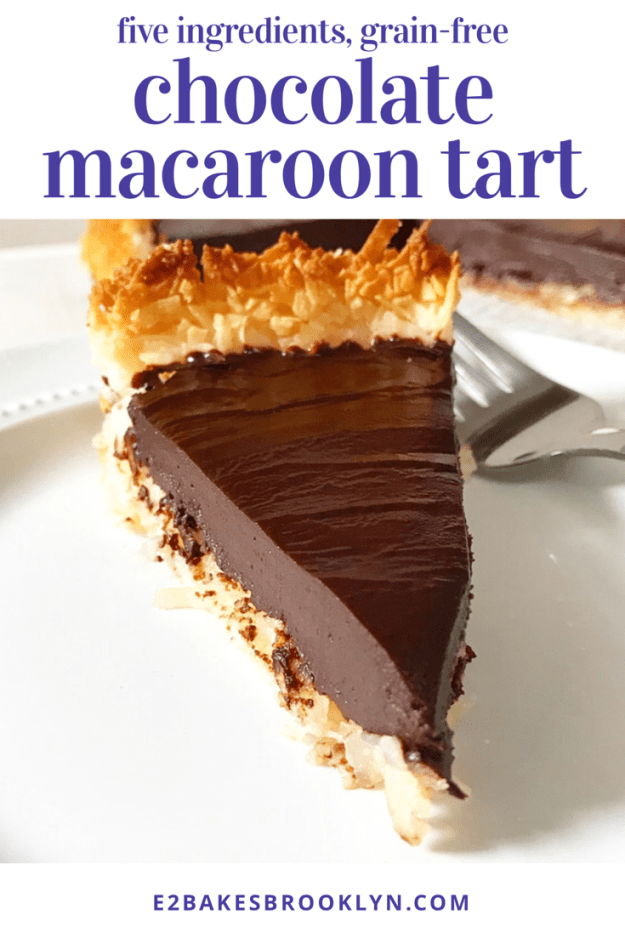
 In years past, I would take this time to go on about the number of posts/recipes I’ve written (332/322, if you care about that sort of thing) and how I had no idea that the blog would go on this long. I have a tendency toward sentimentality and I’m working on reining it in, but I’m not perfect yet…so, um, I’ll be brief. And then we’ll talk about Peanut Butter Mousse Cake.
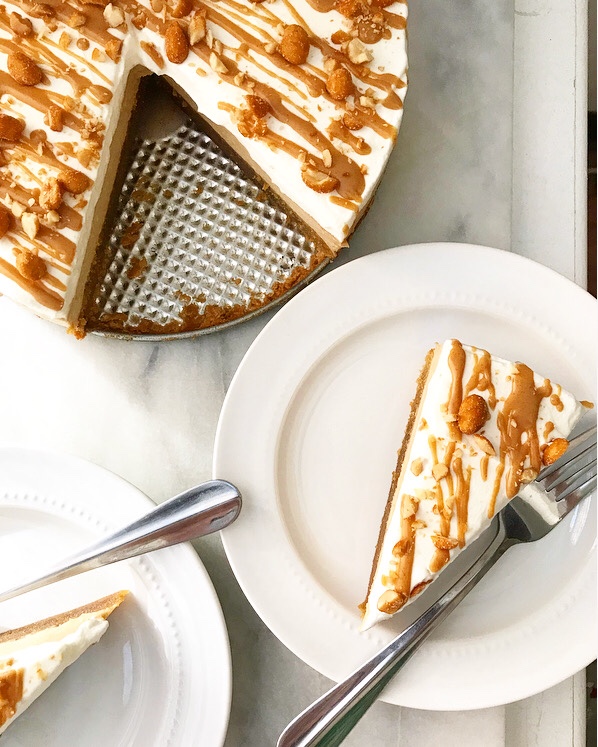 This blog is the thing of which I am proudest. I spend more time and energy working on content for this site than basically anything else, but it has been worth every late night and working weekend. I hope to continue baking and writing here for years to come.
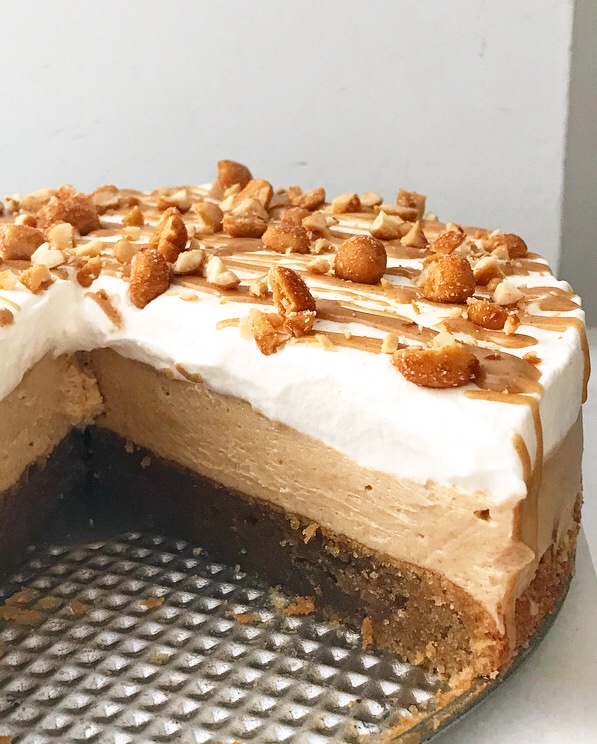 I blog because I love it, but it wouldn’t be nearly as much fun without y’all. Thank you for reading, commenting, providing encouragement and feedback, and making my recipes in your own kitchens!
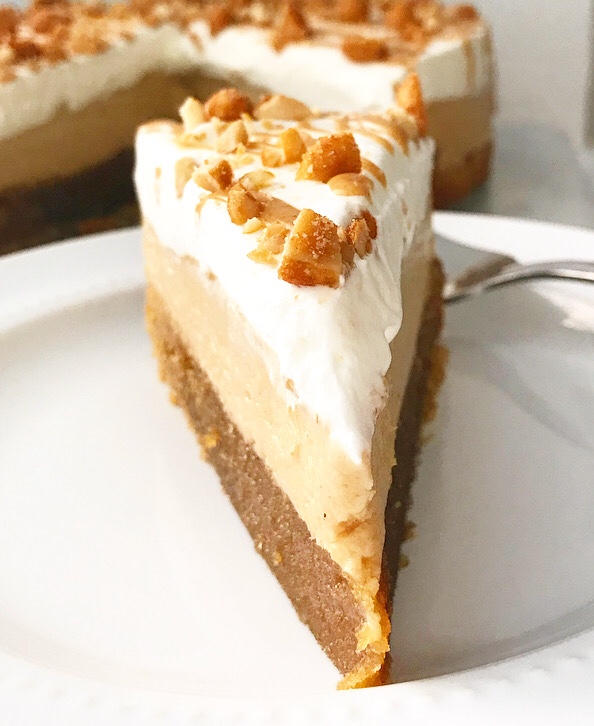 This community has grown by leaps and bounds over the last year. For those of you who are new around here, welcome! I’m glad you’re here.
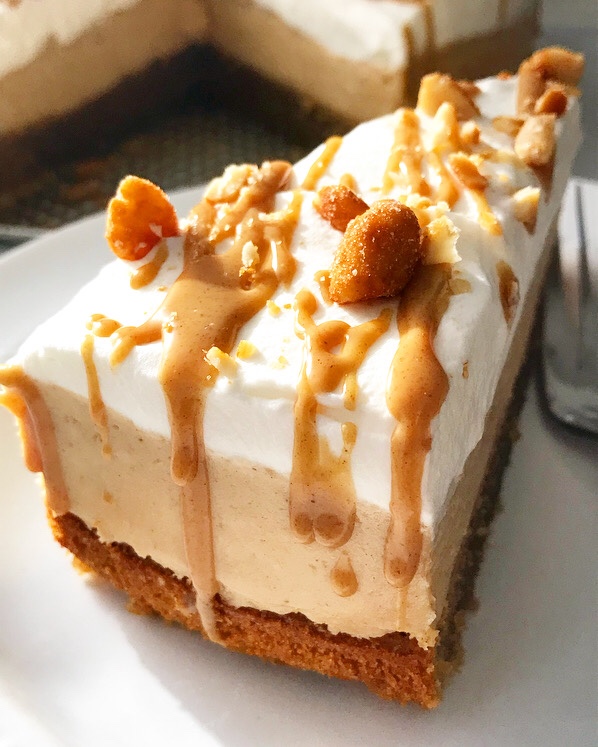 As for the future, lot of exciting things are coming in year four! Recipes, of course, but also bigger, better, blog-altering things. I can’t say much now, but know that good things are happening and I’m psyched to share them with you soon ❤
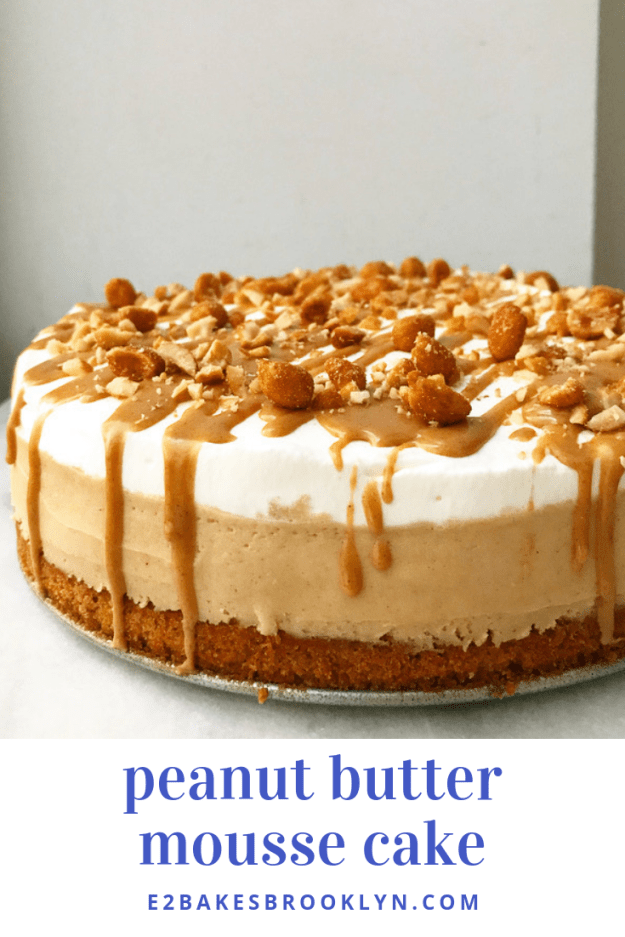
  For now though, let’s talk about Peanut Butter Mousse Cake. It’s the peanut butteriest peanut butter cake I’ve ever had. So. freaking. good!
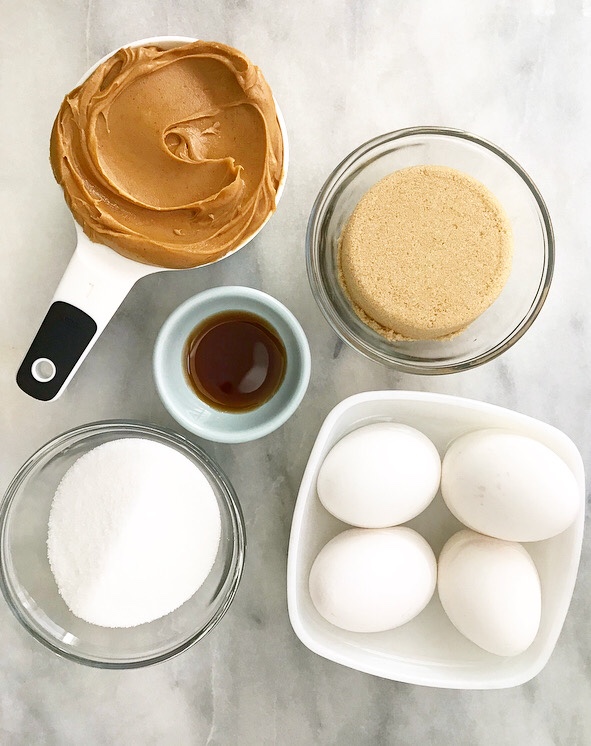
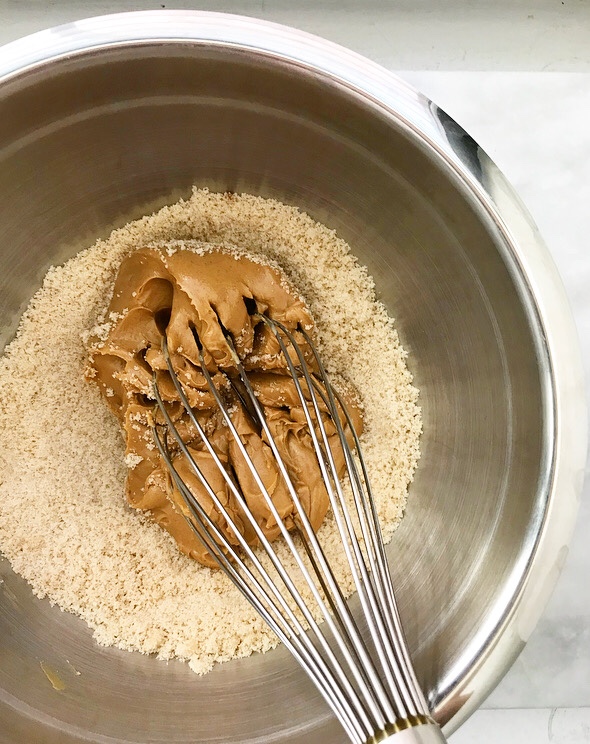
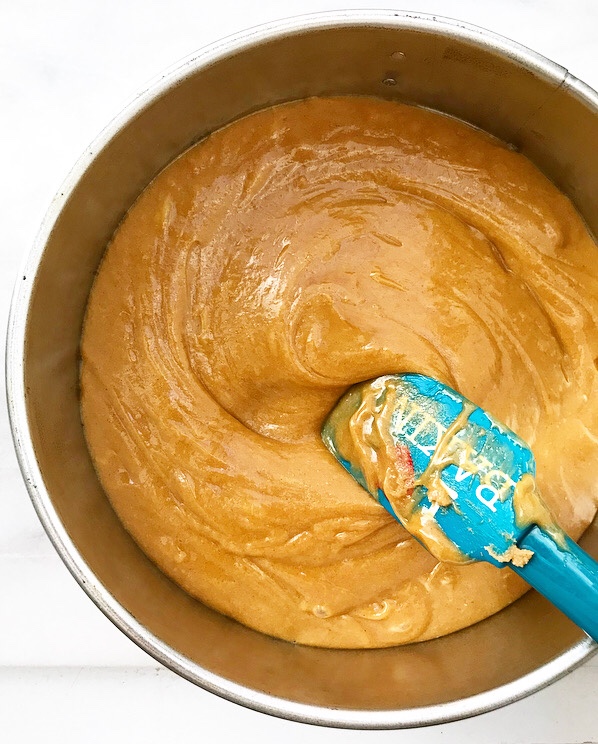
 It starts with a flourless peanut butter cake. This super-easy cake comes together with just five ingredients, one bowl, and a whisk. It’s rich and dense—since it relies on peanut butter and eggs for texture and structure, it’s like a cross between a cake, cookie, and a blondie. YUM.
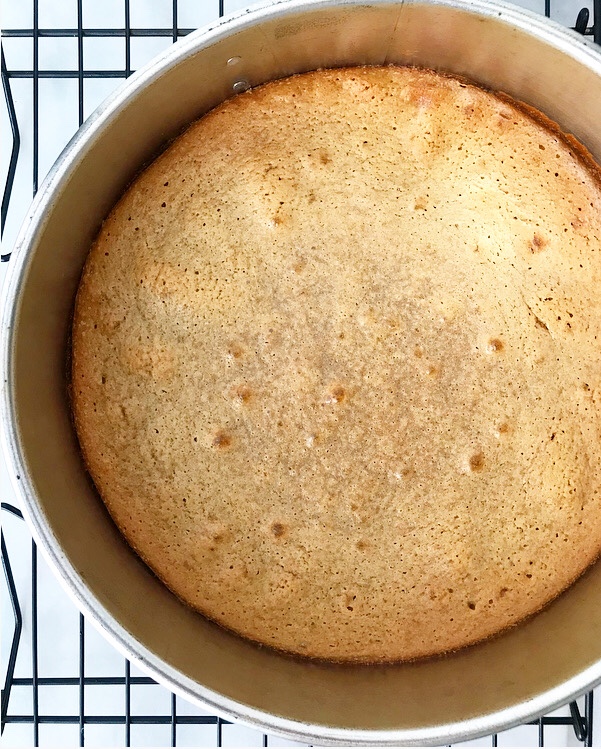
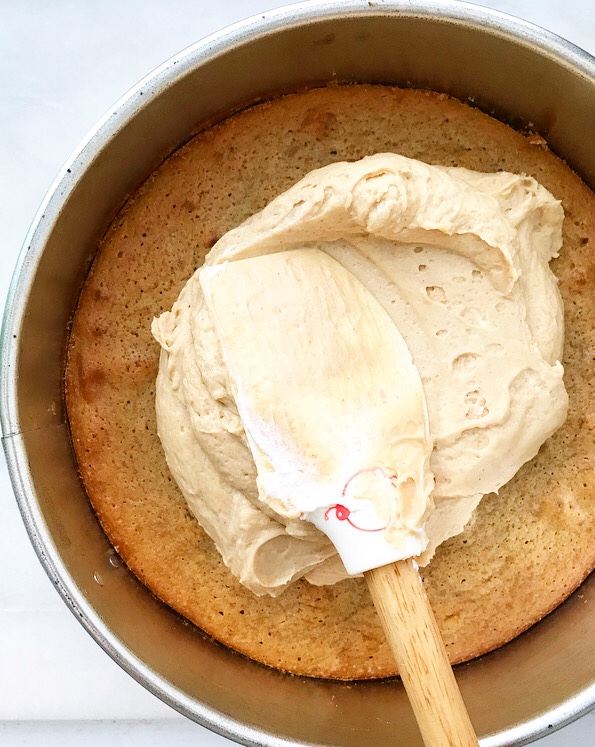 After the cake is baked and cooled, it’s topped with a thick layer of creamy peanut butter mousse. If this recipe looks familiar, that’s because it is—it’s the filling from my
 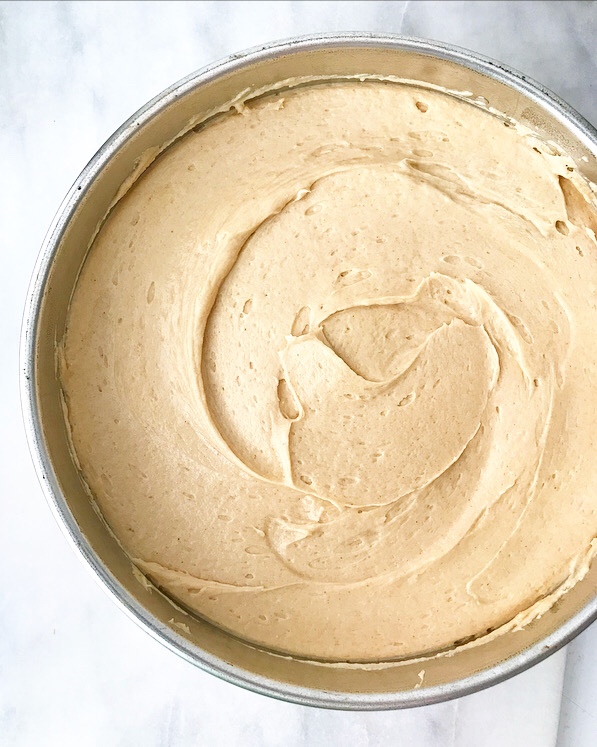 Spread the mousse layer on and chill the cake until everything is firm.
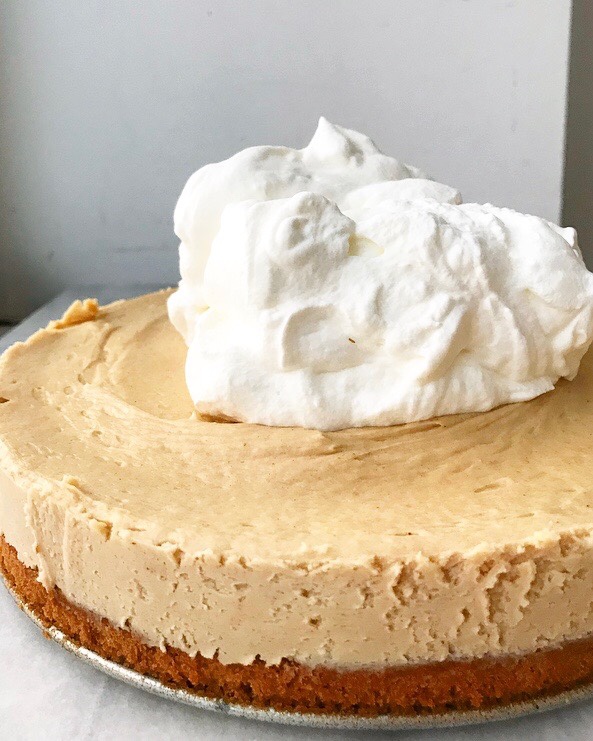
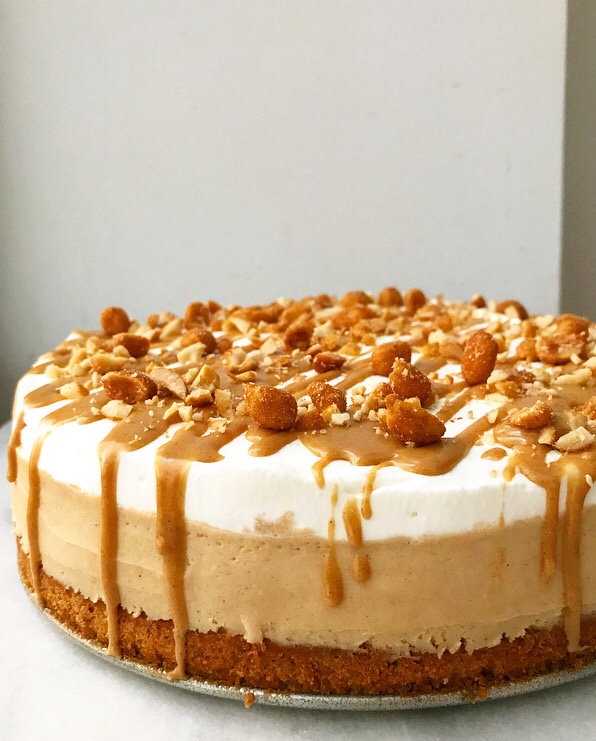
 Top it with a thick layer of whipped cream. Yaaaaaaas.
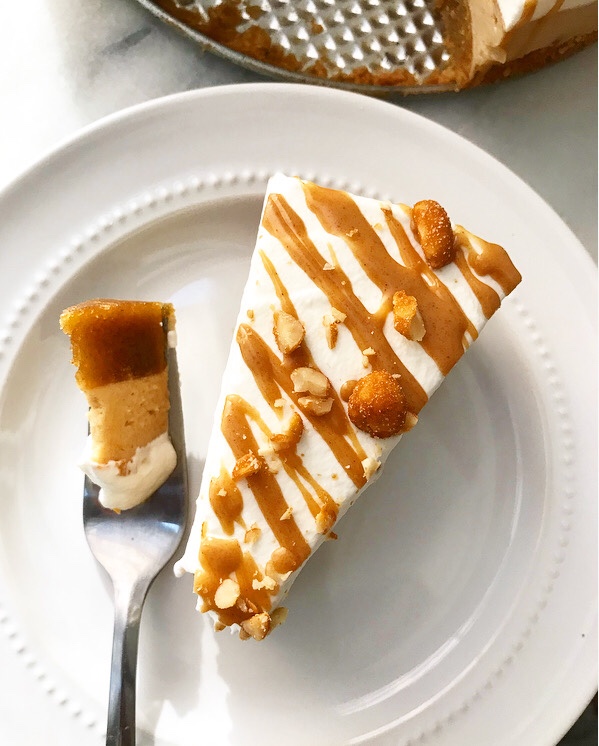
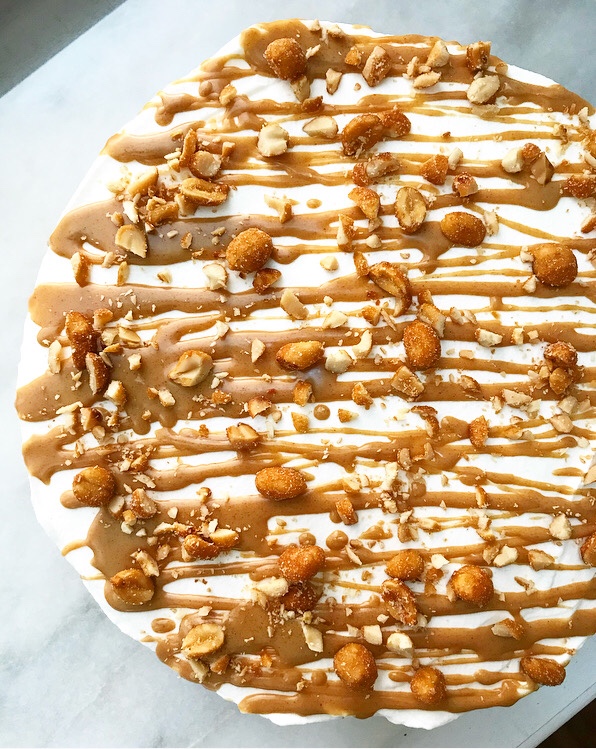 Don’t forget the peanut butter magic shell and honey roasted peanuts.
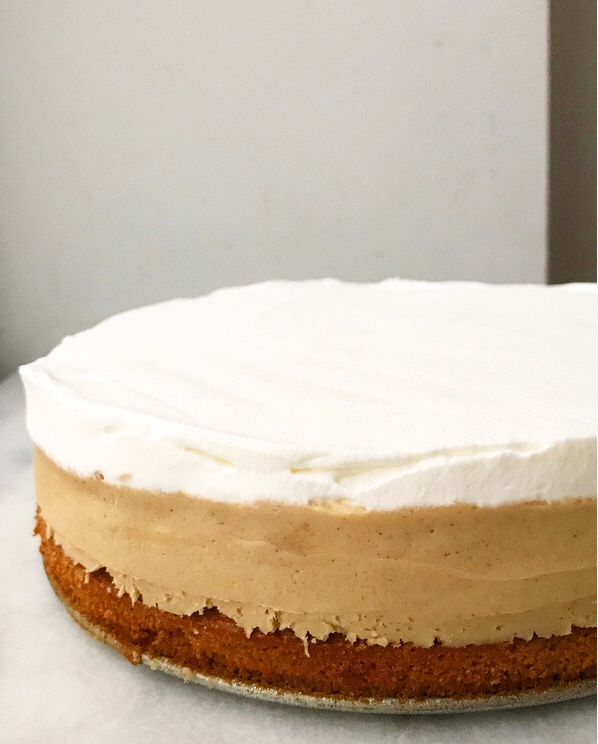
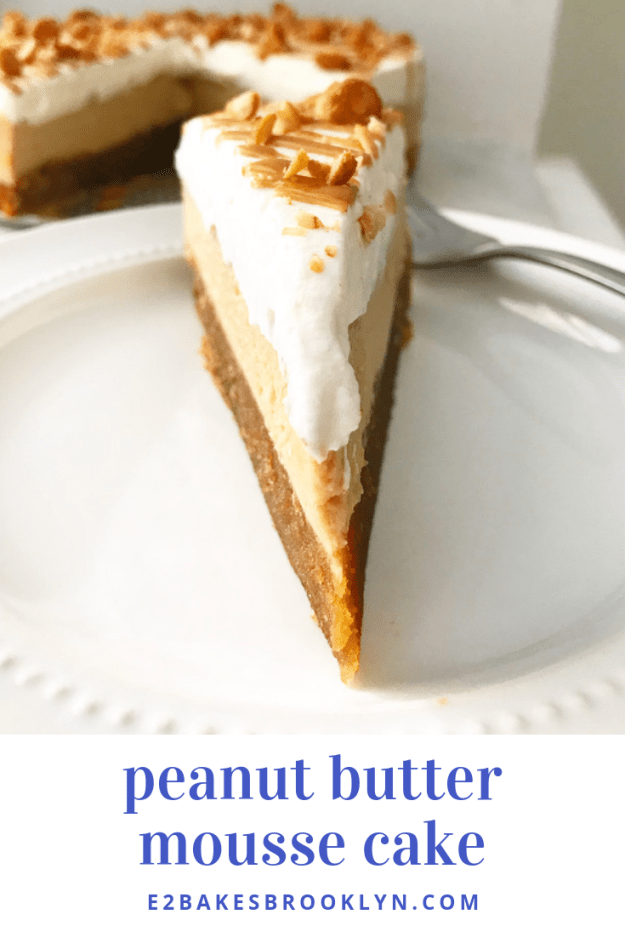
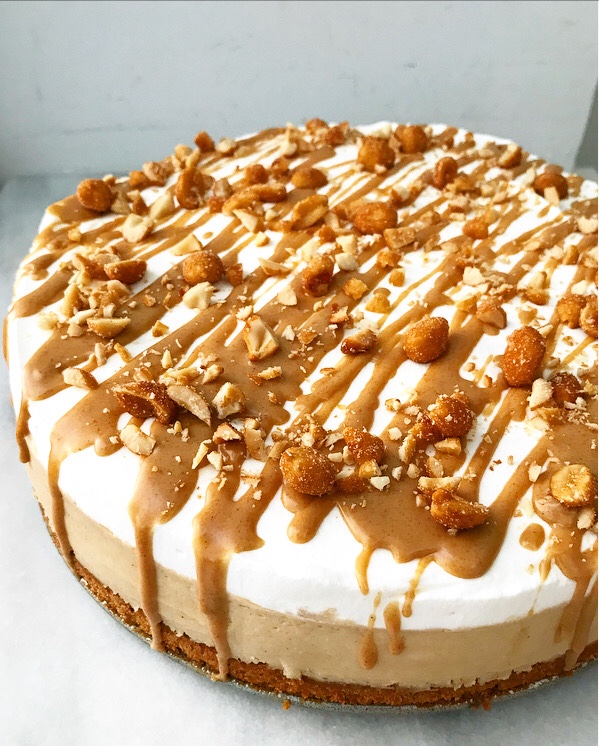 How gorgeous is that?! I love the triple-layered look.
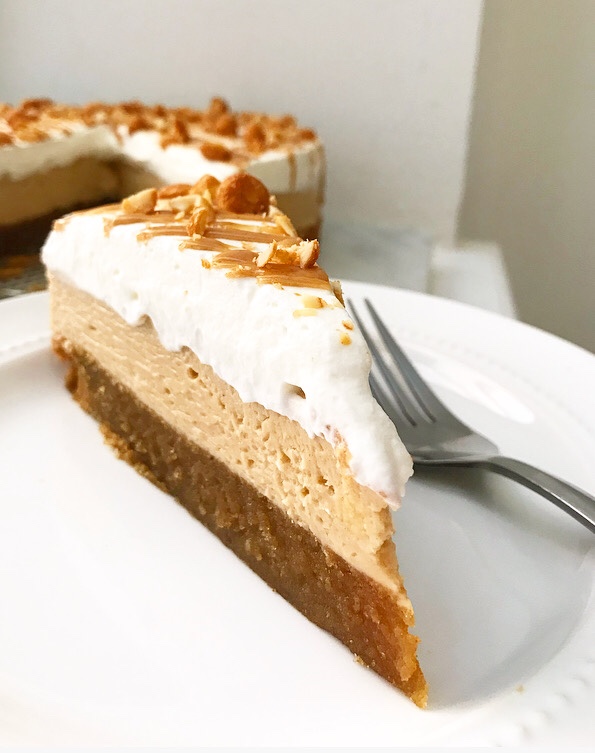 And the creamy, dreamy peanut butter flavor.
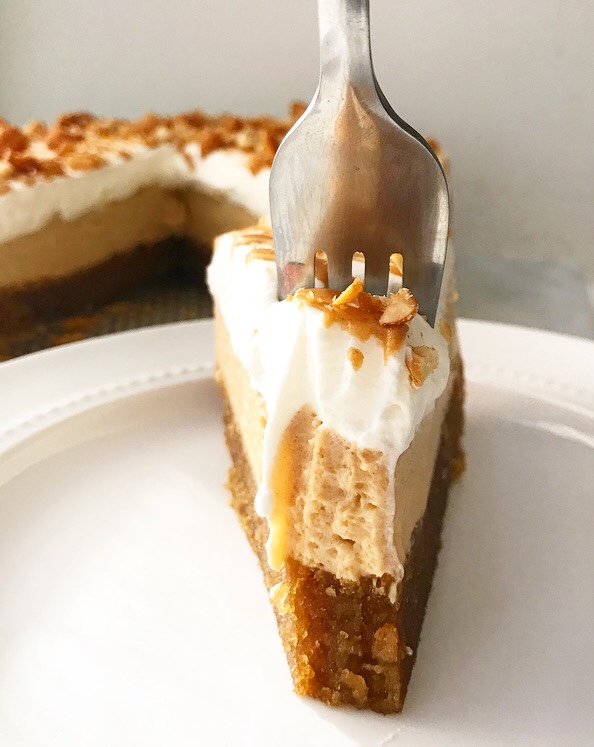 This cake is shockingly simple to make (don’t let the length of the recipe scare you away!) and perfect for nearly any occasion…
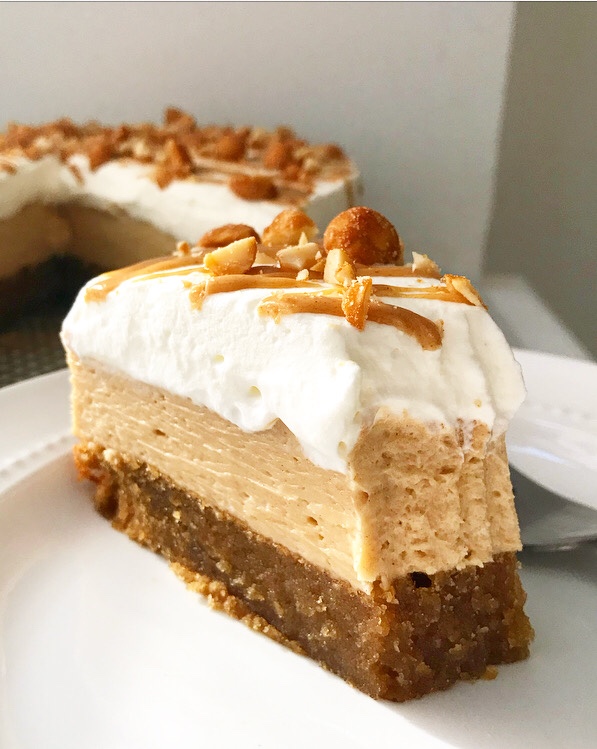
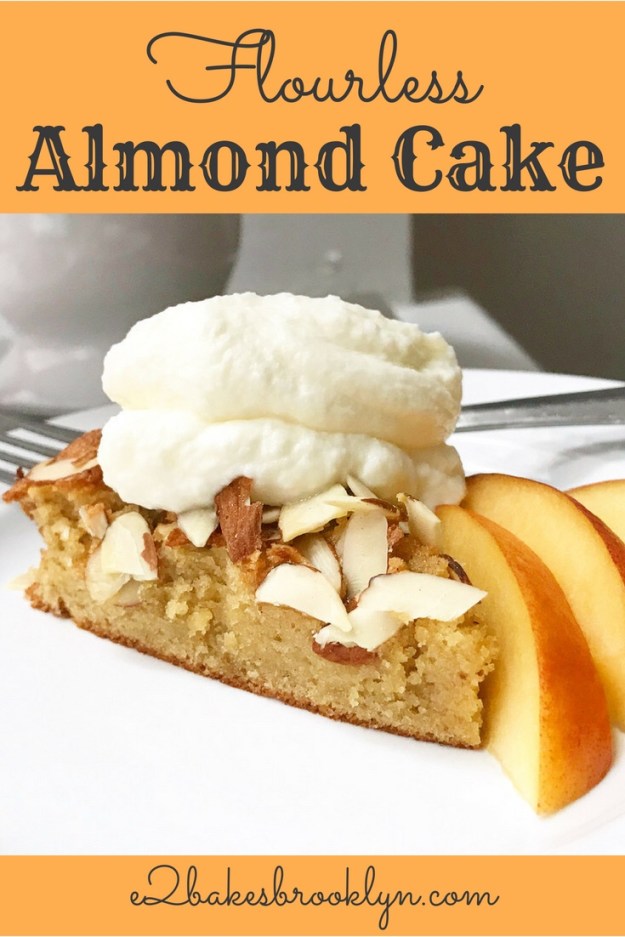
 This is my third gluten-free
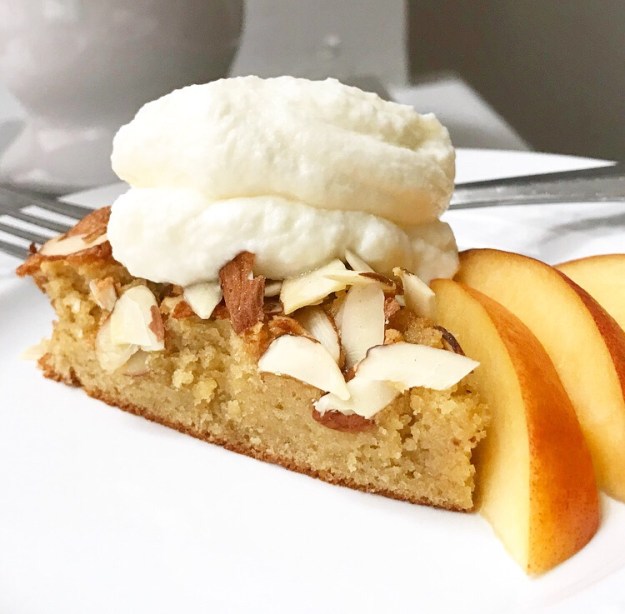
 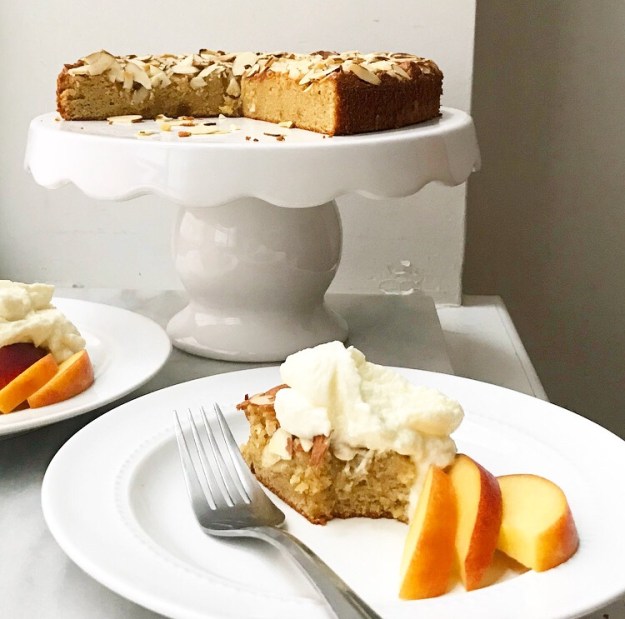 You might think that since I kept it for last, it’s subpar in some way. Quite the opposite—Flourless Almond Cake is really something special. It’s one of those recipes you’ll want to have in your repertoire not only because it’s grain-free and relatively quick and simple, but because it can adapt to any occasion. It’s as perfect for a dinner party as it is for a cookout or taking to a friend who needs a pick-me-up. The holidays are still a while away, but I can imagine this cake being a welcome addition to any dessert spread.
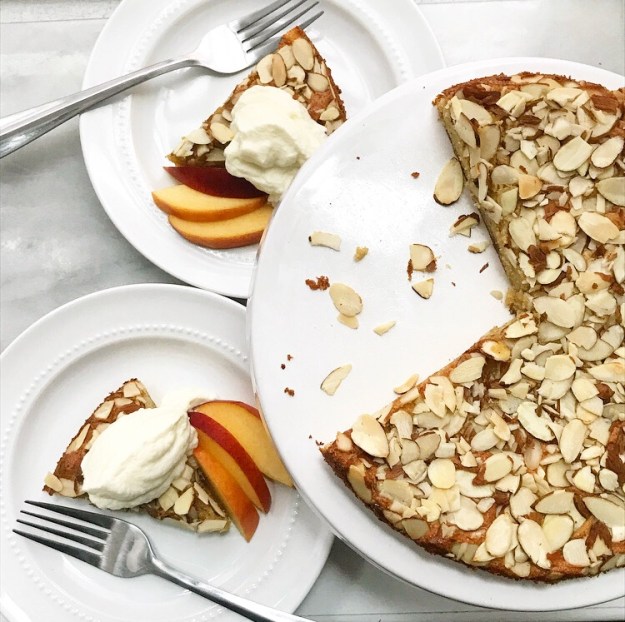 But it’s barely August and I’m getting ahead of myself. Let me show you how this cake comes together.
 It starts by measuring out some blanched almond flour. I measure using the spoon & level method, as I do with all my
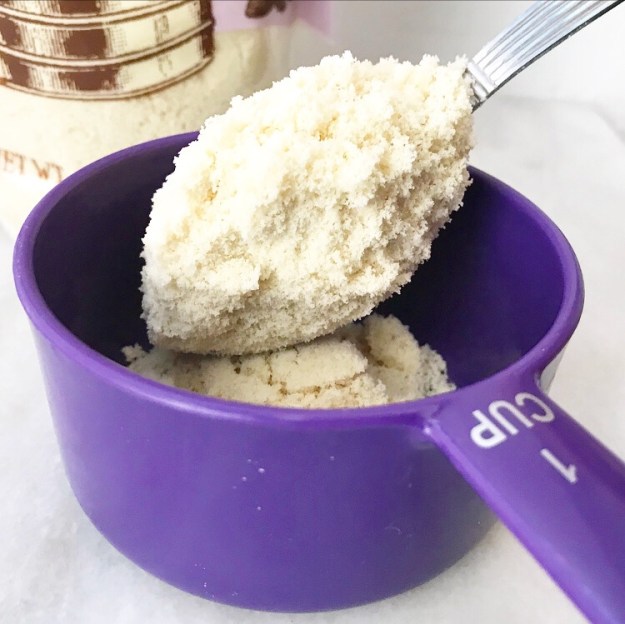
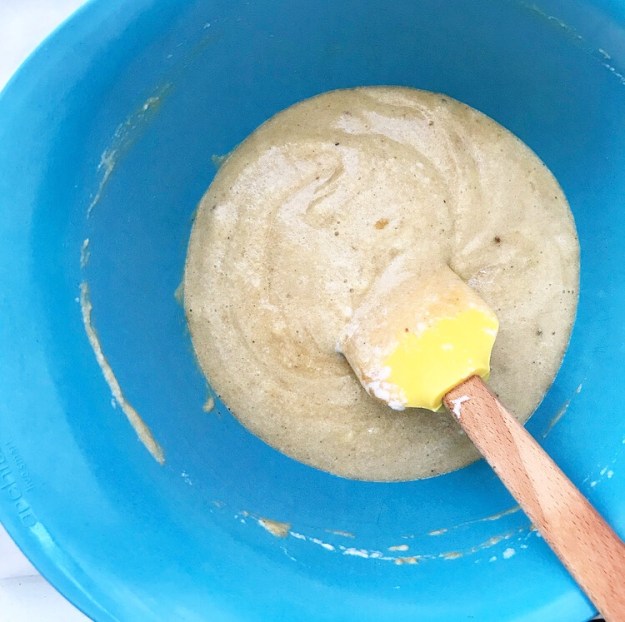
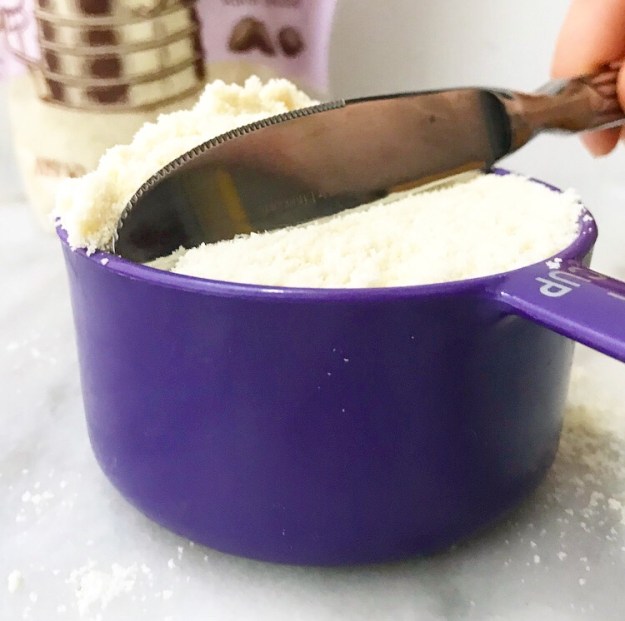 This may sound tedious if you’ve never done it before, but it only takes a few seconds longer than other common volume-based measuring techniques. While it’s appealing to scoop ingredients with a measuring cup directly, it may cause your final product to be too dense.
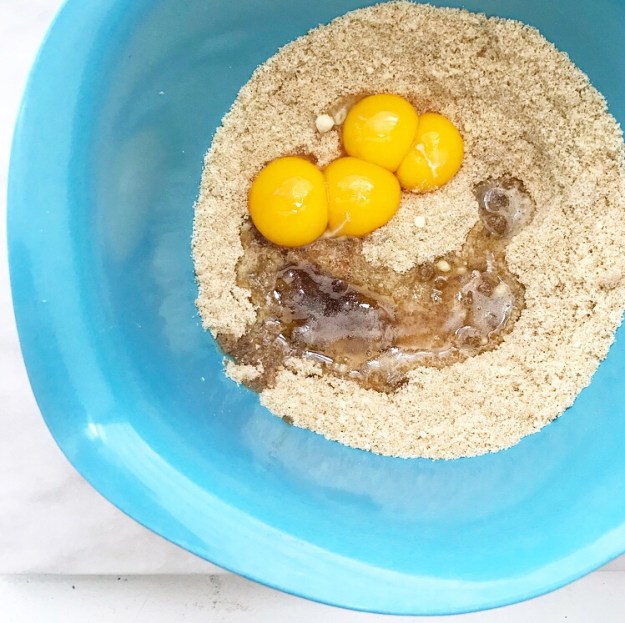 Put your almond flour in a large mixing bowl and mix in some light brown sugar, salt, and touches of cinnamon and nutmeg. Next come four egg yolks, vanilla and almond extracts, and a little butter. You may certainly just use plain melted butter here, but I like to use brown butter for the extra toasty flavor it imparts.
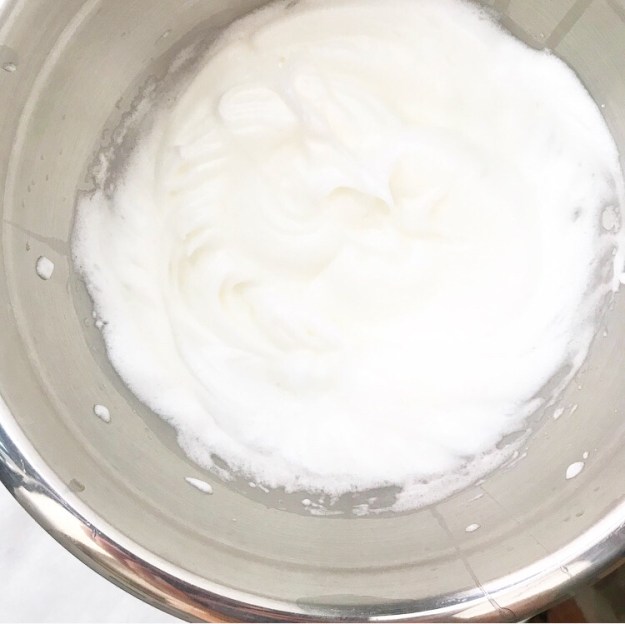 Next up, wash and dry your mixer attachment and whip four egg whites to stiff peaks. Don’t skip the wash/dry step or your egg whites won’t whip, and you’ll be cursing my name while you separate four more eggs. I tried bypassing this step and using the egg whites as-is, and the result was a dense, flat cake. No, thanks.
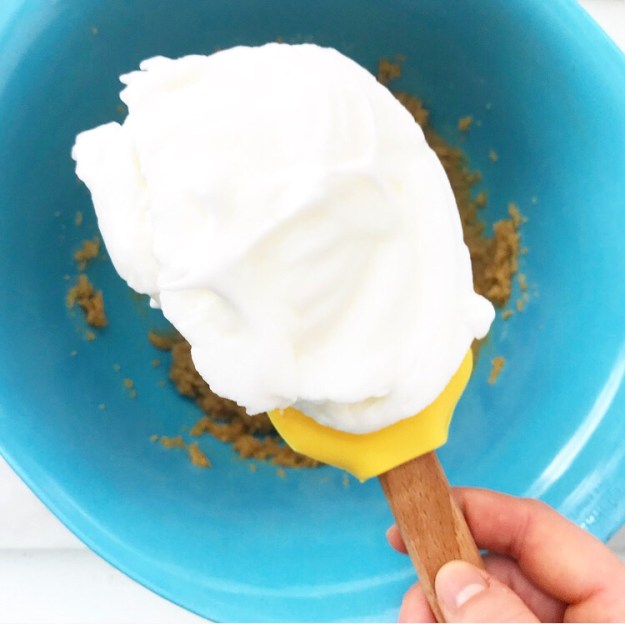
 Stir 1/3 of the whipped egg whites into the almond mixture before gently folding in the rest.
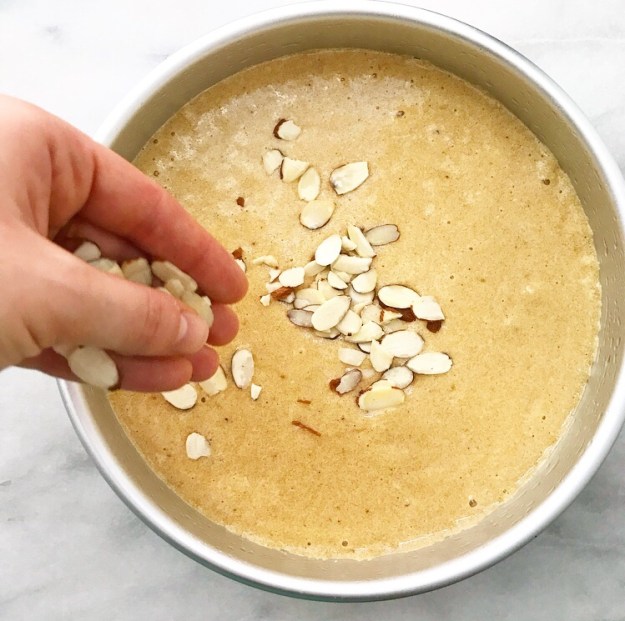 Pour the batter into a prepared pan, scatter sliced almonds over the top, and bake until the center is firm.
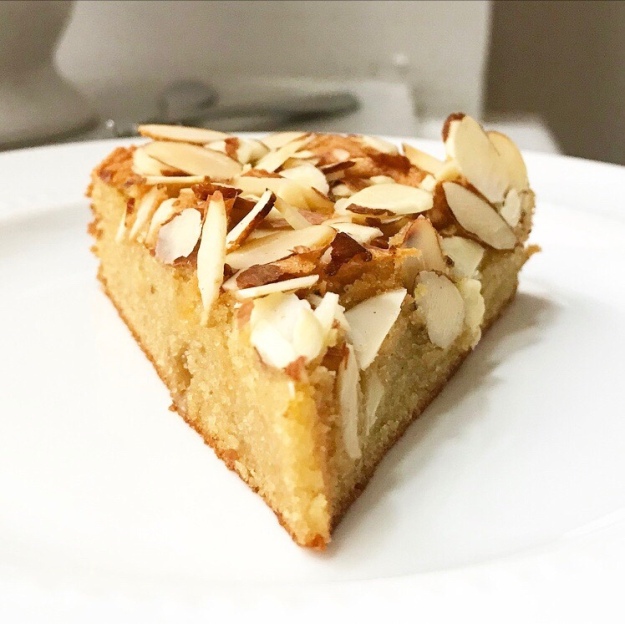 Turn the cake out onto a serving platter and let it cool completely. Slice it up and serve it any way you see fit.
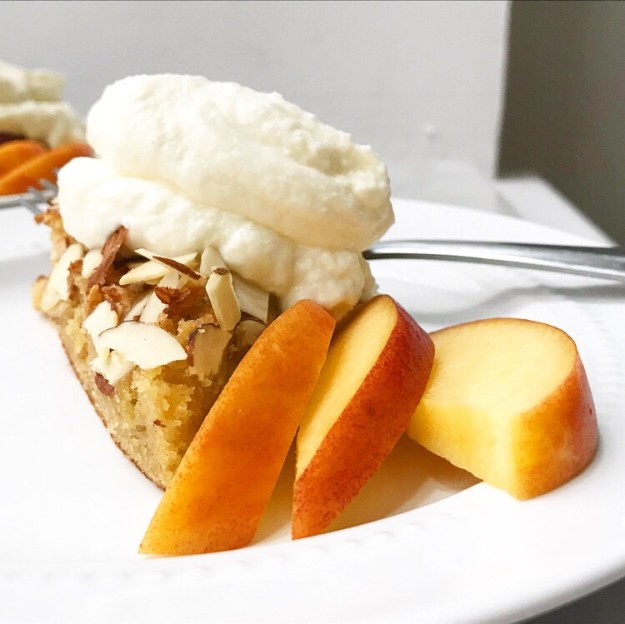 Like
Like 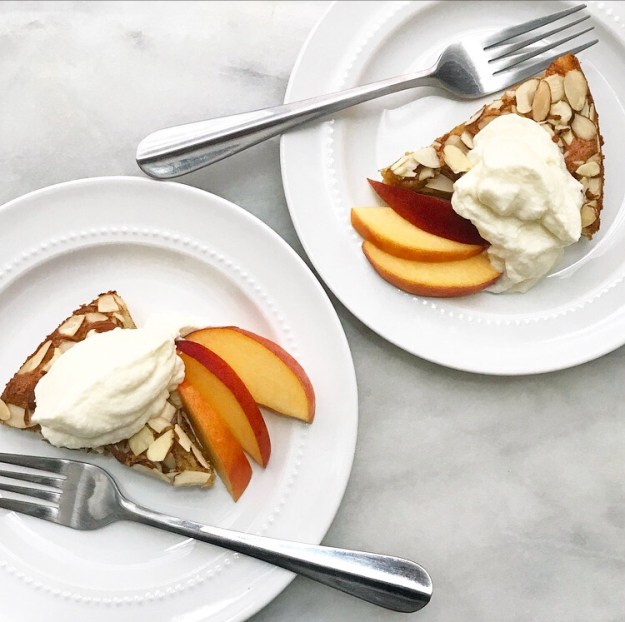 No matter which suggestion you go with, this simple little cake is sure to be a winner.
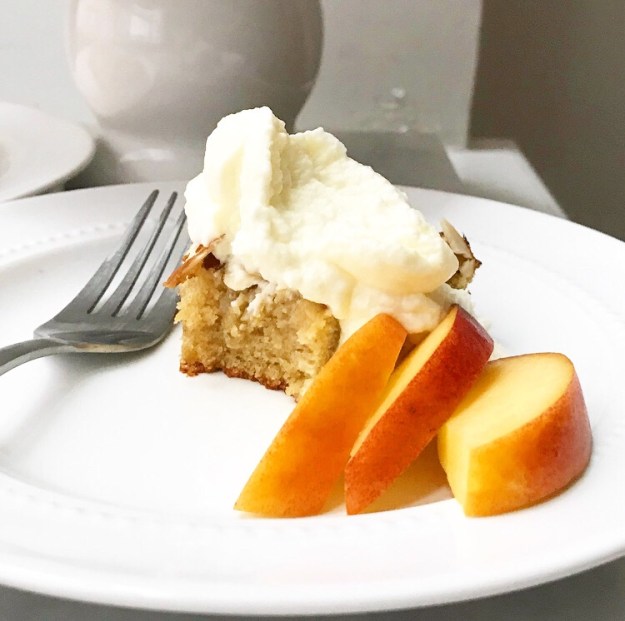
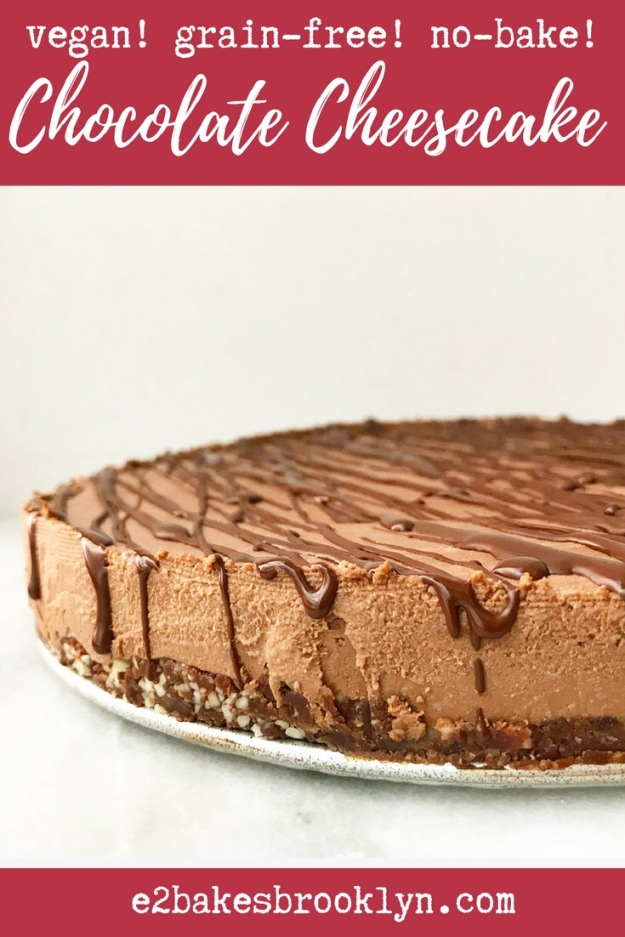
 Did you know that you can make a spectacular chocolate cheesecake without ever opening a brick of cream cheese?
 It’s true—this Chocolate Cheesecake is cool, creamy, chocolaty, and completely vegan!
 It’s made primarily of softened cashews and coconut cream…
 …and melted chocolate, of course 🙂

 Both the crust and the filling come together in the bowl of a food processor before being layered into springform pan and chilled until solid. No need to crank the oven for this no-bake cake!
 Once the cake is chilled all the way through, remove it from the springform and give it a drizzle of
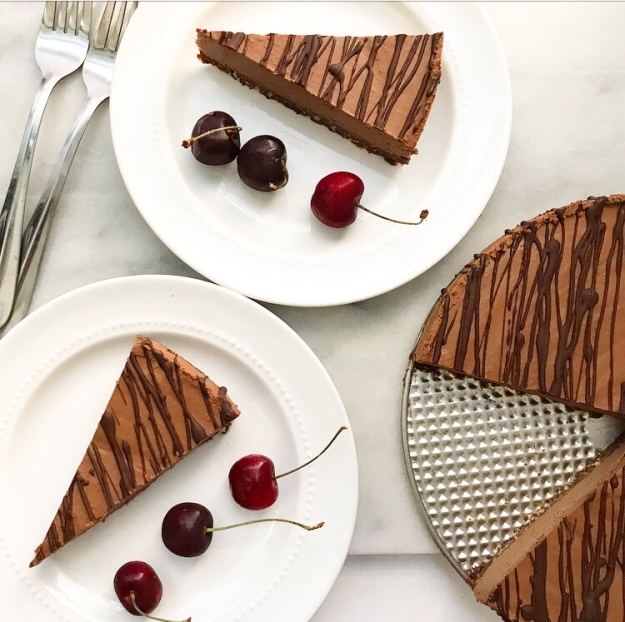
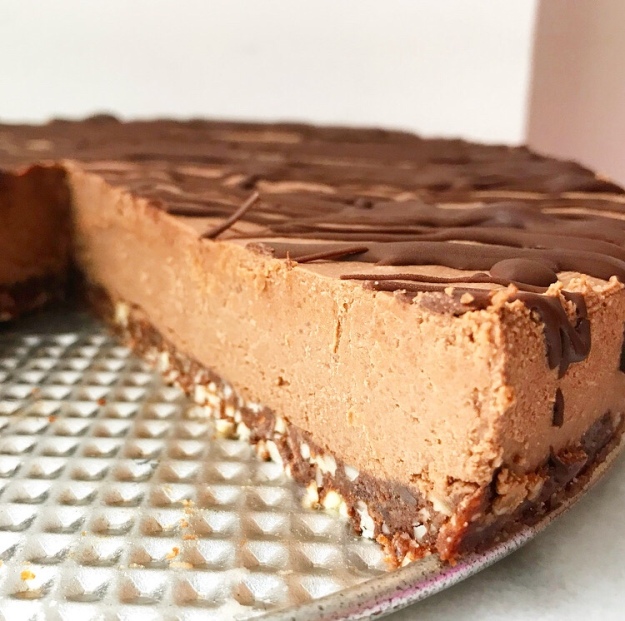 Chocolate Cheesecake slices like a dream. It definitely stands on its own, but I couldn’t resist plating each piece with a few fresh sweet cherries!
 You’ll love this smooth, creamy, chocolaty cheesecake! It’s easy to make, no-bake, vegan and grain-free—perfect for sharing with your favorite