 I had big plans for Pi Day, the day on which we celebrate both pie and math, which falls on March 14th (aka 3.14, aka tomorrow). For months, my plan had been to make an Old-Fashioned Pineapple Pie, the sort of southern grandma food that makes my heart sing. I had read about this dessert sometime last year and decided that I would aim to have it perfected by today, but as usual, my plans never play out in the linear fashion that I’d prefer.
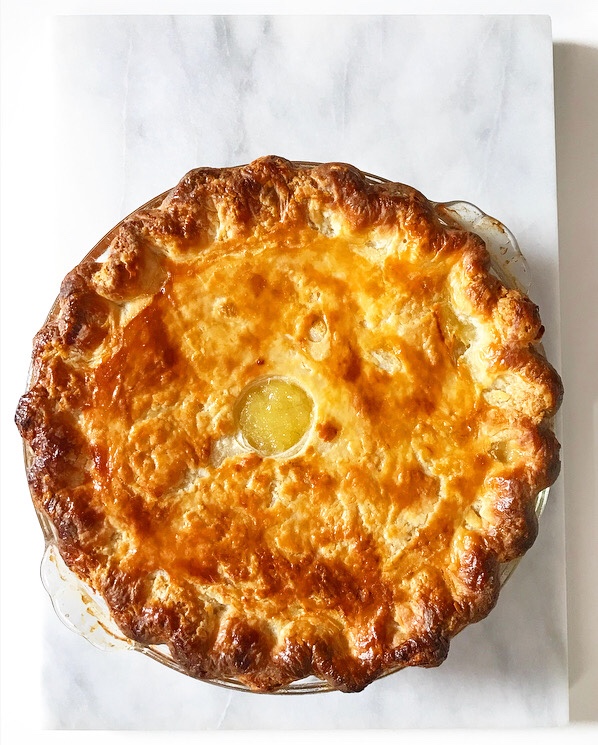 My attempt at Pineapple Pie was ostensibly fine. The crust was golden, the filling was set, the crimp was maybe my best ever, but when I went to try a slice, all I could think was how…soft…it was. The flavor was good and I suppose I’d prefer that it be soft over crunchy, but still. It was just so…soft.
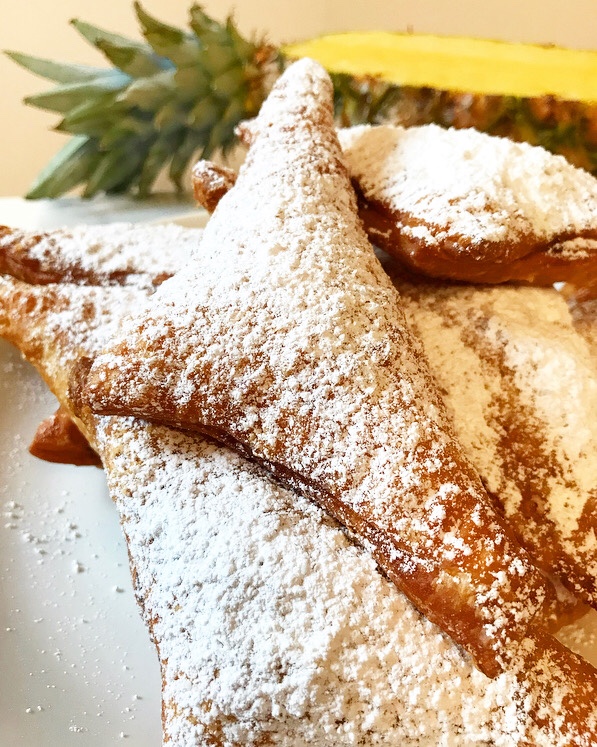 I was ready to go back to the drawing board, looking over my (long) list of recipe ideas when I noticed “fried pies” tacked onto my future-pie-inspo. That’s when it hit me: while I may not want an inch-thick layer of pineapple filling, a little bit folded into a crispy southern-style fried hand pie seemed like a very good idea.
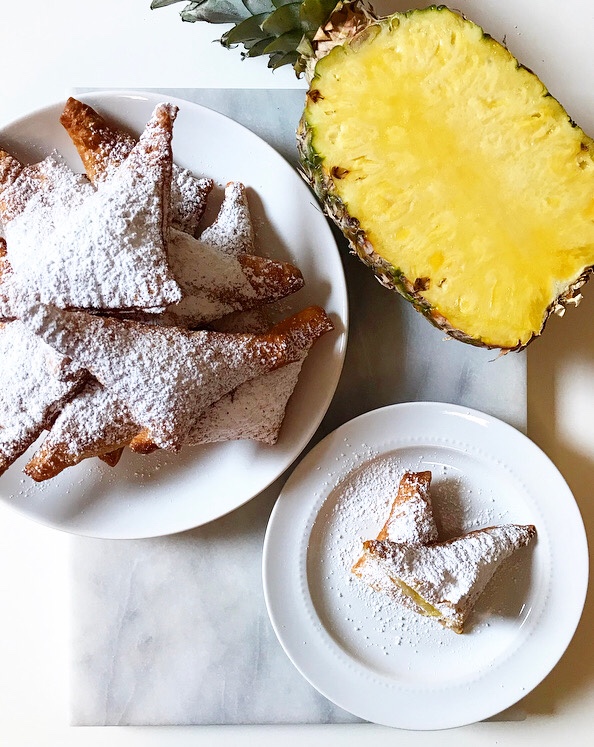
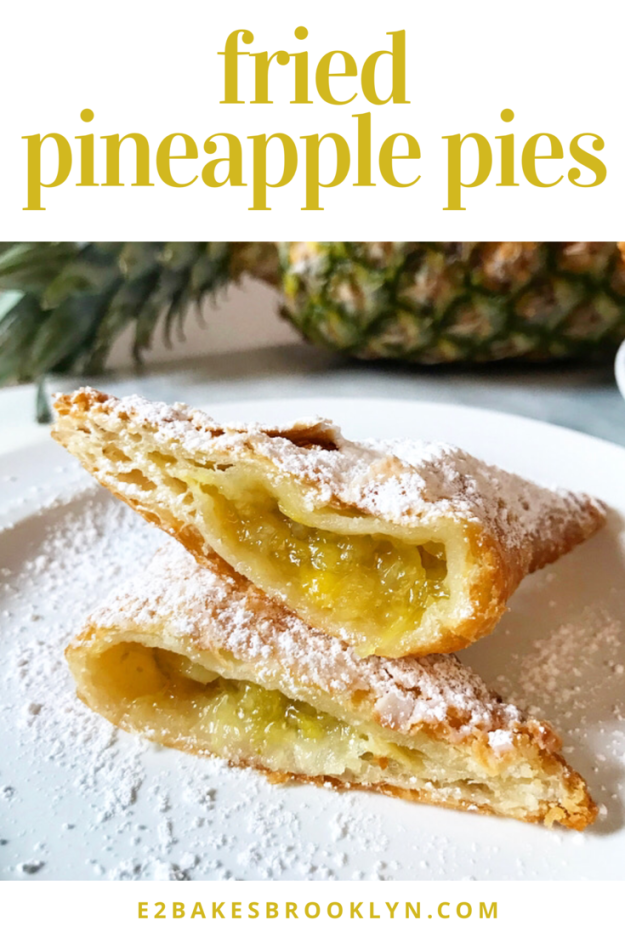
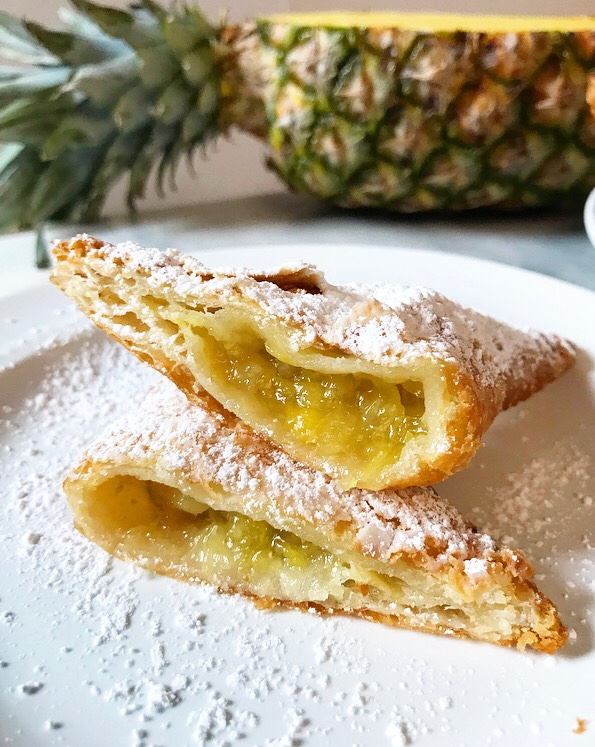 Now, having made these Fried Pineapple Pies twice, I can confirm that they are indeed a very good idea. A phenomenal idea, really. The combination of sweet, tangy, lime- and ginger-spiked pineapple filling and flaky fried crust is one of the best things to come out of my kitchen this year!
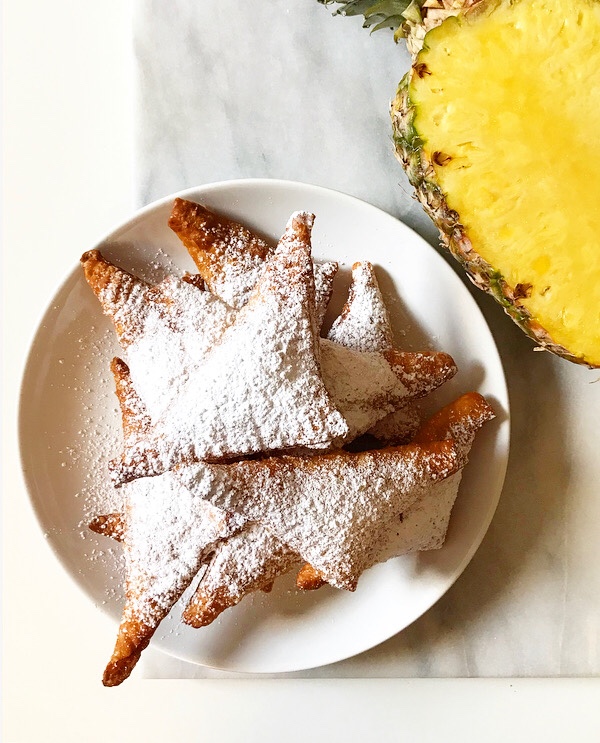
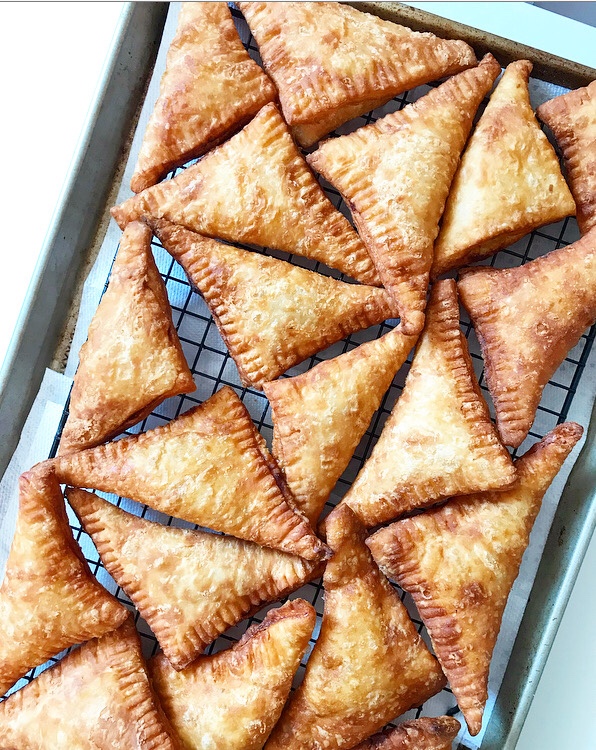
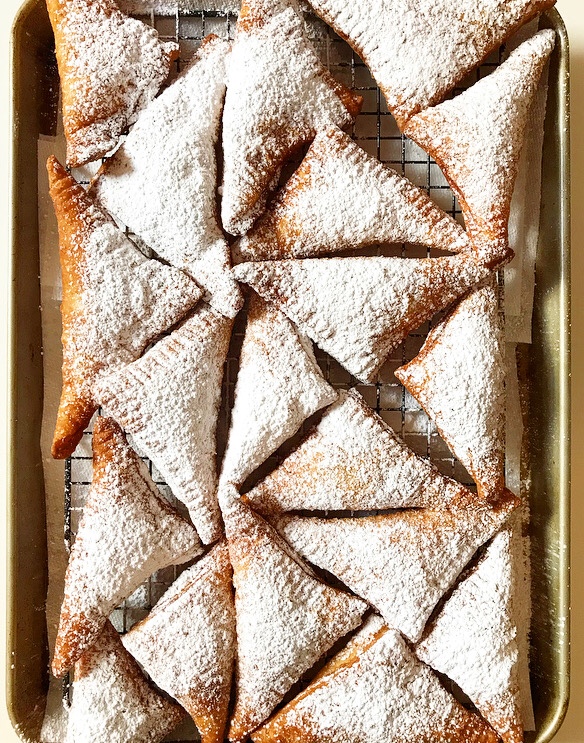
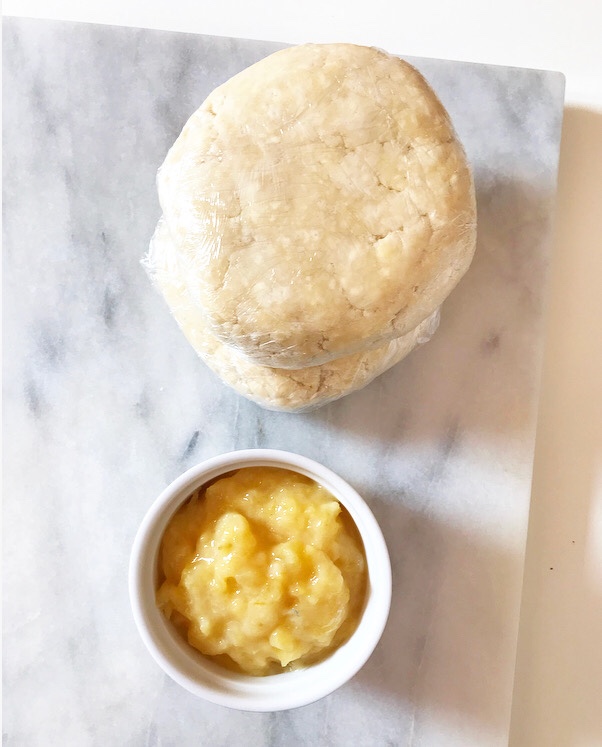 The crust and filling come together ahead of time—the filling in five minutes on the stovetop and the crust in the bowl of a food processor—and are then combined shortly before frying. Pineapple filling is doled out by the tablespoon before being folded into a triangle. The pies are sealed with egg and crimped with a fork before being lowered into a pot of 350F oil. Two or three minutes later, they are lifted out, golden and flaky and begging for a dusting of confectioner’s sugar before being eaten warm ❤
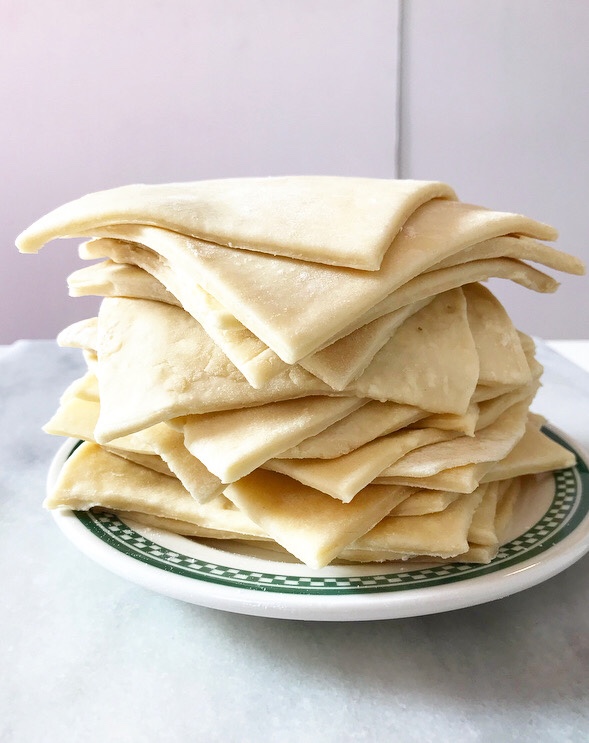

 A few things about the crust before I get to the recipe:
- If you don’t have a food processor, you can absolutely make this dough with a pastry blender (or two forks) in a mixing bowl.
- The dough will stay soft even after a multi-hour chill. This is because there’s a fair amount of buttermilk in relation to the flour and butter, but rest assured that a chill will allow it to roll like a dream.
- Don’t stress yourself out about keeping the dough cold after you shape the pies. I don’t know about you, but I don’t have space for two sheet pans full of raw hand pies in my fridge. If these were being baked, I’d probably advise you to make a greater effort at chilling before cooking, but I’ve had no issues letting these pies sit at room temperature before they hit the oil. The crust still fries up nice and flaky. Love that.
 No need for words on the pineapple filling—it’s basically the same as the filling in my Coconut Pineapple Cake and Pineapple Sweet Rolls! Sweet, tart, jammy, and so deliciously easy.
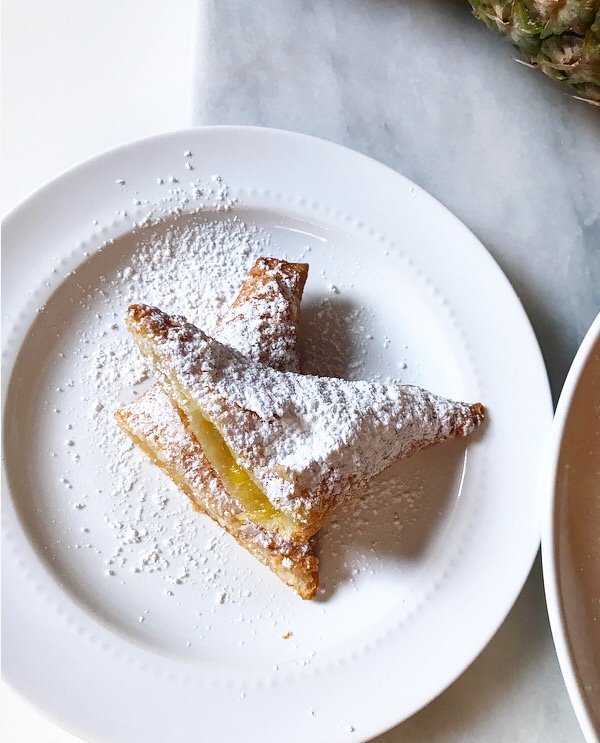 Well, I think that covers the pie portion of Pi Day. Maybe someday I’ll figure out how to properly celebrate the math…but probably not.
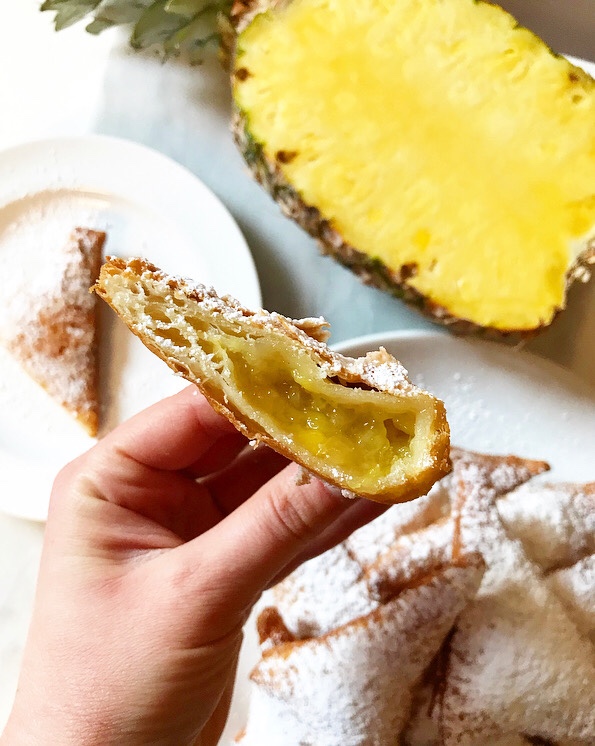
Fried Pineapple Pies
makes 20-22 hand pies
Crust:
4 cups all-purpose flour
1 tablespoon granulated sugar
1 teaspoon Kosher or sea salt
1 cup (2 sticks) unsalted butter, very cold, cut into pieces
1 cup buttermilk
Filling:
16 ounces (2 8-ounce cans) canned crushed pineapple in juice
1/2 cup granulated sugar
3 tablespoons cornstarch
1/2 teaspoon ground ginger
pinch of Kosher or sea salt
zest of 1 medium lime
2 tablespoons fresh lime juice
2 tablespoons unsalted butter
To Seal:
1 large egg, beaten
For Frying:
canola oil, safflower oil, shortening, or other oreferred frying fat
For Garnish:
2-3 tablespoons confectioner’s sugar
One Hour to Three Days Ahead:
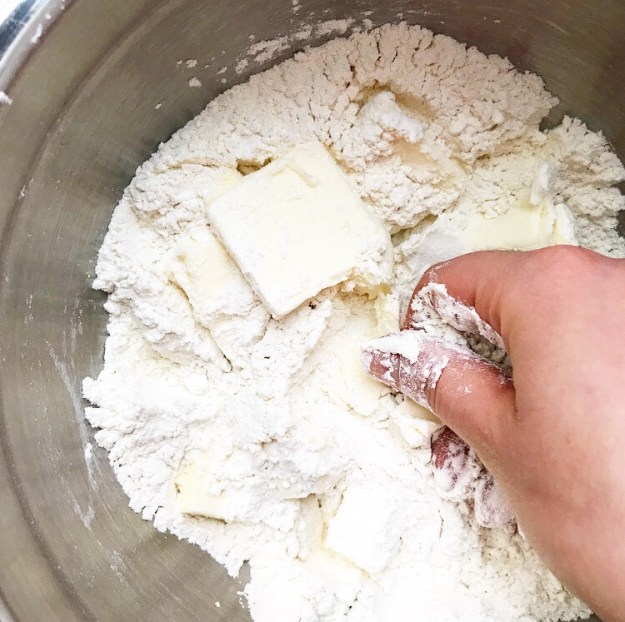
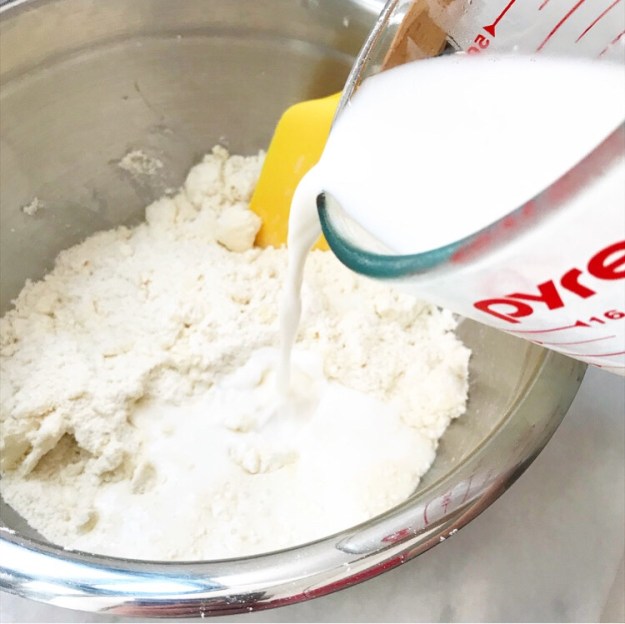
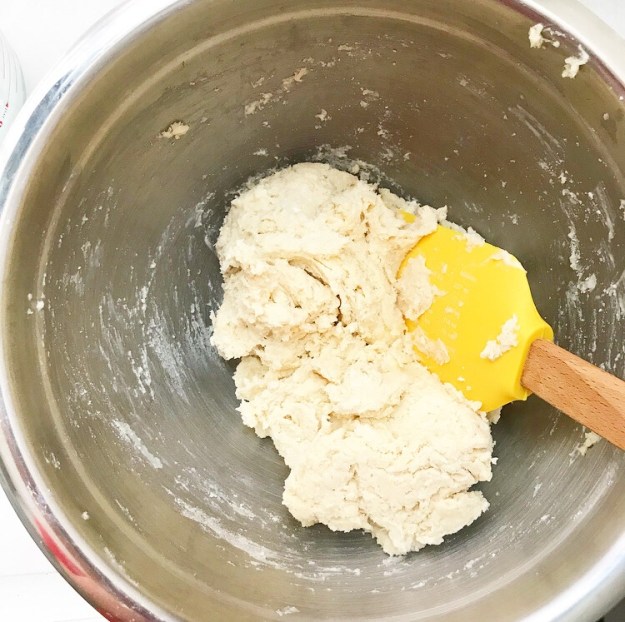
Make the dough. Combine flour, sugar, and salt in the bowl of a food processor. Pulse to combine. Add butter and process until the largest pieces are the size of small peas. Add buttermilk and process until dough clumps, stopping to scrape down the bowl if needed. Give dough a knead or two before dividing it in half, forming each into a disk, and wrapping them in plastic wrap. Refrigerate for at least 1 hour or up to 3 days. Dough will remain slightly soft even after chilling.
Make the filling. Combine crushed pineapple in juice, sugar, cornstarch, ground ginger, salt, and lime zest and juice in a medium saucepan over medium heat. Cook, stirring frequently, until juices are clear and mixture thickens slightly, about 5 minutes. Remove from heat and stir in butter. Let cool to room temperature before chilling in an airtight container in the refrigerator.
When You Want to Fry:
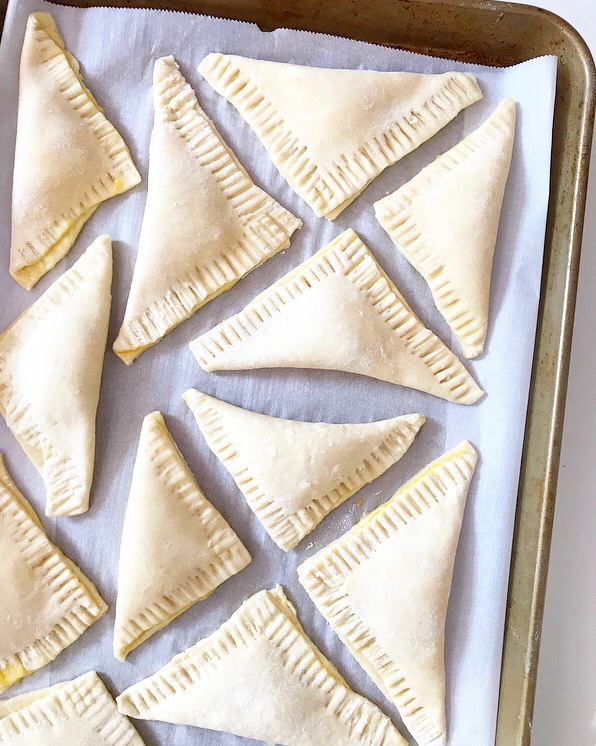
Line a baking sheet with parchment. Set aside. Line another baking sheet with paper towels and set a cooling rack over the top. Set near where you will be frying.
Flour a surface and a rolling pin. Remove one disk of dough from the refrigerator. Roll dough to 1/8-inch thickness. Use a ruler and a large, sharp chef’s knife to slice the dough into 4×4-inch squares. Stack squares on a plate. Chill scraps and squares while you roll and cut the second disk of dough. Scraps may be kneaded lightly and re-rolled.
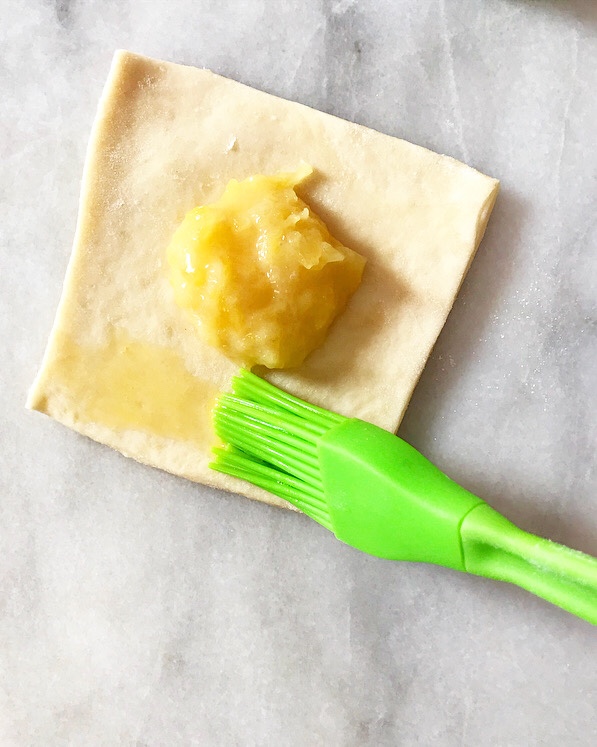
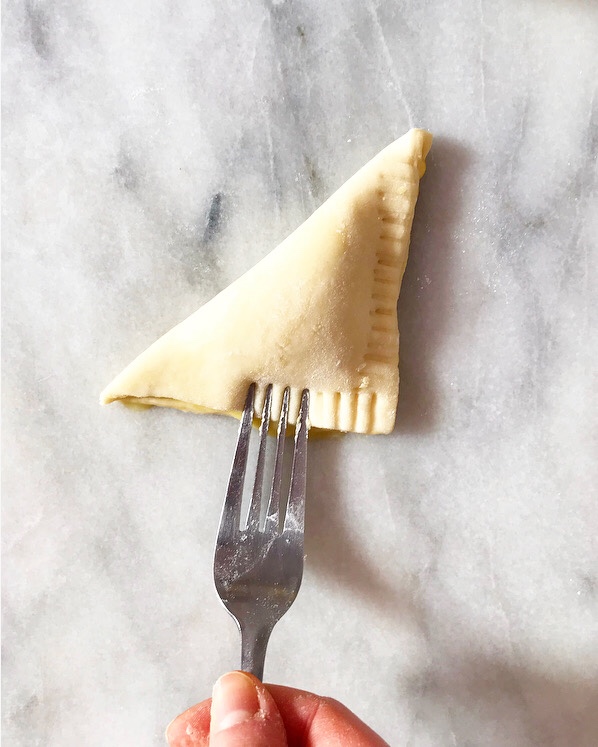
Working with one square at a time, roll lightly on the floured surface just to expand another 1/2-inch or so. Drop 1 tablespoon of filling in the center of the square. Brush two meeting-edges with beaten egg and fold the square diagonally to create a triangle. Press to seal with your fingers before crimping with the floured tines of a fork. Place pie on parchment-lined pan. Repeat with remaining dough/filling. Don’t worry too much about dough becoming soft or sticky.
Pour canola oil (or other frying fat) into a very dry heavy-bottomed pot. Heat over medium heat until it reaches 350F.
Working with 2 pies at a time, fry them for 1-2 minutes per side, until golden, before using a frying spider to remove to prepared rack/pan. Repeat with remaining pies, letting the oil return to temperature as needed.
When all pies are fried, dust with confectioner’s sugar. Serve immediately, while warm.
Fried Pineapple Pies are best the day they are made.
Note:
If you do not have a food processor, this may be done in a large mixing bowl with a pastry blender or two forks.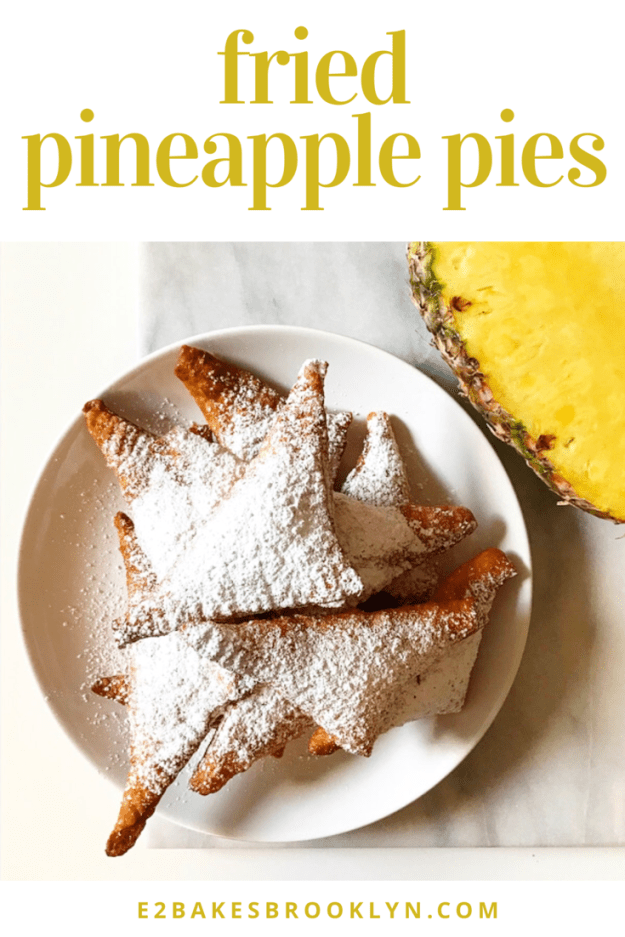
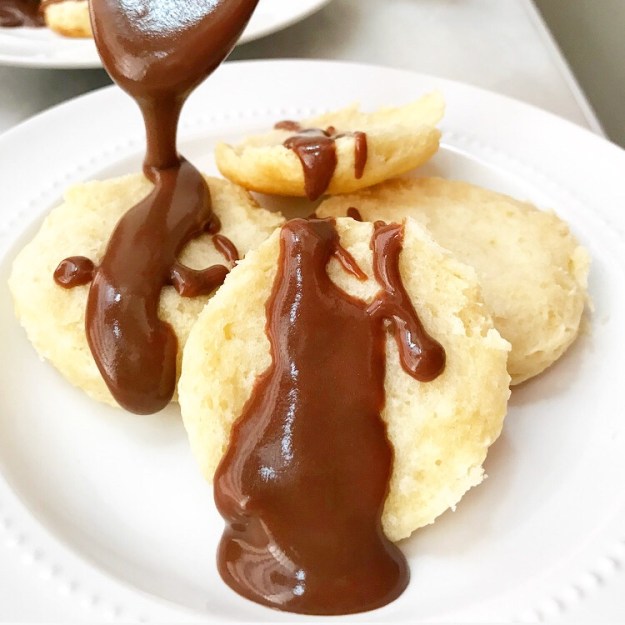
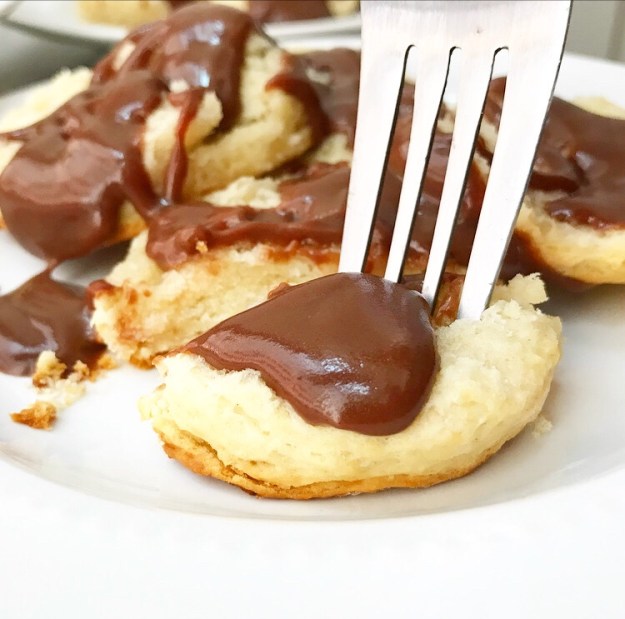
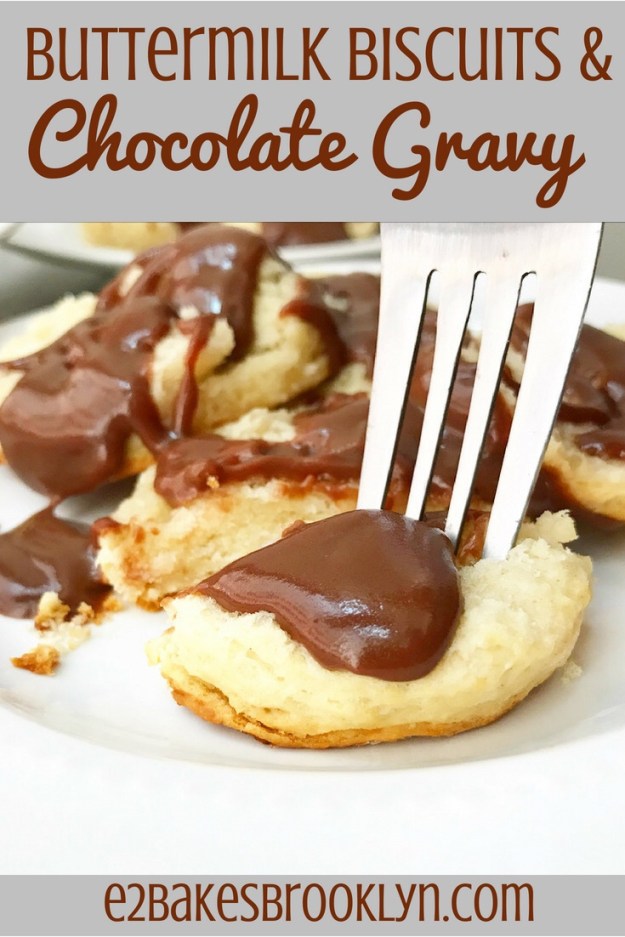
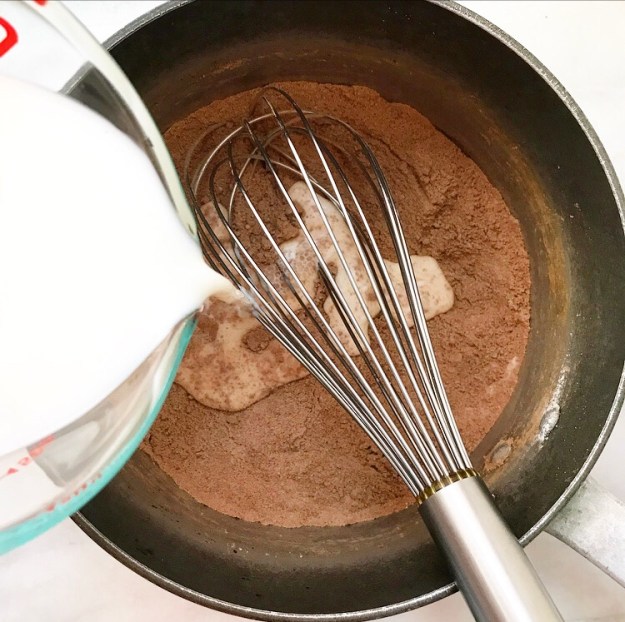
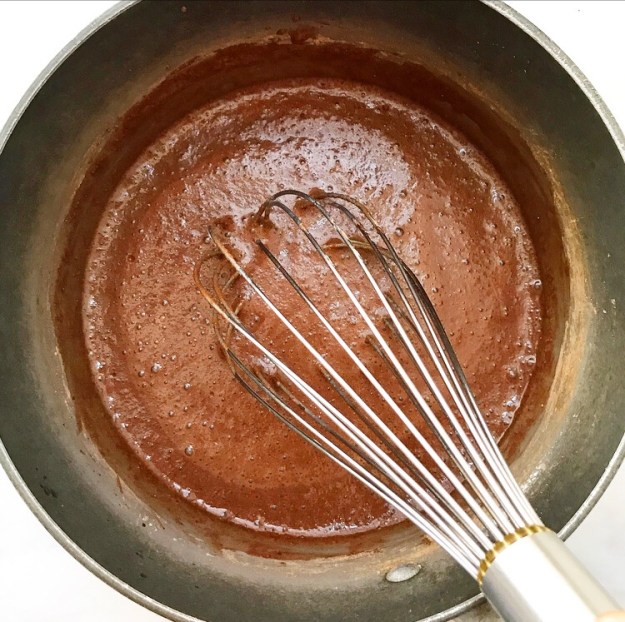
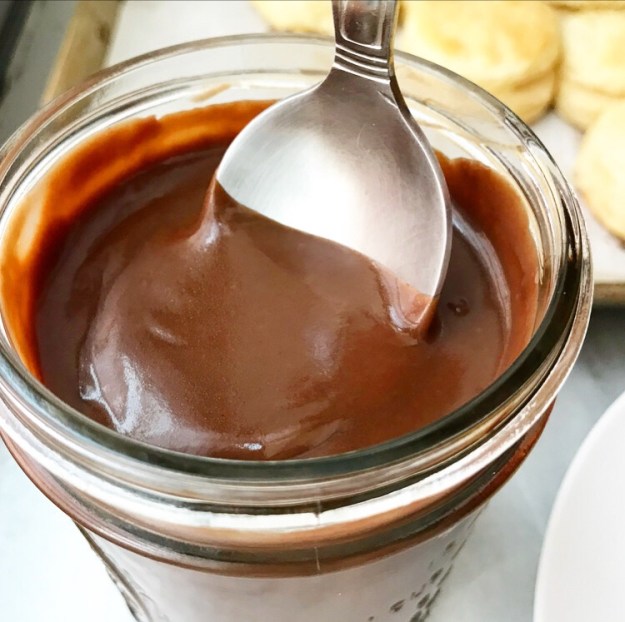
 I know what you’re thinking. “Chocolate…gravy? GROSS.”
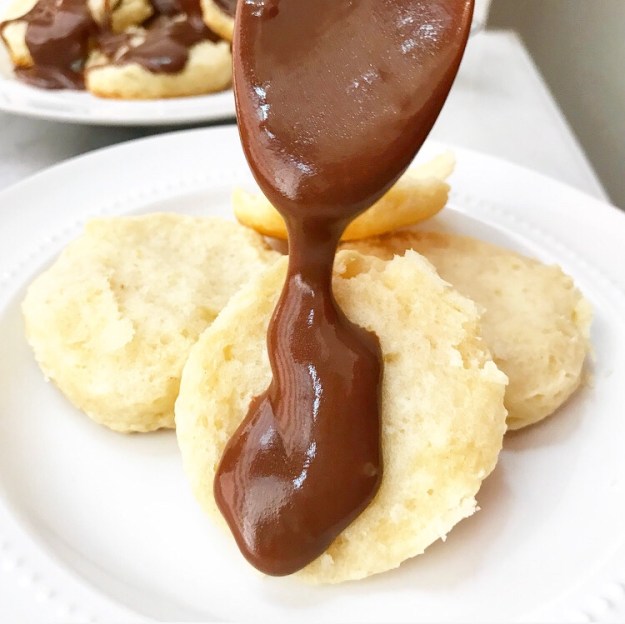
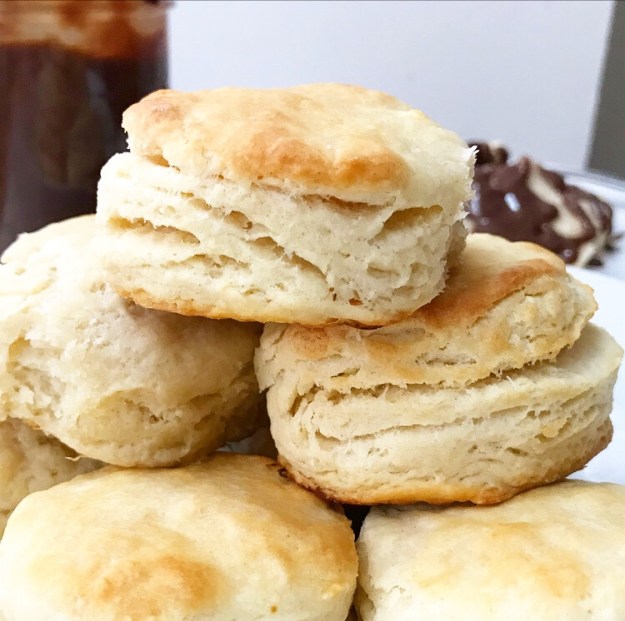
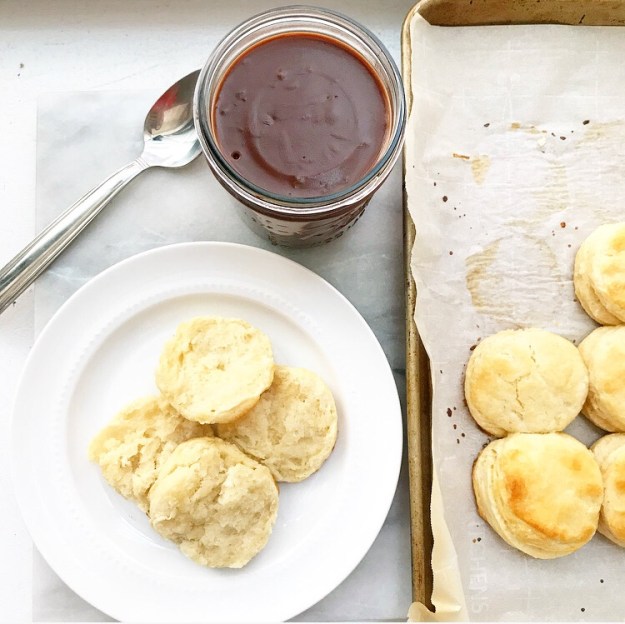

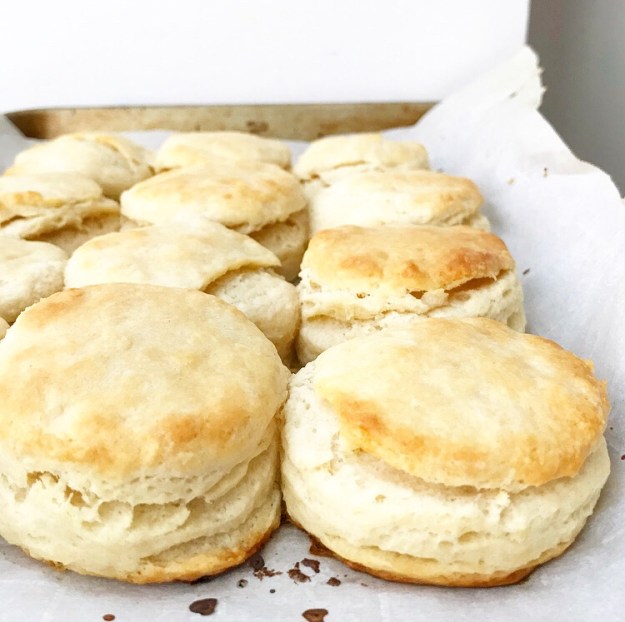
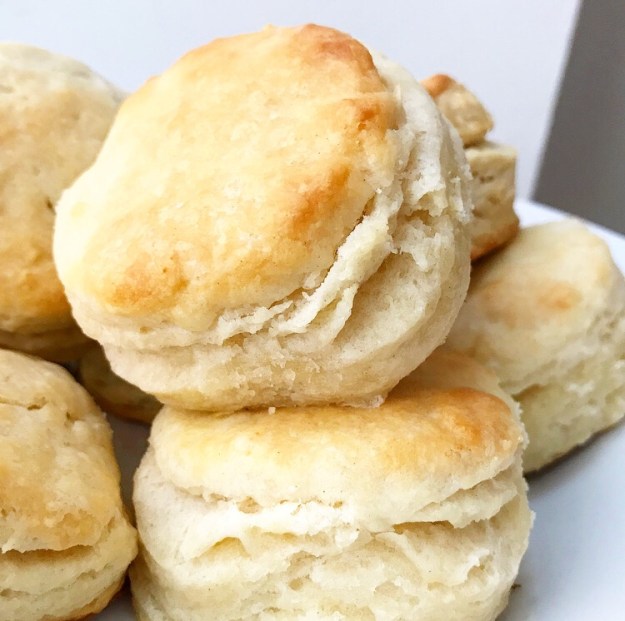
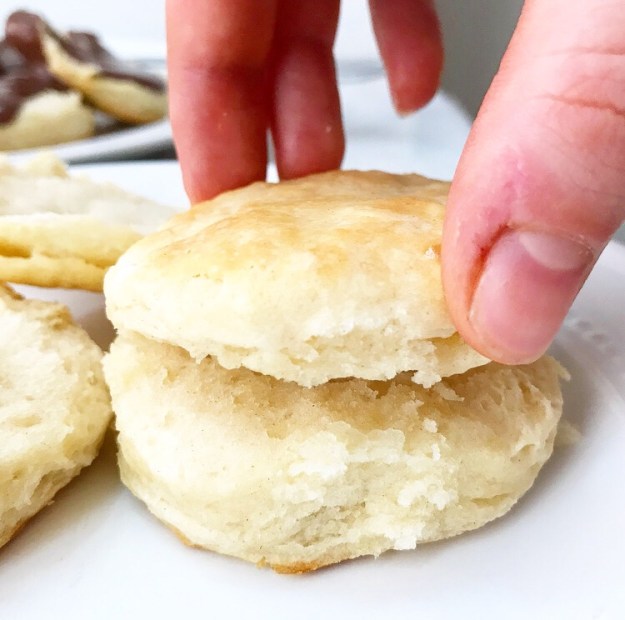
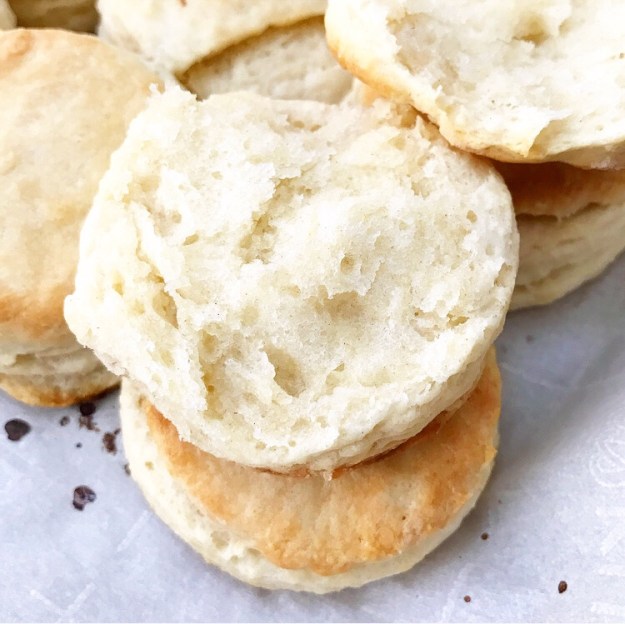 These buttermilk biscuits are made with a touch of cornstarch to mimic the tenderness of cake flour. I also added a smidge more flour and buttermilk, yielding a slightly softer dough. In addition, I’ve taken out the beat-with-a-rolling-pin step, and chosen to bake the biscuits close together on a parchment-lined baking sheet instead of packed into a casserole dish. Regardless of which biscuit recipe you choose though, you’re going to love them drizzled (or smothered) with Chocolate Gravy.