 It’s almost time for pie. Almost.
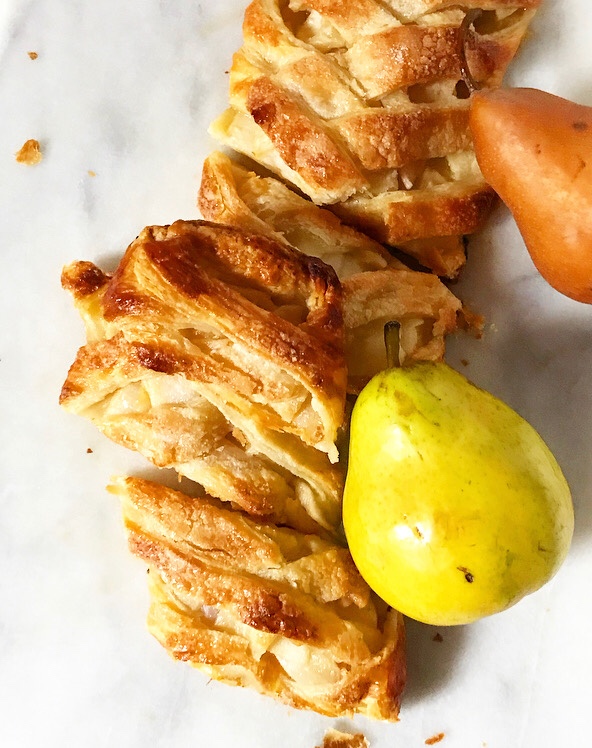
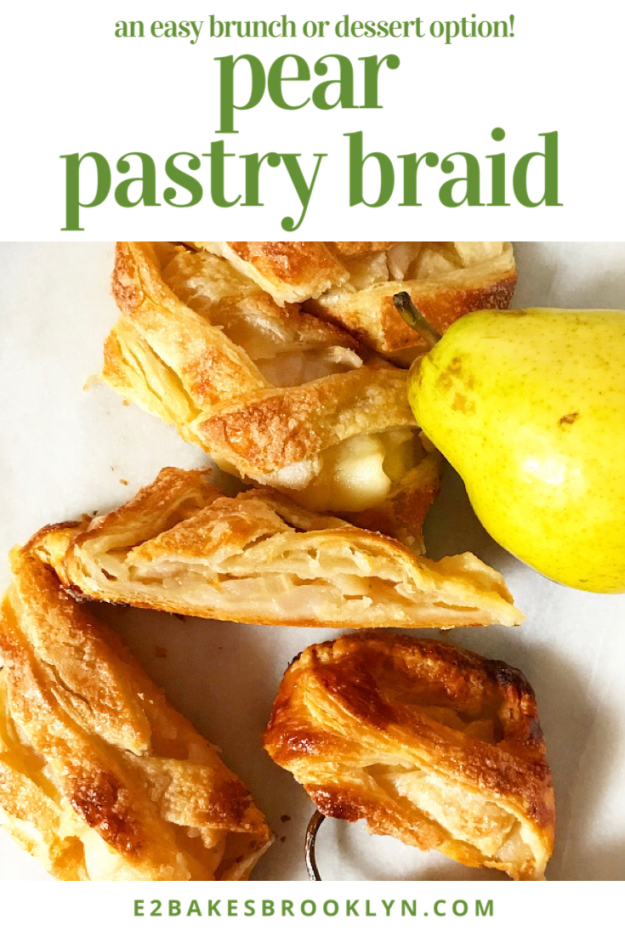
Yes, I know it’s November now, but I can’t just switch from Popcorn Balls to Pumpkin Pie on a dime. And truthfully, I’ve been concentrating too hard on the World Series and anticipating the new Scorsese film this week to fully get down to business with Thanksgiving. Rest assured though that the pies are coming. Sides, too! But first, this Pear Pastry Braid.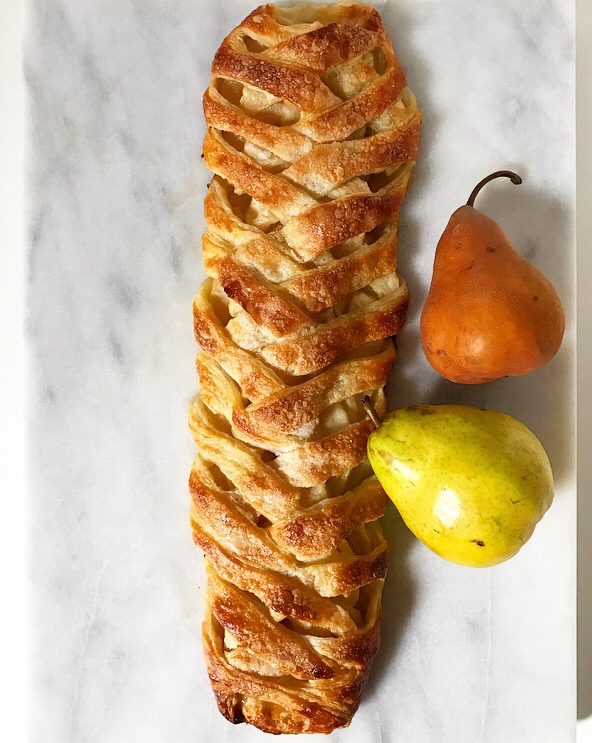 I mean, do you see this beautiful thing? Is it brunch food? Is it dessert? I don’t know. I don’t make the rules. I just make the pastry.
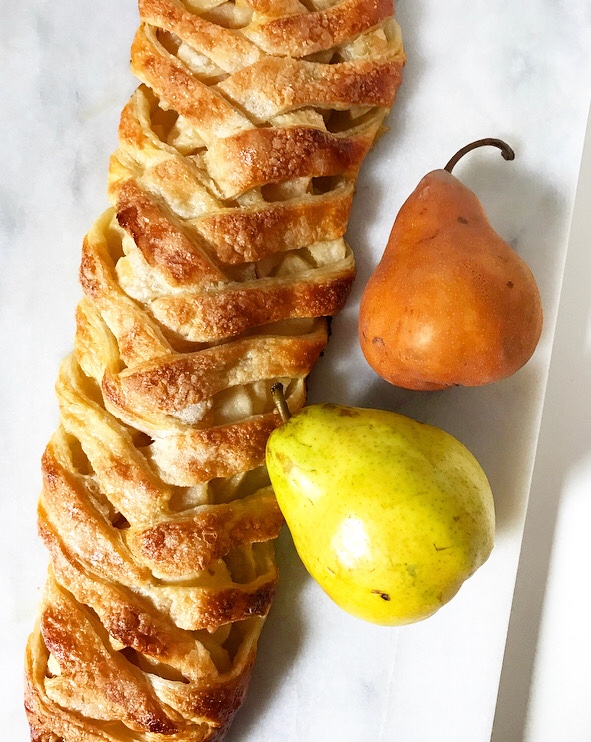 And oh, is this a good one. Pear Pastry Braid is super buttery and filled with tender pears that have been tossed with ginger, lemon, and a few tablespoons of sugar. Yum!
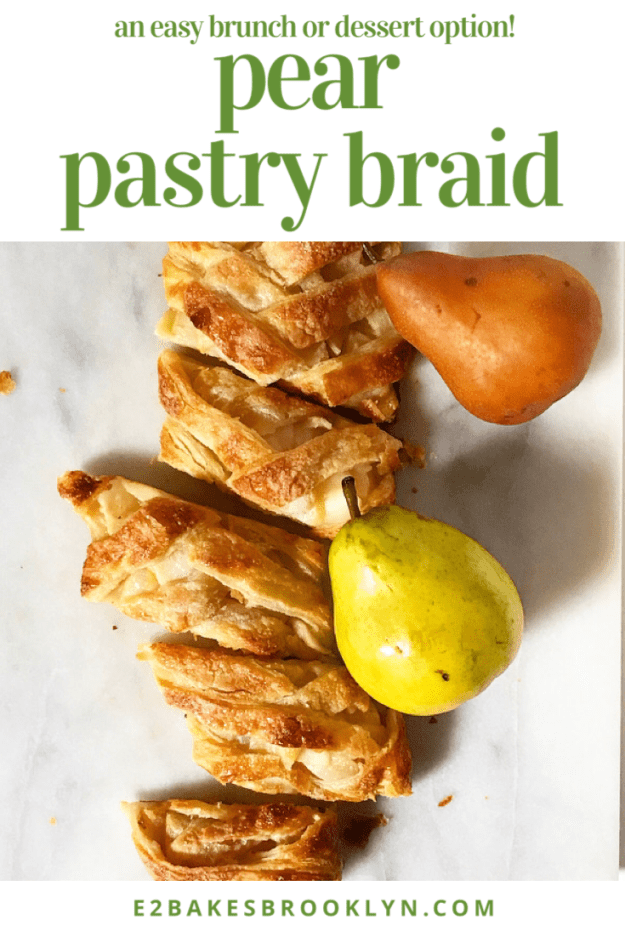
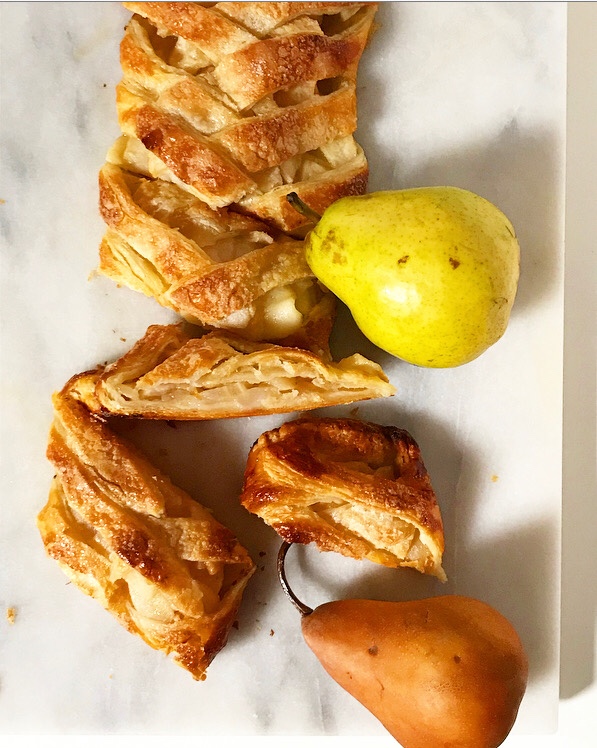 Don’t let these glamour shots deceive you–it’s surprisingly easy to make. Simply roll out a sheet of rough puff pastry (or the frozen thawed all-butter stuff), make a bunch of diagonal cuts down both long sides and fill the center with sliced pear filling.
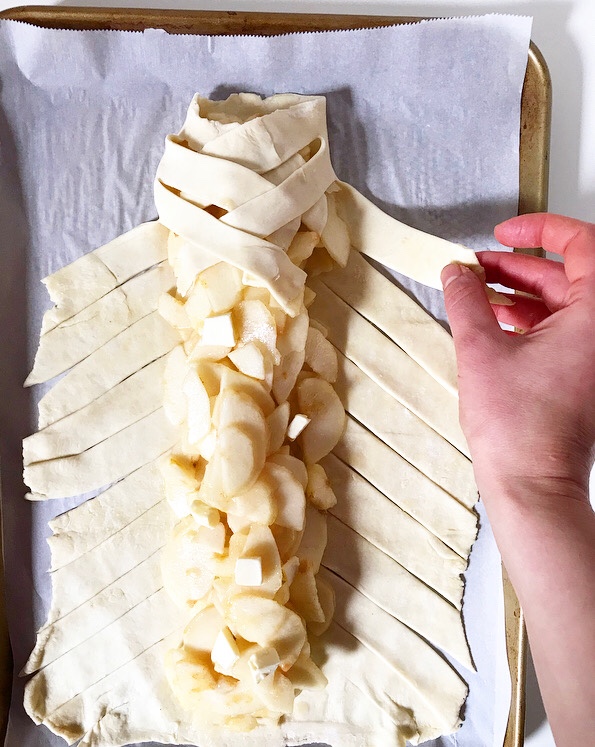
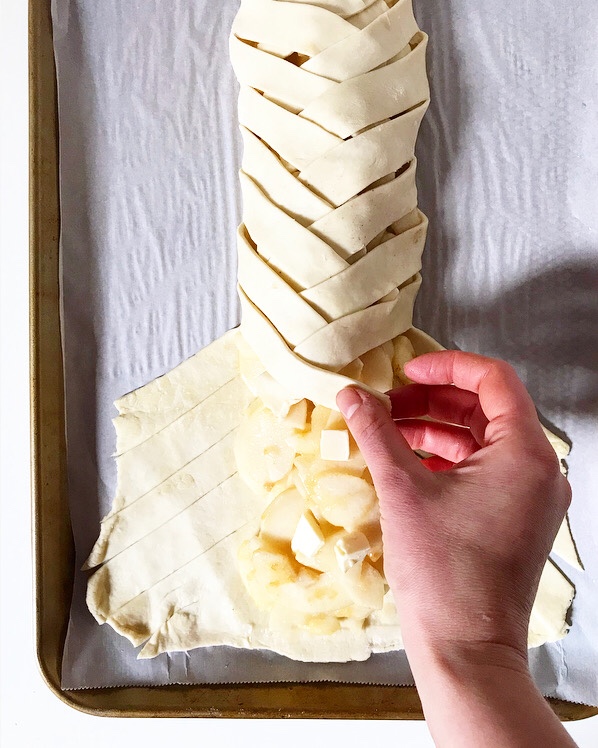 Alternating sides, carefully cover the filling with overlapping strips of dough, producing a braid-like appearance. Give it a brush of egg wash and a sprinkle of sugar, and then let it bake til golden.
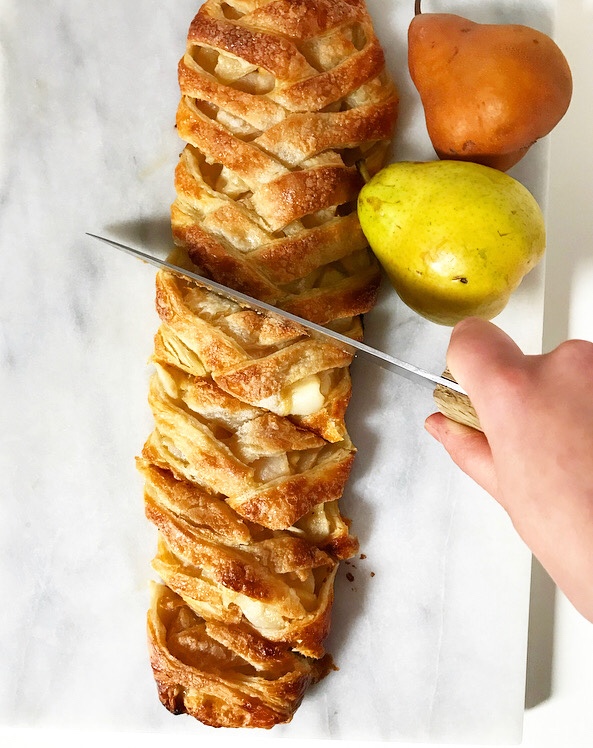 Sounds like a lot, but the time from when you start peeling pears to when you pull the finished pastry out of the oven is less than an hour. It can be sliced and served warm too, meaning that you don’t have to plan crazy far in advance (especially if you already have the pastry dough in the fridge). There’s so much planning around food this time of year that it’s kind of nice to have something you can make when the mood strikes or when someone says they’re going to pop by.
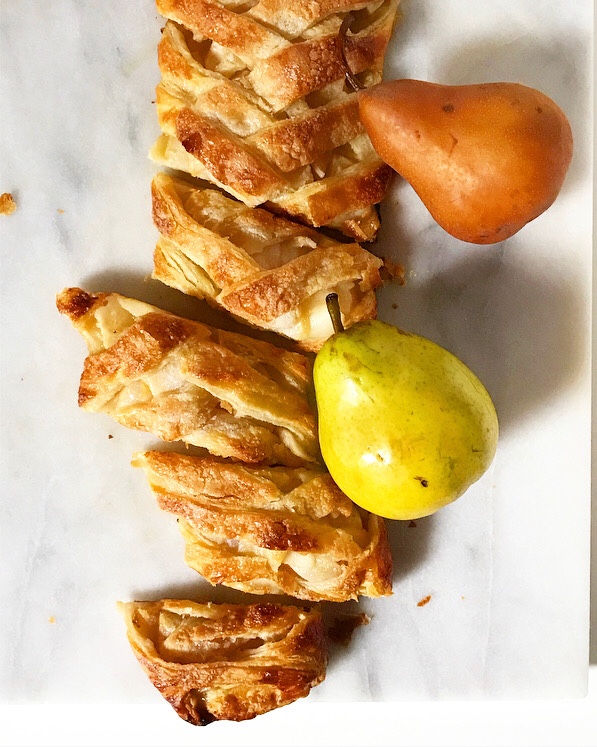 You know what else is nice? Eating a slice of sweet, flaky Pear Pastry Braid in your pajamas on a Saturday morning. Or a Saturday night. Or both.
What?! I don’t make the rules. I just make the pastry.
Pear Pastry Braid
makes 1 braid, about 6 servings
Rough Puff Pastry:*
1 cup all-purpose flour
1/4 teaspoon Kosher or sea salt
5 ounces unsalted European-style butter, very cold, cut into small pieces
1/4 cup water or milk, very cold
Pear Filling:
4 medium firm-ripe pears
5 tablespoons granulated sugar, divided
1/2 teaspoon ground ginger
pinch of Kosher or sea salt
juice of 1/2 lemon
1 tablespoon unsalted butter, cut into small pieces
Egg Wash:
1 large egg
1 teaspoon water
Make Rough Puff Pastry. In a large mixing bowl, whisk together flour and salt. Use a pastry blender or two forks to cut butter into dry ingredients until the largest pieces are the size of small peas. Pour in cold water or milk and stir with a silicone spatula or wooden spoon until a shaggy dough forms.
Flour a surface and a rolling pin. Turn dough out onto surface, and use your hands to pat it into a rough rectangle. Roll the dough into an 8×10″ rectangle. Fold dough in thirds, and give it one quarter turn. Roll into an 8×10″ rectangle again, fold, and turn. Repeat rolling, folding, and turning until it has been done six times total. Wrap folded dough in plastic wrap and refrigerate for at least one hour, or up to 48 hours.
Make the pear filling. Peel the pears with a vegetable peeler. Working with one pear at a time, use a large, sharp chef’s knife to trim off both ends. Slice down through the stem end to halve the pear lengthwise. Use a small spoon to scoop out the seeds. Slice the pear as thinly as you can.
Place sliced pear pieces in a medium mixing bowl. Toss with 4 tablespoons sugar, ground ginger, salt, and lemon juice. Set aside.
Preheat oven to 400F. Line a half-sheet baking pan with parchment paper.
Assemble the pastry braid. Flour a rolling pin. Unfold dough on the prepared pan. Roll dough out to 12×16-inch rectangle. Orient the pan/rectangle so that the side nearest you is a short side.
Carefully dust the edge of a sharp knife with flour. Cut off two small corners of dough on the edge furthest from you. Leaving a 4×16-inch space in the center for the filling, cut 1-inch diagonal strips strips down both sides of the pastry, as pictured in the post.
Fill the pastry braid. Leaving 1/2-inch of space at each short end, mound pear filling along the center (intact) section of dough. Make sure to leave any accumulated liquid behind in the bowl. Dot filling with butter.
“Braid” the dough. Starting at the edge furthest from you, take a strip of dough and carefully lay it across the filling. Then grab a strip of dough from the right side and carefully lay it over the filling so that it is overlapping the first strip. Continue doing this, alternating left and right until you reach the end of the braid. Fold the short edges up slightly to seal.
Make the egg wash. Combine egg and water in a small bowl and whisk together with a fork.
Paint egg wash over all exposed pastry. Sprinkle with 1 tablespoon sugar. Bake pastry braid for 25-30 minutes, or until pastry is golden and pears are tender.
Let pastry braid cool on its pan on a rack. When you can handle it (I could at 30 minutes, although it was still warm), very carefully slip your hands palm-side-up under the pastry and quickly lift it onto a large cutting board or serving tray. Use a large, sharp chef’s knife to slice it into pieces. Serve immediately.
Pear Pastry Braid is best the day it is made.
Note:
You may use frozen all-butter puff pastry instead. Thaw according to package directions and begin the recipe at the paragraph that begins “Make the pear filling.”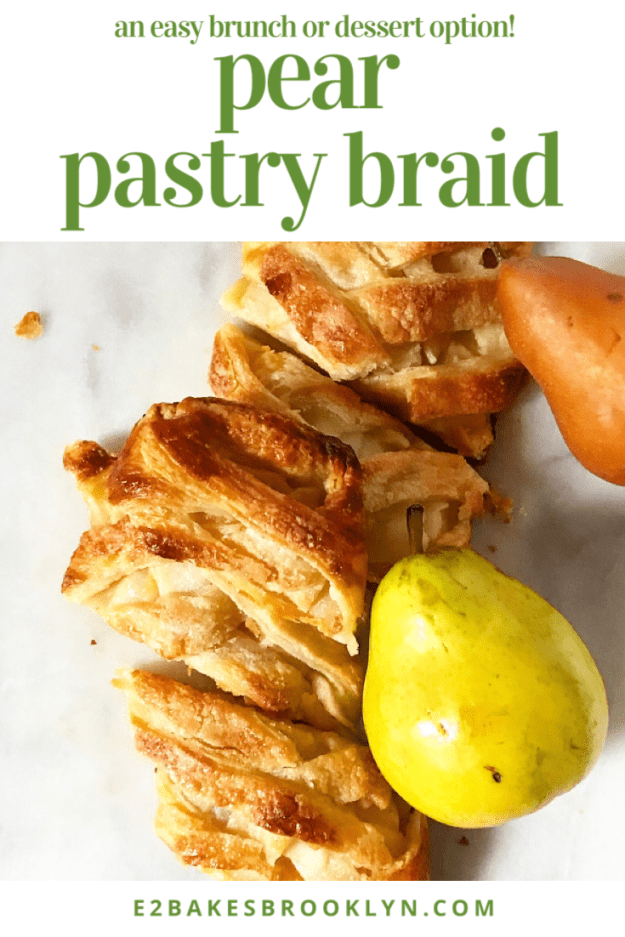
 There’s little rhyme or reason as to what I choose to blog—it’s usually just whatever I’ve felt like making lately. In case you hadn’t noticed, I’ve been on a bit of a breakfast kick. I’m not exactly sure how many fall breakfast options I think you need, but it’s at least three:
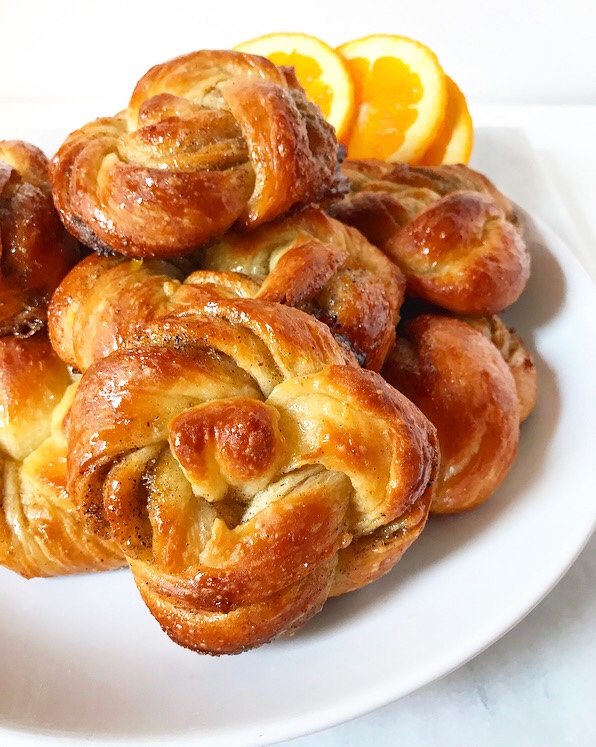
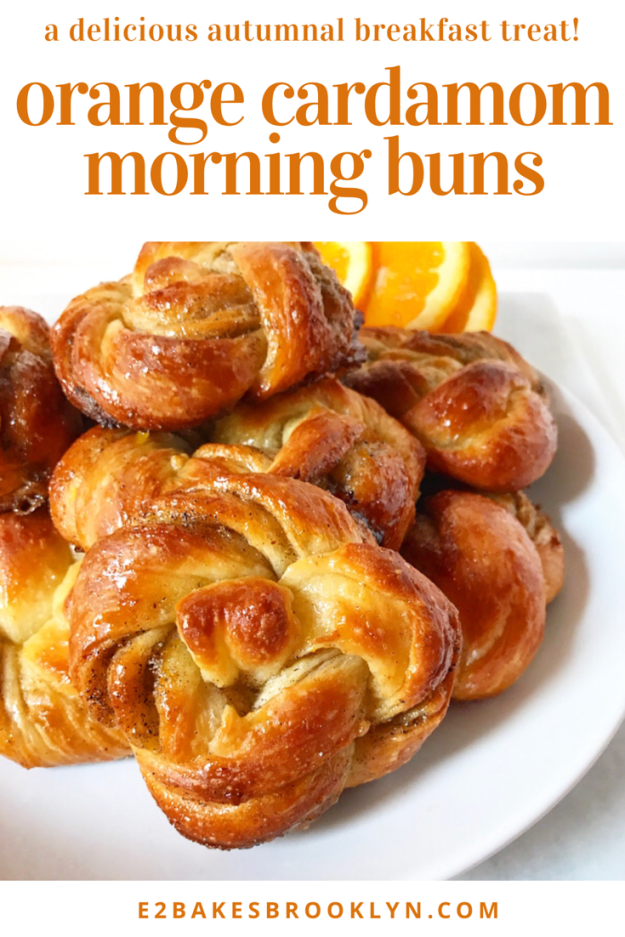
 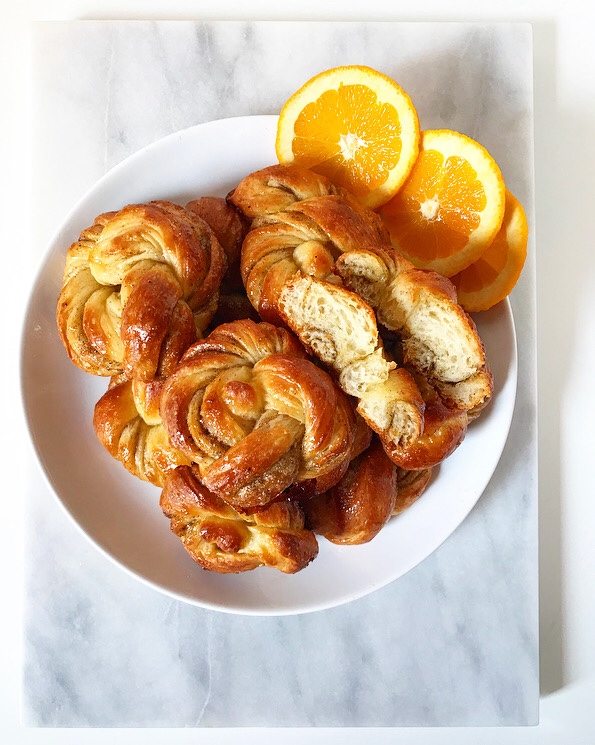 I mean, look at these sticky, swirly things! You need them. I need them. Preferably on Saturday morning alongside my daily French press.
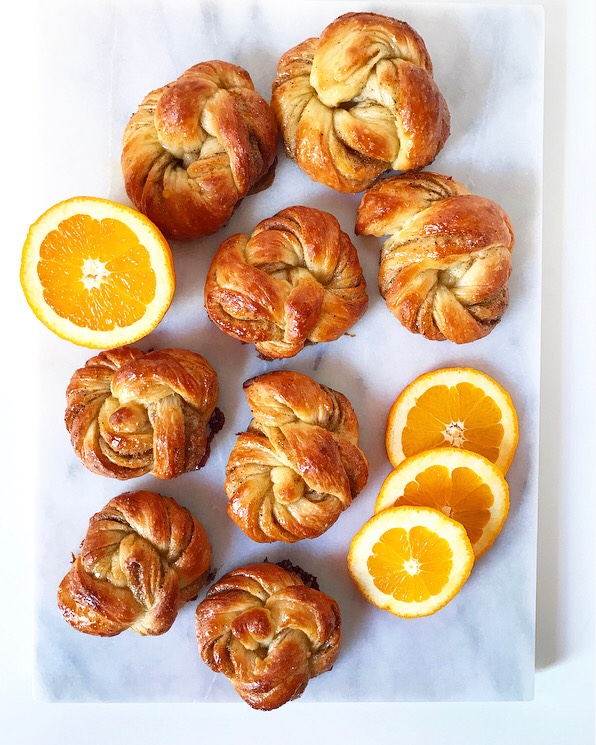 They’re flaky and fluffy, filled with a fragrant orange-cardamom sugar, and twisted to perfection. The crowning glory is a brush of orange-cardamom glaze as soon as the buns come out of the oven, which gives them an extra layer of flavor and their gleaming appearance.
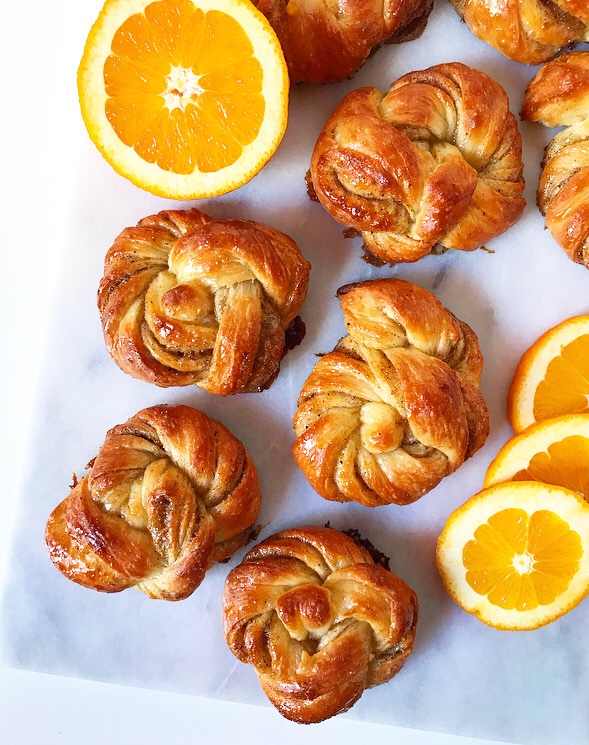 Oh, and they take two hours start-to-finish—a rarity in the from-scratch breakfast bun realm. And their twists? Much easier than they look. My motor skills are seriously lacking (I am comically bad with scissors), so if I can shape them, anyone can.
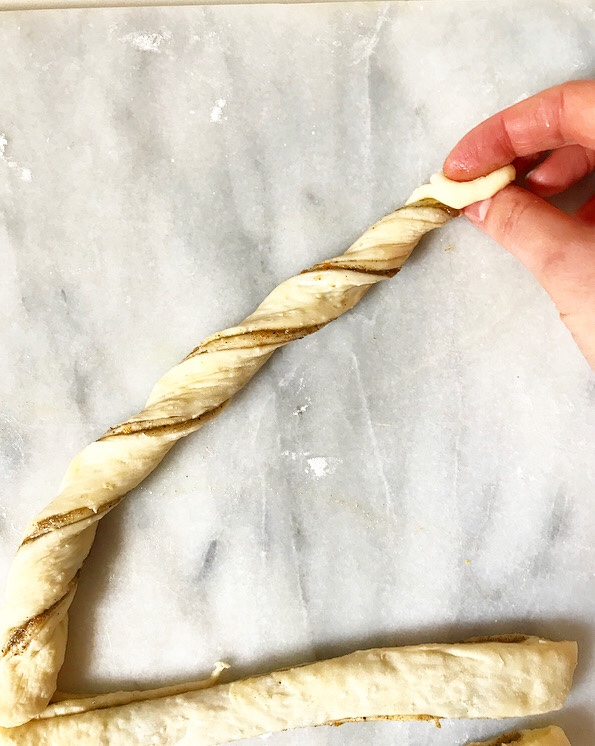

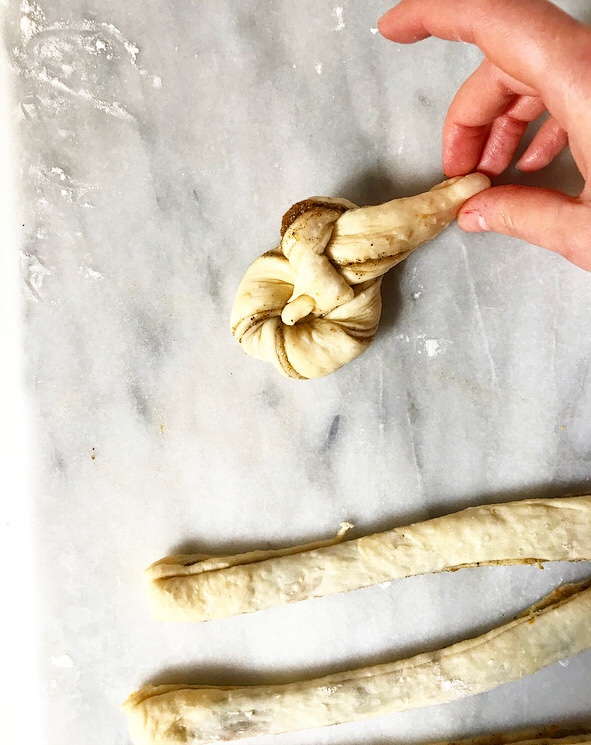
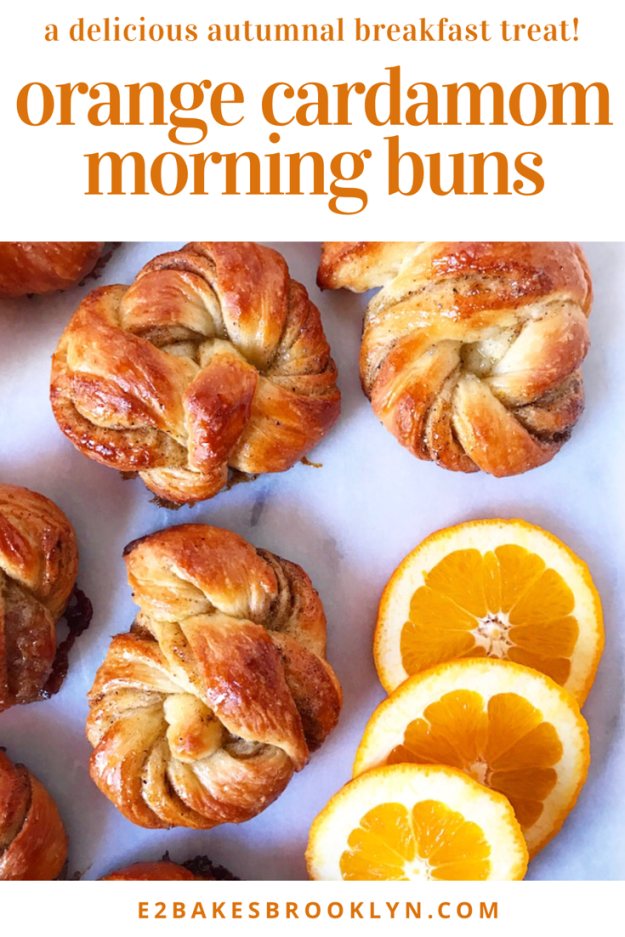
 Just twist a strip of dough and tie it in a knot. Boom, done.
 Even if you do it “wrong” (which is near-impossible), I promise they will still turn out beautifully. And even if they don’t (which is also near-impossible—can you see that I did this with one hand?), call ‘em rustic. That’s what I do. If anyone complains, eat theirs. That’s also what I do.
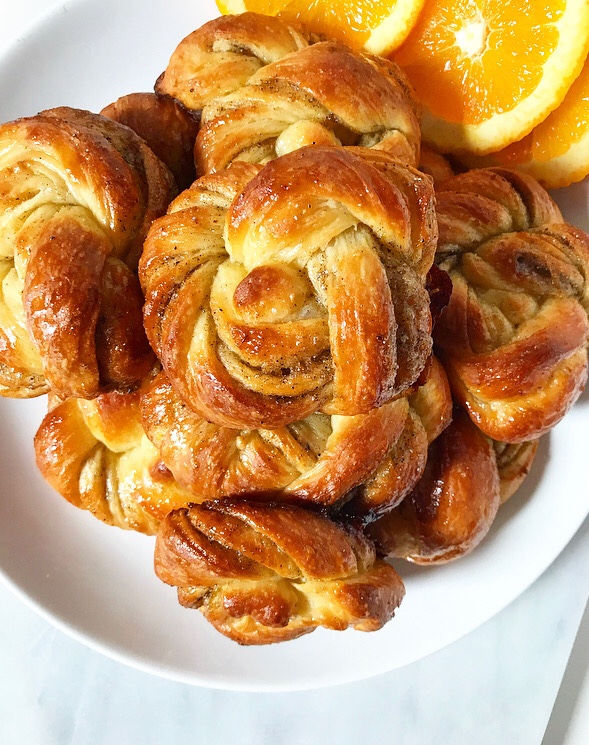 What?! You don’t need that negativity at breakfast.
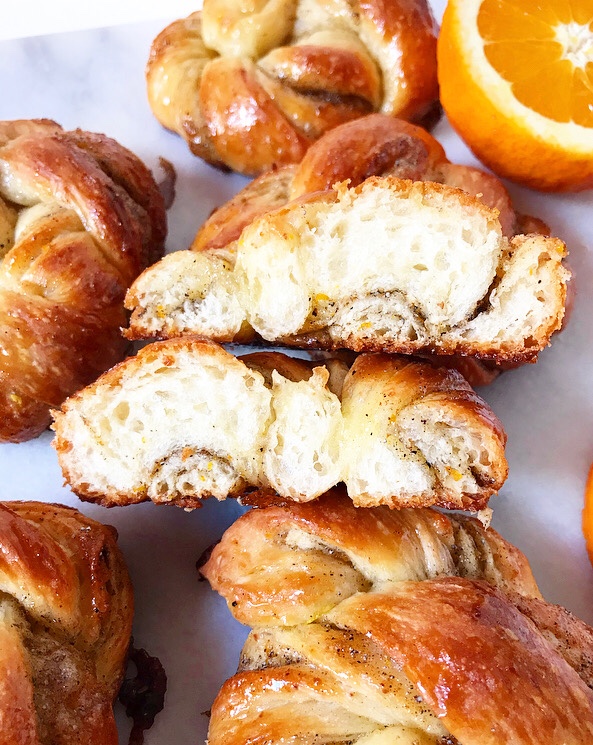

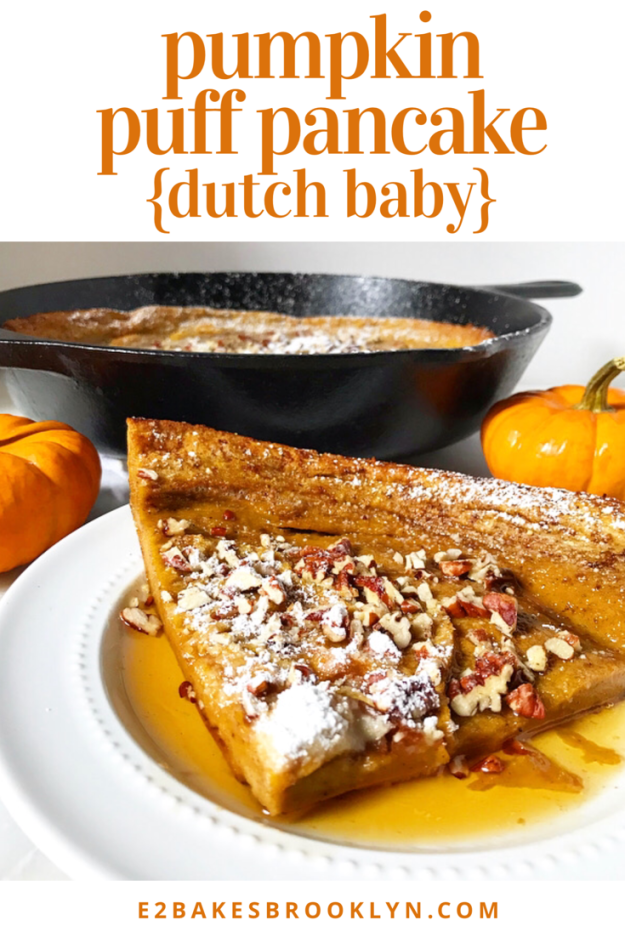
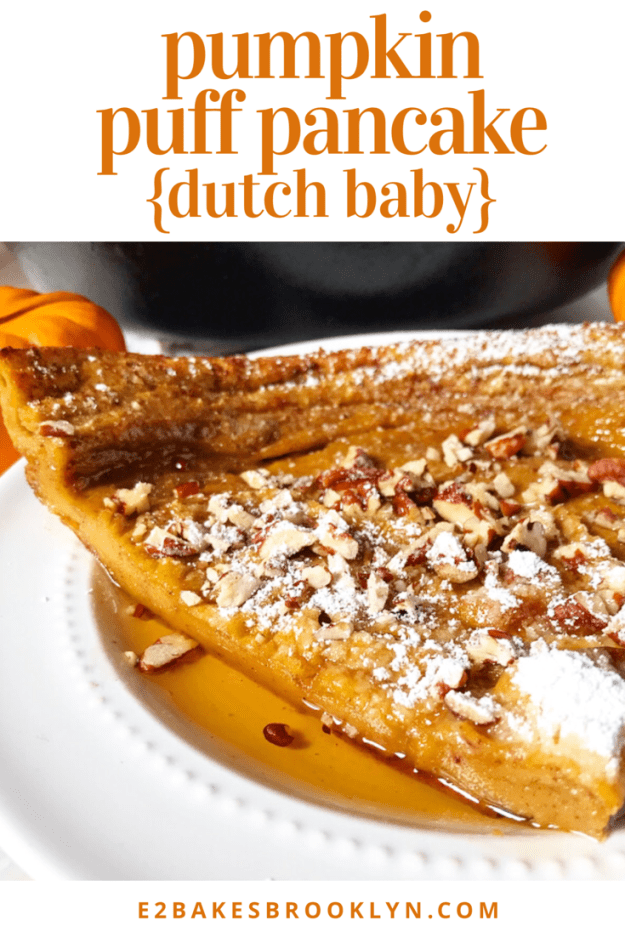
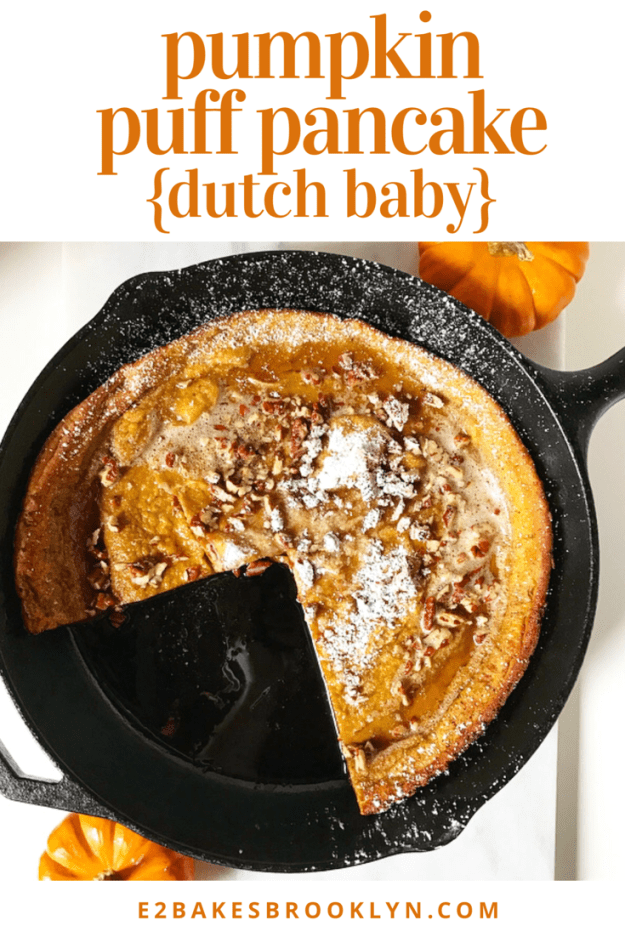
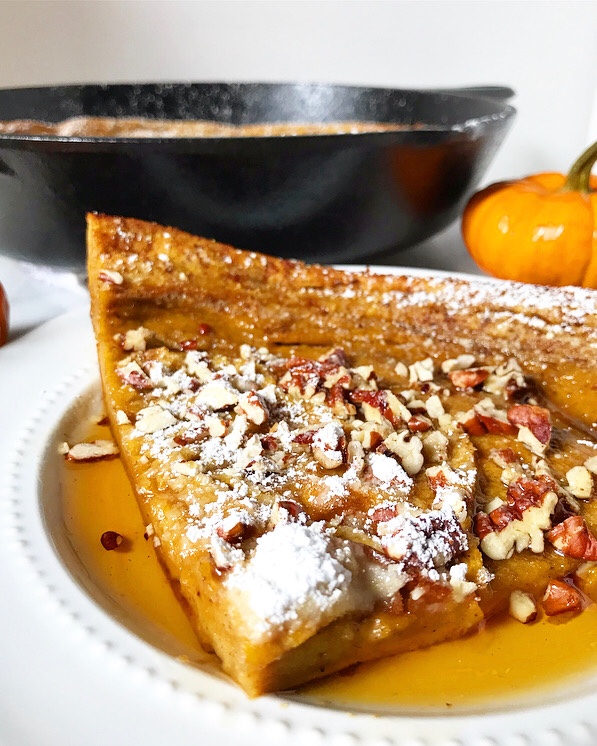 It’s that time! Tomorrow morning will be the first weekend breakfast of fall (even if you are regretting having packed away your summer clothes two weeks ago) and it should absolutely be this Pumpkin Puff Pancake. (And maybe bacon.)
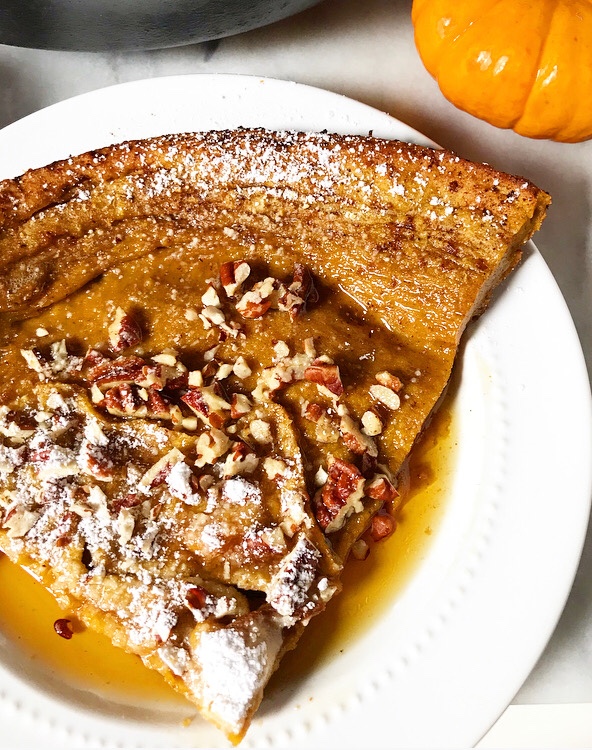 This Pumpkin Puff is simply an autumnal take on
 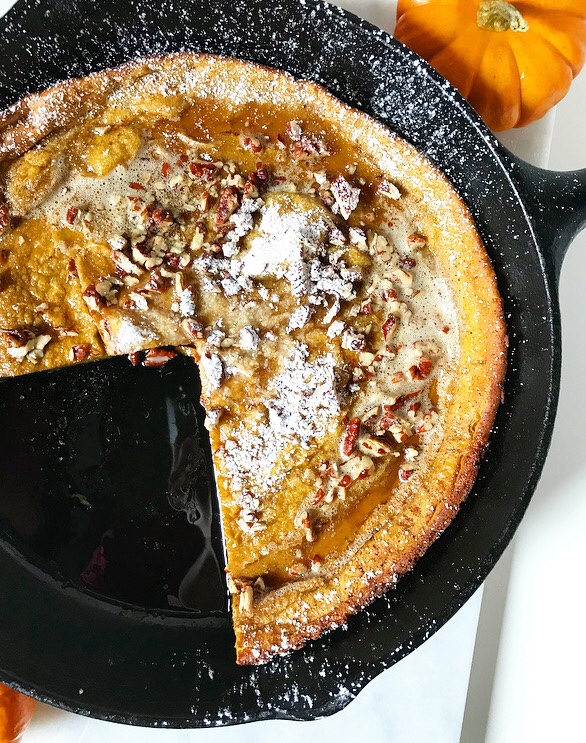 Mix up your
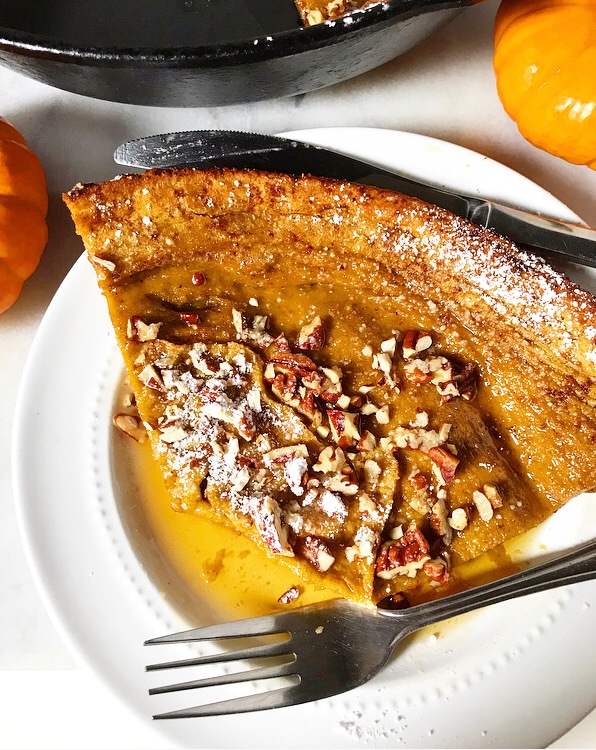
 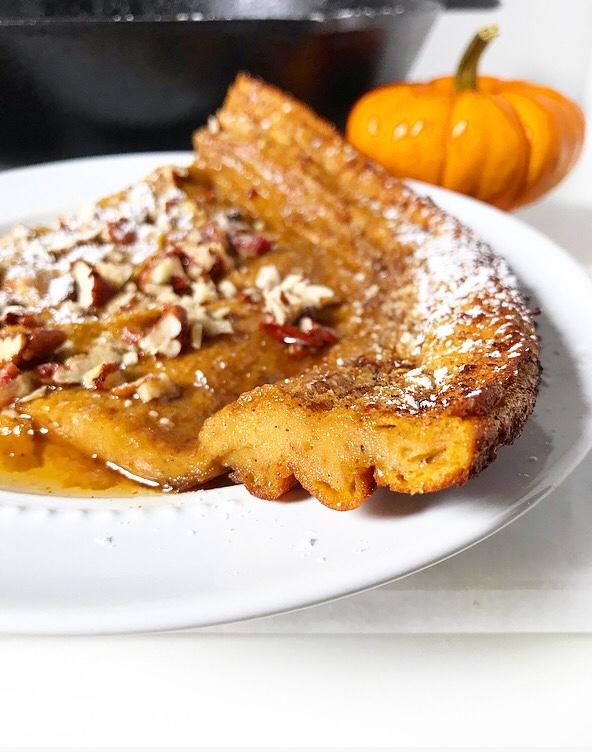 Pour it in a screaming hot pan with plenty of butter and go find something to do for roughly 17 minutes. I recommend figuring out which Emmy-nominated show you can manage to binge watch in its entirety before the broadcast on Sunday night (When They See Us! Pose! Fosse/Verdon!). Or, alternatively, if you’re local, determining which panel you’re going to attend at the
 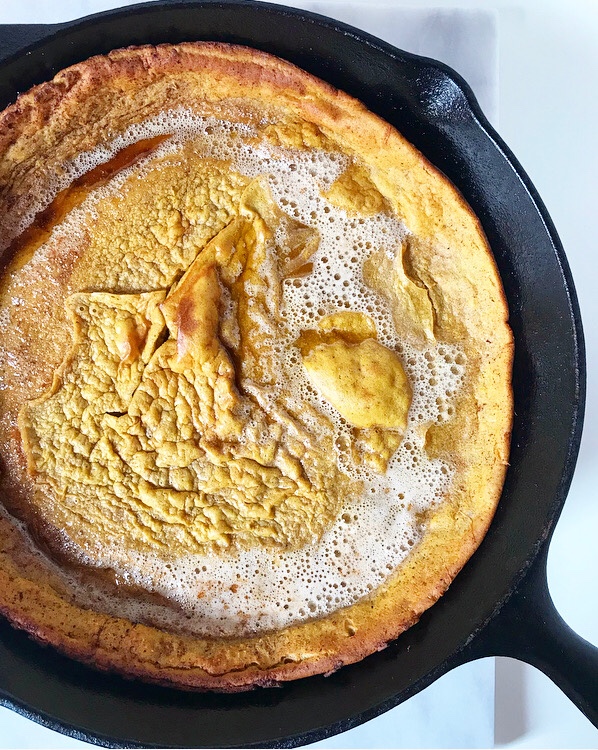 Anyway…when you have decided to watch Sharp Objects and a few episodes of The Good Place…oops, sorry.
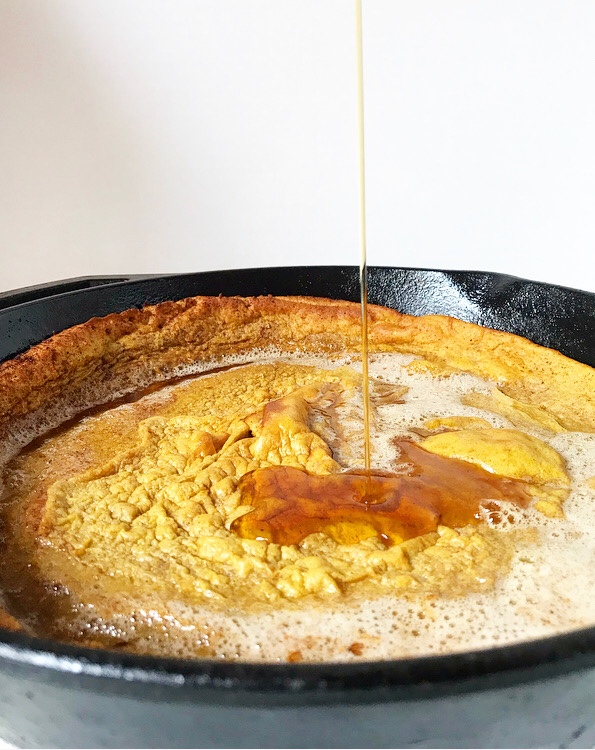
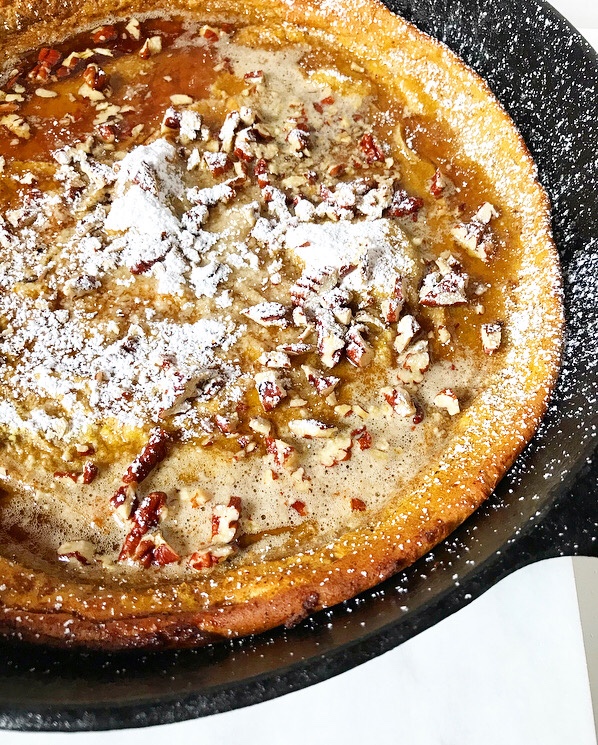
 Top it with whatever makes you happy—I went for my usual maple syrup and confectioners sugar, along with some toasted pecans. Keeping it seasonal, you know, because it’s officially fall in my kitchen and on this blog.
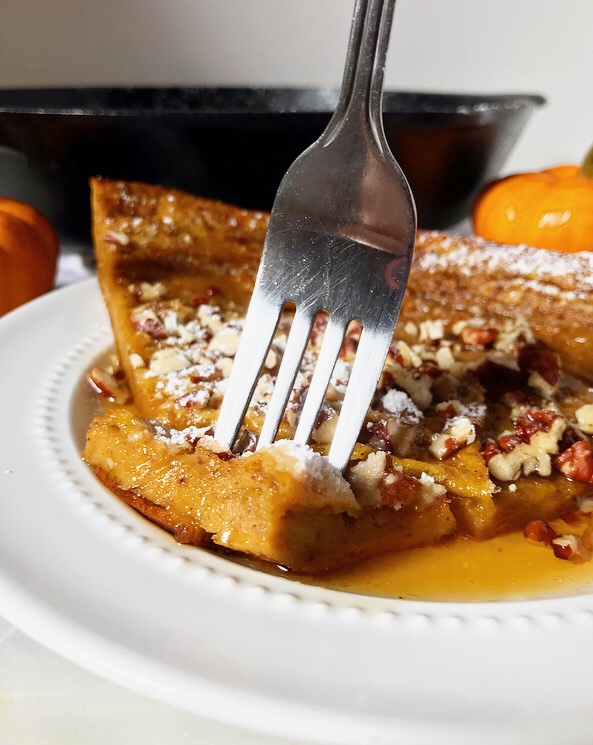
 I love baking with
 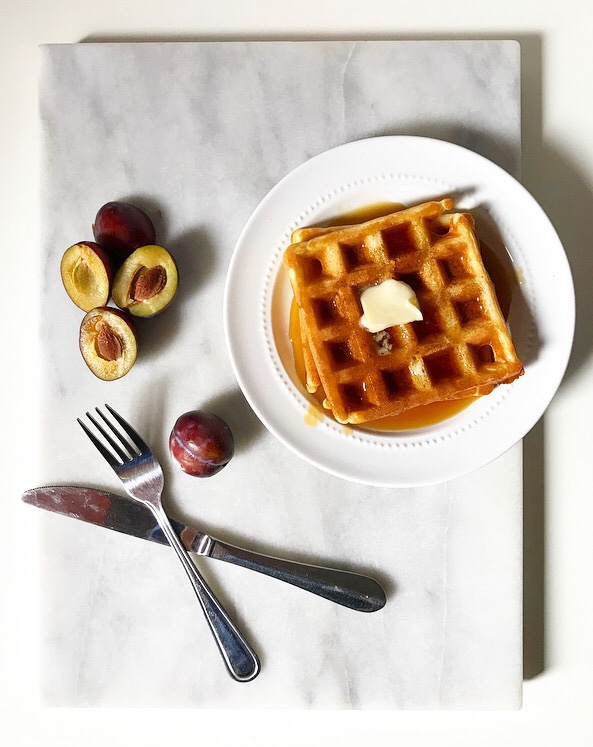 A few weekends ago, armed with a half-container of sour cream leftover from making
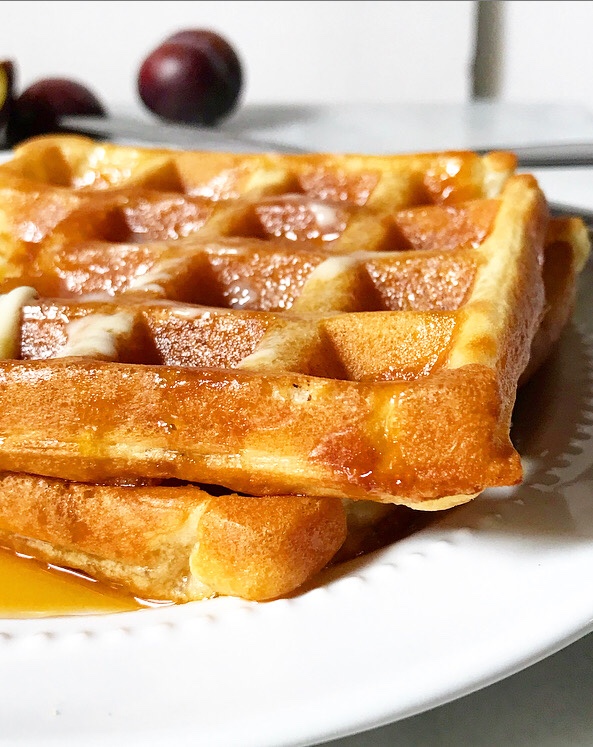
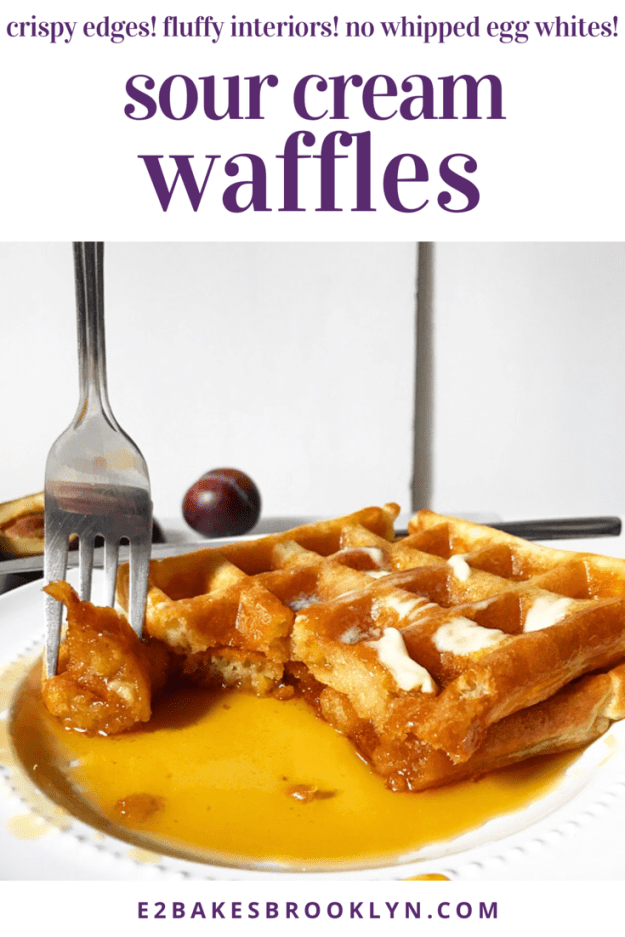
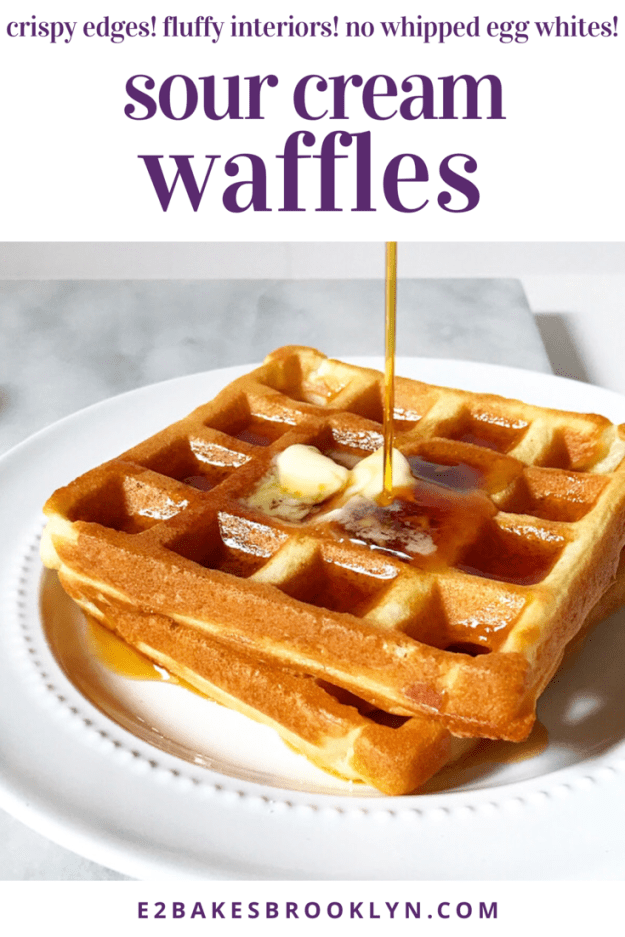
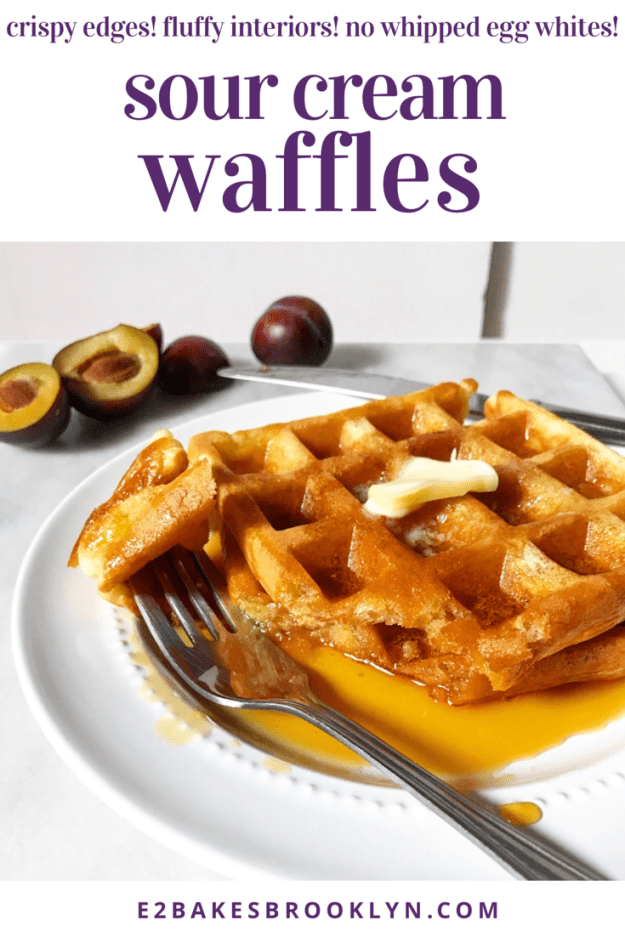
 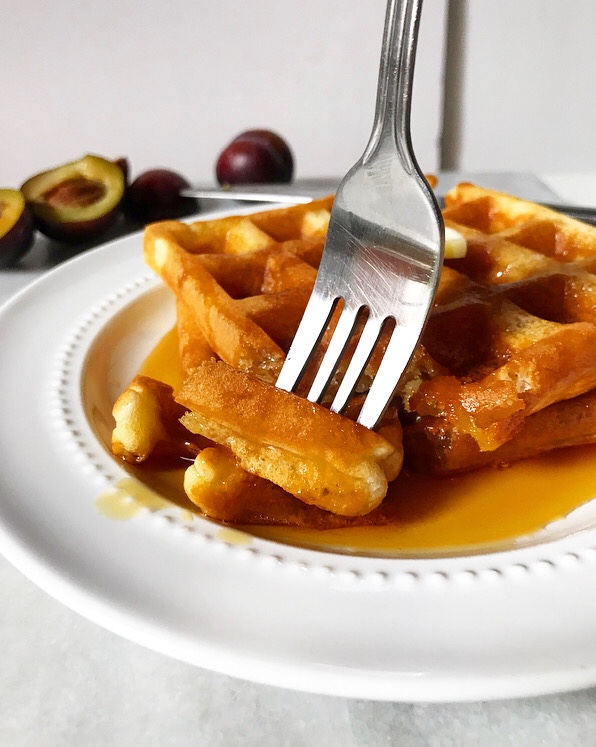 Instead I combined aspects of both recipes into The Best Waffles I Have Ever Eaten In My Life. We’re talking crispy edges and fluffy interiors, light and not too sweet, and gorgeous and golden. Truly, the best waffles I’ve ever eaten in my life.
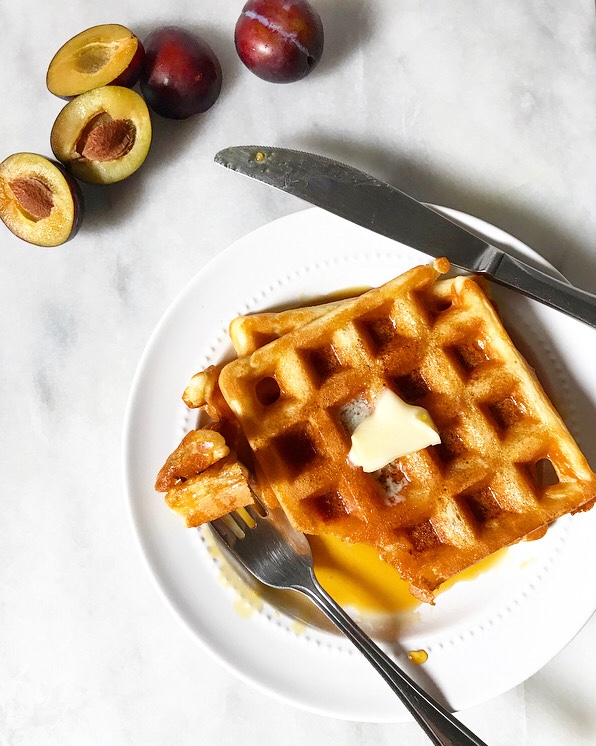 I have 24 of them in my freezer leftover from testing and have been toasting and eating them plain as a midnight snack for the last few weeks, so I can confirm: these are the fluffiest and crispiest and The Best Waffles I Have Ever Eaten In My Life. Period.
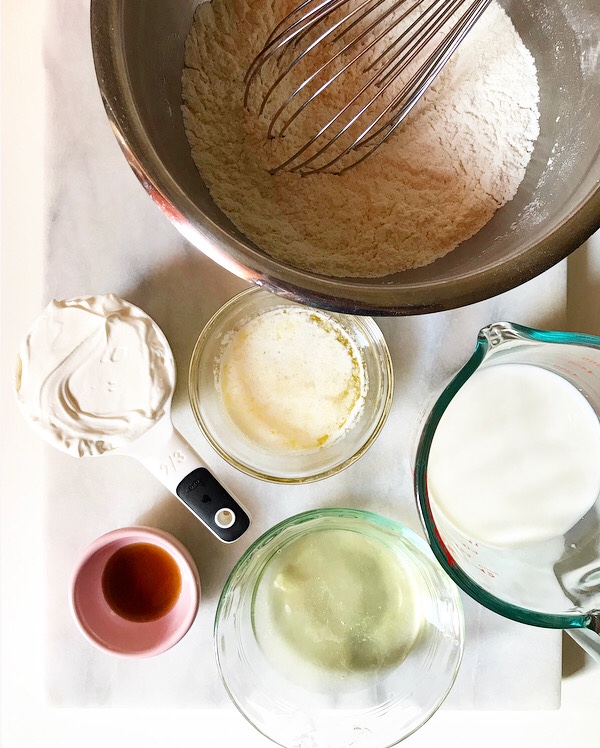 Reasons the insides stay nice and soft:
 Reasons the outsides get crispy:
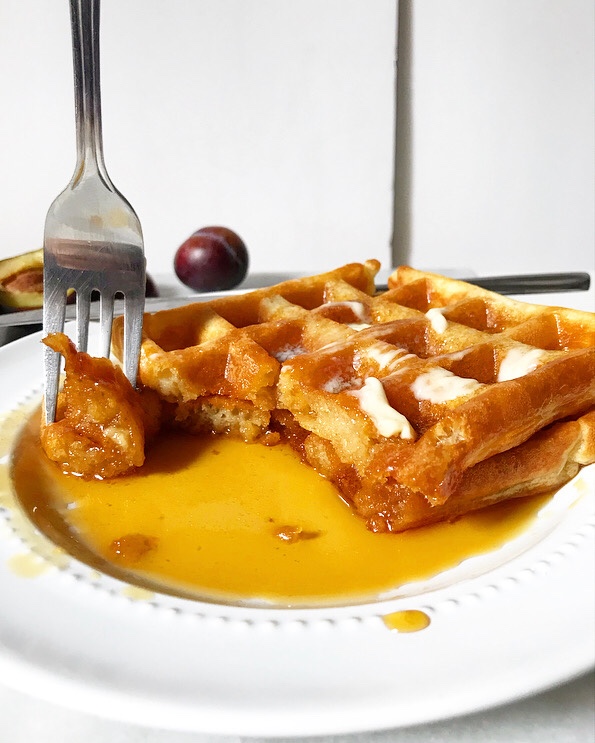
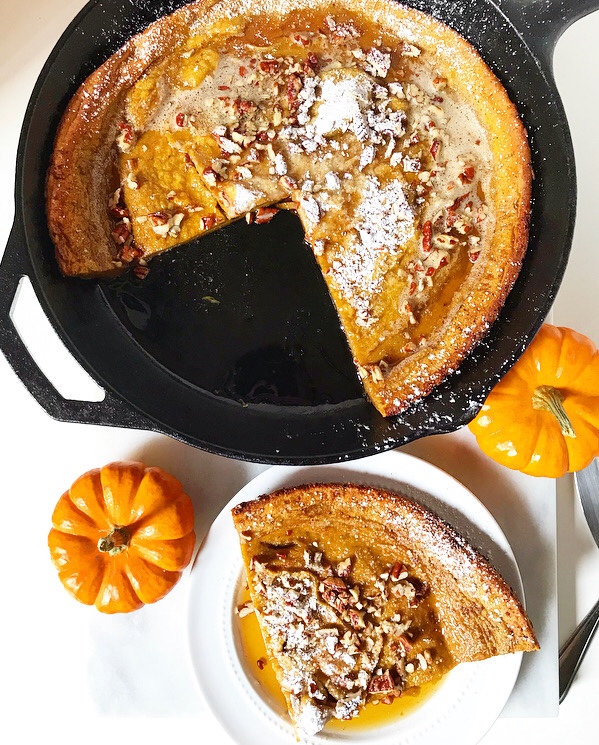
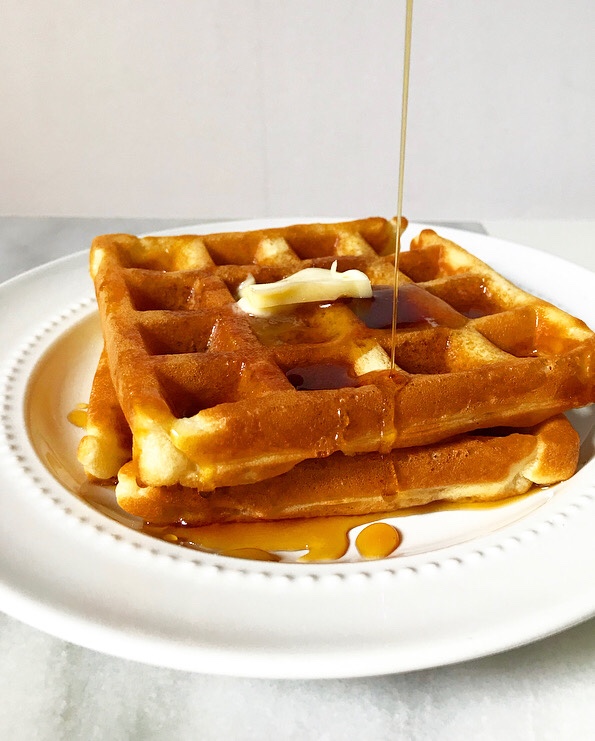 I mean, look at that. Does breakfast get any better than that? I don’t think so.
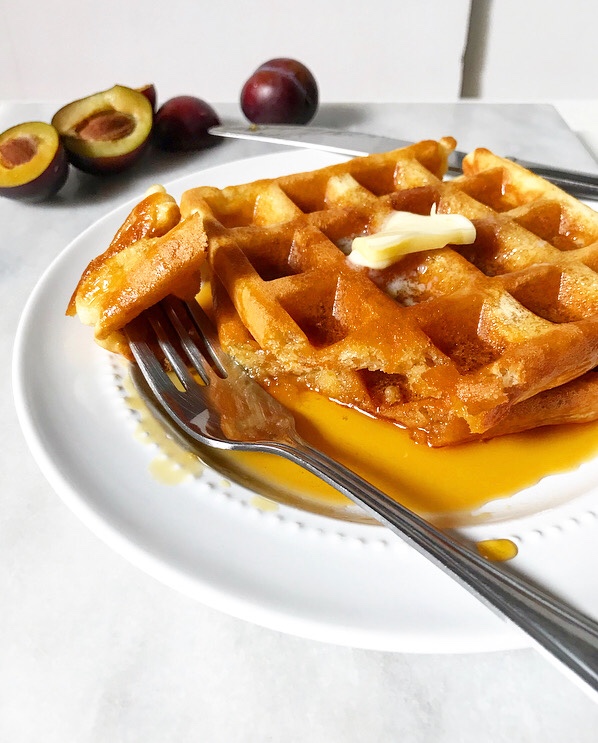 Needless to say, half-containers of sour cream are a hot commodity around here now.
 A few weeks ago, there was a
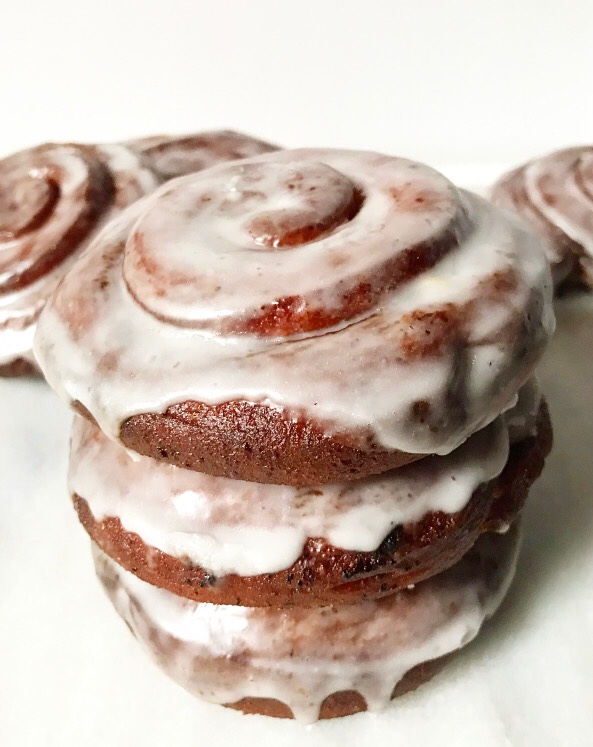
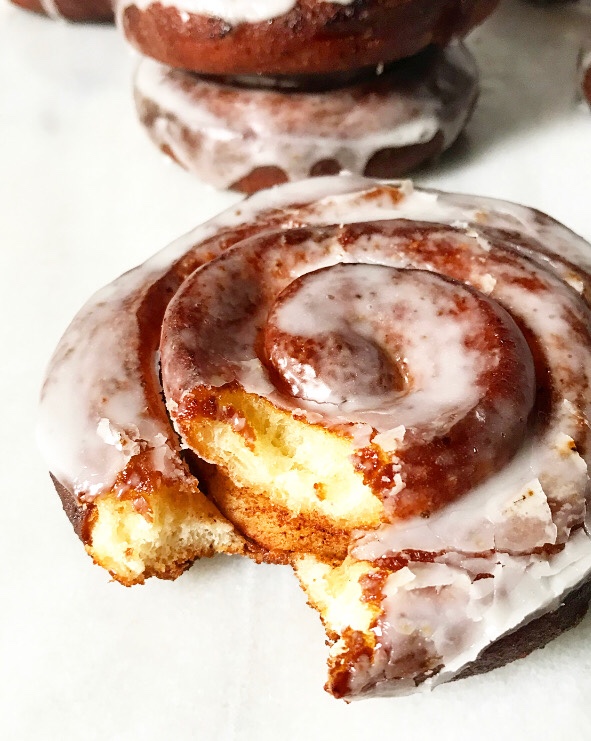
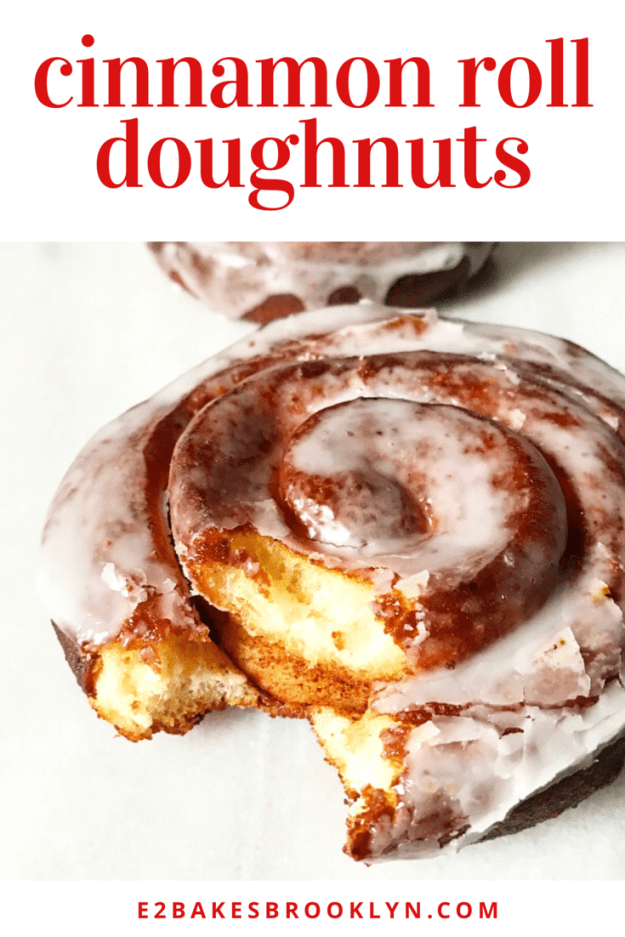
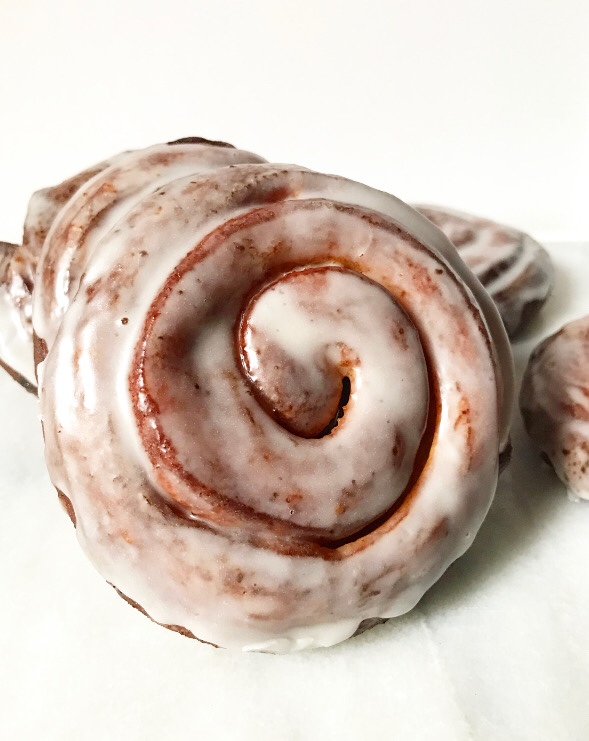
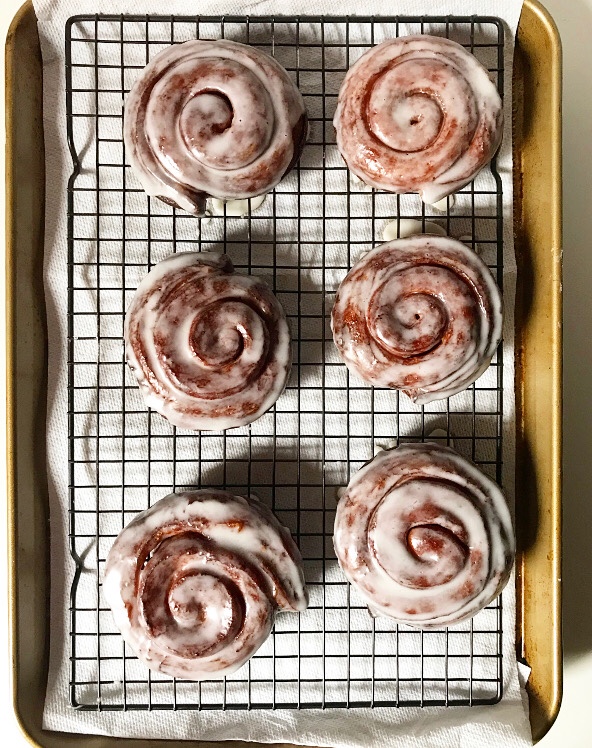
 Of course, there are exceptions to every rule and, oh, do I love finding an exception. Today’s recipe, Cinnamon Roll Doughnuts, are exactly what they sound like: fluffy, brown sugary cinnamon rolls made from doughnut dough, fried ‘til golden and dunked in a classic sugar glaze. They are both cinnamon roll and a doughnut and they are exactly as delicious as they sound.
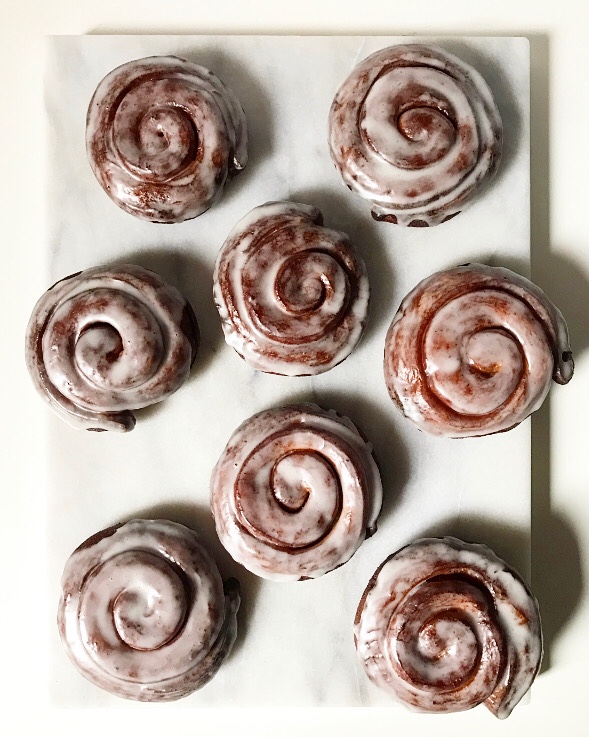 The inspiration for these comes from my childhood doughnut shop, Dale’s Donuts #9.* They made (and I assume that they still make) a version of these, and since I didn’t grow up with much home baking, I just assumed that all cinnamon rolls were doughnuts. As has been established, they are not, but I didn’t know at the time and I don’t think I would have cared…unless there wasn’t one left for me after a Sunday doughnut run.
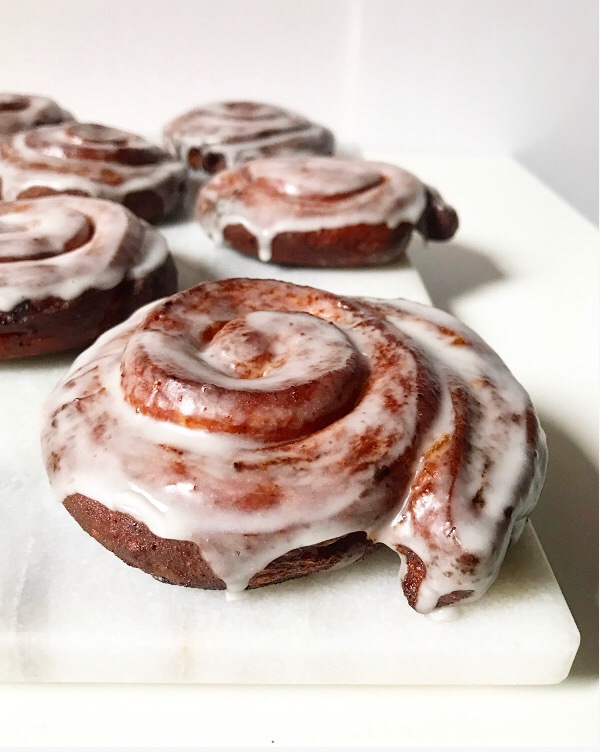 Anyway…I’ve since learned to make great cinnamon rolls and doughnuts, but the cinnamon roll doughnuts of my youth have eluded me. I’ve looked for something comparable in every doughnut shop I’ve encountered over the years (which has been a lot), but have come up empty-handed…so I figured it out myself.
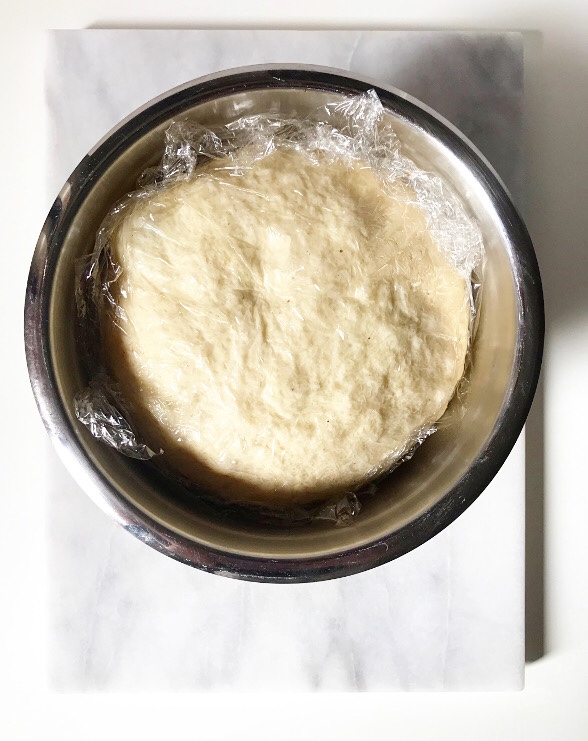
 Cinnamon Roll Doughnuts are as simple to make as any of my other yeasted doughnuts. They begin like many sweet rolls and doughnuts do: by making a dough and letting it rise slowly in the refrigerator overnight. This makes for prime gluten development (critical for softness and chew) and nuanced flavor, and it means you don’t have to get up at 5am to make doughnuts in time for breakfast.
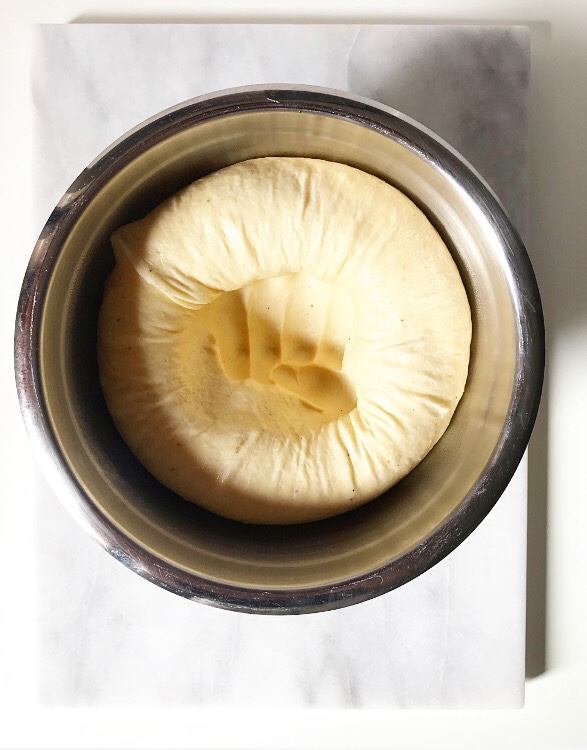
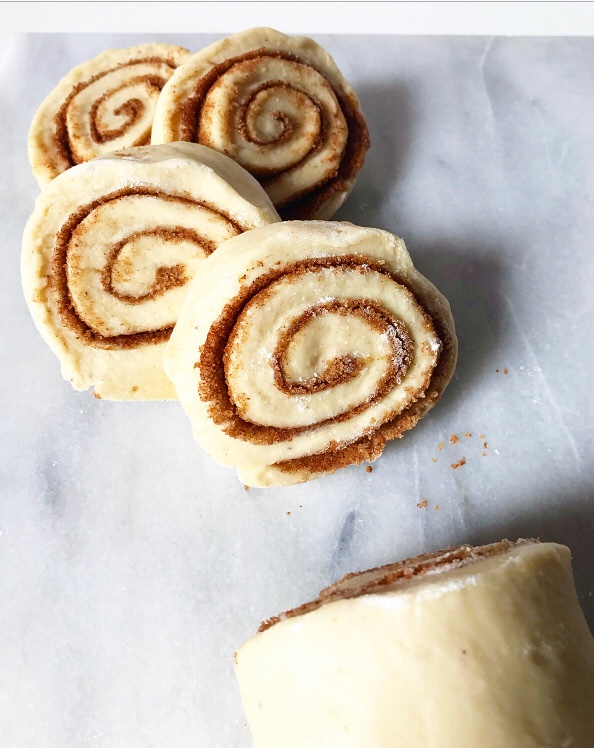 The next day, the dough is punched down, rolled into a rectangle, filled with cinnamon & brown sugar, rolled back up, and sliced.
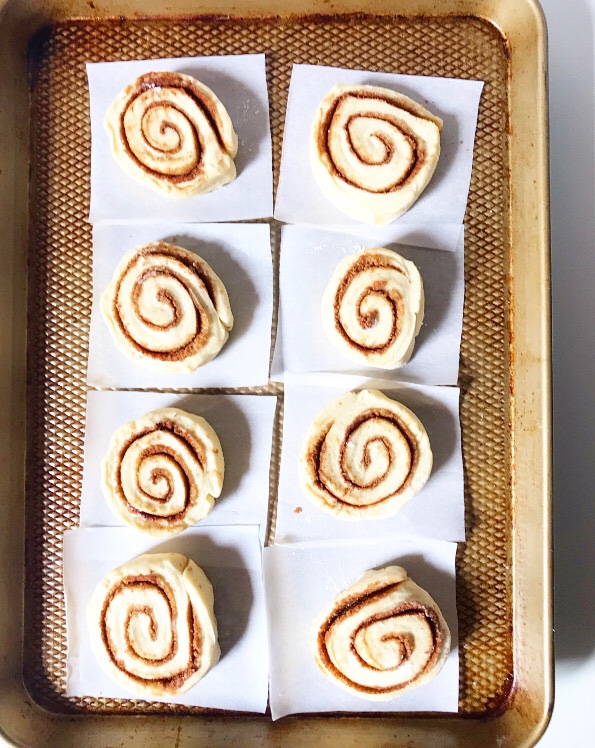

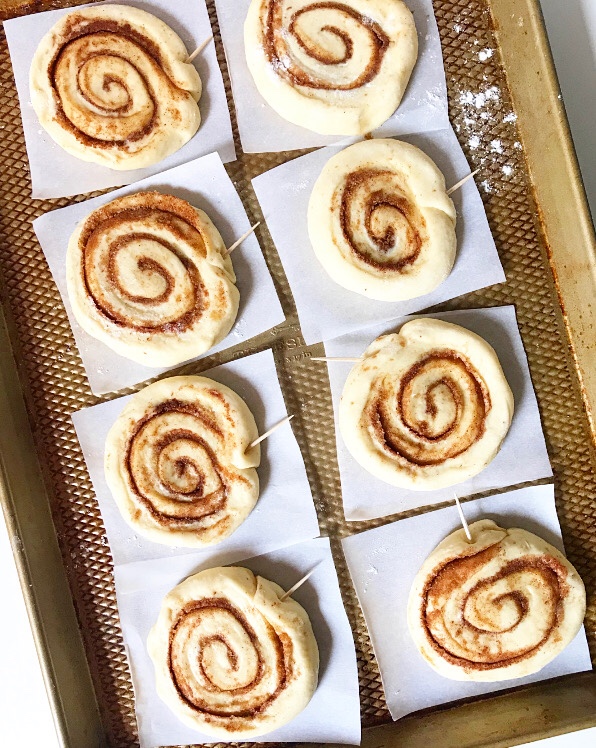 Then the rolls are then pressed down with the heel of your hand and the ends are secured with toothpicks before a short second rise. These steps will keep them unraveling while rising and frying.
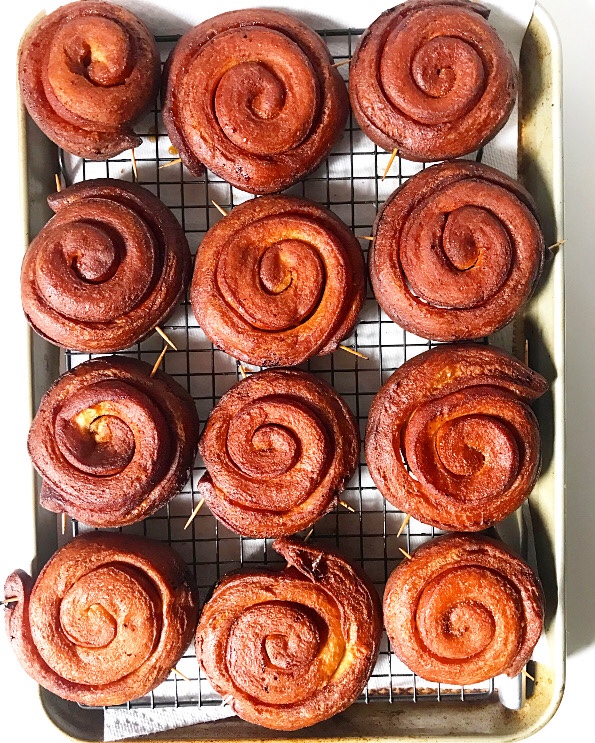 And speaking of frying, this is when these rolls take a decidedly doughnut-esque turn. Each one is fried in hot oil until golden and fully cooked in the middle. Some filling will escape during frying—that’s the nature of the beast—but trust me when I say your doughnuts will still be plenty cinnamony.
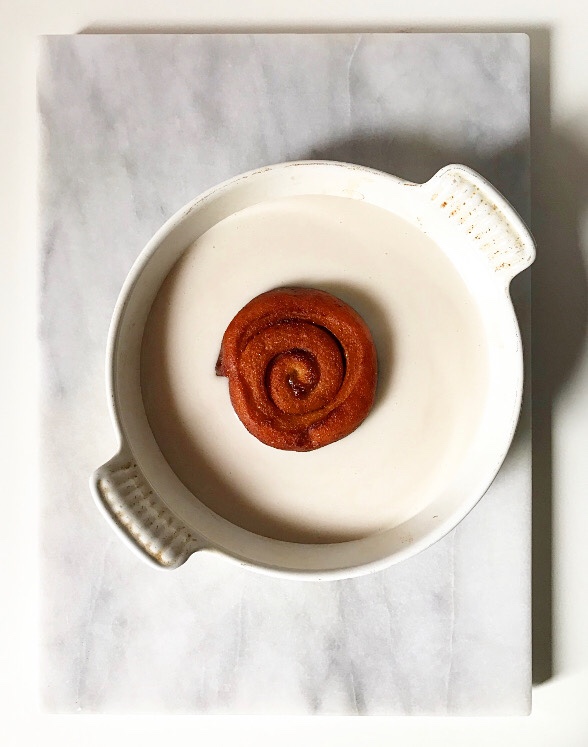
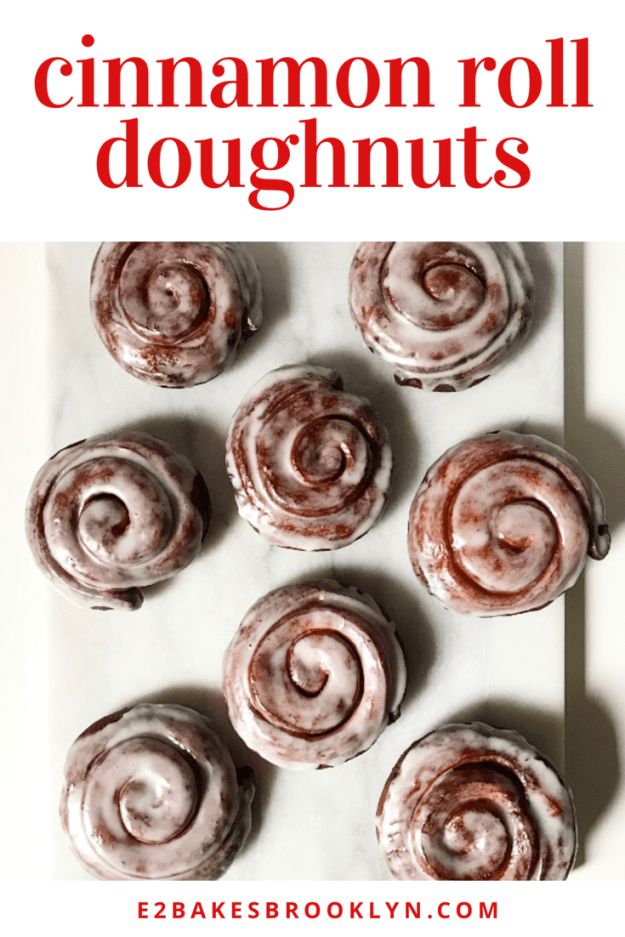
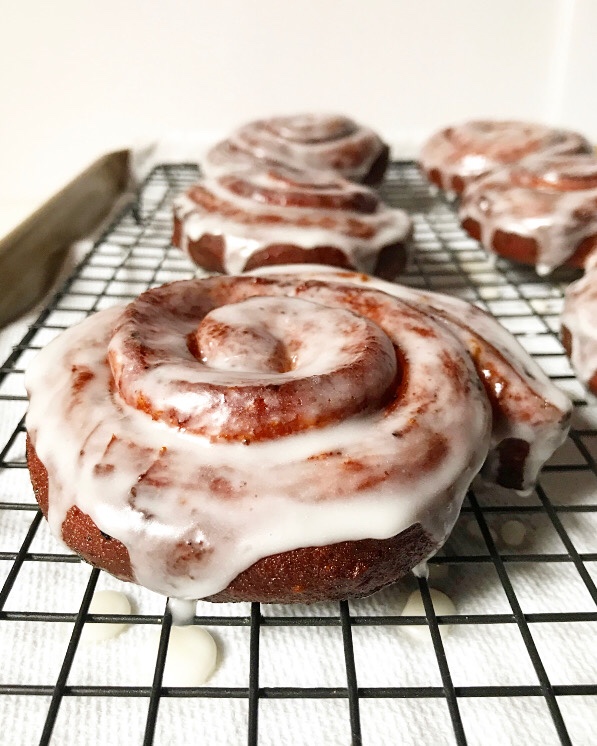 Once they’re all fried and golden, the Cinnamon Roll Doughnuts get a dip in a sugar
 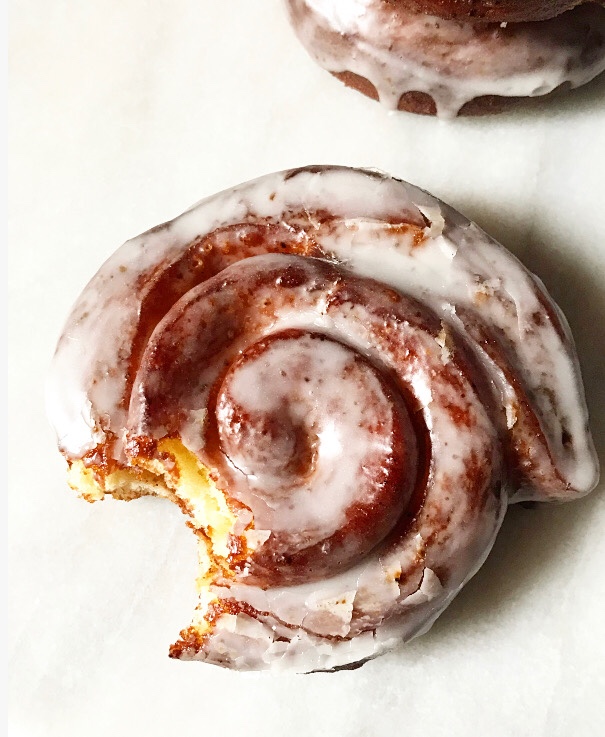 It tastes like childhood and doughnut victory and a very delicious exception to the rules. The best.