 Outdoor entertaining season is so close, I can taste it…and it tastes like Banana Cream Pie.
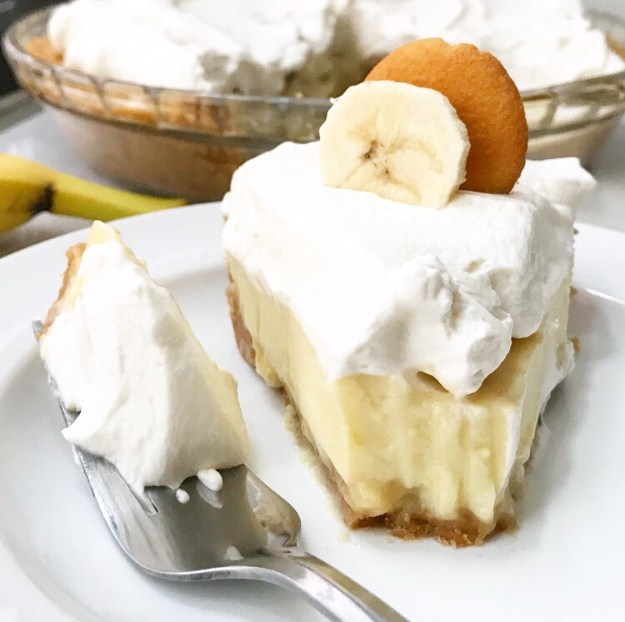
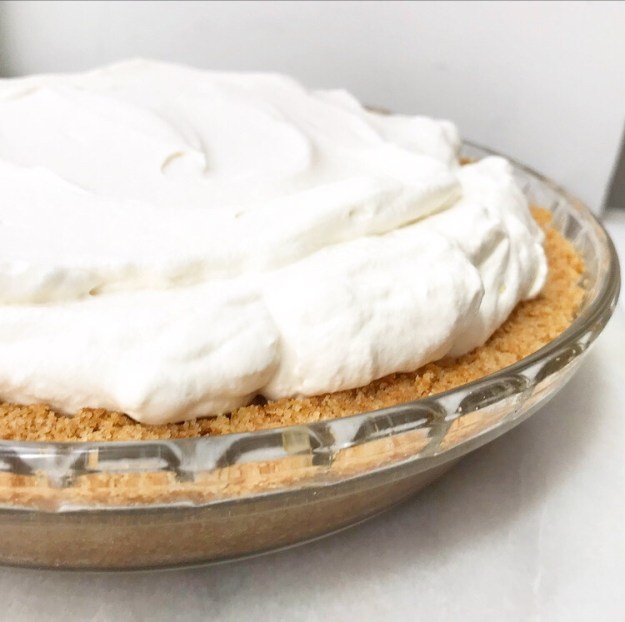
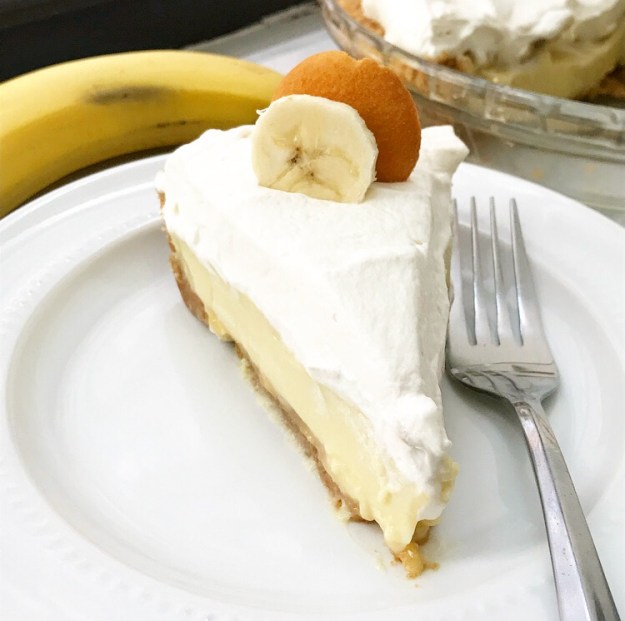 Cold and creamy, with a soft banana-scented filling and a crumbly, buttery Nilla Wafer crust—it’s basically everything that’s good about banana pudding, made from scratch and layered into a pie plate.
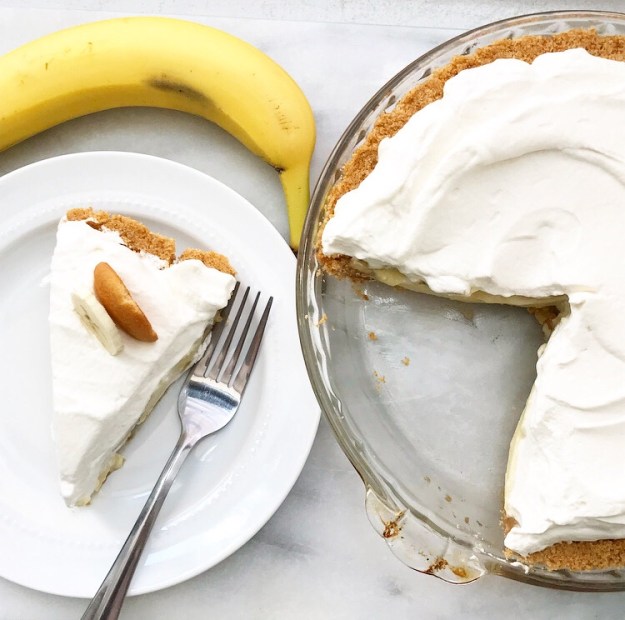 This pie is a little kitschy and very retro—the sort of dessert that everyone forgets they love until they are presented with it…and then they fall in love all over again.
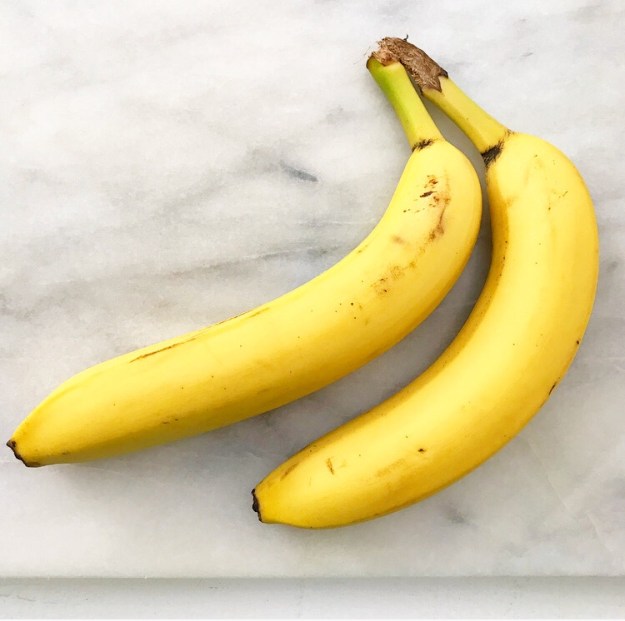
 I defy you to find a warm weather occasion that can’t be improved by Banana Cream Pie.
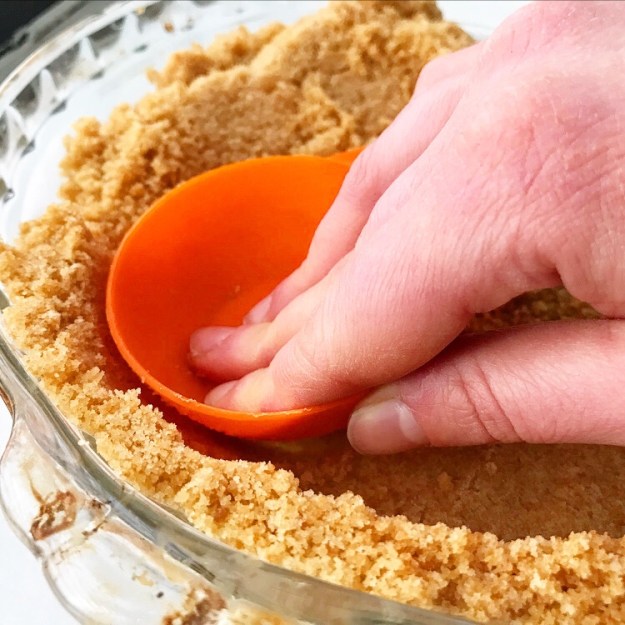
 Rooftop cookout? Banana Cream Pie for dessert. (Pro Tip: this is especially good on nights that involve fireworks.)
Birthday? Banana Cream Pie > cake. Well, most cake.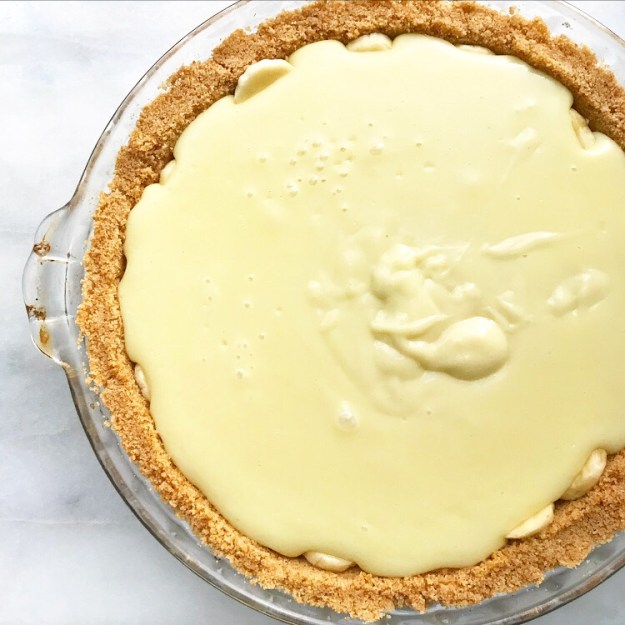
 Beach weekend? Don’t forget a box of Nilla Wafers.
Picnic in the park? If you can find a way to keep it cold, absolutely.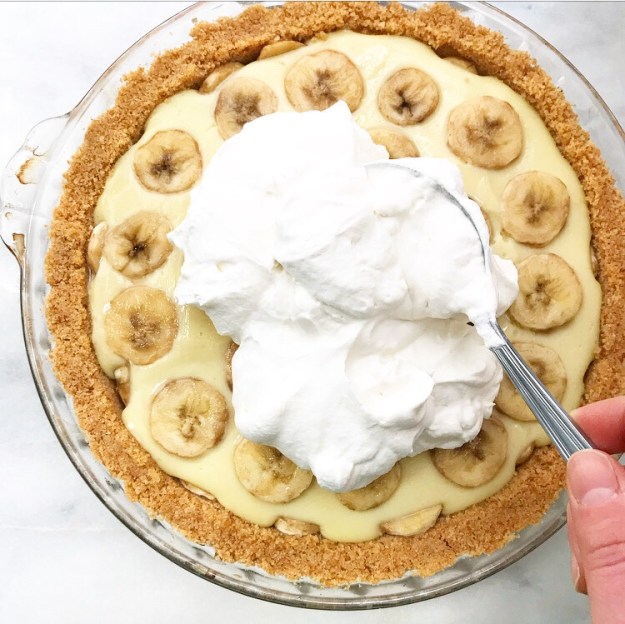
 Netflix and chill…and Banana Cream Pie.
 Trust me. This is a pie capable of winning you new friends.
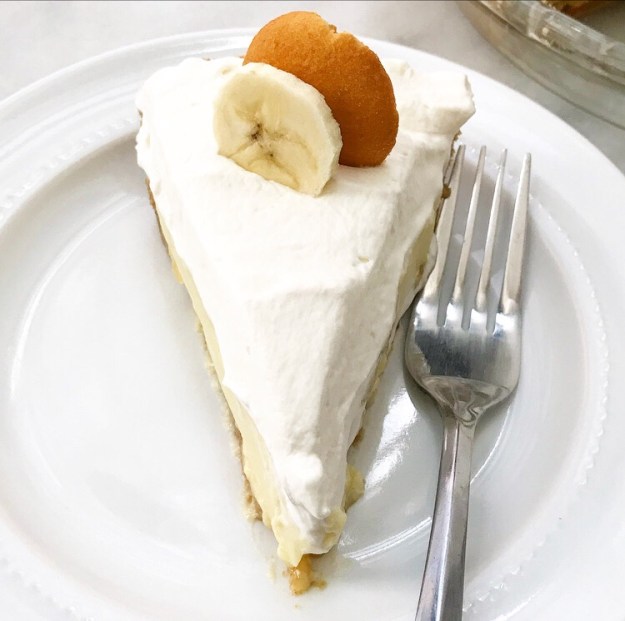
 I mean, I don’t know about you, but if I come to a gathering and someone has made Banana Cream Pie, I want to find that person and make them my friend.
It’s always good to have friends that make pie.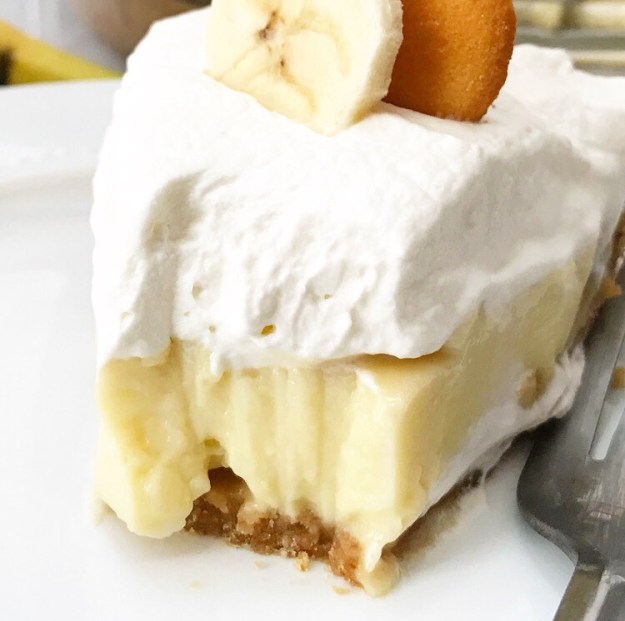 Banana Cream Pie
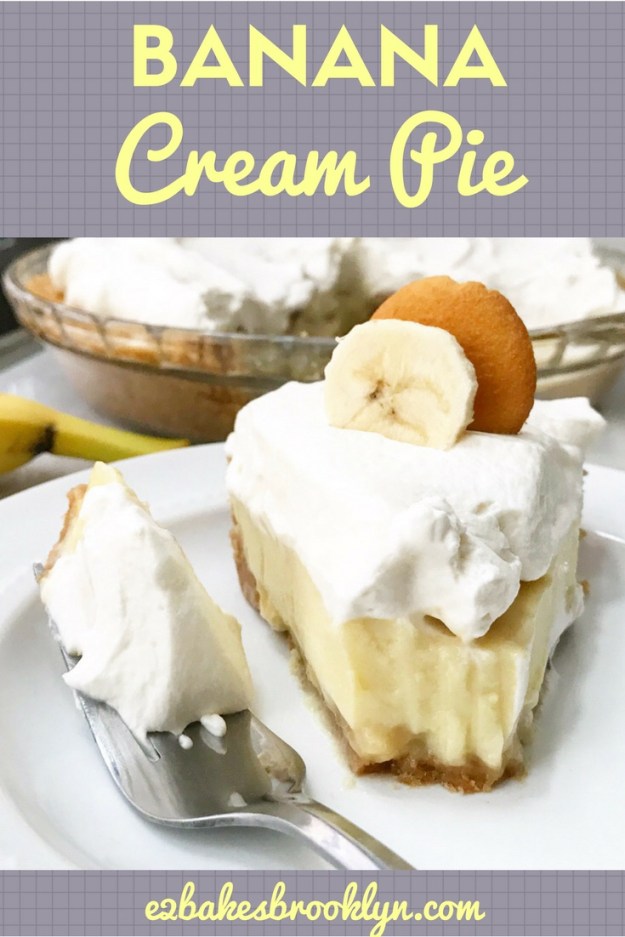
makes one 9-inch standard pie
Crust:
60 Nilla Wafers*
1/4 cup light brown sugar, packed
pinch of Kosher or sea salt
6 tablespoons unsalted butter, melted
Filling:
2 medium bananas, thinly sliced, divided
2 teaspoons lemon juice (or apple cider vinegar), divided
2/3 cup granulated sugar
1/4 cup cornstarch
1/2 teaspoon Kosher or sea salt
3 cups whole milk
4 large egg yolks
1 tablespoon pure vanilla extract
2 tablespoons unsalted butter
Topping:
1 1/2 cups heavy cream
2-3 tablespoons confectioners sugar
1 teaspoon pure vanilla extract
Nilla Wafers (optional)
banana slices (optional)
Preheat the oven to 350F.
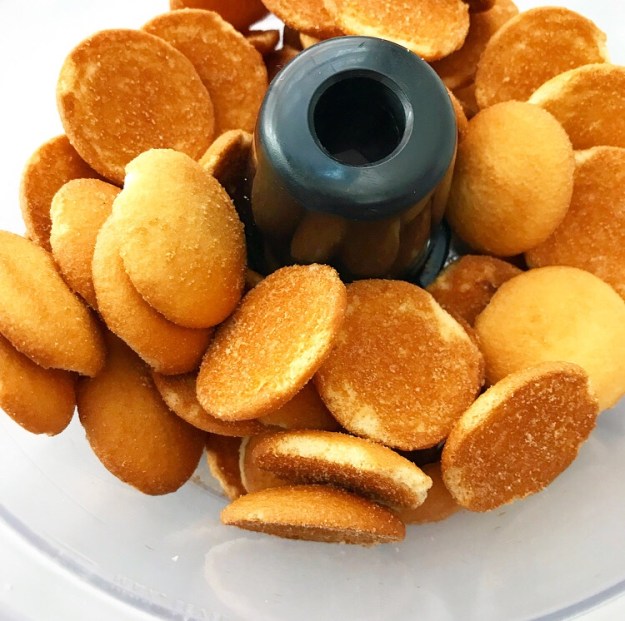
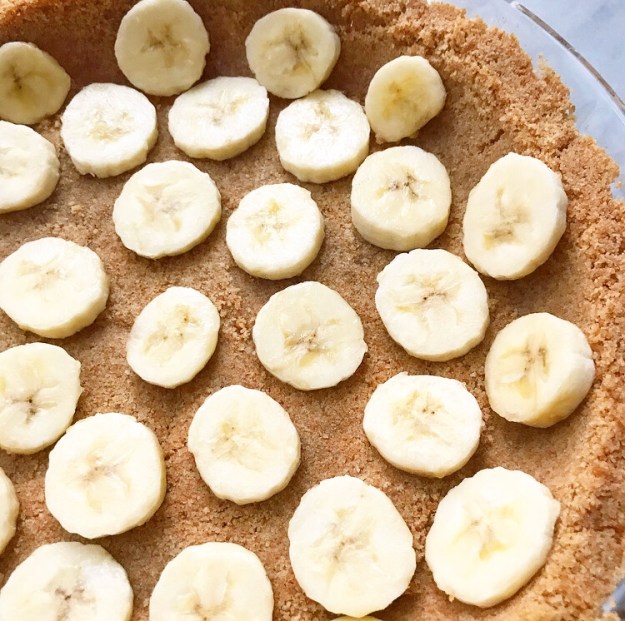
Make the crust. Place Nilla Wafers in the bowl of a food processor and process until no large pieces remain. Add light brown sugar, melted butter, and salt. Process until the mixture resembles wet sand, scraping down the sides of the bowl as necessary. Transfer the mixture to a 9-inch standard pie plate and use clean hands to press the mixture onto the bottom and up the sides of the pan. Bake crust for 10 minutes. Cool it on a rack while you prepare the filling.
Thinly slice 1 banana and toss it in 1 teaspoon lemon juice. Line the cooled crust with banana slices. Set aside.
In a medium-large saucepan, whisk together sugar, cornstarch, and salt. Place the pan over medium-high heat. Whisking constantly, pour the milk into the dry ingredients. Continue to whisk until the mixture boils for 1 minute. Reduce the heat to low.
Whisk egg yolks with a fork. Remove 1/3 of the warm milk mixture from the pot. Whisking constantly, slowly pour milk mixture into the egg yolks until completely combined. Add egg yolk mixture to the pot and turn heat back up to medium-high. Continue to whisk until mixture boils for 2 minutes. Remove from heat. Whisk in vanilla extract and butter. Pour filling into prepared crust.
Slice remaining banana and toss in remaining teaspoon of lemon juice. Arrange slices over the top of the filling. Cover the pie with plastic wrap, pressing so it adheres to the surface, and chill for at least four hours or overnight. Bananas will brown a bit.
Make the whipped cream. In a medium-large mixing bowl, combine heavy cream, sugar, and vanilla. Use an electric mixer to whip cream until stiff peaks form. Remove pie from refrigerator and top with whipped cream. Slice and serve pie, topping individual slices with Nilla Wafers and banana slices immediately before serving, if desired.
Pie will keep covered in the refrigerator for 2-3 days.
Note:
I use boxed Nilla Wafers for this recipe and recommend that you do, too. I have not tested this recipe with my homemade Vanilla Wafers. If you do, please let me know how it works out.
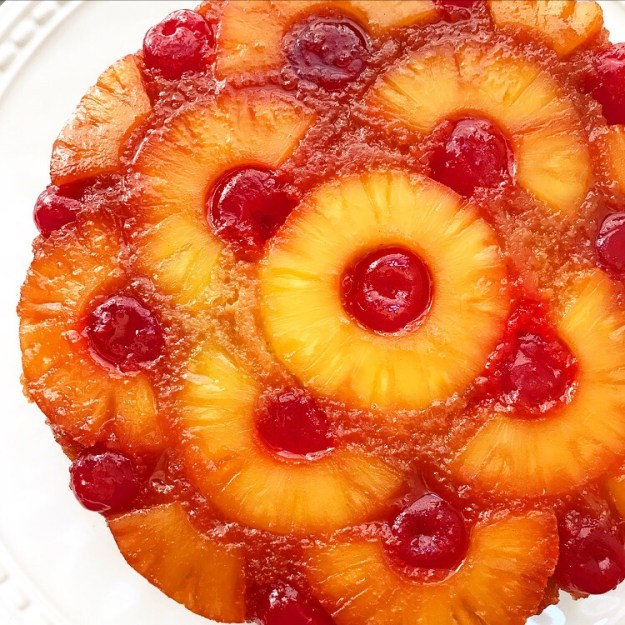
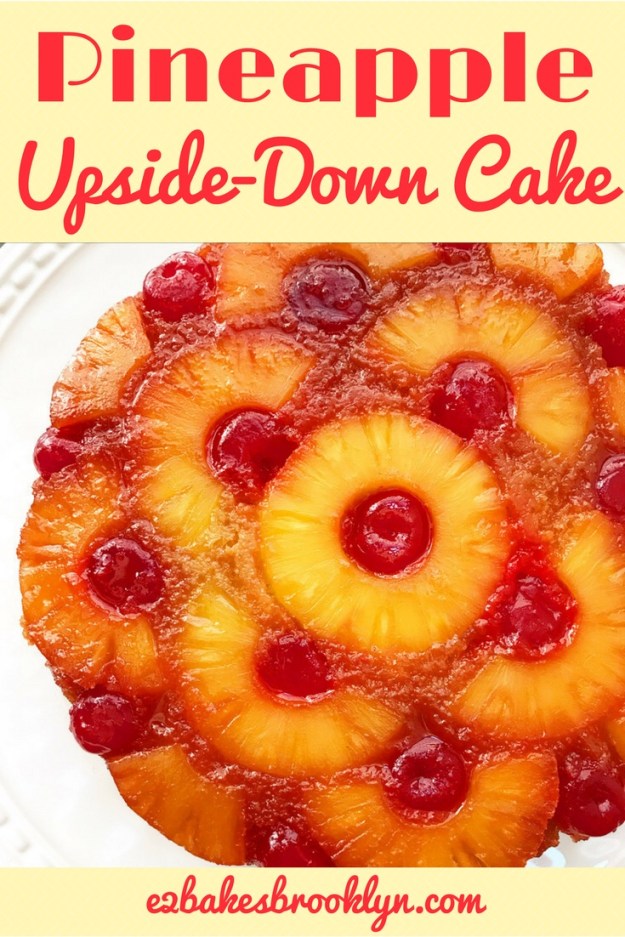
 There’s just something about Pineapple Upside-Down Cake.
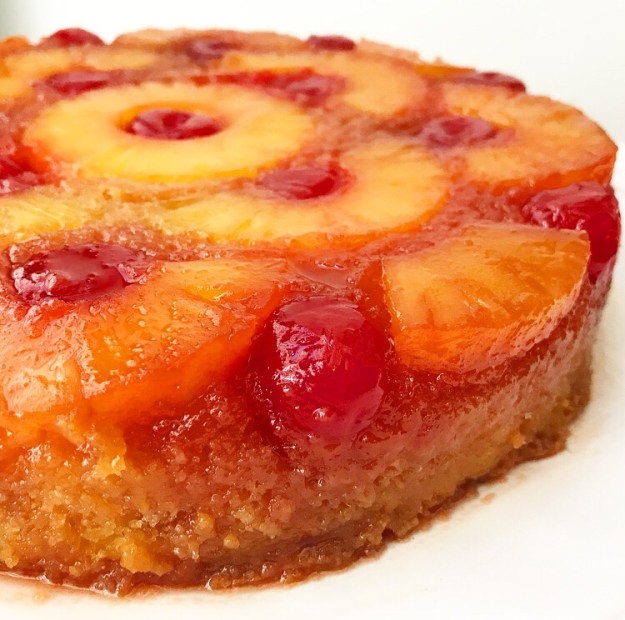
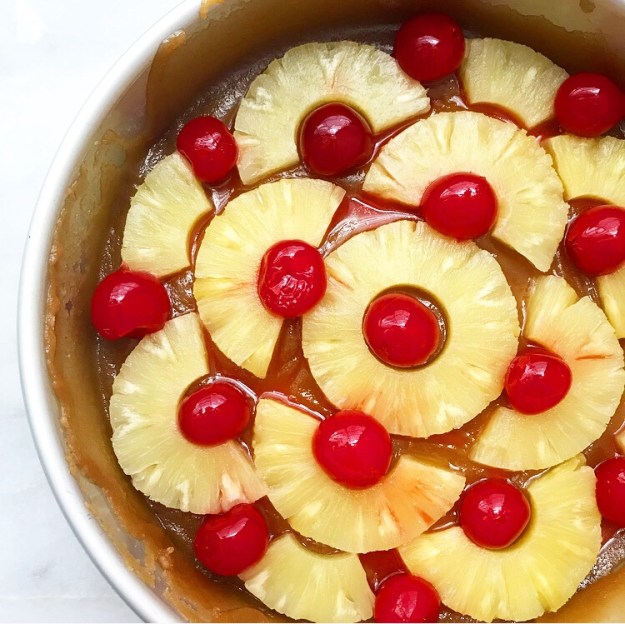
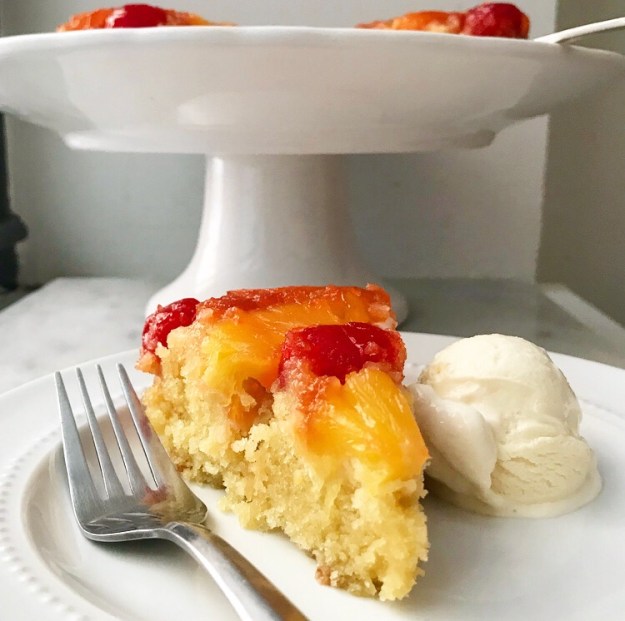 I don’t know if it’s the buttery cake or the mosaic of canned fruit that I would otherwise never eat or the way the brown sugar glaze caramelizes perfectly during the 50 minute bake time.
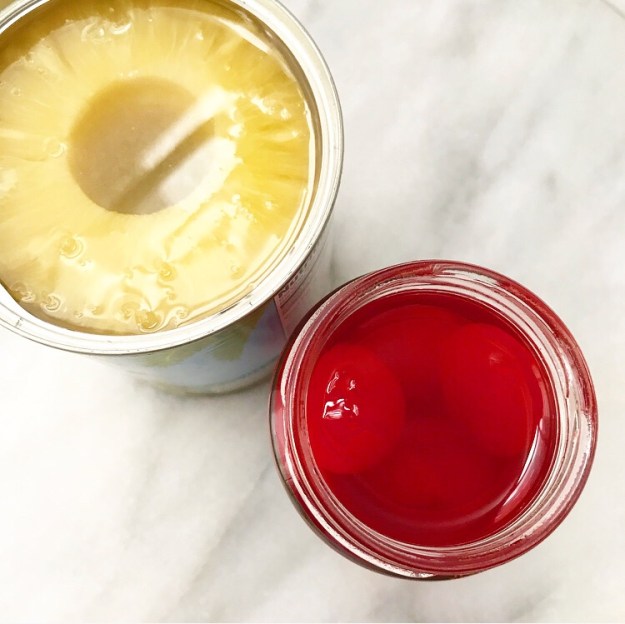
 Perhaps it’s the way that it somehow straddles the line between Everyday Cake and Celebration Cake.
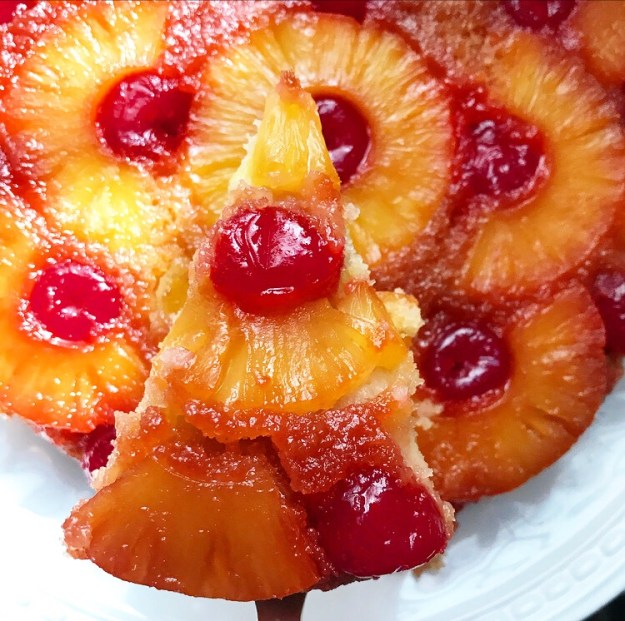
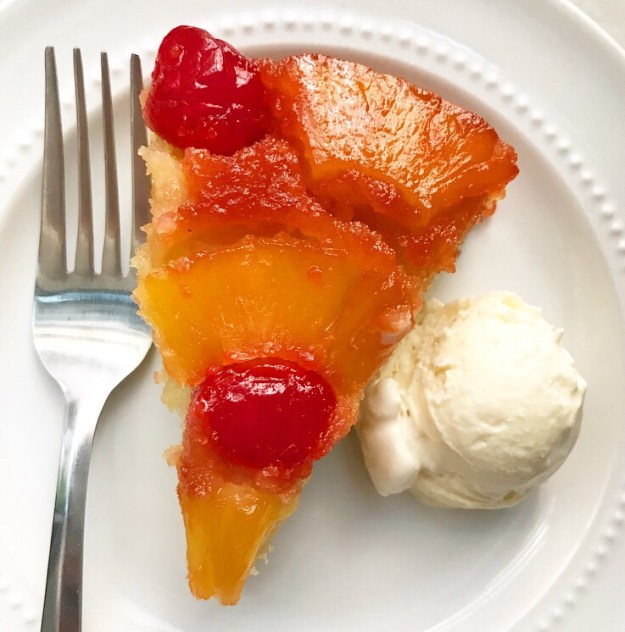
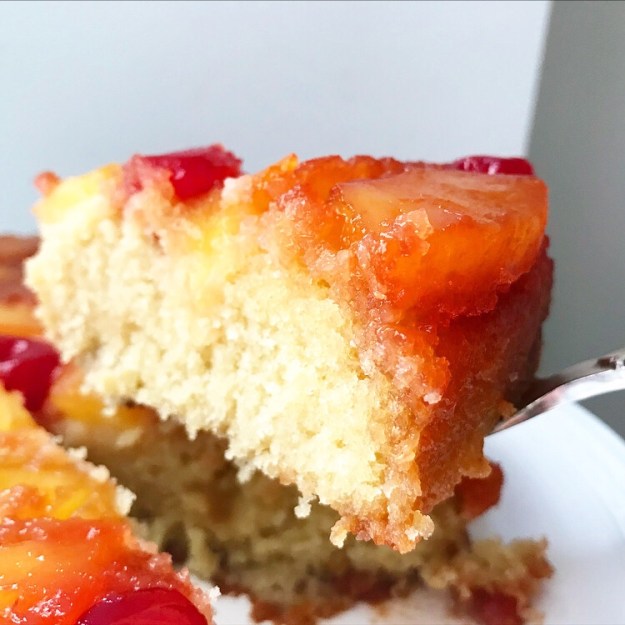 Or that it doesn’t need to cool much after baking and doesn’t need any sort of adornment to make it complete. A scoop of ice cream doesn’t hurt though.
 Maybe it’s that making one of these beauties lets me channel the TV ghost of
 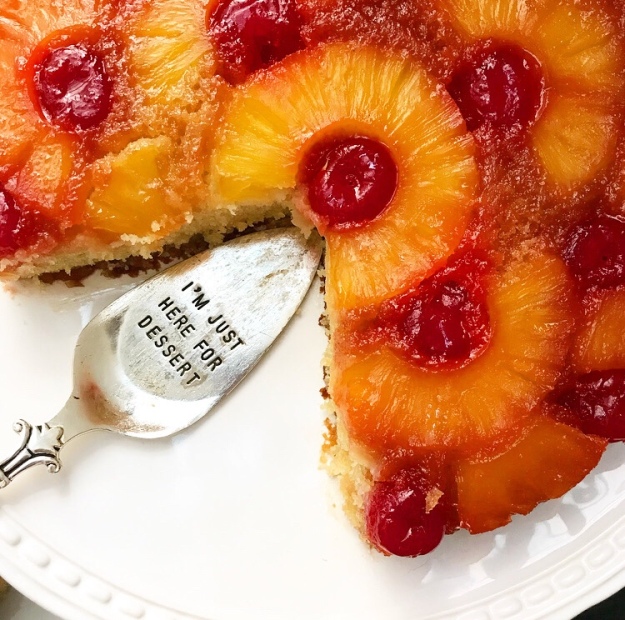 (That’s really something, considering that this blog could easily be sponsored by Lululemon, Birkenstock, and ten year old college t-shirts.)
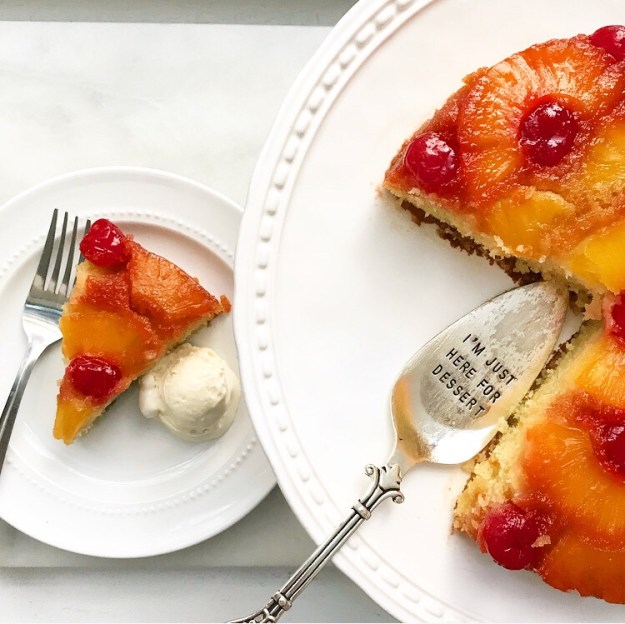 Yep, if I were a cake, this would be the one.
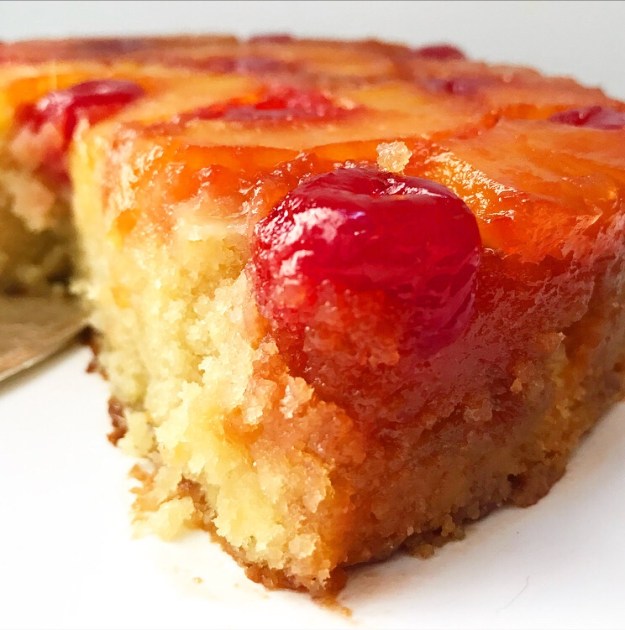 Why all this Pineapple Upside-Down Cake love? Well, all the things listed above and because today is National Pineapple Upside-Down Cake Day. Yes, that’s a thing now. As far as I’m concerned, it’s as good a reason as any to stash a homemade cake in your fridge and snack on it all weekend.
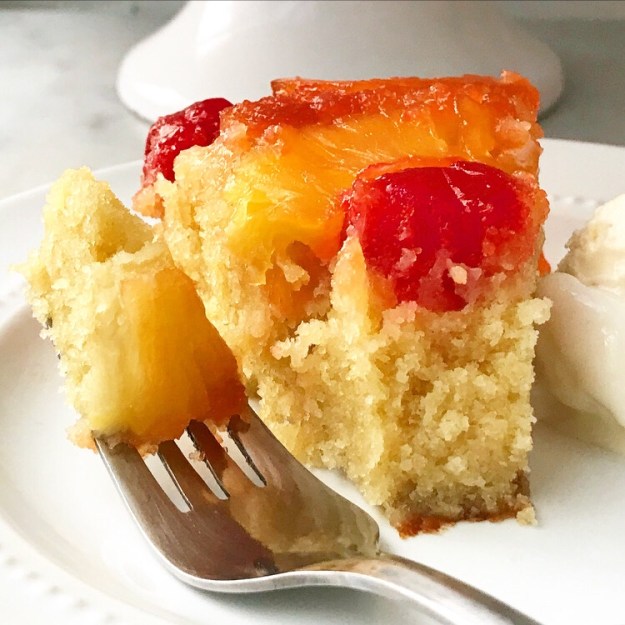
 Remember that huge, ridiculous
  You know what’s still taking up space in my kitchen? This comically large container of M&Ms. It’s made it through two of those cakes, a batch of cookies and lots of late night snacks, and it’s still kickin’.
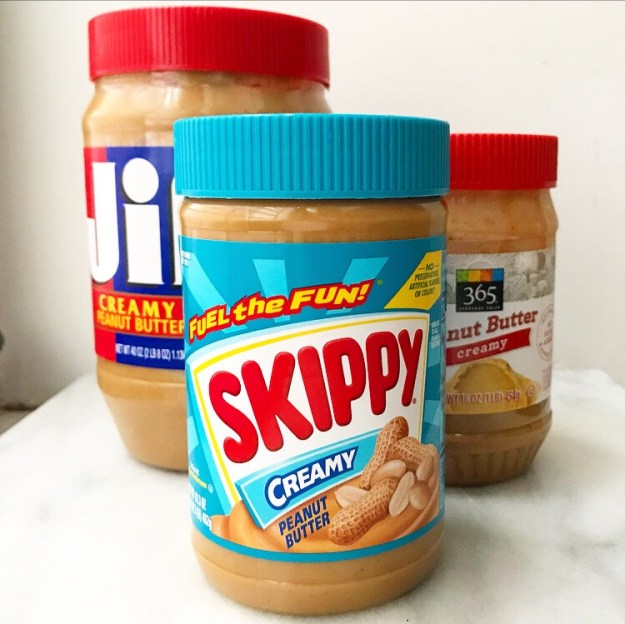 Also taking up space in my kitchen? Three different jars of peanut butter. THREE. And they’re all different brands. Just…what? I really need an Excel spreadsheet to keep track of all my baking supplies so I’m not compelled to pick up peanut butter every time I see it on sale.
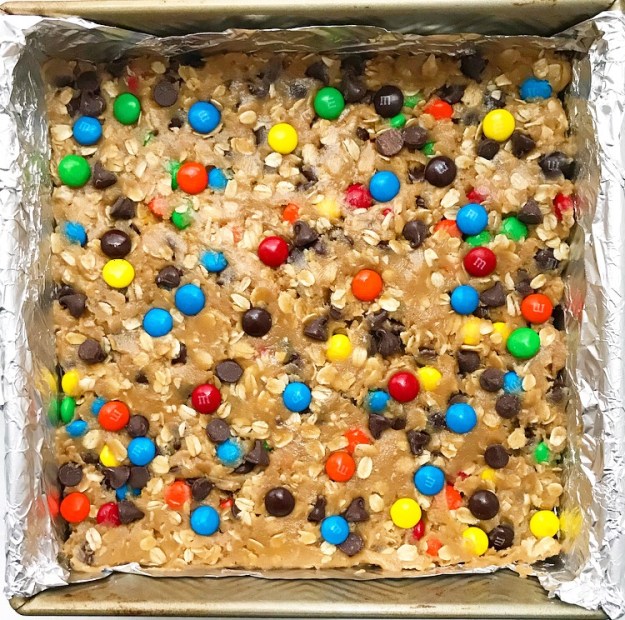
 So, what does one do with all that peanut butter and that huge container of M&Ms? Add some oats and make Monster Blondies, of course!
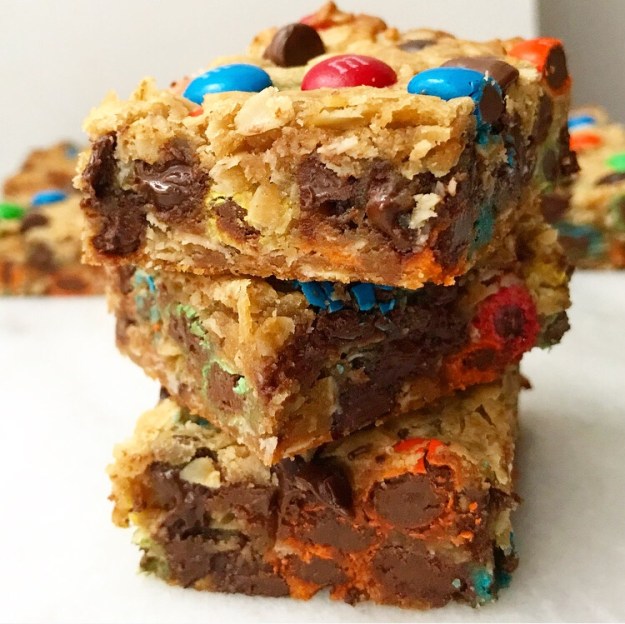
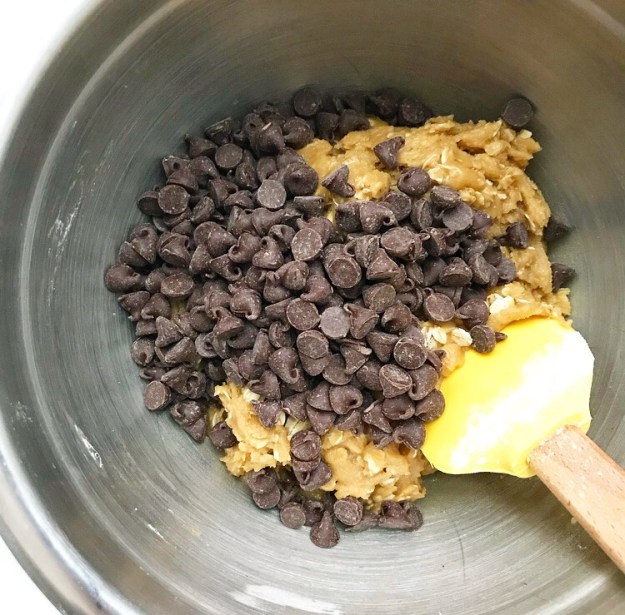
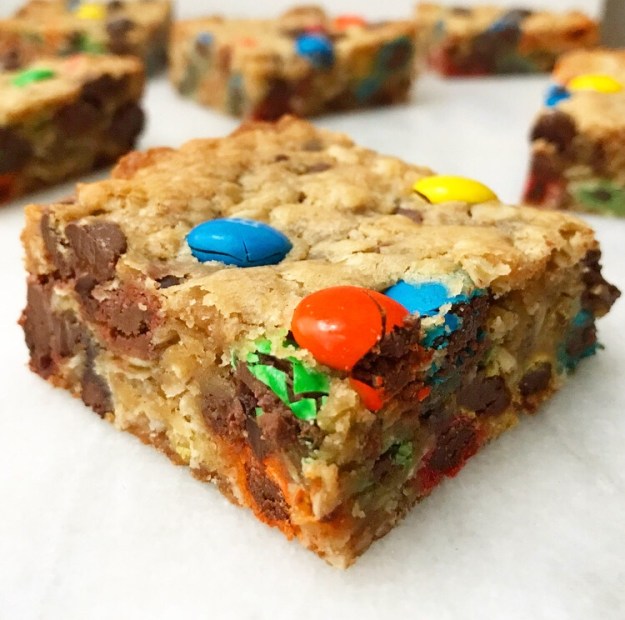 What makes these blondies so…monstrous? Well, they’re a riff on Monster Cookies, a sort of “everything but the kitchen sink” cookie that, at its most basic, contains peanut butter, oats, M&Ms and chocolate chips.
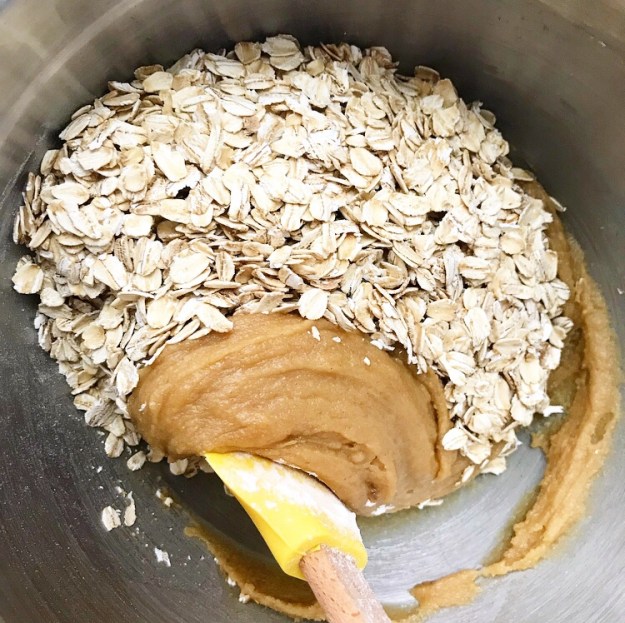
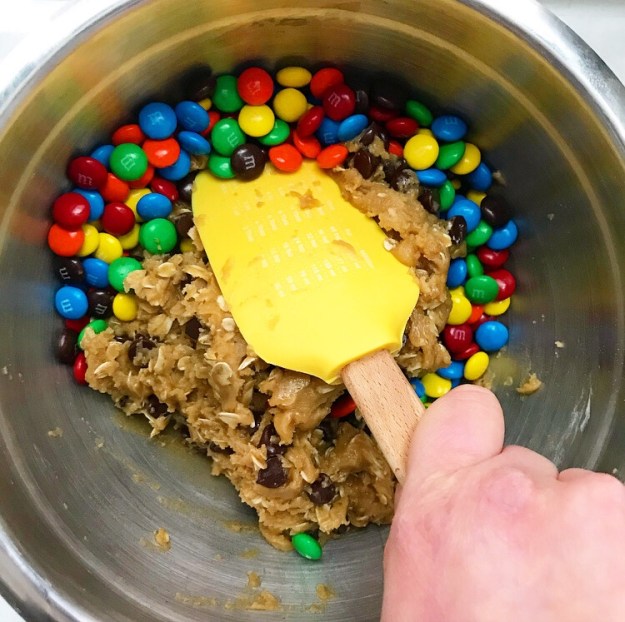
 The original cookies are terrific, but skipping the cookie dough and tossing all those ingredients into blondie batter is absolutely the way to go! The resulting blondies have all the flavors and textures from their namesake recipe, but with an extra thick and chewy
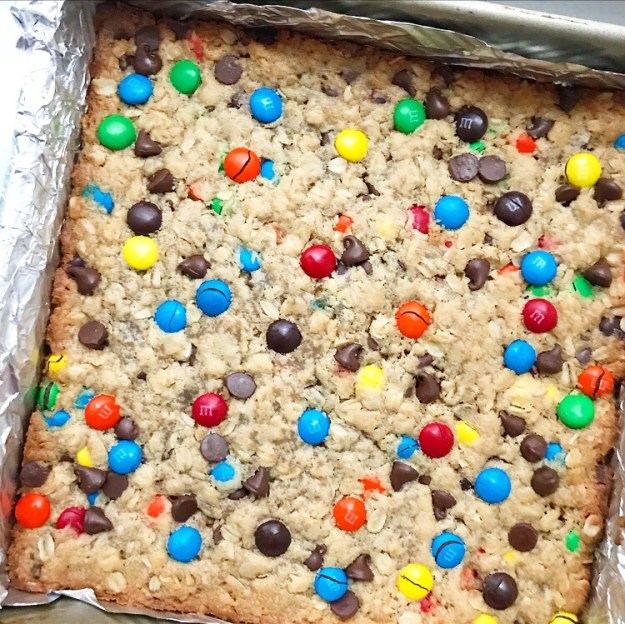
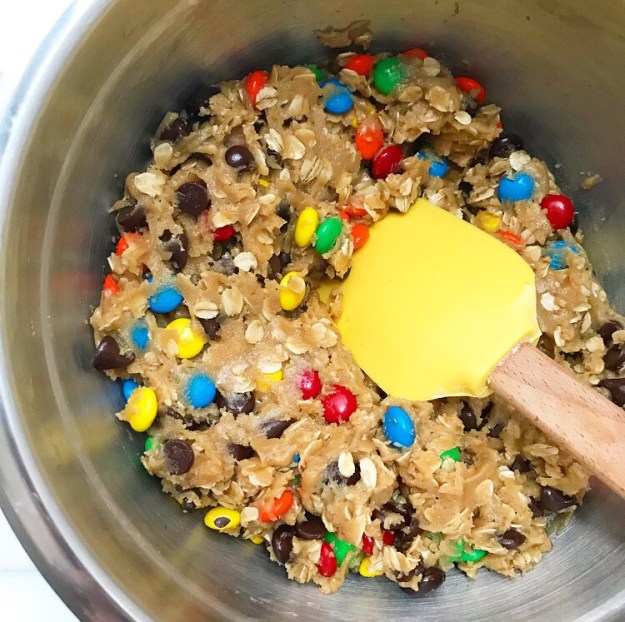
 Not only that, but blondies are way easier to make than cookies—this recipe comes together with just one bowl and a silicone spatula! And, of course, they don’t require baking in batches. Monster Blondies are ready to come out of the oven just 40 minutes after you start making the batter!
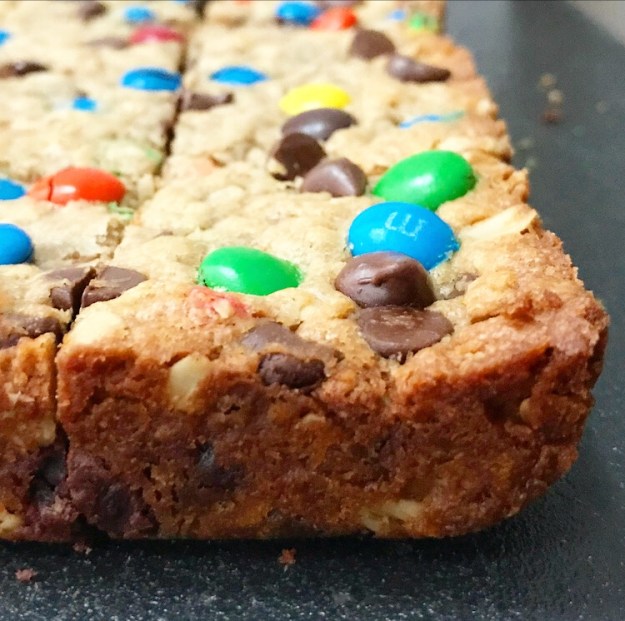
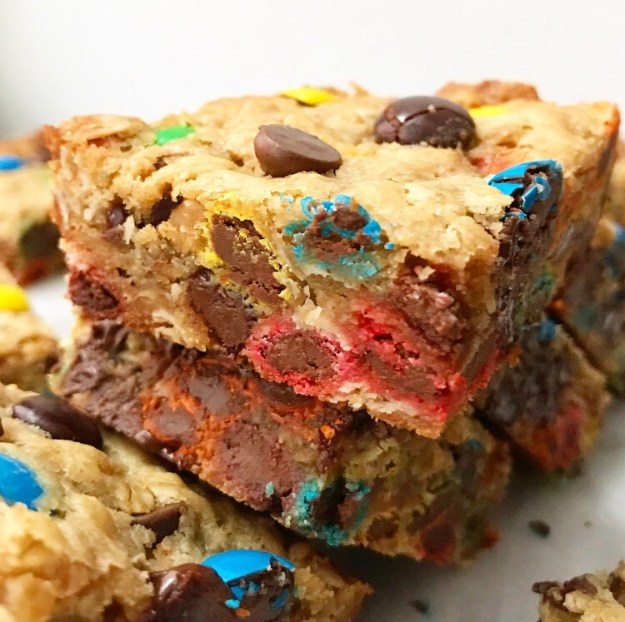 Once the blondies have cooled slice them up and dig in! You’ll love the soft & chewy blondie base, the slight saltiness from the peanut butter, the texture from the oats and crackly candy coating, and tons of chocolate. As far as I’m concerned, they’re the very best kind of mid-week pick-me-up ❤
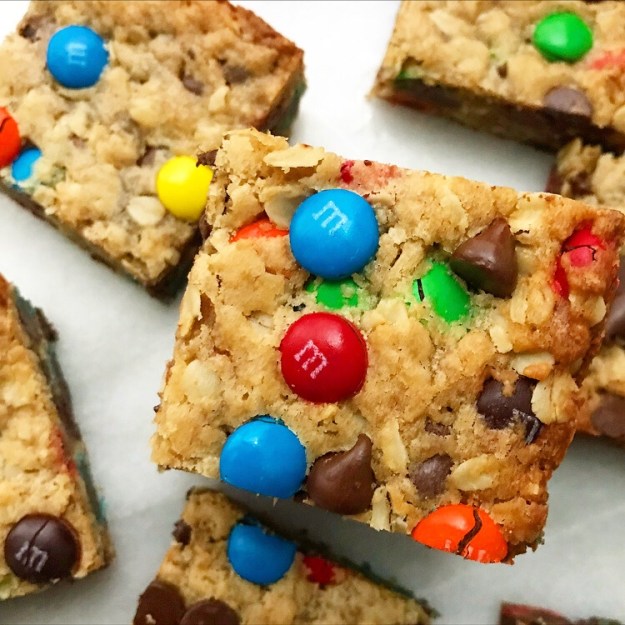
 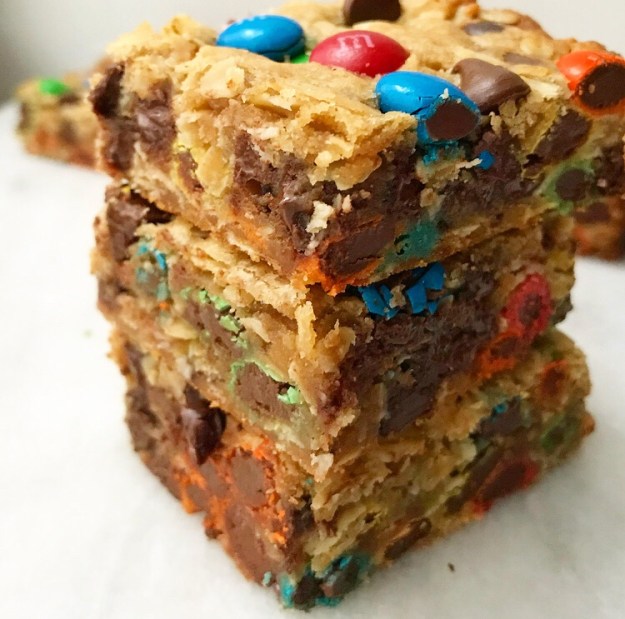 Monster Blondies
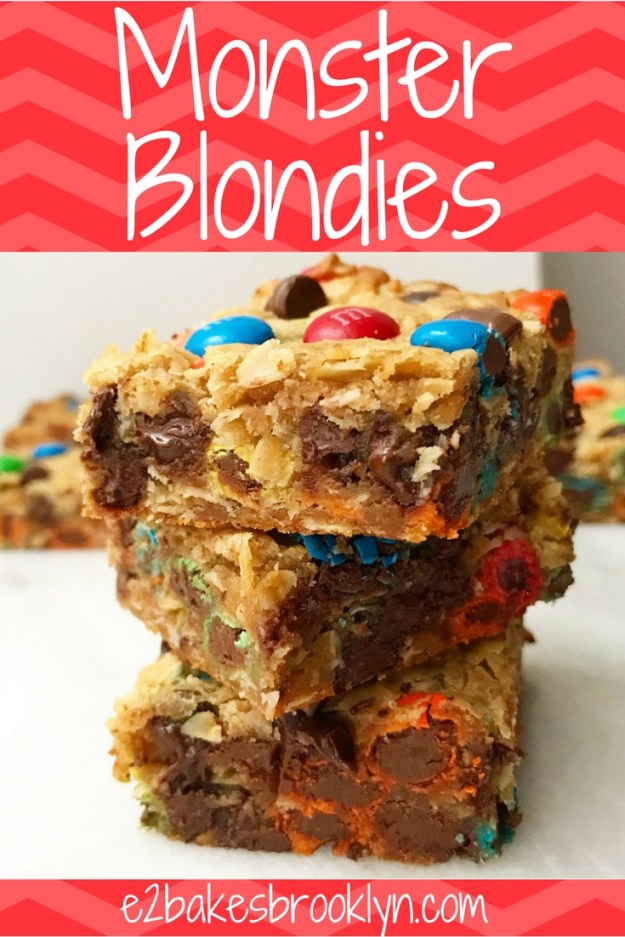
 I’m from Fort Worth, Texas, and have an amazing family. I’m the middle child.
 I’ve lived in New York for

 I am not athletic, but I love to watch baseball. I am a diehard Texas Rangers fan, even when they are terrible. Two of my biggest “bucket list” items are going to games at Wrigley Field and Dodgers Stadium. I crossed
  I love musical theatre. I got to see Hamilton last year–totally lives up to the hype.
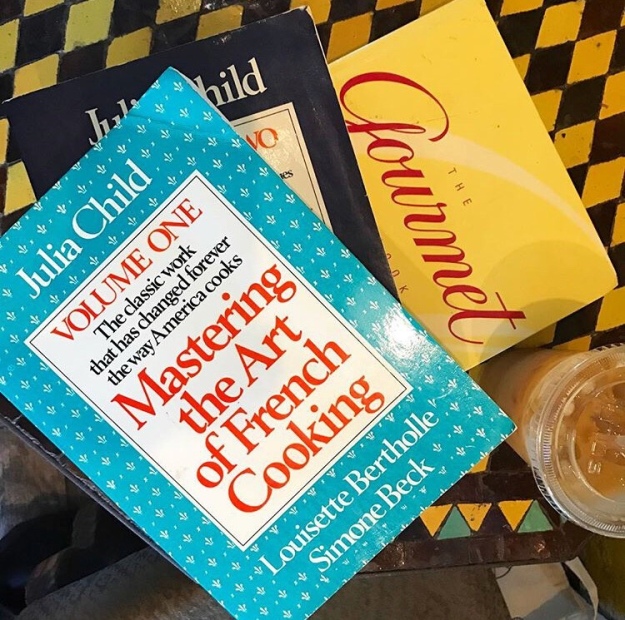 I collect cookbooks (shocker!), and love finding them at thrift stores and on stoops. My best find so far is a near-pristine copy of The Gourmet Cookbook that I found in Beacon, NY.

 If I could up and move anywhere, it would be
  The best job I ever had was working at
  My current favorite recipe on this site is
  The thing I am most excited to make in the coming months is a wedding cake!
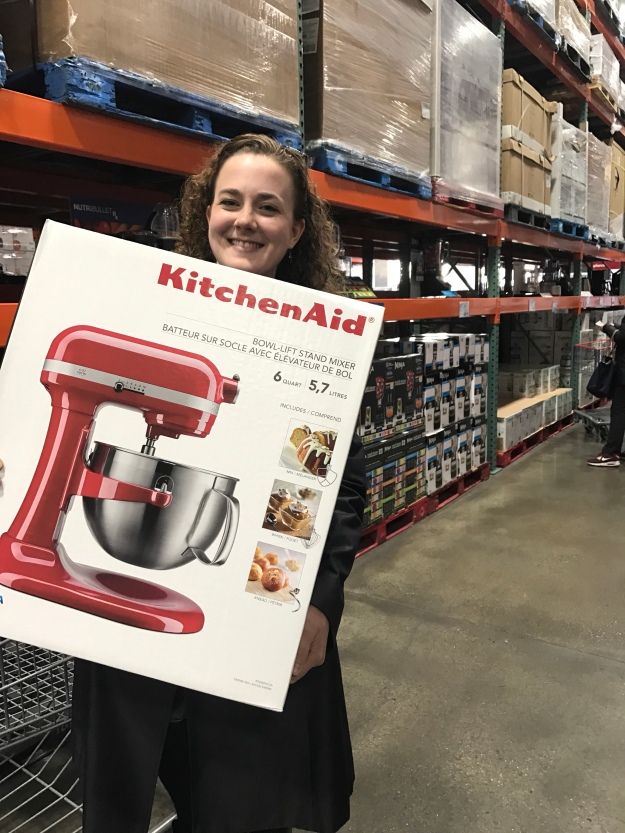 My goals for the next year are to be happy and do meaningful work with food.
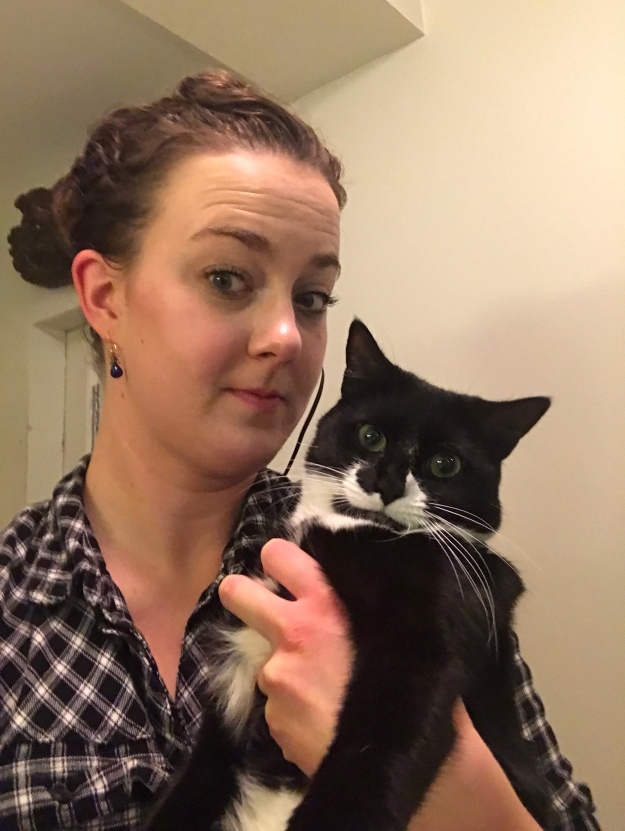
 I posted pictures of a big M&Ms-stuffed chocolate cake on my
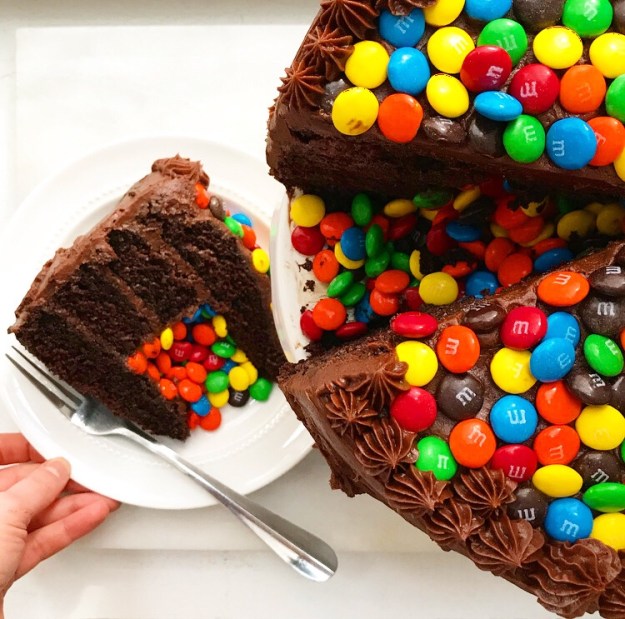
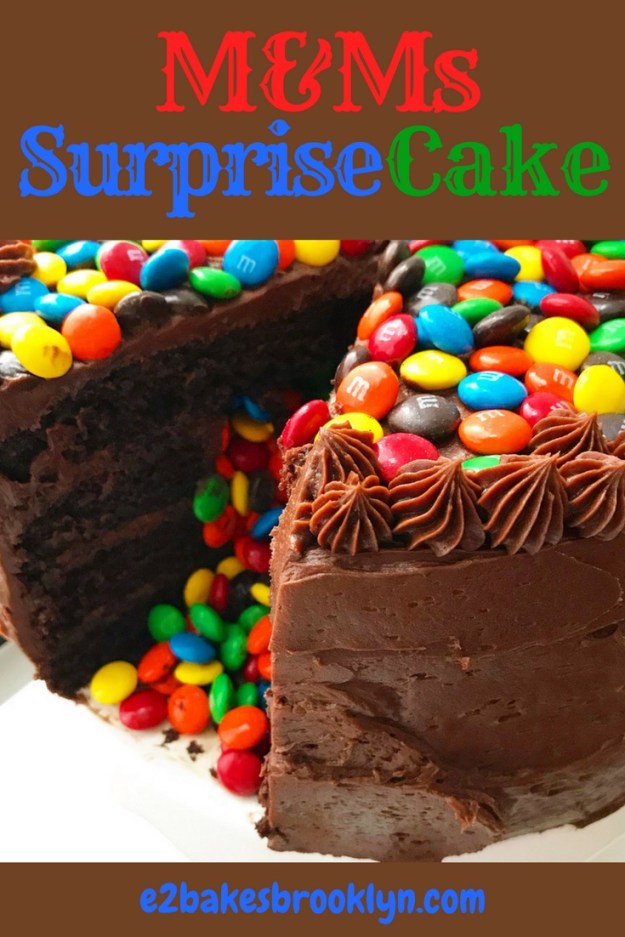
 I get it—chocolate cake + buttercream + M&Ms inside + more M&Ms on top = MAGIC.
 That original cake was for a friend and not intended for the blog, but given the response, I thought you might like to know how to make your own!
 First things first. You’re going to need four 9-inch round layers of chocolate cake. This one is a super easy no-mixer recipe that makes four soft, moist, perfect layers. You may recognize this recipe from my my
  Place one of the layers on a serving plate or your favorite of all your cakestands. Spread a little frosting on top.
 Take two of the layers and punch out holes in the centers. I use a 6-inch ring for this, but you can use a wide-mouthed glass or even just a paring knife and a circle of parchment. Layer those on top of that bottom round, frosting between and on top.
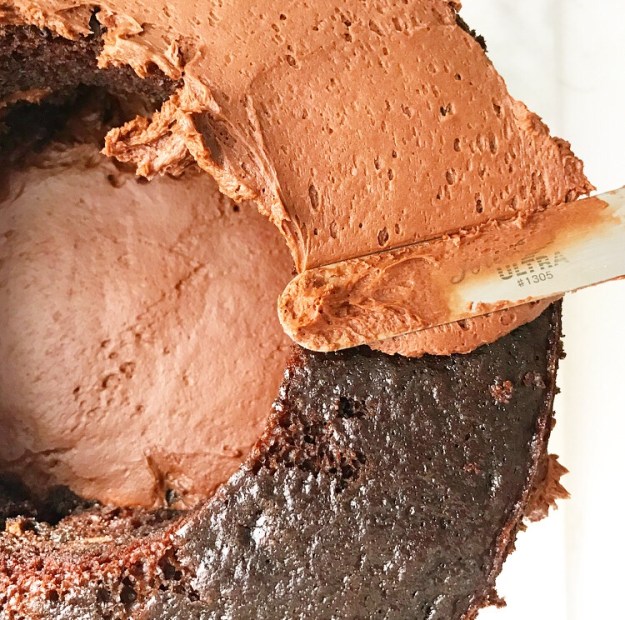 At this point, you’ll have a three layer cake with a hole in it. That’s where the surprise M&Ms are going to go ❤
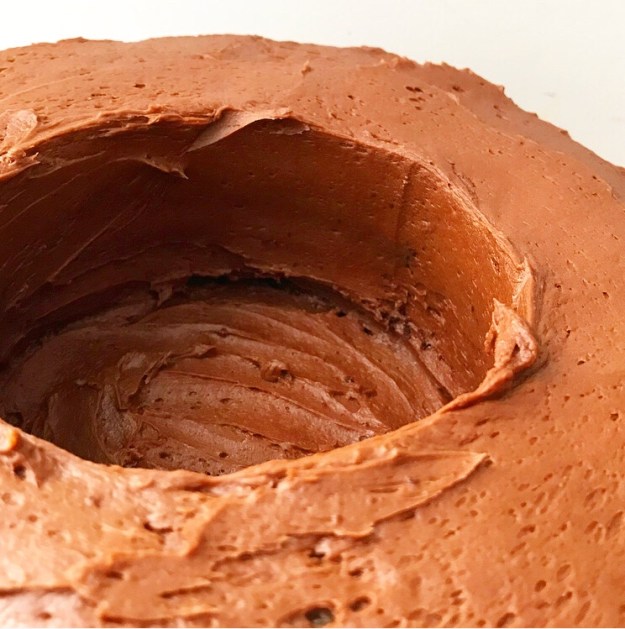 Spread a thin layer of buttercream on the “walls.” This will help keep the moist cake from melting the color off the M&Ms too quickly. And speaking of M&Ms…
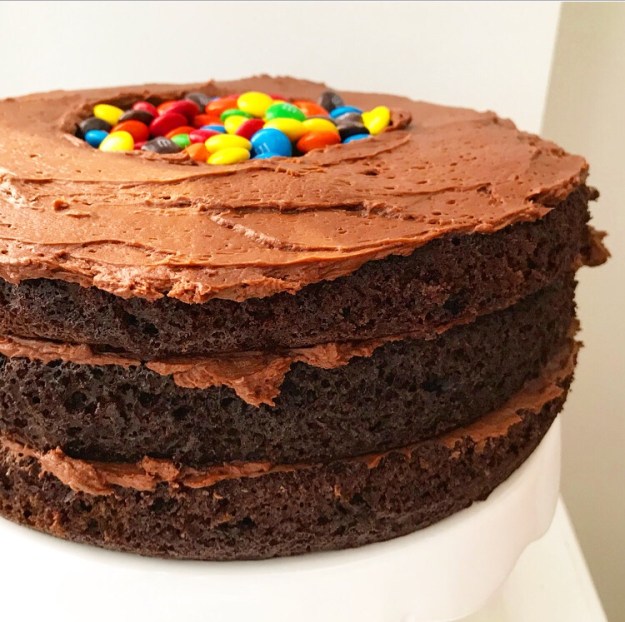 …pour in almost 2 cups of them ❤ ❤ ❤
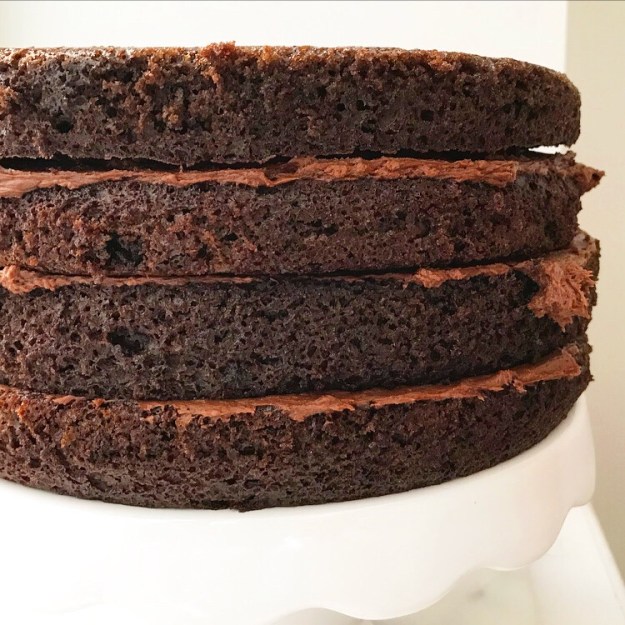
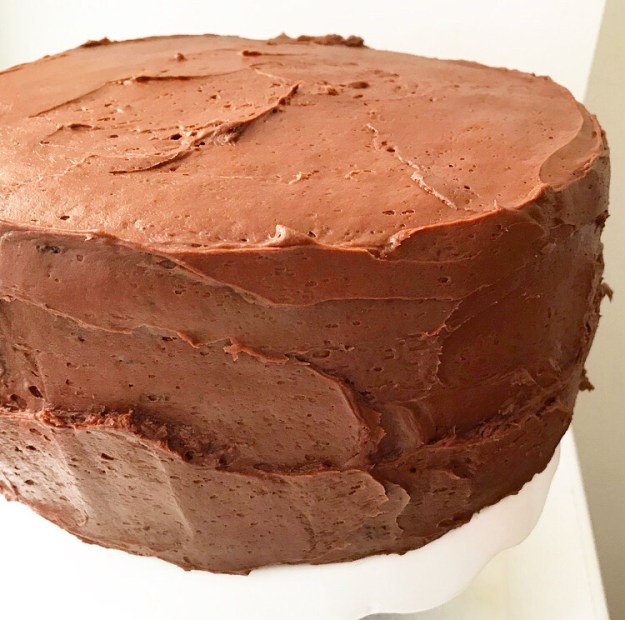 Place your last intact layer of cake on top, effectively hiding all that surprise candy. Frost the cake. For a sort-of photo tutorial on that, see last week’s
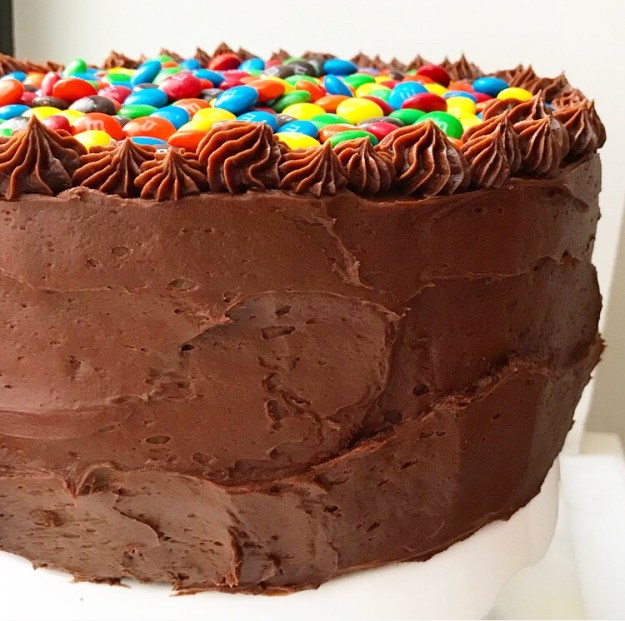
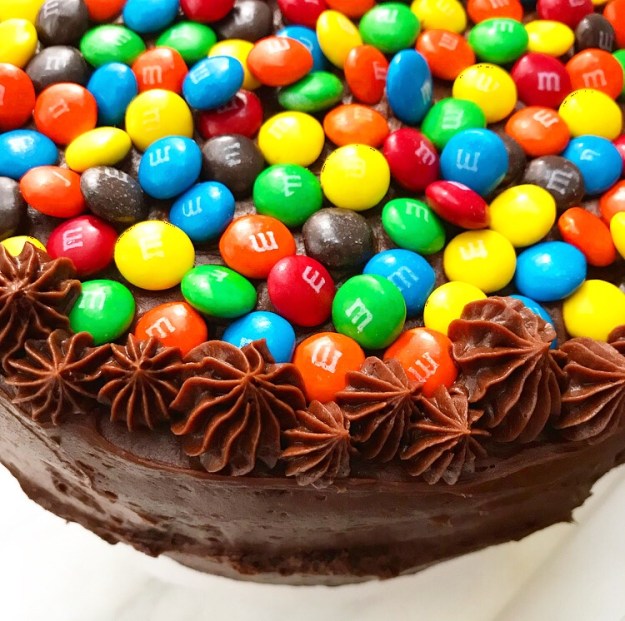 I decorated the top with even more M&Ms and used the last of the frosting to pipe a border. The dollops are all different sizes and I love it!
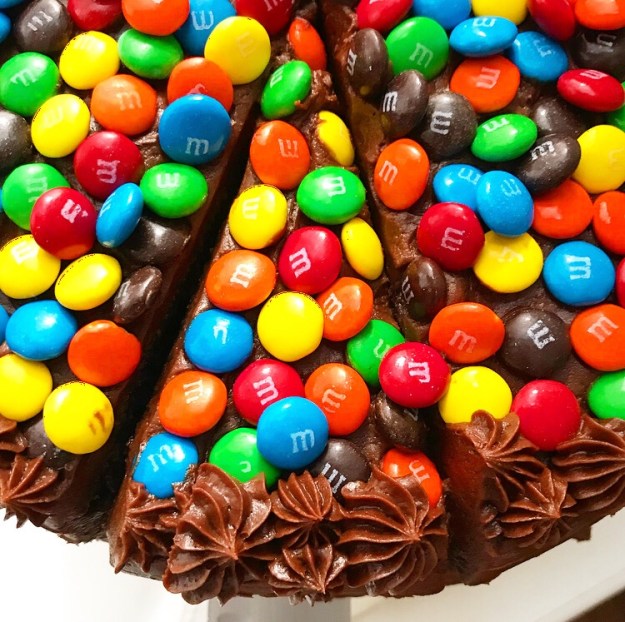


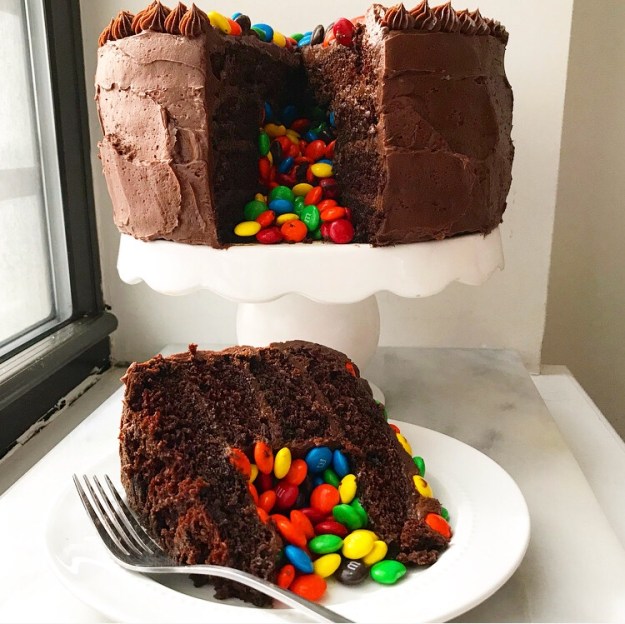
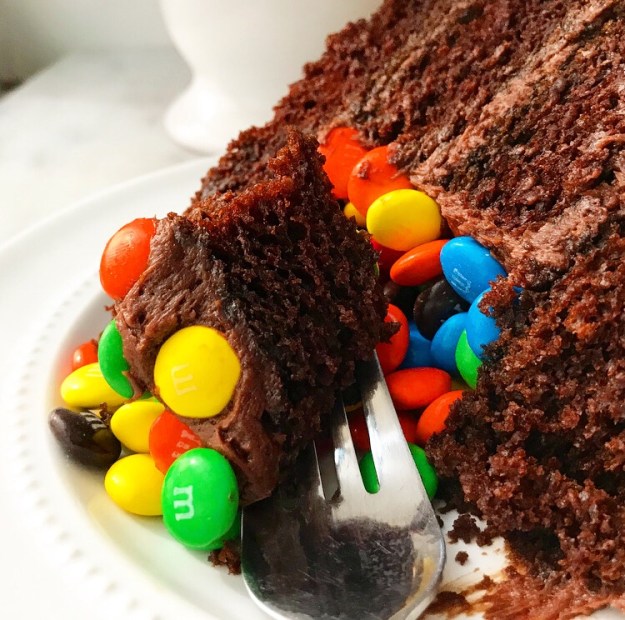 Then again, I was alone when I sliced this sucker open and it was still pretty damn magical. But I also took 200+ photos of it for you, so I suppose you were practically there.