 Y’all. Y’ALL. Why did I wait so long to make jam squares?
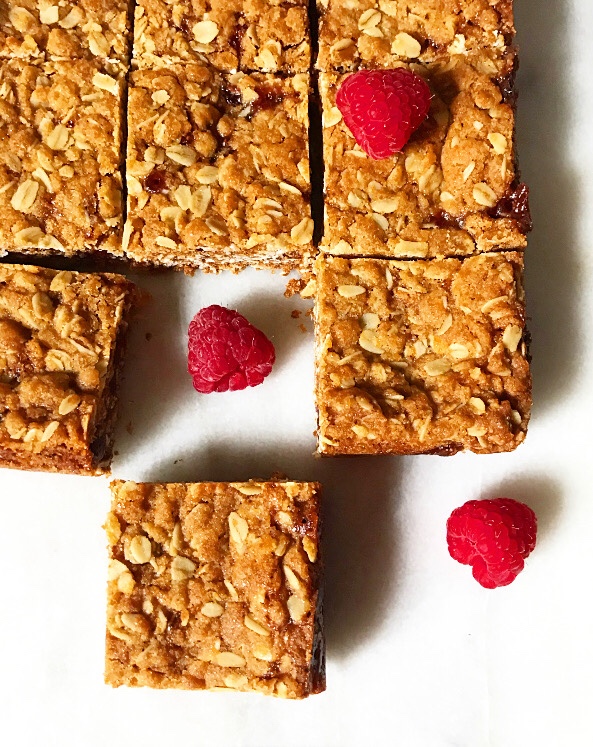 I mean, they’re so…easy. Seven ingredients, one bowl, no mixer—my favorite sort of recipe.
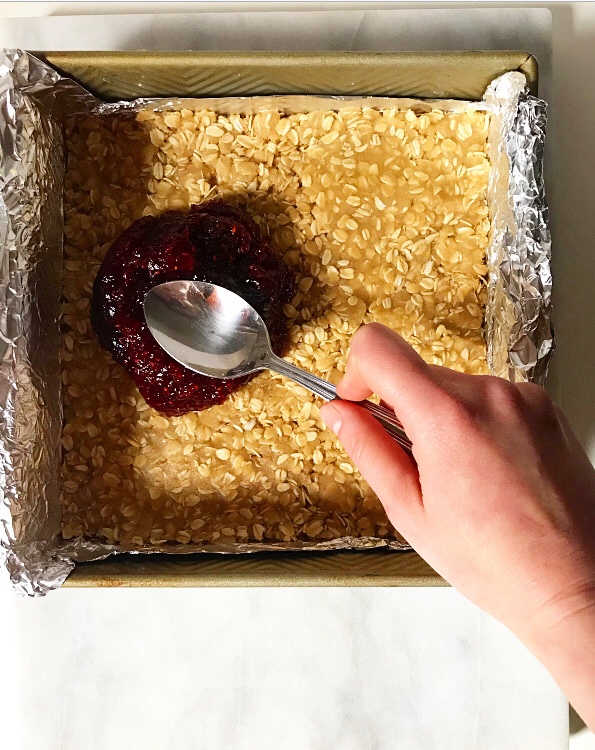

 Five minutes for mixing, five more for assembly. Just shy of thirty for them to bake up.
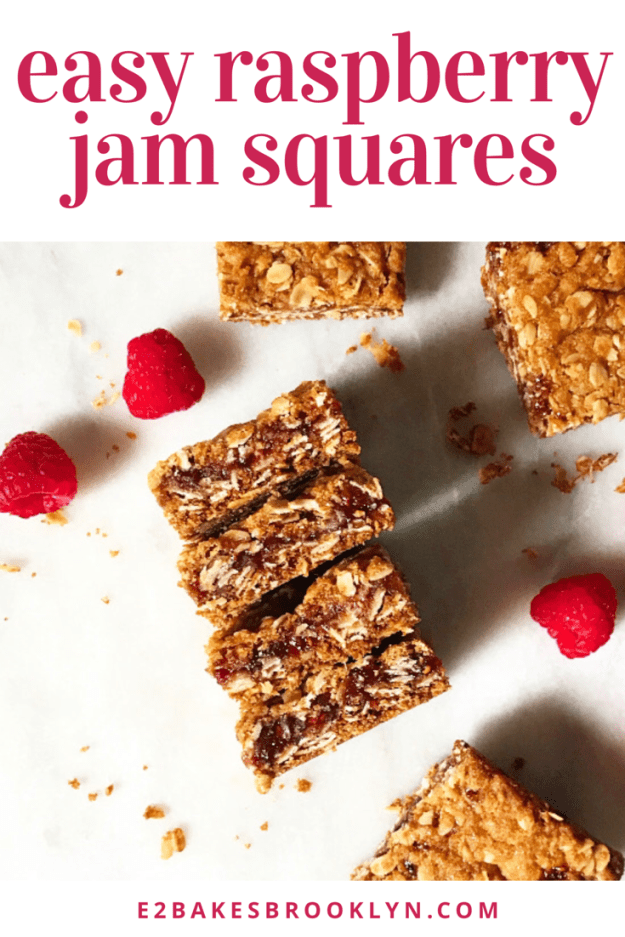
 Once they’re cool, they slice like a dream.
 You’ll like the crisp cookie layers, chewy oats, and sweet-tart jam centers on day one, but some magic flavor-melding happens in that first 24 hours and they are eyes-rolling-back-in-your-head good on day two. And they just get better from there.
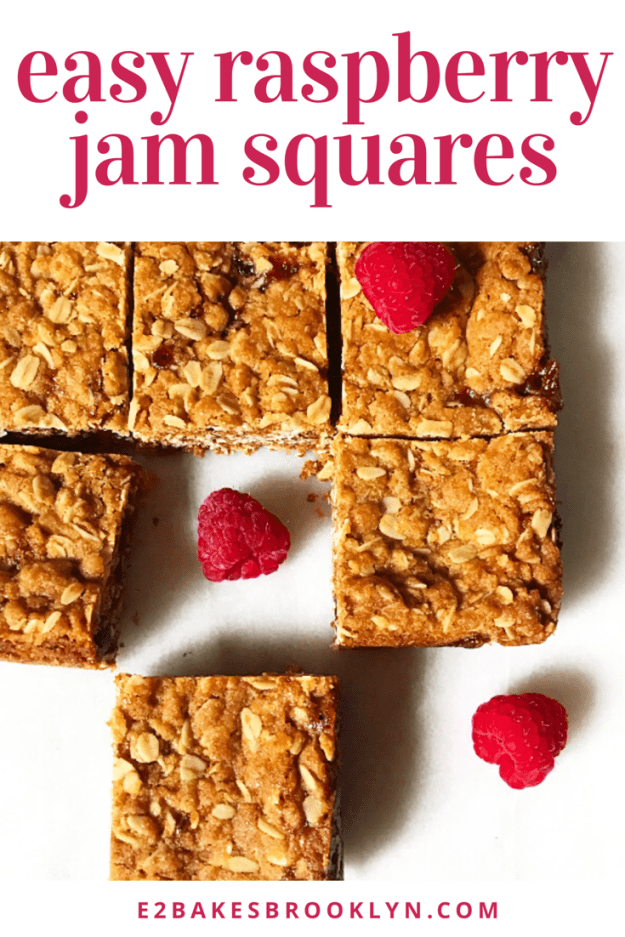
 Easy Raspberry Jam Squares are far more than the sum of their parts. I went into testing thinking these might need cinnamon or nuts, but I was wrong—simplicity is key for optimal jam flavor.
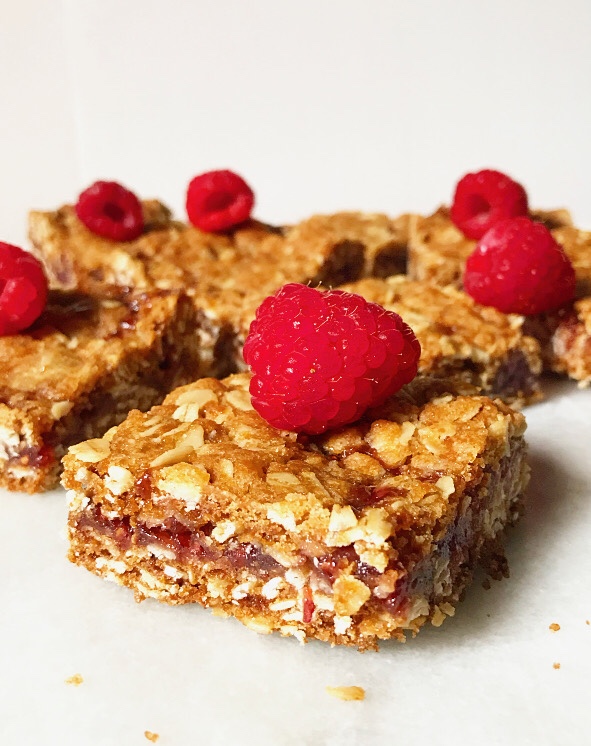 And speaking of jam, I went with raspberry because that’s what I like, but feel free to use any preserves you like. I think blueberry sounds particularly good right now, but that may only be because we just booked our annual trip to Maine. In fact, these are so simple that they’d be perfect for a little late-afternoon vacation baking.
 Like I said, my favorite sort of recipe.
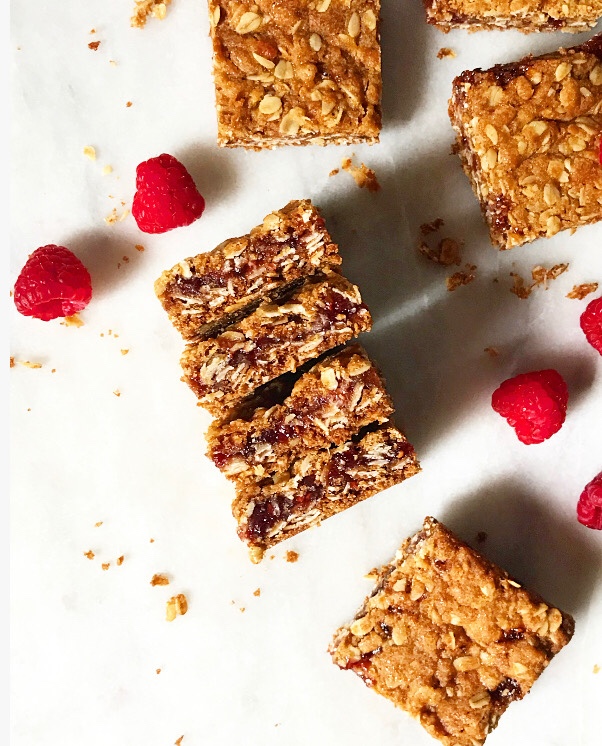
Easy Raspberry Jam Squares
makes one 9-inch pan, about 16 squares
1 1/4 cup all-purpose flour
3/4 cup light brown sugar, packed
1 teaspoon baking soda
1/2 teaspoon Kosher or sea salt
1 1/2 cups old fashioned oats
3/4 cup (1 1/2 sticks) unsalted butter, melted & cooled slightly
2/3 cup raspberry jam
Preheat oven to 350F. Line a 9-inch square pan with aluminum foil and grease with butter. Set aside.
In a medium mixing bowl, whisk together flour, brown sugar, baking soda, salt, and oats. Use a silicone spatula or wooden spoon to fold in melted butter—mixture may be crumbly, but should hold together when pinched.
Firmly press half the dough (about 2 cups) into an even layer at the bottom of the prepared pan. Spread jam over packed dough, leaving a 1/2-inch border on all sides.
Scatter remaining dough mixture over the top. Use the palms of your hands to gently pack it into a even layer, covering the jam.
Bake full pan for 25-27 minutes, or until golden and set on top. Let cool completely in the pan on a rack.
Slice bars with a lightly greased chef’s knife, wiping the blade clean between cuts. Do not try to slice bars until they are completely room temperature.
Bars will keep in an airtight container at room temperature for up to five days. Layer them with wax paper to keep them from sticking together.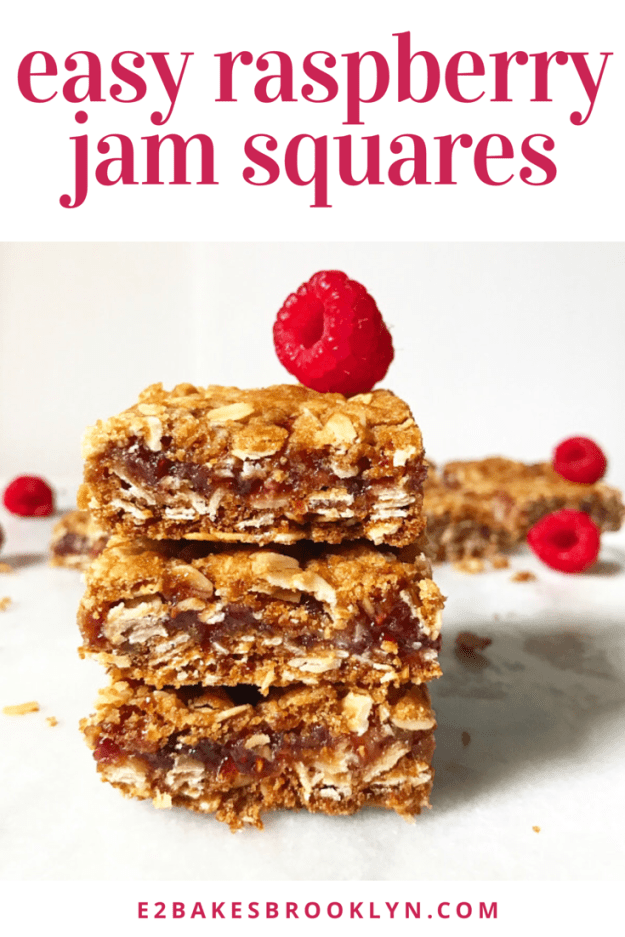


Wow, they look so yum.
LikeLiked by 1 person
Liz, can these be GF?
LikeLiked by 1 person
They would probably work with a gluten-free baking blend, but I haven’t tried it. Let me know if you try!
LikeLike
I made them and they went down very well.
LikeLiked by 1 person
That was quick 😊 Glad you enjoyed them!
LikeLiked by 1 person
Beautiful.I liked it very much .
LikeLike