I try to keep a certain level of variety on here, but with 600 recipes there are bound to be some variations on a few really good staples.

Case in point: shortbread bars. They’re one of the simplest desserts in my baking arsenal, and also one of my very favorites. They’re quick and easy to make and have a short ingredient list. You almost certainly have all the shortbread ingredients right now.


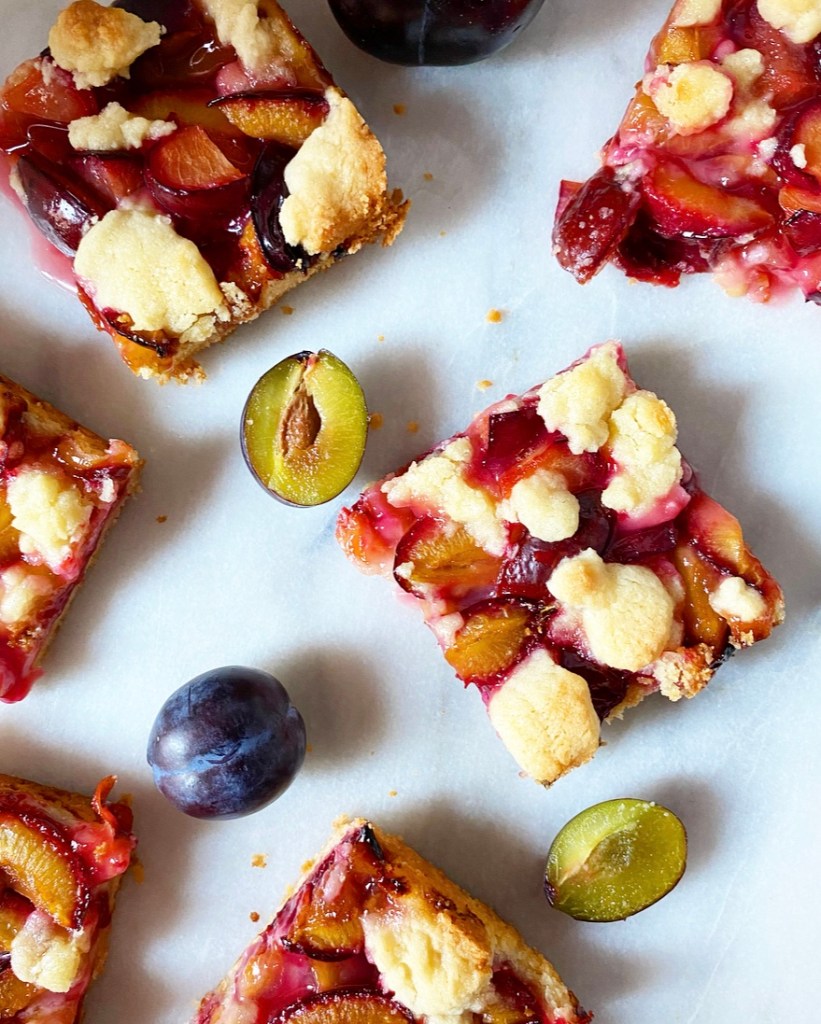
Shortbread bars hit all the same notes as pie, yet require only fractions of the work and time. The shortbread dough doubles as both base and topping, and you don’t need to roll or crimp anything—rustic is the name of the game. You can make them square, or bake them up round and cut them into wedges.
Perhaps best of all, shortbread bars seamlessly adapt to whatever fruit you have in hand, whether it be apples, cherries, blackberries or an astonishing amount of sweet & tangy late summer plums.
Yep. This recipe’s a keeper.
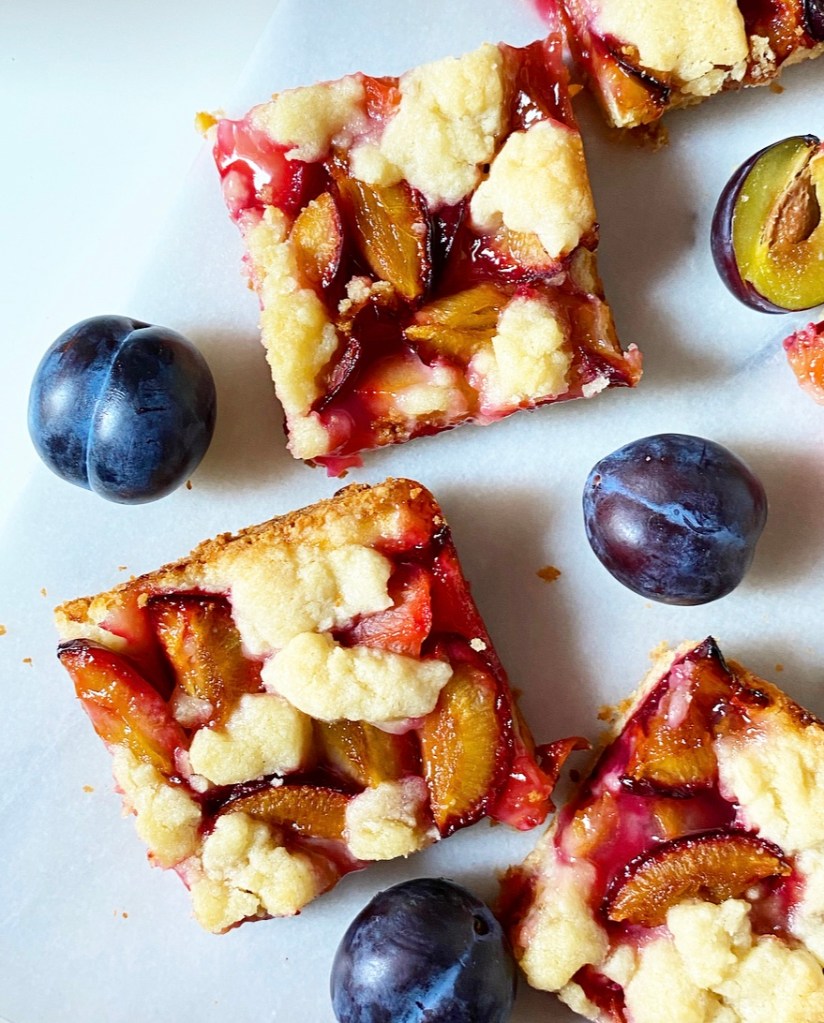
Plum Shortbread Bars
makes one 8-inch pan, 8-12 wedges
Filling:
3 cups sliced fresh plums* (1-inch pieces)
1 tablespoon lemon juice (about 1/2 medium lemon)
1/2 cup granulated sugar
pinch of Kosher or sea salt
1 tablespoons cornstarch
Shortbread:
2 cups all-purpose flour
1/2 cup granulated sugar
1/4 teaspoon Kosher or sea salt
1 cup (2 sticks) unsalted butter, cold, cut into small cubes
Place oven racks in top and bottom positions. Preheat oven to 375F. Butter and flour an 8-inch round cake pan, or line with aluminum foil, leaving overhang, and grease with butter. Set aside.
Make plum filling. In a medium mixing bowl, combine sliced plums, lemon juice, sugar, salt, and cornstarch. Set aside while you make the shortbread.
In a large mixing bowl, combine flour, sugar, and salt. Add cold butter. Use your fingertips to rub butter into flour until the largest pieces are the size of small peas. It will be powdery, but should hold together when pinched. Set aside 1 cup of the mixture for topping.
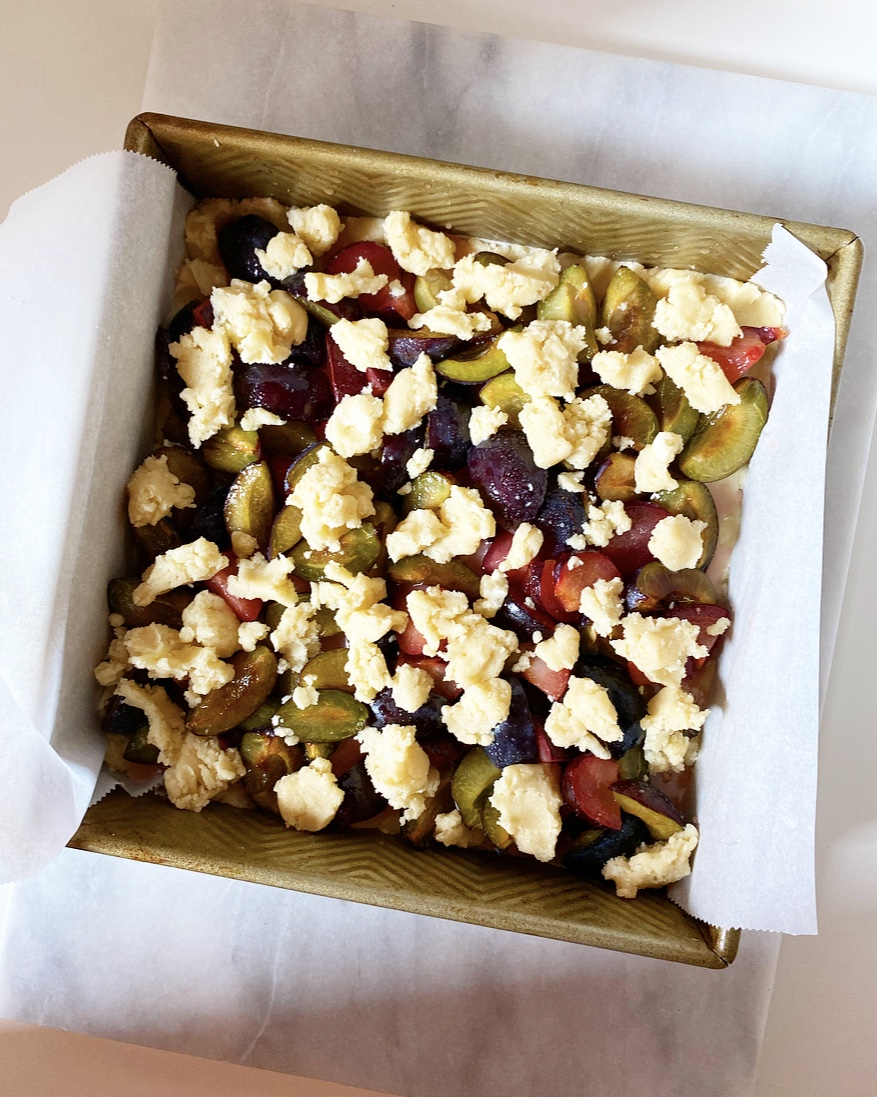
Pour remaining shortbread mixture into prepared pan. Spread it around to cover the bottom of the pan before using your hand to pack it down into an even layer. Prick several times with a fork. Spoon plum filling over the top and arrange into an even layer.
For the topping, use your fingers to pinch together small portions of the reserved shortbread mixture. Scatter them over the top of the blackberry layer.
If your pan is on the shallow side, place it on a rimmed baking sheet to collect any light overflow. Bake on the bottom rack of the oven for 20 minutes. Move bars to the top rack and bake for an additional 10-12 minutes, until browned. Tent with foil if anything begins to brown too quickly. Let cool in the pan on a rack until they reach room temperature. Refrigerate for at least 90 minutes, or until cold.
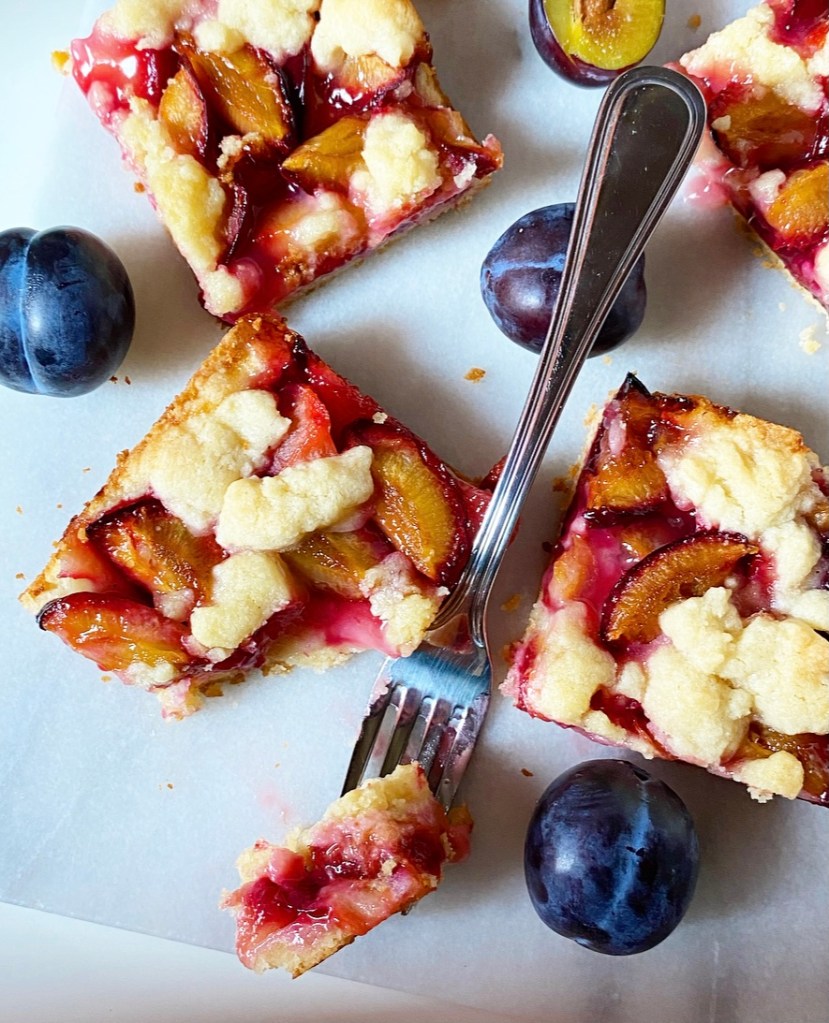
Run a thin knife around the edges of the pan. Use parchment overhang to remove to a cutting board. Slice and serve.
Leftover Plum Shortbread Wedges will keep in an airtight container in the refrigerator for up to four days. They will soften over time.
Note:
I used 2 medium red plums and a dozen Italian prune plums.

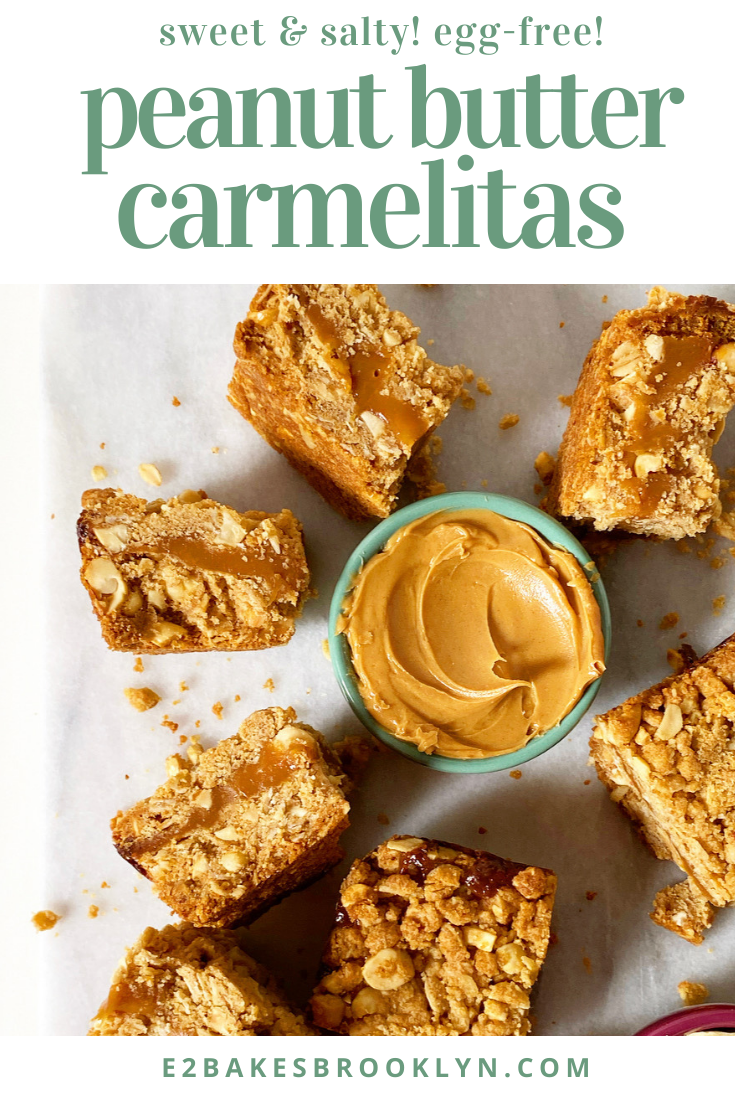
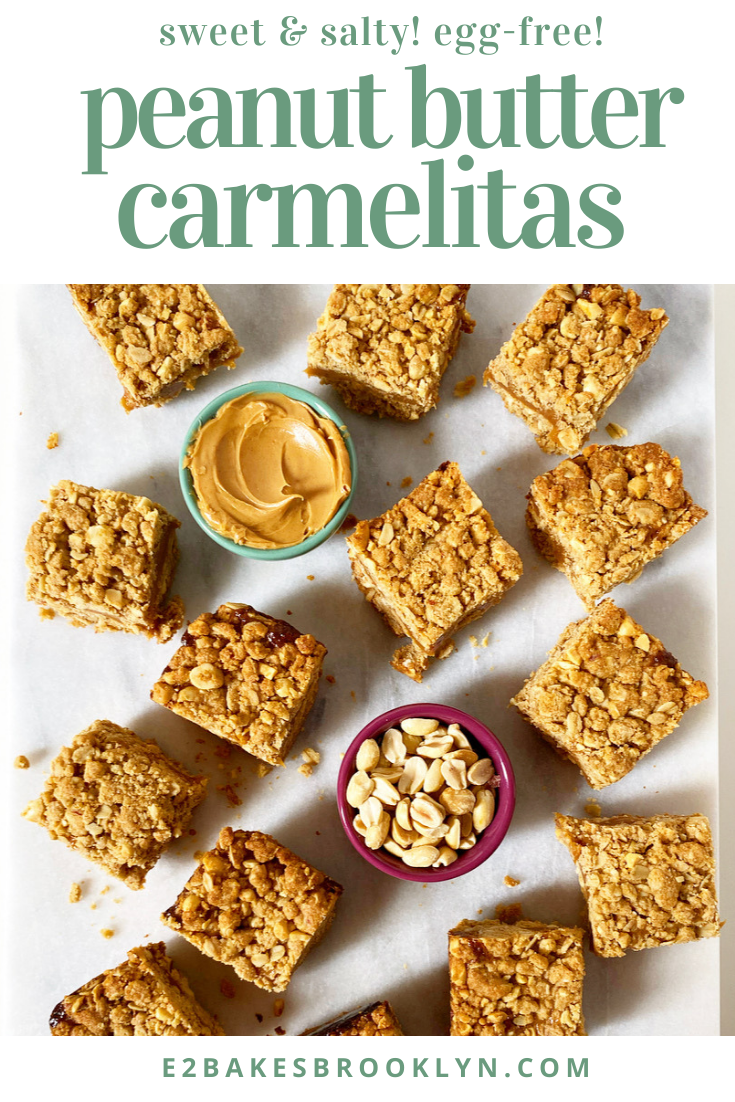
 Sometimes you—and by “you,” I mean “I”—want a dessert that is purely about peanut butter. No
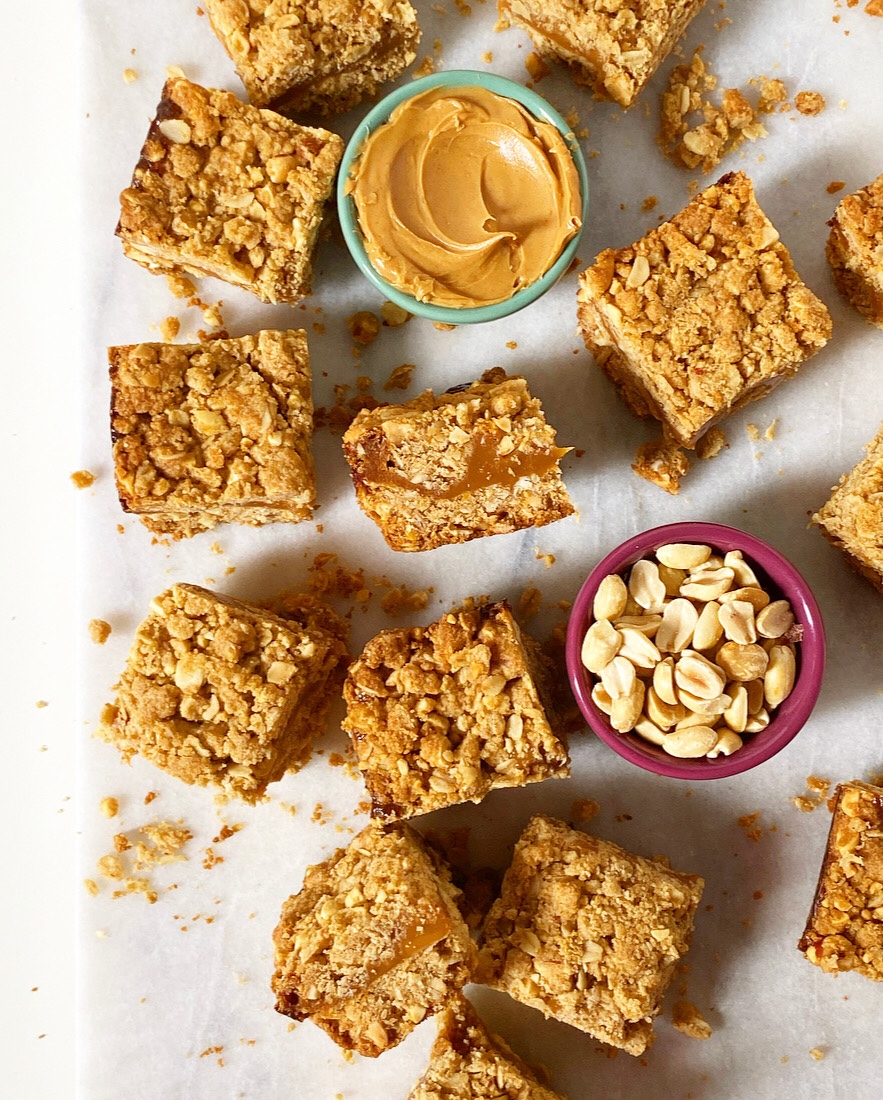
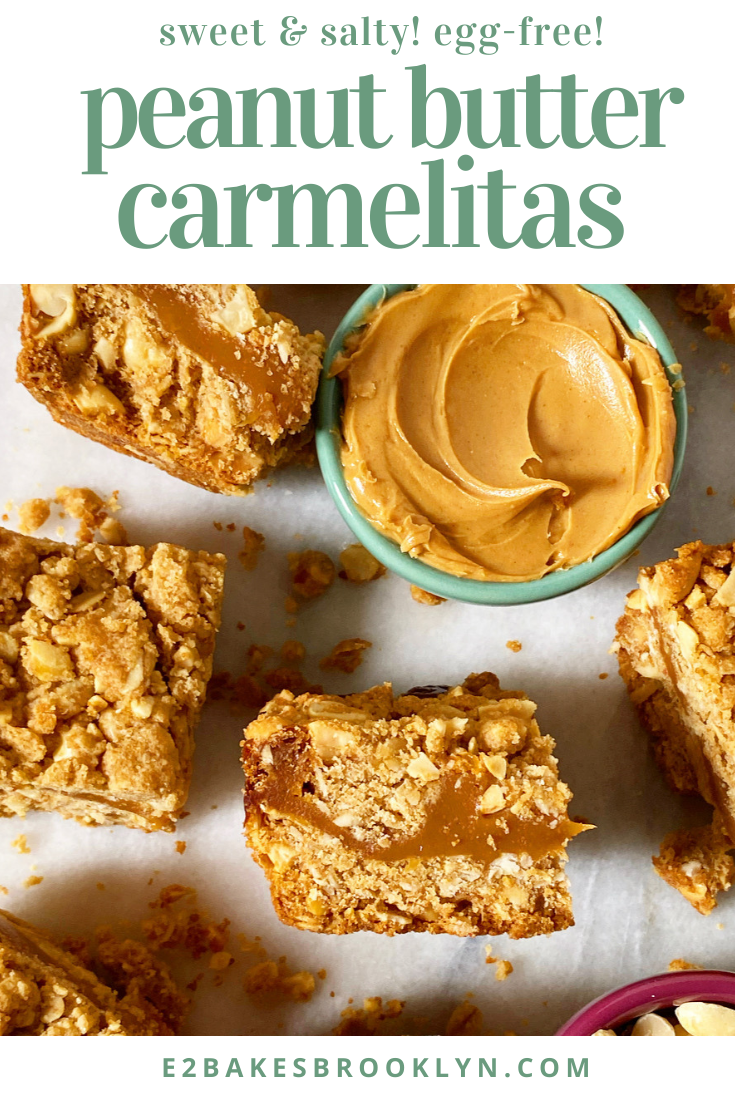
 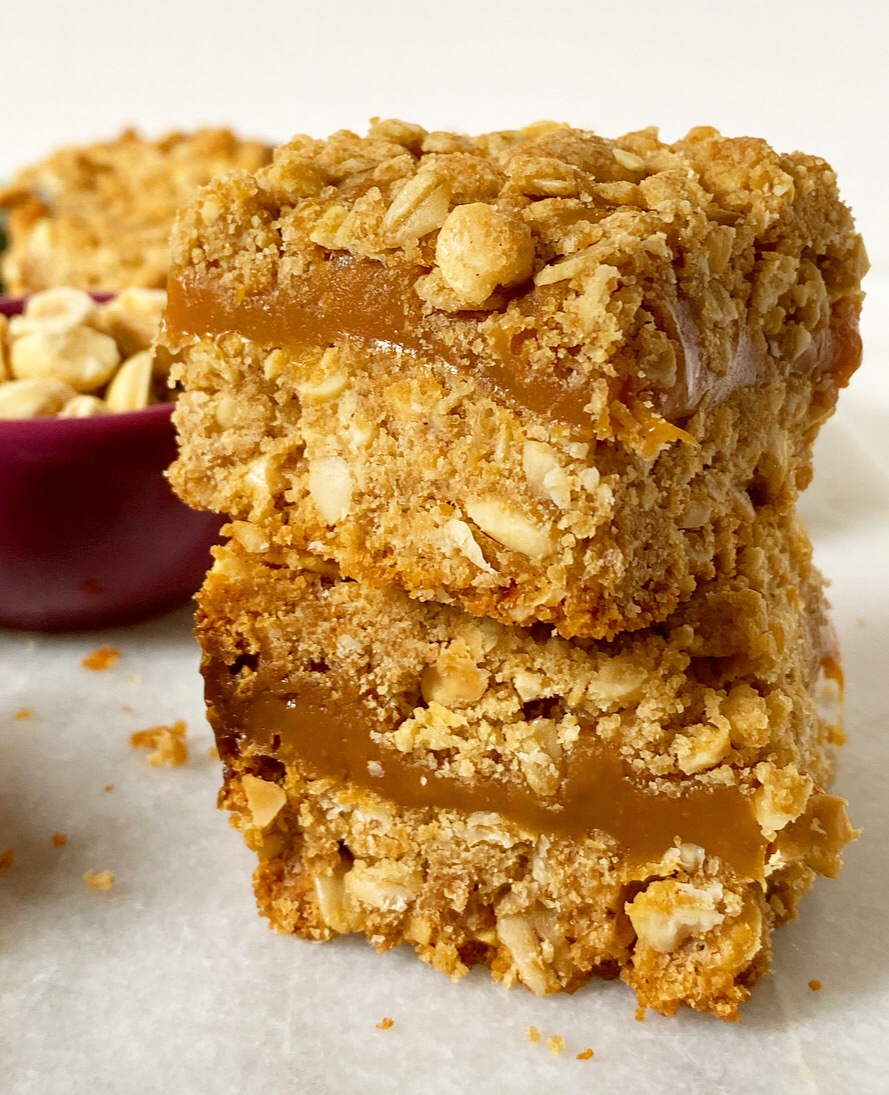 You should make these, period. They’re a peanut butter lover’s paradise! Two layers of crispy peanut butter cookie are sandwiched together with a thick layer of peanut butter caramel and then sliced into crumbly, chewy bars. It’s like someone—and by “someone,” I mean “I”— took my favorite
 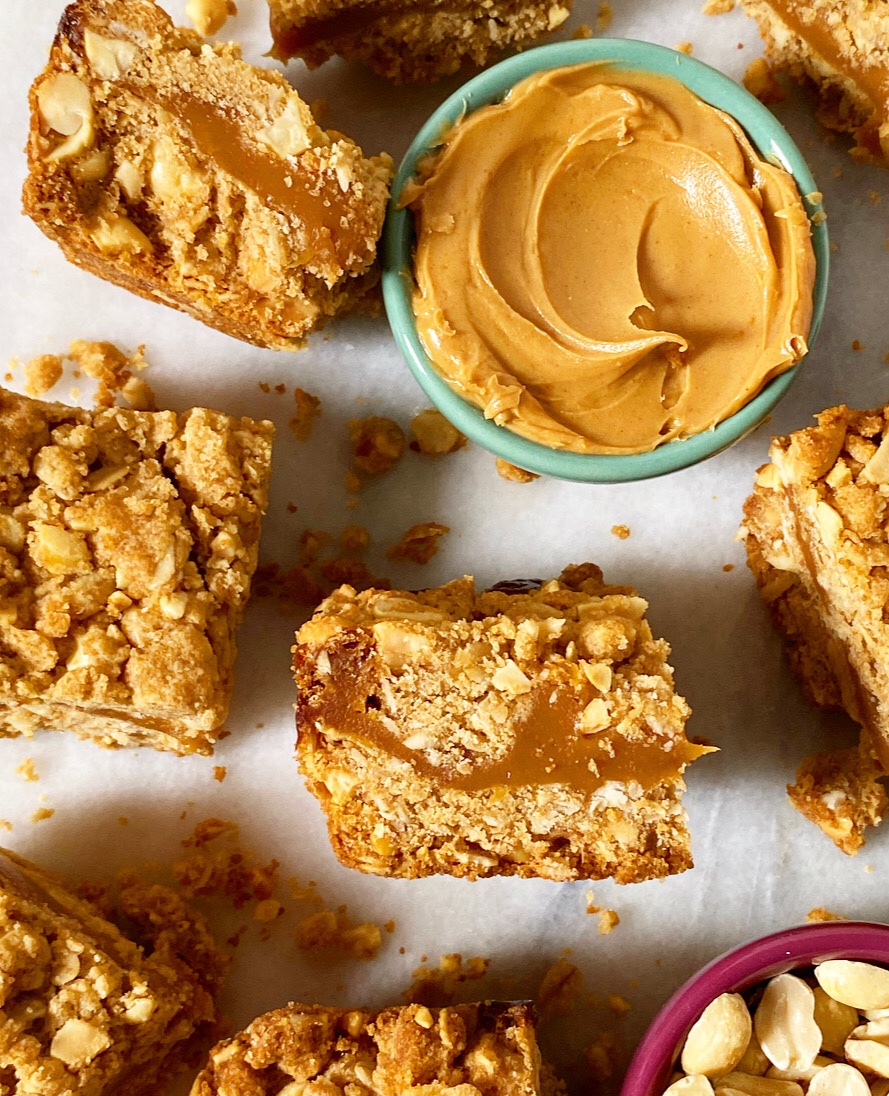 They’re easy to make, too! Start by mixing up a crumbly peanut butter and oat dough, tossing in some chopped roasted peanuts for good measure. Pack half of it down, and then drizzle on a bunch of caramel candy that you’ve melted with peanut butter and heavy cream. Mmhmm.
 Finish it all off with the remaining dough and then bake until the edges are golden and the caramel bubbles up in a few spots and then—and this is very important—let them cool completely.
 I’m serious! Don’t be tempted to slice these (or any
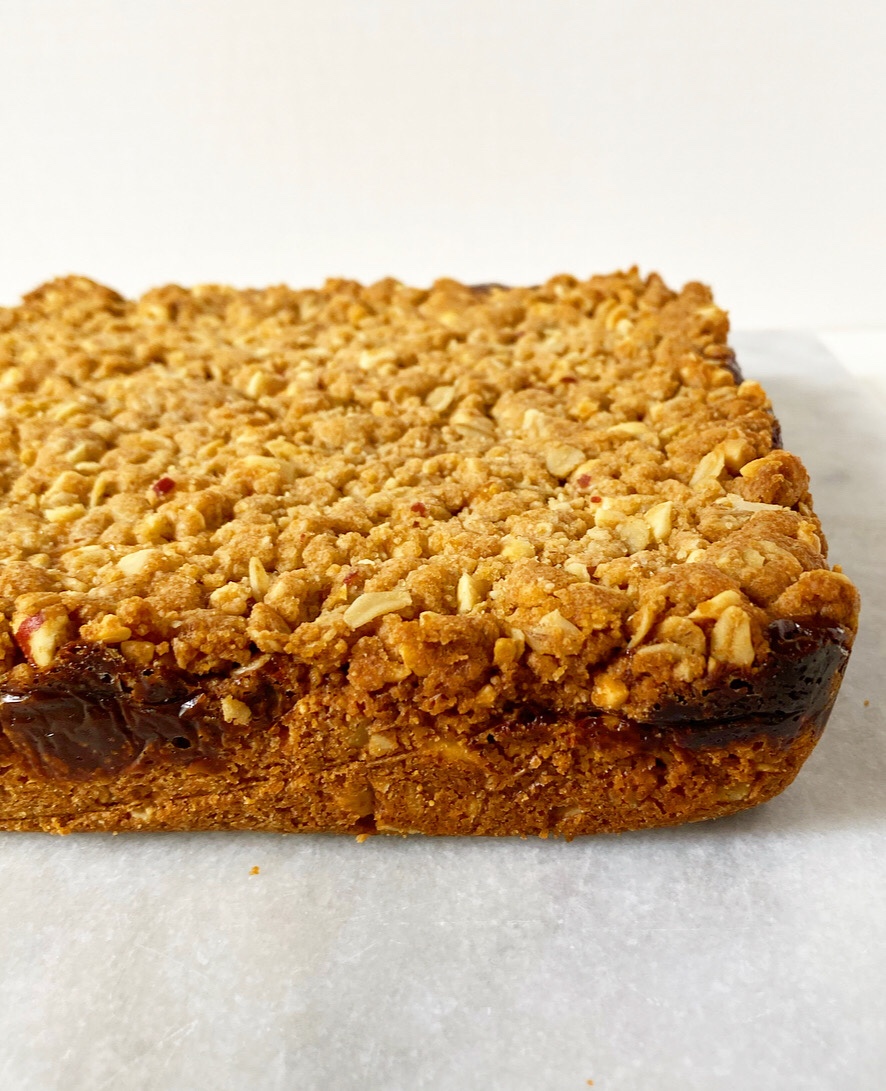
 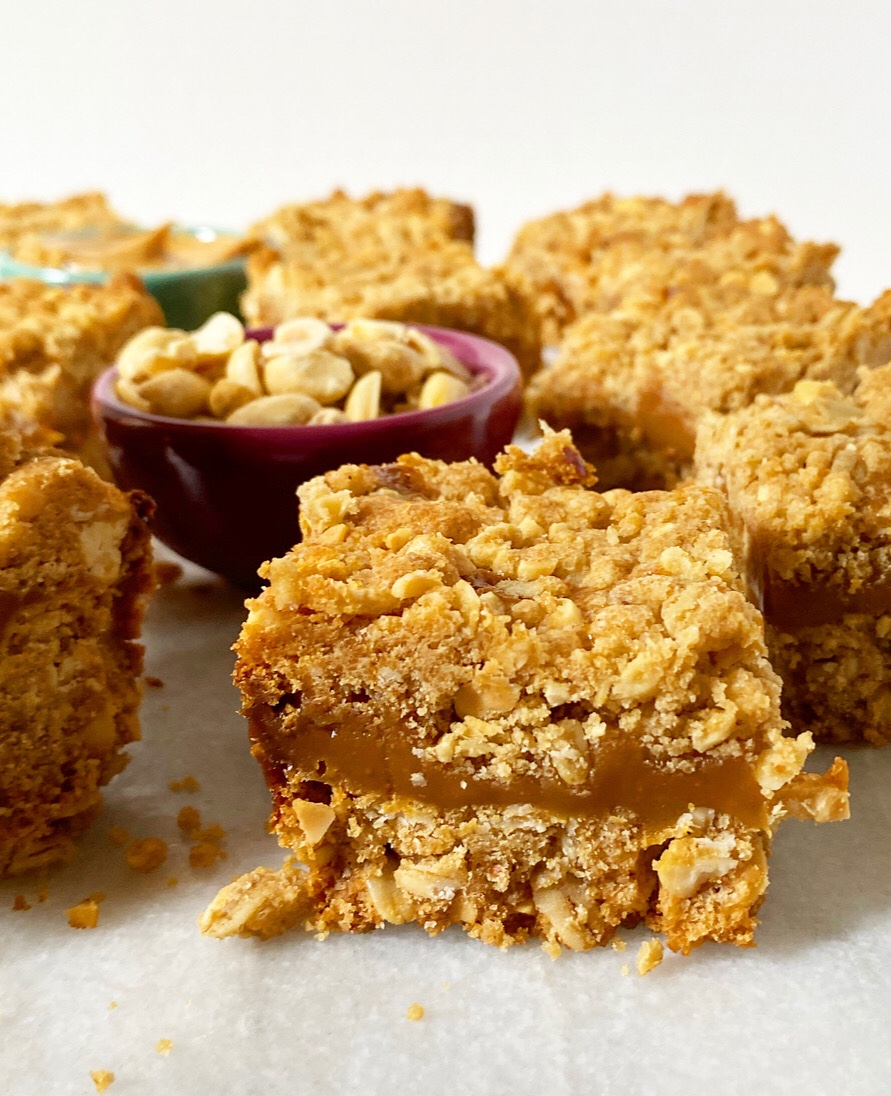 Yes, the caramel is the star of this show, but don’t sleep on those cookie layers. Crispy, crunchy, buttery, salty-sweet, crumbly cookie held together by caramel? Sign me up! These bars will crumble at bit when you bite in, but it’s not a bad thing. In fact, it’s a very good thing.
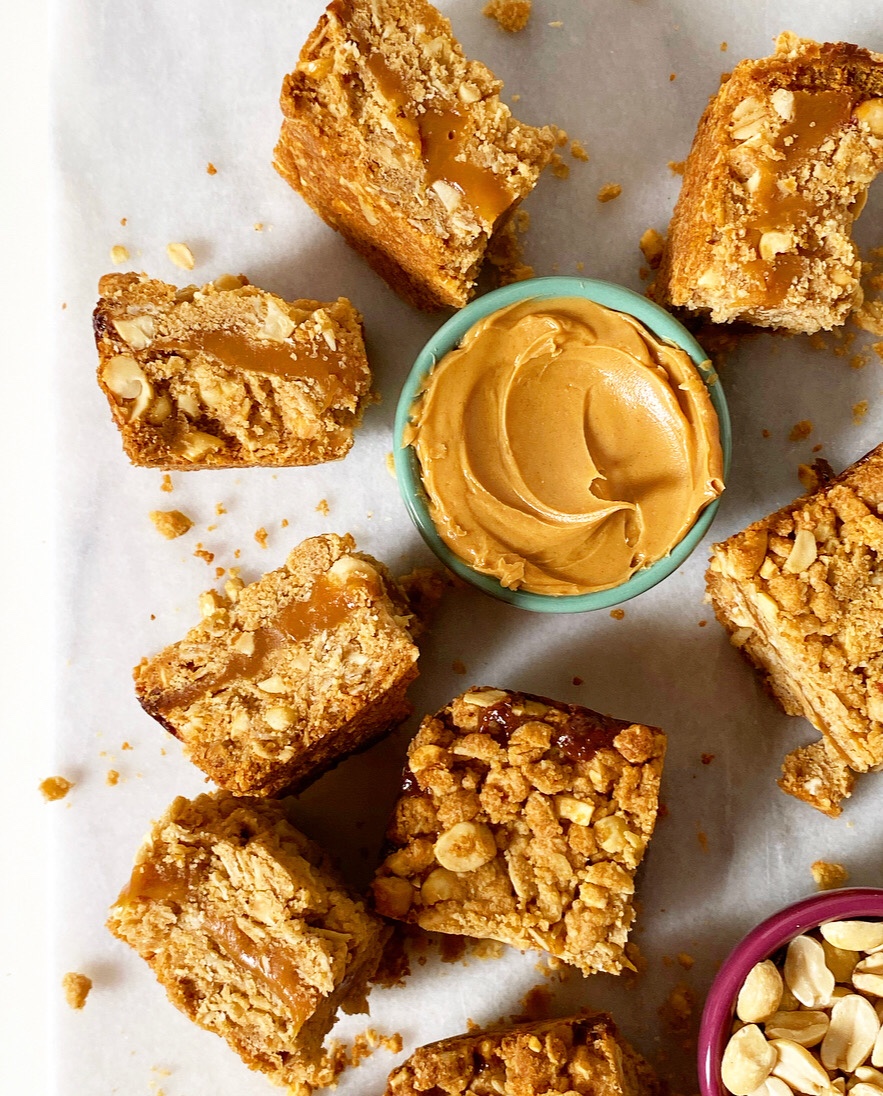
 Y’all. Y’ALL. Why did I wait so long to make jam squares?
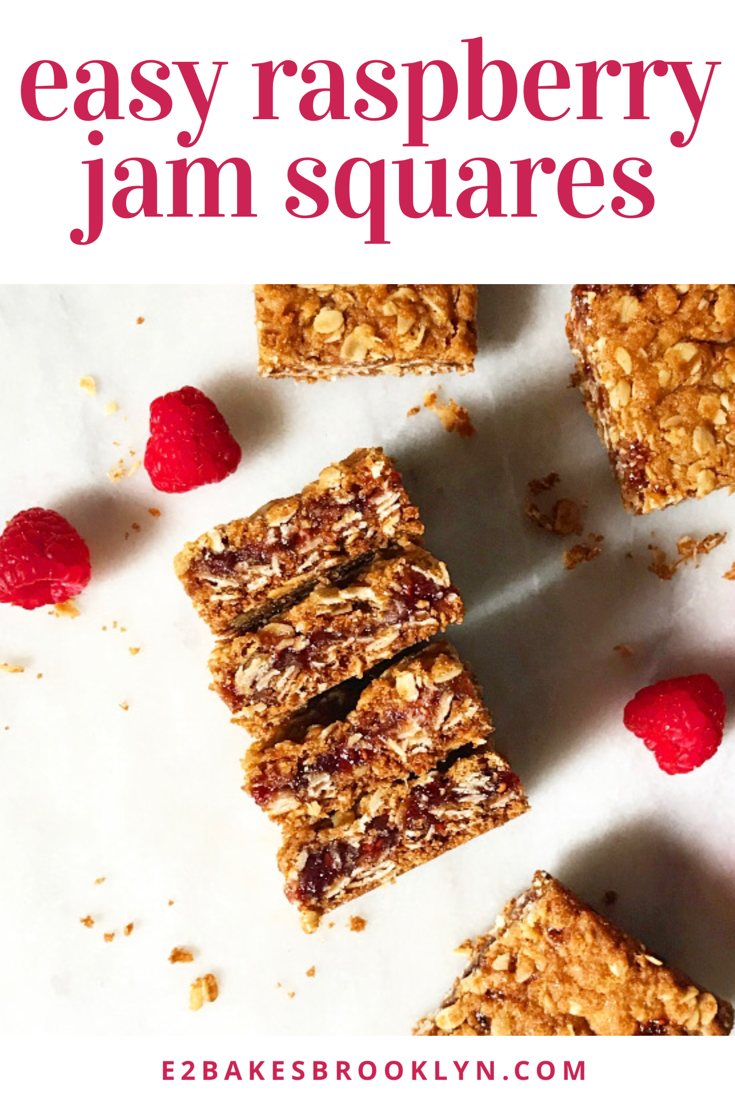
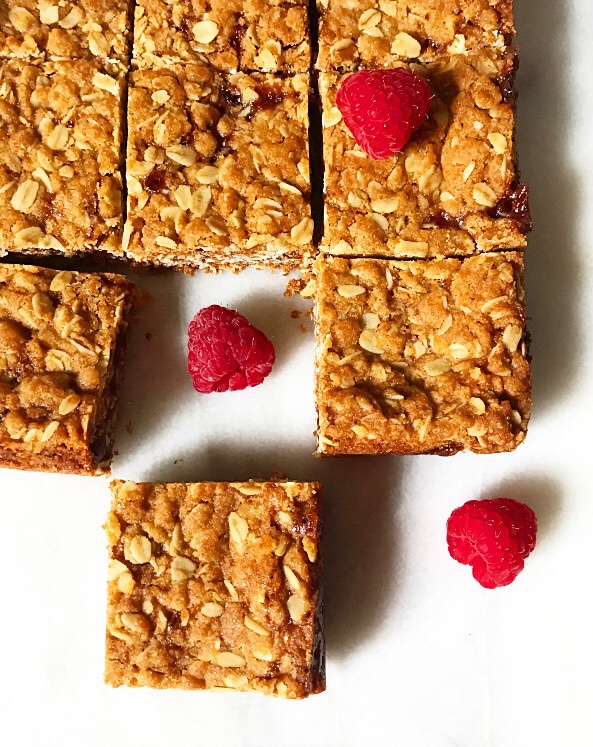 I mean, they’re so…easy. Seven ingredients, one bowl, no mixer—my favorite sort of recipe.
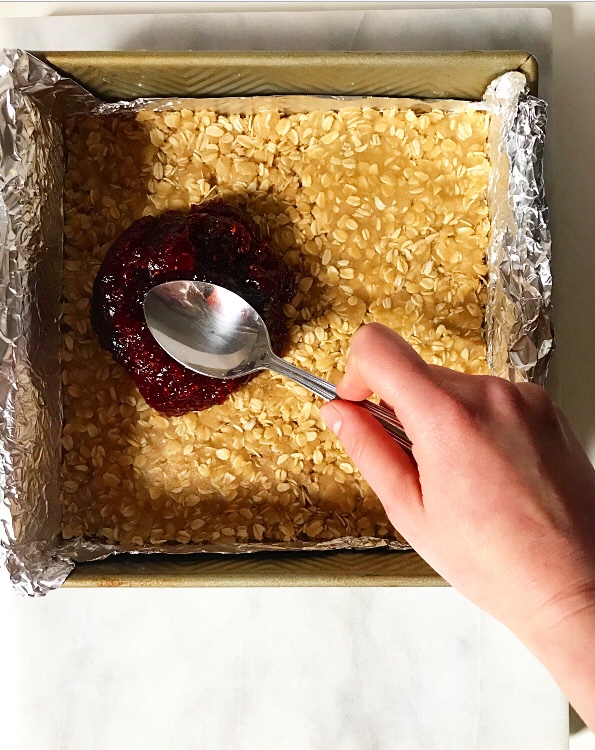
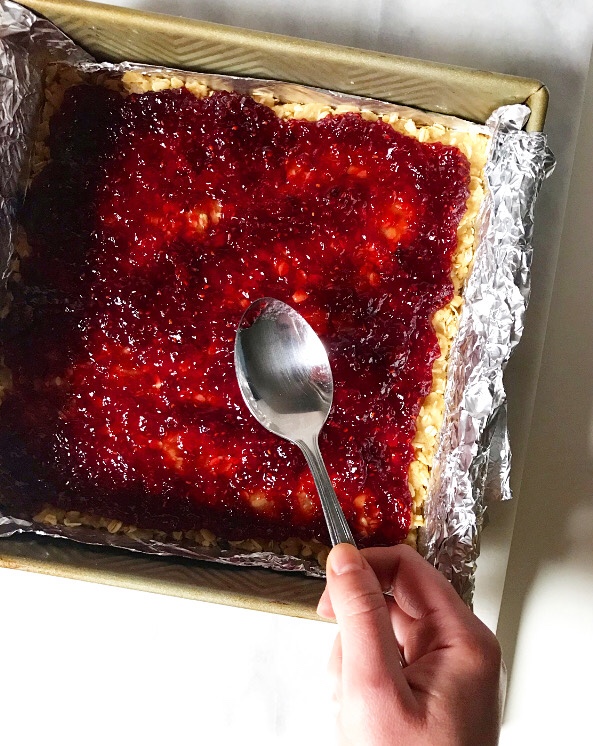
 Five minutes for mixing, five more for assembly. Just shy of thirty for them to bake up.
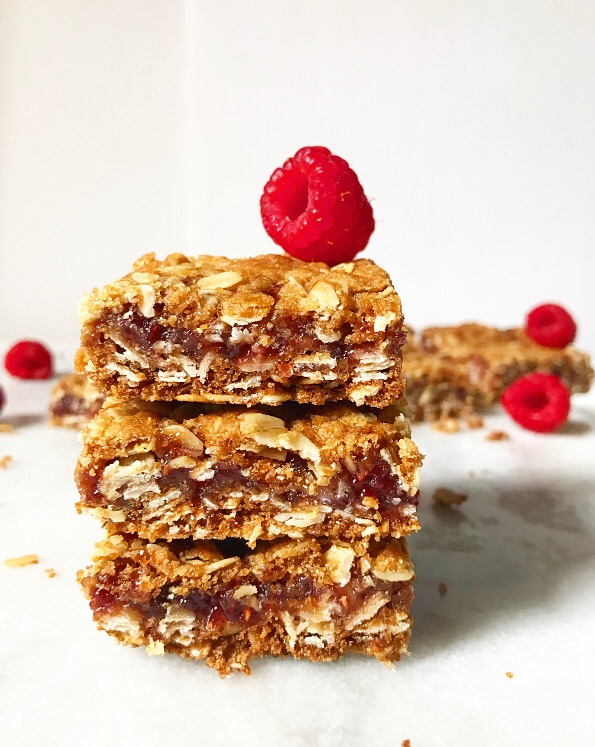
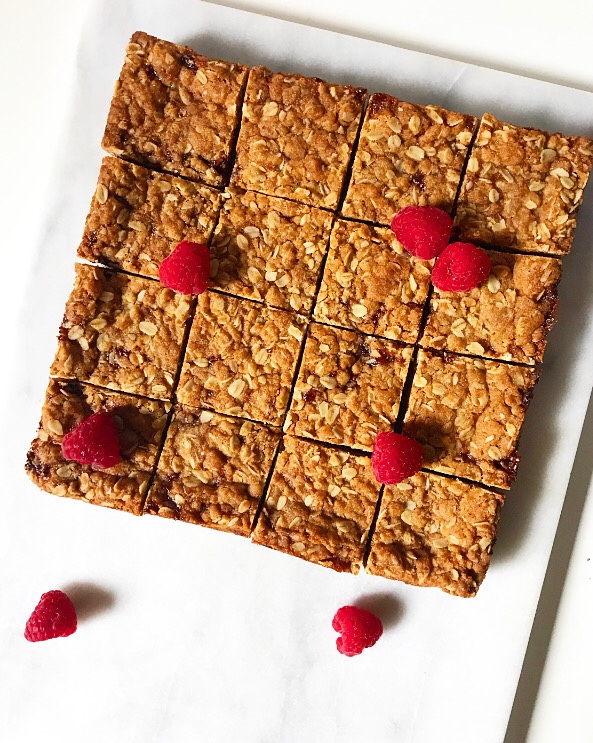 Once they’re cool, they slice like a dream.
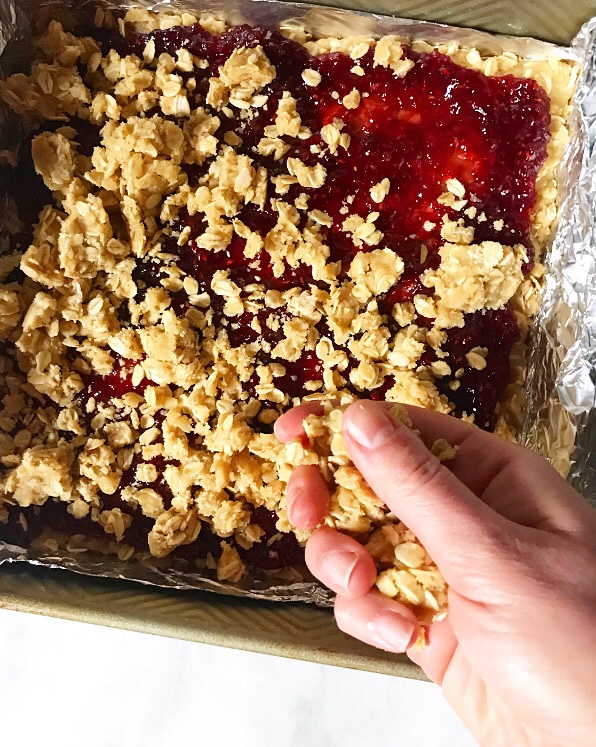
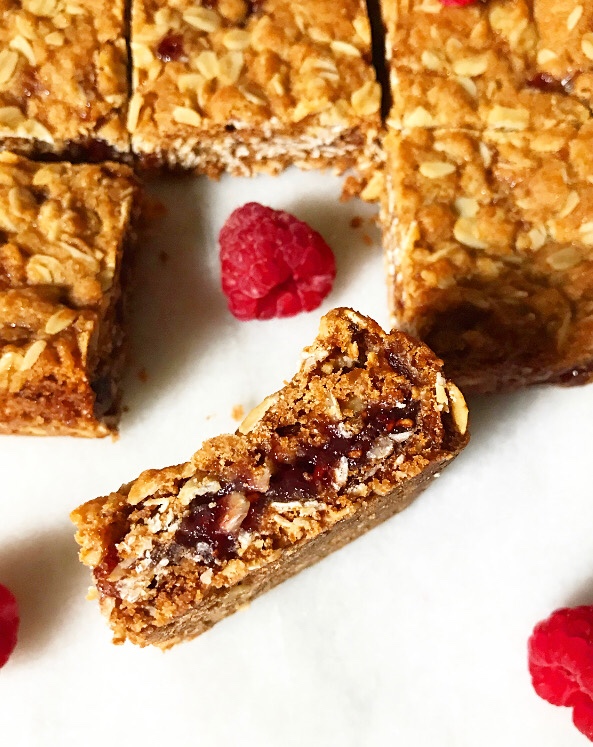 You’ll like the crisp cookie layers, chewy oats, and sweet-tart jam centers on day one, but some magic flavor-melding happens in that first 24 hours and they are eyes-rolling-back-in-your-head good on day two. And they just get better from there.
 Easy Raspberry Jam Squares are far more than the sum of their parts. I went into testing thinking these might need cinnamon or nuts, but I was wrong—simplicity is key for optimal jam flavor.
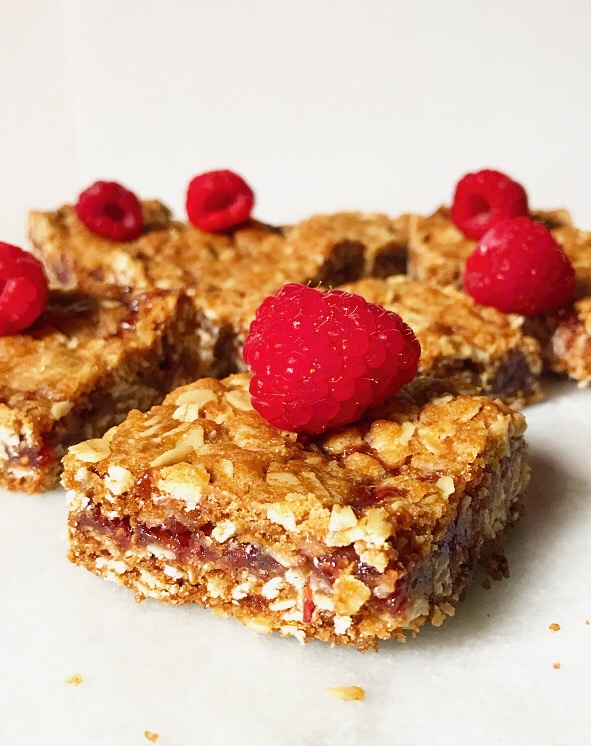 And speaking of jam, I went with raspberry because that’s what I like, but feel free to use any preserves you like. I think blueberry sounds particularly good right now, but that may only be because we just booked our
 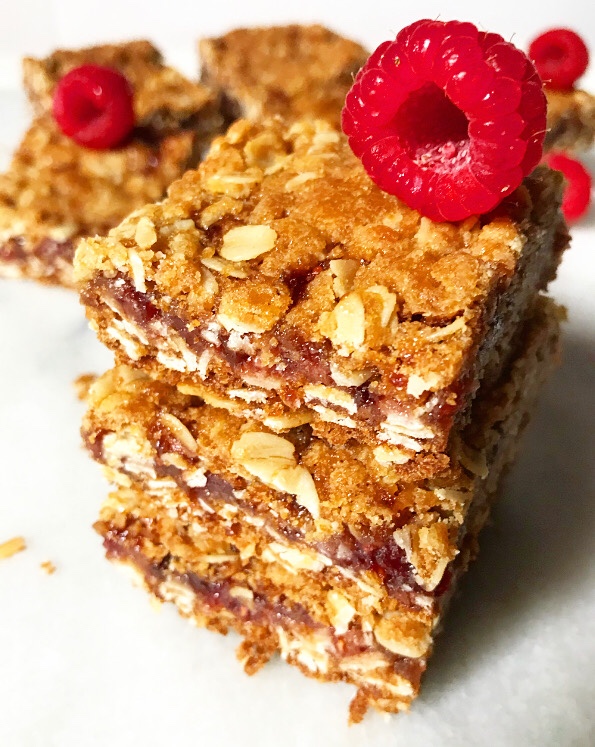 Like I said, my favorite sort of recipe.
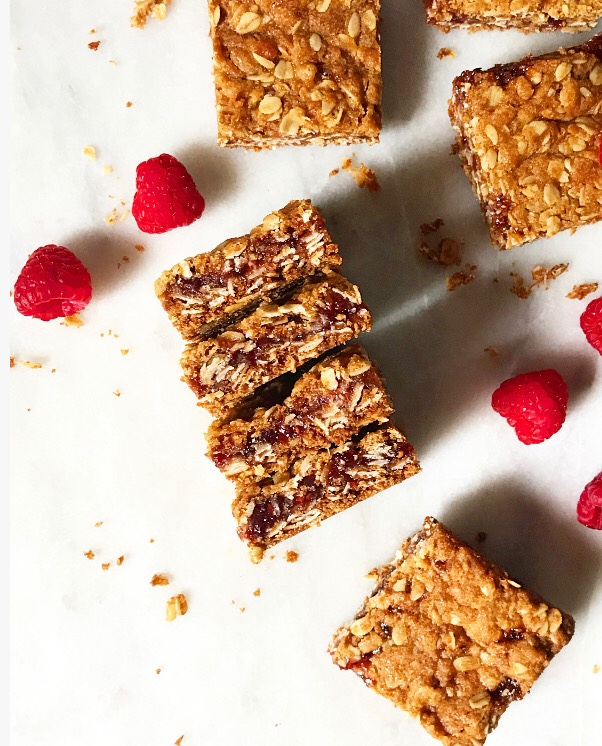


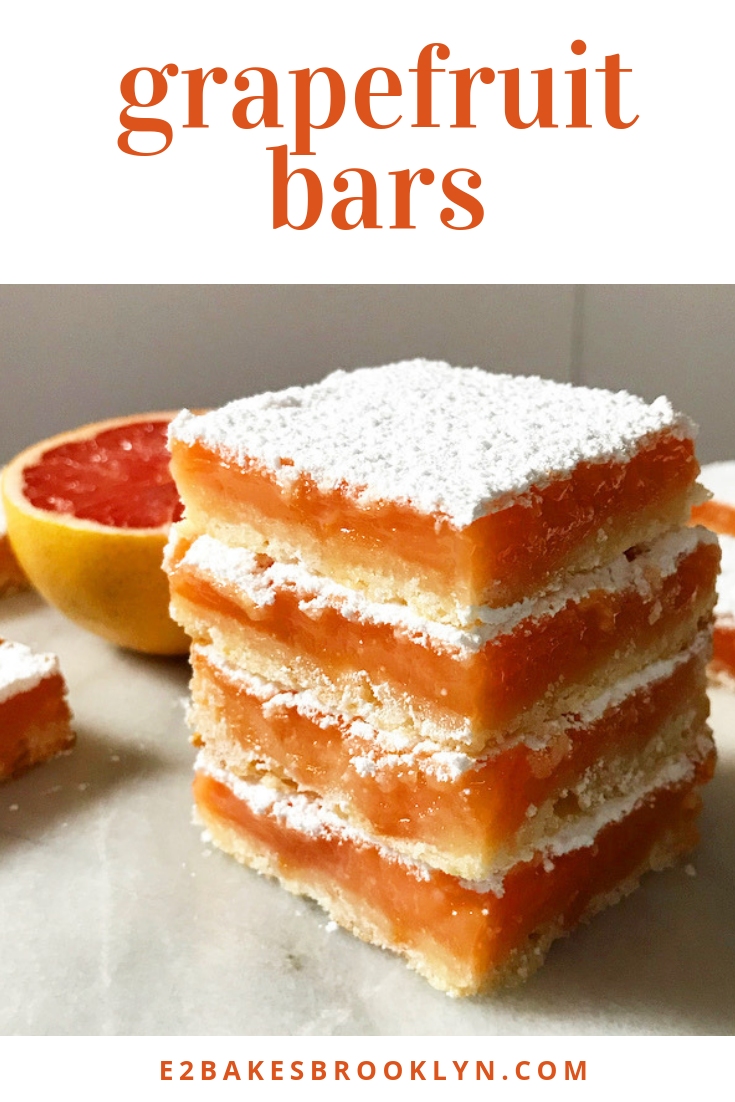
 Texans love a ruby red grapefruit, and while I have not been a resident of my home state for more than a decade, my mid-winter citrus needs are still very real. Unfortunately, the window for finding spectacular grapefruit in NYC is alarmingly short—just a few weeks!—and so I am compelled to take advantage. It’s my duty as a displaced Texan. Or something.
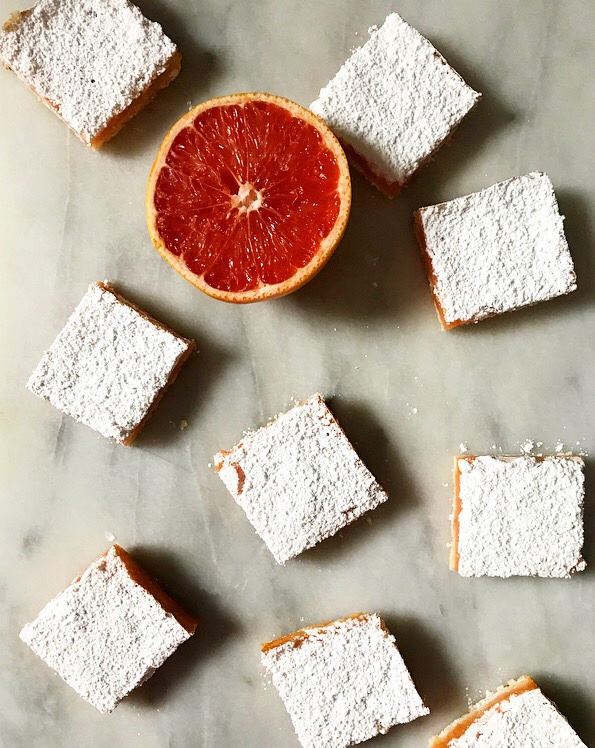 Grapefruit
 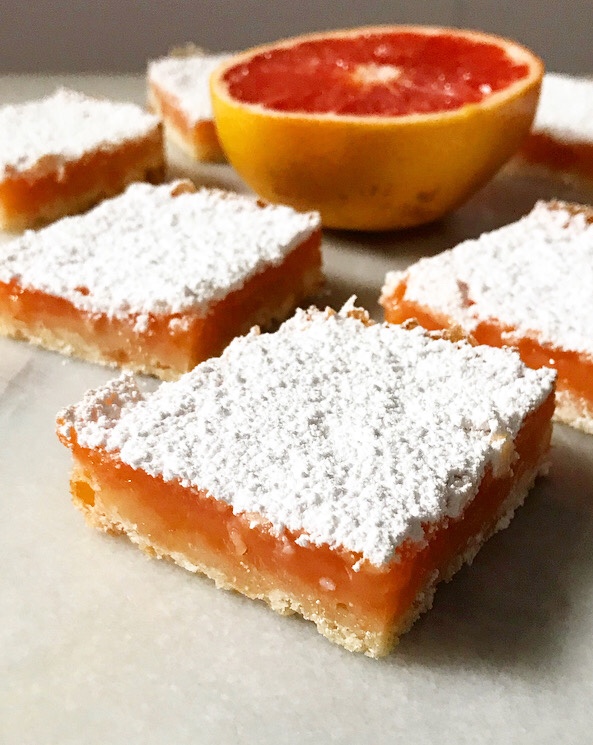 These beauts are a seasonal spin on their more traditional
 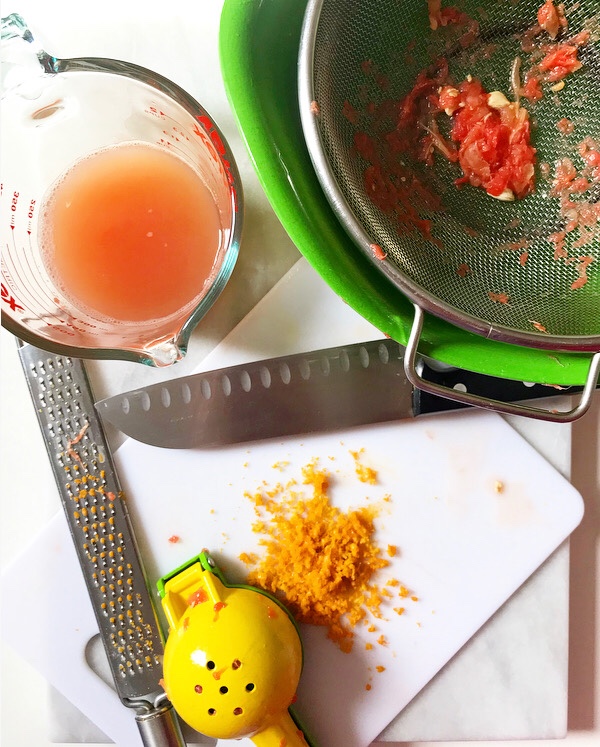 Now, if you’ve ever cooked with grapefruit, you might have noticed that it tends to lose its natural color and tartness as it is heated. I learned to mitigate this last year while testing Grapefruit
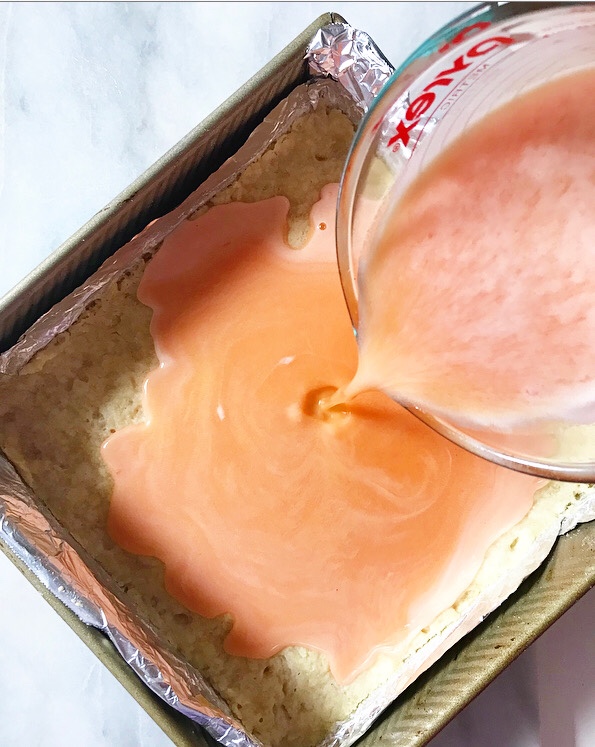
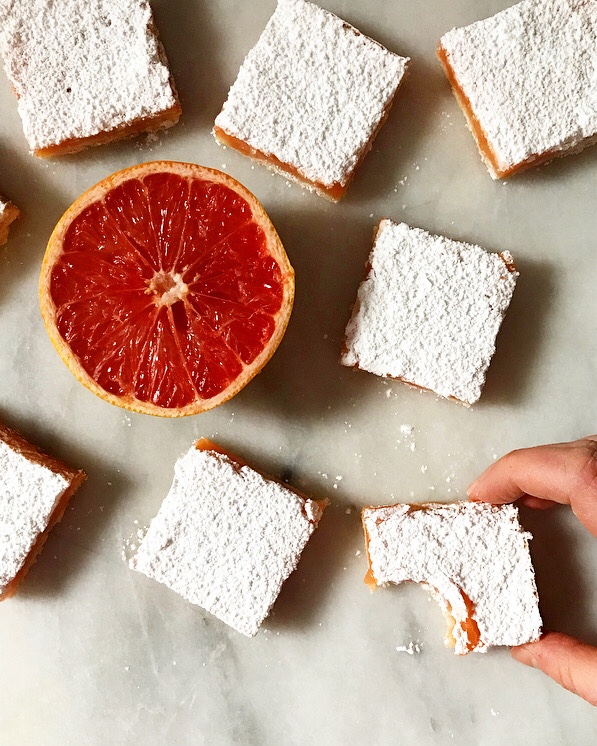
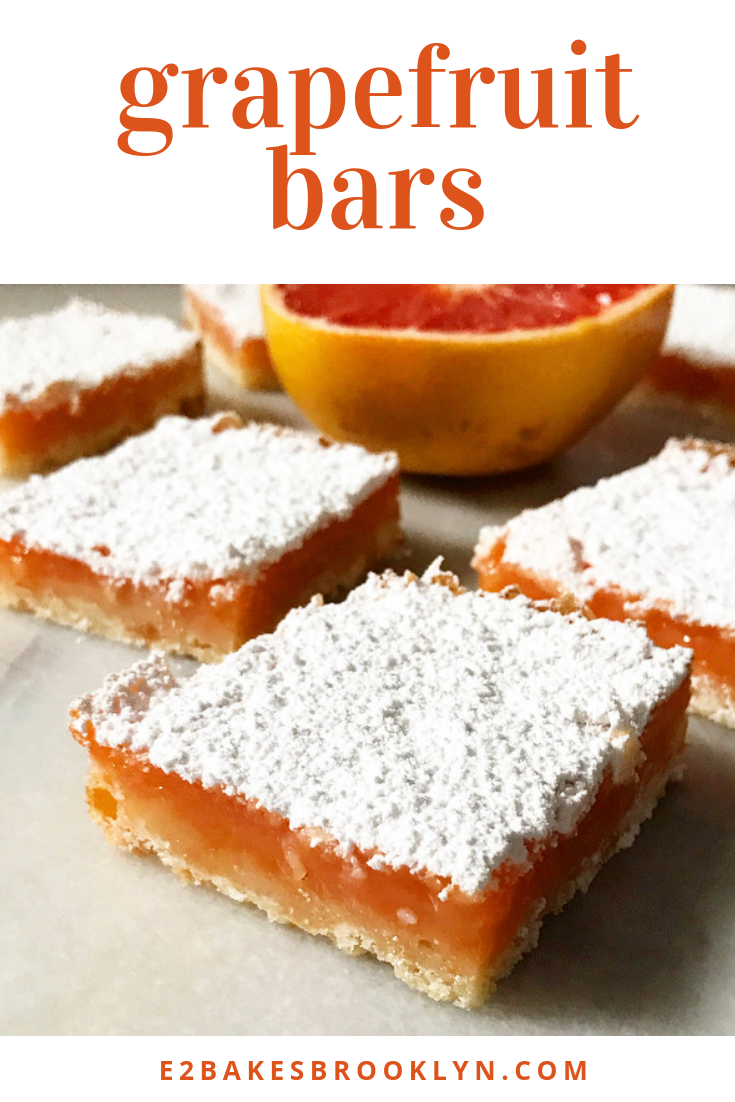
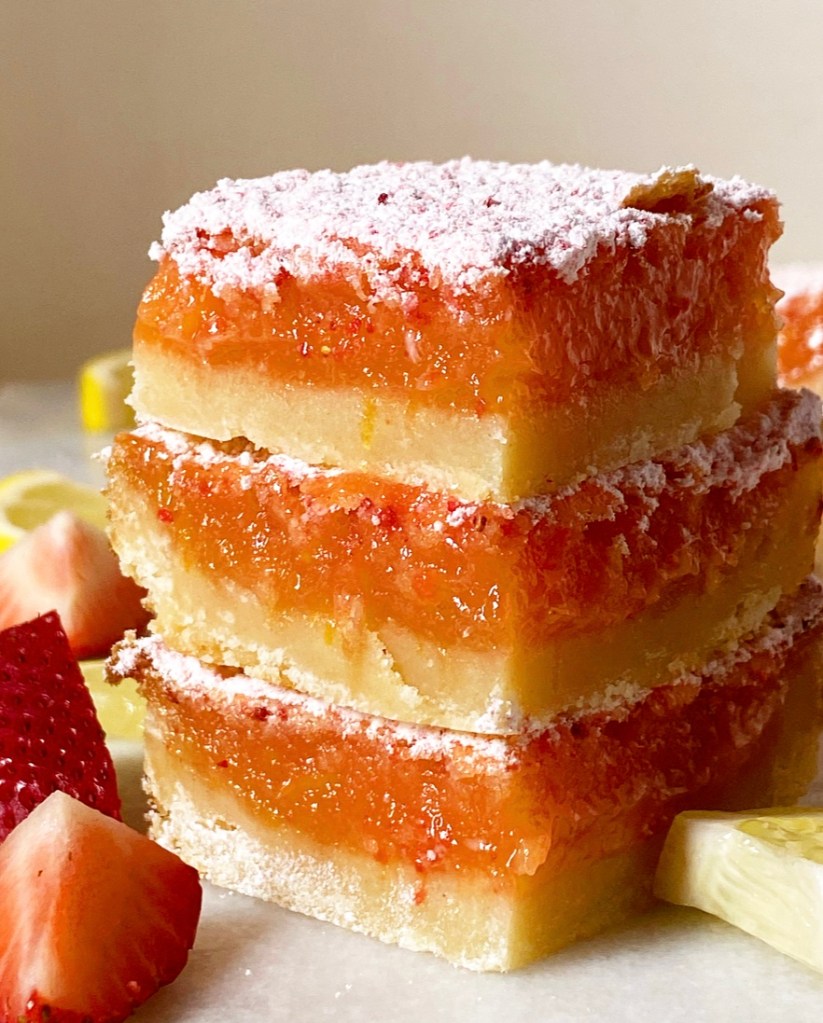
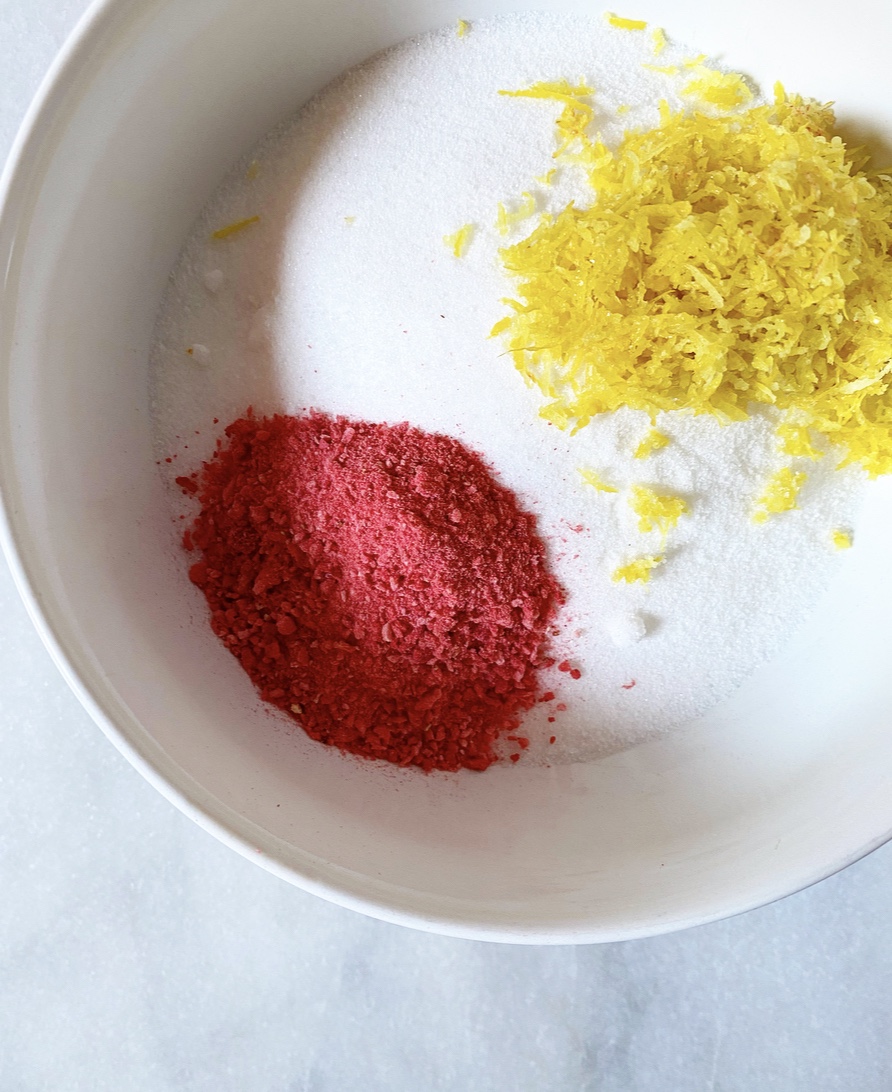
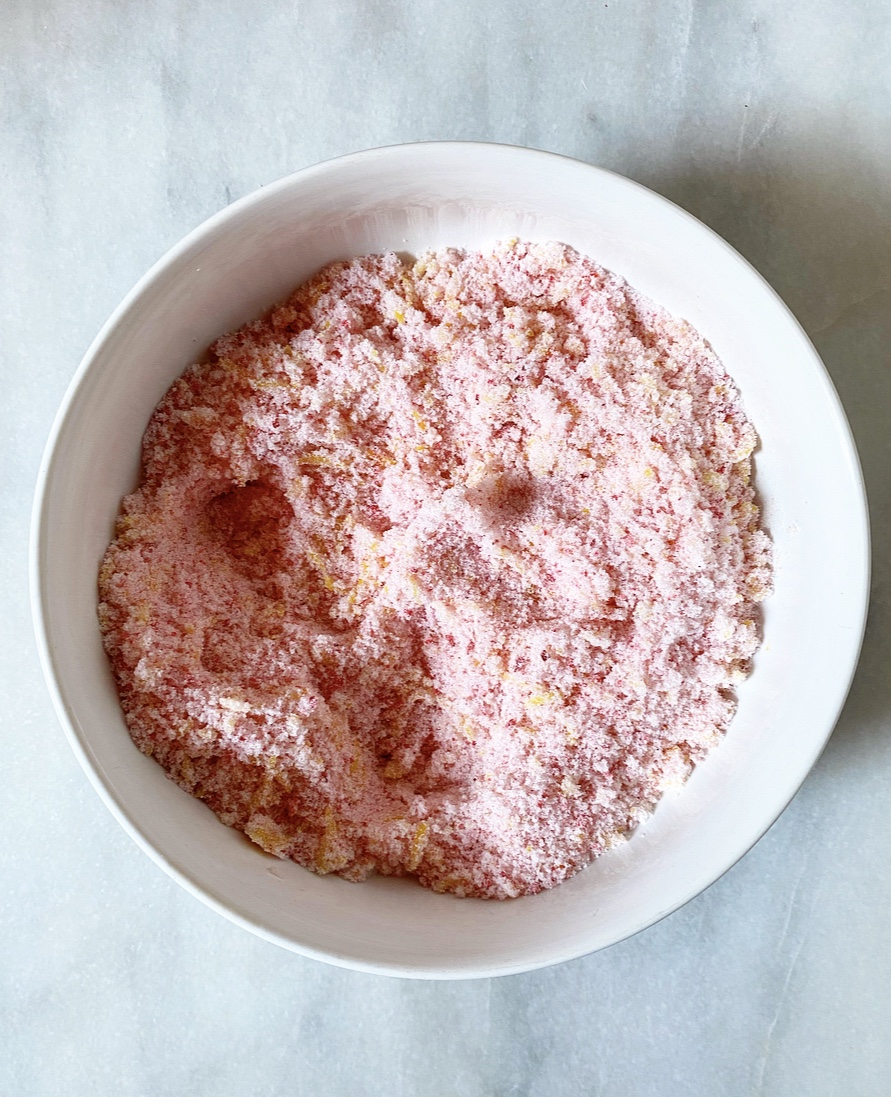
 Here, grapefruit flavor is added in two ways: first, by reducing a cup of fresh grapefruit juice by half, and then by rubbing zest into granulated sugar to release the citrusy oils. I also like to add a couple of tablespoons of lemon juice to ensure that the bars have a tart finish. The idea of omitting the lemon in favor of a “pure” grapefruit flavor is tempting, but I promise that leaving it out will leave you missing the acidic sharpness that makes these bars so singularly great.
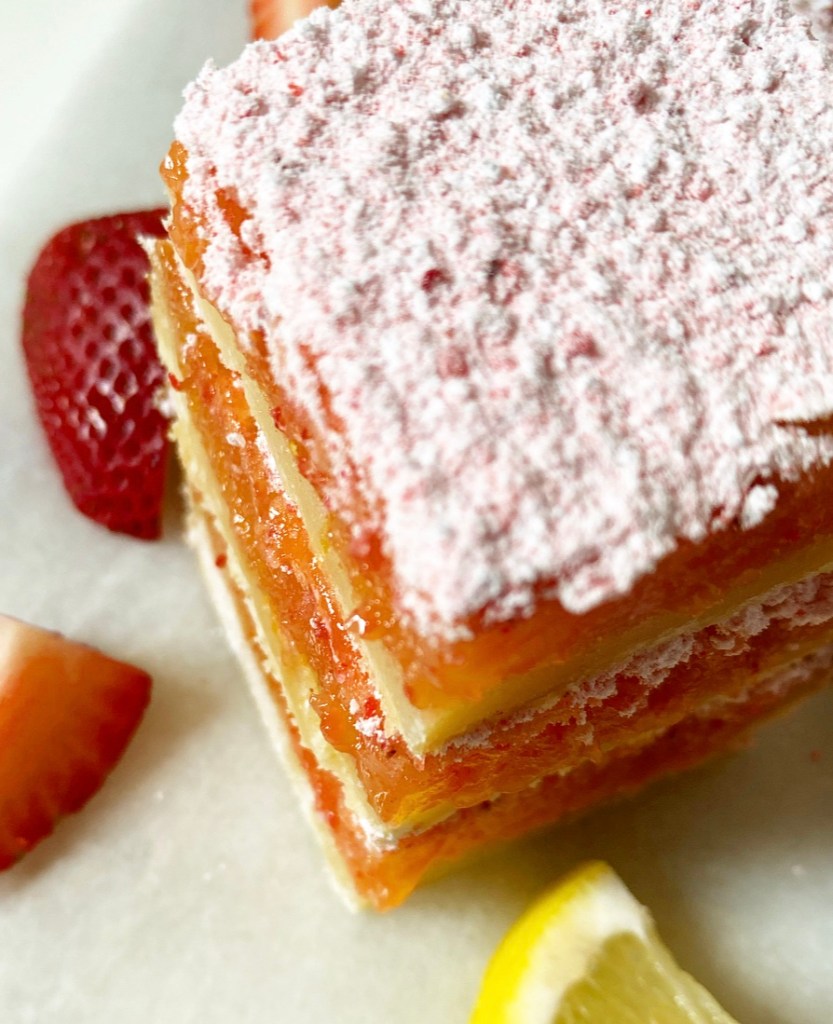
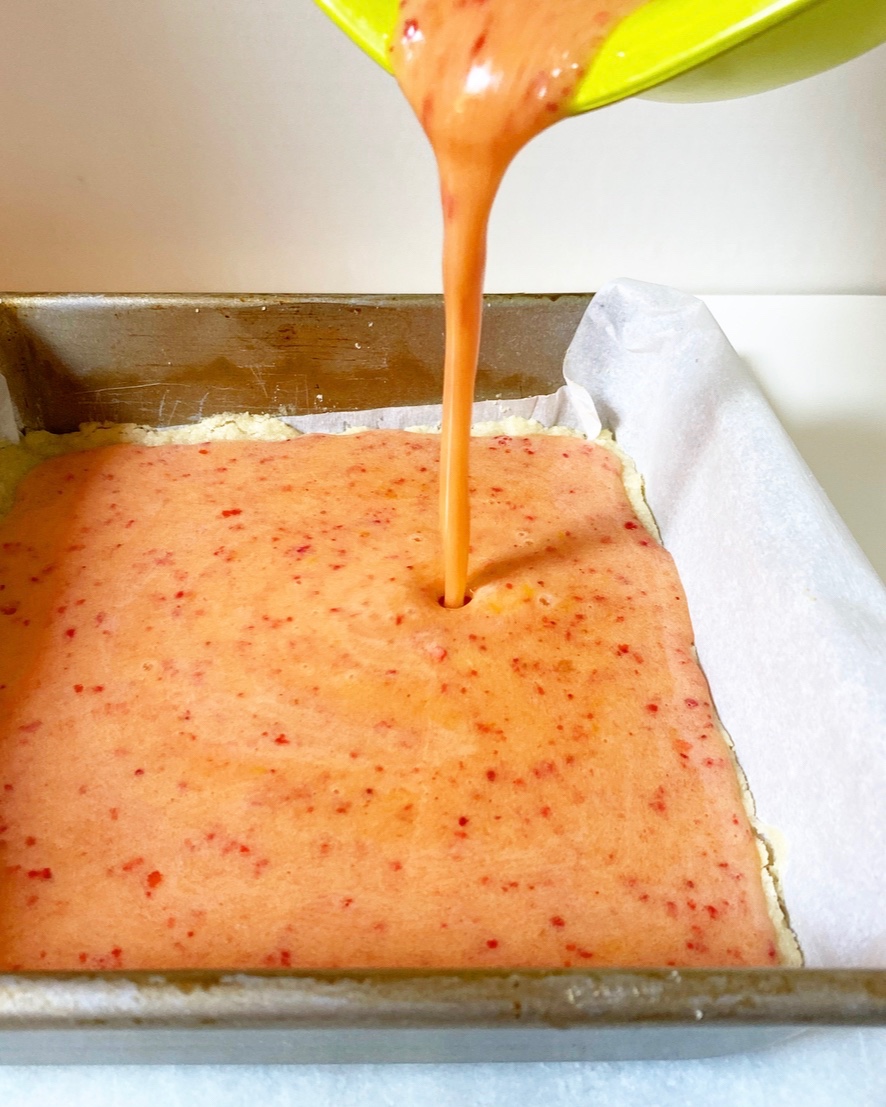
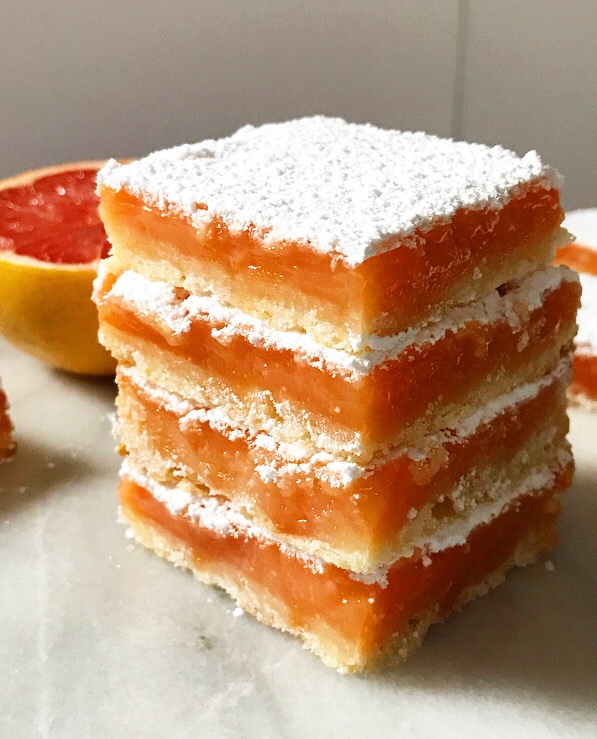
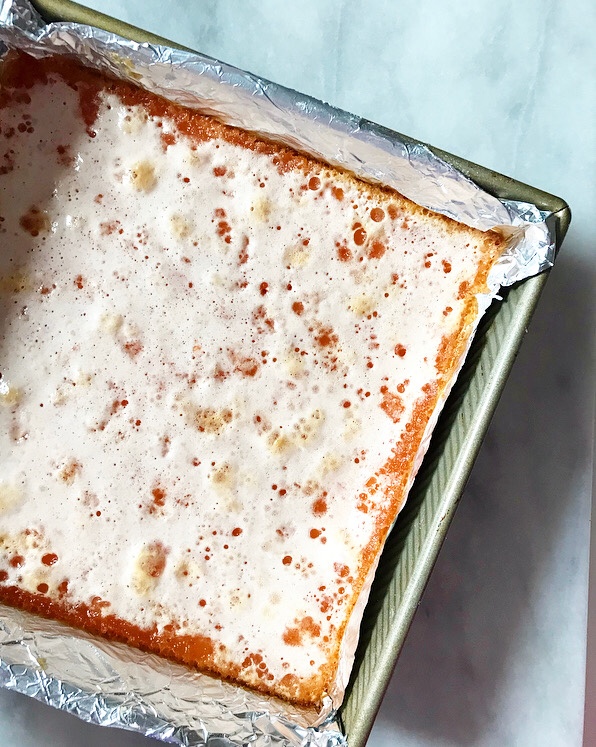
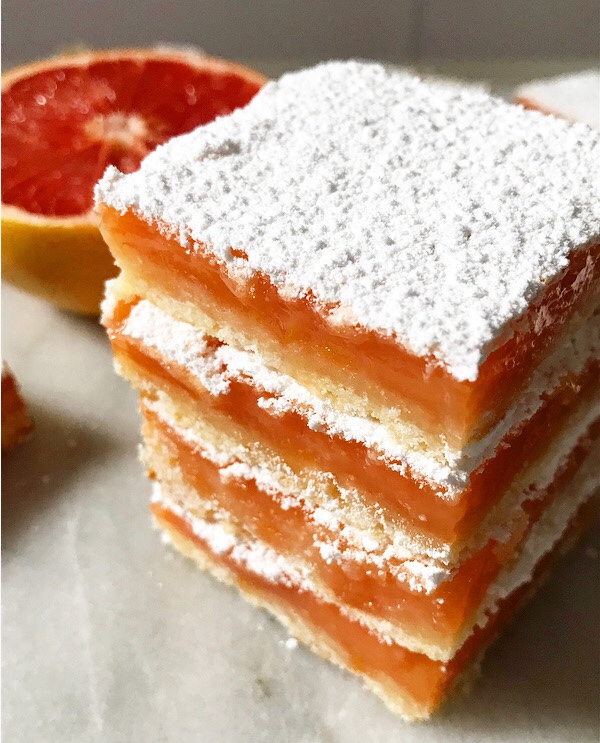 The sweet-tart ruby red grapefruit flavor pairs perfectly with the lightly-squidgy texture of the filling—it’s the sort of thing I daydream about sinking my teeth into. Really. I have caught myself thinking about the feeling of taking the first bite into a Grapefruit Bar more than a few times since I finished testing these a couple of weeks ago. Is that not normal?
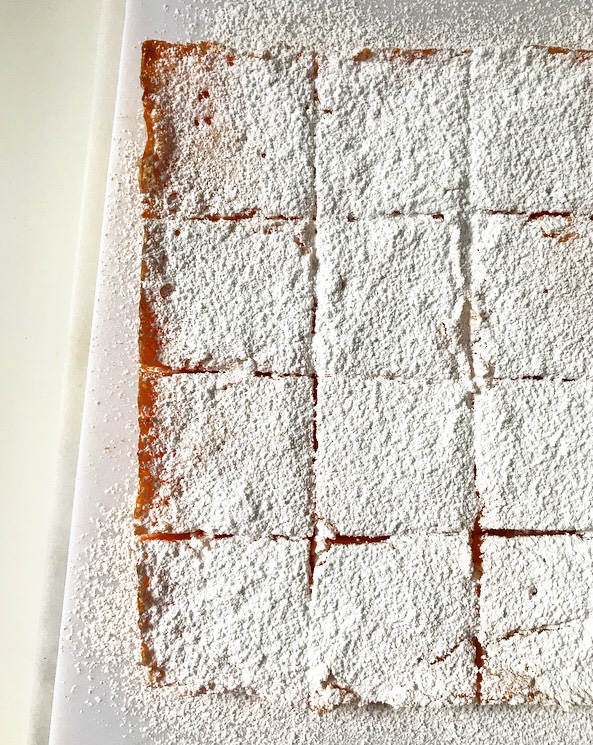
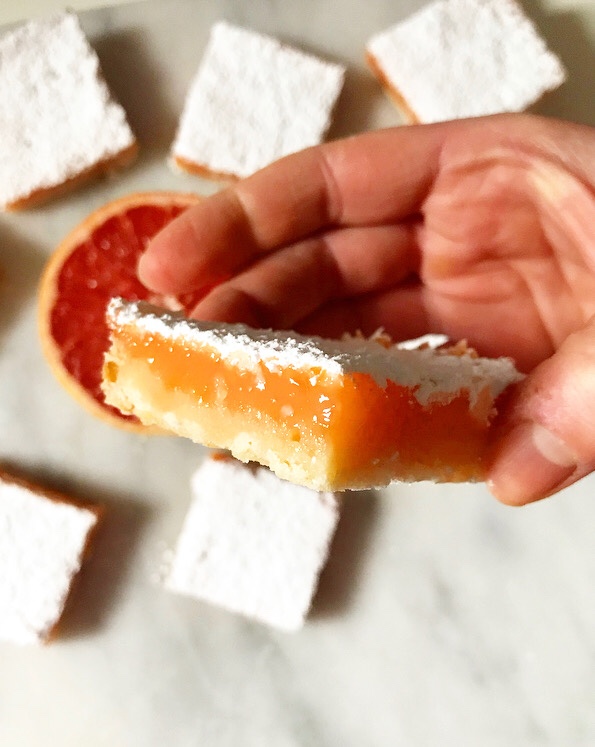 If not, I don’t want to be normal. Life’s too short not to daydream about the feeling of soft-set grapefruit filling and crisp, buttery shortbread between your teeth. It’s that sort of wholesomeness that makes this whole being a professional homebaker thing worthwhile.