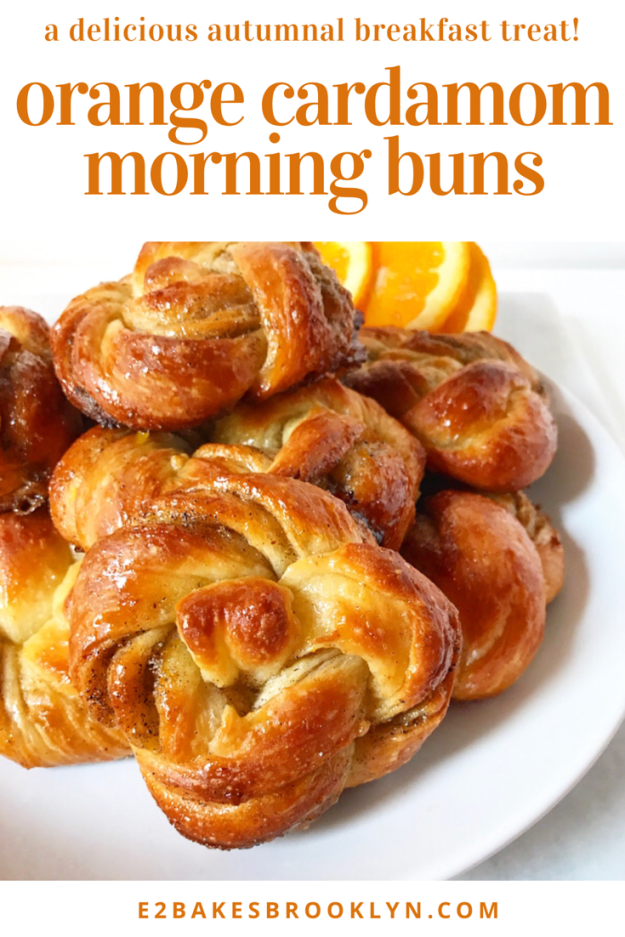
 There’s little rhyme or reason as to what I choose to blog—it’s usually just whatever I’ve felt like making lately. In case you hadn’t noticed, I’ve been on a bit of a breakfast kick. I’m not exactly sure how many fall breakfast options I think you need, but it’s at least three: waffles, a pumpkin-spiced oven pancake, and these Orange Cardamom Morning Buns.
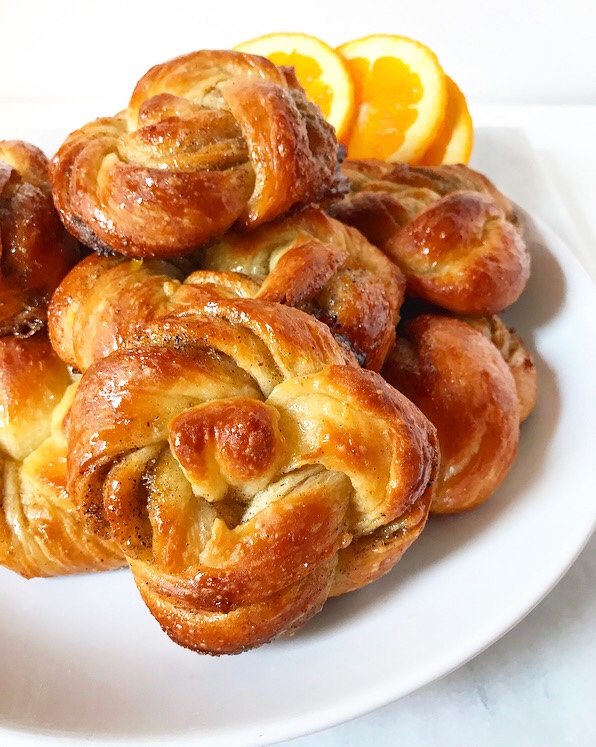
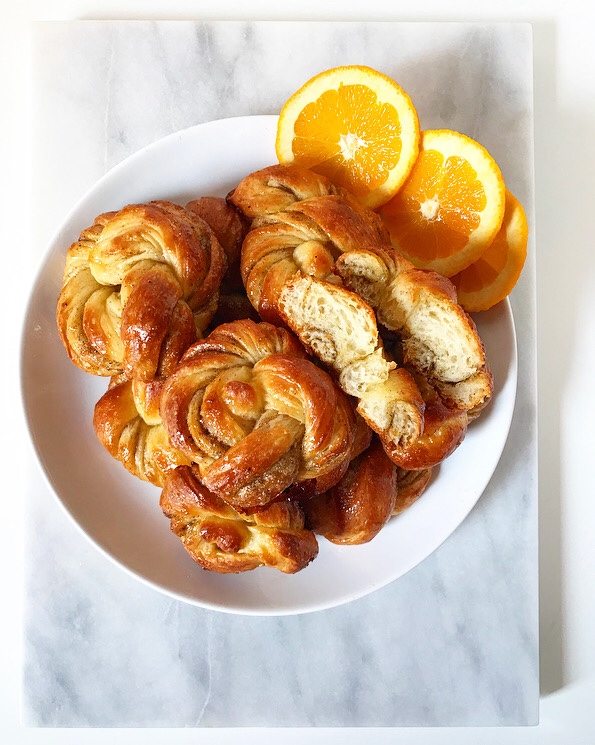 I mean, look at these sticky, swirly things! You need them. I need them. Preferably on Saturday morning alongside my daily French press.
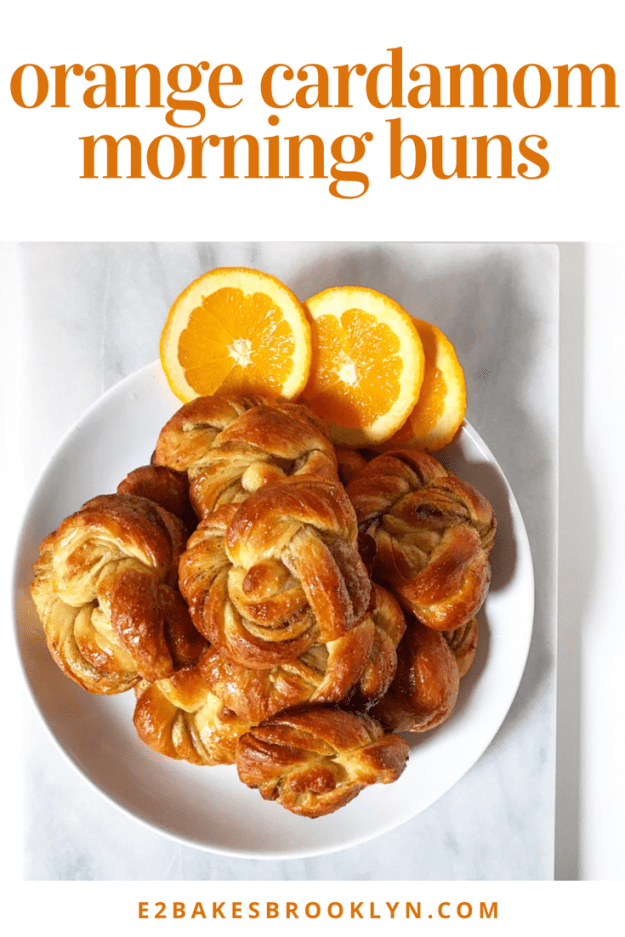
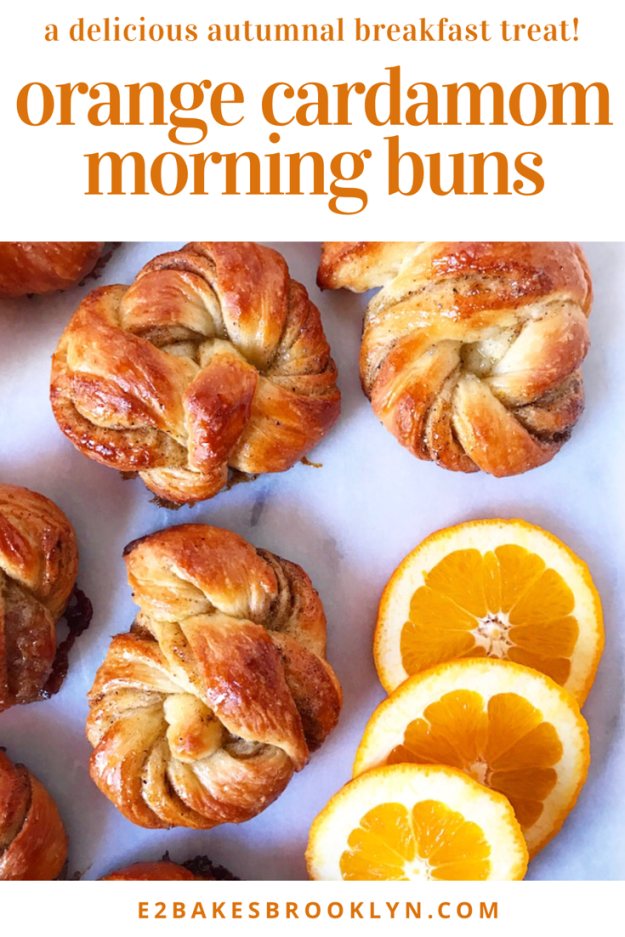
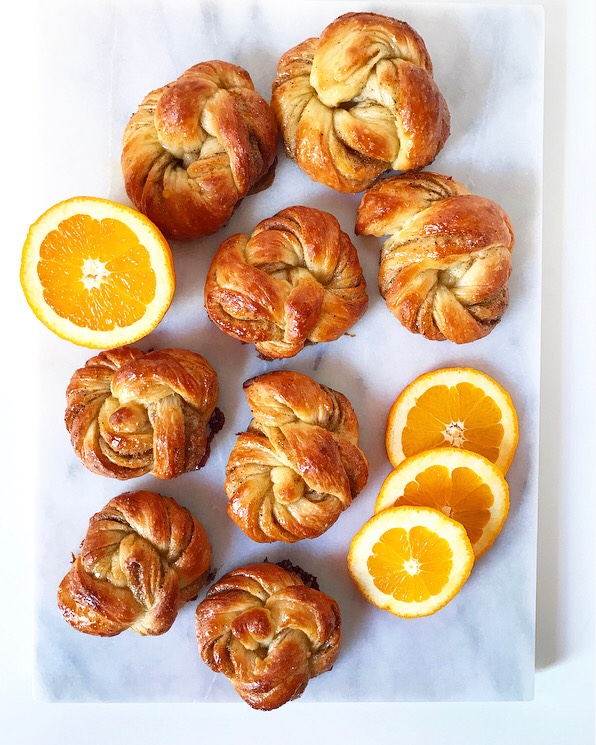 They’re flaky and fluffy, filled with a fragrant orange-cardamom sugar, and twisted to perfection. The crowning glory is a brush of orange-cardamom glaze as soon as the buns come out of the oven, which gives them an extra layer of flavor and their gleaming appearance.
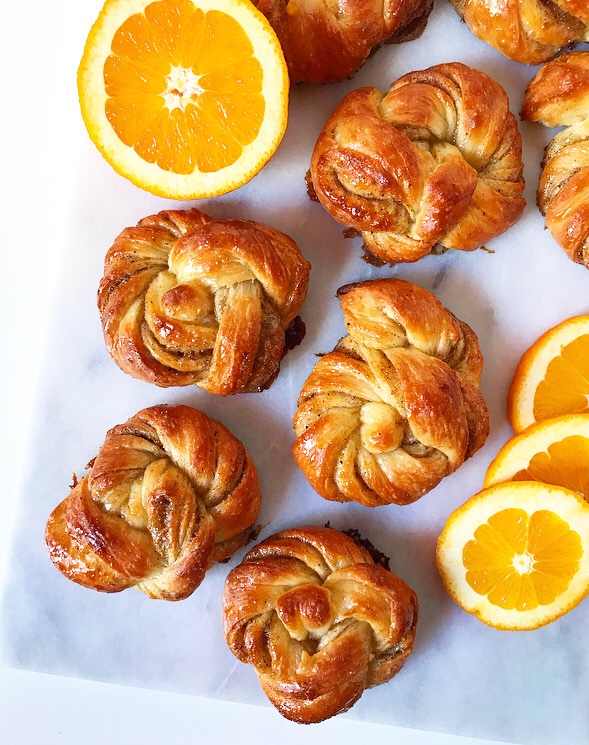 Oh, and they take two hours start-to-finish—a rarity in the from-scratch breakfast bun realm. And their twists? Much easier than they look. My motor skills are seriously lacking (I am comically bad with scissors), so if I can shape them, anyone can.
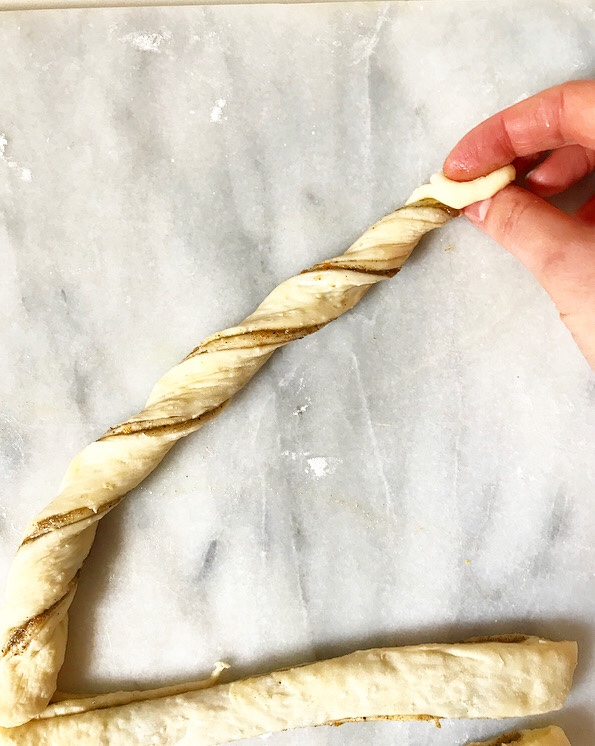

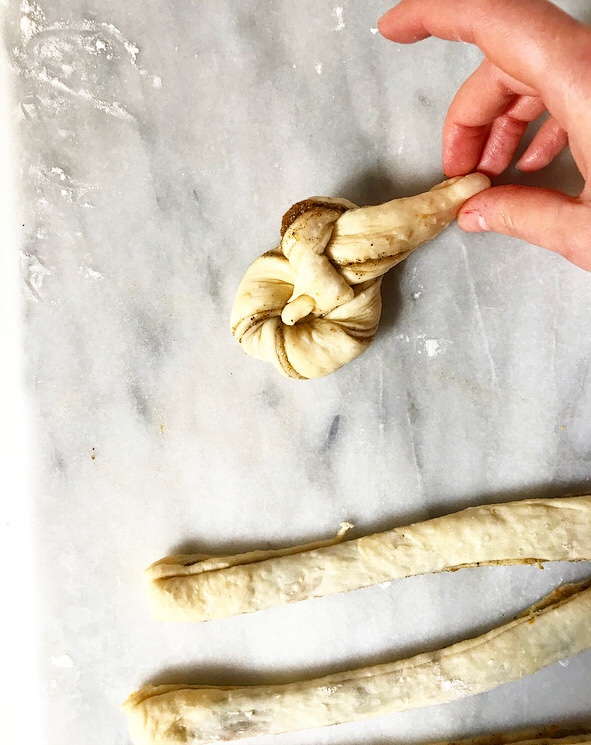
 Just twist a strip of dough and tie it in a knot. Boom, done.
 Even if you do it “wrong” (which is near-impossible), I promise they will still turn out beautifully. And even if they don’t (which is also near-impossible—can you see that I did this with one hand?), call ‘em rustic. That’s what I do. If anyone complains, eat theirs. That’s also what I do.
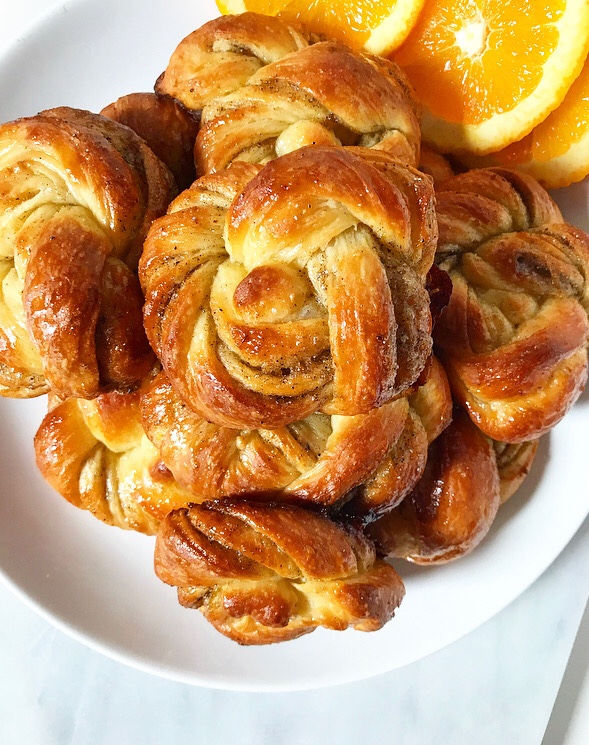 What?! You don’t need that negativity at breakfast.
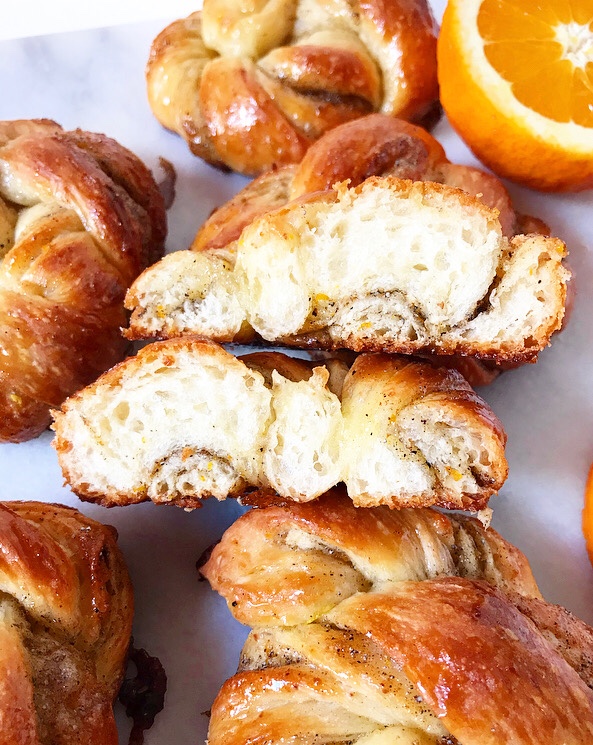
Orange Cardamom Morning Buns
makes 12 buns
Dough:
2 3/4-3 cups all-purpose flour
3 tablespoons granulated sugar
1 packet (2 1/4 teaspoons) instant yeast
1 teaspoon fine sea salt
3 tablespoons unsalted butter
1 cup whole milk
1 large egg, room temperature
Filling:
3 tablespoons granulated sugar
1 tablespoon fresh orange zest
4 teaspoons ground cardamom
pinch of fine sea salt
3 tablespoons unsalted butter, melted
Glaze:
1/3 cup fresh orange juice
1/3 cup granulated sugar
1/2 teaspoon ground cardamom
1 tablespoon unsalted butter
Make the dough. In a medium-large mixing bowl, whisk together 2 3/4 cups all-purpose flour, sugar, instant yeast, and salt. Set aside.
In a small saucepan over medium-low heat, melt butter and milk together until just warm to the touch, about 95-110 degrees.
Crack the egg into a small mixing bowl. Whisking constantly, add the butter/milk mixture in a thin stream until completely combined. Add mixture to the dry ingredients and fold together. A shaggy dough should form and be pulling away from the bowl. Gradually add flour in 2 tablespoon increments until the it pulls away a bit.
Turn dough onto a floured surface and knead 5-6 minutes, until smooth. Gather dough into a ball and place it in an oiled bowl, making sure to get a little oil on all sides. Stretch some plastic wrap over the top and allow dough to rise in a warm, draft-free environment for 40 minutes or until doubled in bulk.
In the meantime, line two rimmed baking sheets with parchment. Set aside.
Make the filling. Combine sugar and orange zest in a small bowl. Rub together with your fingers to release the oils in the zest. Use a fork to stir in cardamom and salt.
Shape the buns. Return dough to floured surface. Flour a rolling pin and roll dough into an 18×12-inch rectangle. Brush dough with butter, leaving a 1/2-inch border on all sides.
Mentally divide the dough into thirds, like an unfolded letter. Place half the sugar mixture in the middle third of the dough—it’ll be a 12×6-inch section surrounded by two buttered sections of the same size.
Carefully grab one short side of the dough and fold it over the center, so that the dimensions are now 12×12-inches. Brush the top of the folded section with more butter and scatter on the remaining sugar mixture. Fold the other short side over the top so that the dimensions are 12×6-inches. Tap edges “closed” with your rolling pin.
Carefully lift and turn dough over so that the seam is against the floured surface. Roll the dough so that the dimensions are 14×8-inches.
Use a large, sharp chef’s knife to trim the short edges of the dough by about 1/2-inch. Slice dough into 12 strips. Working with one strip at a time, twist the ends until you have a loosely-twisted rope of dough. Carefully bring ends toward one another until they cross over one another and create a small hole. Tuck ends into that hole. Place shaped buns on prepared pans, leaving about 6 inches of space between (I can get 6 on a half-sheet sized pan).
Cover pans loosely with wax paper (or parchment) and let rise in a warm, draft-free environment for another 25-30 minutes. Remove wax paper (or parchment). They will not seem to have changed drastically, but if you poke one with your finger, the indentation should remain. If any ends have come loose, just nudge them back into the centers.
Place oven racks in the center positions. Preheat oven to 375F. Bake buns for 10 minutes. Rotate pans top-to-bottom and front-to-back. Bake another 7-8 minutes, or until golden brown.
While buns are baking, make the glaze. Combine orange juice and sugar in a small saucepan over medium-low heat, stirring frequently until sugar dissolves (about 3-5 minutes). Remove from heat and stir in cardamom and butter.
Use a pastry brush to brush warm buns with glaze. Buns are best the day they are made, but will keep in an airtight container at room temperature for a day or so.
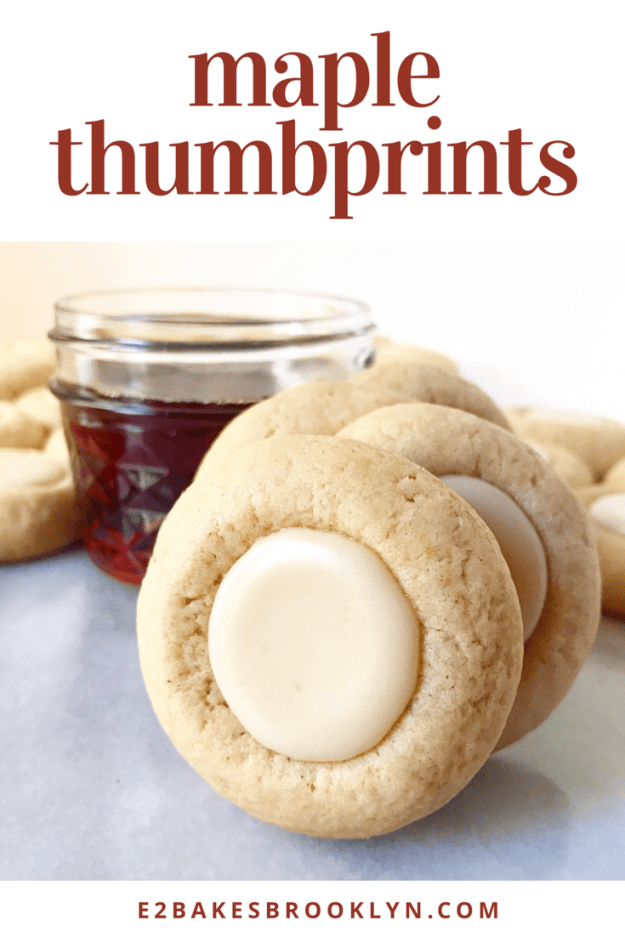
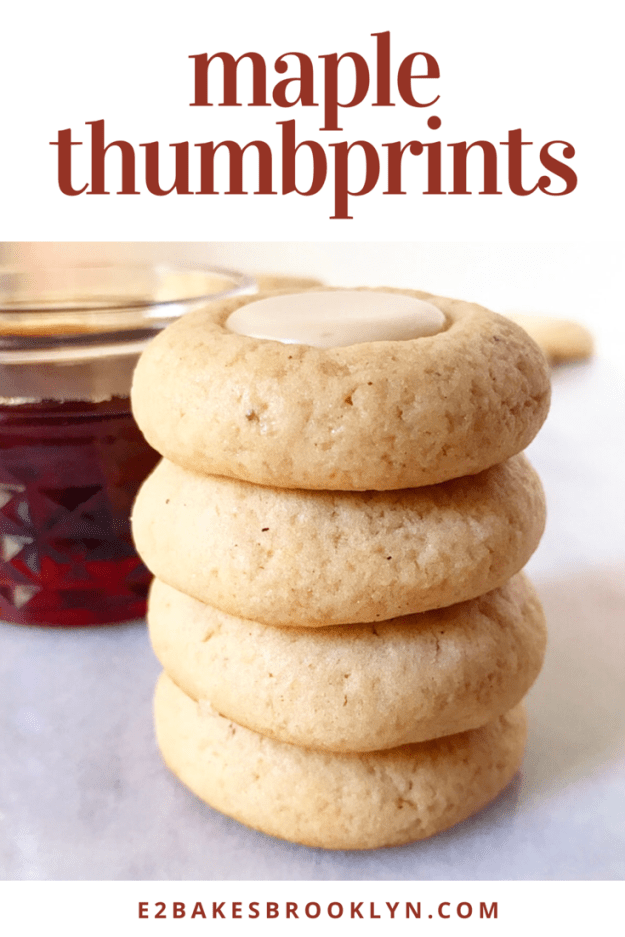
 It may have been 90 degrees in NYC this past Monday, but nobody is happier than I am that fall is finally here, not least because it means I have an excuse to make these Maple Thumbprints.
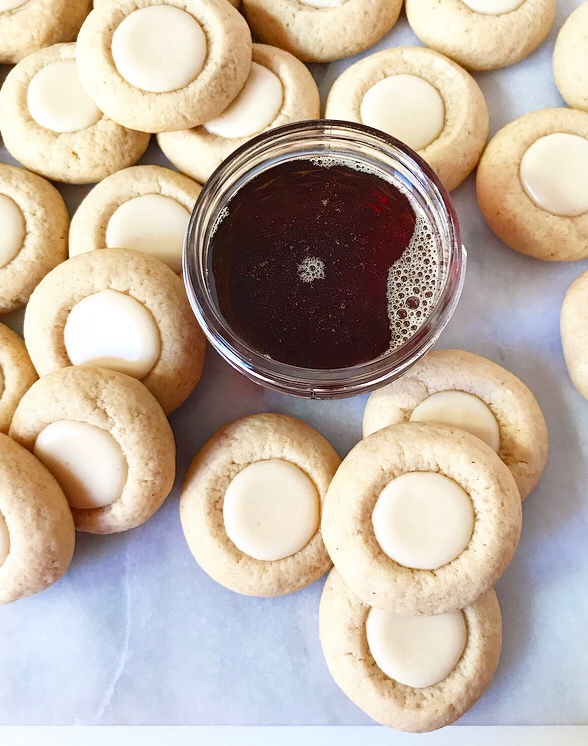 And make them, I have—five test batches before getting them just right. I used the dough from my
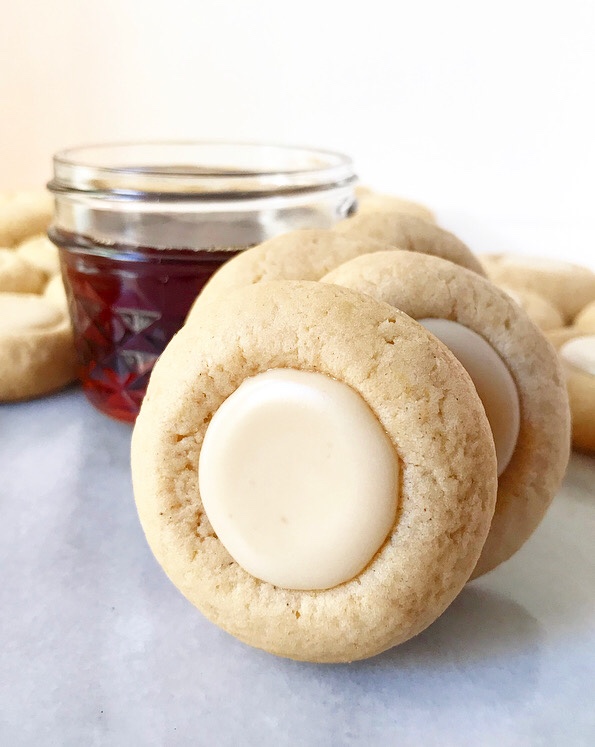
 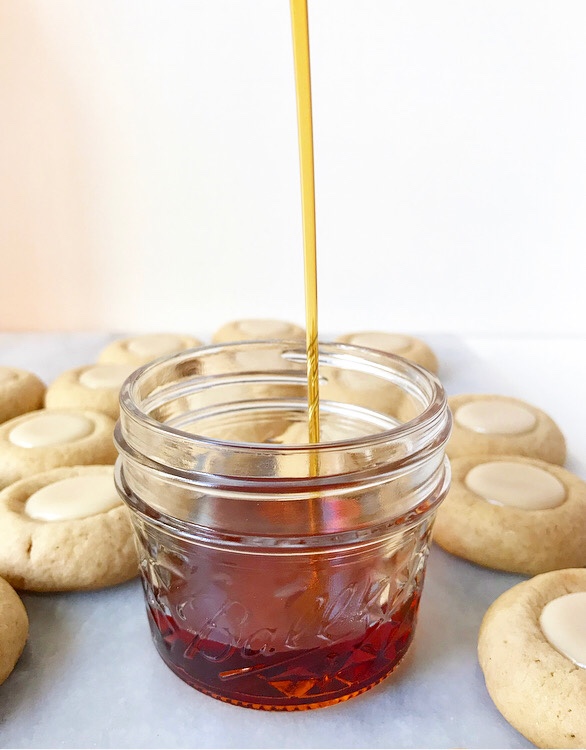 If you love maple syrup like I do, these cookies are for you. The dough contains 2/3 cup and the icing has another 1/4 cup! I vastly prefer Grade A Dark Amber & Robust Taste (formerly known as Grade B) for its deep flavor, but any pure maple syrup you have will do the trick.
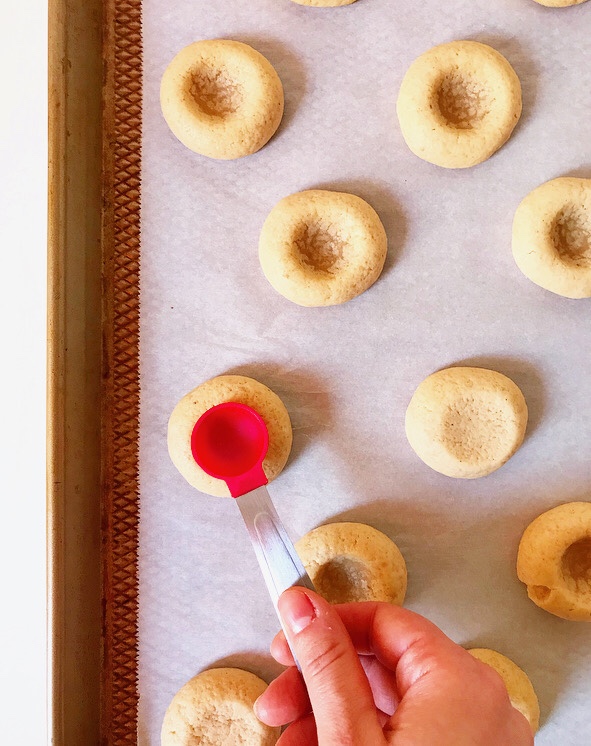
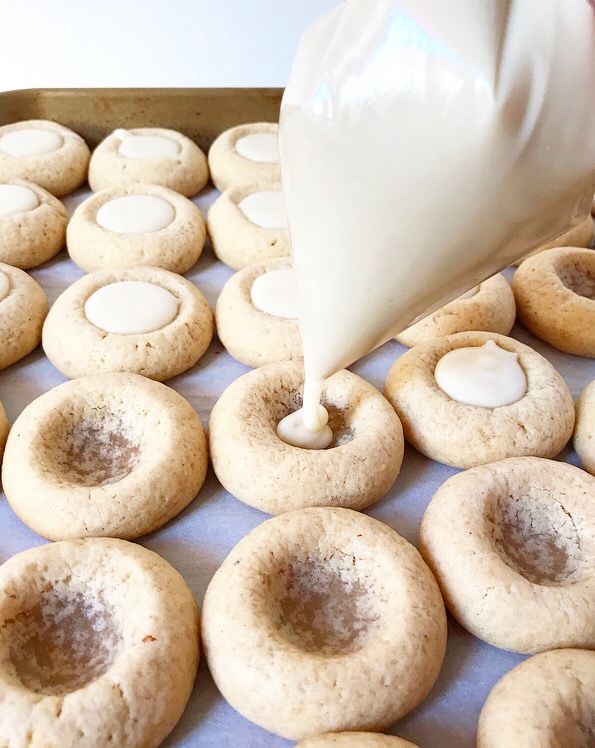
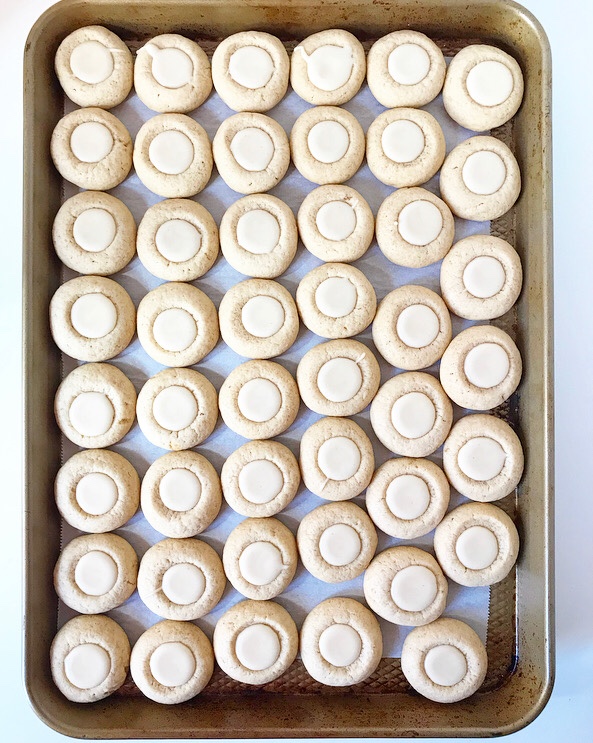 Maple, like pumpkin, is a flavor that improves over time. Though these cookies will taste good immediately after they’re baked and filled, they won’t taste particularly maple-y until a few hours later. By the next day, you’ll have no problem finding the sweet nuances of maple syrup in both the cookies and the icing.
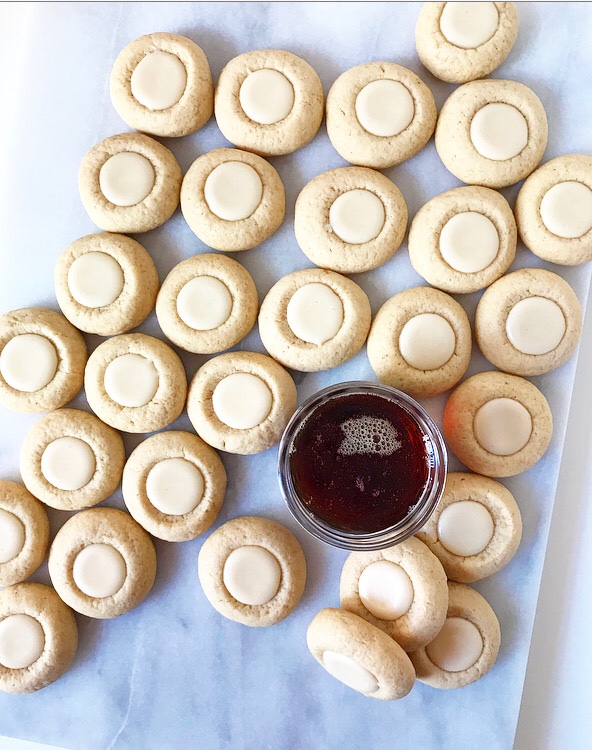 You’ll notice that many of the maple cookie recipes out there (including
 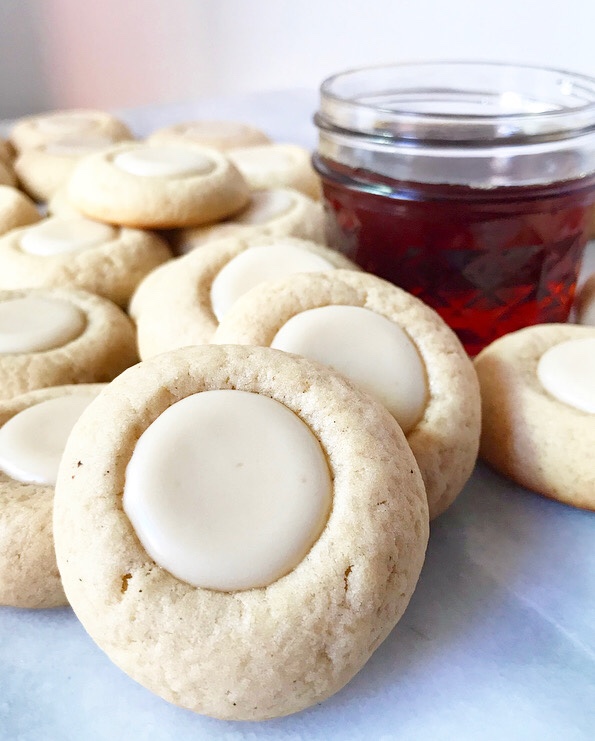 The point, as always, is to bake the cookies you want to eat. And to bake for the weather you want, not the weather you have. At least, that’s what I’m doing. If it means I’m eating autumnal cookies while sitting in front of a blasting air conditioner and praying for some crunchy leaves to step on, so be it.
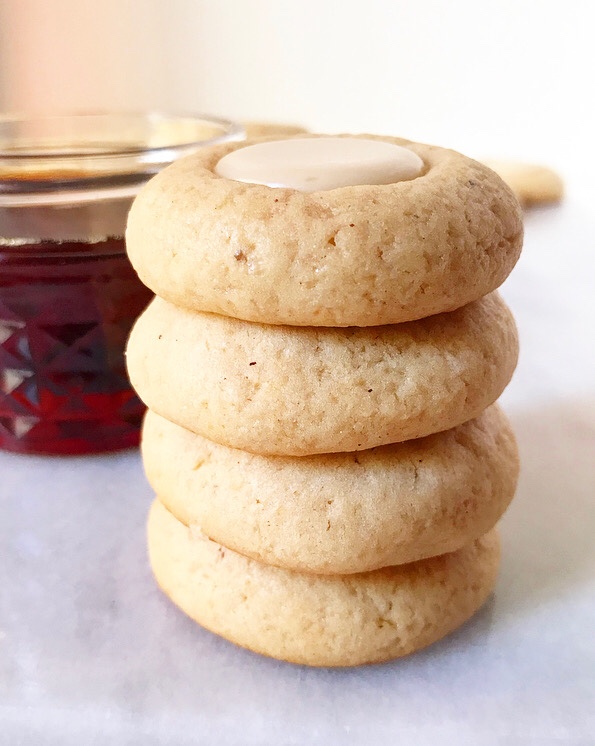
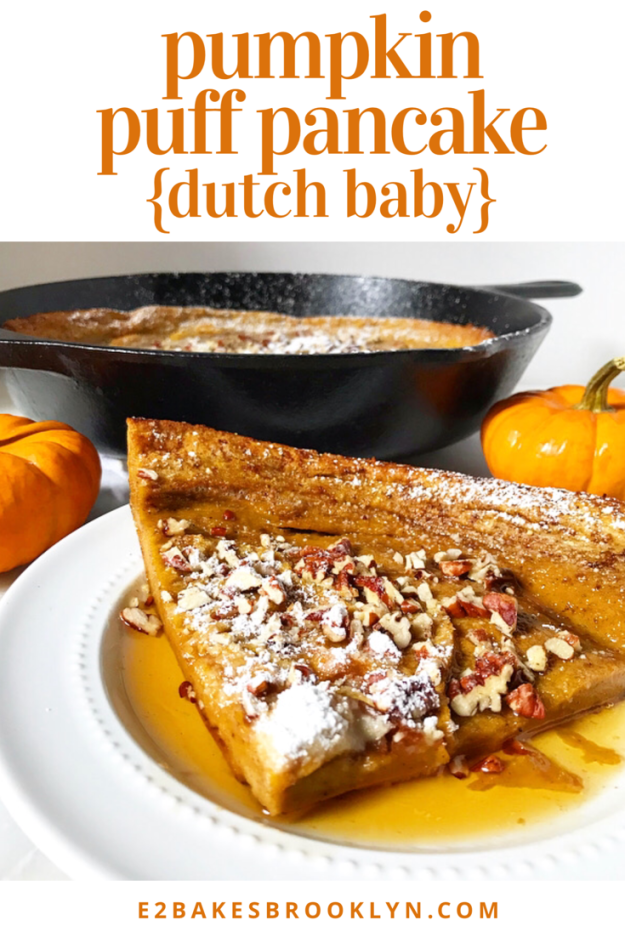
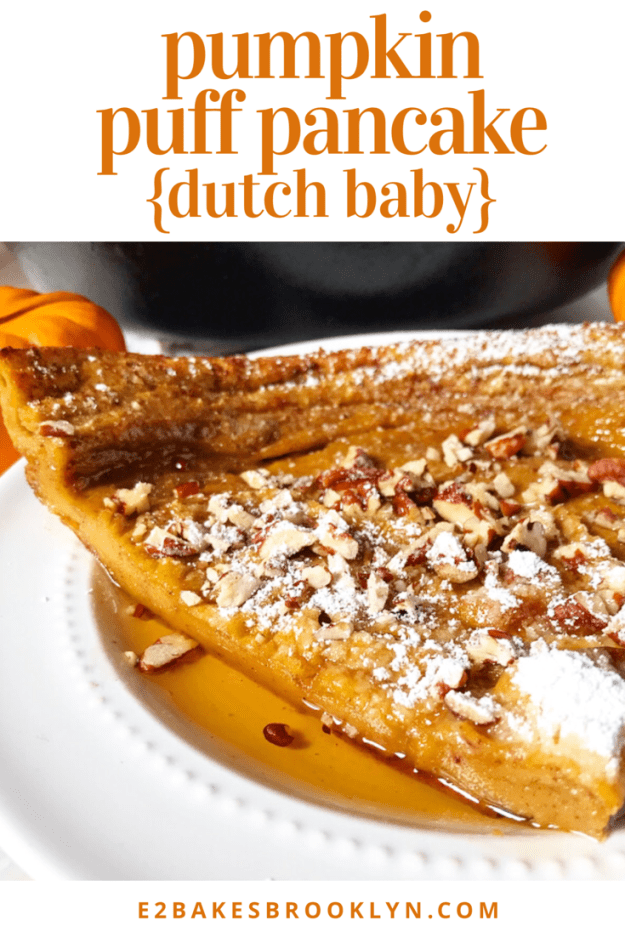
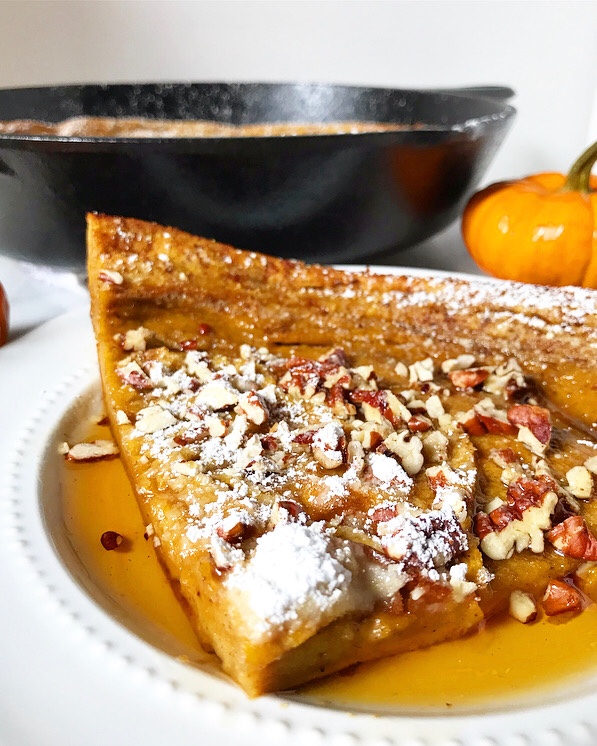 It’s that time! Tomorrow morning will be the first weekend breakfast of fall (even if you are regretting having packed away your summer clothes two weeks ago) and it should absolutely be this Pumpkin Puff Pancake. (And maybe bacon.)
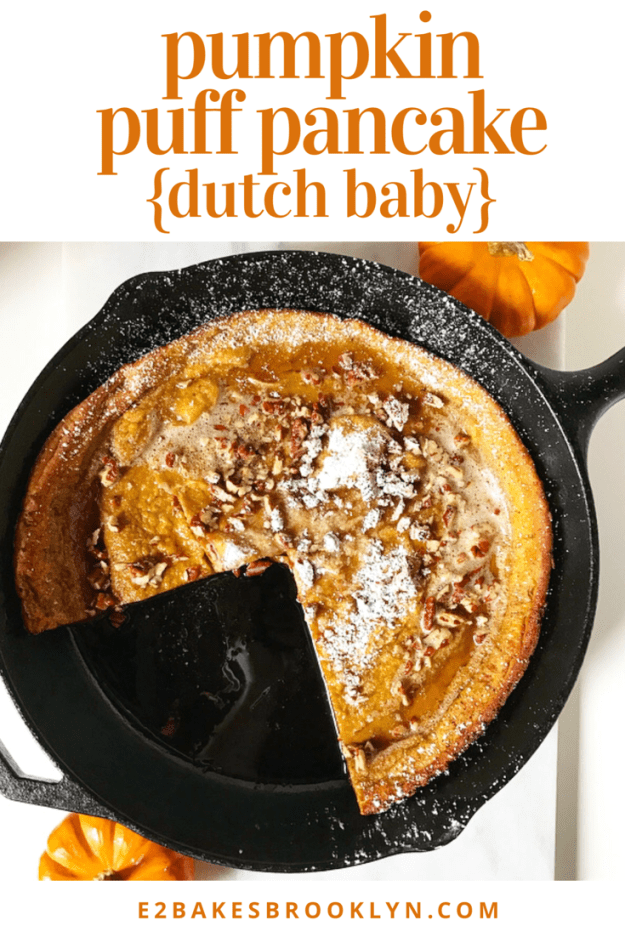
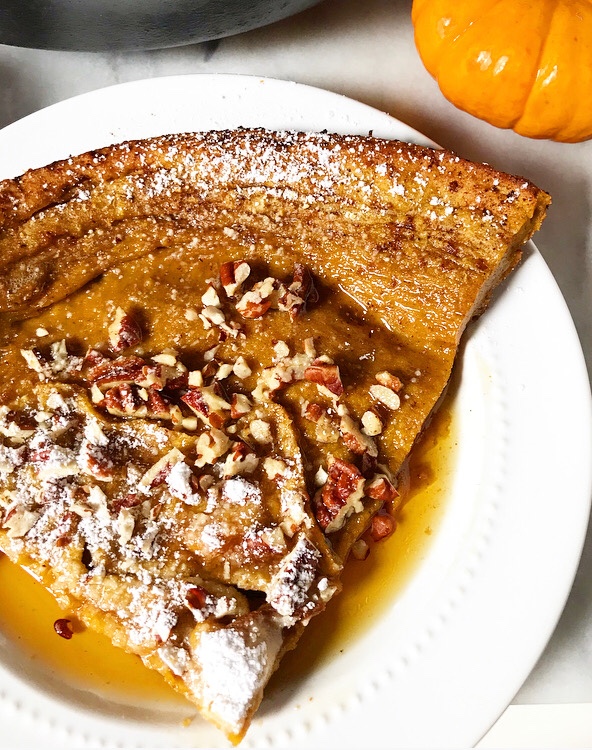 This Pumpkin Puff is simply an autumnal take on
 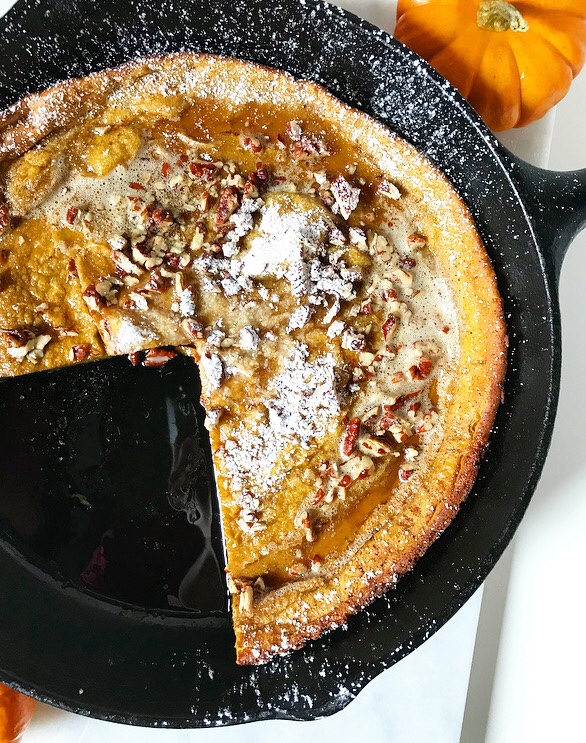 Mix up your
 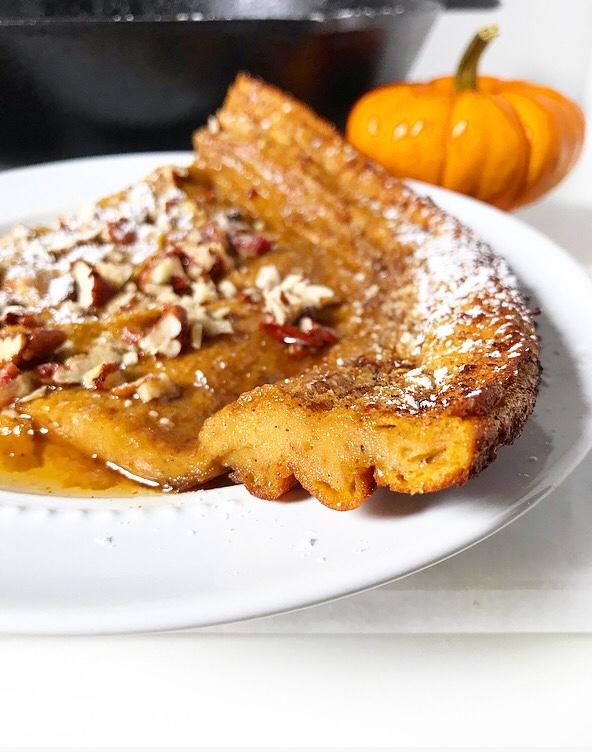 Pour it in a screaming hot pan with plenty of butter and go find something to do for roughly 17 minutes. I recommend figuring out which Emmy-nominated show you can manage to binge watch in its entirety before the broadcast on Sunday night (When They See Us! Pose! Fosse/Verdon!). Or, alternatively, if you’re local, determining which panel you’re going to attend at the
 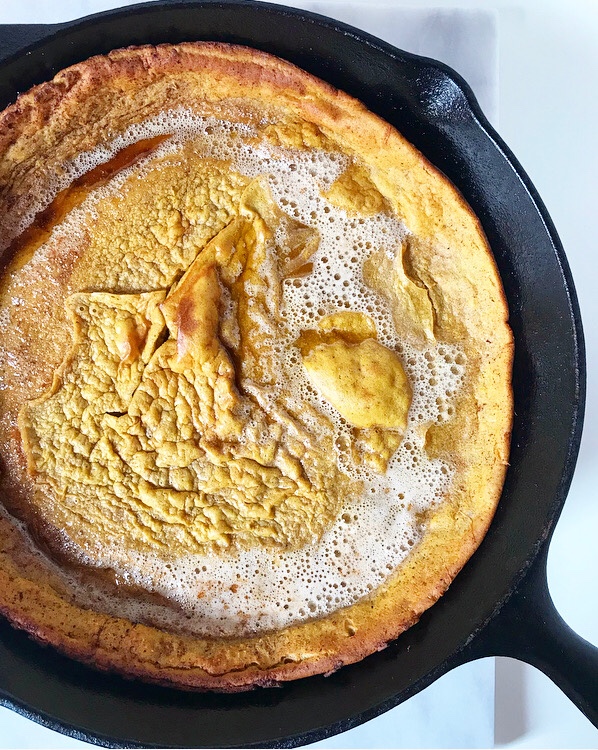 Anyway…when you have decided to watch Sharp Objects and a few episodes of The Good Place…oops, sorry.
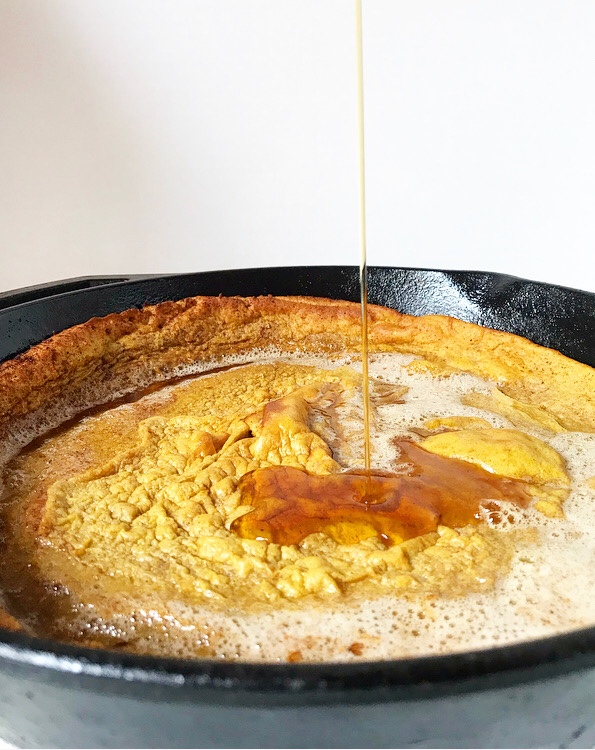
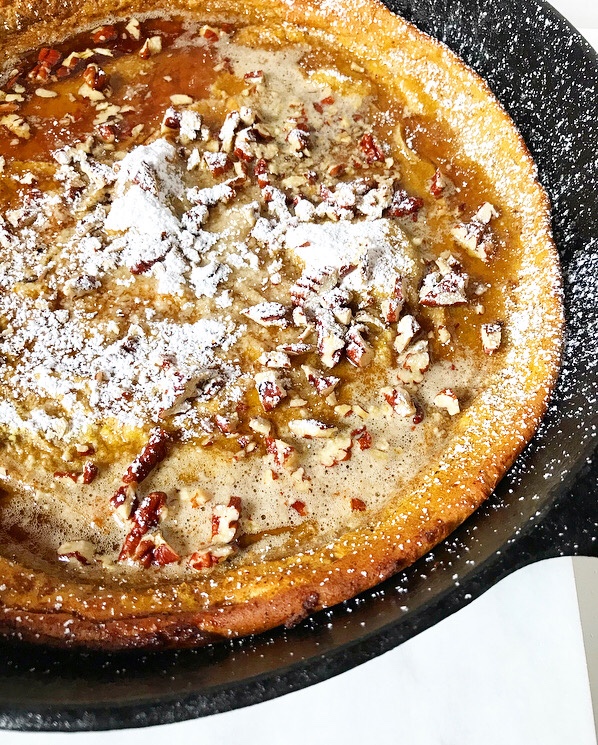
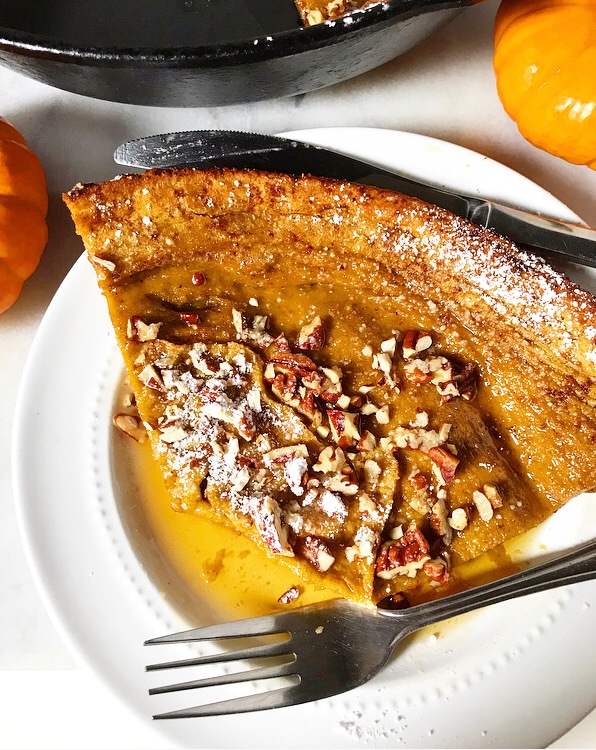
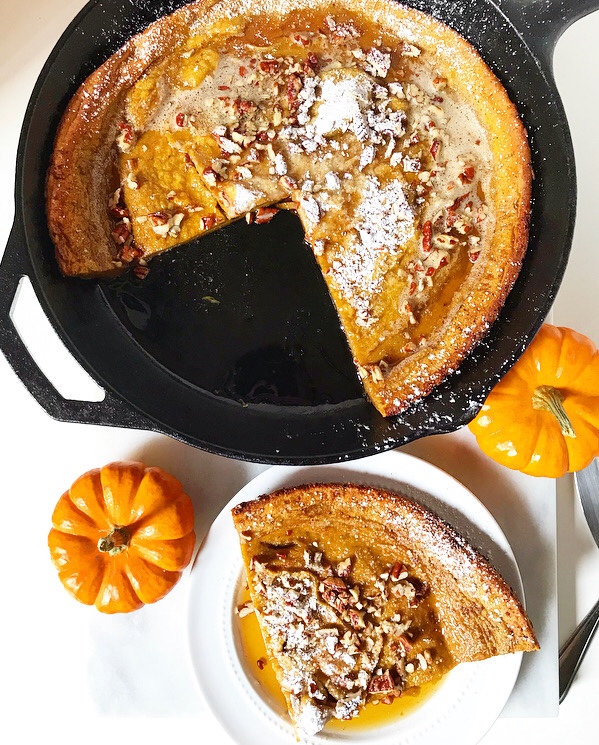 Top it with whatever makes you happy—I went for my usual maple syrup and confectioners sugar, along with some toasted pecans. Keeping it seasonal, you know, because it’s officially fall in my kitchen and on this blog.
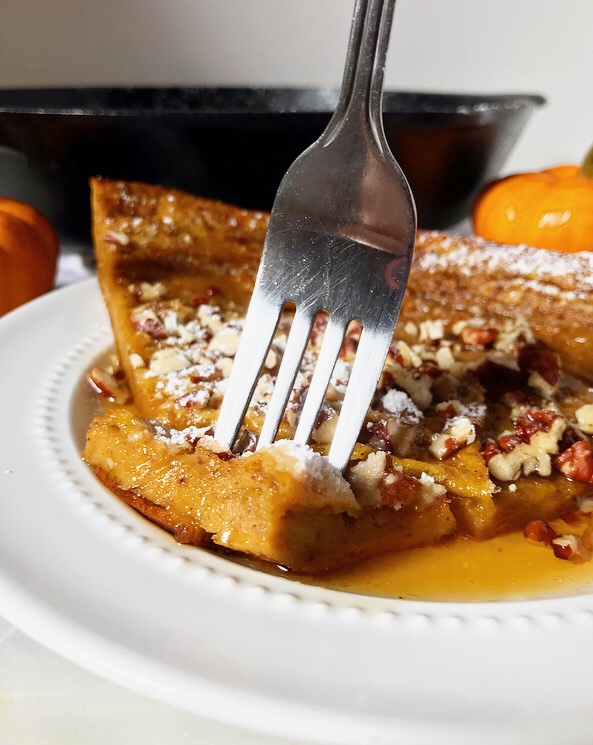
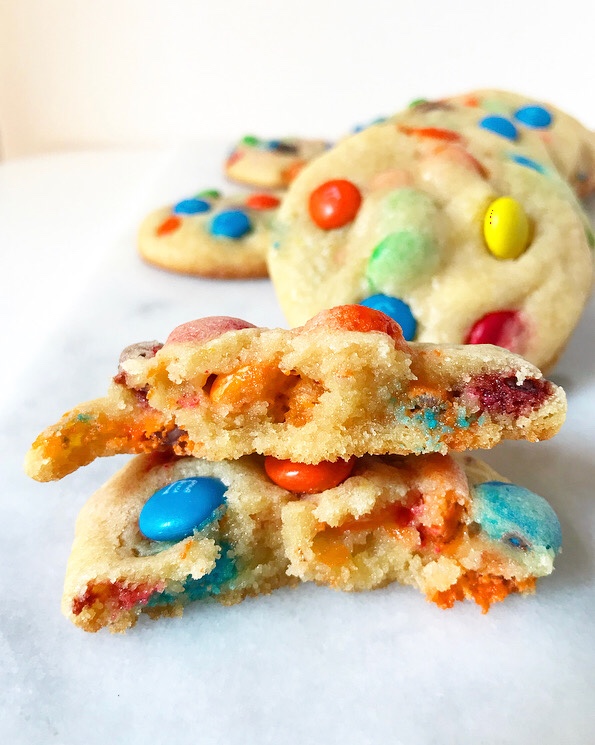
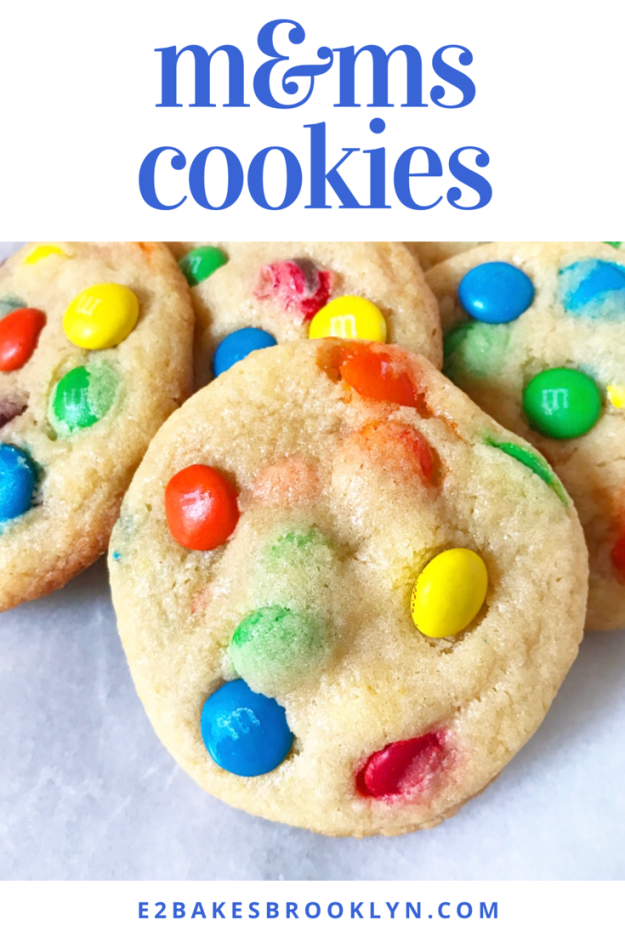
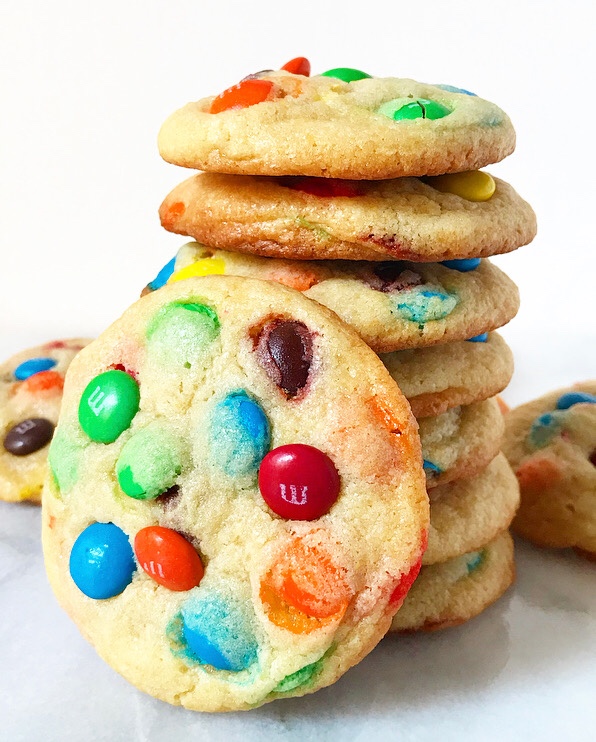 Here’s a little midweek cheer! I mean, is it possible to be anything but cheerful when there are M&Ms Cookies around? I think not!
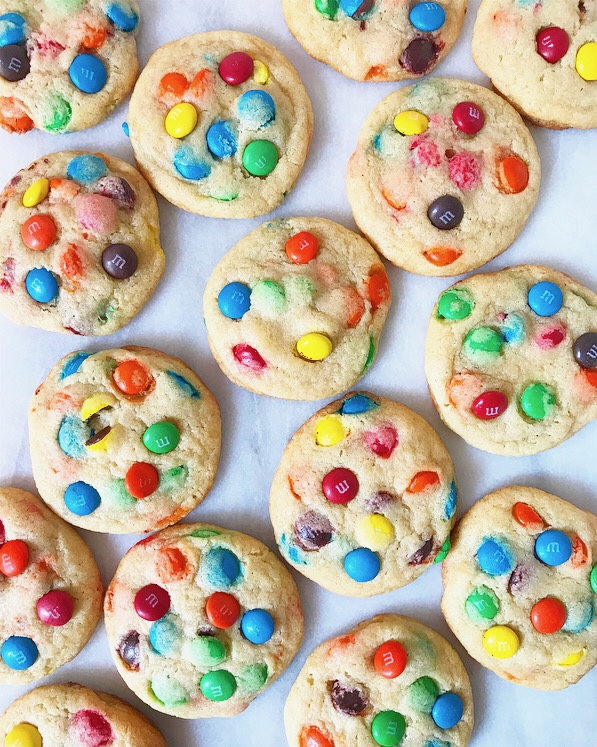 These are simply a homemade version of my favorite bakery cookie. They’re super easy to make and oh-so-colorful and the happiest thing to come out of my kitchen in months. I can’t look at them without smiling. I can’t eat one without smiling either!
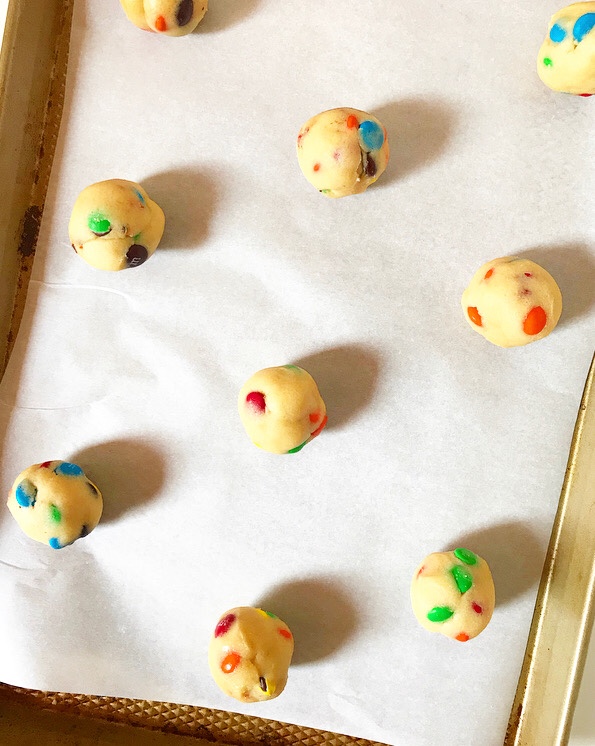
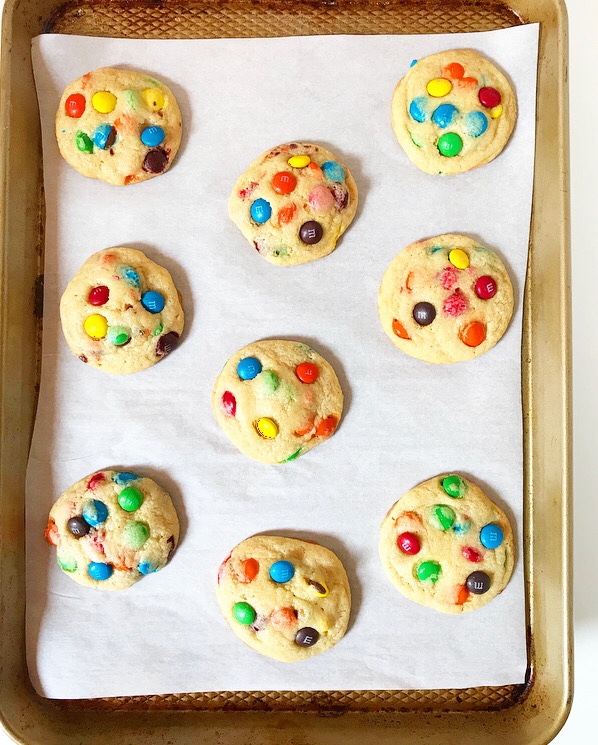 Buttery and heavier on granulated sugar than brown, these cookies have crispy edges and puffy, tender centers that melt in your mouth. And that’s to say nothing of the glut of M&Ms scattered throughout! Soft cookie + melty candy-coated chocolate—YUM.
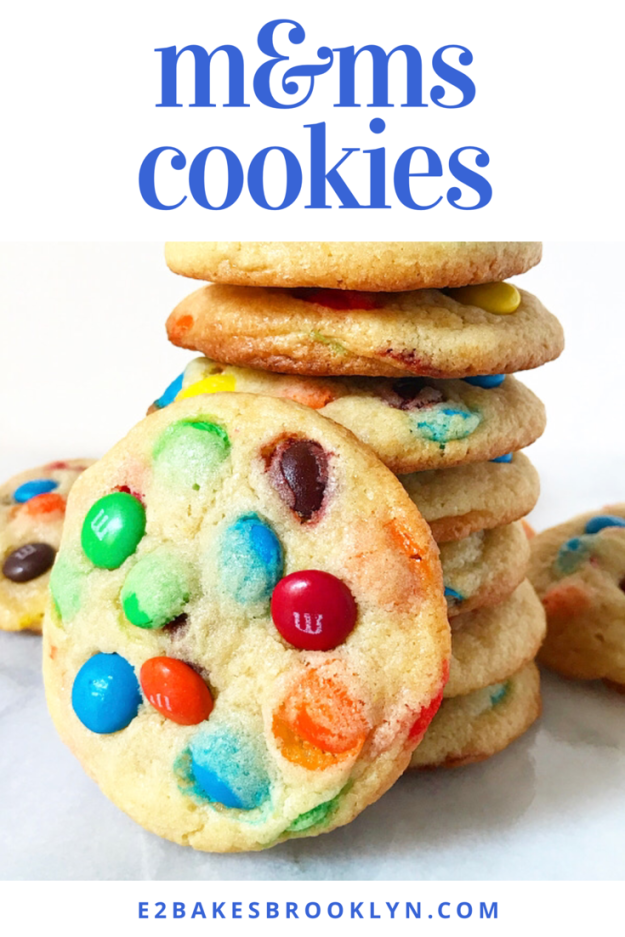
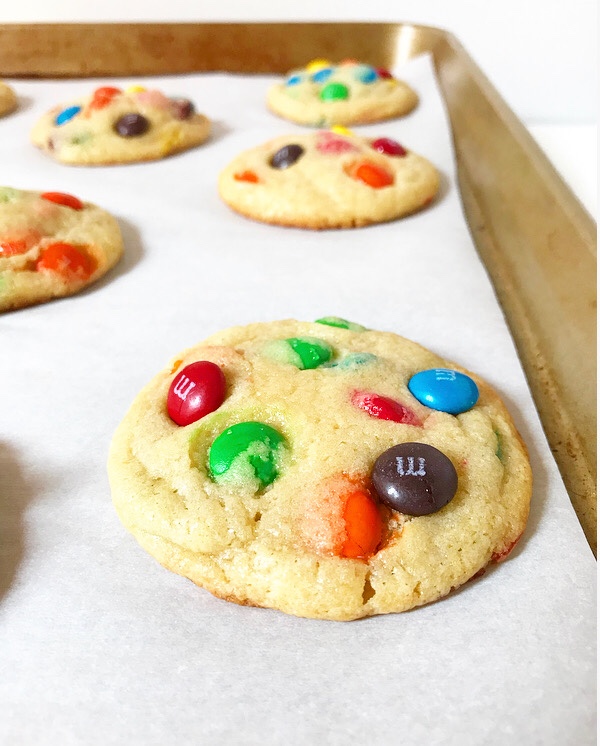 M&Ms Cookies hold up extremely well for days. I’m a bit of a diva about leftover cookies, but I was still reaching for these four days post-bake!
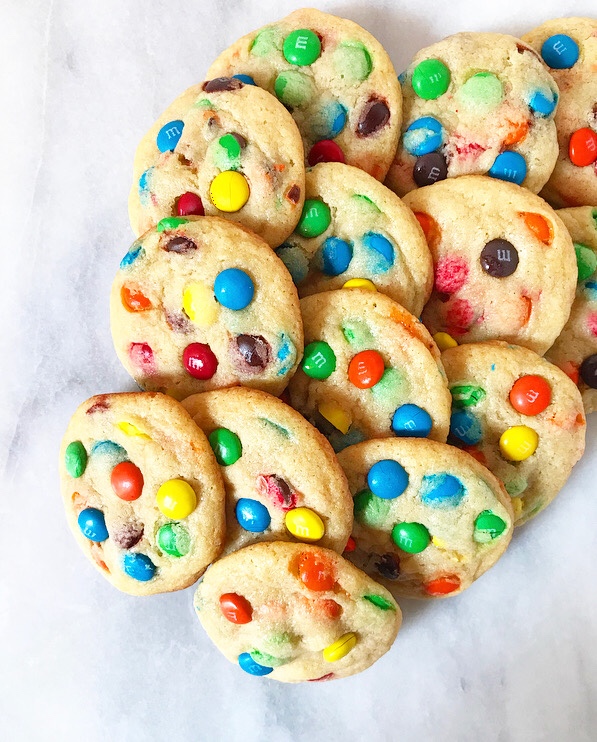
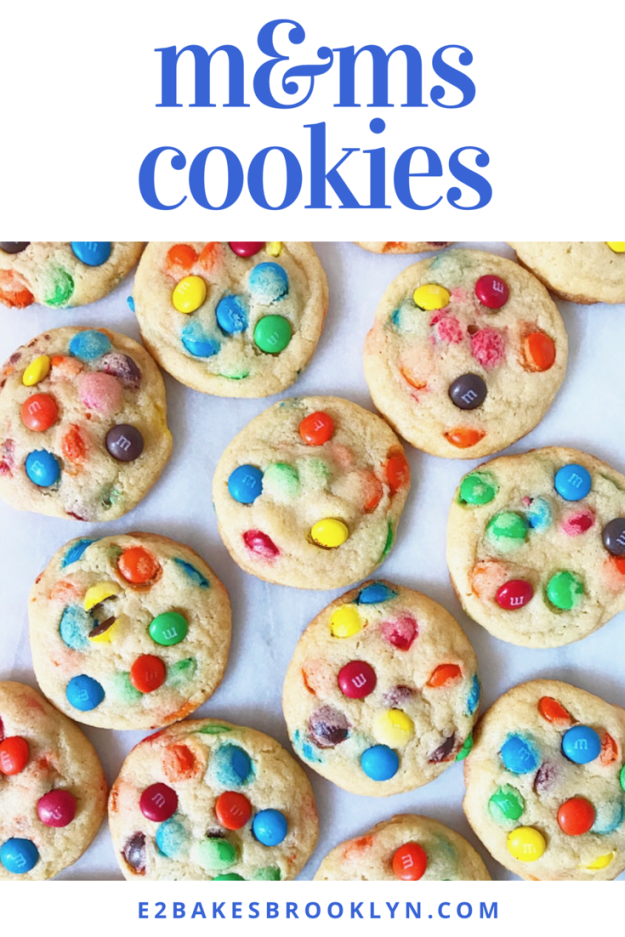
 The rest of the batch were taken to an event and placed alongside a coffee pot and a box of Oreos. It’ll come as no surprise that these went first. I suppose homemade cookies almost always go first, but I think M&Ms Cookies are especially hard to resist. Their appeal could be chalked up to a lot of things (homemade, filled with candy, etc.) but I’m choosing to believe it’s the cheer.
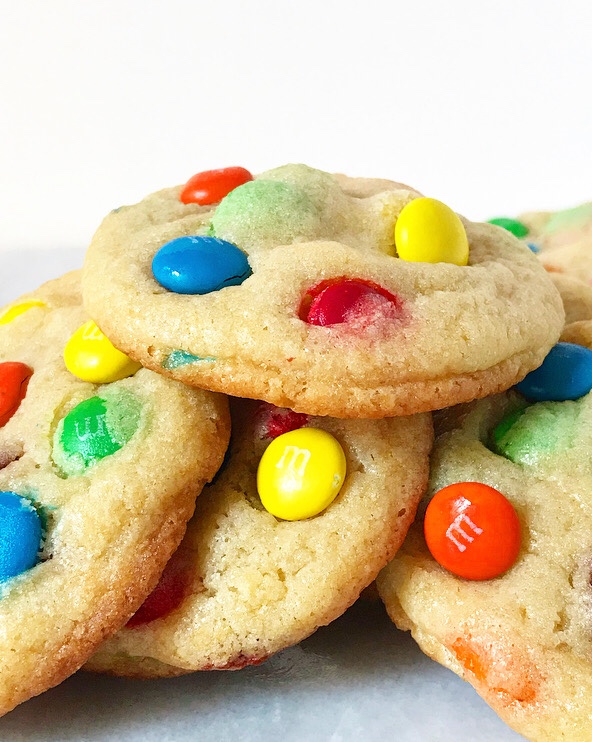
 I love baking with
 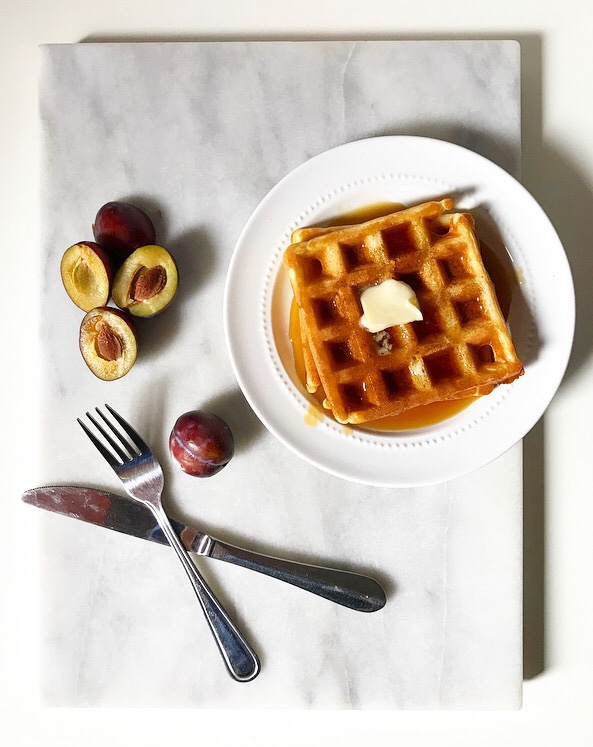 A few weekends ago, armed with a half-container of sour cream leftover from making
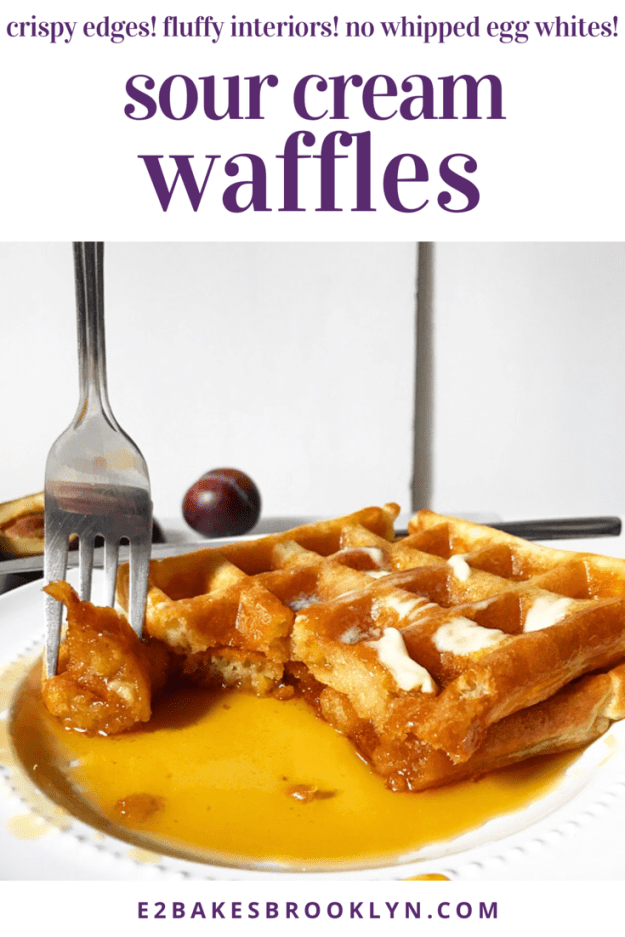
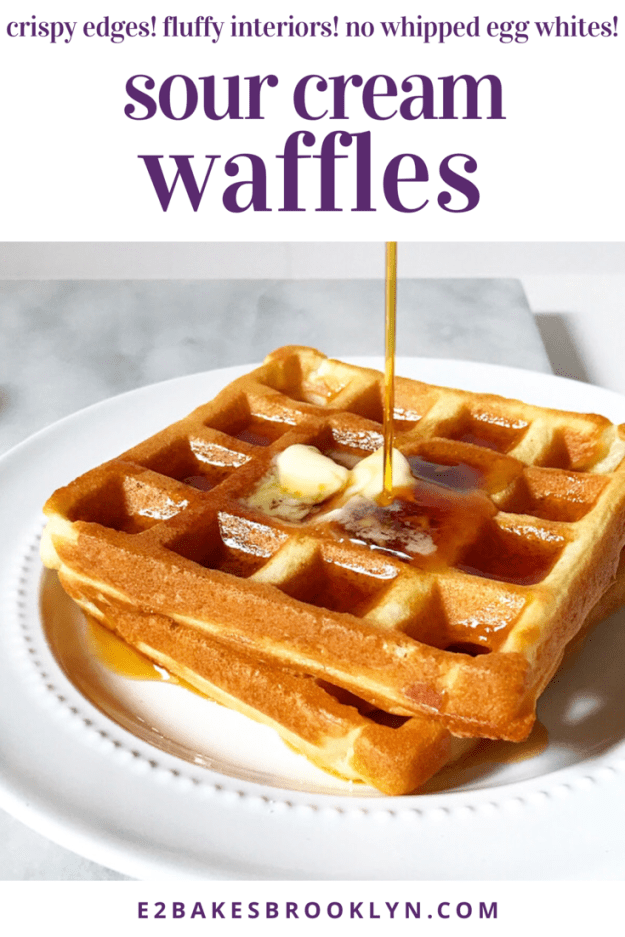
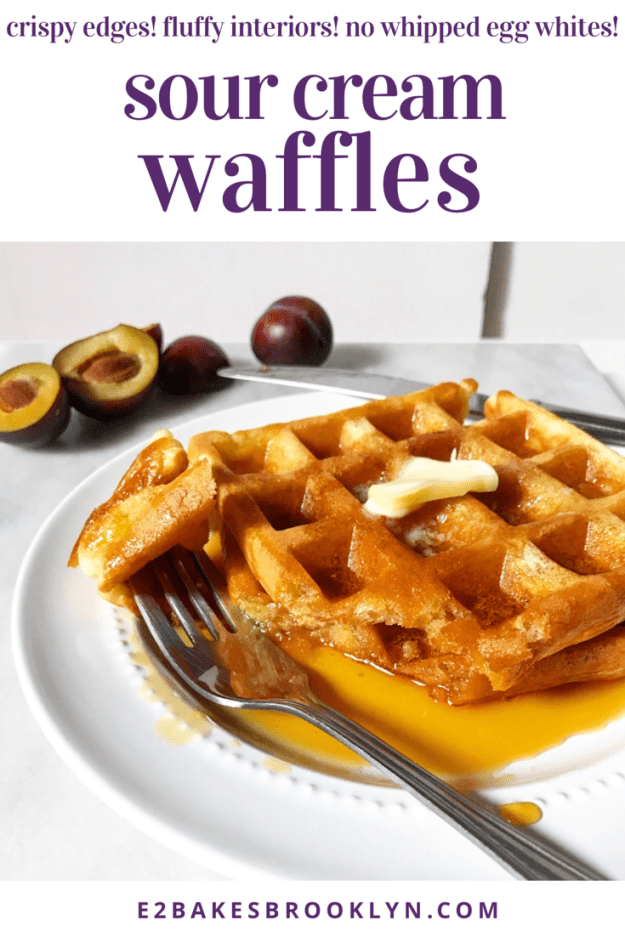
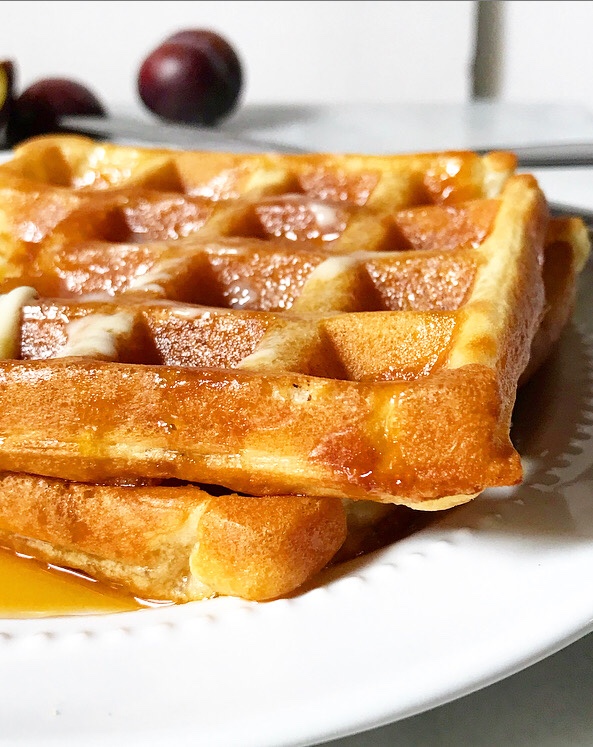
 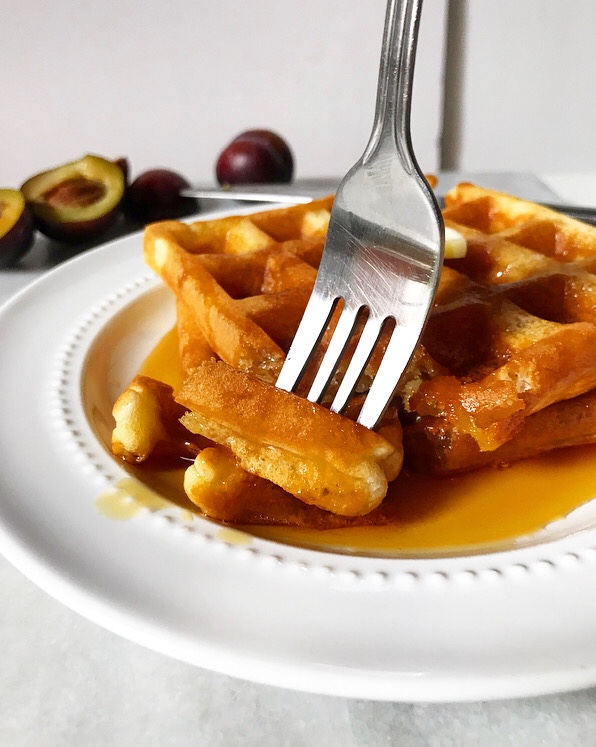 Instead I combined aspects of both recipes into The Best Waffles I Have Ever Eaten In My Life. We’re talking crispy edges and fluffy interiors, light and not too sweet, and gorgeous and golden. Truly, the best waffles I’ve ever eaten in my life.
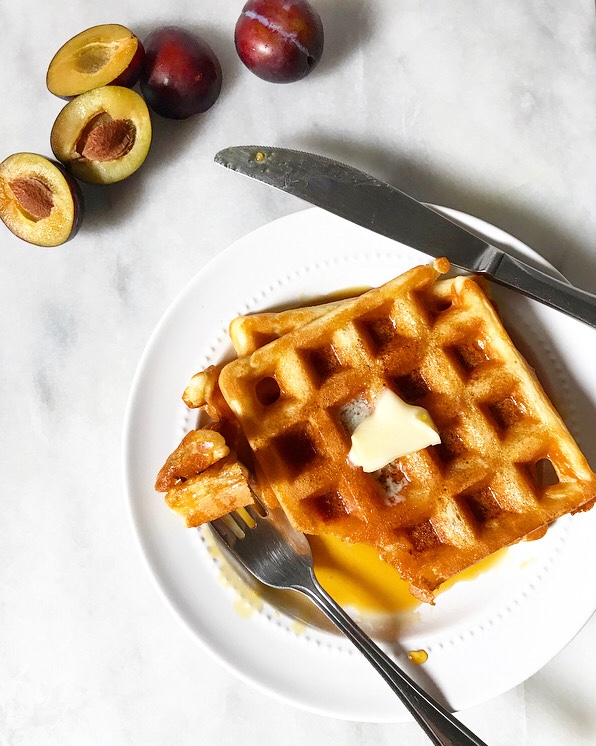 I have 24 of them in my freezer leftover from testing and have been toasting and eating them plain as a midnight snack for the last few weeks, so I can confirm: these are the fluffiest and crispiest and The Best Waffles I Have Ever Eaten In My Life. Period.
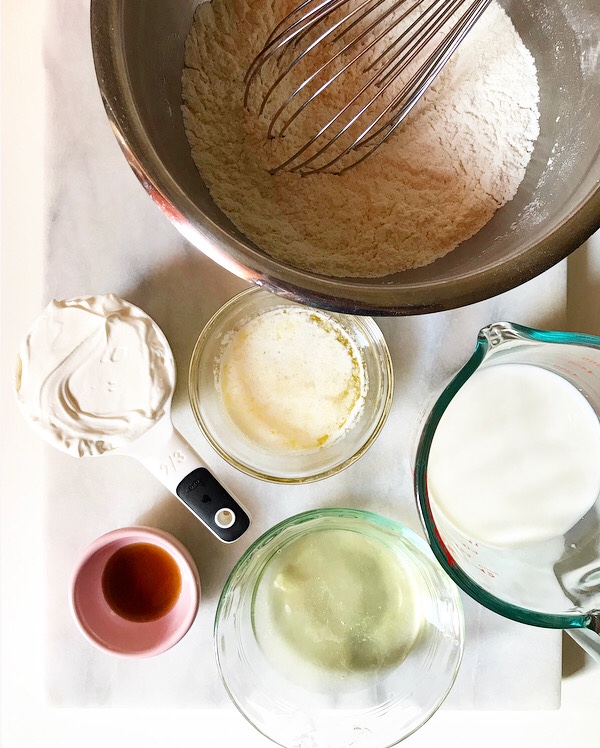 Reasons the insides stay nice and soft:
 Reasons the outsides get crispy:
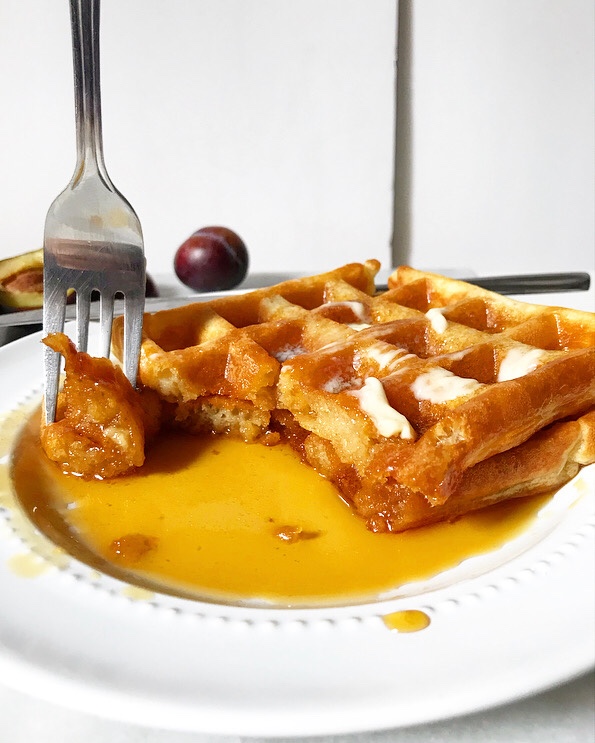
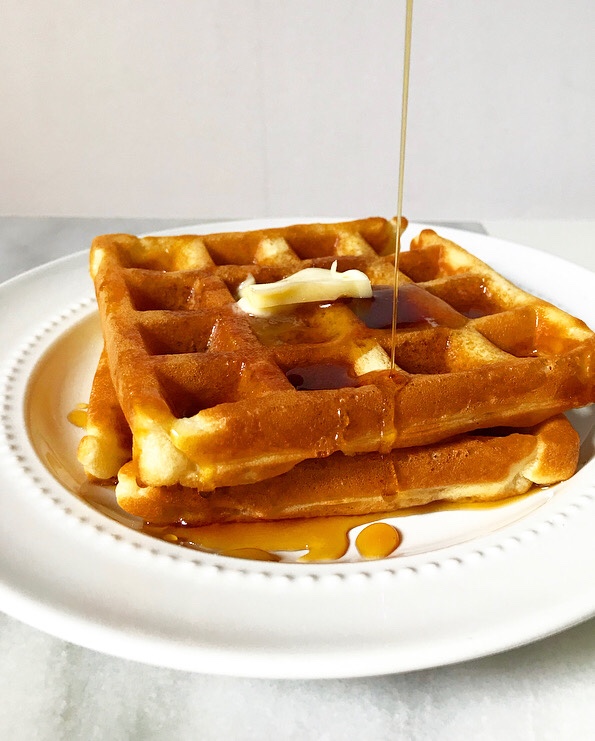 I mean, look at that. Does breakfast get any better than that? I don’t think so.
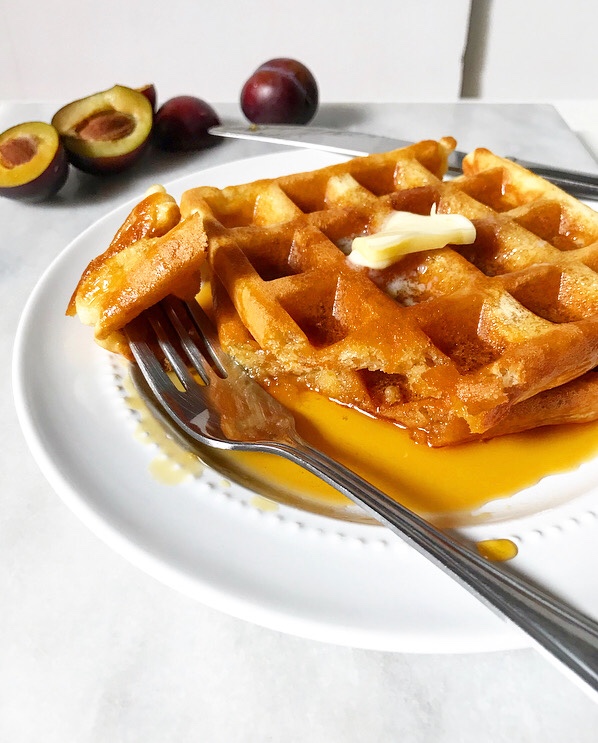 Needless to say, half-containers of sour cream are a hot commodity around here now.