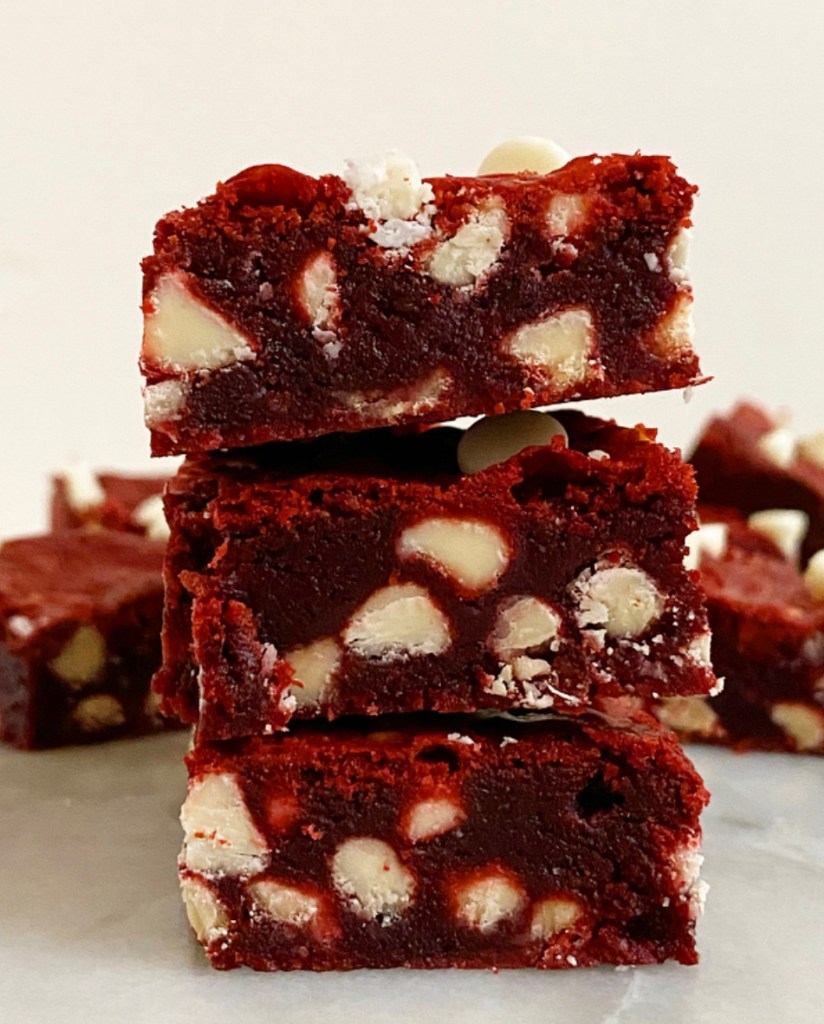
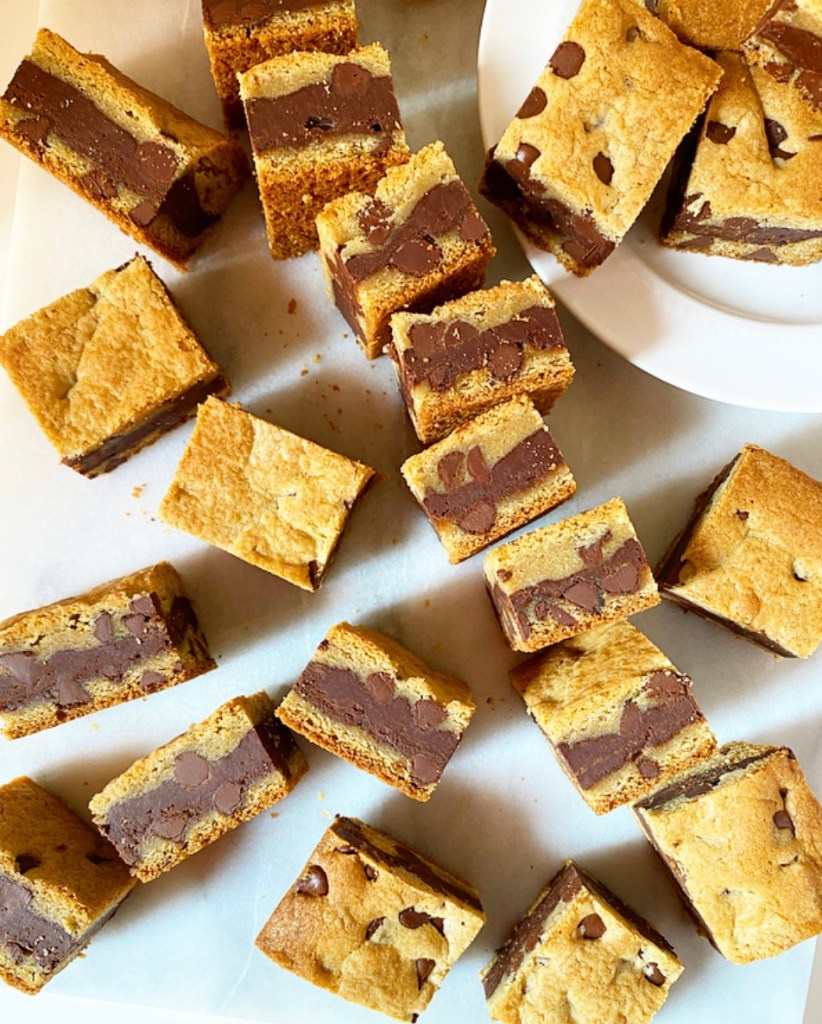
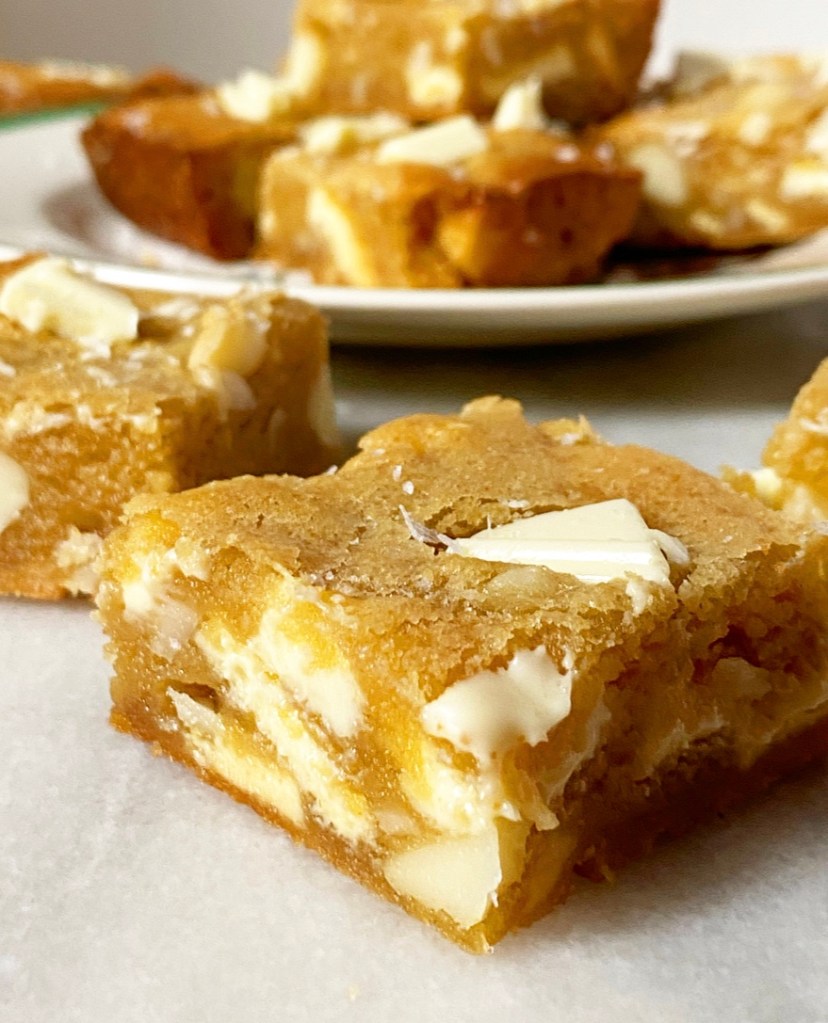
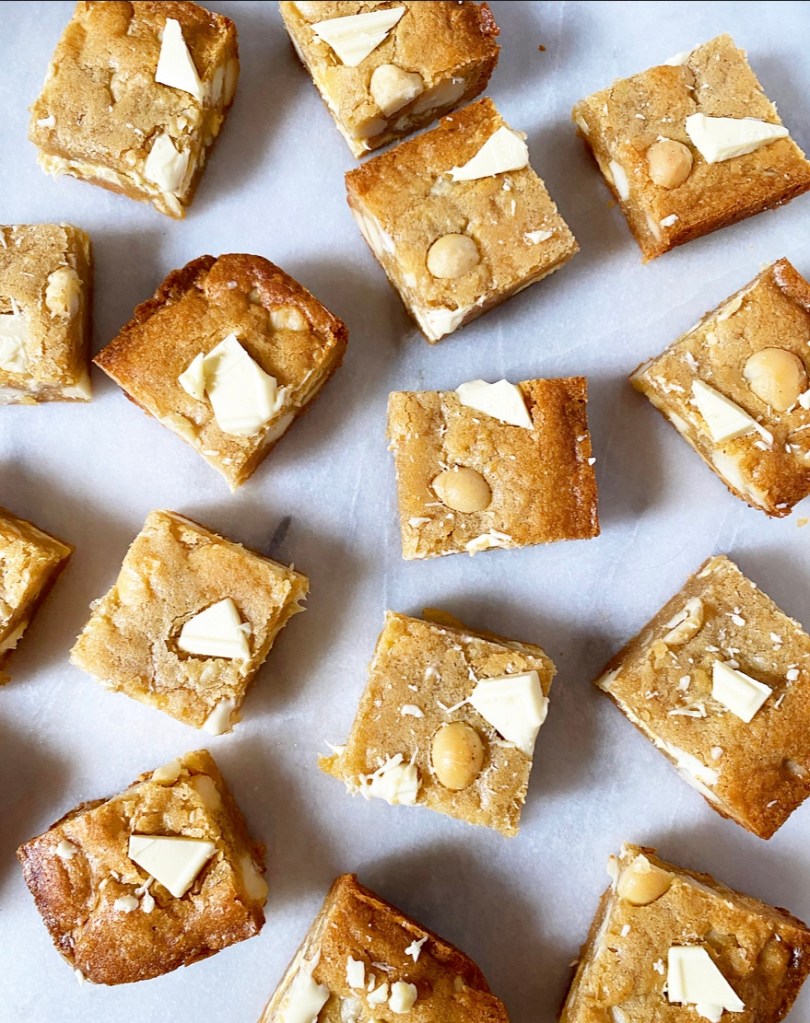
Due to time constraints, I had to slice into these Malted Milk Blondies before they had cooled completely, so they lack the clean edges I usually go for. But perfect aesthetics aside, look at these warm, malty brown sugar blondies full of chopped malted milk balls. Aren’t they magnificent?

If you’re as completely over-the-moon about malted anything as I am, these are basically flawless. In addition to the softness and chew of a great blondie, they have a depth of flavor that can only come from a hefty scoop of malted milk powder. My favorite bites are the ones that have little bits of malted milk ball candy in them! Malt on malt on malt—if you know, you know.

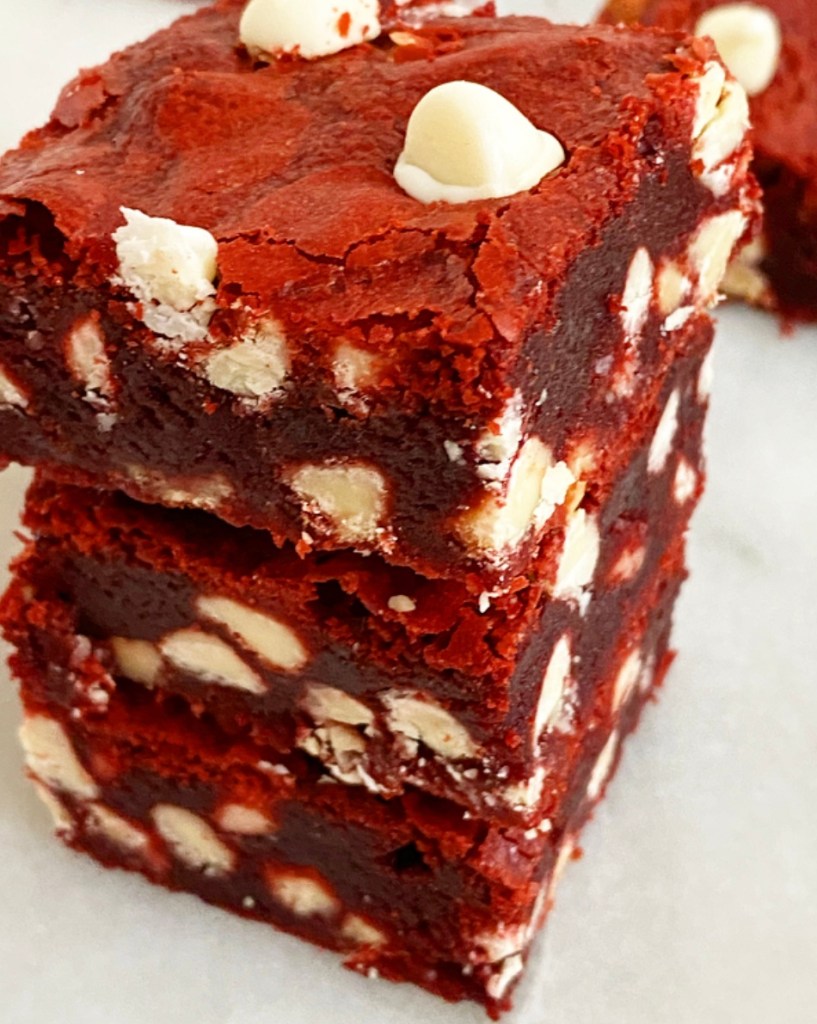
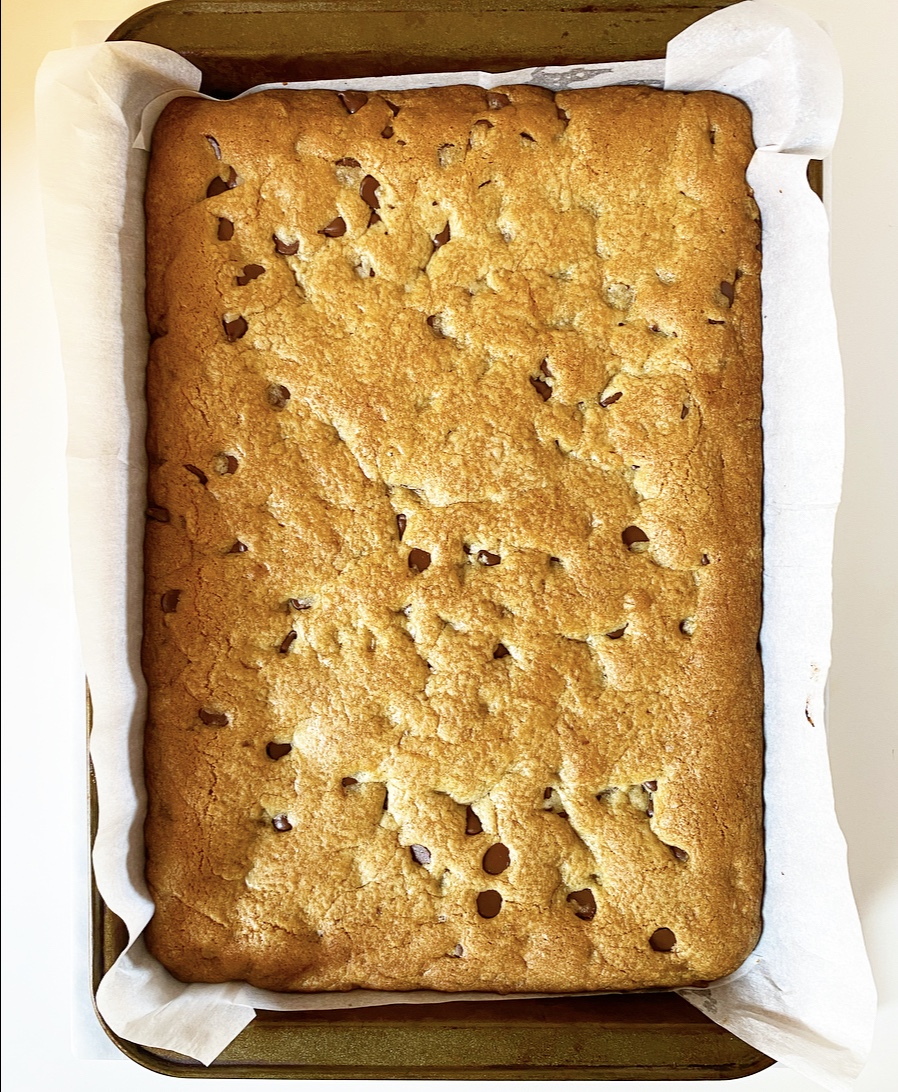
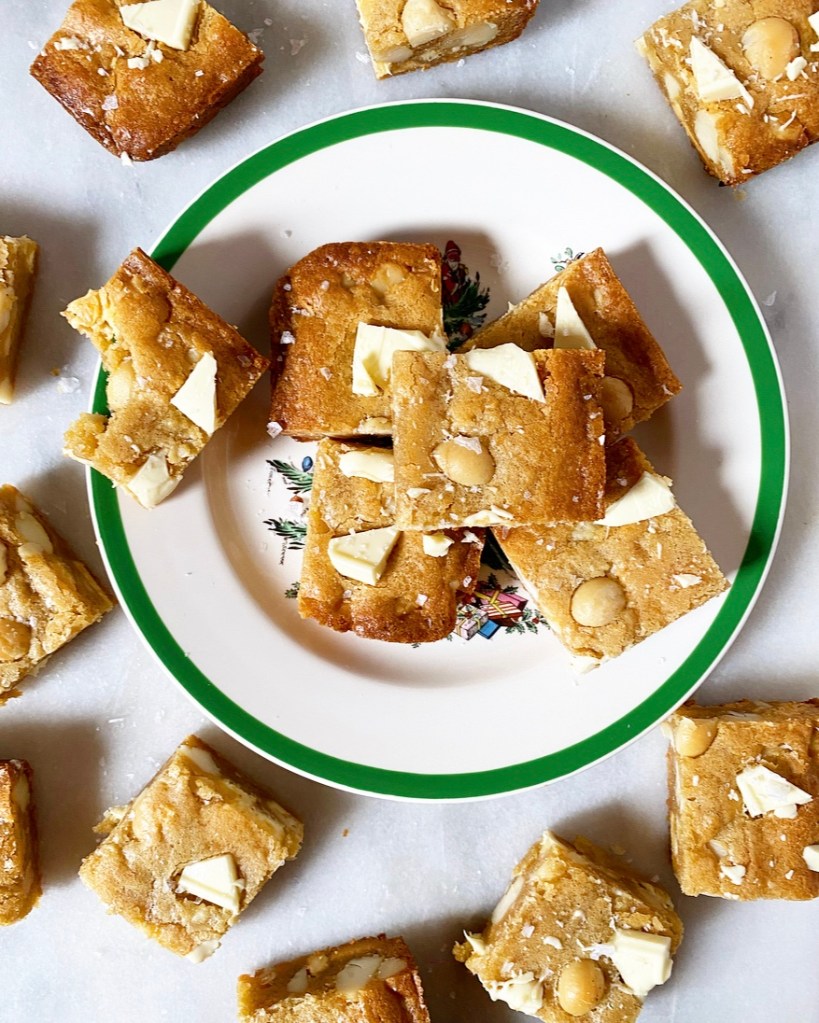
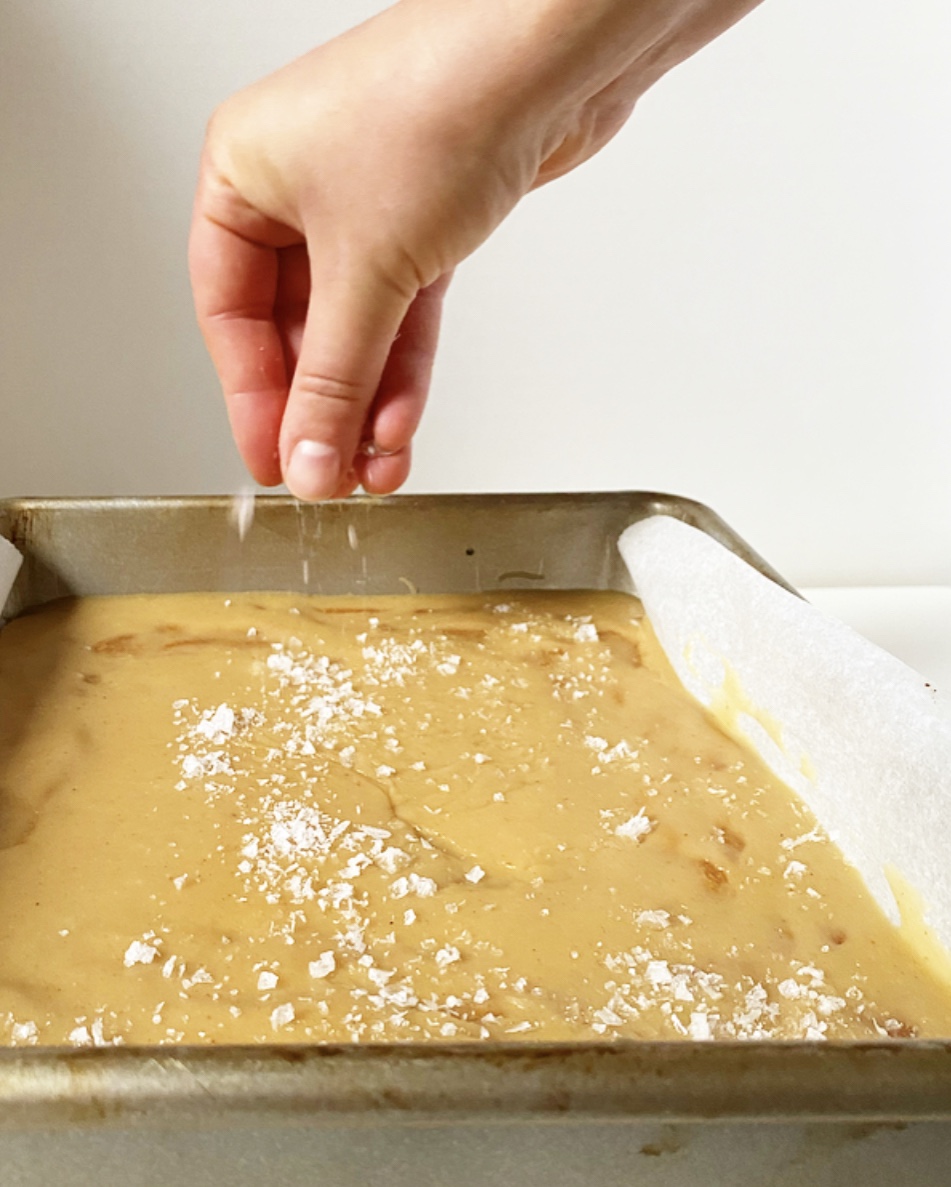
Besides being absolutely delicious, making Malted Milk Blondies is easy as can be! The batter comes together in minutes and bakes in half an hour. When it comes out of the oven, I like to dot the top of the blondies with more chopped malted milk balls for even more malt flavor (and some cuteness).
Oh yes, malt lovers. These are for you. They’re for us.

Malted Milk Blondies
makes one 8- or 9-inch pan, about 16 bars
1/2 cup (1 sticks) unsalted butter, melted and cooled slightly
1 cup light brown sugar, packed
1/3 cup malted milk powder
1 large egg, room temperature
1 teaspoon pure vanilla extract
1 cup all purpose flour
1/2 teaspoon Kosher or sea salt
~1 1/4 cups roughly chopped malted milk balls candy (like Whoppers), divided
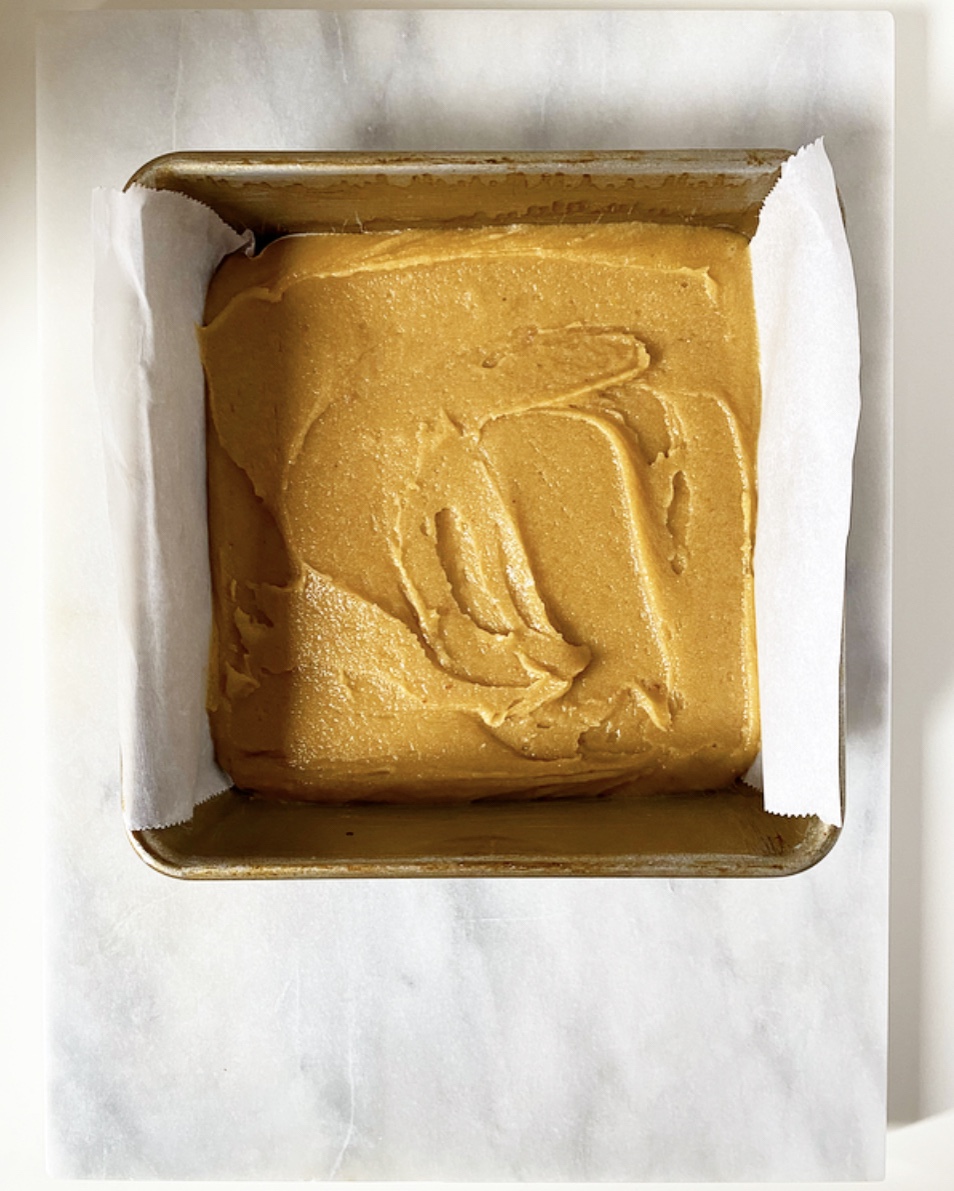
Preheat oven to 350F. Grease an 8- or 9-inch square pan and line with parchment, leaving overhang for bar-removal. Set aside.
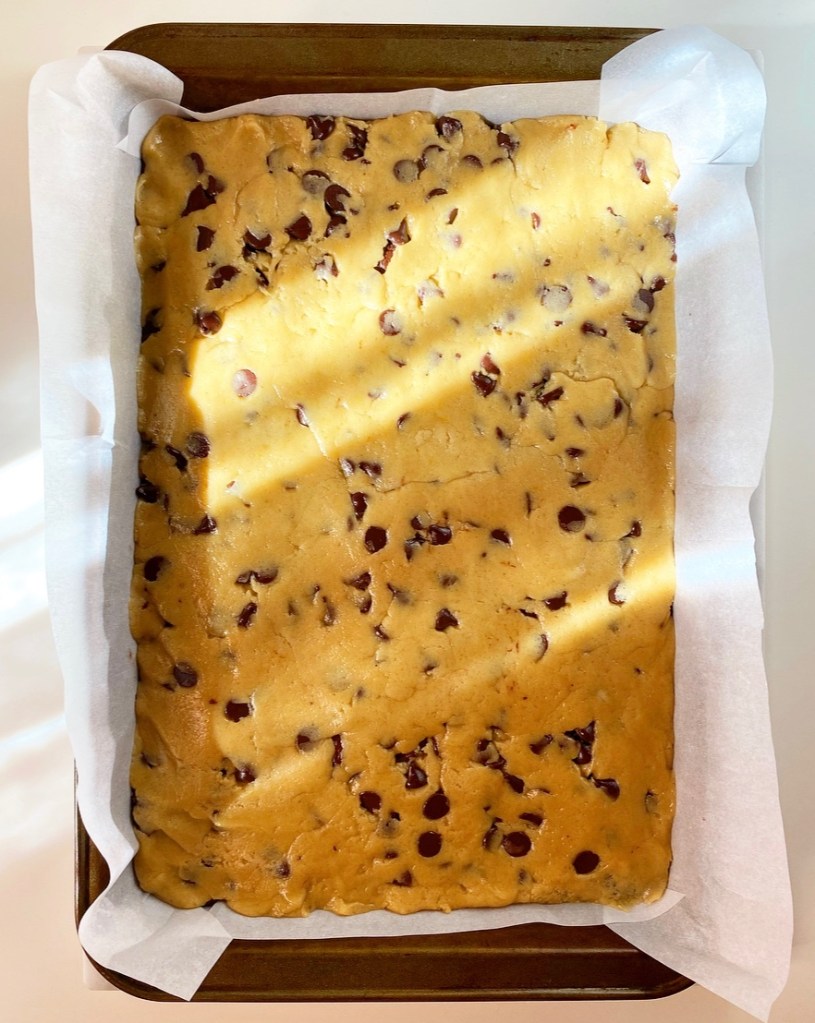
Make the blondie base. In a large mixing bowl, whisk together melted butter, brown sugar, and malted milk powder. Mix in egg and vanilla, followed by flour and salt. Use a silicone spatula or wooden spoon to fold in 1 cup of roughly chopped malted milk balls.
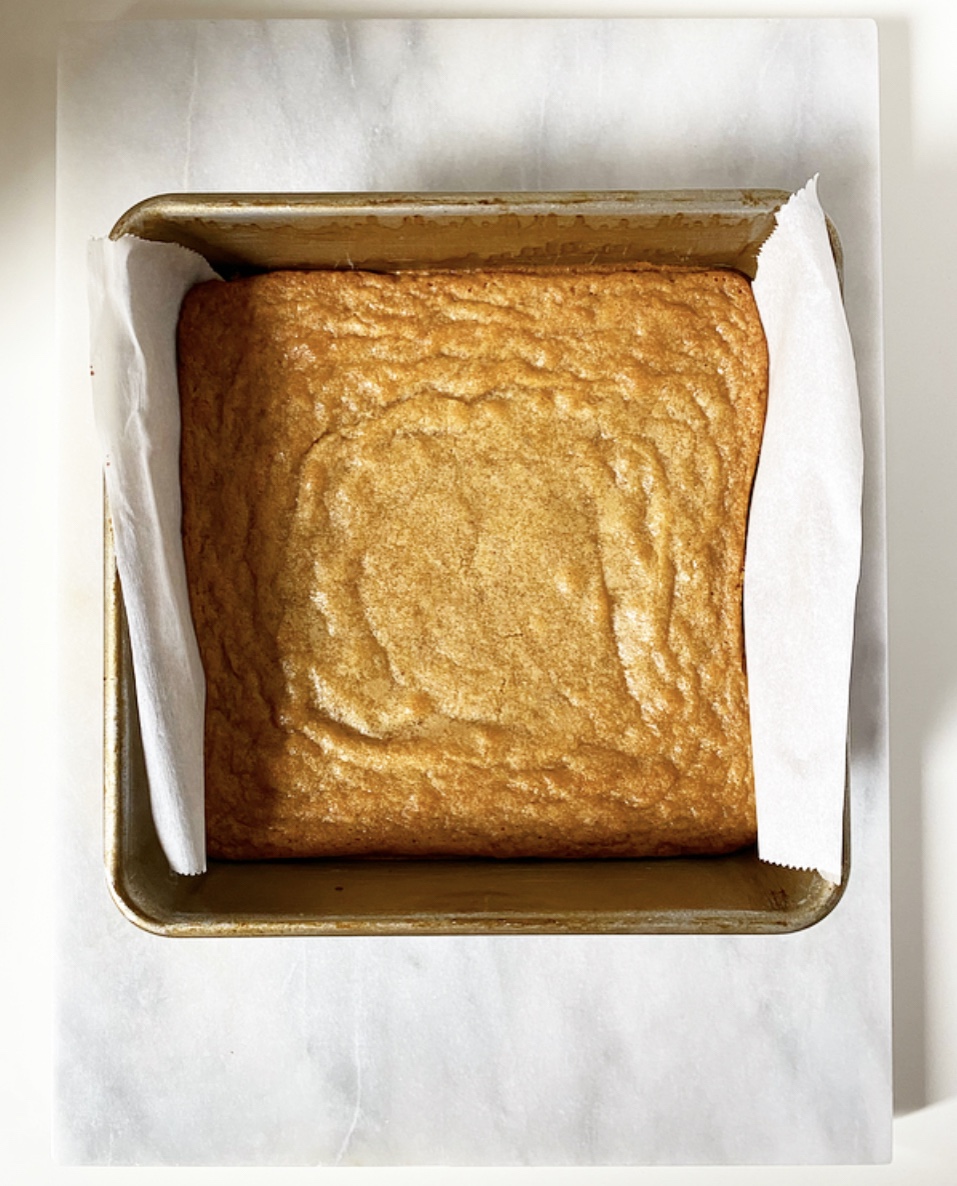
Transfer the blondie batter into the prepared pan and smooth to throw edges. Bake 25-30 minutes, until a toothpick inserted in the center comes out mostly clean (no raw batter). Let blondies cool in the pan on a rack until they reach room temperature. Run a small, thin knife around the edge of the pan, then use parchment to lift them onto a cutting board. Slice with a large, sharp chef’s knife, wiping the blade clean between cuts. Serve.
Blondies will keep in an airtight container at room temperature for up to 4 days.