Updated 03/13/2021 to add better photos and adjust the oven temperature. The bananas used in the update were not “quick-ripened” in the way mentioned in the text, but that method does work well in a pinch. 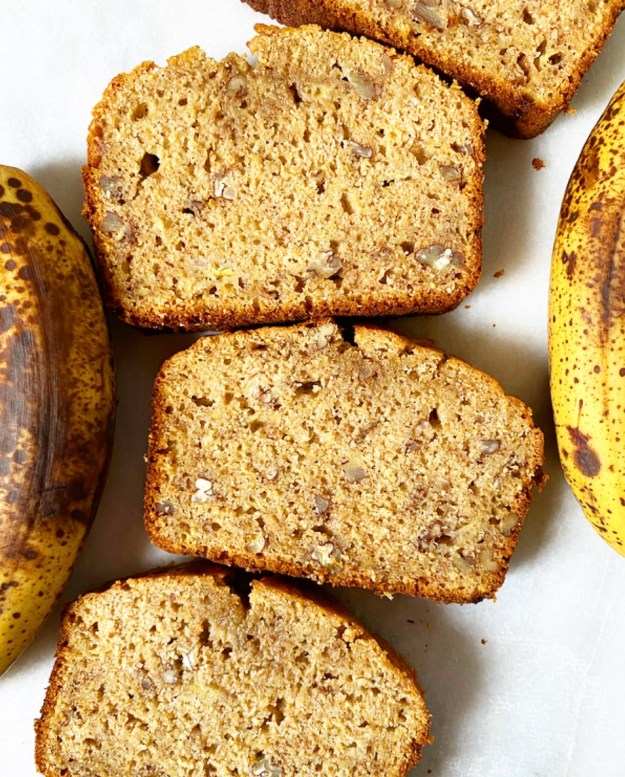 I go to the same coffee place everyday. It’s an institution on Atlantic Avenue–Moon’s Palace. It’s not flashy, and you won’t find any fancy pour-over there, but the owner, known to me as Mr. Moon, makes a solid cup of coffee. I don’t even have to ask for my order anymore–he and his sons know that if its a weekday, I want a large black coffee, and if it’s a weekend, a second large coffee with foamed half-and-half, for Henry. I’ve been going there so frequently for the last three years that we even have a deal during the summer: they keep all their sad-looking overripe bananas for me (instead of tossing them in the garbage), and I buy them at half-price for banana bread. It’s the best deal in town, as far as I’m concerned: twenty-five cent bananas, and I don’t even have to wait for them to ripen!
 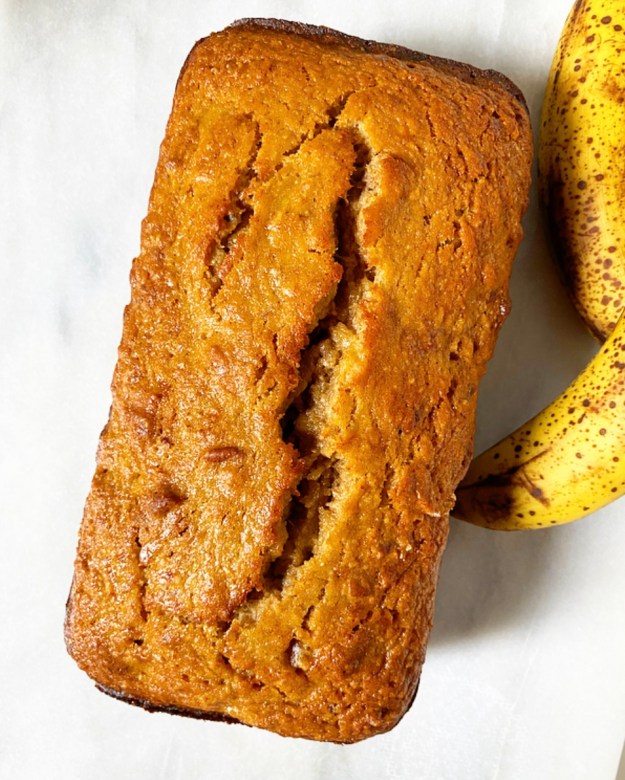 But now it’s winter, and ready-made overripe bananas are harder to come by. I went in last week and grabbed a few bananas that were still bright yellow, hoping to make banana bread in about a week. I put them in a paper bag and left them to ripen, but they refused. Sure, they started to turn a little brown in places, but not nearly enough for really good banana bread. Being the impatient, banana bread-deprived woman I was, I resorted to one of those hacks that probably plague your Facebook feed. I placed the bananas on a lined baking sheet, put them in a 250F oven for twenty minutes, and was rewarded with overripe results!
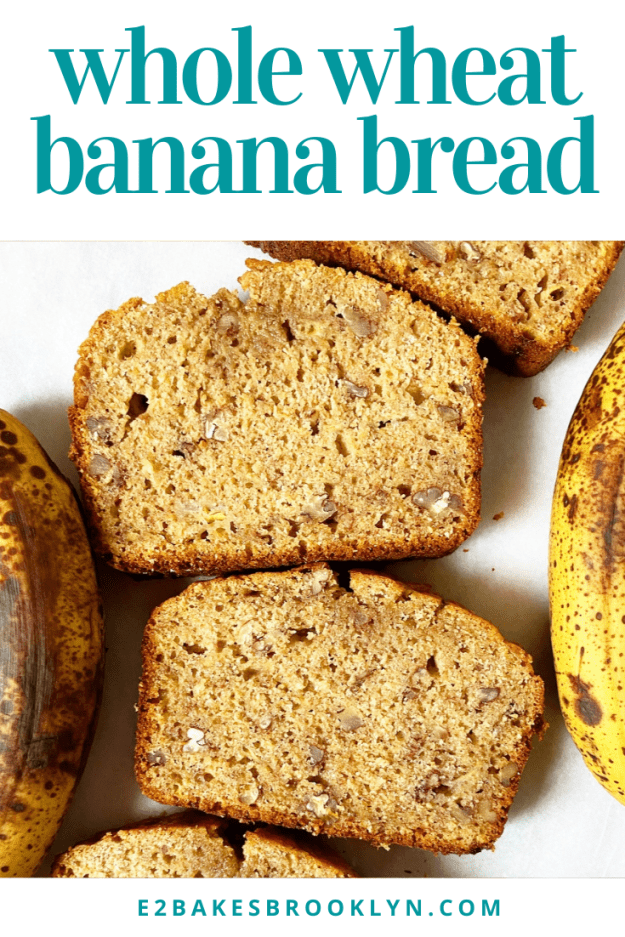
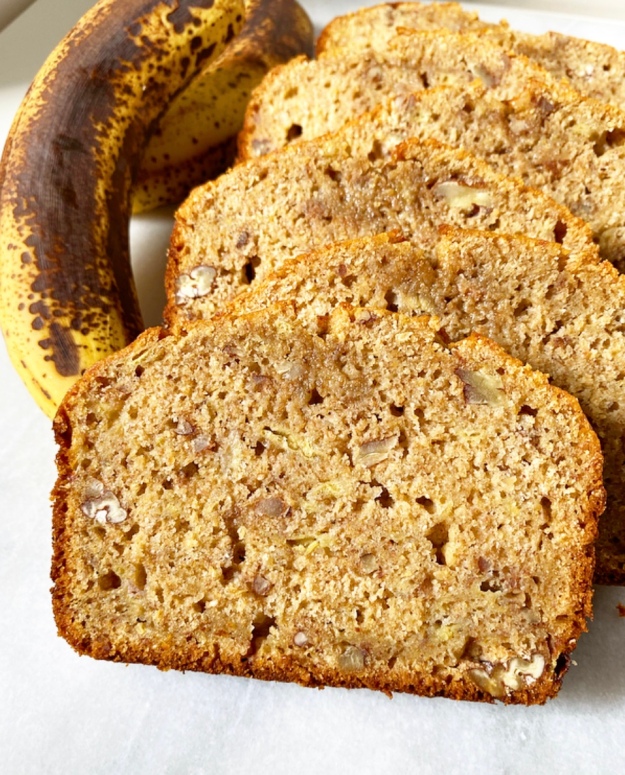 So, now that I’ve played Mother Nature with these bananas, let’s make some banana bread. Whole Wheat Banana Bread, to be exact. Sweet, cinnamon-scented quickbread chock full of bananas and walnuts, with all the nutty goodness of whole wheat. Now, baking with whole wheat flour can be tricky. Since it hasn’t been stripped of the bran and germ like all-purpose flour, whole wheat flour has a grainier texture and higher protein content. Higher protein = more gluten. More gluten = greater potential for tough, dense results. We have to follow a few guidelines to keep this banana bread from being a brick.
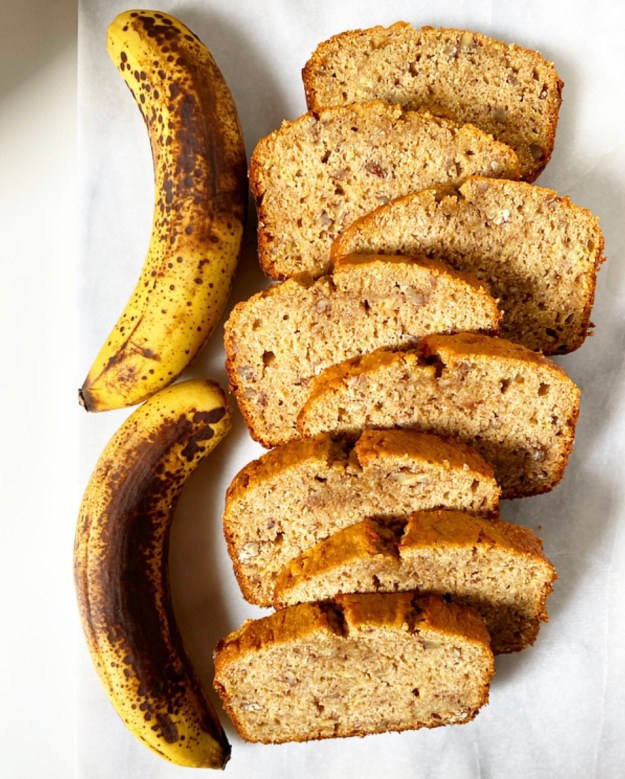 1. Measure the flour properly. American baking is notoriously unreliable when it comes to measurements. This isn’t a problem in countries where they bake by weight–100 grams is always 100 grams. In the U.S., though, measuring is a problem. Since we traditionally measure ingredients by volume, there’s no way to know if two people are using exactly the same amount of an ingredient. Some people measure flour by just scooping it with the measuring cup. This doesn’t allow any air into the flour, and can therefore contribute to over-measuring. In cakes and breads, this can lead to things becoming too dense and dry. In cookies, this can lead to toughness and/or cakey results.
How do you measure flour properly in an American-style measuring cup? Spoon & level! First, make sure you’re not using a liquid measuring cup. You need a set of measuring cups made specifically for dry ingredients. Then, you need a spoon, a table knife, and your container of flour. Use the spoon to give the flour a good stir. This is called aerating, and will keep us from measuring too much flour. Then, with the measuring cup sitting on a steady surface, spoon the flour into the cup. Do not tap or jostle the cup in any way–it could knock out the air. Once you have a heaping cup of flour, use the back of your knife to level off the measuring cup. That’s it!
I have added some extra insurance against the heaviness of whole wheat flour by adding a touch of cornstarch to the dry ingredients. Cornstarch lightens all-purpose flour in cake flour, and is in many of my cookie recipes for a little extra softness. Here, it mitigates the graininess and heaviness of the whole wheat. If you don’t mind a heavier bread, you may leave it out, but I really think it brings something special to the texture.
2. Use really brown bananas. The general rule with banana bread bananas is “the browner, the better.” Make sure they’re super brown. Like, pretty-close-to-rotting brown. This means that all the sugars in the bananas are developed. They don’t need to be solid black-brown, but they should be heavily spotted, a little squishy, and have a heavy scent. Don’t use green or solid yellow bananas, or you’ll have dry, sad bread. If your bananas, like mine, are refusing to ripen after several days, do as I have done: set the bananas on a lined baking sheet and bake at 250F for 20 minutes. The peels will darken completely. Let the bananas cool for at least half an hour before peeling and mashing. 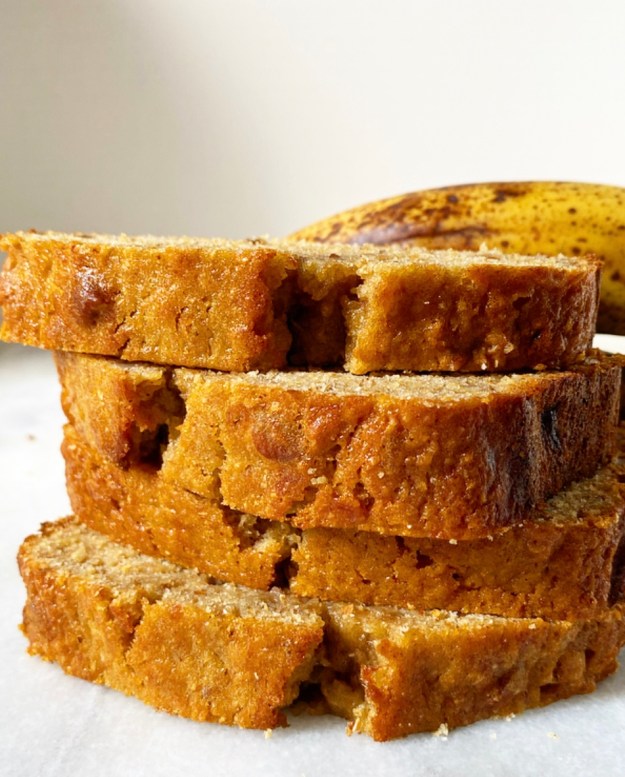 3. Add enough moisture. (Warning: I’m about to say “moist” a lot.) In this banana bread, we need a ton of moisture to counteract the density potential from the whole wheat flour. Here, we use oil so our banana bread stays soft and springy. If we used butter, which is around 15% water, our bread would dry out as the water evaporated over time. Also, there’s so much flavor going on between the bananas, cinnamon, and walnuts that we won’t even notice the lack of butter. So, break out the neutral-flavored oil: canola, vegetable, whatever you have. You may also use melted coconut oil. Next comes brown sugar. We use only brown sugar in this recipe because it’s more moist than granulated sugar, thanks to the molasses. After that, two large eggs. The eggs provide moisture, chew, and additional structure. They help the final product to stay soft and moist-crumbed, which is exactly what we want in banana bread. Lastly comes the milk, which is just extra moisture insurance. You may use any milk you like (including buttermilk, almond, oat, soy, etc.), although I do not recommend skim or fat-free cow’s milk.
4. Don’t stir too much. This is not the time to use your electric mixer. With the high amount of protein in the flour, an electric mixer would overdevelop the gluten and give us a banana bread brick. Yuck. Use a whisk when stirring the dry ingredients and wet ingredients separately. When you combine the two, use a silicone spatula or wooden spoon and do not stir more than twenty strokes. I add the dry ingredients to the wet ingredients and then stir ten strokes, making sure to scrape the bowl as I go. Then I add the optional nuts before stirring ten additional strokes. If there are tiny streaks of flour left in your batter, don’t worry. Those will disappear into the final bread. Resist the urge to stir further, or have tough banana bread!
Now, that all sounds super intense, but banana bread is (and should be) fun and easy to make. There’s a reason that generations of people have been making banana bread out of their overripe bananas, and that’s because it’s simple and delicious (especially the next day). And now, with the addition of whole wheat flour, it’s a little more wholesome. 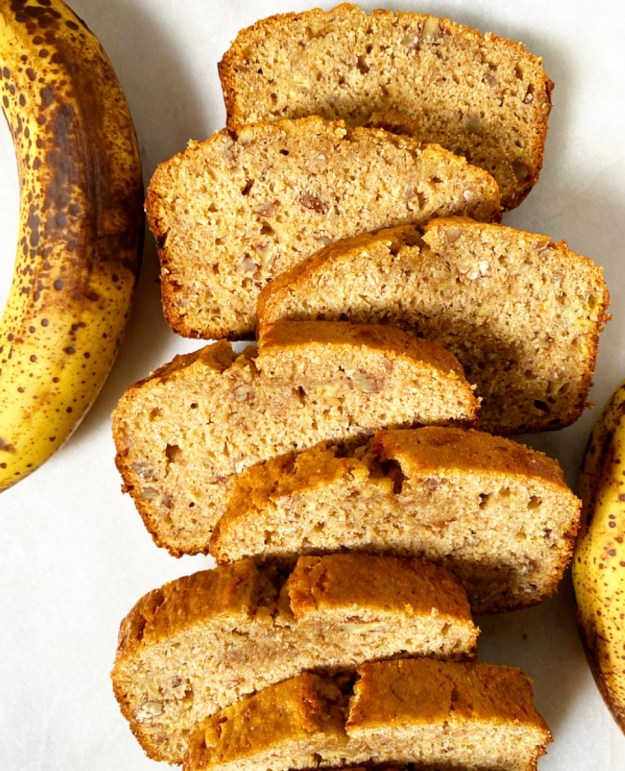
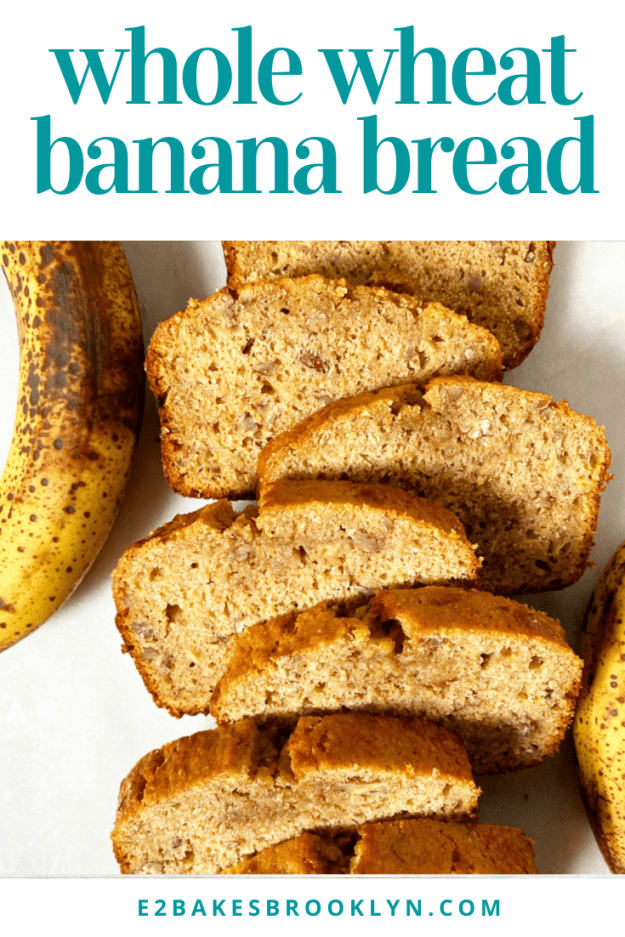
Whole Wheat Banana Bread
makes one 9×5″ loaf
2 cups whole wheat flour (or white whole wheat flour)
2 tablespoons cornstarch
1 1/2 teaspoons baking powder
1 teaspoon ground cinnamon
1/4 teaspoon ground nutmeg
1 teaspoon Kosher or sea salt
1/2 cup neutral-flavored oil (like canola)
1 cup light or dark brown sugar, packed
2 large eggs, room temperature
1 teaspoon pure vanilla extract
3 large ripe bananas, mashed
1/2 cup milk (not fat-free or skim)
2/3 cup chopped walnuts or pecans (optional)
Preheat the oven to 375F. Grease a 9×5″ loaf pan, and line the bottom with parchment. Set aside.
In a medium mixing bowl, whisk together the whole wheat flour, baking powder, cornstarch, cinnamon, nutmeg, and salt. Set aside.
In a large mixing bowl, whisk together oil, brown sugar, and eggs, until completely combined. Whisk in vanilla before stirring in the mashed bananas and milk. Pour the dry ingredients into the wet ingredients. Use a silicone spatula or wooden spoon to stir the batter ten strokes, making sure to scrape the side of the bowl. At ten strokes, pause and add the nuts, if using. Then stir an additional ten strokes.
Scrape the batter into the prepared loaf pan, and bake for 55-65 minutes, tenting with foil if it browns too quickly (I did at 40 minutes). The banana bread is done when a toothpick inserted in the middle comes out with only a few moist crumbs.
Let the bread cool completely in the pan on a wire rack before running a knife around the edge and inverting to release. Peel off the parchment paper before enjoying.
Whole Wheat Banana Bread keeps well tightly-covered at room temperature for a few days or in the refrigerator for up to a week.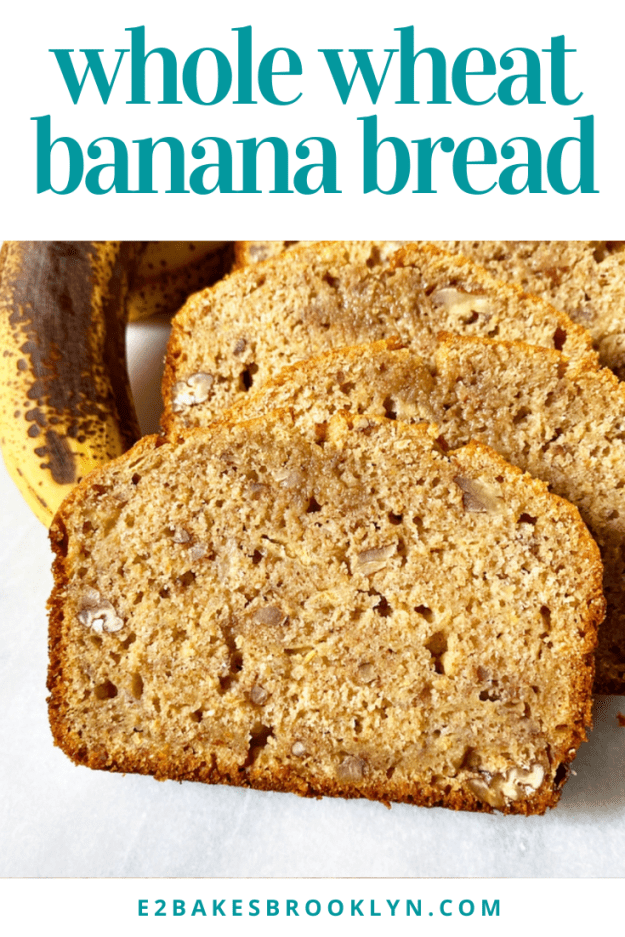
 Happy New Year! I hope your 2016 has been wonderful so far 😊 As I spent the last of 2015 working like crazy (nannying, catering two parties for my friend David, making regular cookie deliveries to a jeweler downtown, figuring out this food blogging thing, etc), traveling to Texas and back, and making dinner for 300 of my closest acquaintances, I hope 2016 brings a lot of naps. And real food. Don’t get me wrong, I love cookies and pie and cake, but since I’ve eaten those things at regular intervals for the last eight weeks, I am finding myself craving vegetables. So this month, I’m going to make a little effort to post some healthier recipes. There will still be plenty of cookies (because cookies), but I plan to post a few whole grain items and savory dishes, just for balance!


 Hello! How was your Christmas? I had a great time with my family in Texas. We decorated cookies, snuggled our beloved puppies (Stella, Mama Chiquita, and Haskell), and played many rounds of Gin Rummy. My sisters and I all cooked like crazy, and my sister-in-law was the world’s best soux chef. Oh, and we all rocked some sweet matching Snoopy pajamas. Yes, we are adults. But it’s Christmas, and Snoopy rules. It was so much fun–I am lucky to have family that is an absolute joy, rather than a chore, to visit. The weather was spring-like until Saturday night, when tornadoes tore through North Texas, bringing torrential downpours, hail, and snow in their wake. If you are reading from Texas, I hope you and those you hold dear are safe from harm and able to enjoy these last few days of 2015.
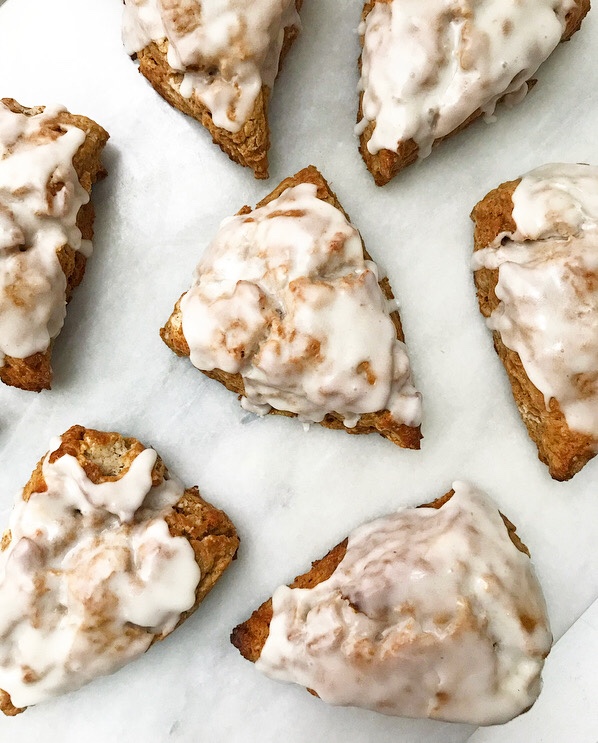 Now that I’ve bummed you all out, let’s get baking. I’ve made a lot of cookies in the last several weeks, and while I know cookies are synonymous with the holidays, I need a break. How about a coffee break? With Gingerbread Scones? Soft, spiced, not too sweet scones with a drizzle of vanilla glaze. They’re quick and simple–they can be on your table in less than an hour! They’re absolutely perfect for breakfasts this holiday week. Let’s get started.
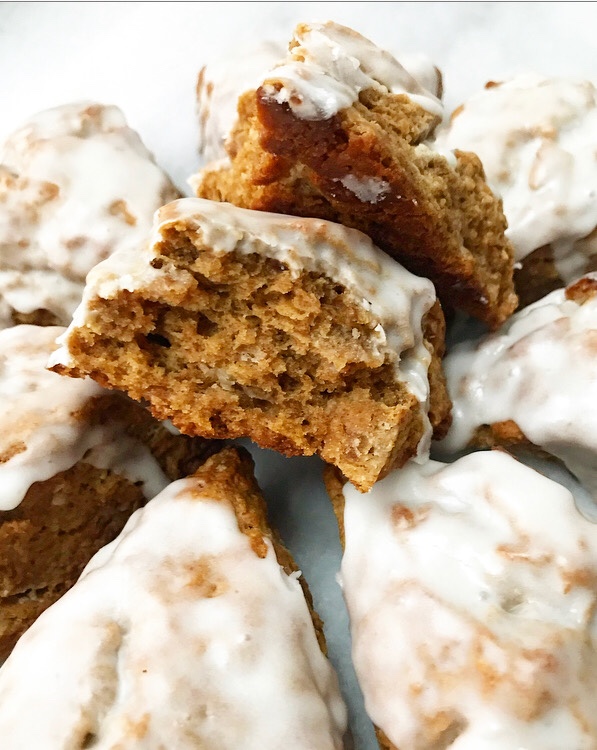
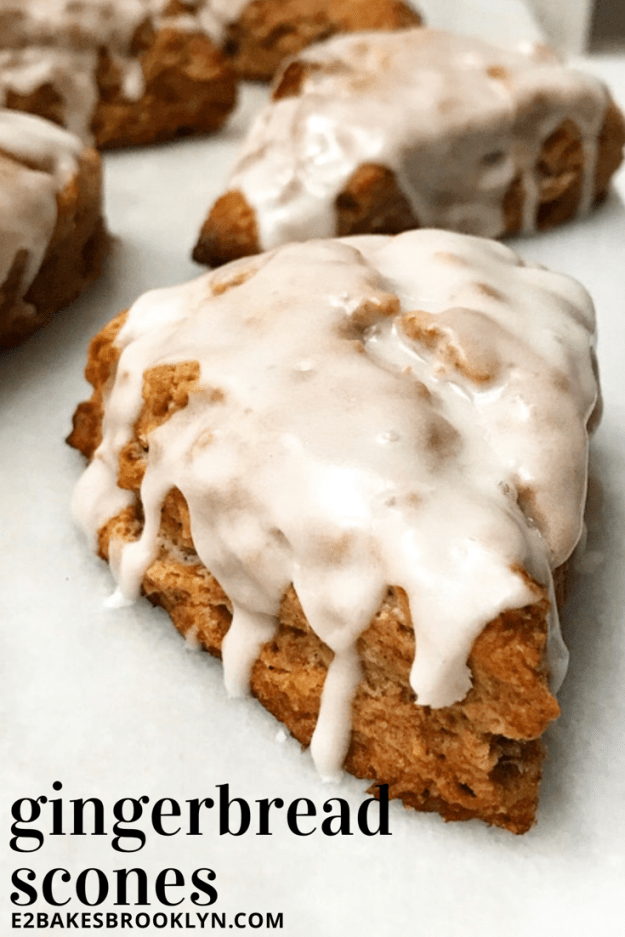
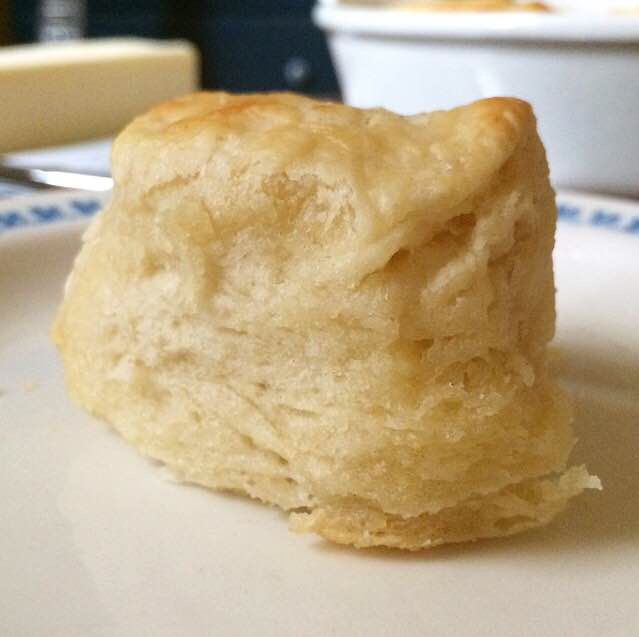
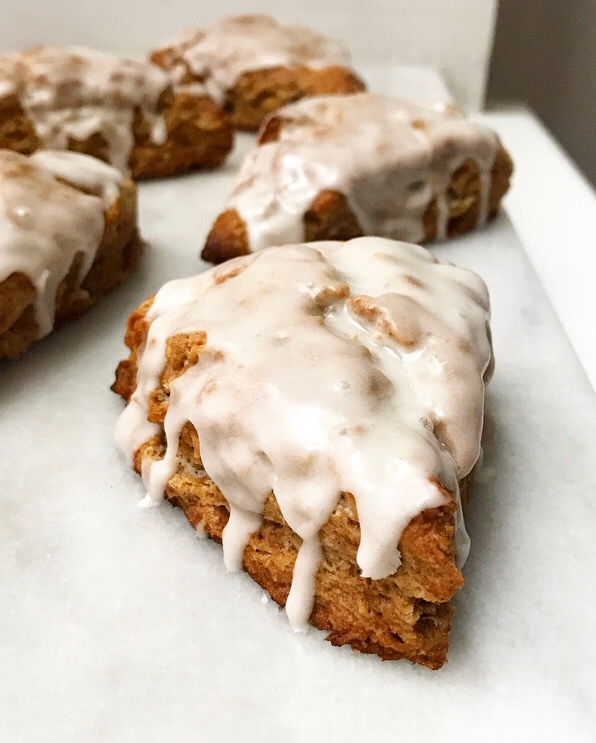
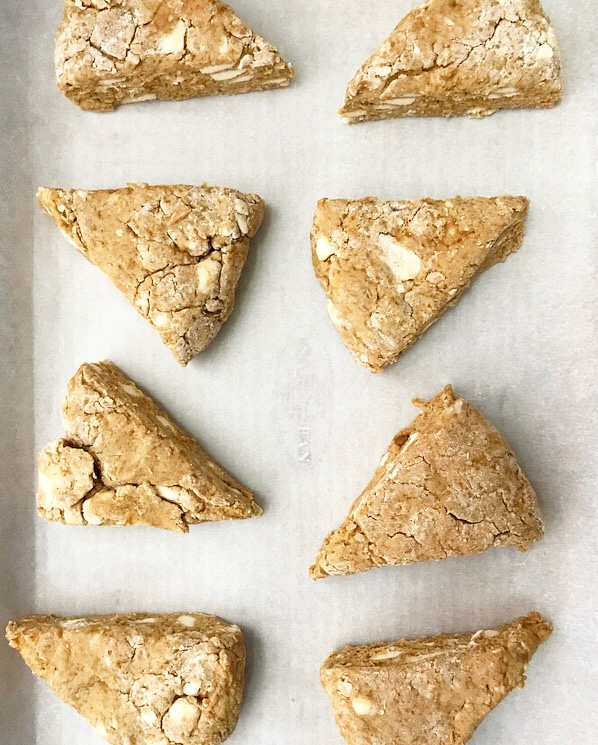
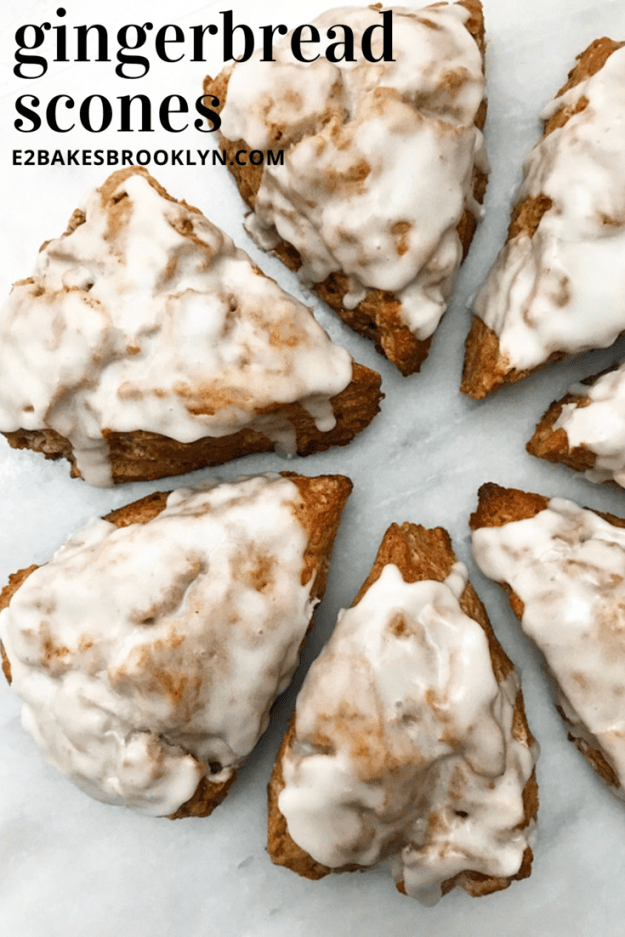
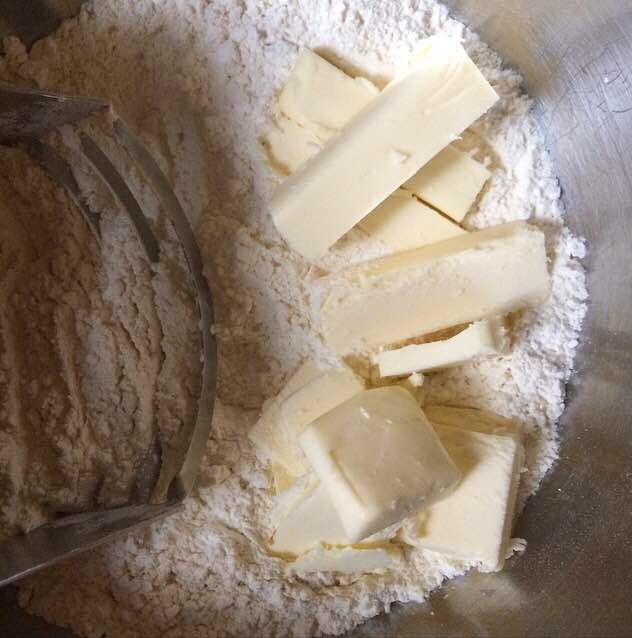
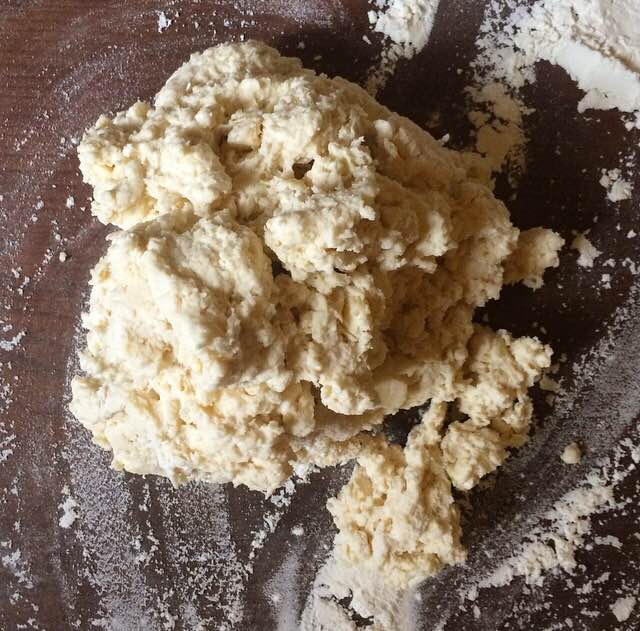
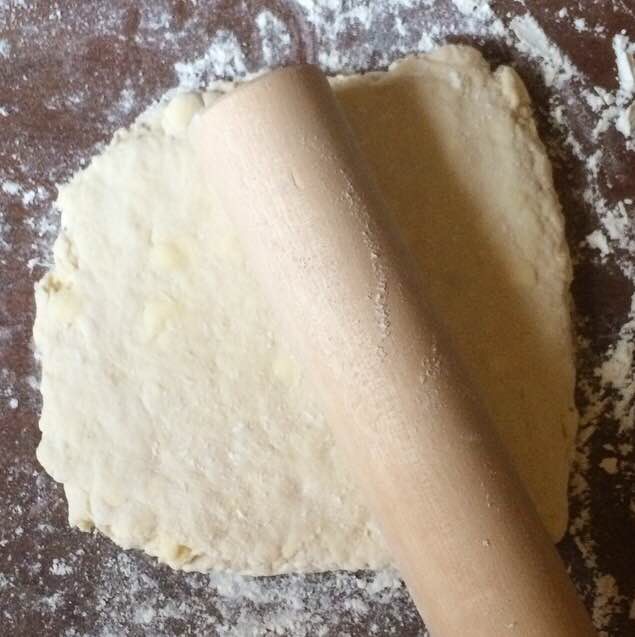
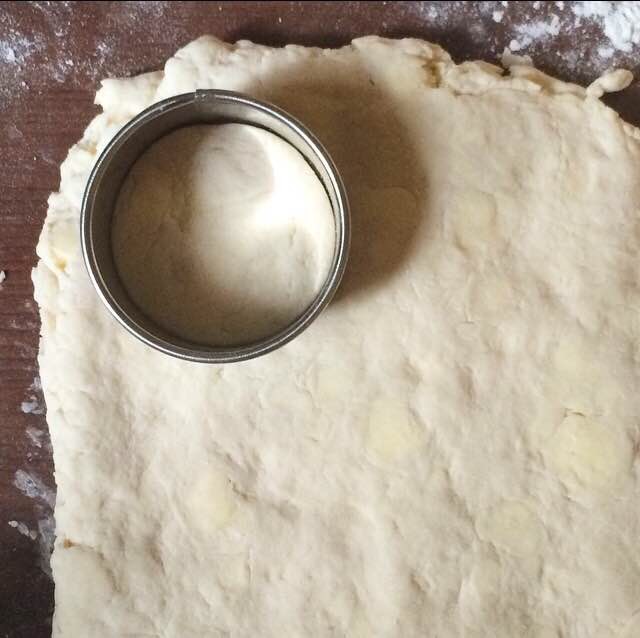
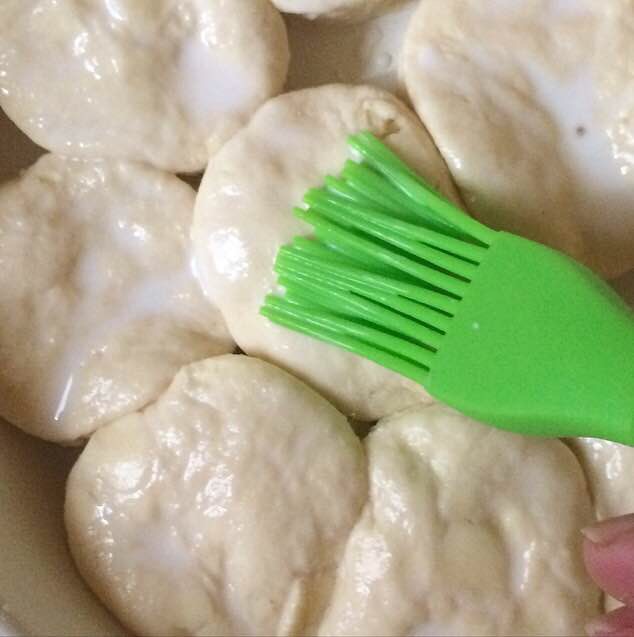
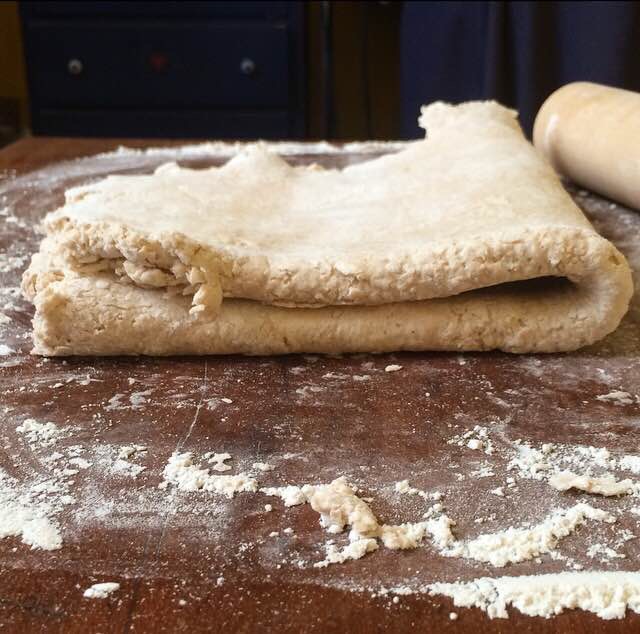
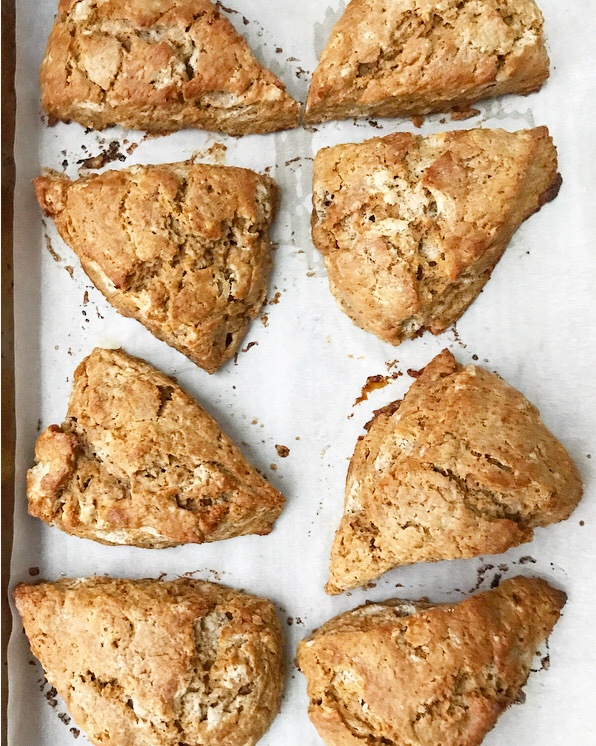 Scones really are a breeze. The only real rule is to keep the butter and liquid ingredients very cold. This is what keeps the scones flaky and delicious. These start with whisking two tablespoons of molasses into cold half-and-half and then putting that in the fridge. In a large mixing bowl, whisk together some flour, gingerbread spices, dark brown sugar, baking powder, and salt. Next, take some very cold butter and use a pastry blender to cut it into the flour mixture until it’s the size of peas. Take that half-and-half mixture you’ve been chilling and stir it in. Turn the dough out onto a very well-floured surface. Really, go crazy with the flour because the dough will be sticky. Flour your hands and gently shape the dough into a 1-inch thick disc. Flour the blade of a chef’s knife, and then cut the disc into eight wedges. Remove them to a pan, brush with more half-and-half, and bake at 425F until they spring back when poked with your finger, about fifteen minutes.
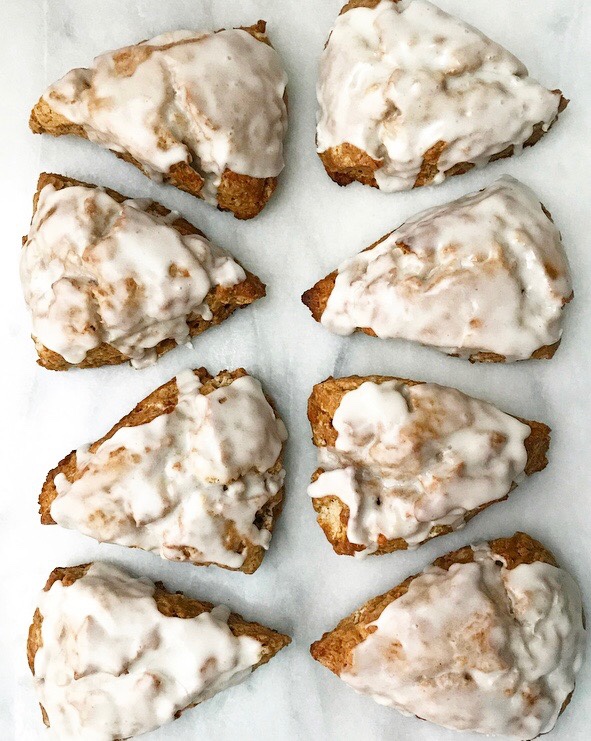 These scones would be great by themselves, but gingerbread has to have icing as far as I’m concerned. There just has to be something to offset the spiciness of the ginger. Also, these scones aren’t very sweet, so they benefit from a touch of glaze. The glaze is very easy to whip up. Whisk together some confectioner’s sugar and salt, and then stir in some half-and-half and vanilla extract until smooth. Drizzle it over the cooling scones. I like to use a squeeze bottle, but a fork will do the trick. The glaze will start to set in just a few minutes and will be completely set in a couple of hours.These scones are best the day they’re made, but may be kept covered at room temperature for up to 48 hours. Unbaked scones may also be frozen for up to three months! I’ve written instructions in the recipe.
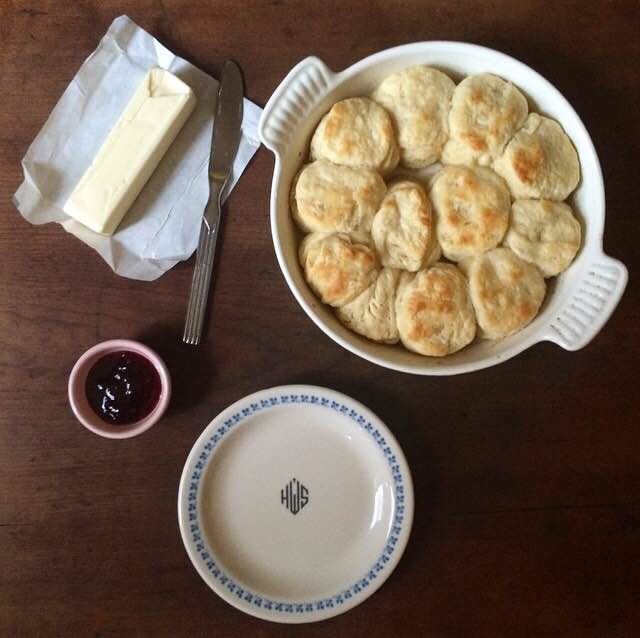
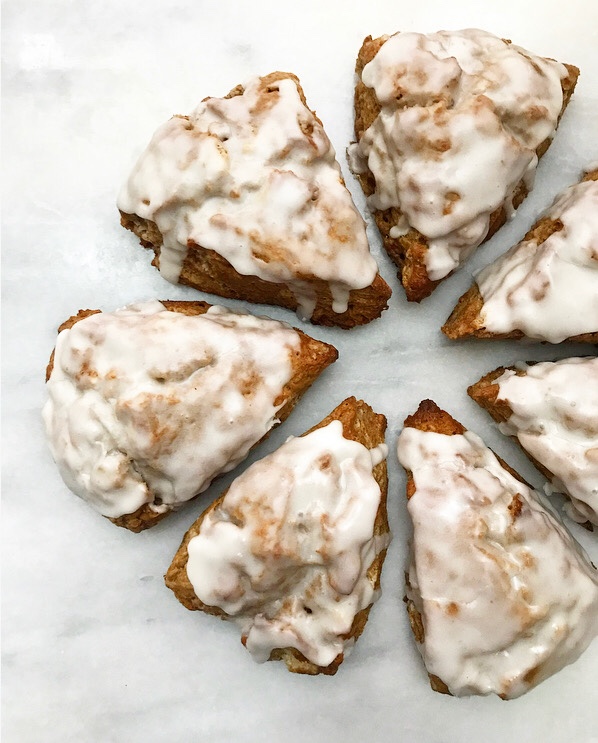 I hope you are enjoying this holiday week, and that you’ll make these Gingerbread Scones a part of your celebration! Now that it’s feeling more like winter in Texas and New York City, warm, spicy scones and a boatload of coffee will be your new favorite breakfast.