The only thing better than freshly baked cookies is the dough itself, am I right?!
I’m still making my way through the No-Churn Mint Chocolate Chip Cookie Dough Ice Cream I made last week, and while I love the ice cream itself, it’s the edible mint chocolate chip cookie dough that’s the real star of the show. It’s got me totally obsessed with edible cookie dough! It’s so simple and quick, and it can be made in literally any flavor. I’ve thought of so many variations already! Chocolate chip, peanut butter, ginger spice–the possibilities are endless! It can be a dessert dip, cake filling (<–doing that ASAP), or thrown into ice cream. But my favorite way to eat it at the moment? In truffle form! And Funfetti, because sprinkles.
 These Funfetti Cookie Dough Truffles are a breeze to make. There’s no baking, and the candy coating is melted in the microwave, so you don’t even need to turn on a burner! If you manage your time wisely, these little truffles can be made start-to-finish in less than two hours.
But for all the ease of preparation, there are a few guidelines that make these little rainbow-colored confections both adorable and delicious.
First off, the flavor. How do we get that classic Funfetti cake flavor without using a boxed mix? With a combination of extracts! Here, we use a hefty dose of pure vanilla extract. Some Funfetti recipes use clear imitation vanilla, but to me it just tastes like chemicals. Really sweet chemicals. No, thanks. So use the real stuff. The other extract we use here is imitation butter extract. I know, I know. I just said how clear imitation vanilla tastes artificial to me. But hear me out. Imitation butter extract is used here in a very small dose–1/8 teaspoon. It serves as a background flavor to the vanilla, and gives the finished truffles that classic cake mix flavor. If you don’t have or don’t want to use imitation butter extract, you may leave it out without any negative effect on the flavor.
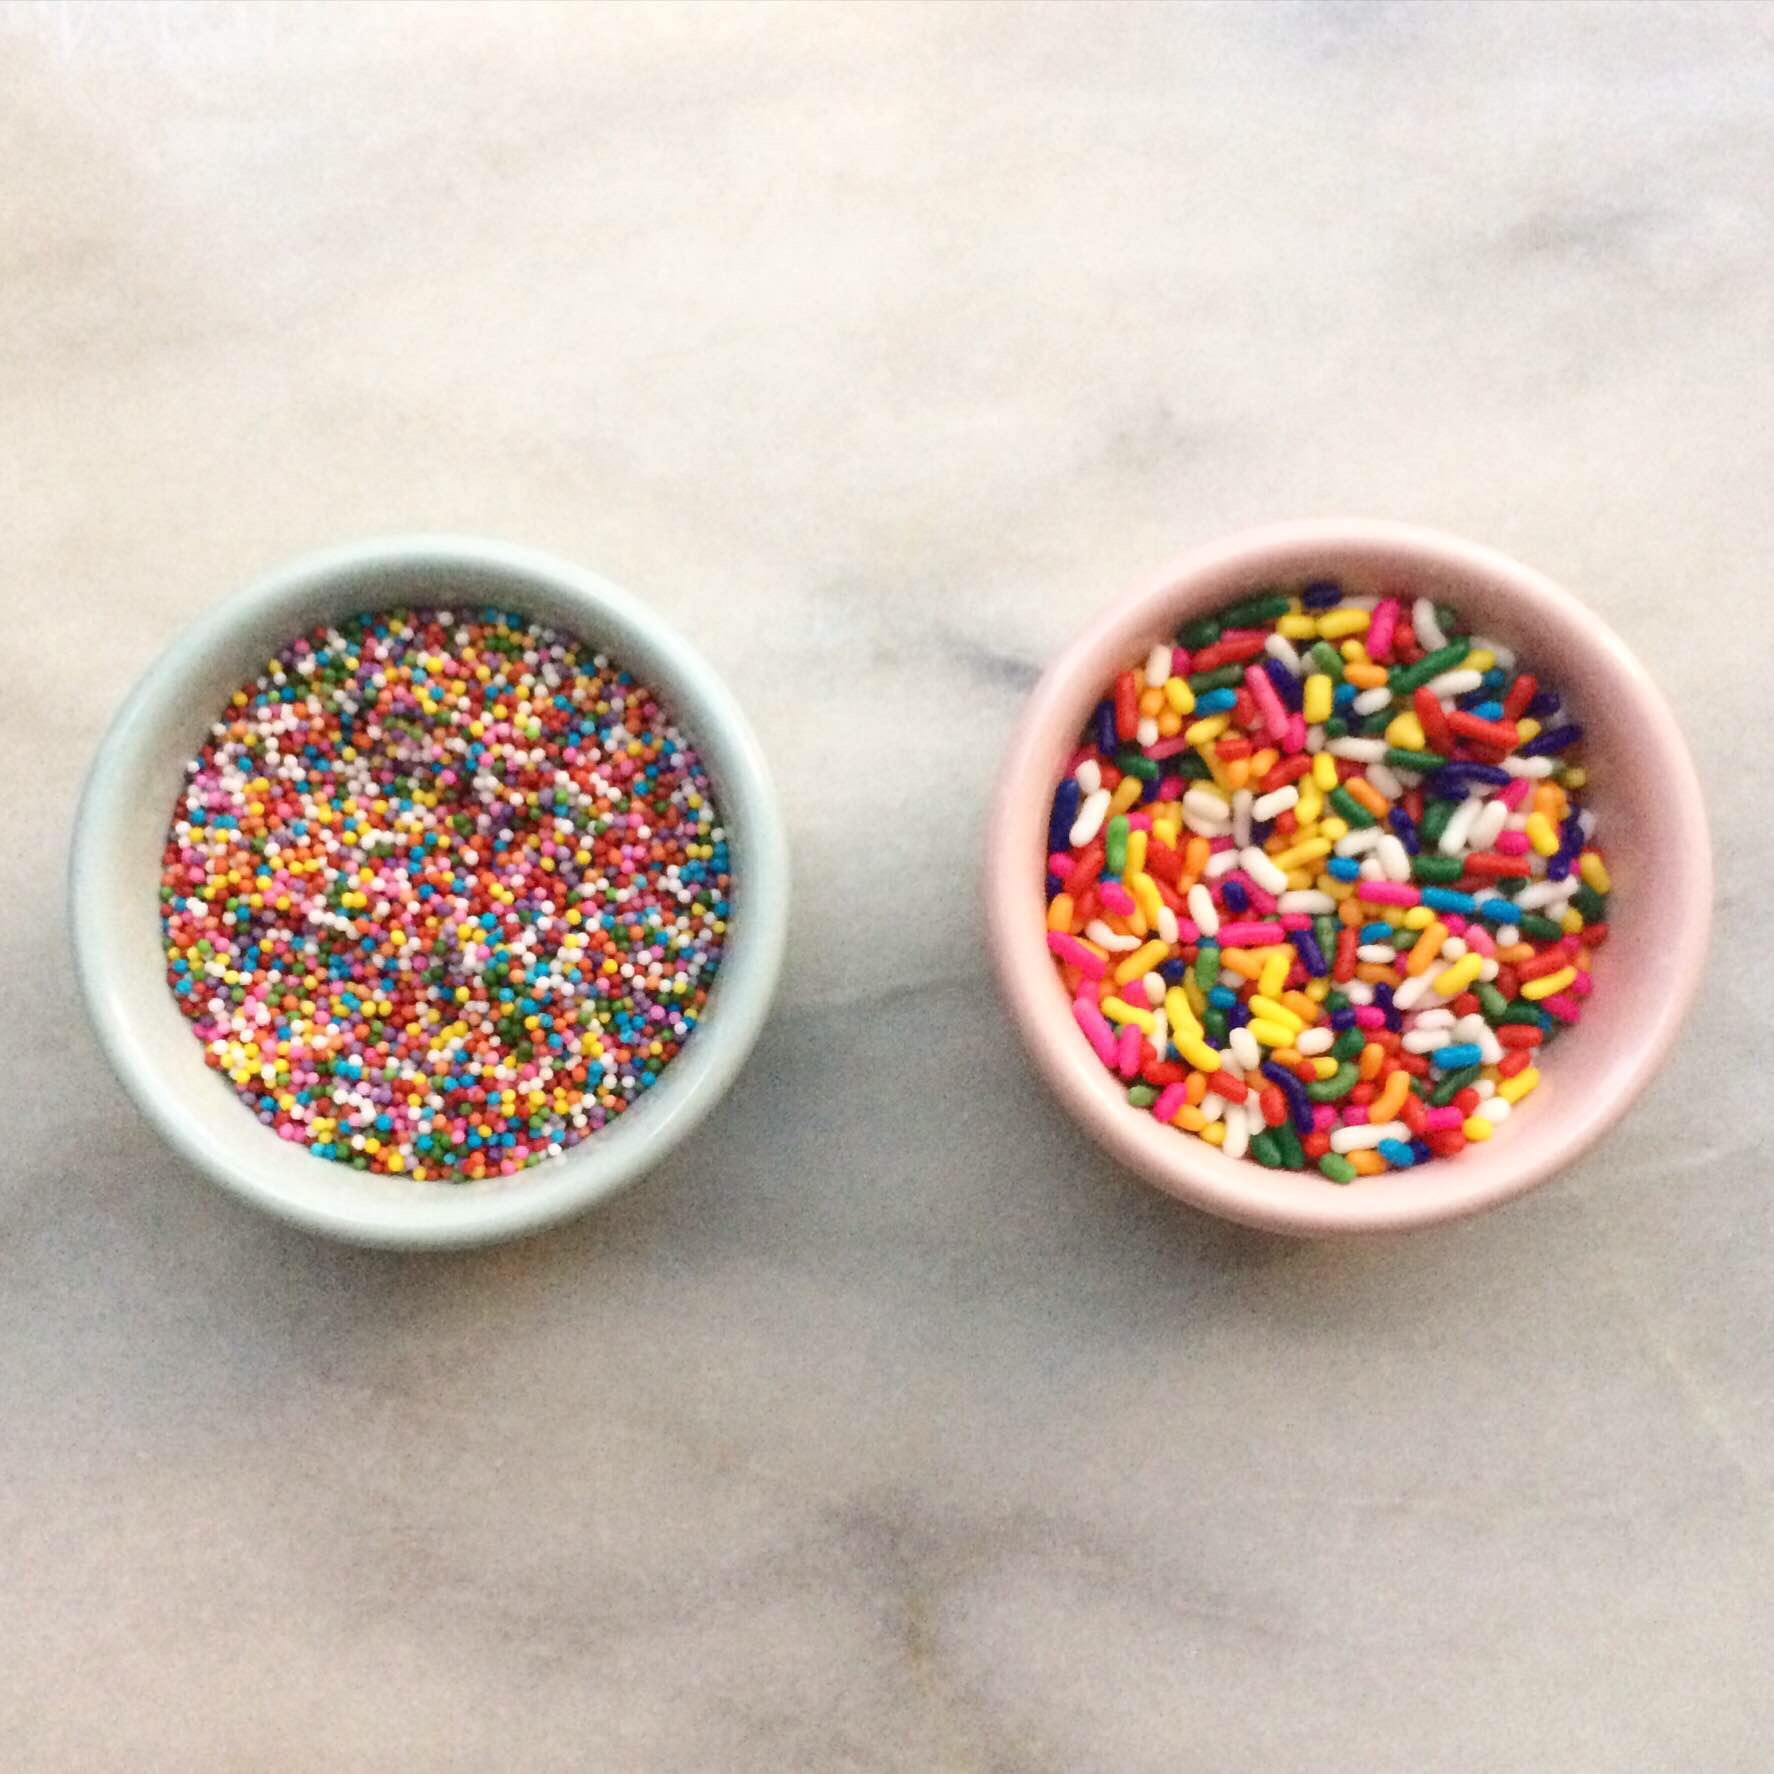
 Now, for the main event: sprinkles! On the left, you see nonpareils, the little ball-shaped ones. On the right, you see jimmies, the chewier cylindrical variety. Both are super fun, but they are not interchangeable in this recipe (or most Funfetti recipes). Once the eggless cookie dough base is prepared, mix in 1/3 cup of jimmies. These leave the dough speckled with cute pops of color!
 Do not use nonpareils in the dough. If you do, they will bleed their color into the dough, leaving everything a murky purple color. Even if you are really careful folding them in, this will happen. There’s no way around it. So, only use jimmies in the edible cookie dough. Use the nonpareils (or more jimmies) to decorate the coated truffles.
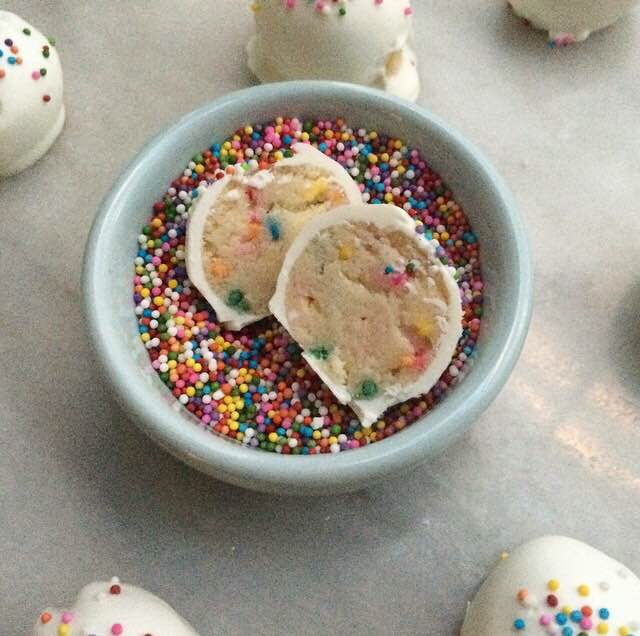
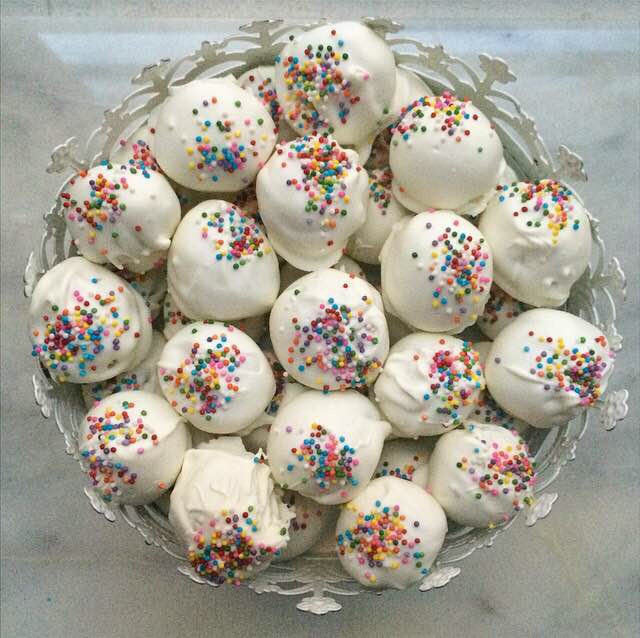
 Love those little clusters of color💗💗💗
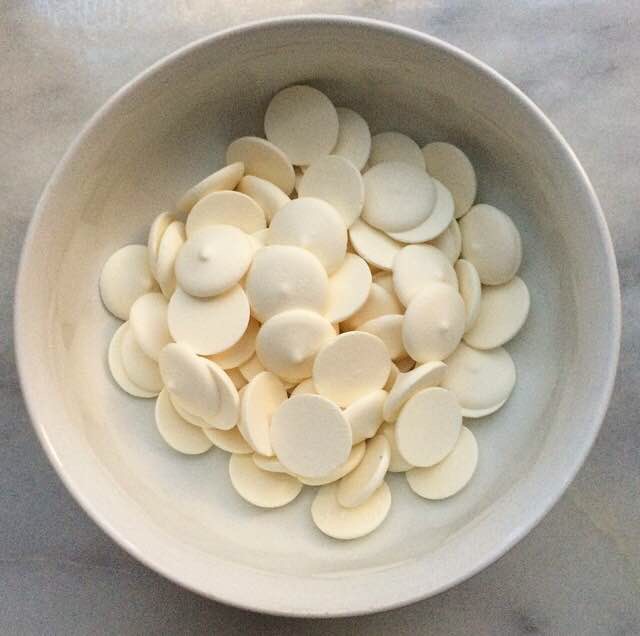
As for the coating, these truffles require candy melts, which can be found at your local kitchen supply or craft store. They look a whole lot like big white chocolate chips, but the two are not interchangeable. If you use white chocolate chips to coat these, you will probably have issues. White chocolate (particularly in chip form) does not melt easily. In a double-boiler it can scorch in a second, leaving behind unattractive brown bits. I’ve done it many times–it’s very disheartening to waste perfectly good ingredients. If you put it in the microwave, it may not melt evenly, and look a little like cottage cheese. I tried it while testing this recipe because I didn’t want to make a trip to the kitchen supply for one thing. While I got the truffles coated, they weren’t smooth and pretty, and the white chocolate seized every time I dipped a ball of cookie dough.

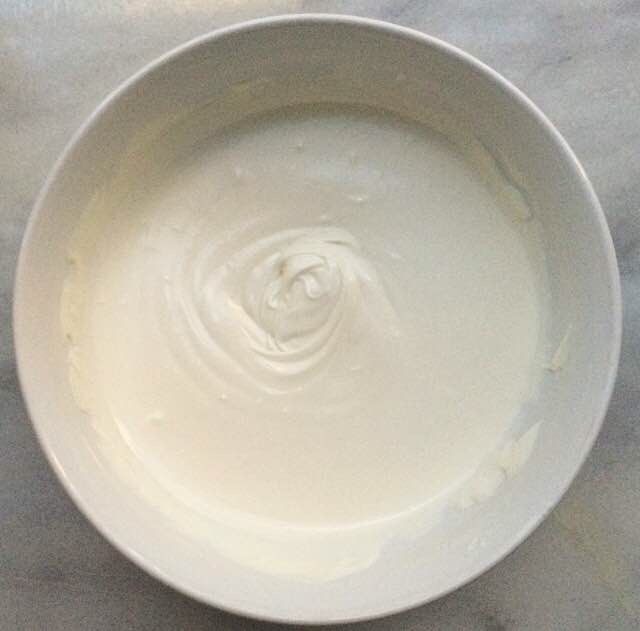
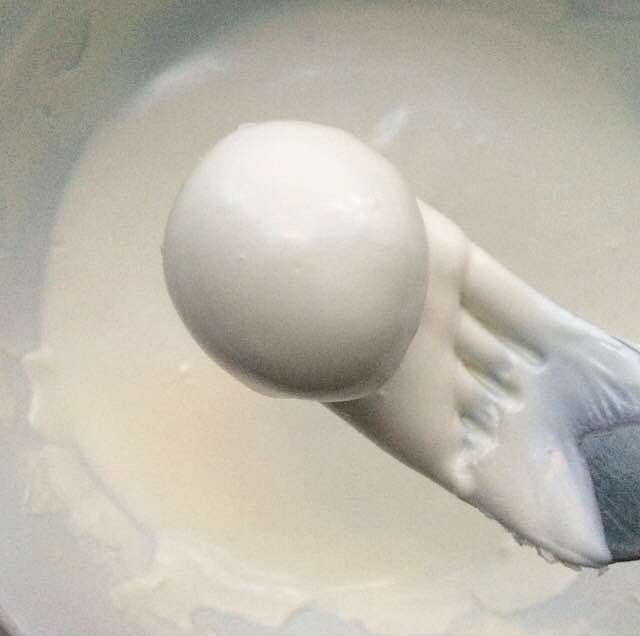
 So, I am here to tell you to take the special trip to the store. Candy melts do just that–melt. After about a minute and a half in the microwave and a quick stir with a fork, you’ll have smooth, beautiful candy coating ready for dipping.
And speaking of dipping, I tried two methods with these truffles. First, I tried toothpicks. I inserted a toothpick into a ball of dough, dipped it, let the excess coating drain off, and placed the coated truffle on a sheet of parchment. But when I tried to take the toothpick out, I was left with an annoying little hole. I tried to cover it with more candy coating and some sprinkles, but it was just too inefficient.


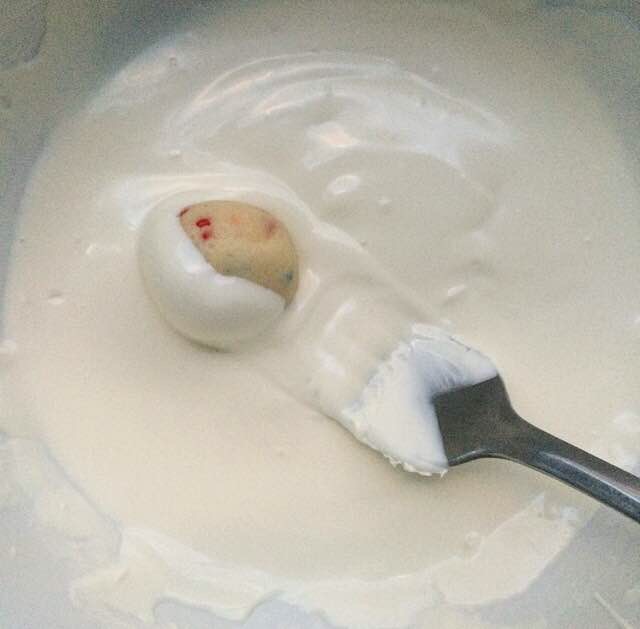
 For dipping these truffles, I prefer to use a fork. I drop a cold ball of dough into the candy coating, and then use a fork to flip it around so it’s completely coated. Then I use the fork to lift the coated truffle out of the candy coating, let it drain for five to fifteen seconds (scraping the bottom of the fork on the side of the bowl seems to help), and turn the fork completely upside down to place the truffle on the parchment. As soon as the truffle is released from the fork, top it with additional sprinkles. Don’t wait–the cookie dough centers are cold, and the coating sets quickly as a result. By the time you finish coating and sprinkling all your truffles, the first few you dipped will be ready to eat! If your candy coating is taking a while to set for some reason, set the truffles in the fridge for a few minutes. That should do the trick.
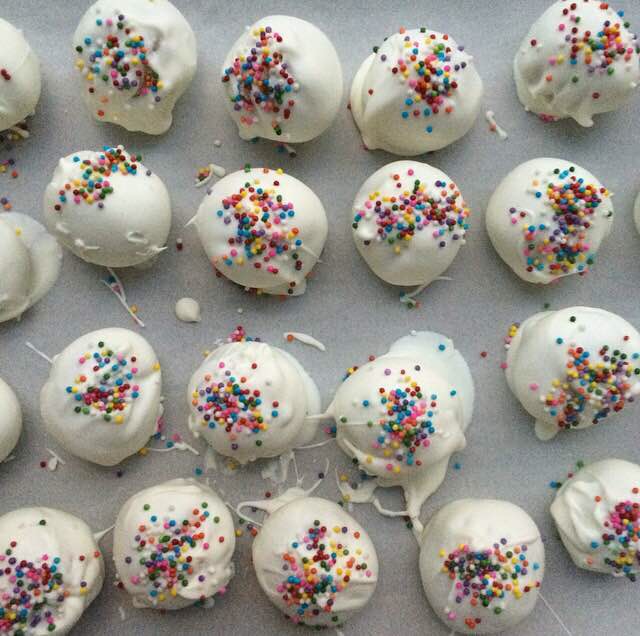
 These colorful confections are perfect for birthday parties, gifting, or even Easter! You could use pastel-colored candy melts–how adorable would that be?! No matter where you serve them, these Funfetti Cookie Dough Truffles are simple, delicious, and a whole lot of fun…fetti.
Sorry. Had to.
 Funfetti Cookie Dough Truffles
makes about four dozen truffles
Edible Cookie Dough:
1/2 cup unsalted butter, softened to room temperature
3/4 cup granulated sugar
2 tablespoons milk of choice (dairy or non-dairy)
1 1/2 teaspoons pure vanilla extract
1/8 teaspoon imitation butter extract*,optional
1 1/4 cup all-purpose flour
1/2 teaspoon Kosher or sea salt
1/3 cup rainbow sprinkles (jimmies)
Coating:
2 cups white candy melts, melted
2 tablespoons rainbow sprinkles (jimmies or nonpareils)
Line a rimmed 9×9″ baking pan with wax paper.
In a medium mixing bowl, use an electric mixer to cream butter and granulated sugar together until light and fluffy. Add milk, vanilla, and optional imitation butter extract, and beat until combined. Mix in flour and salt, followed by jimmies. Scoop dough by the 1/2 tablespoon (1 1/2 teaspoons), and roll into balls. Set rolled dough balls on prepared pan. Freeze for 30 minutes.
Line a rimmed baking sheet with parchment paper. Set aside.
Melt candy melts in the microwave in 30 second increments until a stir with a fork yields a smooth coating. Take dough balls out of the freezer. Use a fork to coat frozen dough balls into melted candy melts. Drain briefly. Set on parchment-lined baking sheet. As soon as the freshly-dipped truffle is on the baking sheet, sprinkle with additional sprinkles. Repeat with all dough balls. Candy melts should set quickly at room temperature, but truffles may be refrigerated for 15 minutes to set.
Truffles are best served at cool room temperature. They keep well covered in the refrigerator for up to five days.
Note:
I use J.R. Watkins Imitation Butter Extract. It’s a huge bottle and will last you forever.
 Sometimes you just need something easy. Something that will satisfy your sweet tooth, but also doesn’t have 43 ingredients or involve a 90 minute chill. Something that turns out every single time without you having to think too hard. Something that will go well with Nutella or ice cream or pudding or coffee. Something that you can pull out of the cabinet when company shows up, and look like Ina freaking Garten because *of course* you have these on-hand all the time.
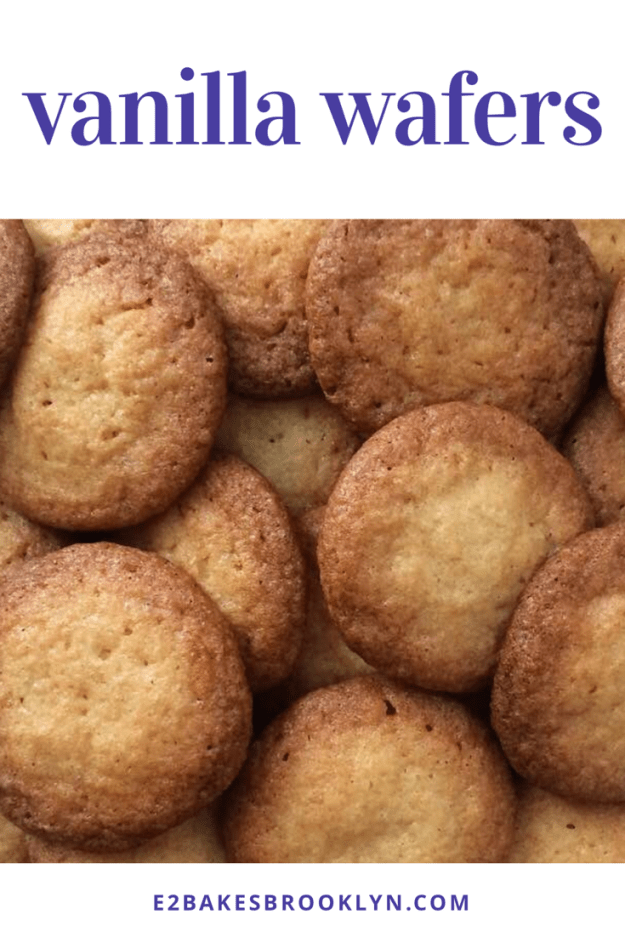
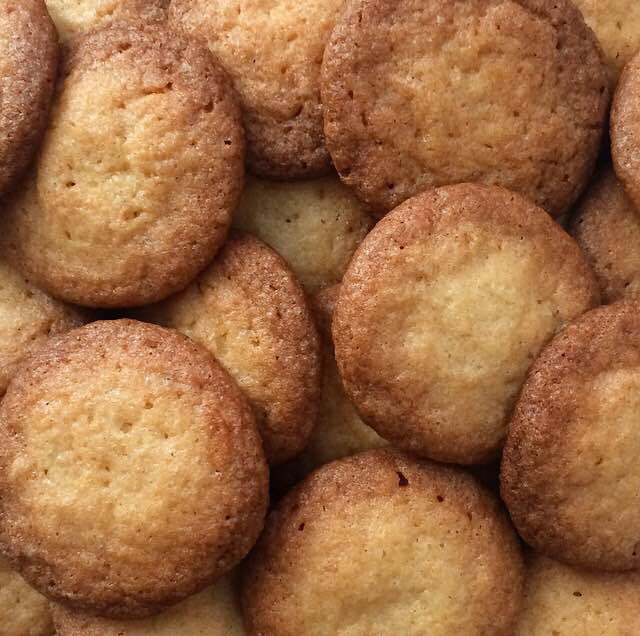 These vanilla wafers are so quick and easy, and they are ten zillion times better than the boxed variety. And I should know–these were the first recipe I “mastered” almost three years ago. I made them over and over again for months! I can practically bake them in my sleep.
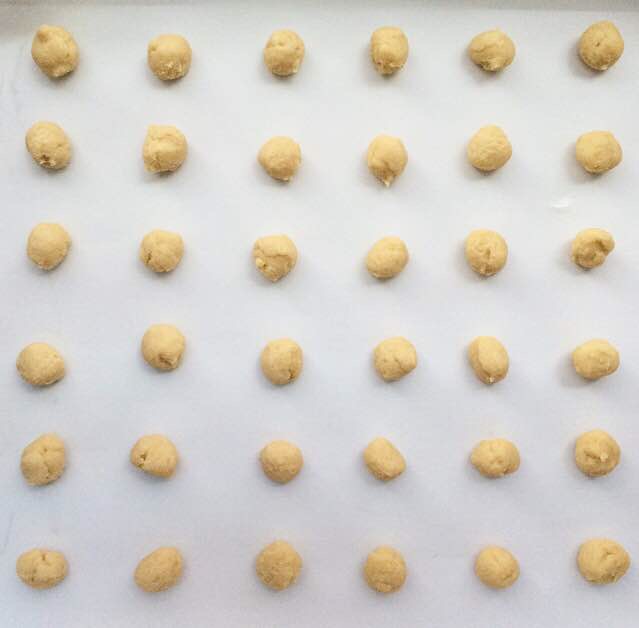
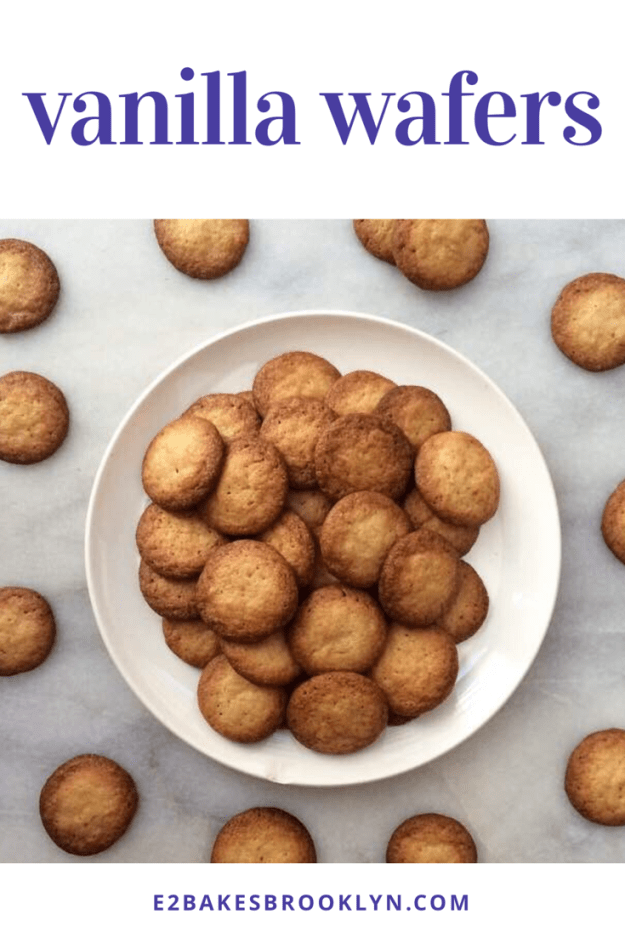
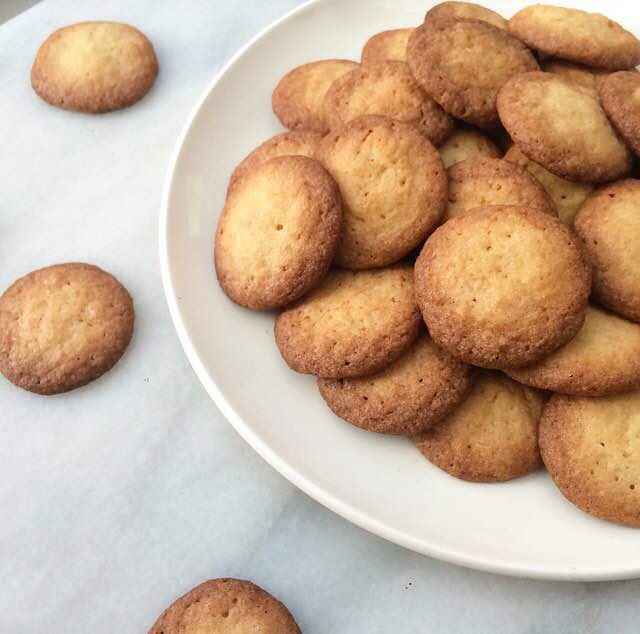
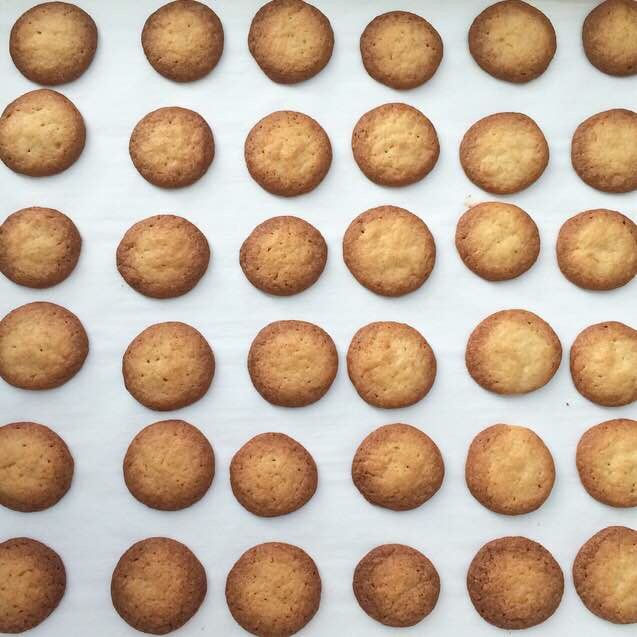 The most work-heavy part is probably the rolling–scooping dough 1/2 teaspoon at a time can get a little tedious–but that really doesn’t take more than a few minutes. I use my half-sheet pans for making these, and that allows me to bake 54 on a single pan! If you place one on each rack, that means all the cookies will be done in two batches. Easy peasy.
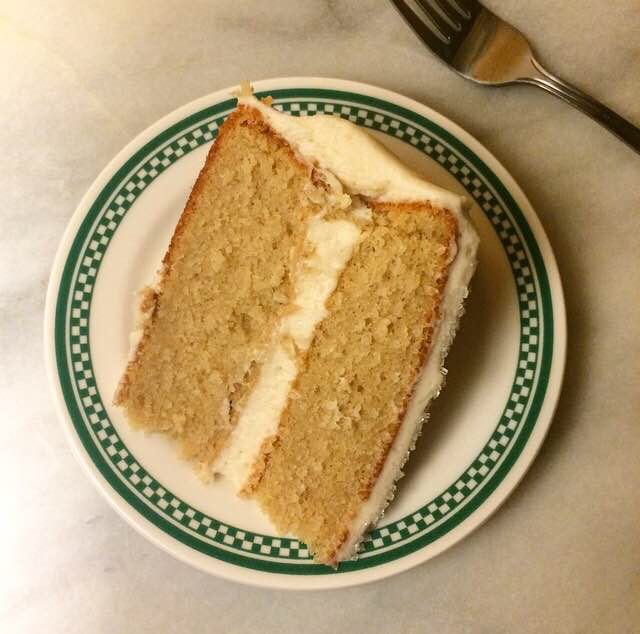
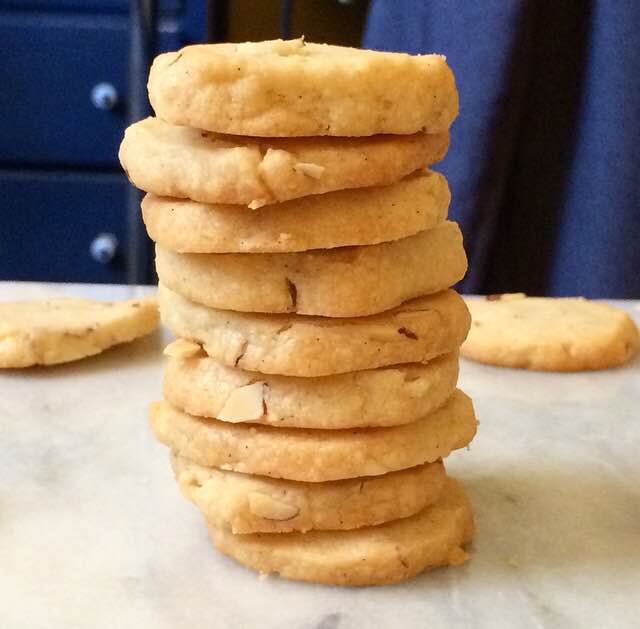
 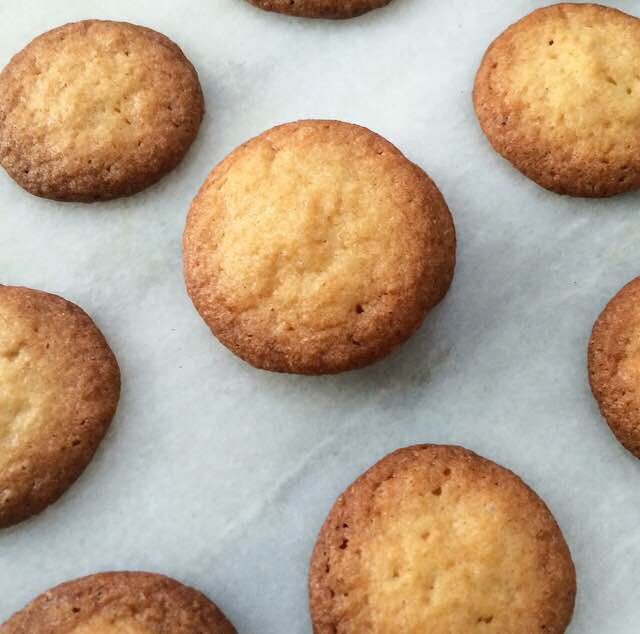 And oh, are they good. For someone who prefers soft and chewy cookies, I sure do love these crispy, crunchy wafers. They’re buttery and full of vanilla flavor, and there’s a divine caramel undertone thanks to the brown sugar.
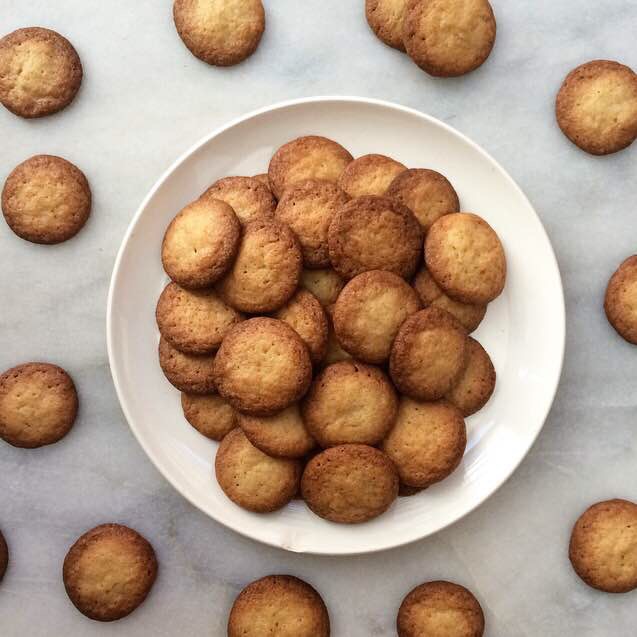 Vanilla Wafers